Post Syndicated from Maneesh Sharma original https://aws.amazon.com/blogs/big-data/integrate-amazon-redshift-row-level-security-with-amazon-redshift-native-idp-authentication/
Amazon Redshift is a fully managed, petabyte-scale data warehouse service in the cloud. You can start with just a few hundred gigabytes of data and scale to a petabyte or more. This enables you to use your data to acquire new insights for your business and customers.
As enterprise customers look to build their data warehouse on Amazon Redshift, they have business requirements to enforce adequate fine-grained access controls to govern who can access which rows of their sensitive data based on the user profiler. Furthermore, many organizations want to access Amazon Redshift using their existing identity provider (IdP) while maintaining these compliance and security requirements around their data. Without proper integrated features to enforce row-level and secure authentication, you may have to develop additional solutions such as views, or try to integrate third-party solutions around your data to enforce security.
With the introduction of row-level security in Amazon Redshift, you can restrict user access at the row level. Additionally, we have introduced a native IdP functionality to help you implement authentication and authorization with your choice of business intelligence (BI) tools in a seamless way.
Amazon Redshift row-level security (RLS) provides granular access control over your sensitive data. It does this by using RLS policies to determine which rows to return in the query result sets.
In this post, we walk you through an example on how you can implement row-level security in Amazon Redshift while using existing IdP credentials to simplify authentication and managing permissions. You can use this flexible solution to provide complete control over data access while maintaining authorization using your existing IdP.
Solution overview
For our use case, an organization requires row-level security to restrict access to sales performance data to specific states and their allocated salesperson. We have the following business rules and conditions:
- Alice, the salesperson for NY, should have access to NY sales data only
- Bob, the salesperson for CA, should get access to CA sales data only
- Charlie, the sales manager for the North America region, should have access to sales data for all states
- Jen, who belongs to HR department, shouldn’t have access to any sales data
The following diagram illustrates the solution architecture we implement to solve this problem statement using Amazon Redshift row-level security and Amazon Redshift native IdP authentication.

The solution contains the following steps:
- Create RLS policies to provide fine-grained access control for row-level data on the Sales table.
- Create Amazon Redshift roles for each of the different Azure AD groups and assign relevant permissions to the table.
With native IdP, roles get created automatically based on Azure groups. However, as a best practice, we’re pre-creating the Amazon Redshift roles and assigning relevant permissions.
- Attach row-level security policies to the roles.
- Configure a JDBC or ODBC driver in your SQL client to use Azure AD federation and use Azure AD login credentials to sign in.
- Upon successful authentication, Azure AD issues an authentication token (OAuth token) back to the Amazon Redshift driver.
- The driver forwards the authentication token to the Amazon Redshift cluster to initiate a new database session. Amazon Redshift verifies and validates the authentication token.
- Amazon Redshift calls the Azure Graph API to obtain the user’s group membership.
- Amazon Redshift maps the logged-in Azure AD user to the Amazon Redshift user and maps the Azure AD groups to Amazon Redshift roles.
- The Amazon Redshift roles are pre-mapped with the RLS policies mentioned in step 3. This allows the respective users to query the fine-grained row-level access data from the client.
Prerequisites
To implement this solution, you must have the following prerequisites:
- An AWS account. If you don’t have one, you can sign up for one.
- An Amazon Redshift Serverless or Amazon Redshift provisioned cluster. For setup instructions, refer to Setting up Amazon Redshift Serverless for the first time or Create a sample Amazon Redshift cluster.
- A Microsoft Azure account that has an active subscription. You need to be an admin role to set up the application on Azure AD.
- Power BI Desktop version 2.102.683.0 64-bit or higher version downloaded and installed.
- The latest Amazon Redshift JDBC SDK driver-dependent libraries downloaded and the Amazon Redshift JDBC JAR .zip folder unzipped. Note that all prior Amazon Redshift driver versions before JDBC version 2.1.0.4 don’t support native IdP.
- Any SQL client. For this post, we use SQL Workbench/J.
Implement your Amazon Redshift native IdP
To set up your Amazon Redshift native IdP setup, refer to Integrate Amazon Redshift native IdP federation with Microsoft Azure AD using a SQL client. Follow the steps to set up your Azure application and collect Azure AD information for the Amazon Redshift IdP.
For this post, we have created the following four groups in Azure AD:
sales_nysales_casales_managerhr_group
Then we created the following four users in Azure AD:
- Alice – The salesperson in NY state
- Bob – The salesperson in CA state
- Charlie – The manager for the North America region
- Jen – A member of the HR group
Add the respective users to their appropriate group:
- Alice –
sales_ny - Bob –
sales_ca - Charlie –
sales_manager - Jen –
HR
Next, we need to register the IdP in Amazon Redshift using the following command:
In the preceding statement, the type azure indicates that the provider specifically facilitates communication with Microsoft Azure AD. We use the following parameters to collect Azure AD information (for more information, refer to Collect Azure AD Information in Integrate Amazon Redshift native IdP federation with Microsoft Azure AD using a SQL client).
- issuer – The issuer ID to trust when a token is received. The unique identifier for the
tenant_idis appended to the issuer. - client_id – The unique public identifier of the application registered with the IdP. This can be referred to as the application ID.
- client_secret – A secret identifier, or password, known only to the IdP and the registered application.
- audience – The application ID that is assigned to the application in Azure. For this post, we connect with Amazon Redshift using Power BI Desktop and SQL Workbench/J. The audience value is hardcoded for Power BI desktop, for example
https://analysis.windows.net/powerbi/connector/AmazonRedshift. The second audience value is for the SQL client, which you get from the application ID URI in the OAuth application. For example,api://991abc78-78ab-4ad8-a123-zf123ab03612p.
Use the following command to view the registered IdP on Amazon Redshift:

Use the following command to view all the IdPs registered:
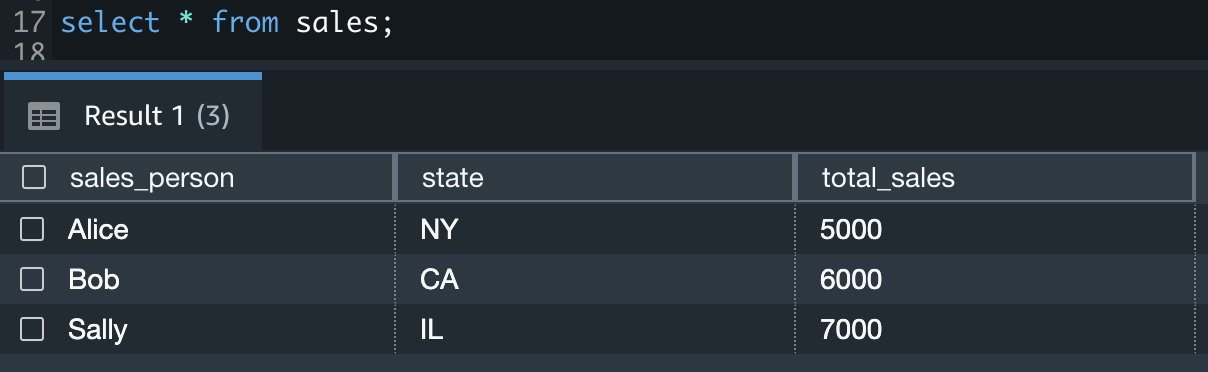
The following Sales table contains information about each salesperson, the respective state they cover, and their total sales amount:
Now we create four roles in the Amazon Redshift cluster based on the groups that we created on the Azure AD portal and assign relevant permissions to them. This simplifies administration by assigning different permissions to different roles and assigning them to different users.
The role name in the Amazon Redshift cluster looks like <namespace>:<azure_ad_group_name>, where the namespace is the one we provided in the IdP creation command (aad) and the group name is the Azure AD group. See the following code:
Now we grant permission to the Amazon Redshift role on the appropriate tables. For this post, we assign SELECT permission on the Sales table for all four roles:
Use the following command to view all the roles in the cluster:

Create a row-level security policy
Let’s enforce an RLS policy on the Sales table to restrict access to sales performance information for a salesperson specific to a particular state. We create the following policy:
The sales manager is also required to view sales across the North American region. For this, we create the following policy:
The policy_sales_all policy allows the sales manager to view all the information in the sales table.
Attach the row-level security policy to roles
Now we have to attach the row-level security policies to their respective Amazon Redshift roles so that when the user logs in using their Amazon Redshift native IdP, they can get fine-grained access to the records.
For the HR role, we haven’t created or attached any RLS policy because we don’t want any user from the HR group to get access to sales records.
Enable row-level security on the table
Now let’s enable row-level security on the respective tables. In this demo, we enable the RLS policy on the Sales table using the following command:
Use the following command to view the RLS policies:

Test row-level security using Power BI Desktop
In this example, we use Microsoft Power BI Desktop to connect with Amazon Redshift using a native IdP. For this solution, use Microsoft Power BI Desktop- Version: 2.102.683.0 64-bit and above.
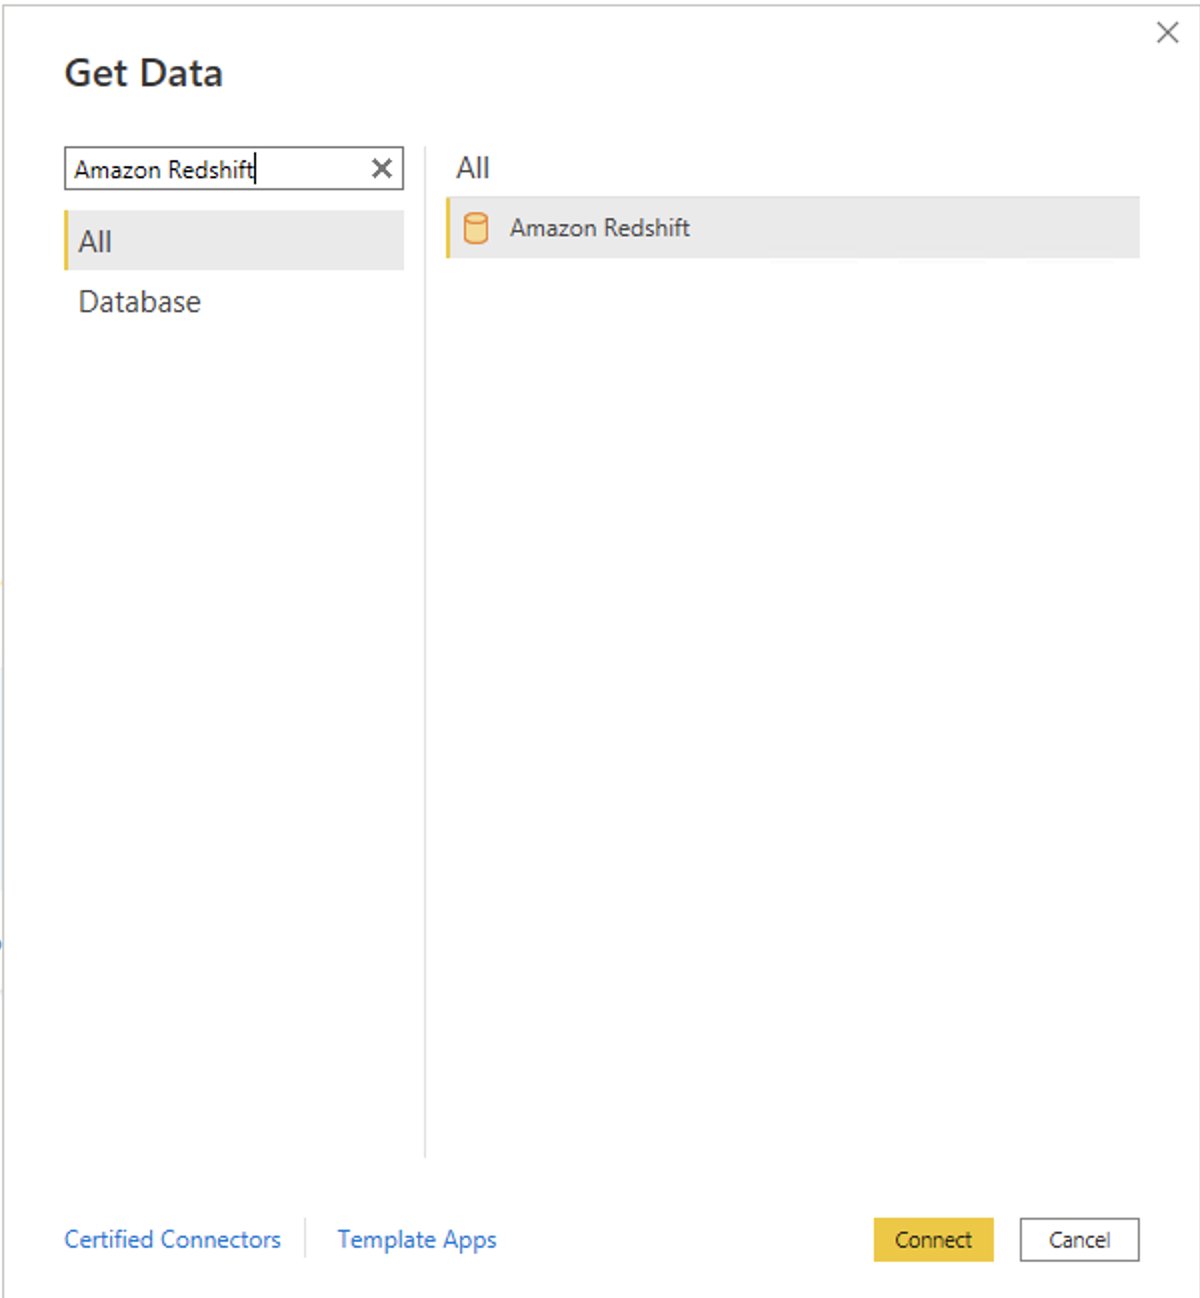
- In your Microsoft Power BI Desktop, choose Get data.

- Search for the Amazon Redshift connector, choose it, and choose Connect.
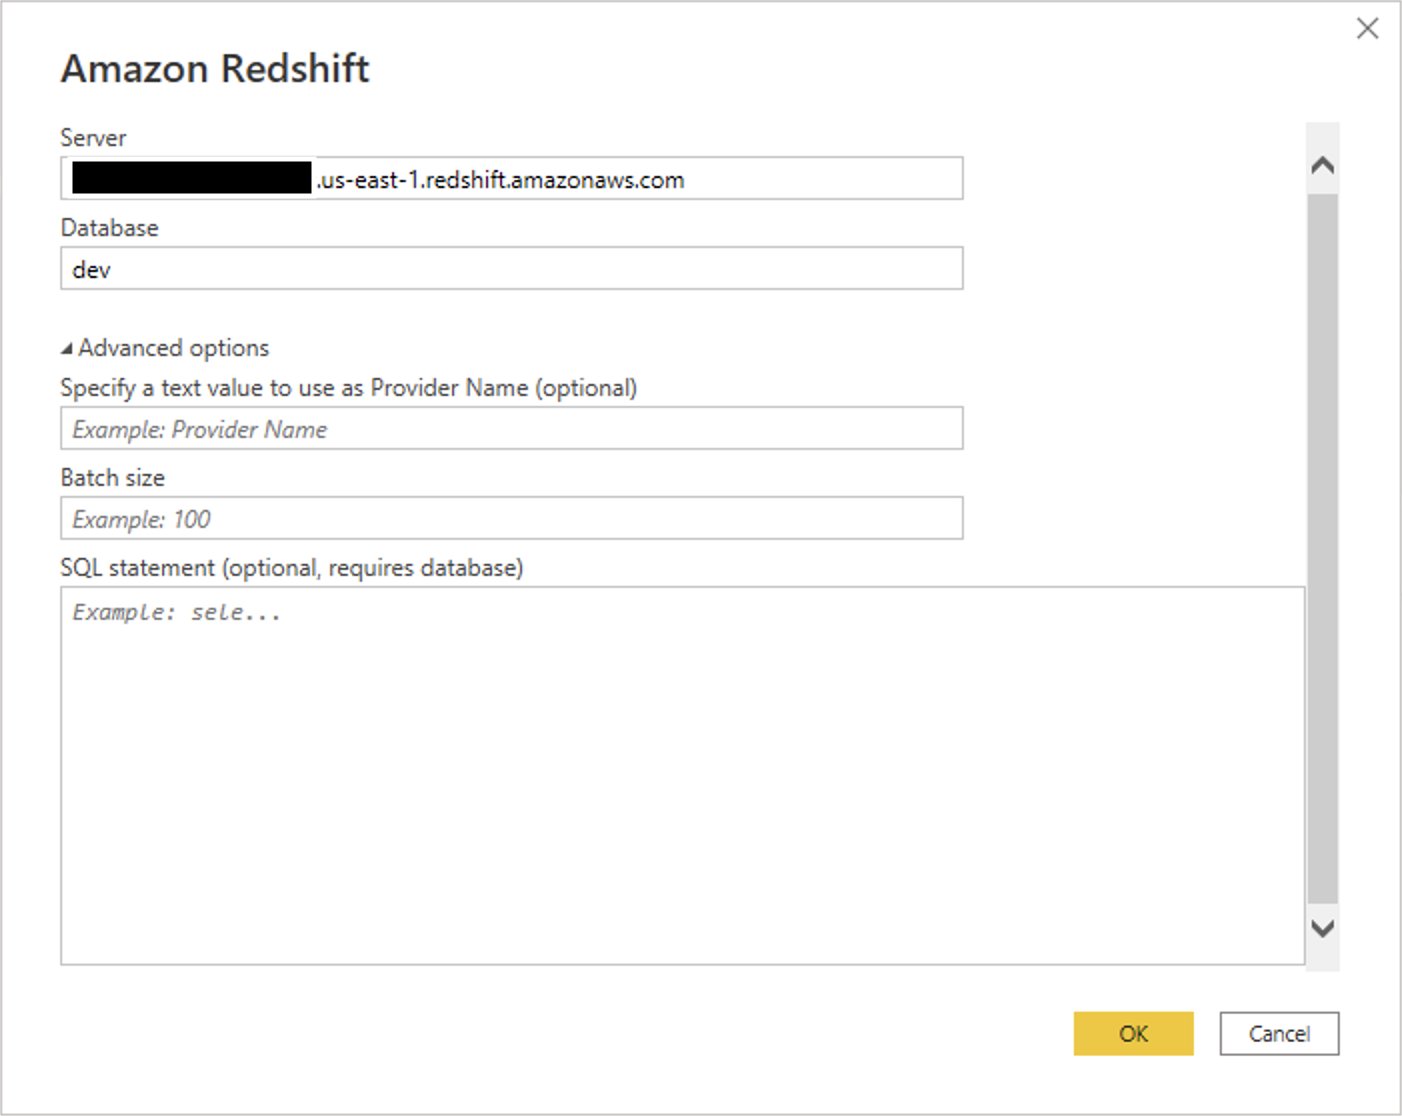
- For Server, enter your Amazon Redshift cluster’s endpoint. For example:
test-cluster.ct4abcufthff.us-east-1.redshift.amazonaws.com. - For Database, enter your database name (for this post, we enter
dev). - Choose OK.
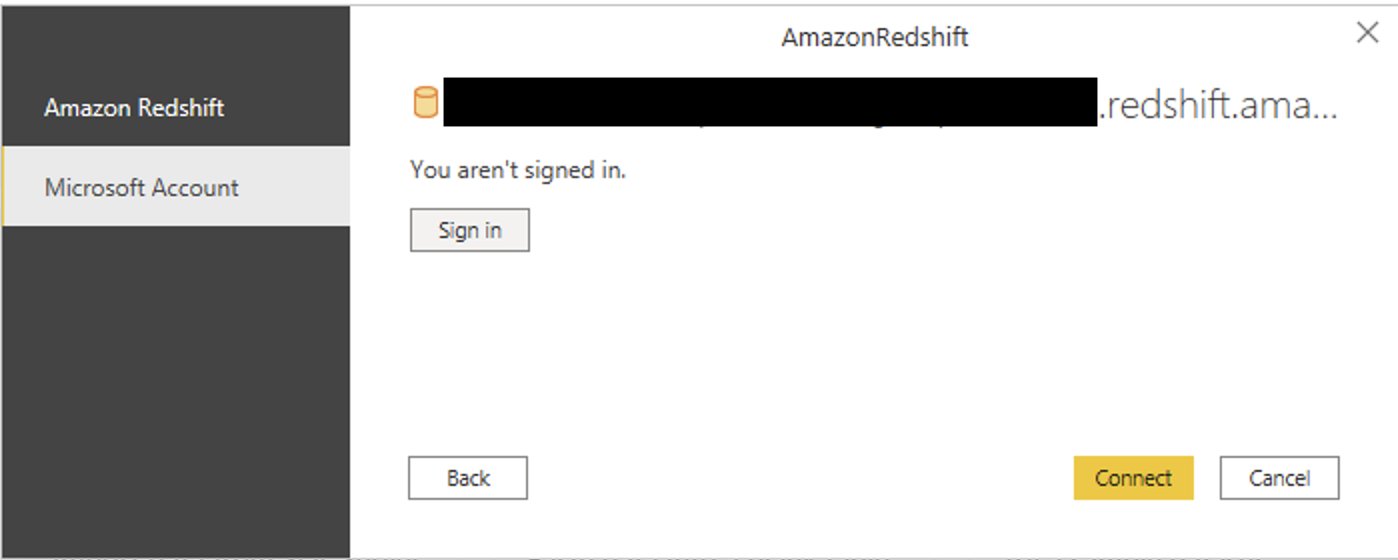
- Choose Microsoft Account.

- Choose Sign in.
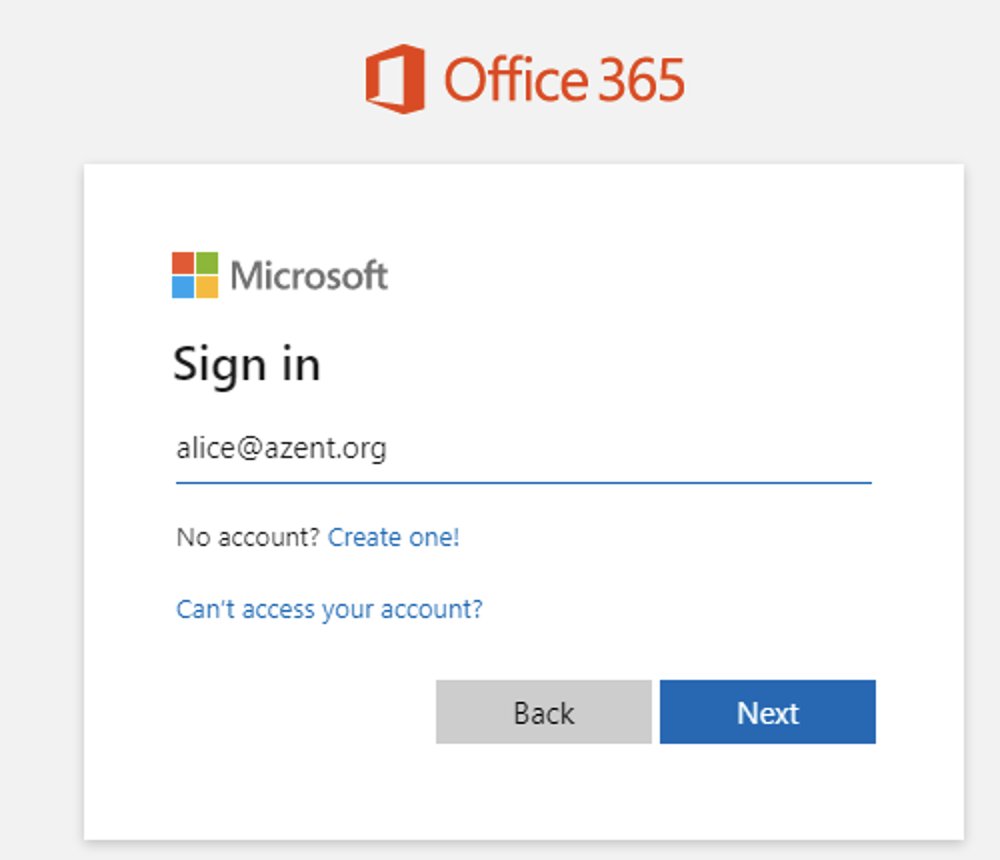
- Enter your Microsoft Account credentials in the authorization dialog. For this example, we sign in with user Alice.
- Choose Next.
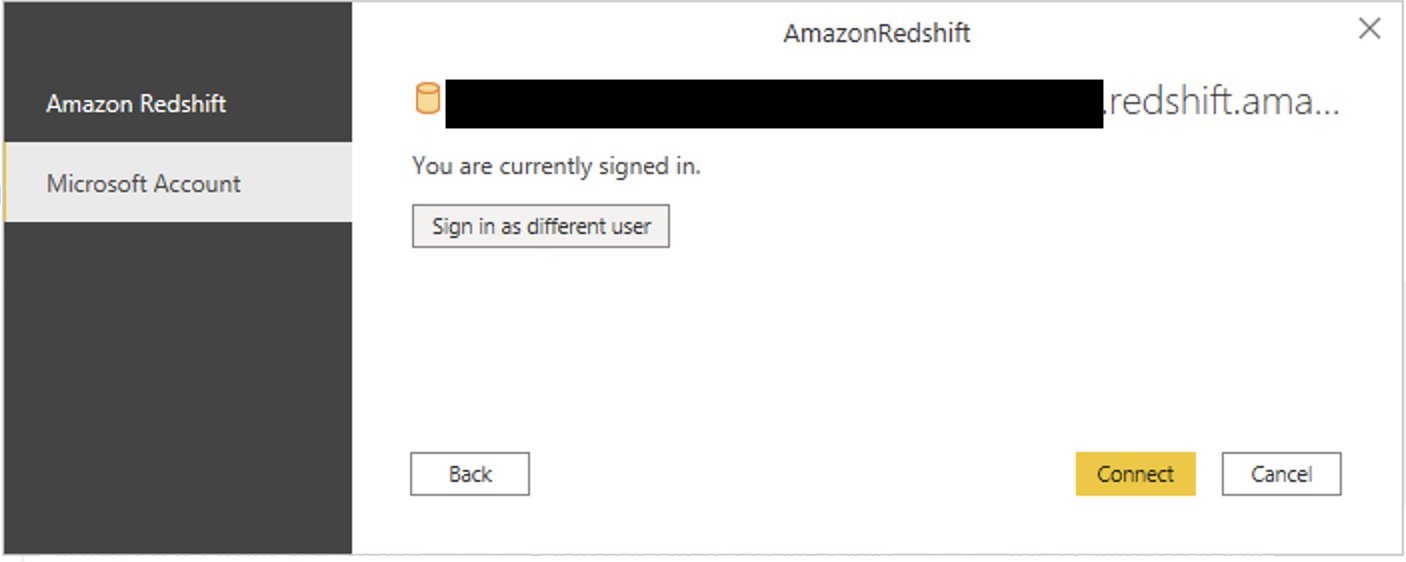
Once connected, you will see the message “You are currently signed in.”
- Choose Connect.
As shown in the following screenshot, Azure AD user Alice is able to authenticate using an Amazon Redshift native IdP, and the RLS policies were applied automatically, allowing Alice to access sales performance information for only NY state.

Similarly, we can try signing in as user Bob and see only CA state information.

Charlie belongs to the manager role where the view all policy has been applied, so when he signs in, he is able to view all the rows in the sales table.

Finally, when Jen signs in, she can access the table, but isn’t able to view any sales records because no RLS policy has been attached to the HR role.

If we haven’t granted SELECT on the sales table to the role aad:hr, which Jen belongs to, then she can’t access the sales table.

Test row-level security using SQL Workbench/J
Now we test row-level security with an Amazon Redshift native IdP using SQL Workbench/J.
- Create a new connection in SQL Workbench/J and choose Amazon Redshift as the driver.
- Choose Manage drivers and add all the files from the downloaded AWS JDBC driver pack .zip file. (Remember to unzip the file.)
Make sure to use the Amazon Redshift driver 2.1.0.4 onwards, because all previous Amazon Redshift driver versions don’t support the Amazon Redshift native IDP feature.

- For URL, enter
jdbc:redshift://<cluster endpoint>:<port>:<databasename>. For example:jdbc:redshift://test-cluster.ab6yejheyhgf.us-east-1.redshift.amazonaws.com:5439/dev.

- On the Driver properties tab, add the following properties:
- plugin_name –
com.amazon.redshift.plugin.BrowserAzureOAuth2CredentialsProvider - listen_port – 7890
- idp_response_timeout – 50
- scope – Enter the scope value from the OAuth application. For example,
api://991abc78-78ab-4ad8-a123-zf123ab03612p/jdbc_login. - client_id – Enter the client_id value from the OAuth application. For example,
991abc78-78ab-4ad8-a123-zf123ab03612p. - idp_tenant – Enter the tenant ID value from the OAuth application. For example,
87f4aa26-78b7-410e-bf29-57b39929ef9a.
- plugin_name –

- Choose OK from SQL Workbench/J.
You’re redirected to the browser to sign in with your Azure AD credentials.
As shown in the following screenshot, Azure AD user Alice is able to authenticate using an Amazon Redshift native IdP and view only sales performance information for NY state.

Similarly, we can re-authenticate and sign in as user Bob, who is able to view sales information specific to CA state.

When Charlie signs in, he is able to view all the rows from every state.

Finally, when Jen signs in, she is able to access the table, but can’t view any sales records because no RLS policy has been attached to the HR role.

If we haven’t granted SELECT on the sales table to the role aad:hr, which Jen belongs to, then Jen can’t access the sales table.

Summary
In this post, we covered how you can achieve a secure end-to-end experience using Amazon Redshift native IdP authentication, which simplifies administration and row-level security to enable fine-grained row-level access in Amazon Redshift.
For more information about Amazon Redshift row-level security and native IdP federation, refer to:
- Row-level security
- Achieve fine-grained data security with row-level access control in Amazon Redshift
- Native identity provider (IdP) federation for Amazon Redshift
About the authors
 Maneesh Sharma is a Senior Database Engineer at AWS with more than a decade of experience designing and implementing large-scale data warehouse and analytics solutions. He collaborates with various Amazon Redshift Partners and customers to drive better integration.
 Harshida Patel is a Specialist Sr. Solutions Architect, Analytics, with AWS.
 Kiran Chinta is a Software Development Manager at Amazon Redshift. He leads a strong team in query processing, SQL language, data security, and performance. Kiran is passionate about delivering products that seamlessly integrate with customers’ business applications with the right ease of use and performance. In his spare time, he enjoys reading and playing tennis.
 Debu Panda is a Senior Manager, Product Management, with AWS. He is an industry leader in analytics, application platforms, and database technologies, and has more than 25 years of experience in the IT world. Debu has published numerous articles on analytics, enterprise Java, and databases, and has presented at multiple conferences such as AWS re:Invent, Oracle Open World, and Java One. He is lead author of the EJB 3 in Action (Manning Publications 2007, 2014) and Middleware Management (Packt).