Post Syndicated from Ghost original https://yovko.net/welcome/
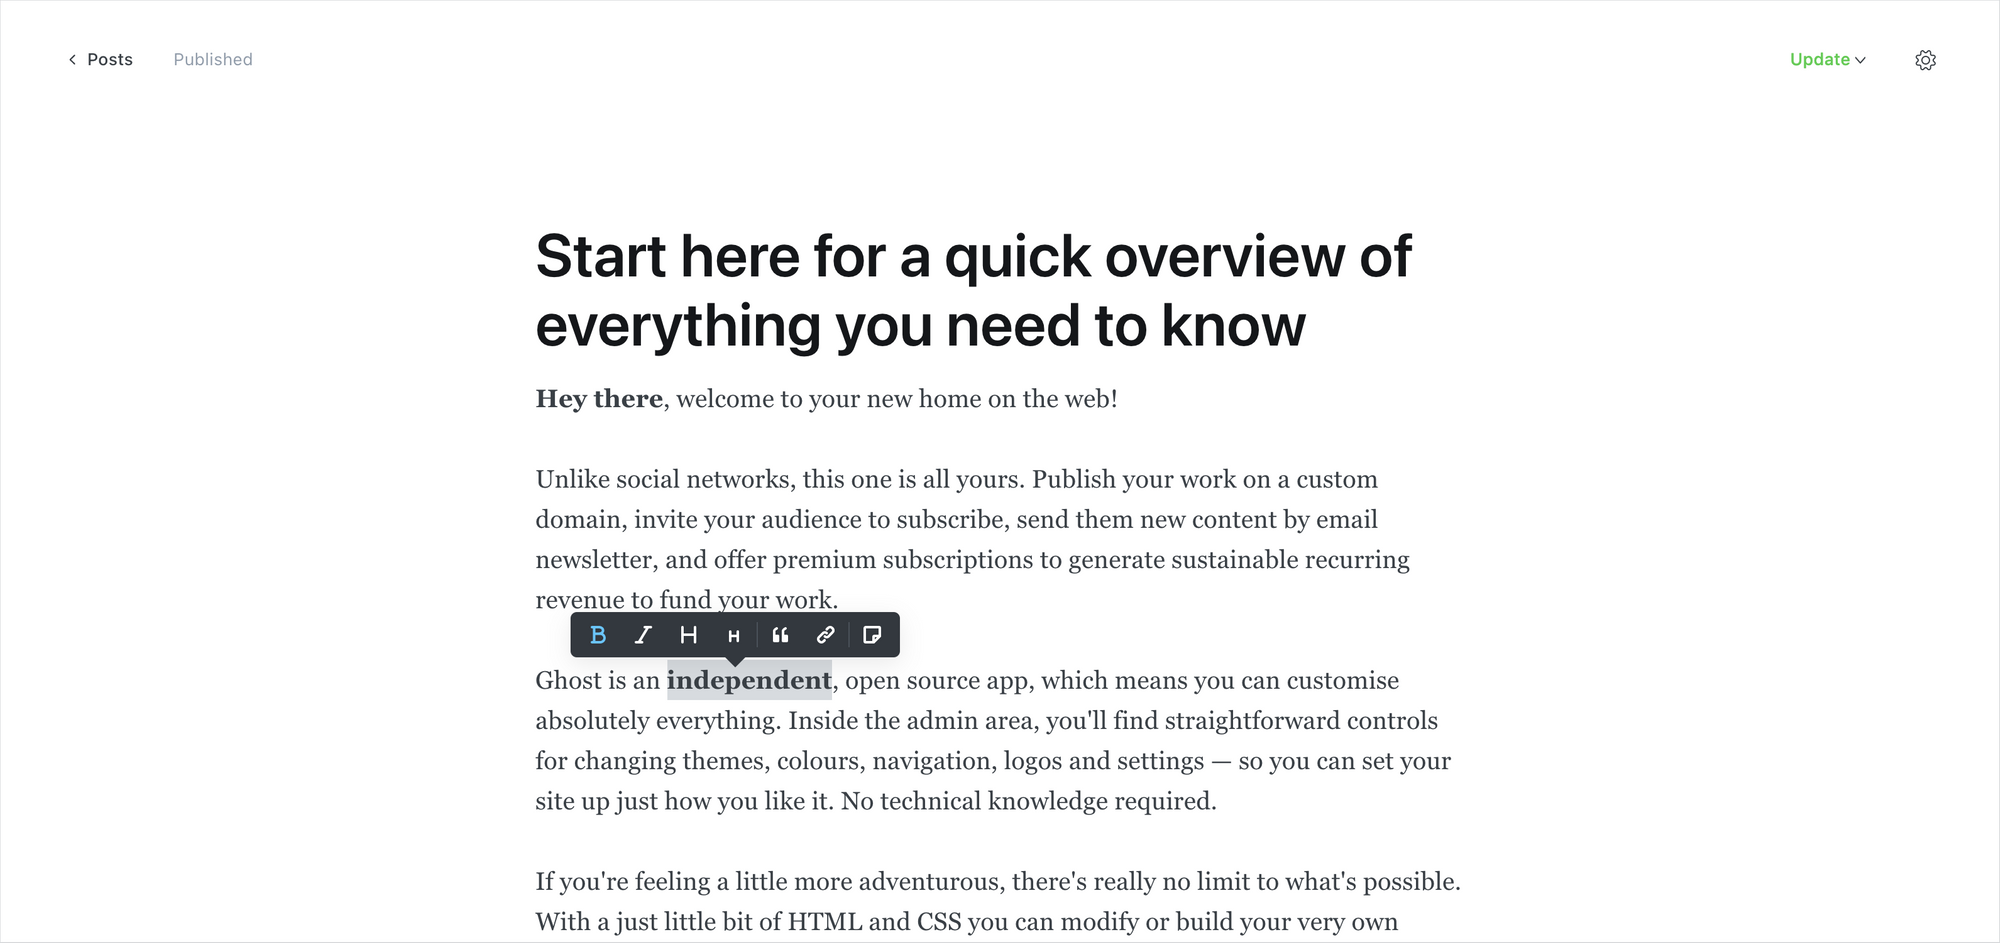
Hey there, welcome to your new home on the web!
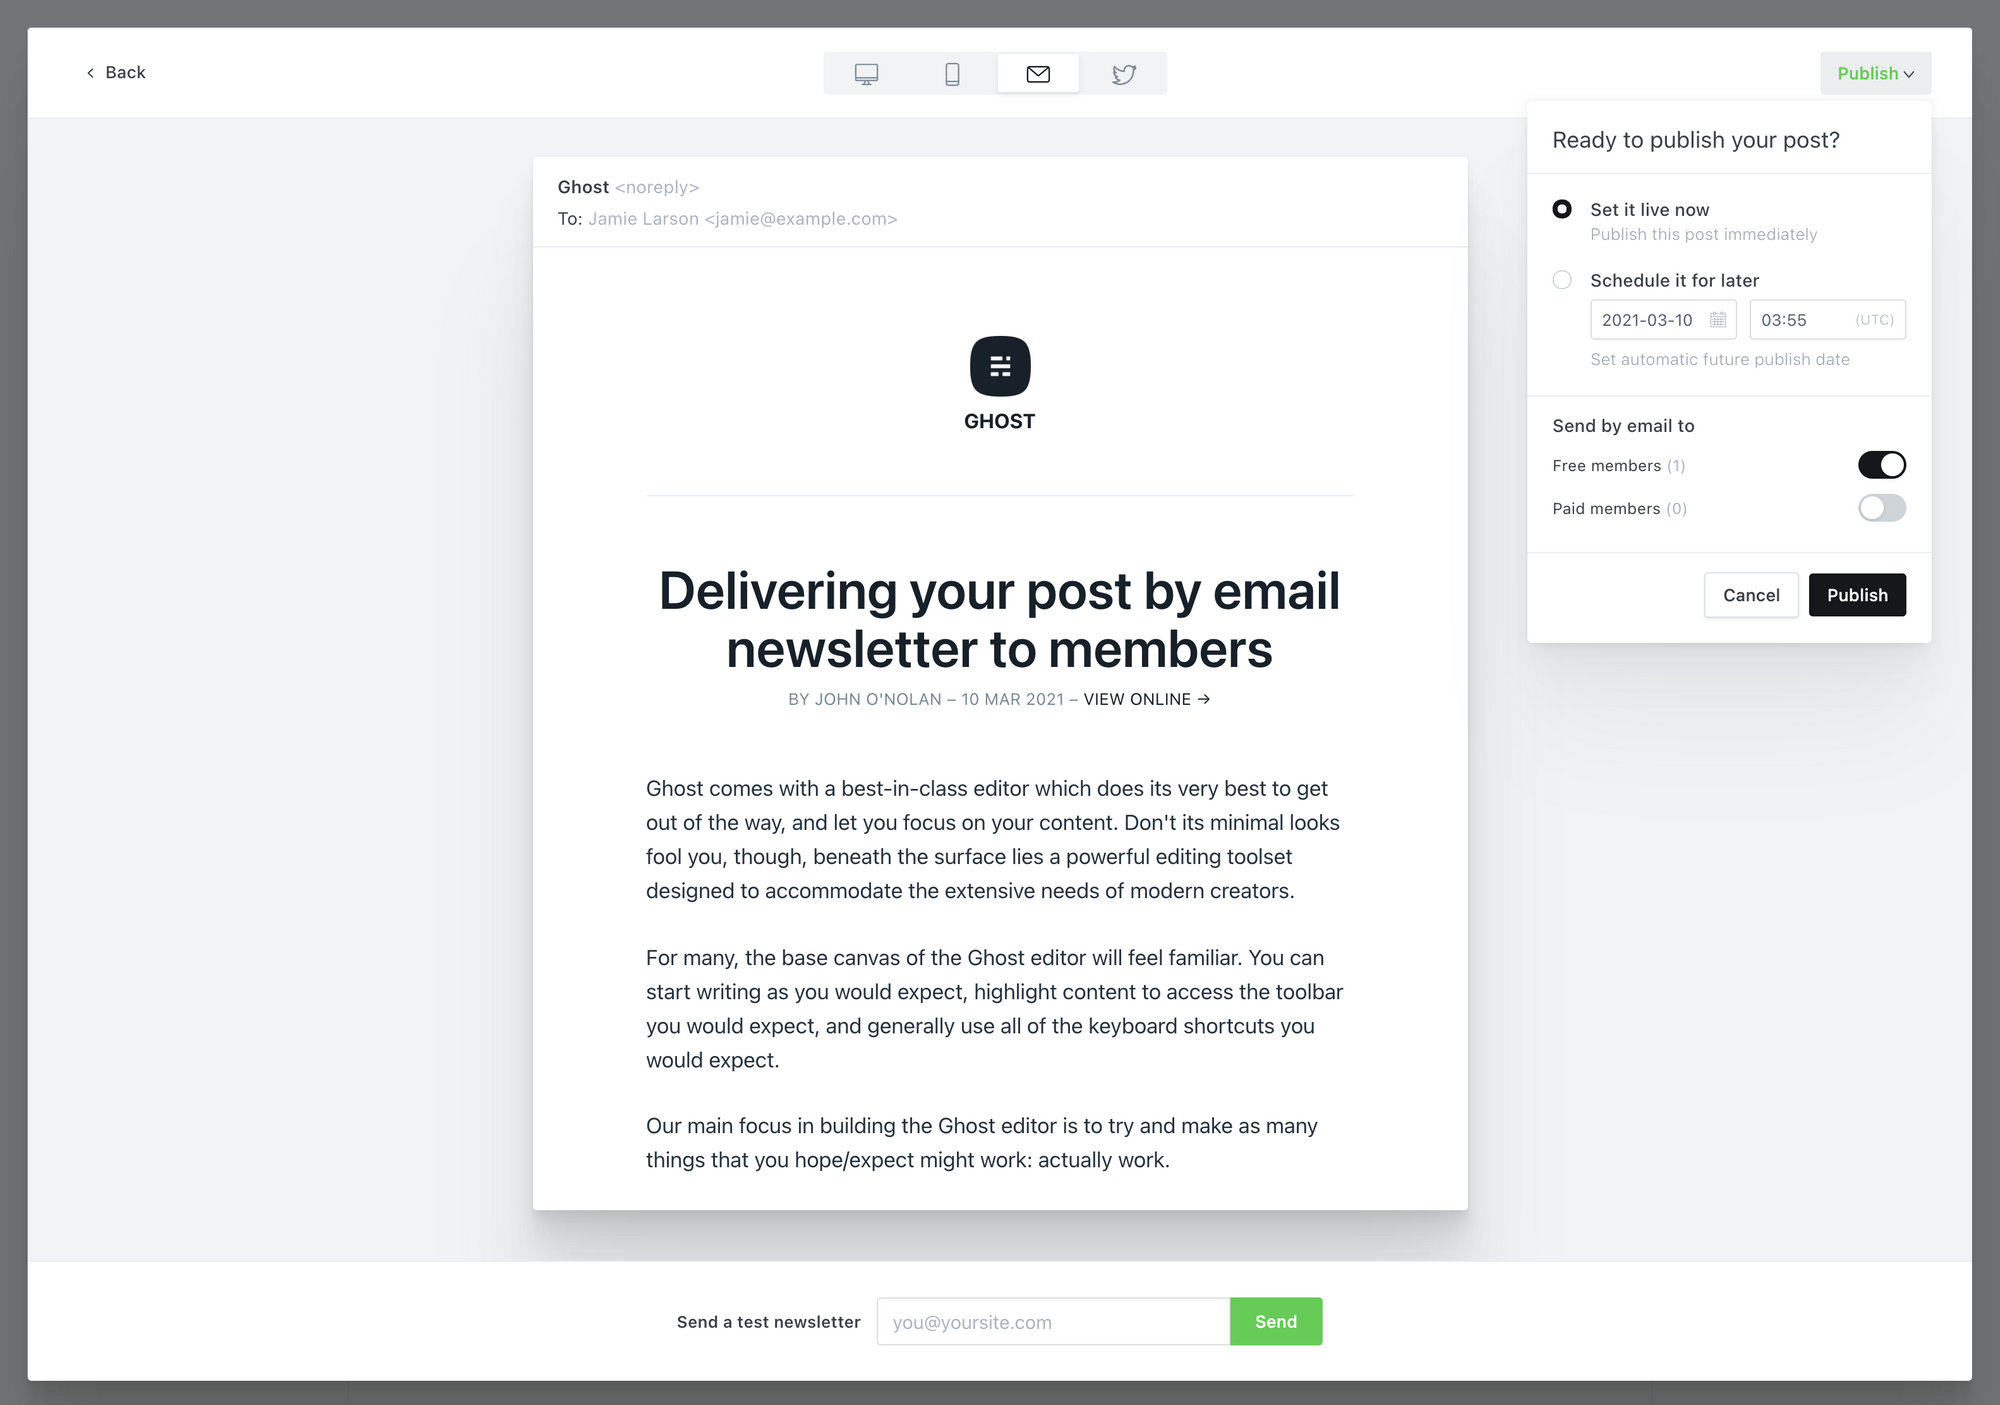
Unlike social networks, this one is all yours. Publish your work on a custom domain, invite your audience to subscribe, send them new content by email newsletter, and offer premium subscriptions to generate sustainable recurring revenue to fund your work.
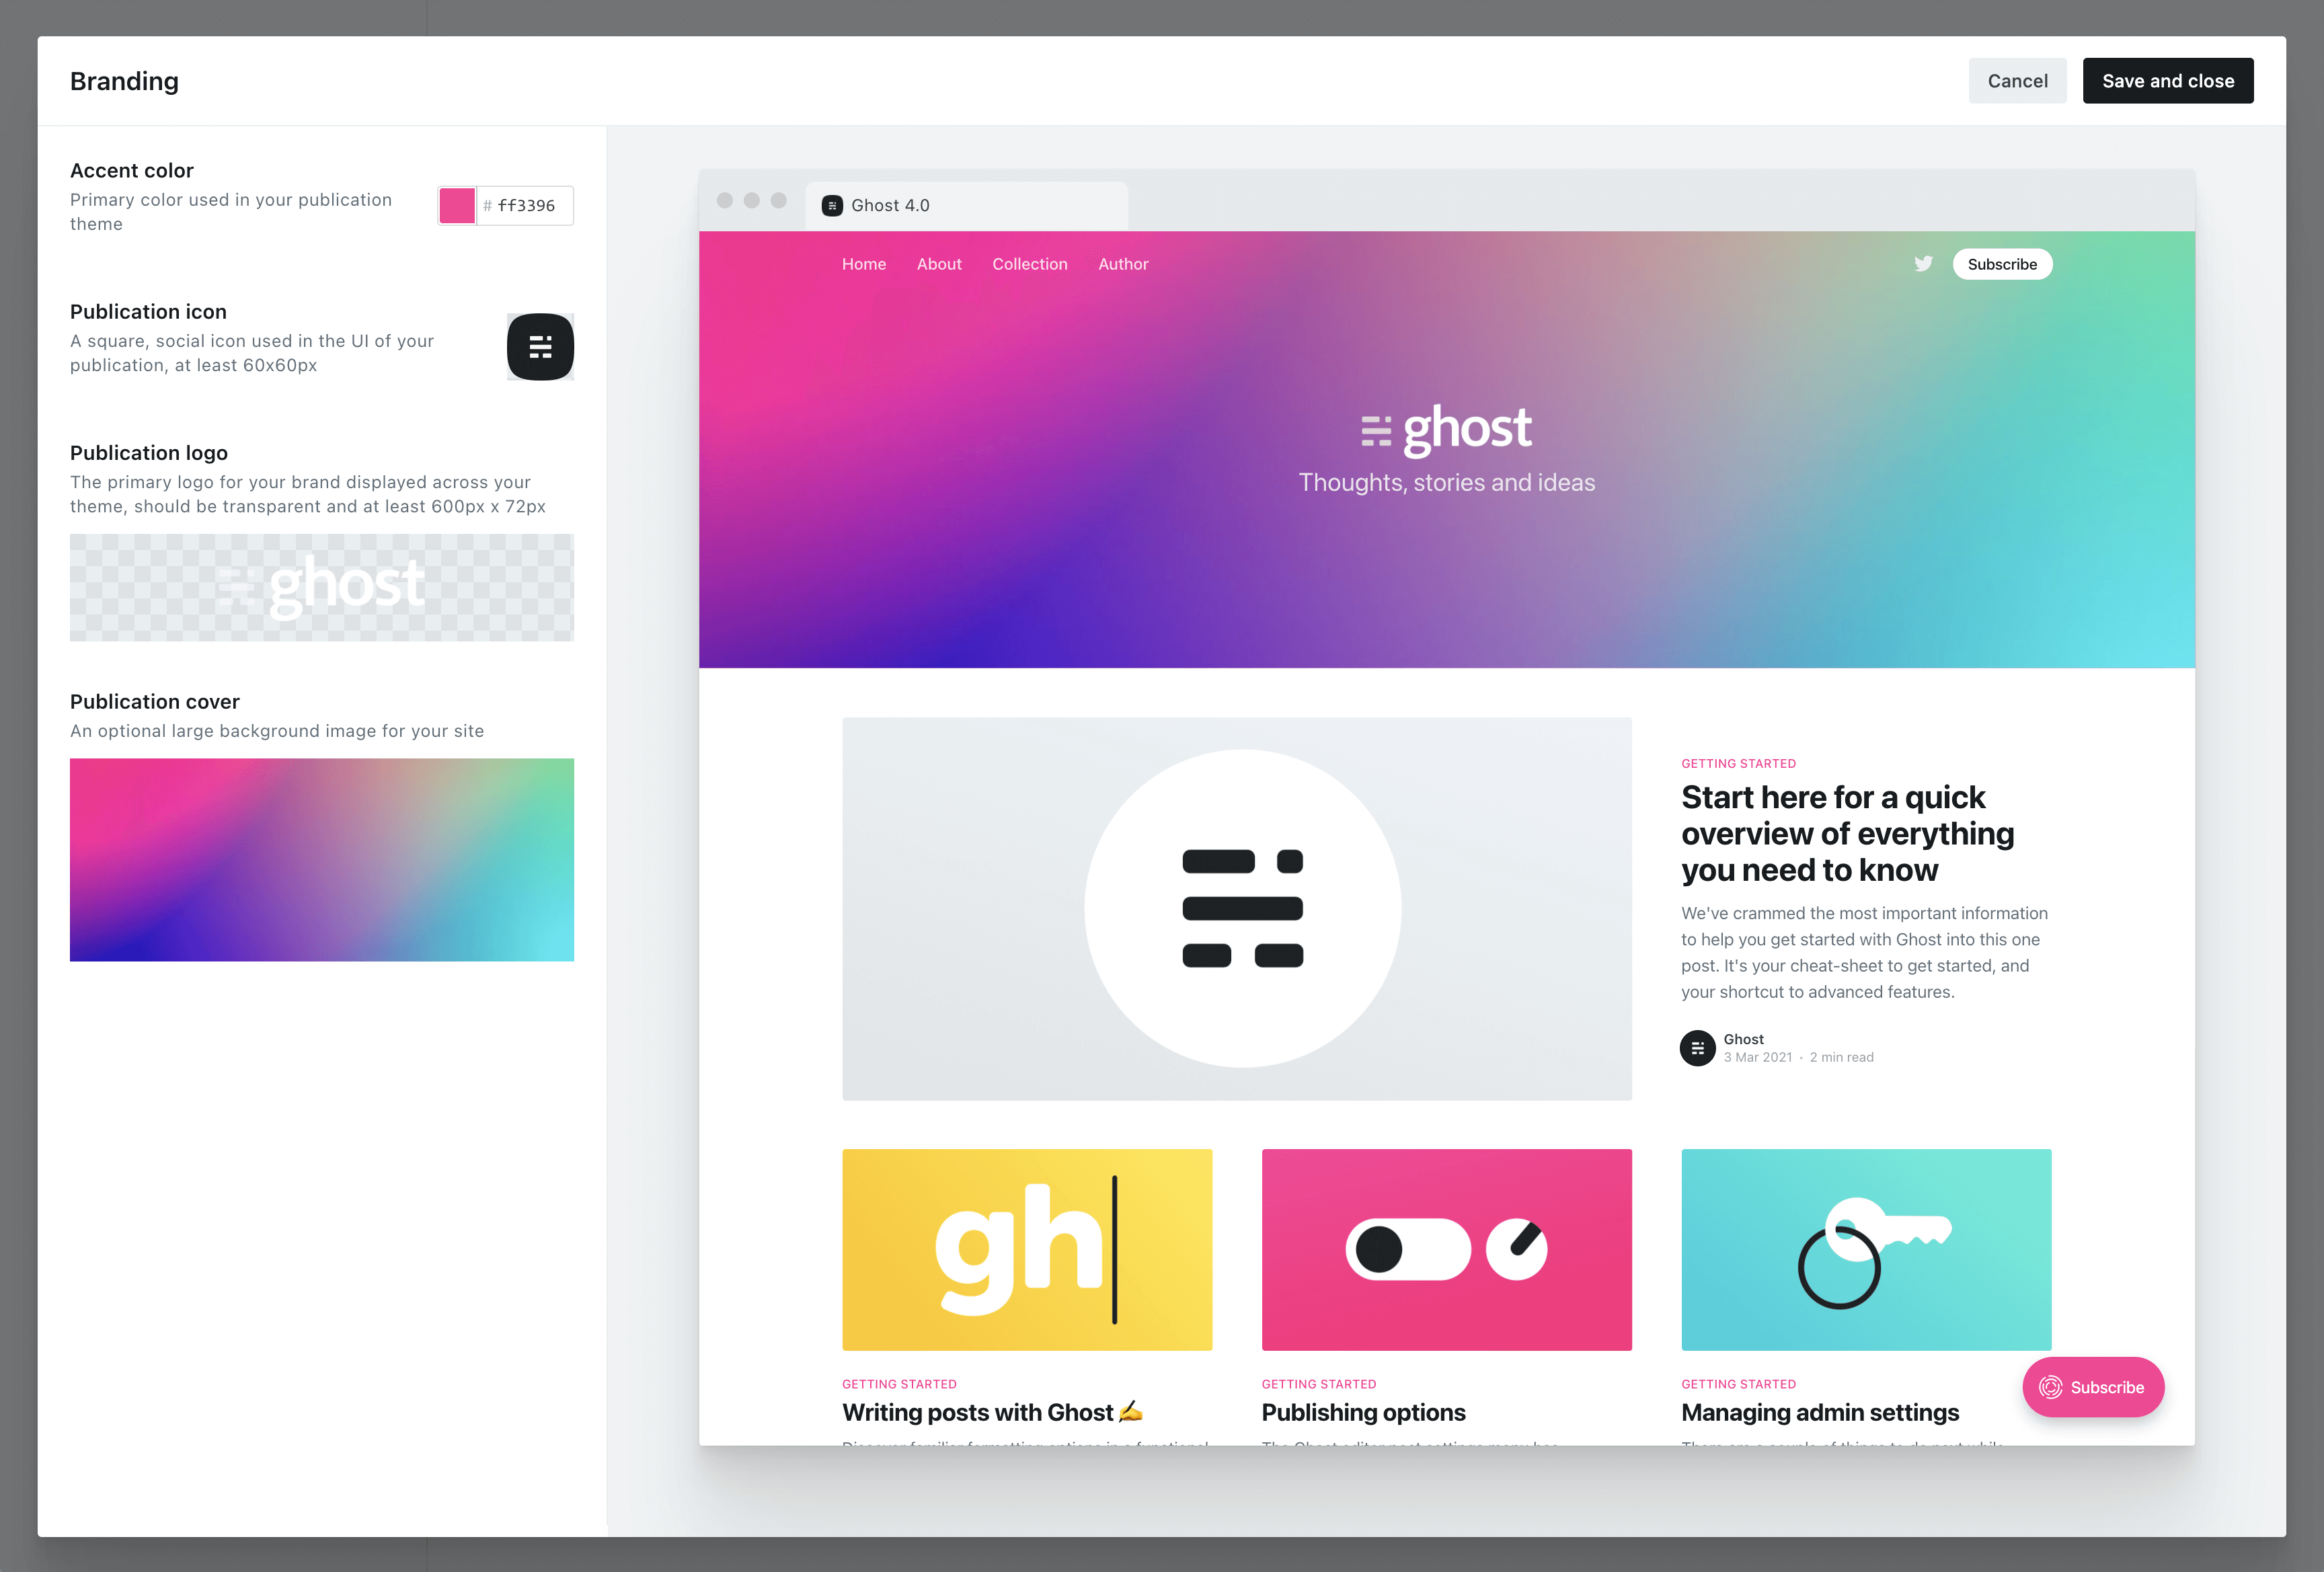
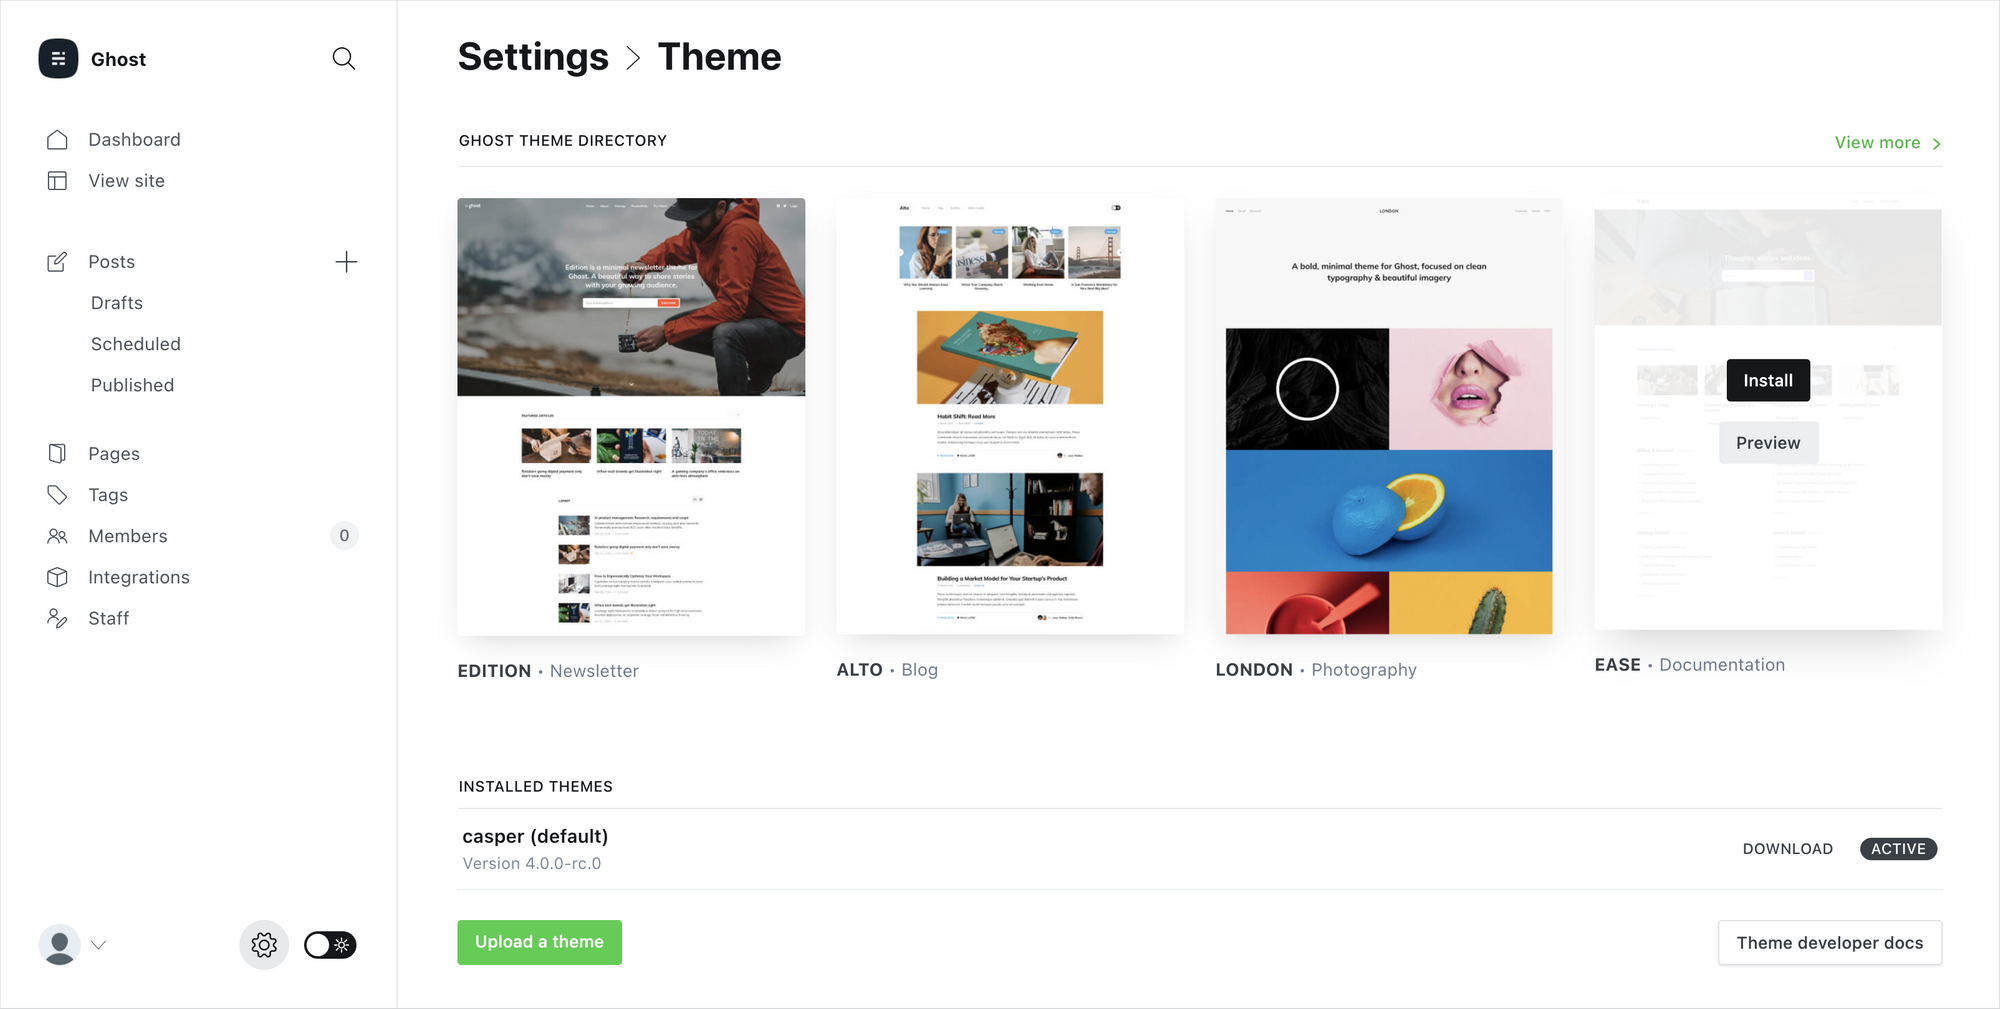
Ghost is an independent, open source app, which means you can customize absolutely everything. Inside the admin area, you'll find straightforward controls for changing themes, colors, navigation, logos and settings — so you can set your site up just how you like it. No technical knowledge required.
If you're feeling a little more adventurous, there's really no limit to what's possible. With just a little bit of HTML and CSS you can modify or build your very own theme from scratch, or connect to Zapier to explore advanced integrations. Advanced developers can go even further and build entirely custom workflows using the Ghost API.
This level of customization means that Ghost grows with you. It's easy to get started, but there's always another level of what's possible. So, you won't find yourself outgrowing the app in a few months time and wishing you'd chosen something more powerful!
For now, you're probably just wondering what to do first. To help get you going as quickly as possible, we've populated your site with starter content (like this post!) covering all the key concepts and features of the product.
You'll find an outline of all the different topics below, with links to each section so you can explore the parts that interest you most.
Once you're ready to begin publishing and want to clear out these starter posts, you can delete the "Ghost" staff user. Deleting an author will automatically remove all of their posts, leaving you with a clean blank canvas.
Your guide to Ghost
- Customizing your brand and site settings
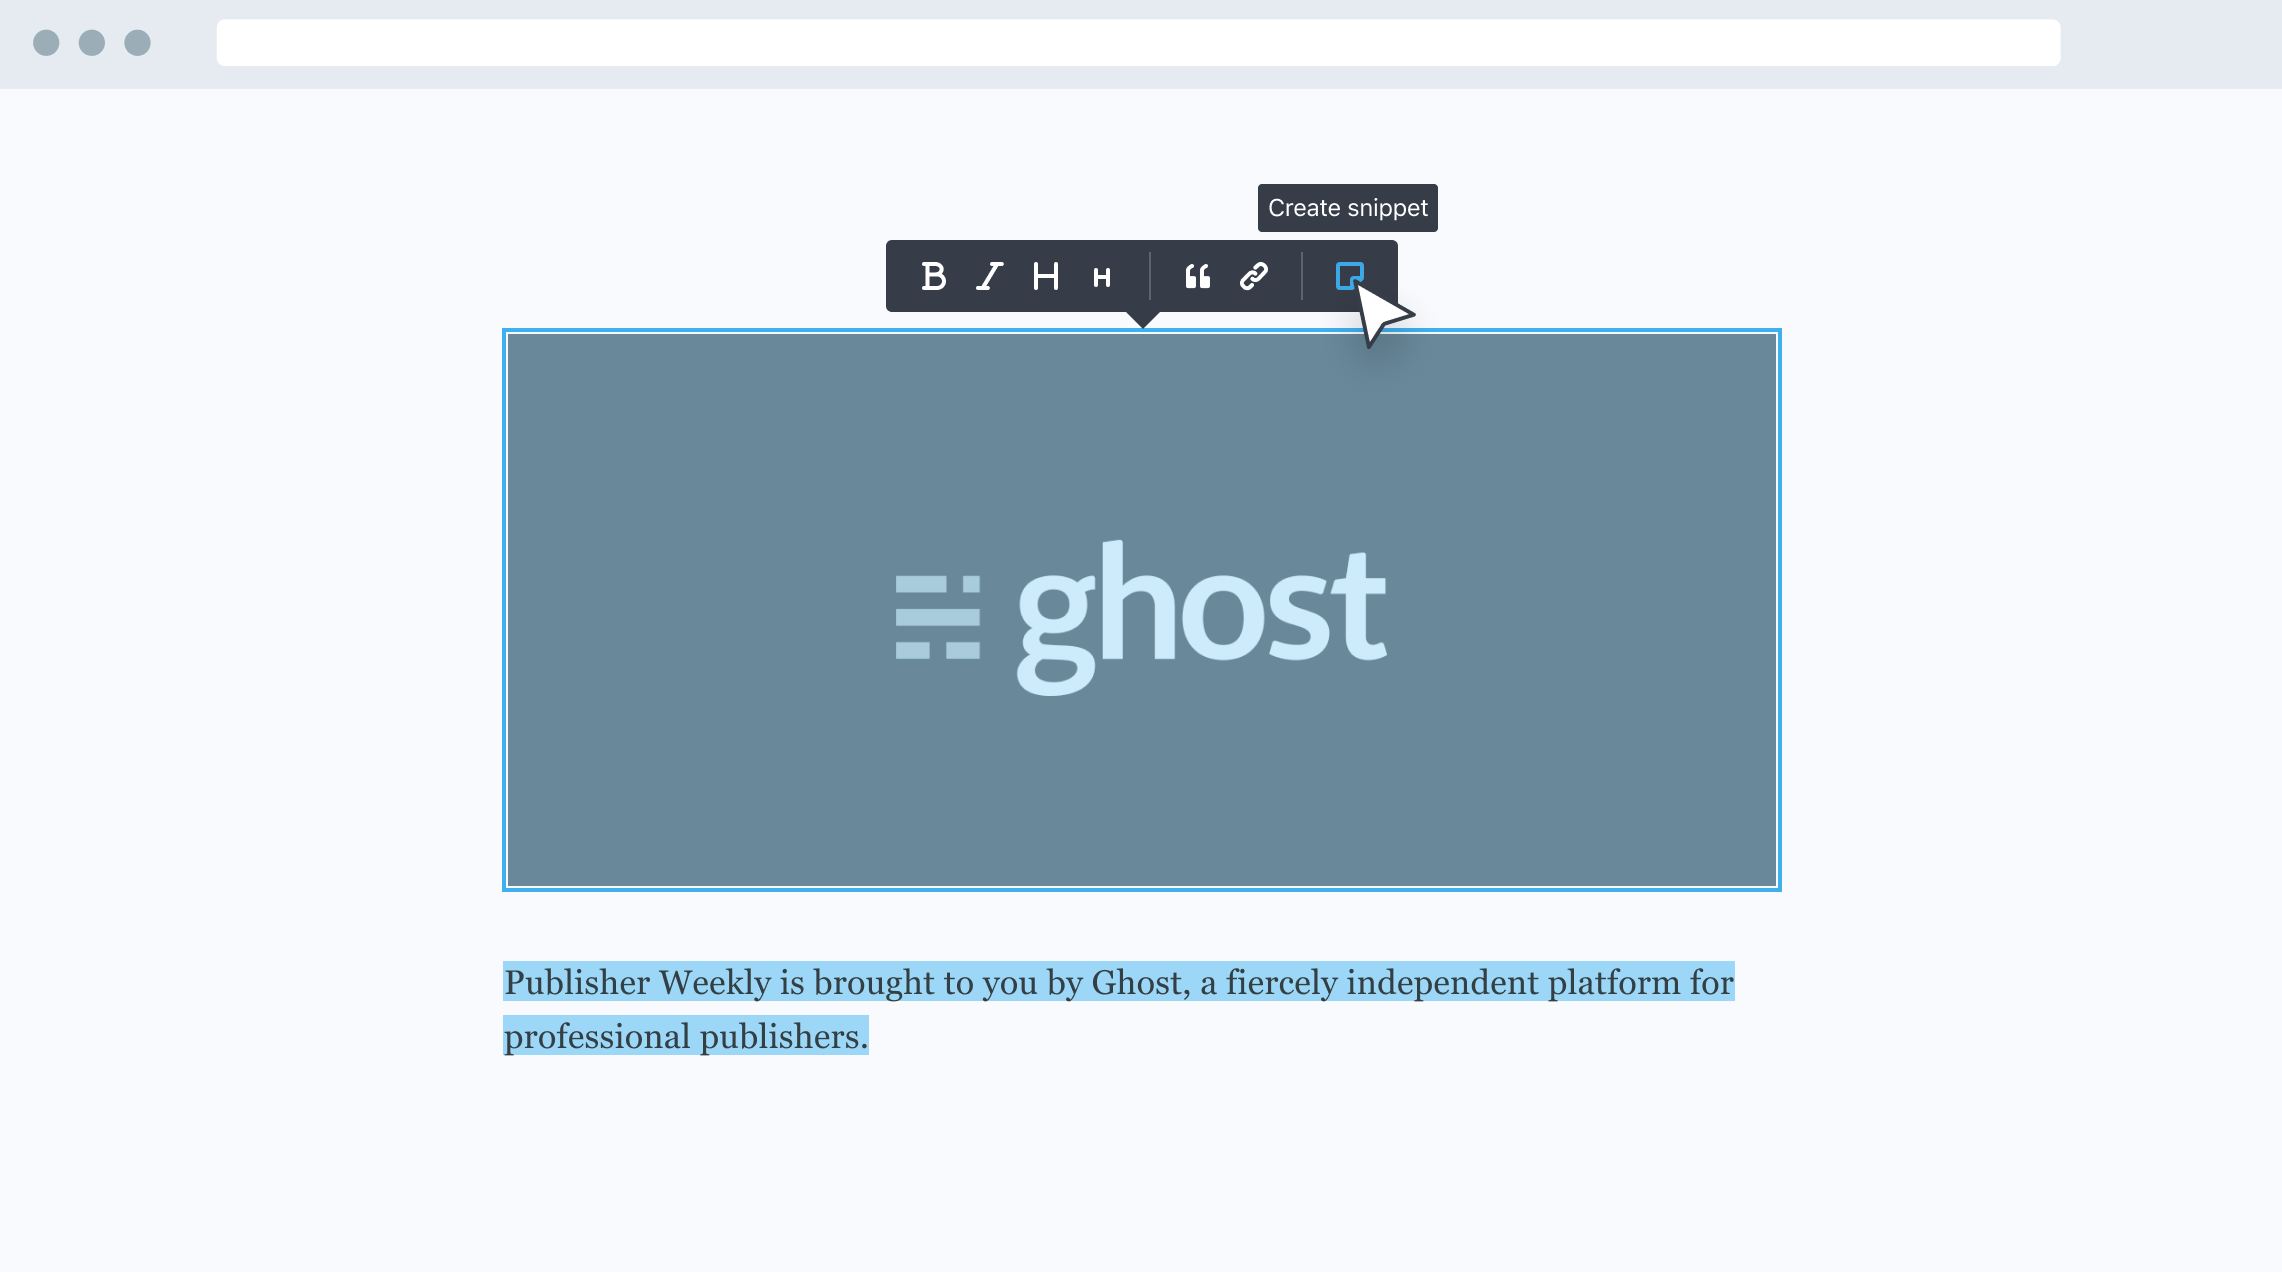
- Writing & managing content, an advanced guide for creators
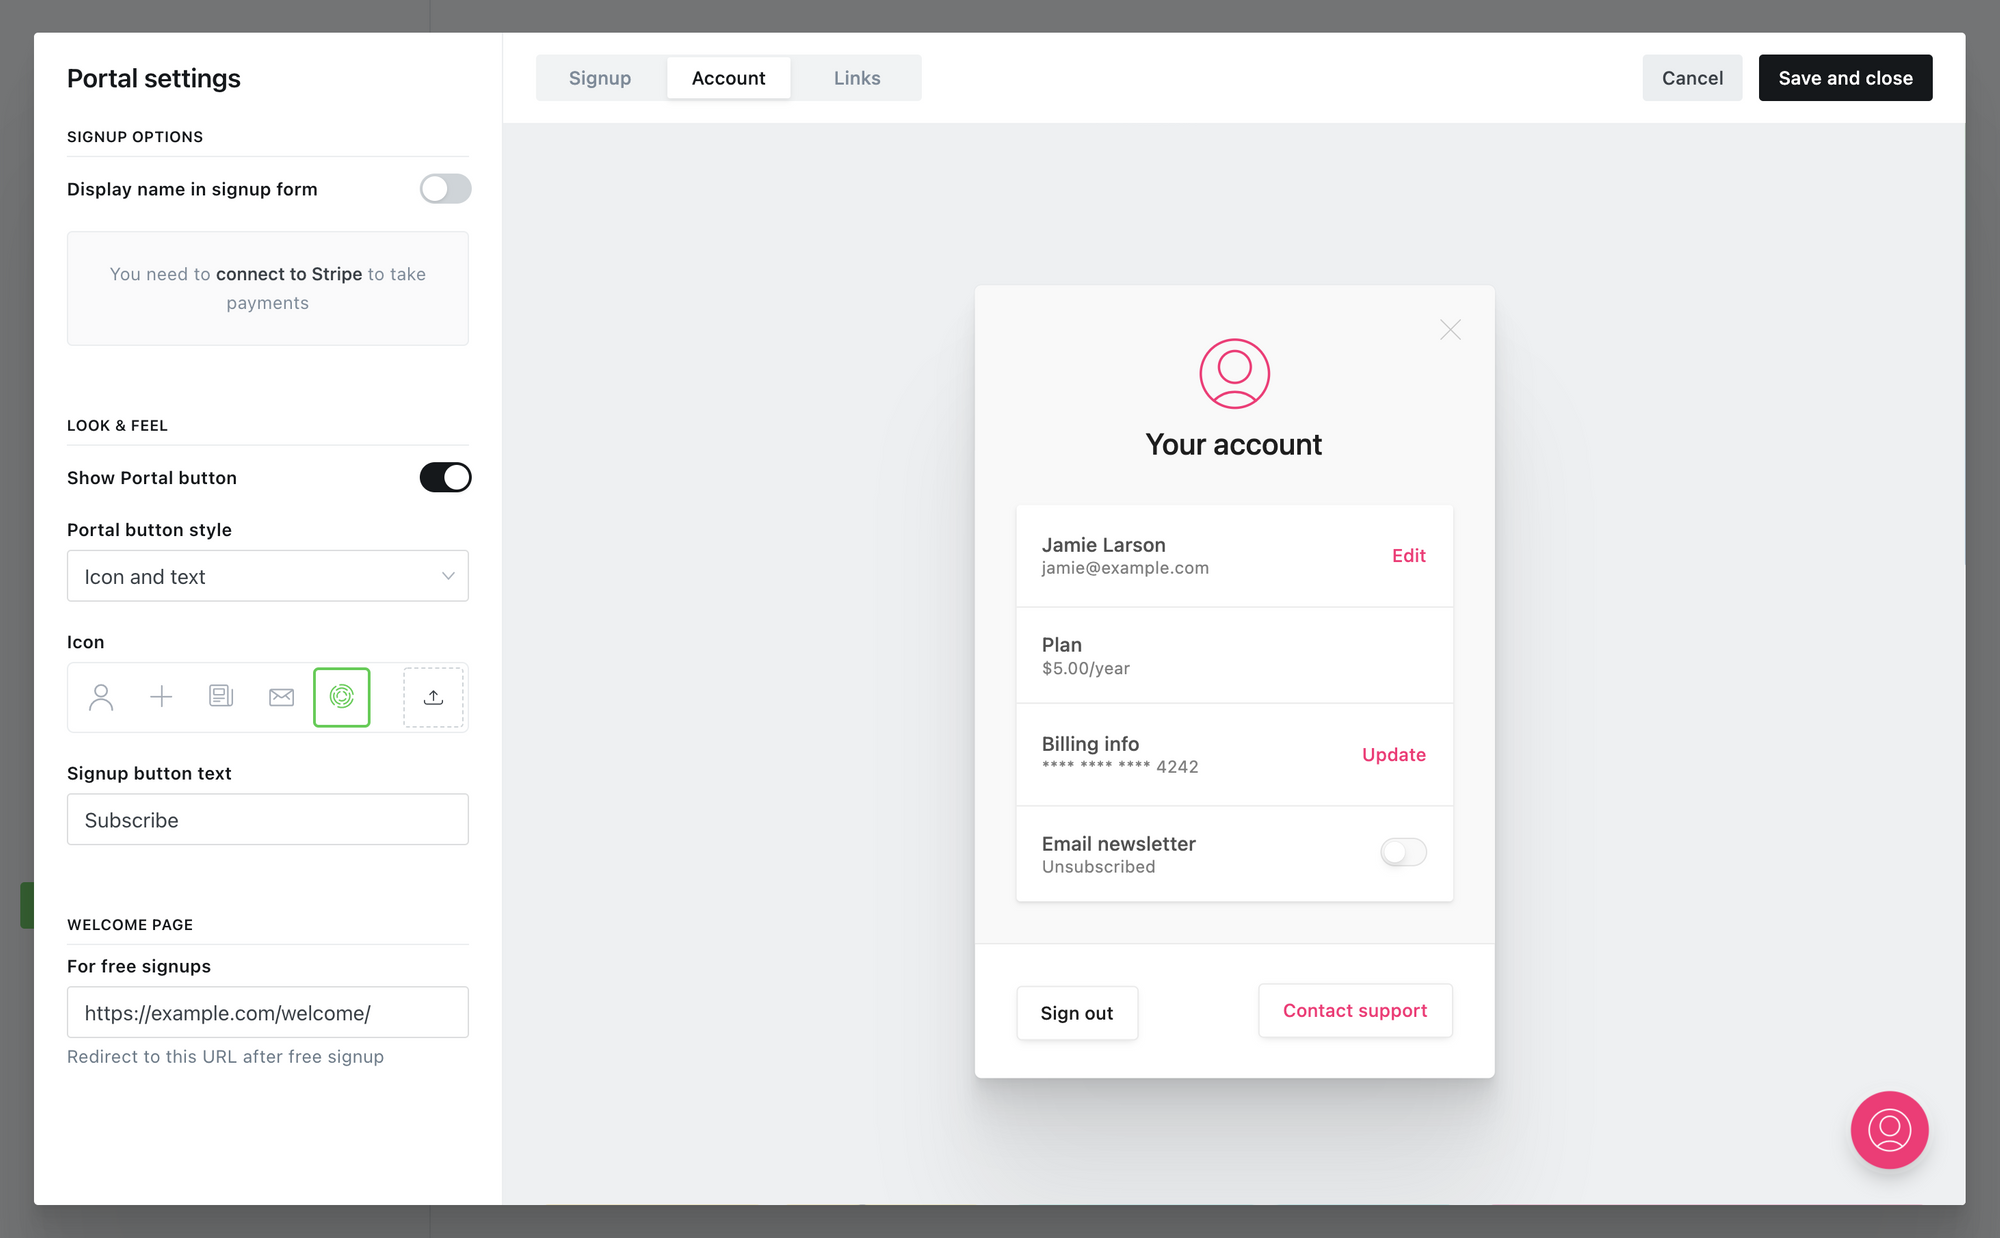
- Building your audience with subscriber signups
- Selling premium memberships with recurring revenue
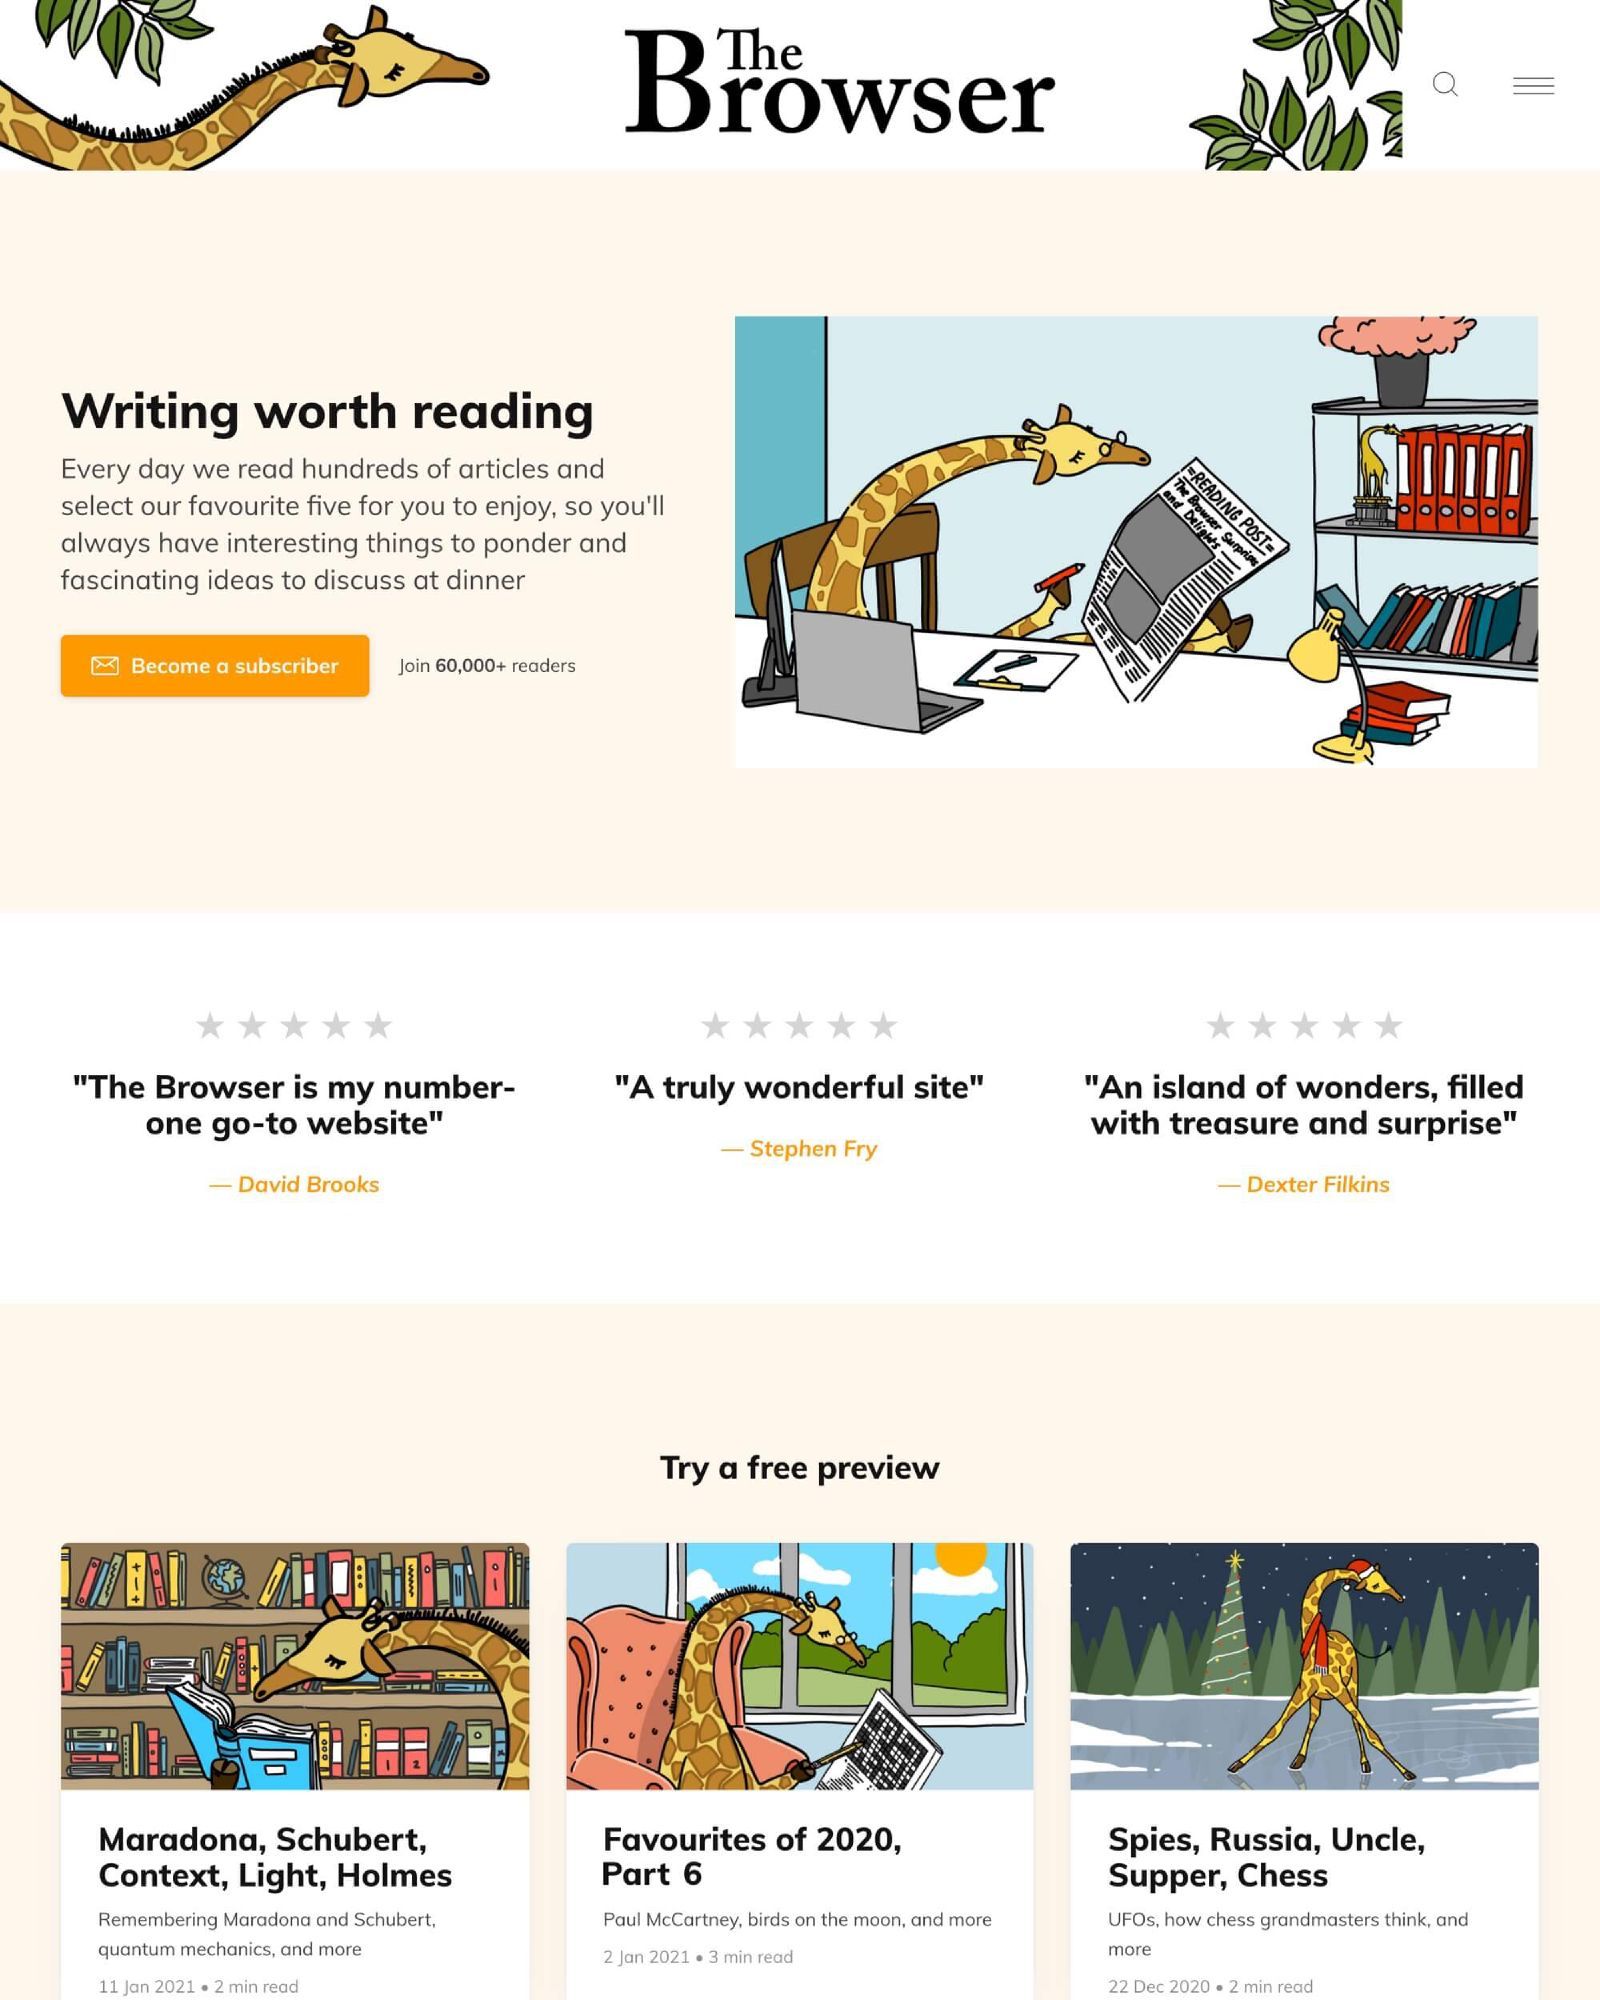
- How to grow your business around an audience
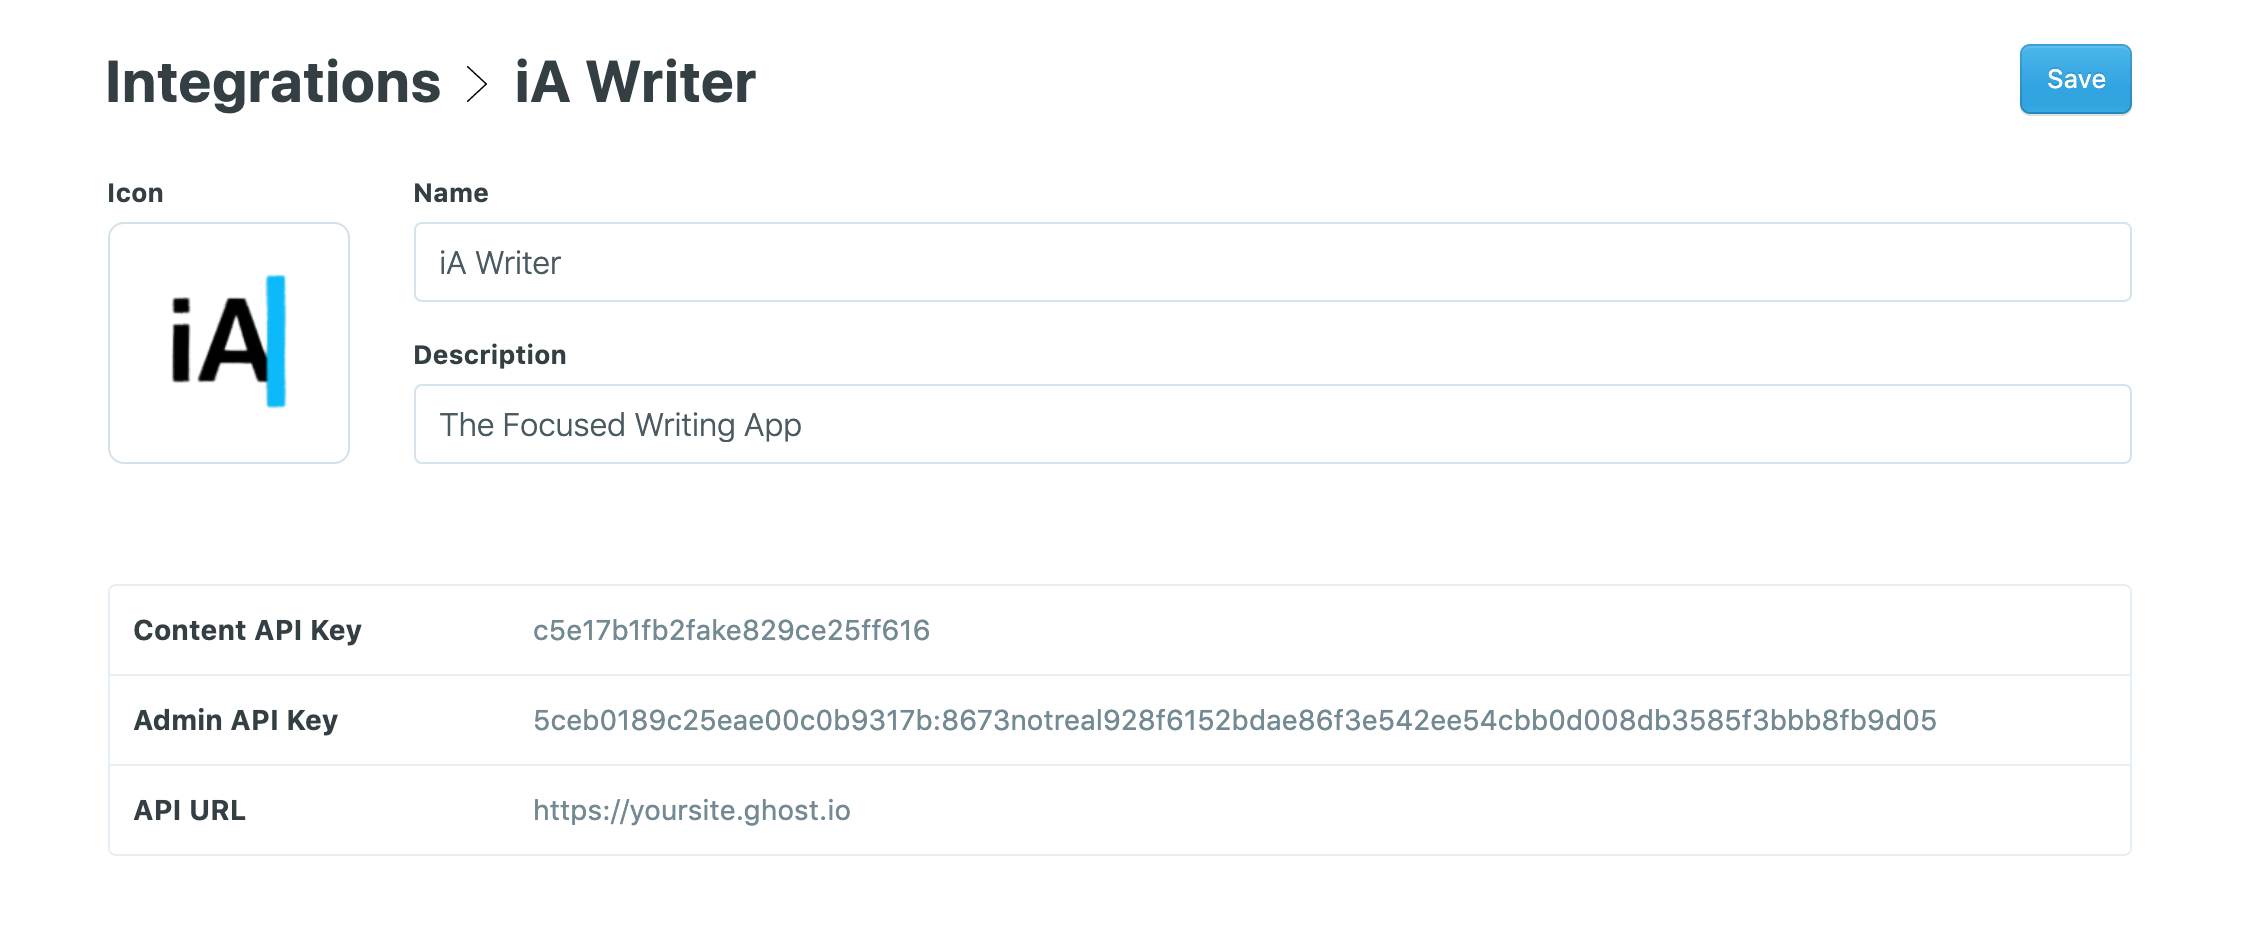
- Setting up custom integrations and apps
If you get through all those and you're hungry for more, you can find an extensive library of content for creators over on the Ghost blog.
Getting help
If you need help, Ghost(Pro) customers can always reach our full-time support team by clicking on the Ghost(Pro) link inside their admin panel.
If you're a developer working with the codebase in a self-managed install, check out our developer community forum to chat with other users.
Have fun!