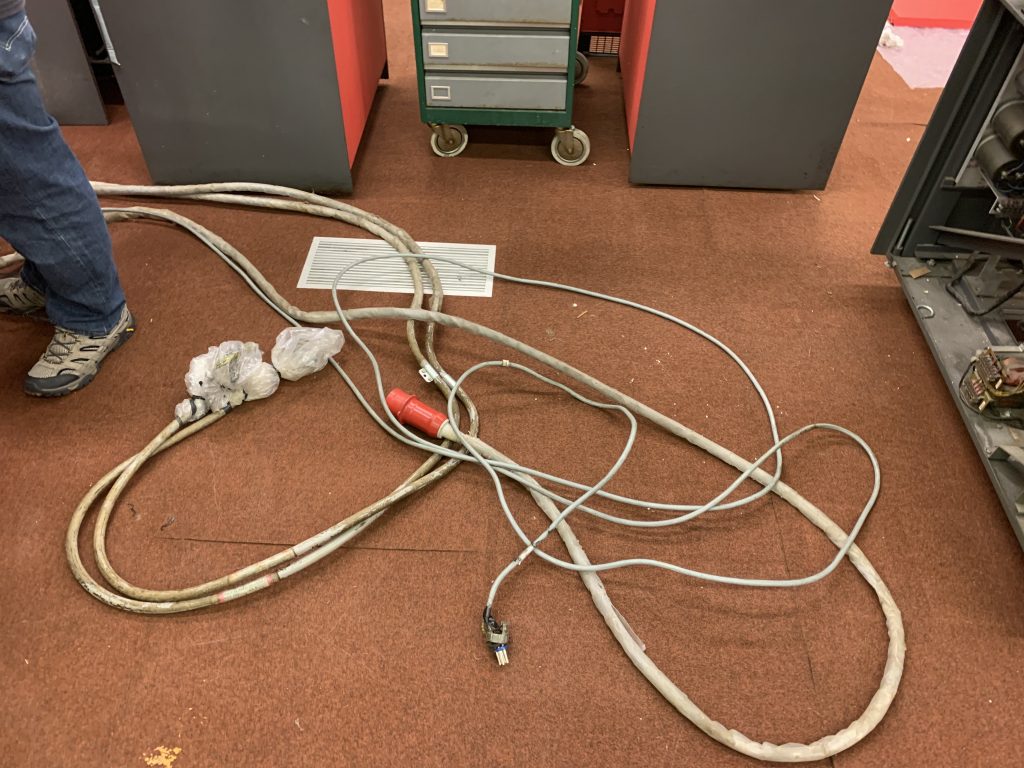
Post Syndicated from Adam Bradley original https://ibms360.co.uk/?p=666
So we mentioned in some of our earlier posts that we have a plethora of manuals that we found in the original building. These manuals are a rather obscure size being slightly longer than A3. This makes them very inconvenient to scan as they don’t fit on a regular scanner, and as such we needed a much bigger scanner. A0 scanners are particularly scarce, especially on the used market, and they command a high price (usually in the thousands).
After browsing eBay for a while I happened upon a listing by a recycling company located fairly near to me for a Colortrac SmartLF Cx40 in unknown condition. For the price (<£100) it was worth a punt! I won the bidding for just under £100 and my Father kindly collected it for me the following day whilst I was at work.
Once I had the scanner home, I proceeded to go online and download all of the available software and manuals as due to its origin it was a bare bones scanner. Once I had a VM setup on my MacBook (yes, it only works in Windows), I set about powering on the scanner. It powered up okay, and was recognised by the software – so far so good! Next, I tried to scan something. Now I should explain, this scanner is not an A0 flat bed, that would be far too large to fit in my house; instead this is an A0 sheet feed scanner that takes one sheet at a time. The way it does this is rather than one large CCD spanning the length of scanner, it has multiple CCD’s staggered down the reading edge. The software on the PC then stitches together the various images from the CCD’s and produces a final image, so when I scanned the first item I got something resembling a very strange piece of abstract art. After consulting the manual it appeared that I needed a specific alignment sheet to put through the scanner which aligns all of the CCD’s. I then spent weeks scouring the internet to find one of these sheets, but alas I could not find one. What I did find is a diagram of one in a manual from a much older colortrac scanner….
So I did what any good engineer would do. I got some A0 paper, and I did my best to hand draw the same sort of thing as on the diagram (two triangles if you’re interested). I then ran the calibration utility on the software with the sheet in the scanner, and crossed my fingers. I then attempted a scan with an A0 sheet with various lines drawn on it, and it all seemed to align correctly! In hindsight, I think that the alignment is simply done by putting a large piece of paper through the scanner and it uses the edges to line up the CCD’s, but regardless of this it worked!
I scanned the first page of a document and it came out okay, and with some more adjustment to the various scanning settings I managed to get it scanning in some excellent quality images. There is a slight fault with one of the CCD’s that leaves a slight bluey tinge on one section of the image, but it’s barely noticeable and easily fixed in post-processing if so desired. I’ve already scanned a couple of manuals, but I’m not going to post them online just yet as I’ve asked some friends of the project at IBM to contact their legal department to get a letter stating that they’re happy for us to do so. If you’re reading this from IBM, please poke your legal team as we’re keen to get these manuals and in the future the software online ASAP so everybody can have a look through it all and to preserve everything publicly for future generations.
For now, have a picture of my lash up scanning station; I’m about to move this and revise it as I may have recruited somebody to scan everything for us who will be able to work on it a lot more than I can!

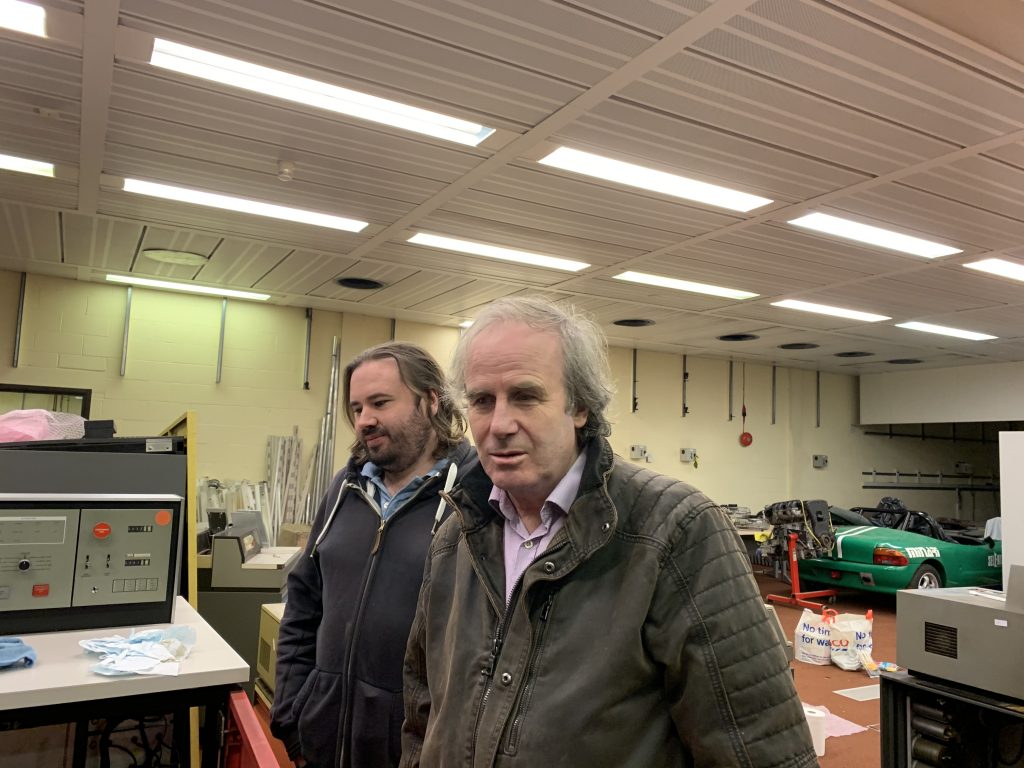
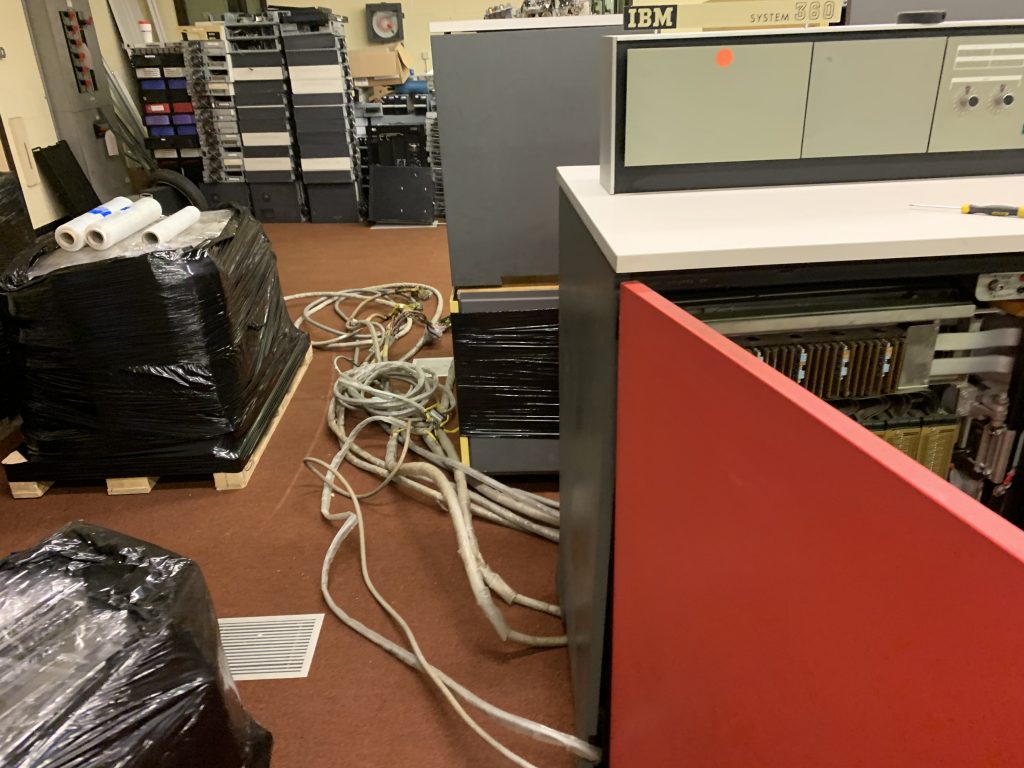
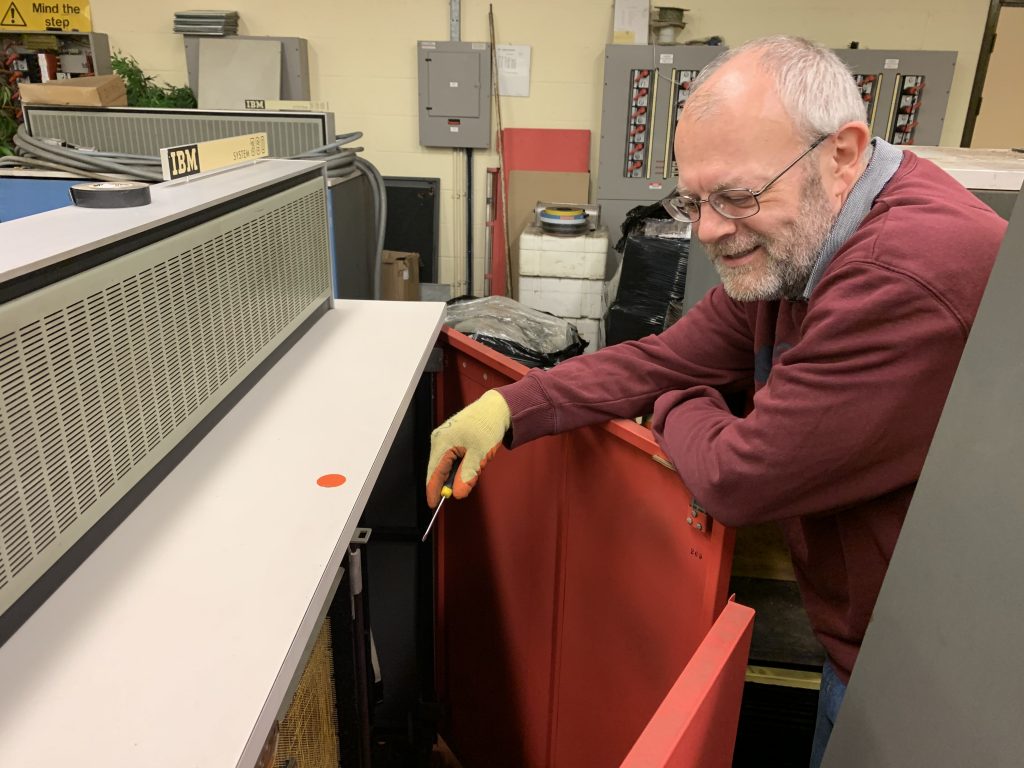
Onto a new subject! Following the delivery of the machine to Creslow Park last week, we ventured up there as a full team to start taking an in-depth look at the machine and to begin cleaning it. This would be Peters first look at the machine in person. After showing everybody around the facility we got stuck in:


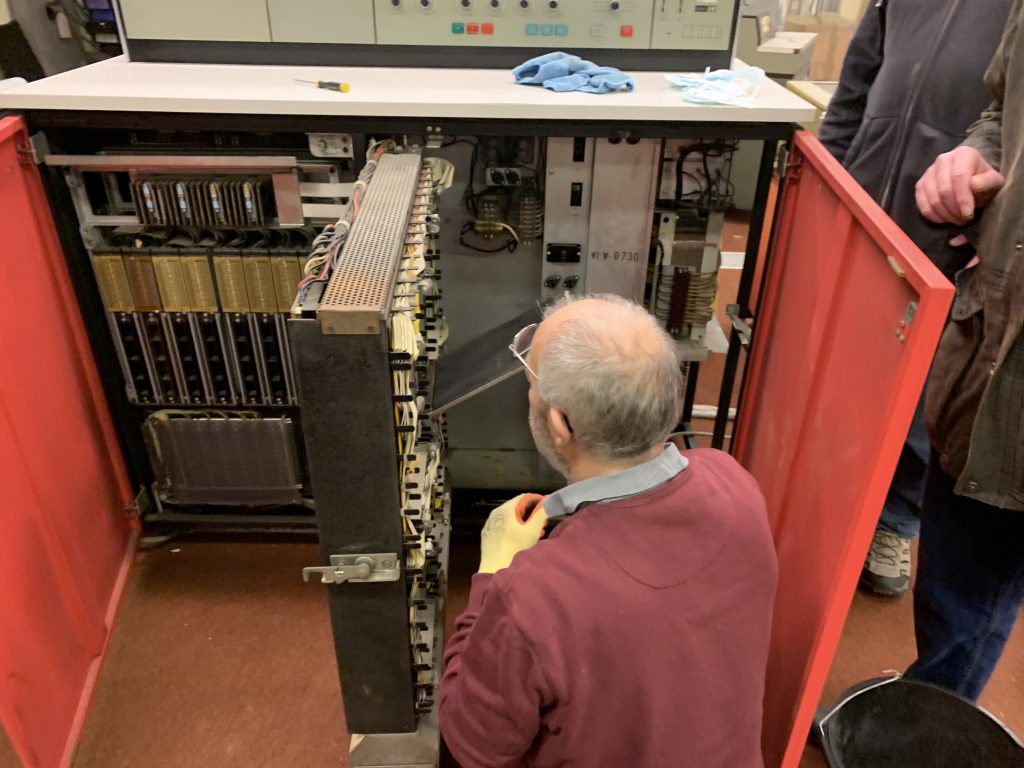
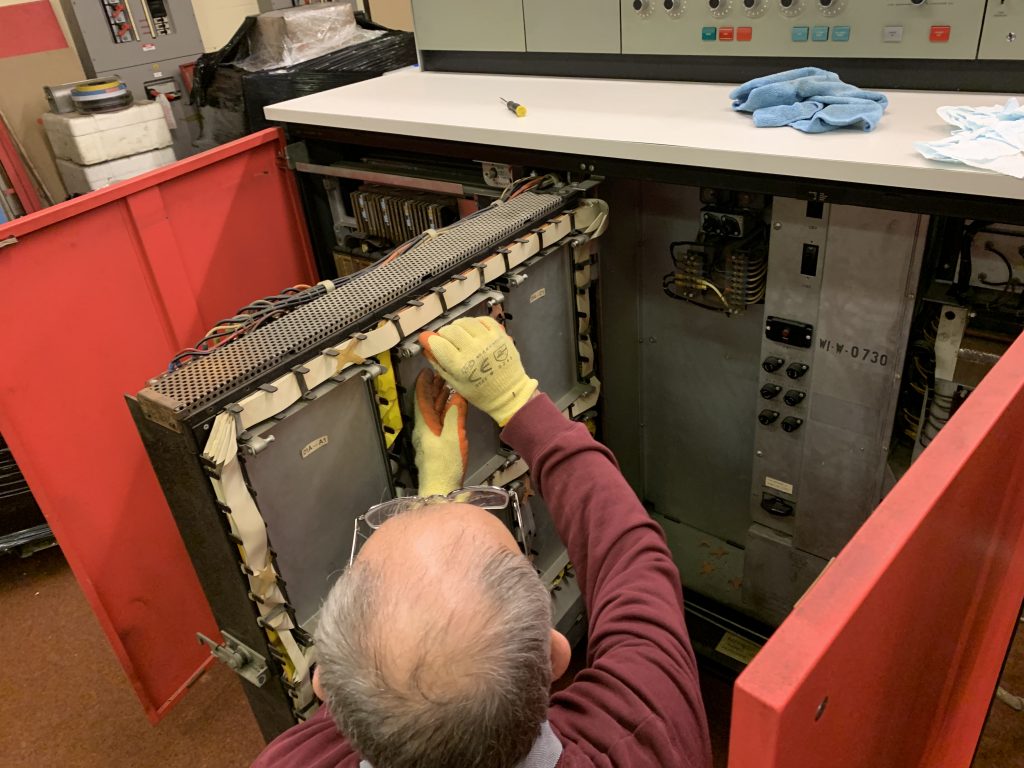


Now obviously when cleaning these kind of ageing machines, one must be careful not to use anything that could cause damage. Whilst it may be tempting to use bleach based products or other abrasive cleaners, these are likely to do more damage than good in the long run. As such, I tend to keep to bio-safe washing soaps and warm water where possible. Where a surface demands a more invasive cleaner, we tend to use Dettol Antibacterial Surface Cleaner Spray; this is a very light cleaner and still doesn’t contain any bleach. We do have some anti mould&mildew cleaner should we find anything containing such things that we need to deal with, and that does contain bleach, but luckily nothing of the sort has been found yet!
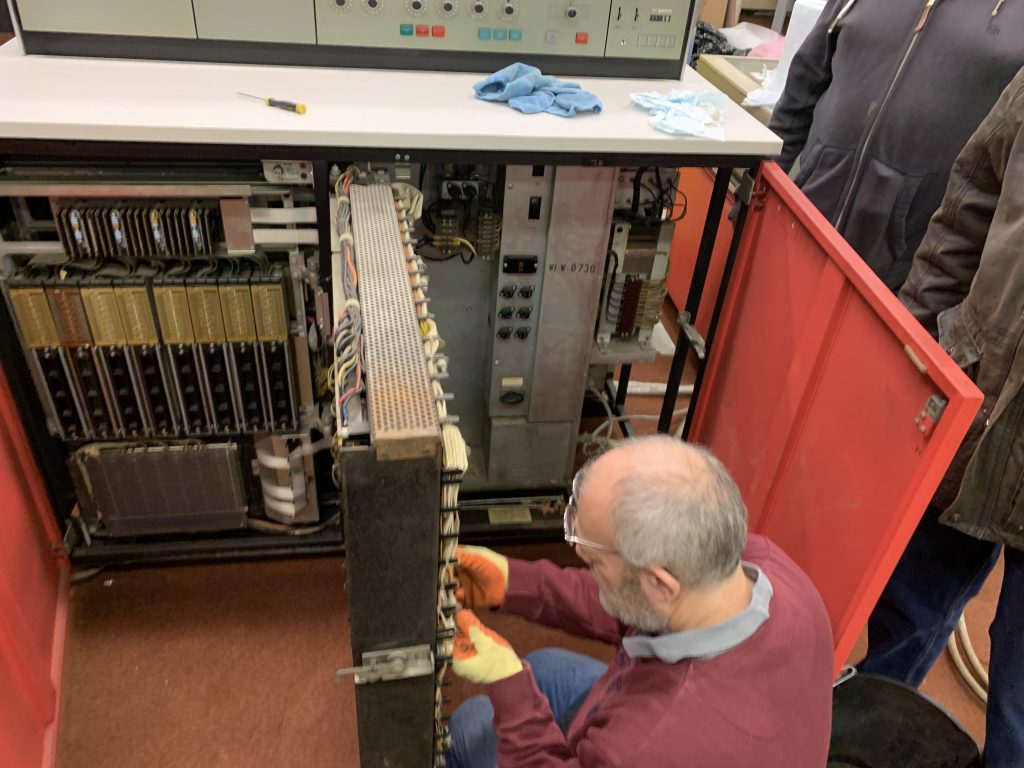
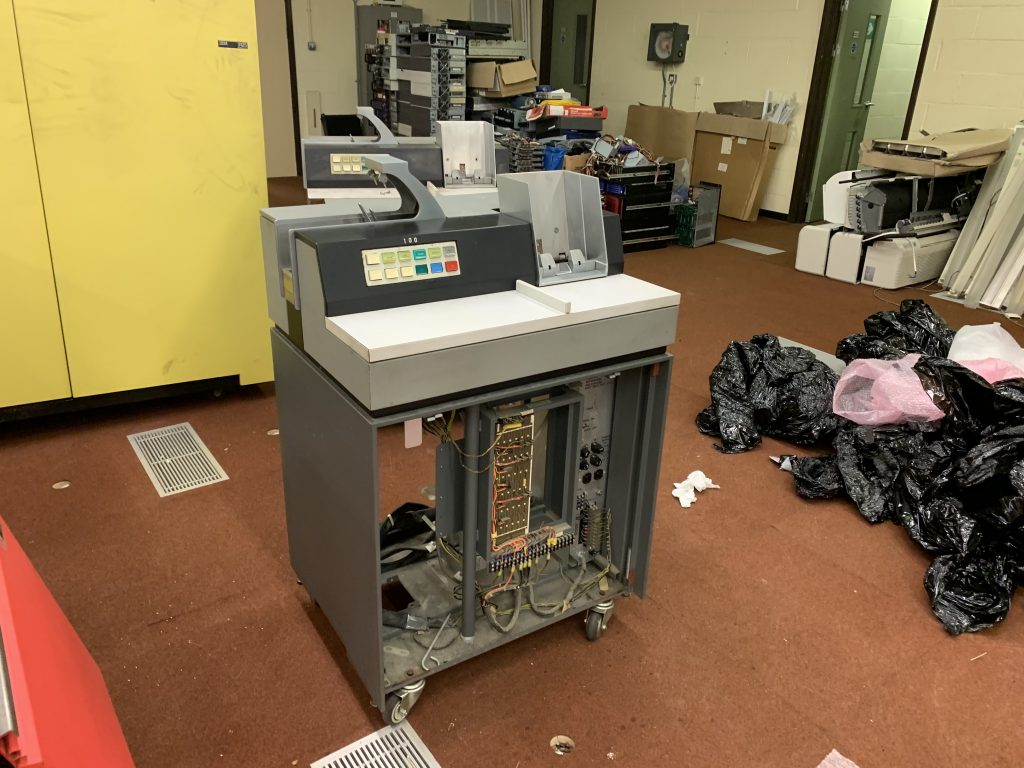
I tackled one of the punched card readers whilst Peter tackled the red CPU and John and Chris B. tackled the smaller printer. All of this equipment is caked in years of dirt and grime on the outside so it’s quite an undertaking to clean it all, however underneath the equipment appears to be in excellent condition! Peter opened up the red processor doors and had a look at the specifications, it appears that this unit was manufactured in 1967, and contains 16k of memory. We also opened up the blue CPU and discovered that despite the fact we thought it was an earlier model due to some of the connectors and lamps, it is in fact a later model having apparently been produced in 1969! Hopefully some of the documentation will shed some light on when these systems were installed and perhaps also where.
After this, we decided to try and remove one of the disk packs from one of the drives. One of them is labelled “System Disc”, so this is obviously likely to be important, but since it was stuck in the drive and we had no spare carry cases we had to transport it in the drive. Today we found an unlabelled disk and decided to swap that one out and put the System disk inside the casing; well it seems this is not going to be a simple task! We manually released the disk from the casing, and then went to remove the disk from the drive. We engaged the casing top, turned it to unscrew the pack spindle, and… nothing. We couldn’t remove the disk!
I think there must either be a brake holding the disk in, or it could be seized. We’re going to consult the manual and try again on a later visit.
After a few hours cleaning, the items we’d started tackling were looking a lot better. We’d also established that on the surface, most of the machines seem to be in excellent condition. The backplane pins have no signs of corrosion, and the wiring appears to be in good condition. These are excellent initial indications as to the difficulty level of the restoration.
At this point, it was getting towards the evening, we were all hungry and a bit chilly and thus we packed up and went home. Not before a panorama though!
Until next time!