So, if you read our last post, you undoubtedly know that we were looking to relocate the collection to an organisation that was going to display it and potentially restore it. We had many, many interested parties reach out to us from museums all over the world to private collectors interested in acquiring the machines. When we set out to rescue the 360’s Chris and I decided that our main goal was their preservation, and everything else was by the wayside. We evaluated each and every opportunity presented to us for a new home for the 360’s, and found an organisation who we considered to be exactly what we’d been looking for.
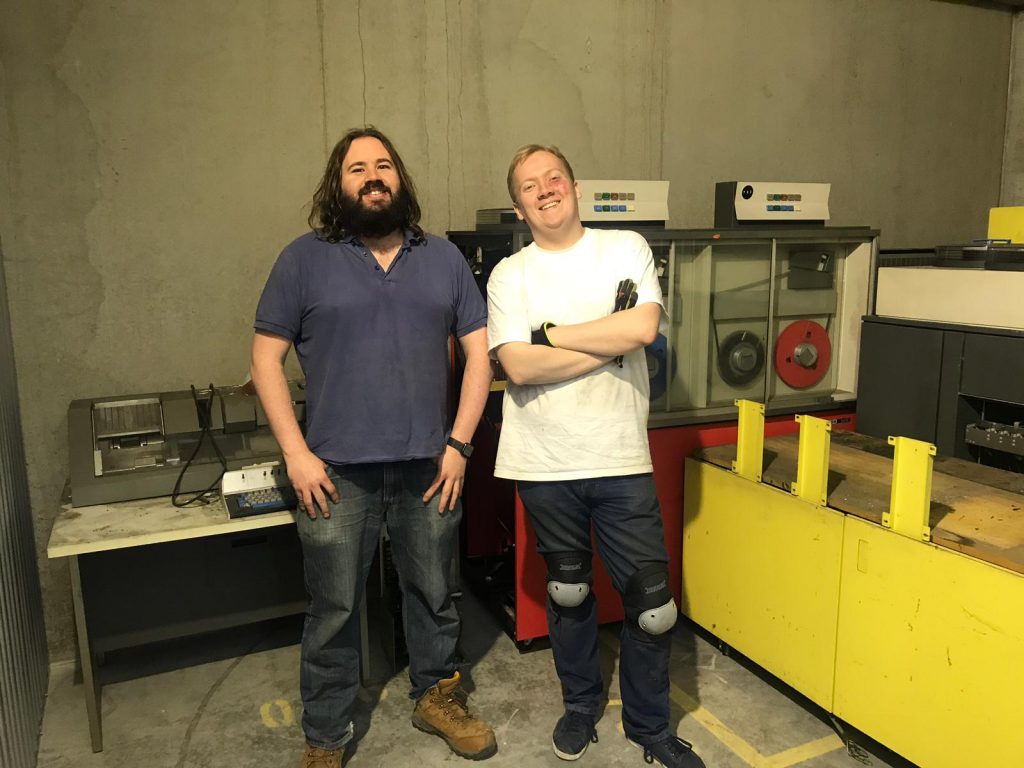
System Source Museum got in touch with us very shortly after we made the post to register their interest. We had an initial engagement call with them, and were very impressed by their attitude and approach. Ideally Chris & I wanted to maintain ownership of the systems, and System Source were very happy to take them on a long term loan basis. Chris flew over to see them in Maryland and was again extremely impressed with their collection, display, team, and approach to restoration & conservation. We drew up a contract together, signed the various agreements, and two of their team, Ryan Schiff (Vice President) & Ryan Burke (Assistant Museum Director), flew to the UK to package and ship the systems.
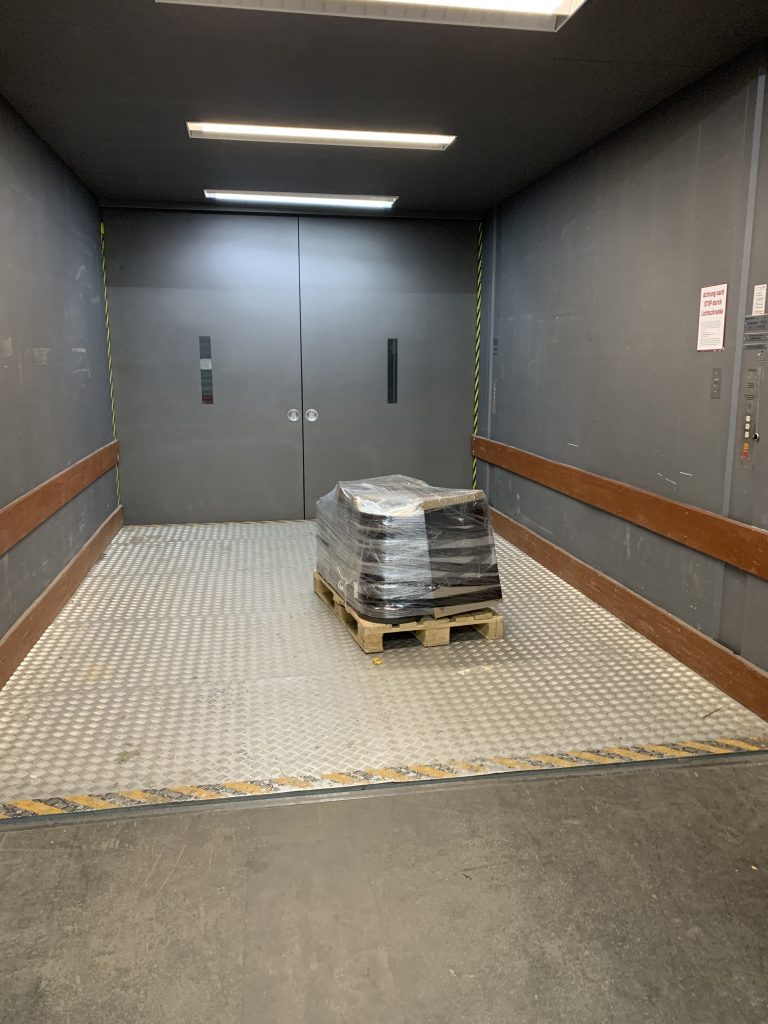
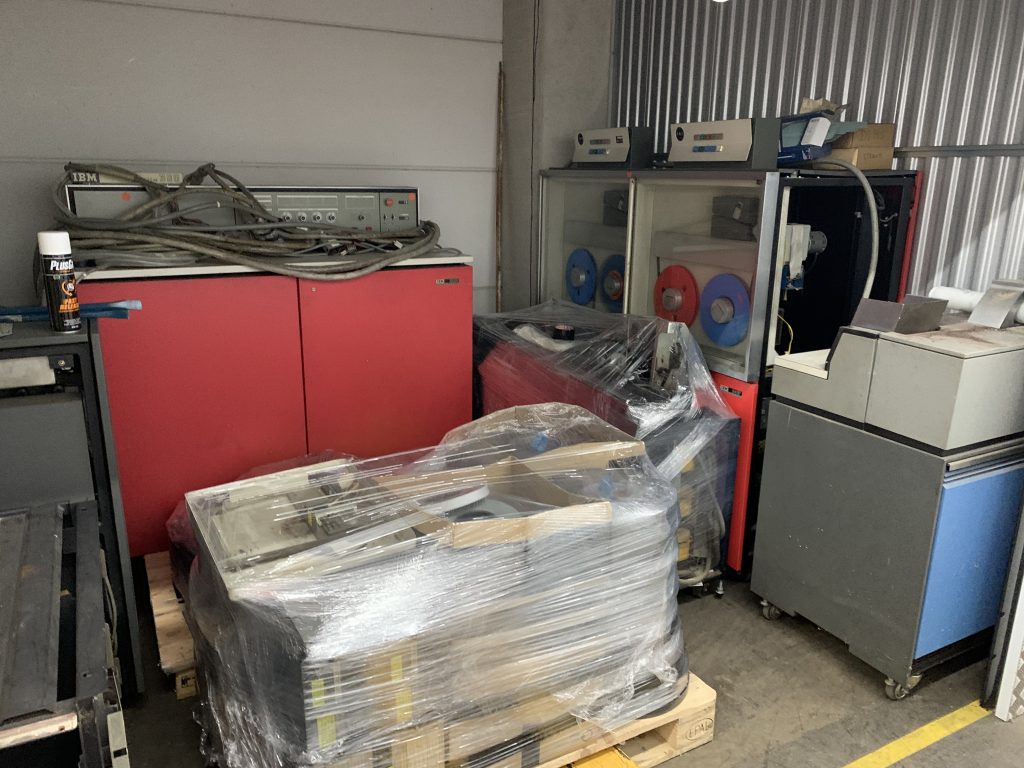
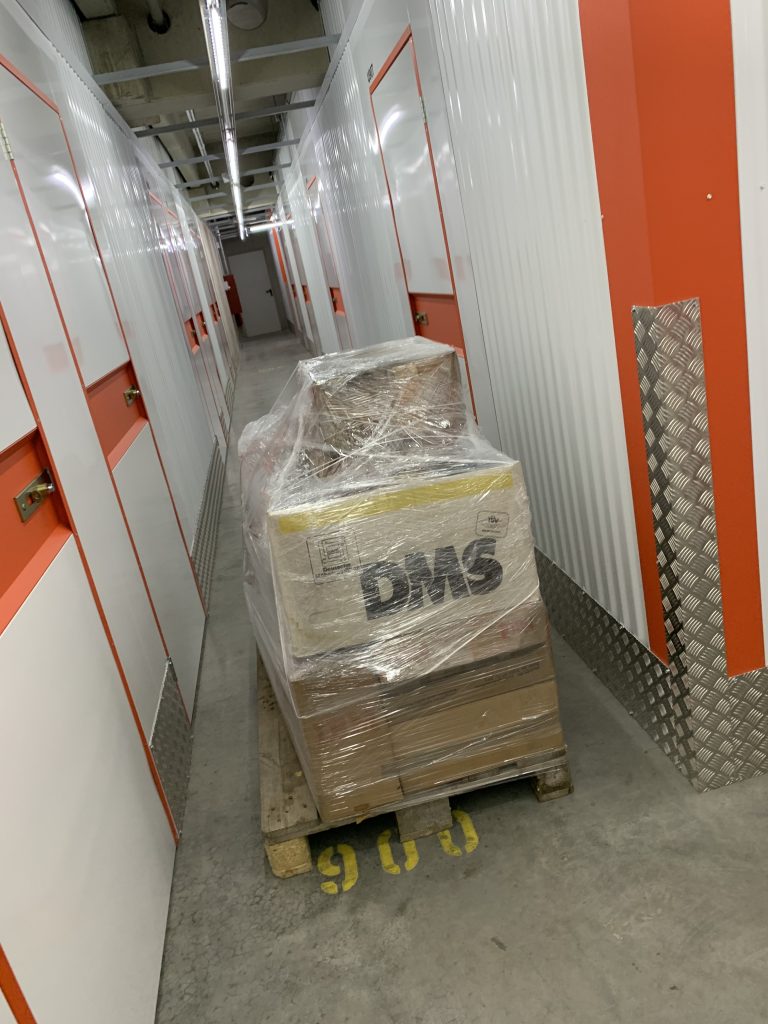
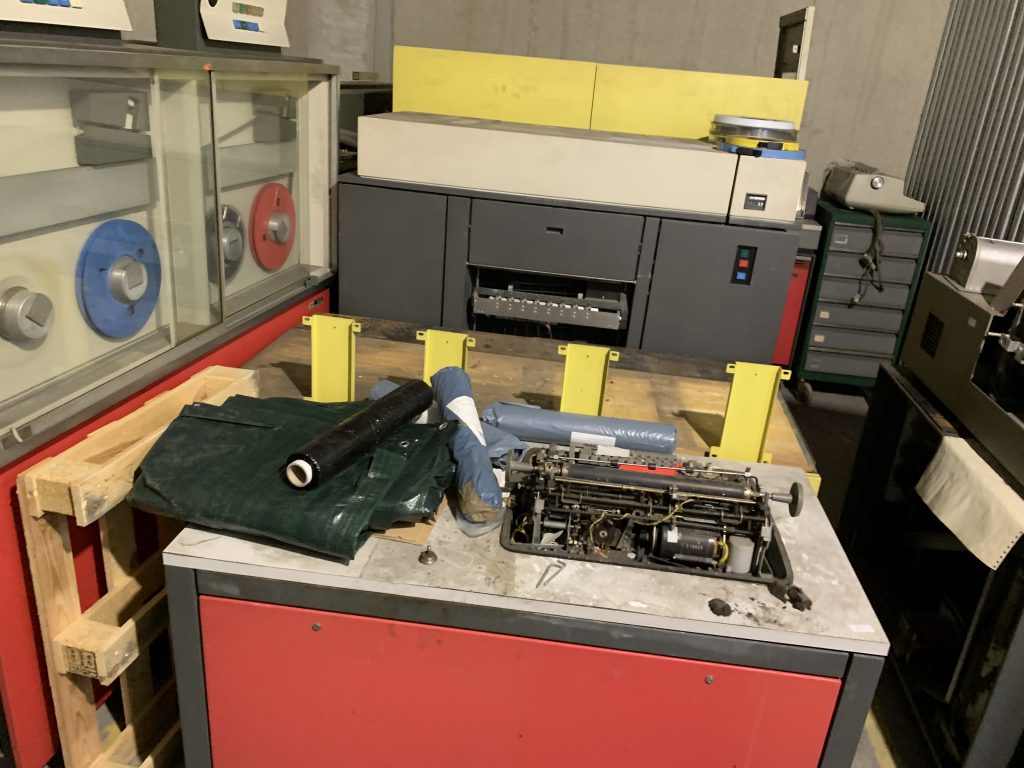
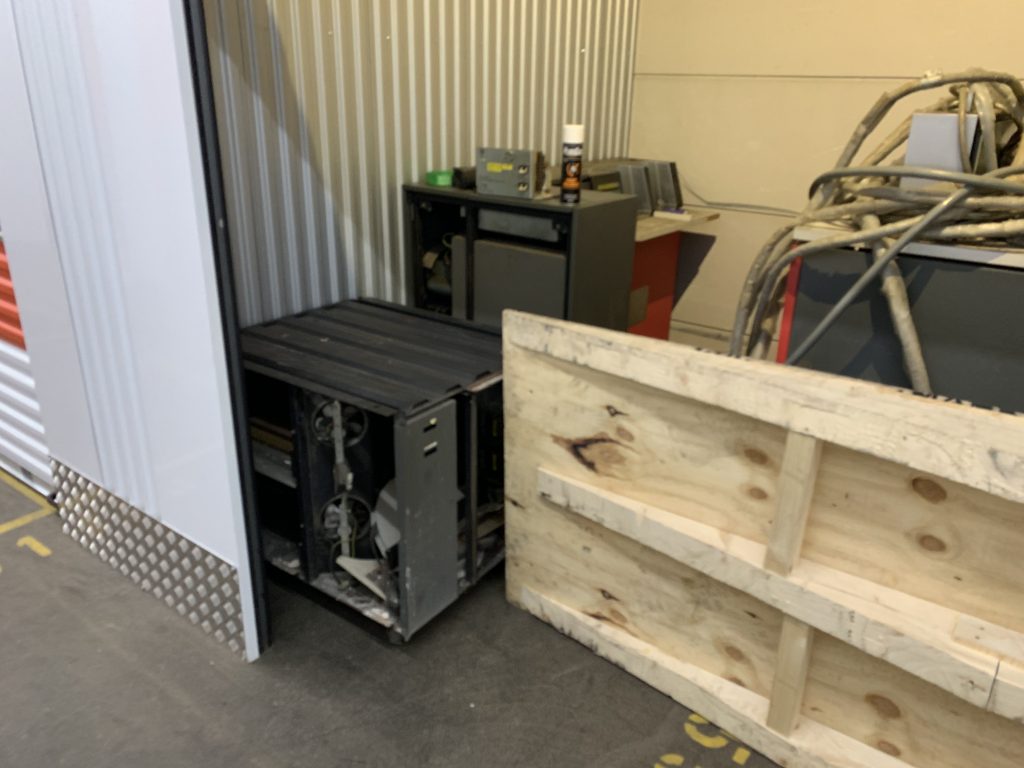
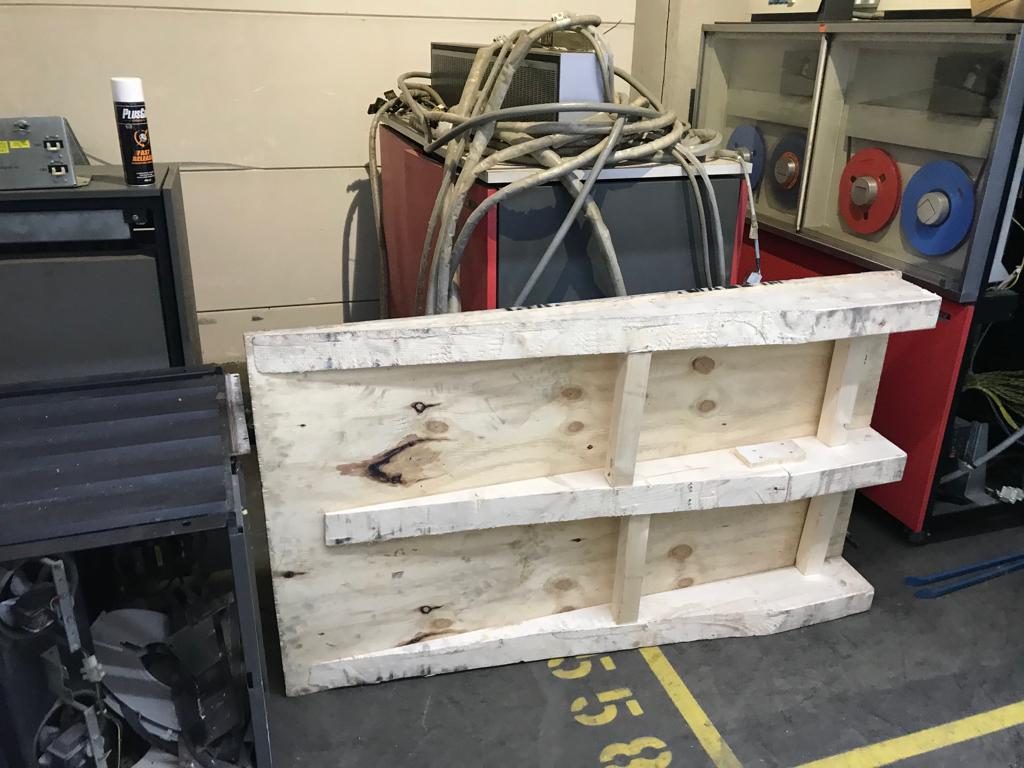
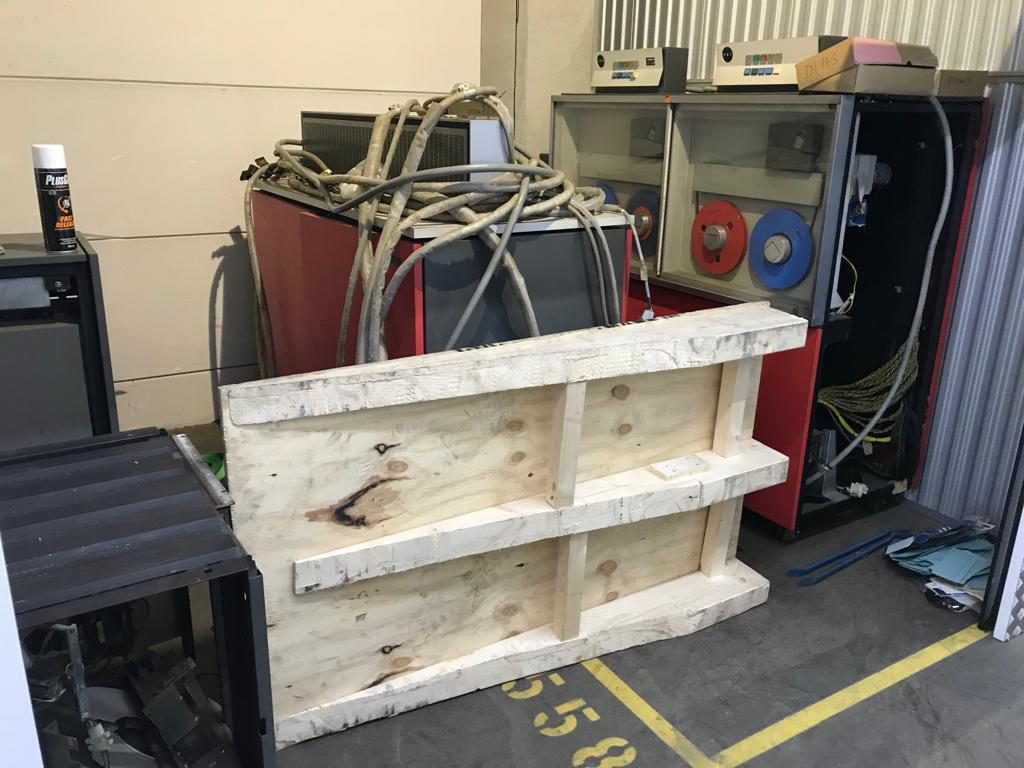
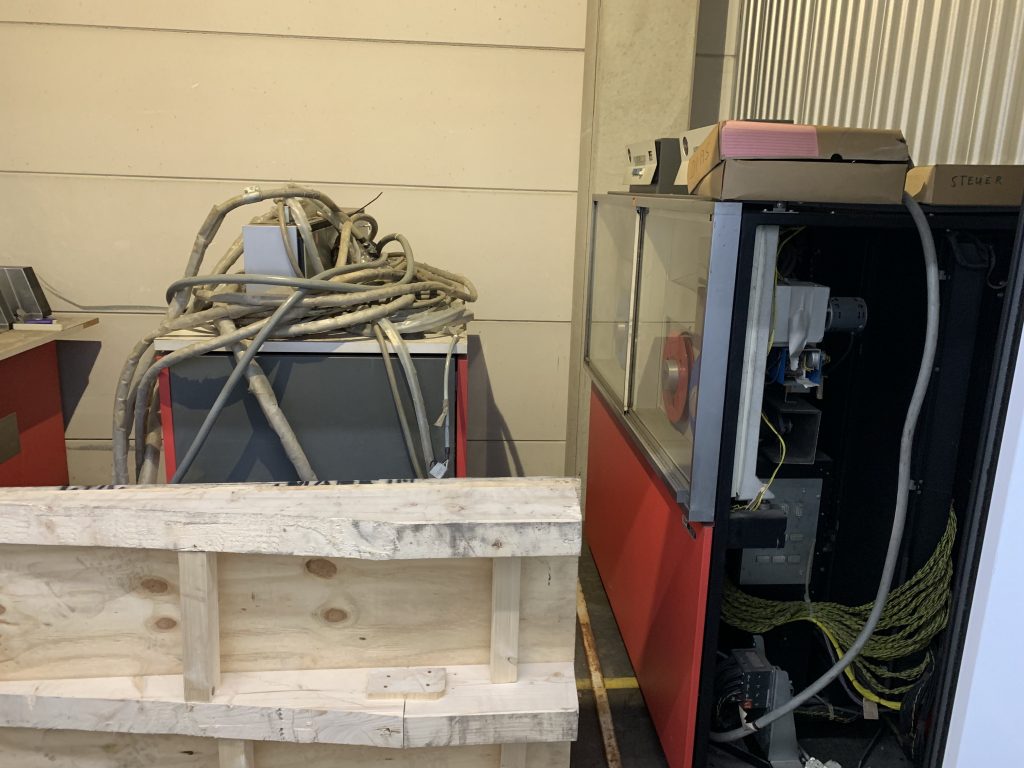
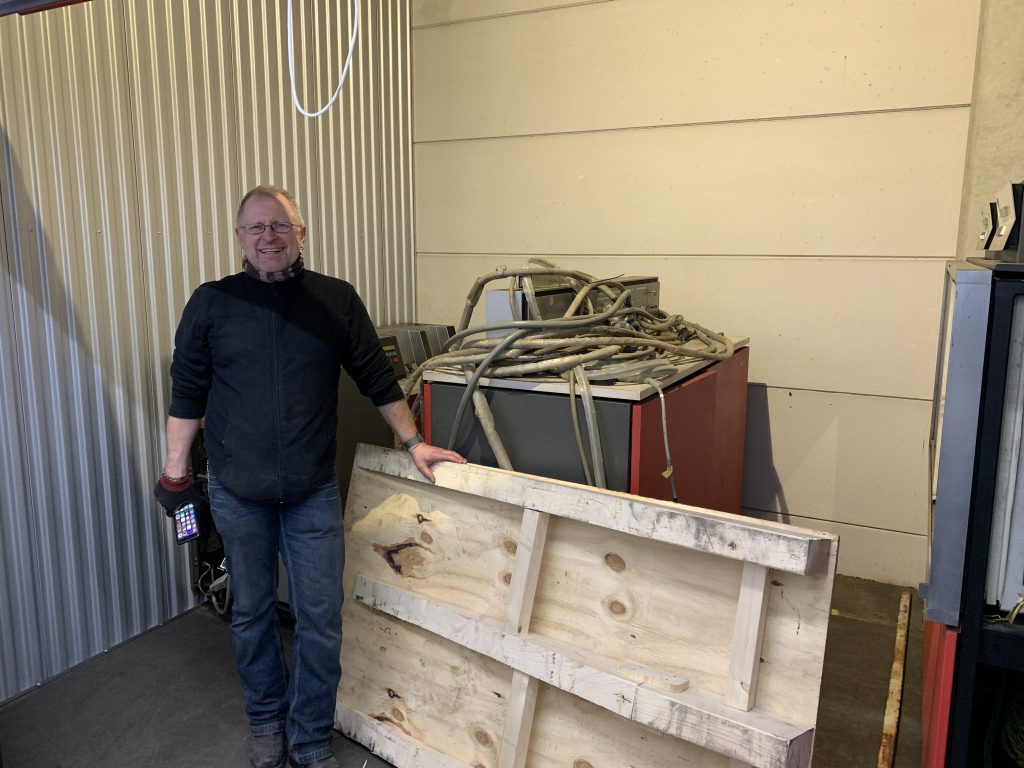
Soon enough, a delivery of bespoke sized pallets (made for the sizes of the machines) arrived at Creslow, and a huge delivery of packing material was delivered to my house (filling my lounge!):
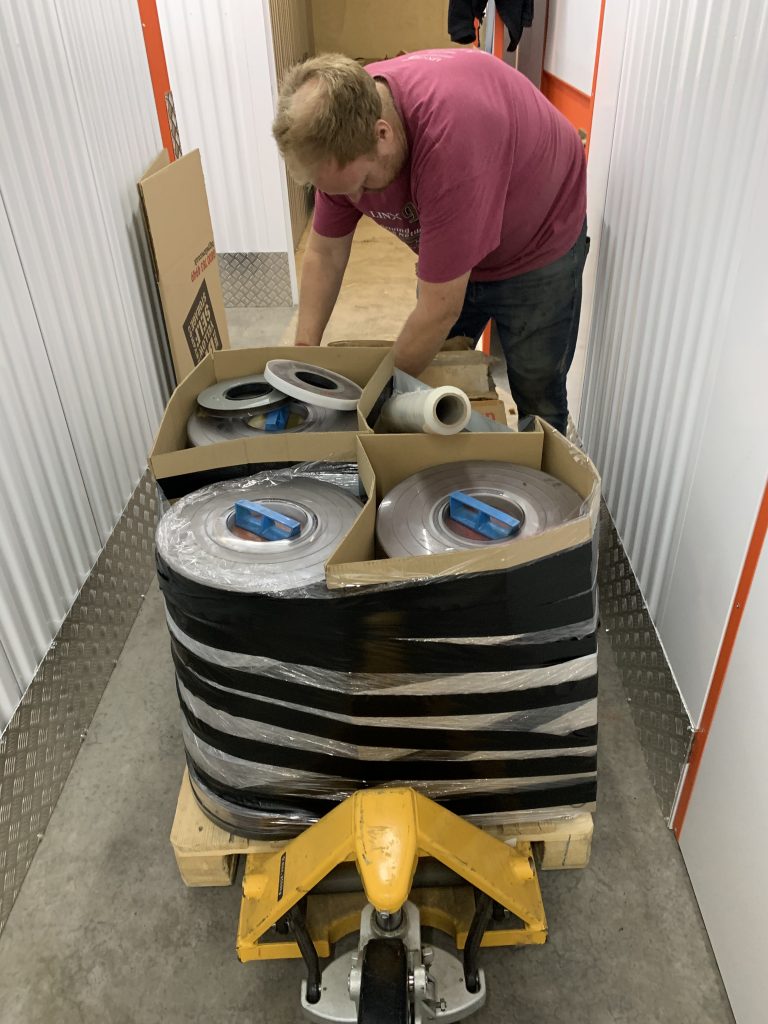
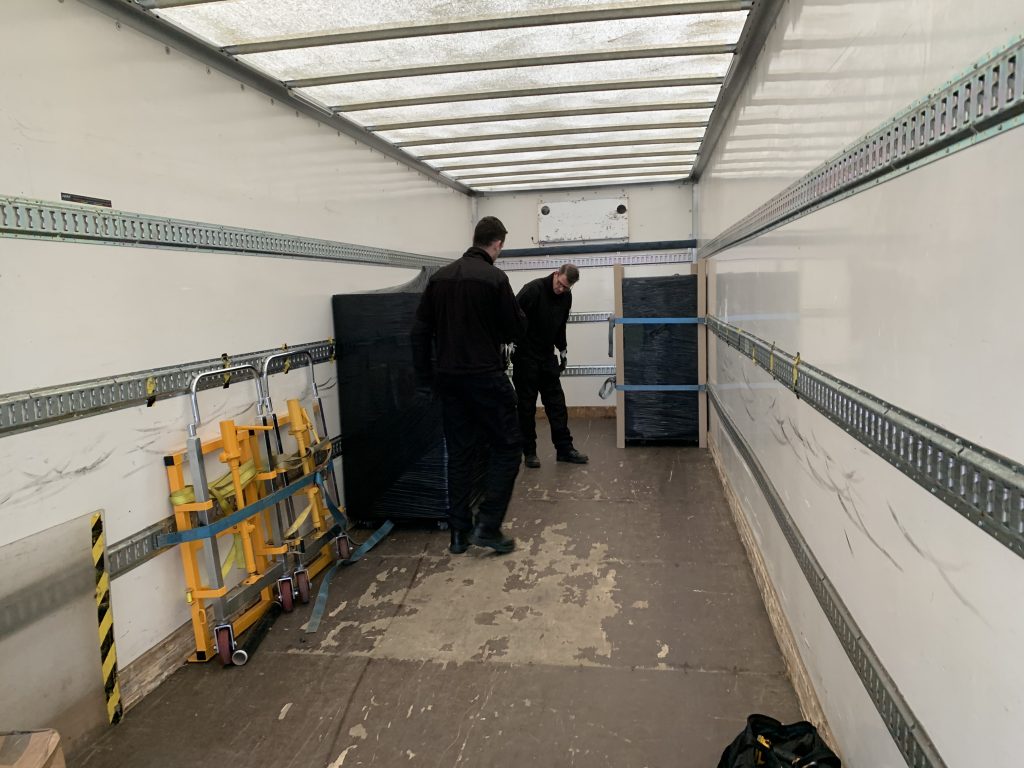
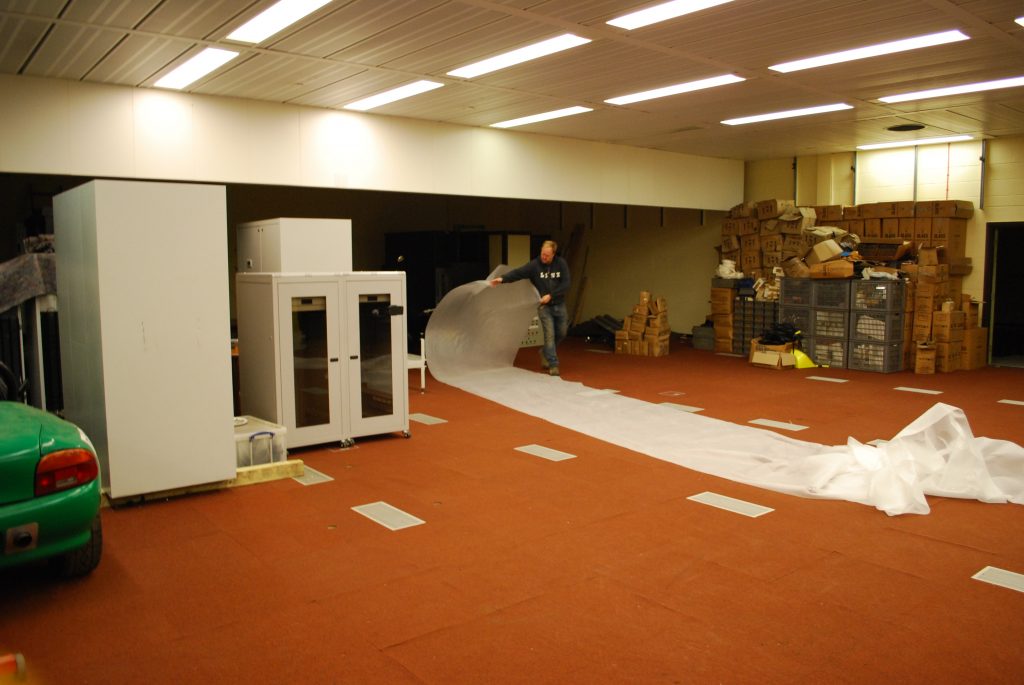
The team arrived the next day and we set about planning how to package the machines, spares, consumables etc. safely and securely for their transatlantic voyage. The System Source chaps had procured and had delivered a steel strapping machine and a large amount of strapping which would be used to secure the machines to the pallets. This was coupled with moving blankets, cardboard corners, bubble wrap, packaging tape etc. etc. Soon enough we started loading machines onto the pallets:
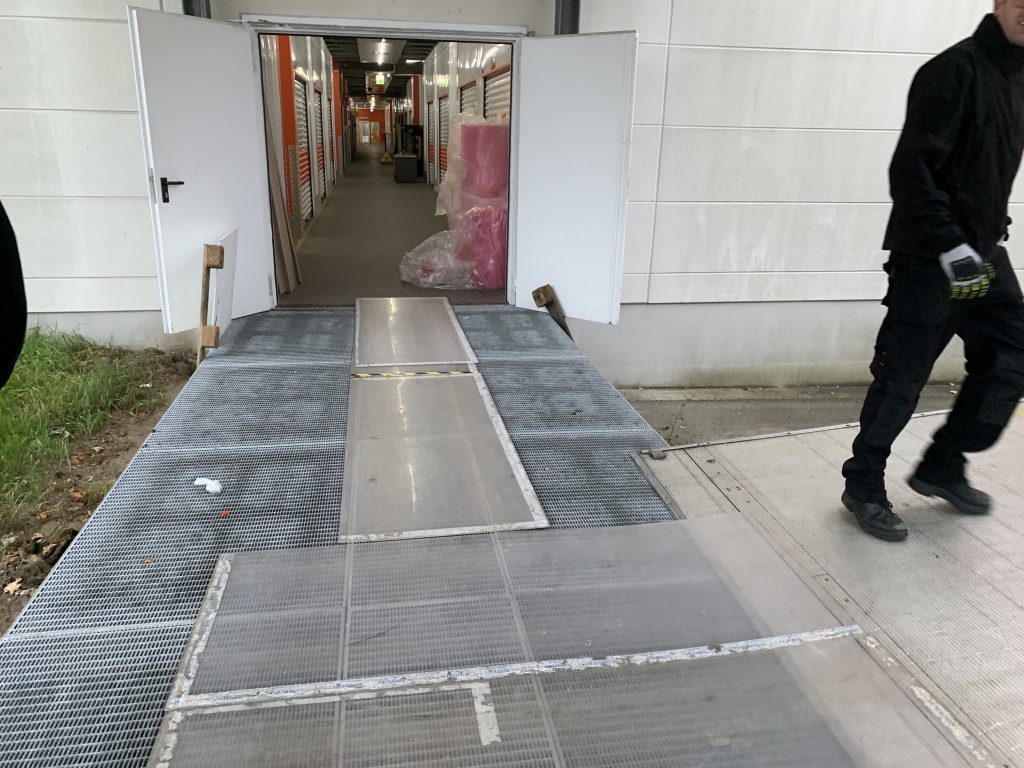
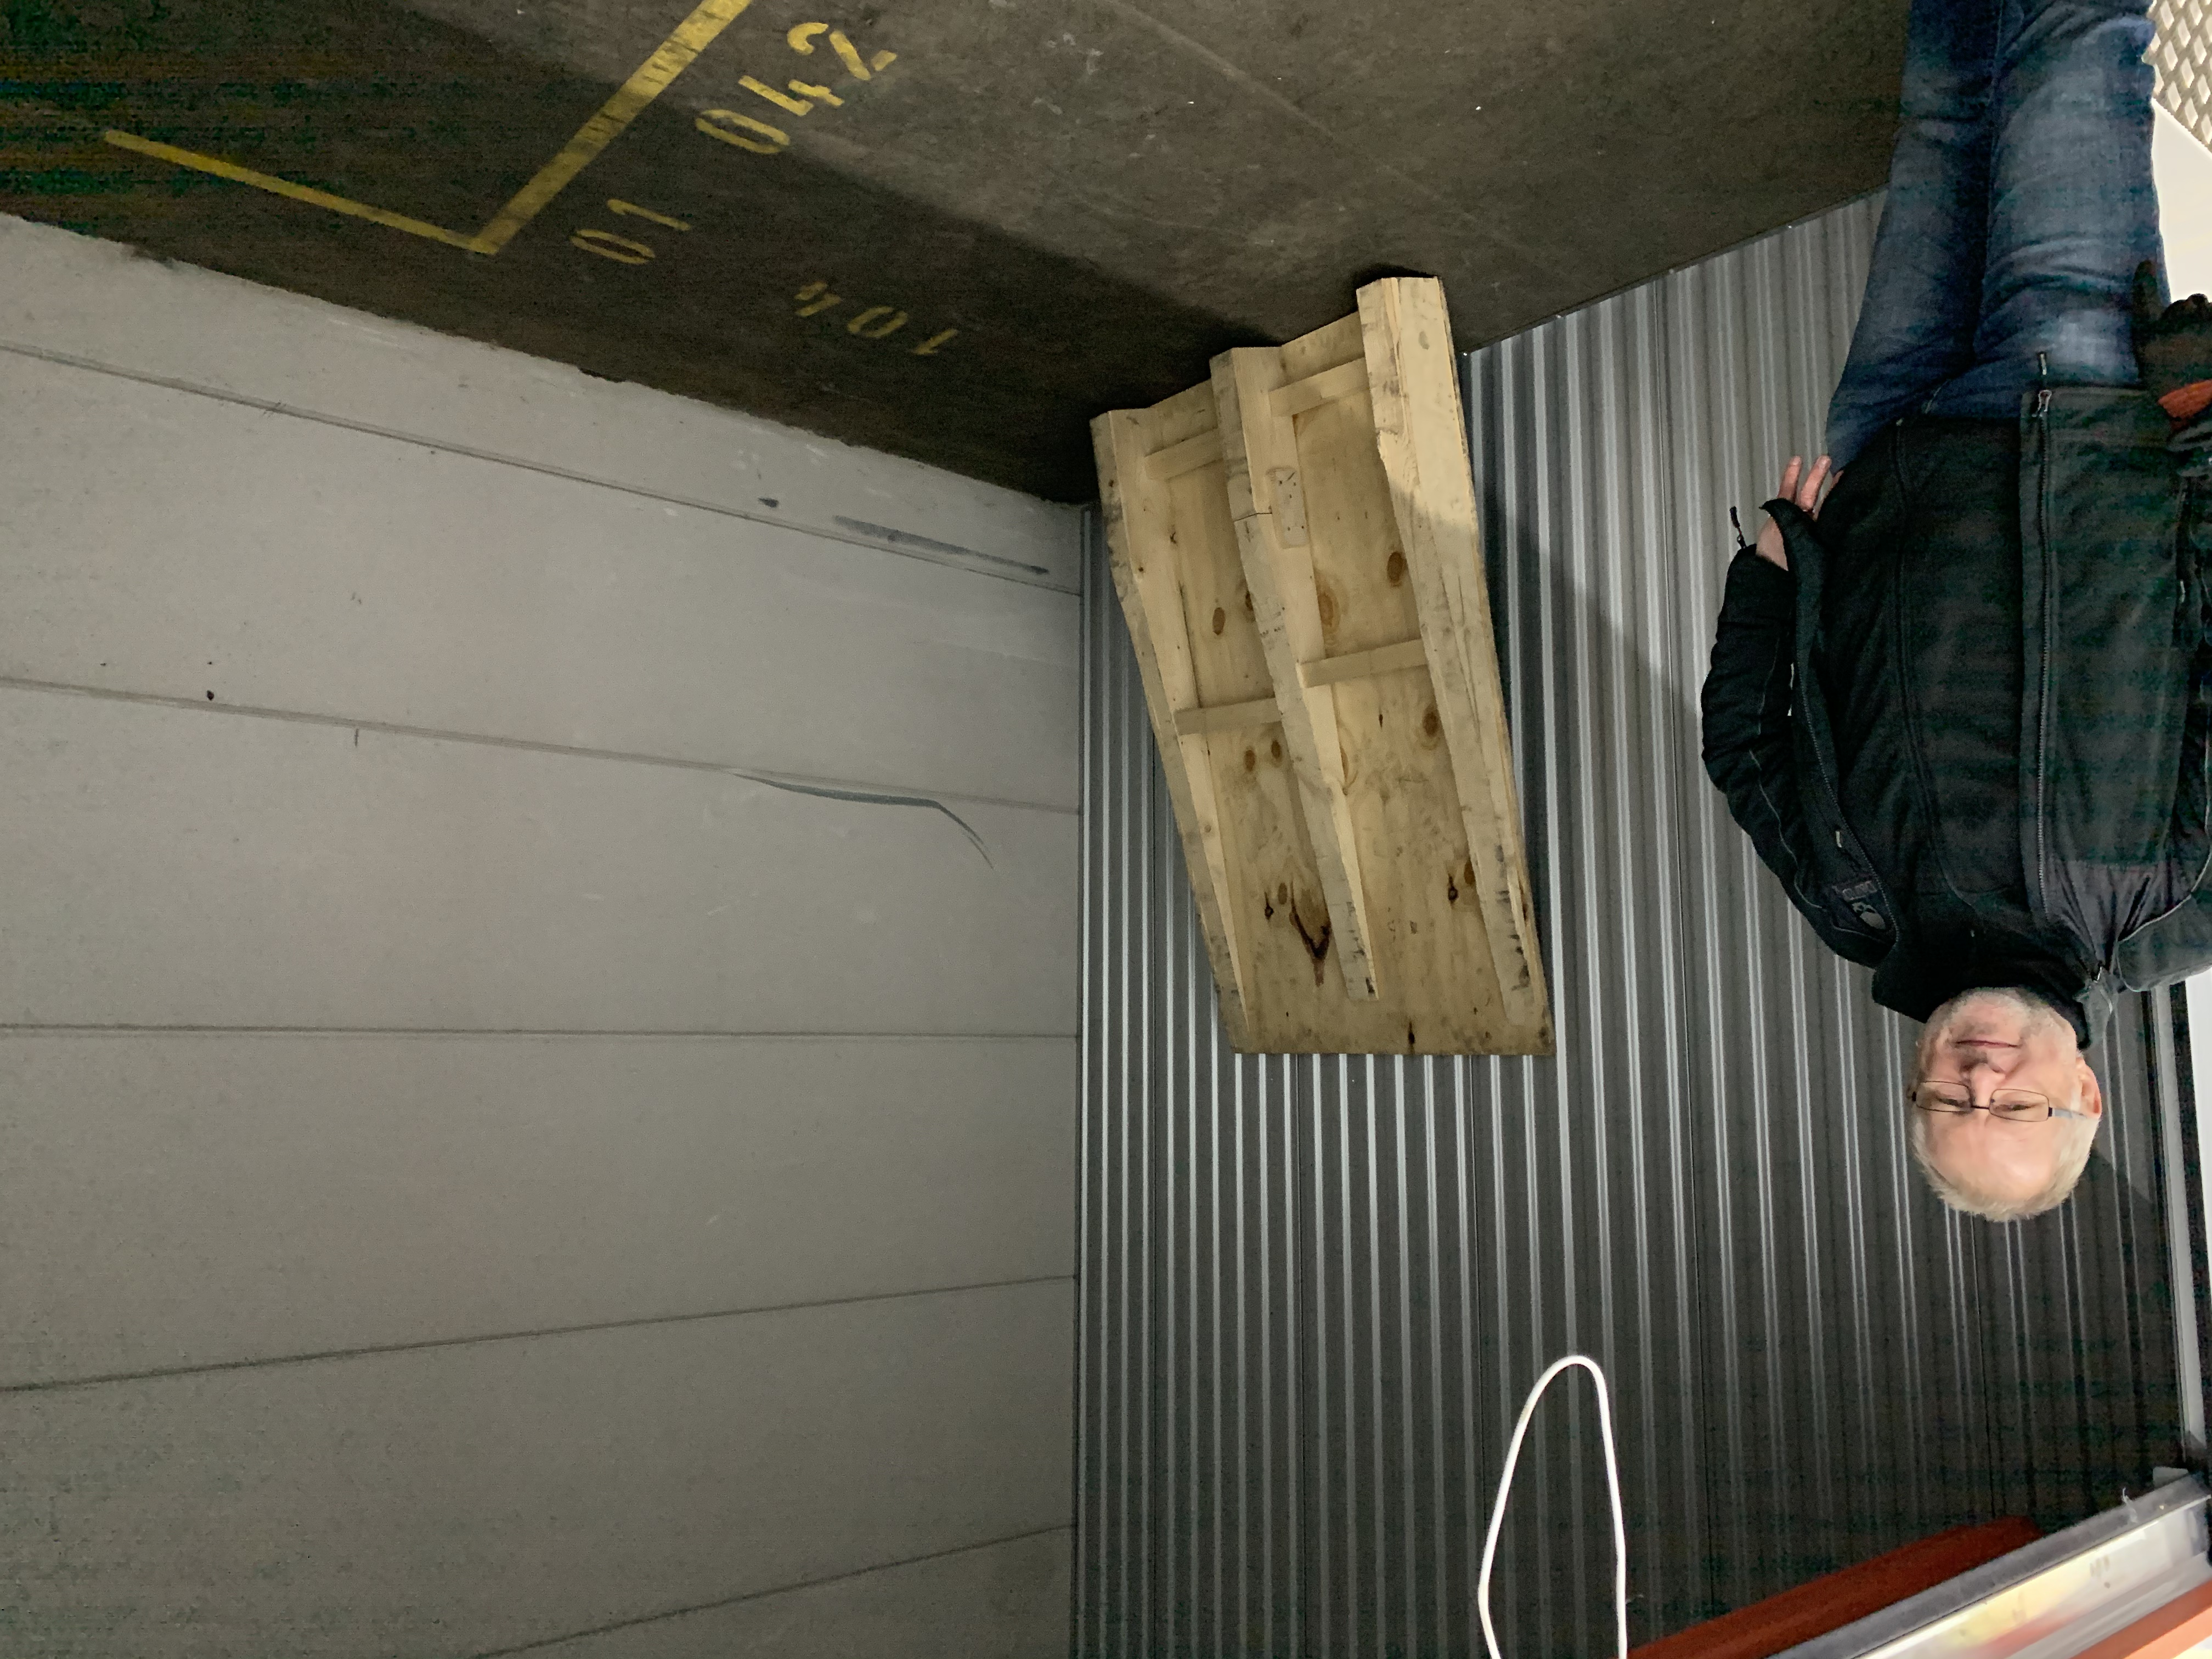
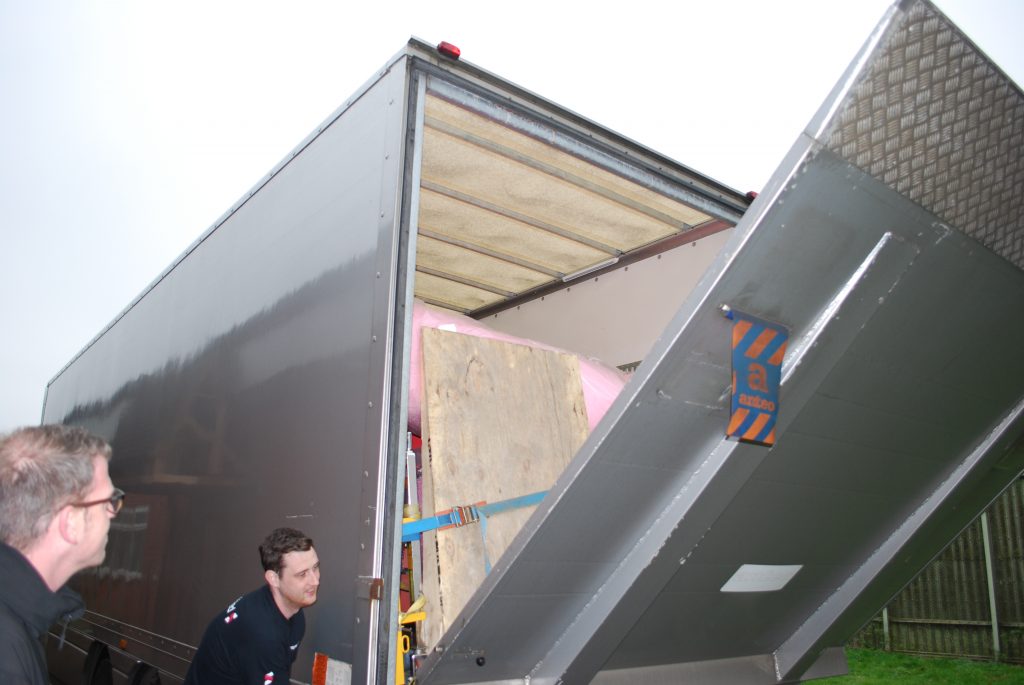
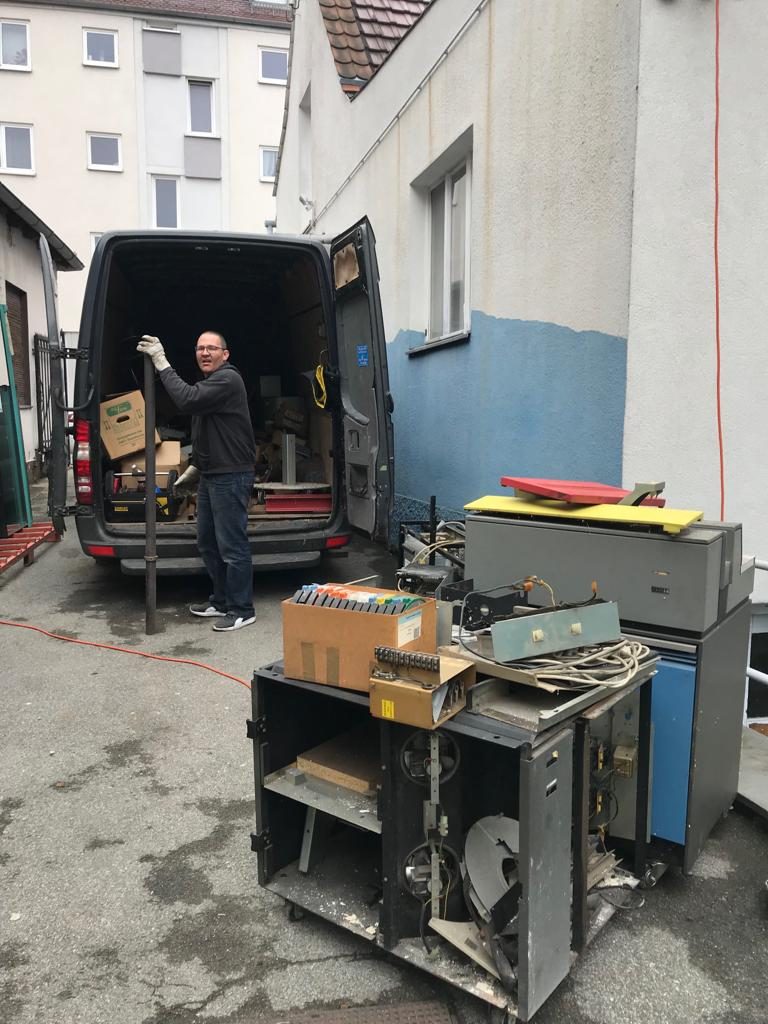
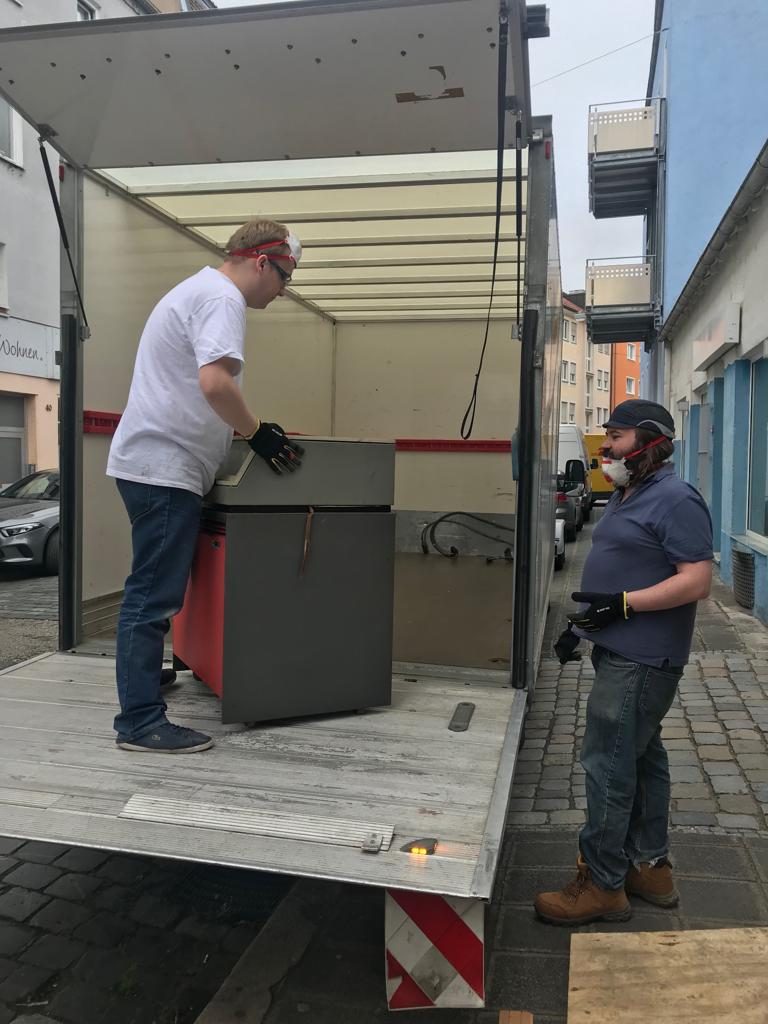
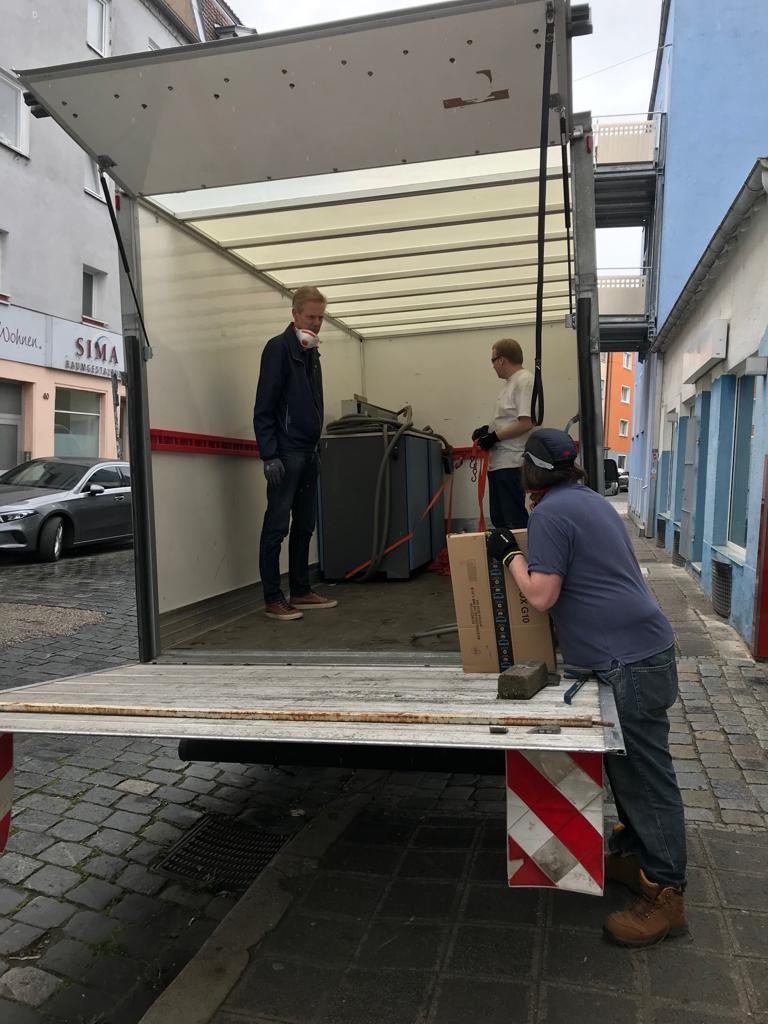
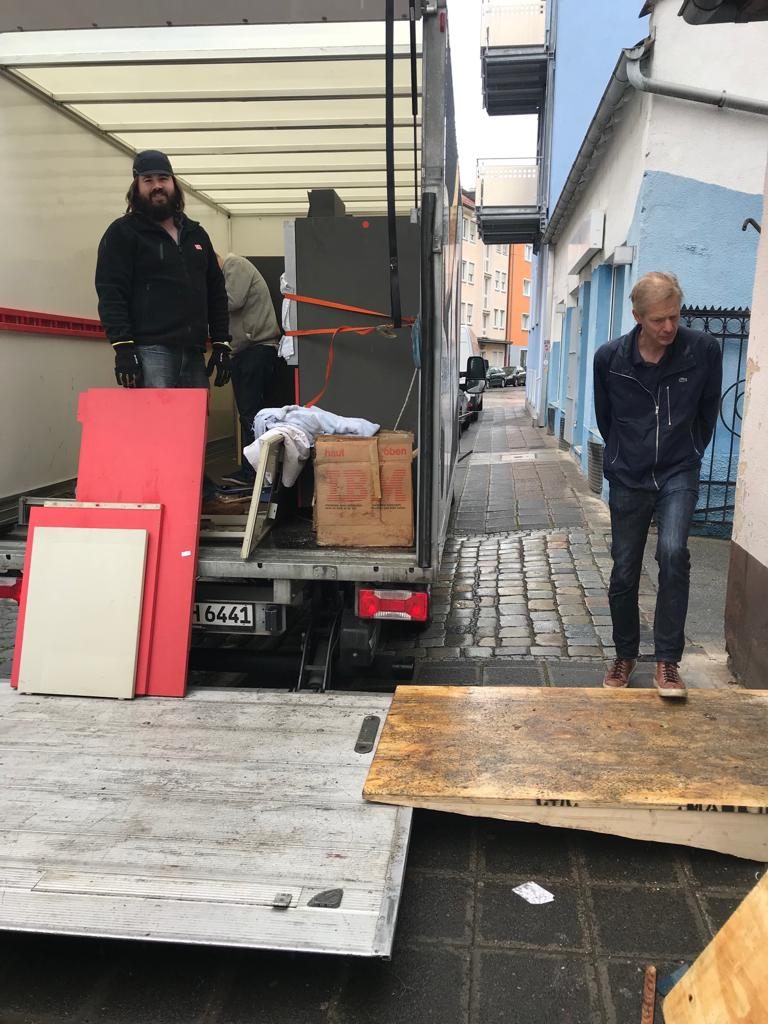
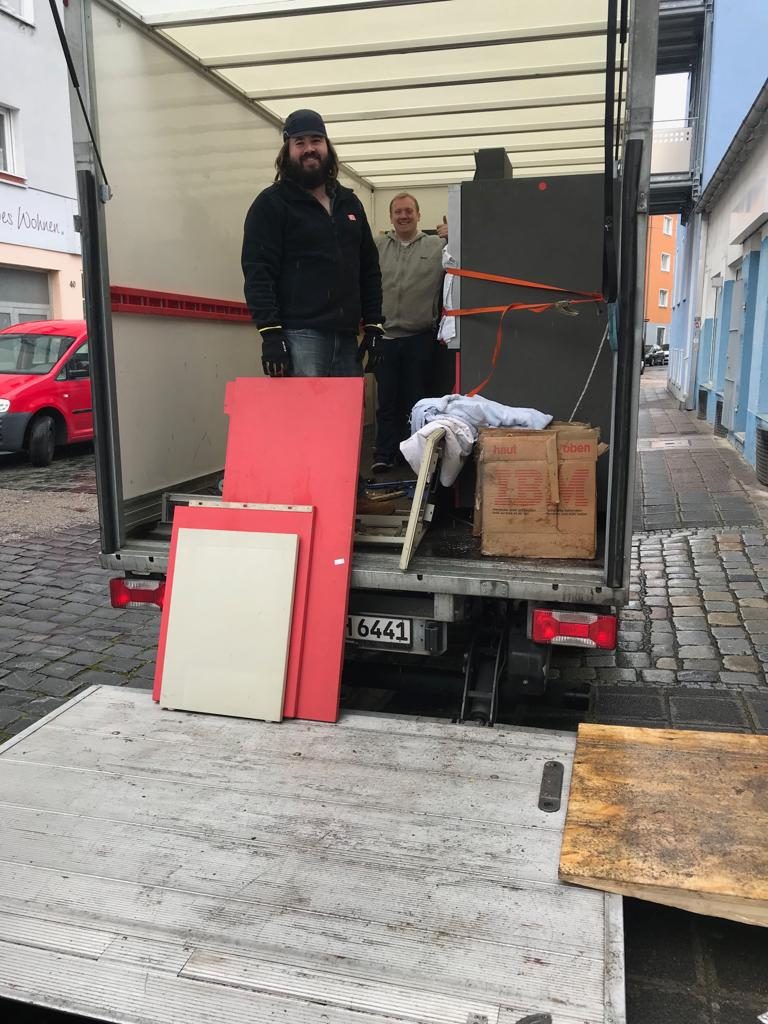
When it came to the larger items, these presented a problem. The forklift truck available at Creslow doesn’t fit into the building because of the cage height, and the floor probably wouldn’t support its weight anyway. We therefore had to come up with a different solution. Cue the return of the ramp we built all of those years ago on a street in Nuremberg!
Yes, it still exists, and it had one final use moving IBM’s. It may have cost 150 euros in wood, but we’ve had our moneys worth!
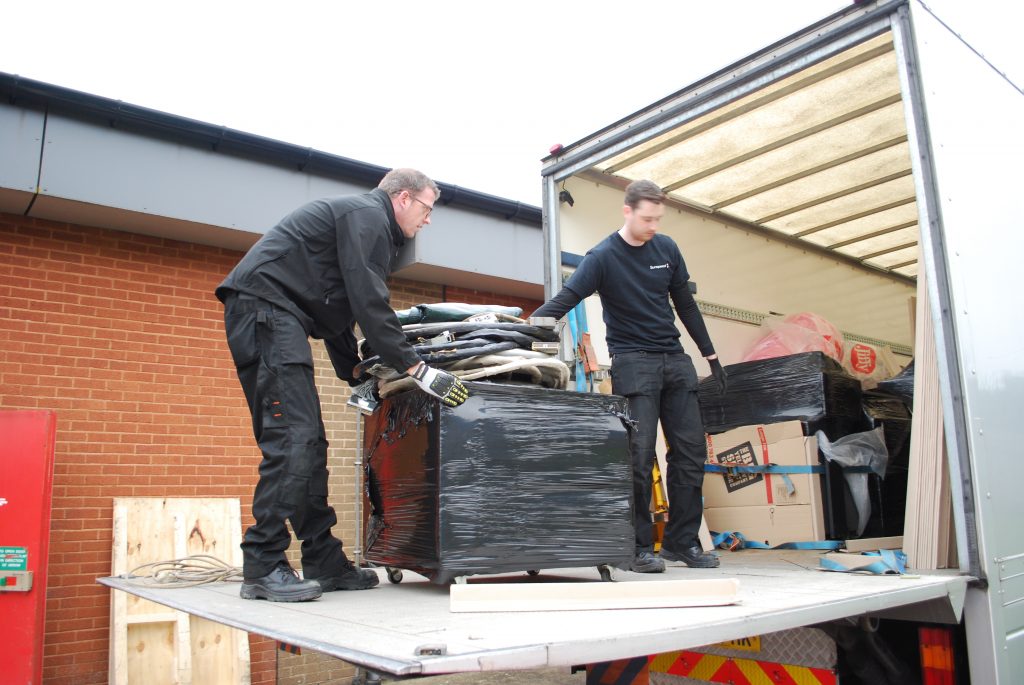
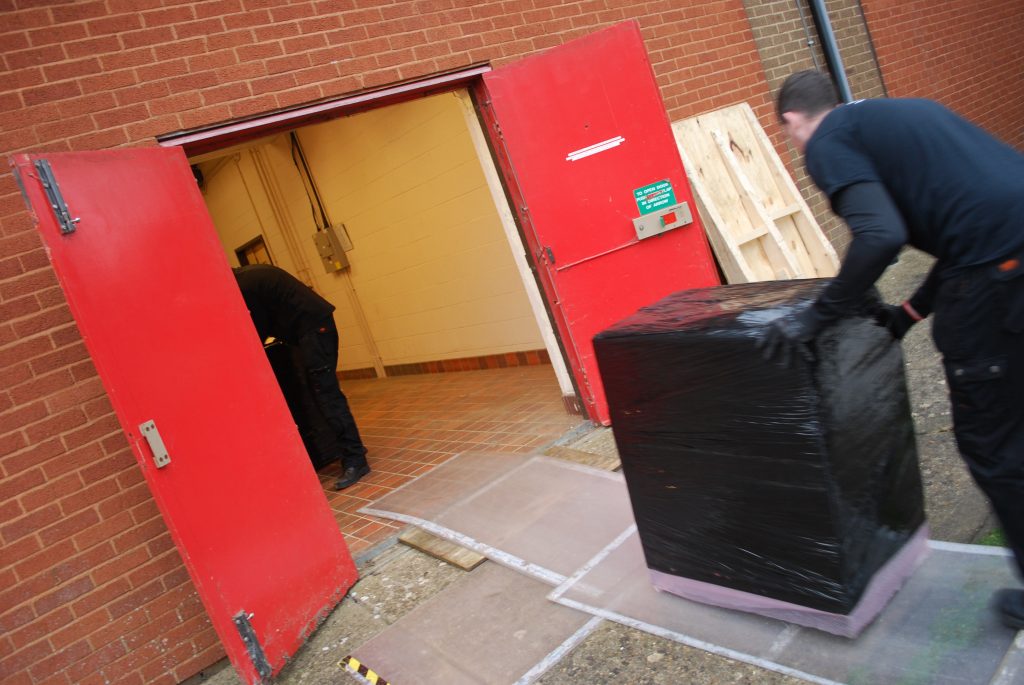
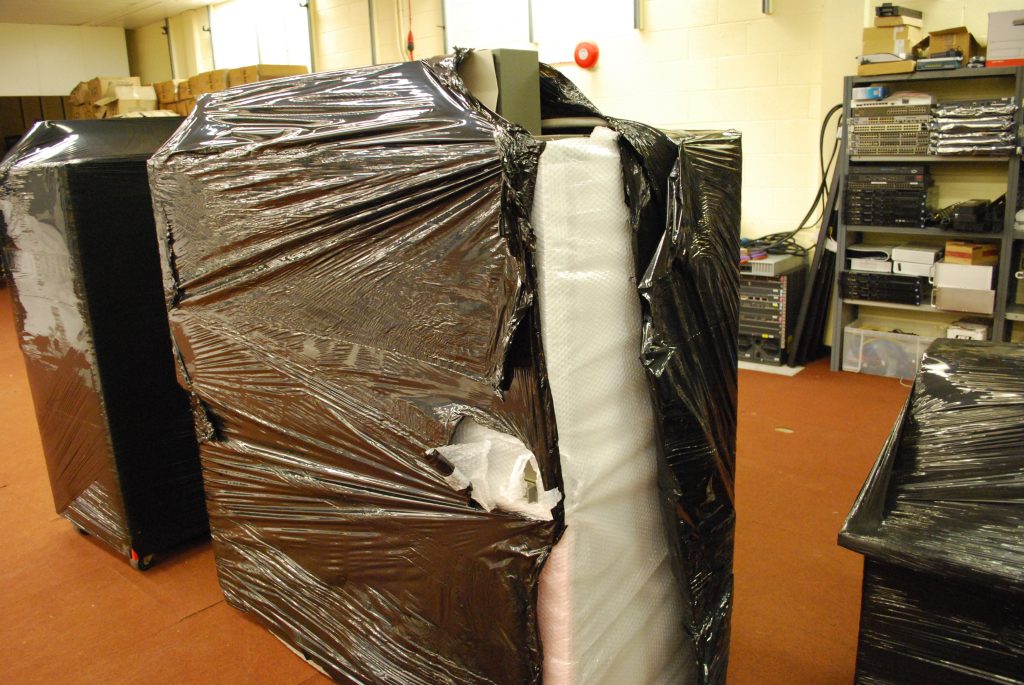
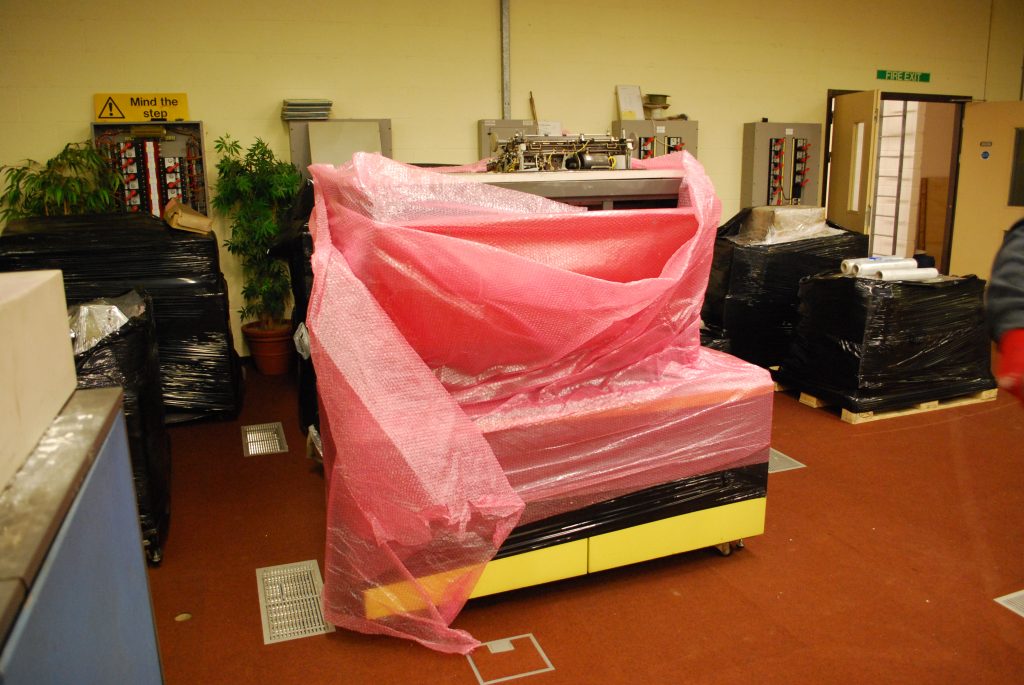
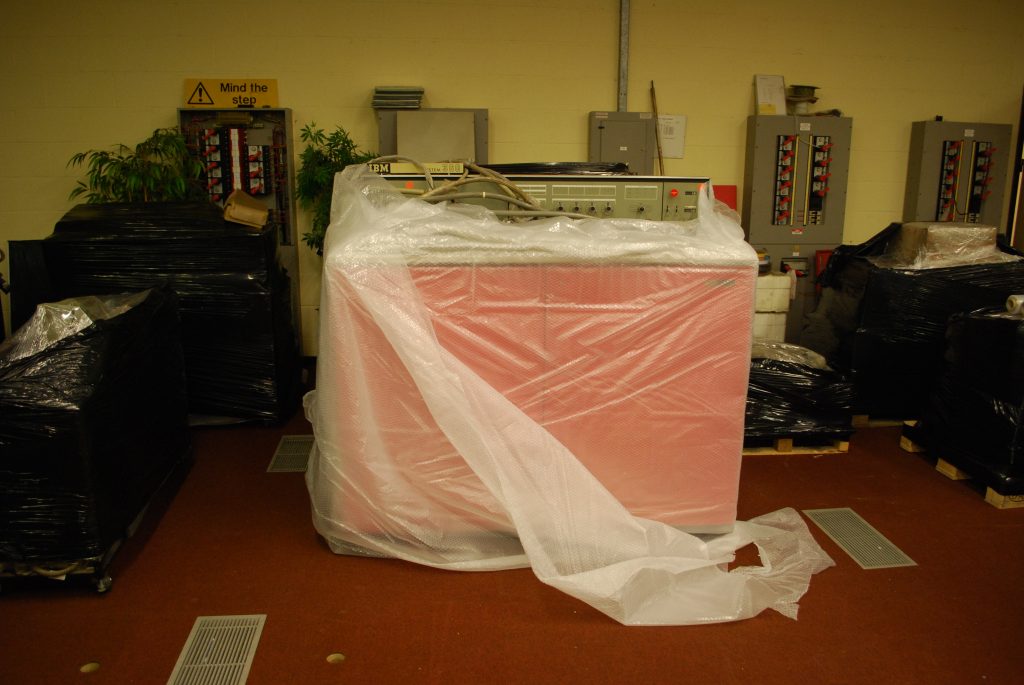
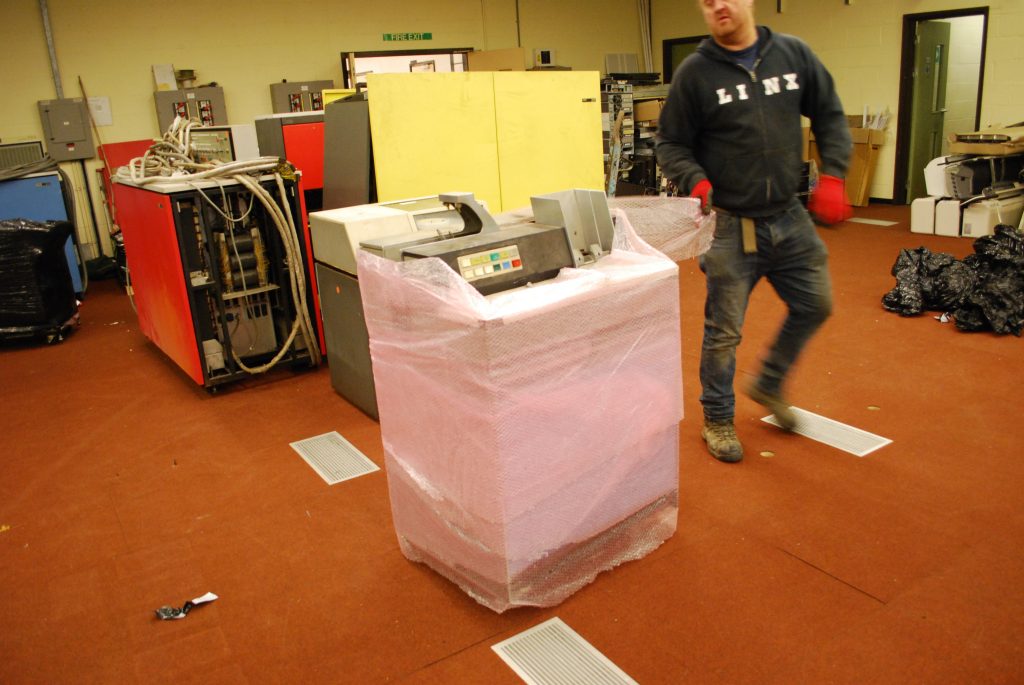
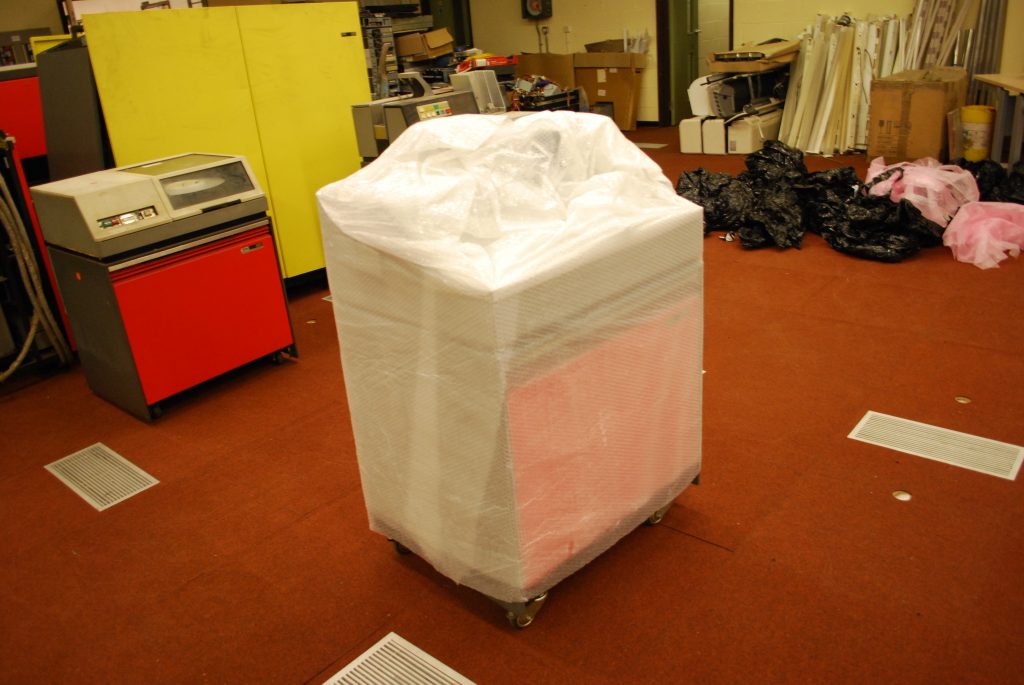
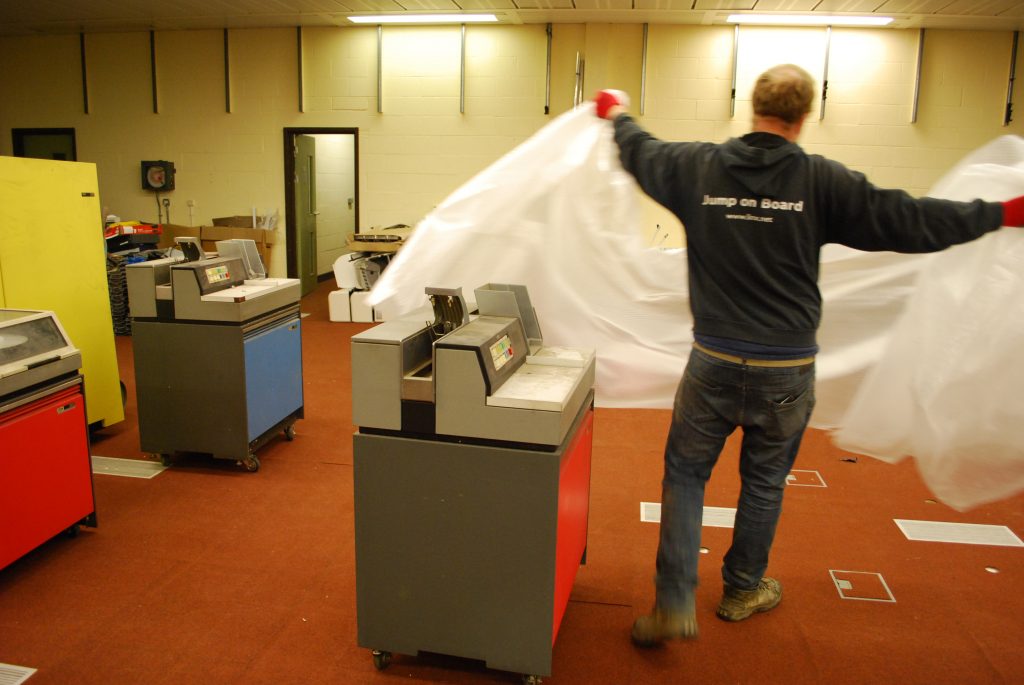
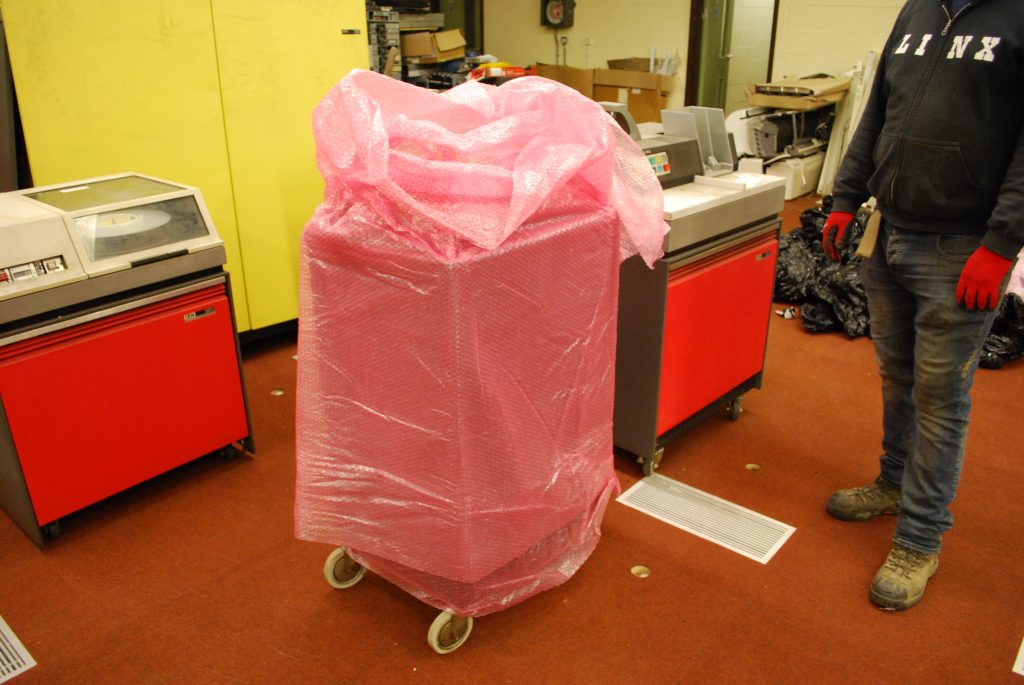
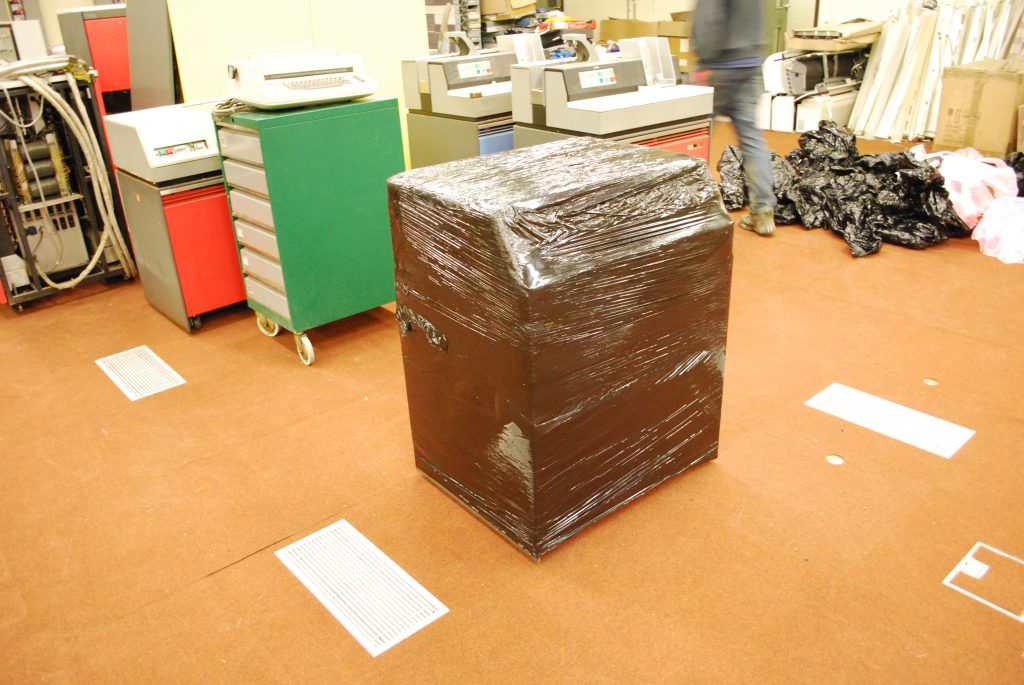
Pretty quickly the 370 was loaded, strapped, and wrapped:
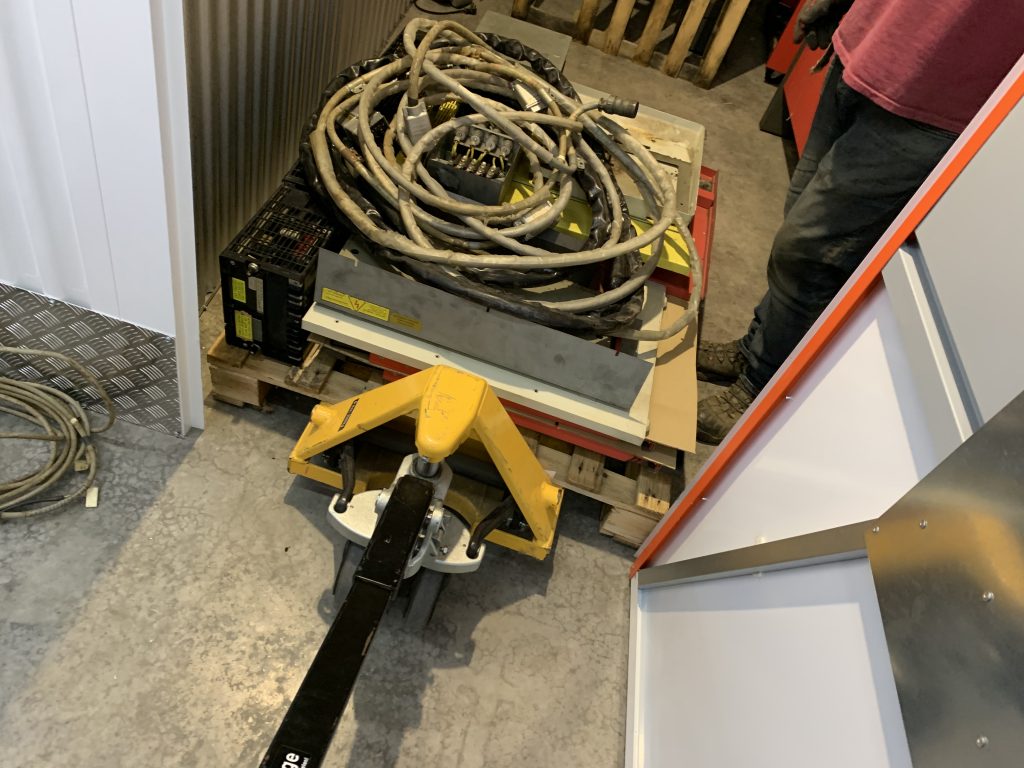
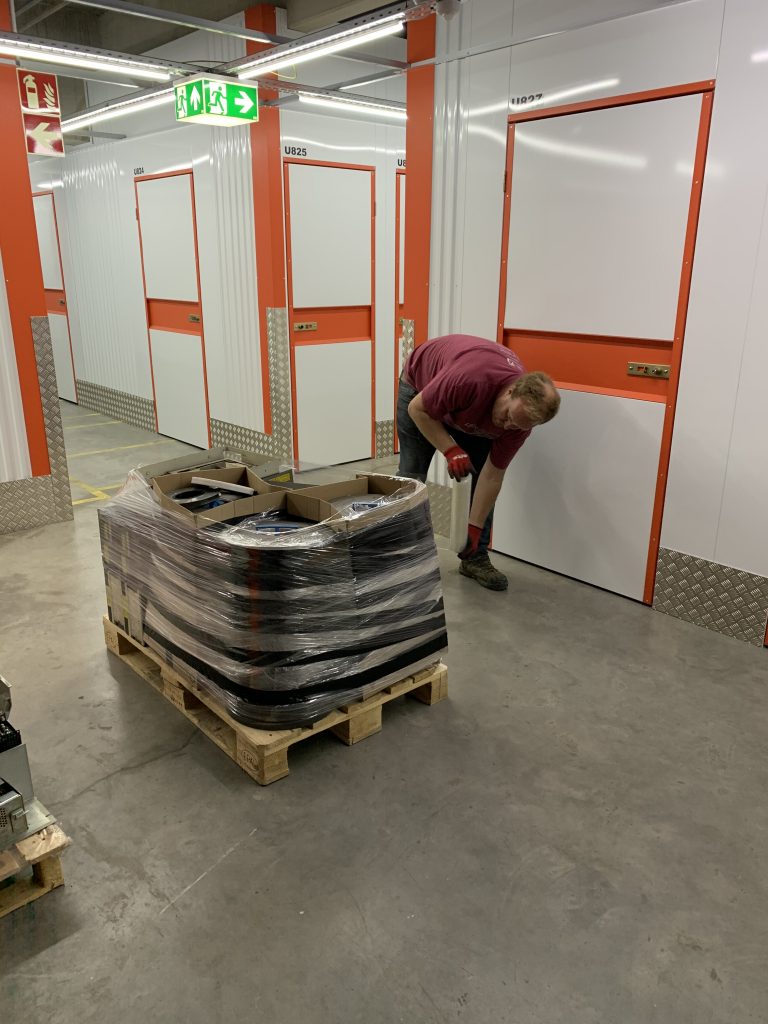
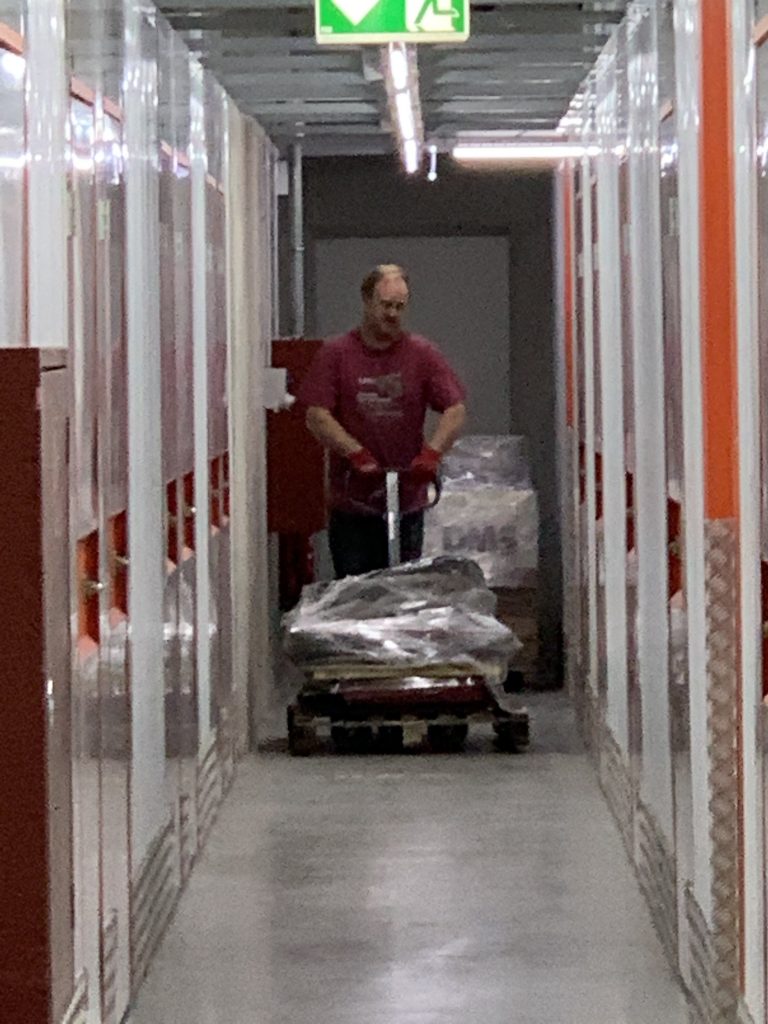
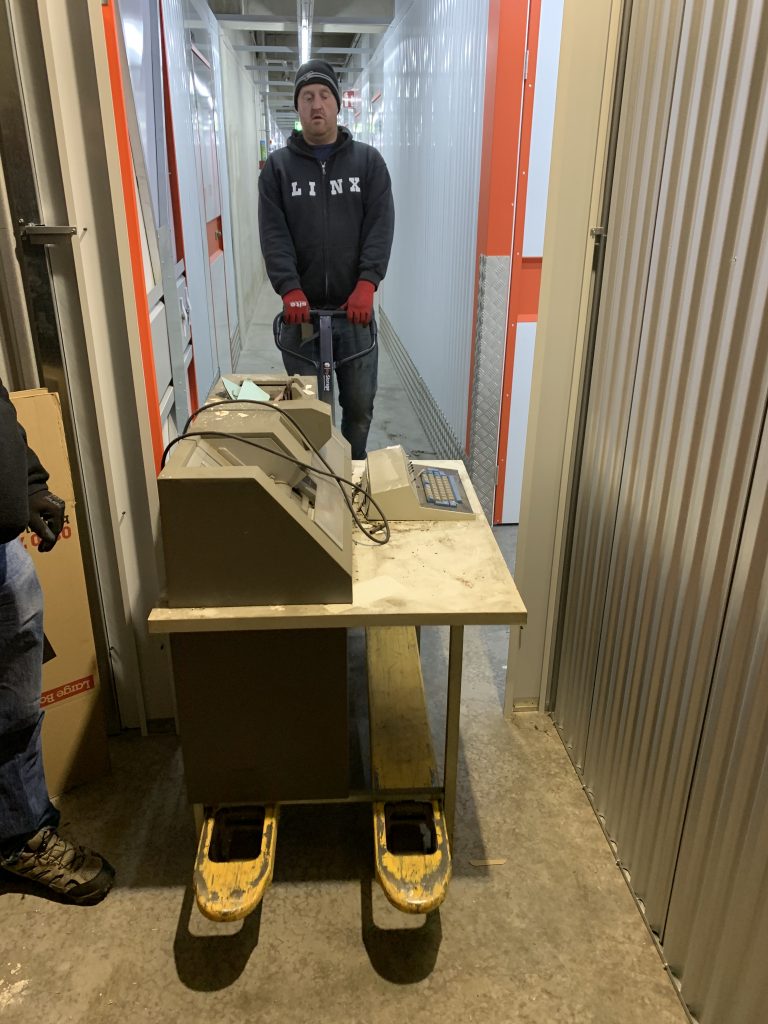
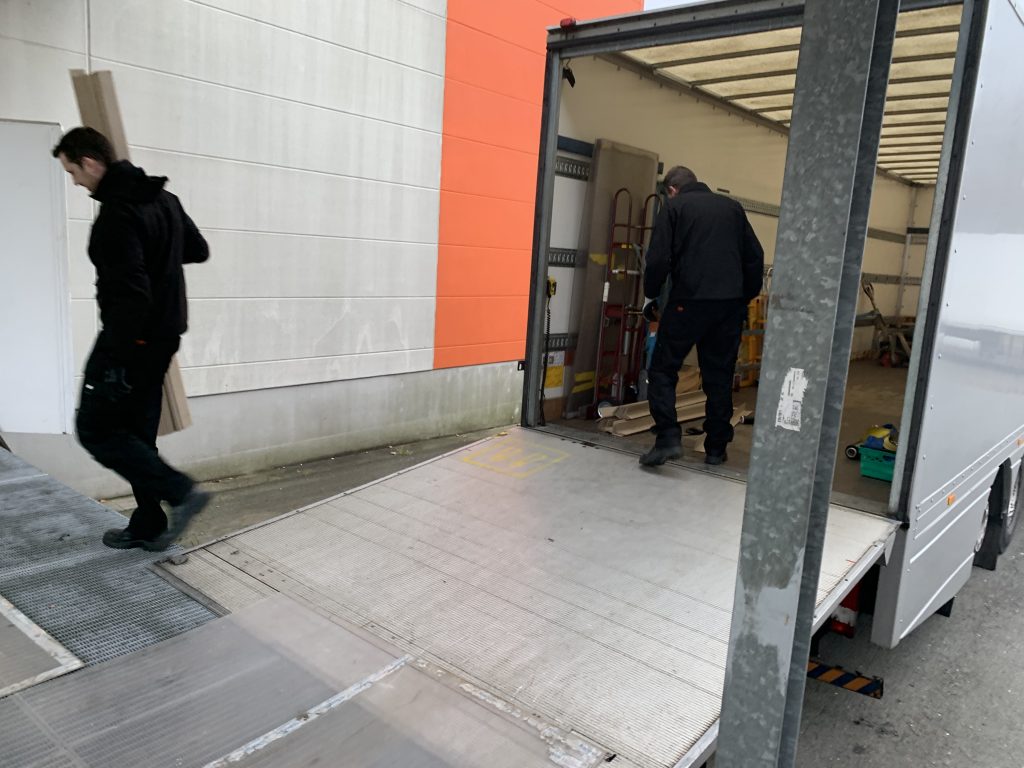
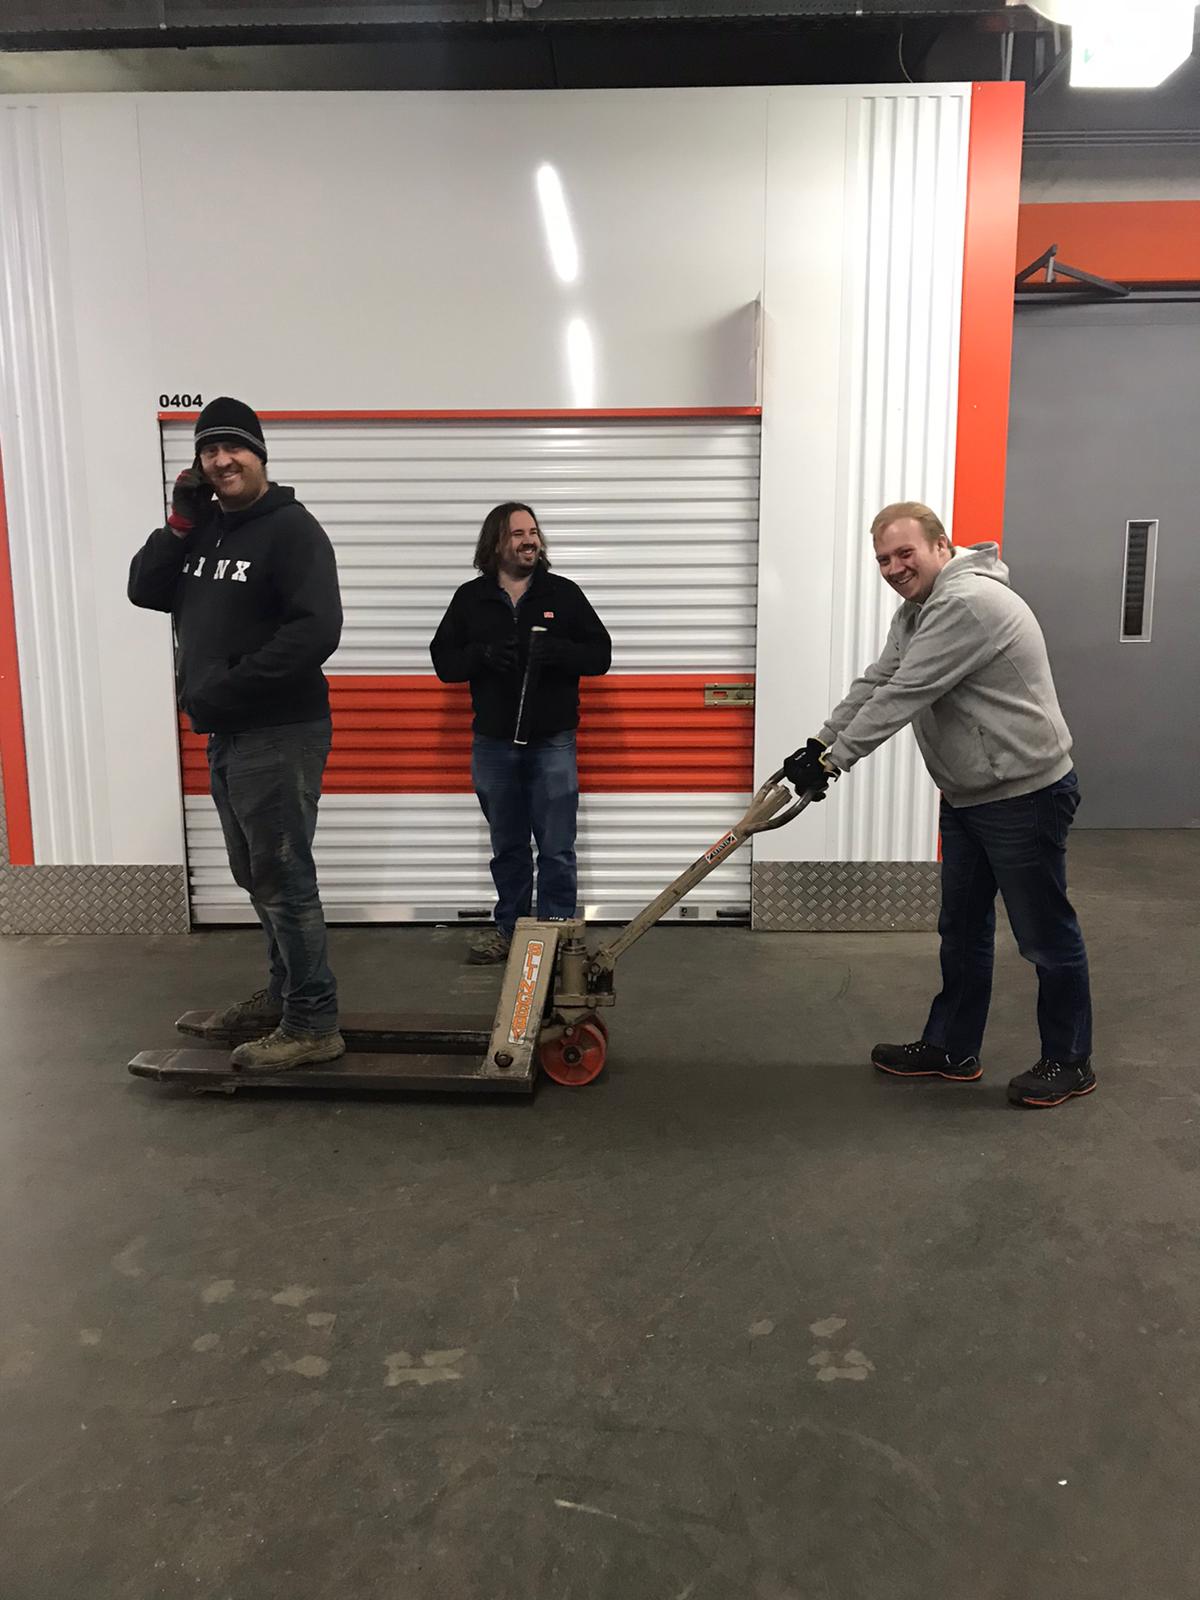
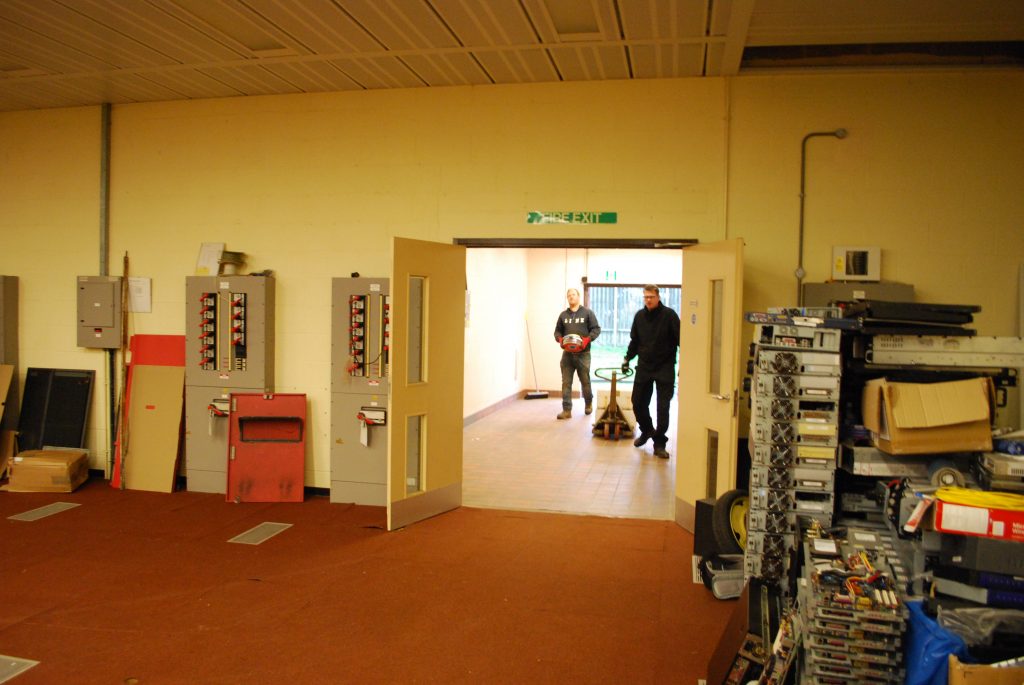
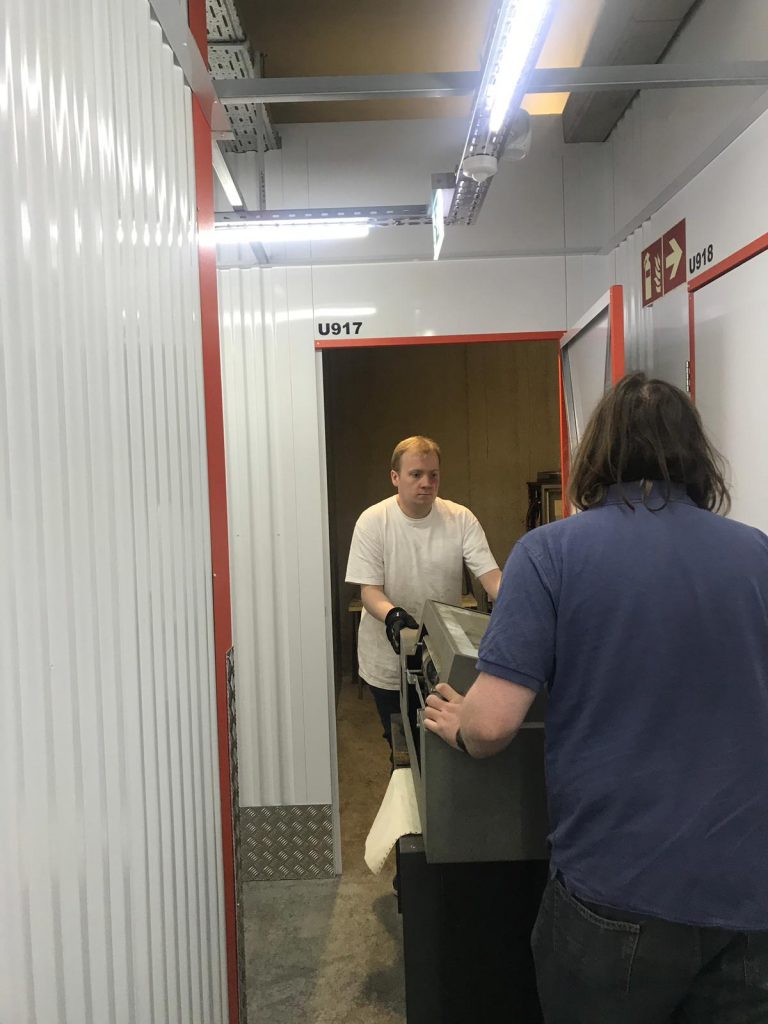
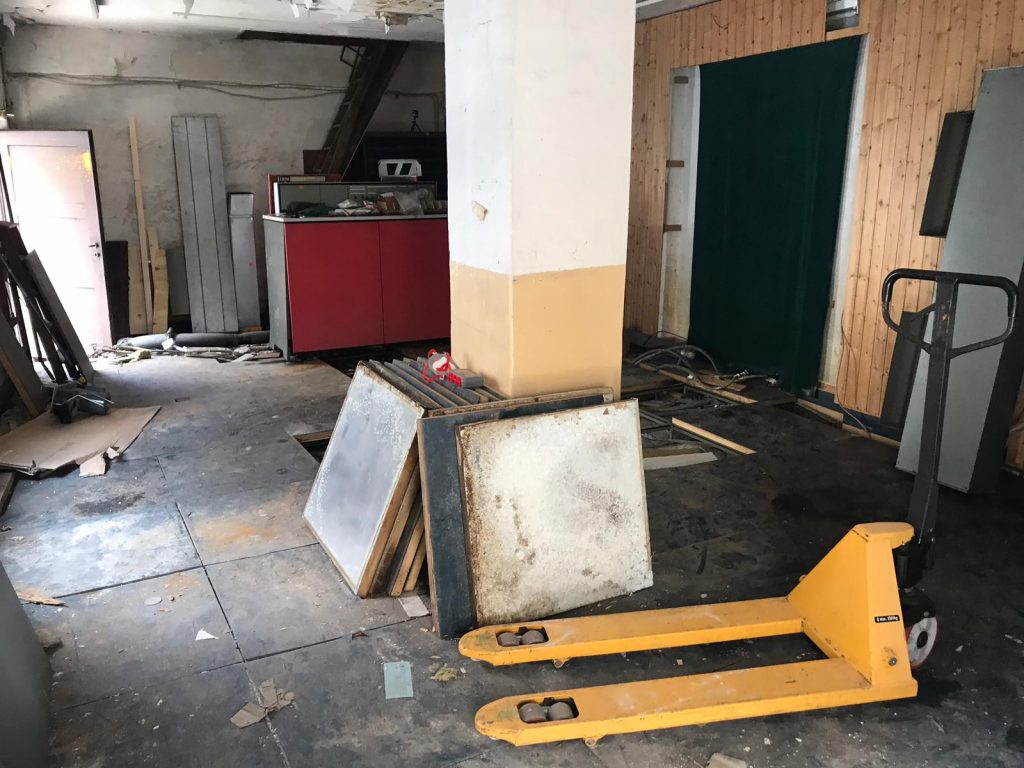
Now, the big question arrived. With a long, custom sized pallet, how do you move it? Two pallet trucks, one at each end, would’ve been possible but would’ve restricted where the machines could be placed. It was then we discovered that you can buy double length, wide fork pallet trucks. Dutifully the next day the System Source team went off to Pallet Truck World (yes, really) to acquire such an item:
This made moving everything about 100 times easier, and we could now shift the pallets around the room with ease.
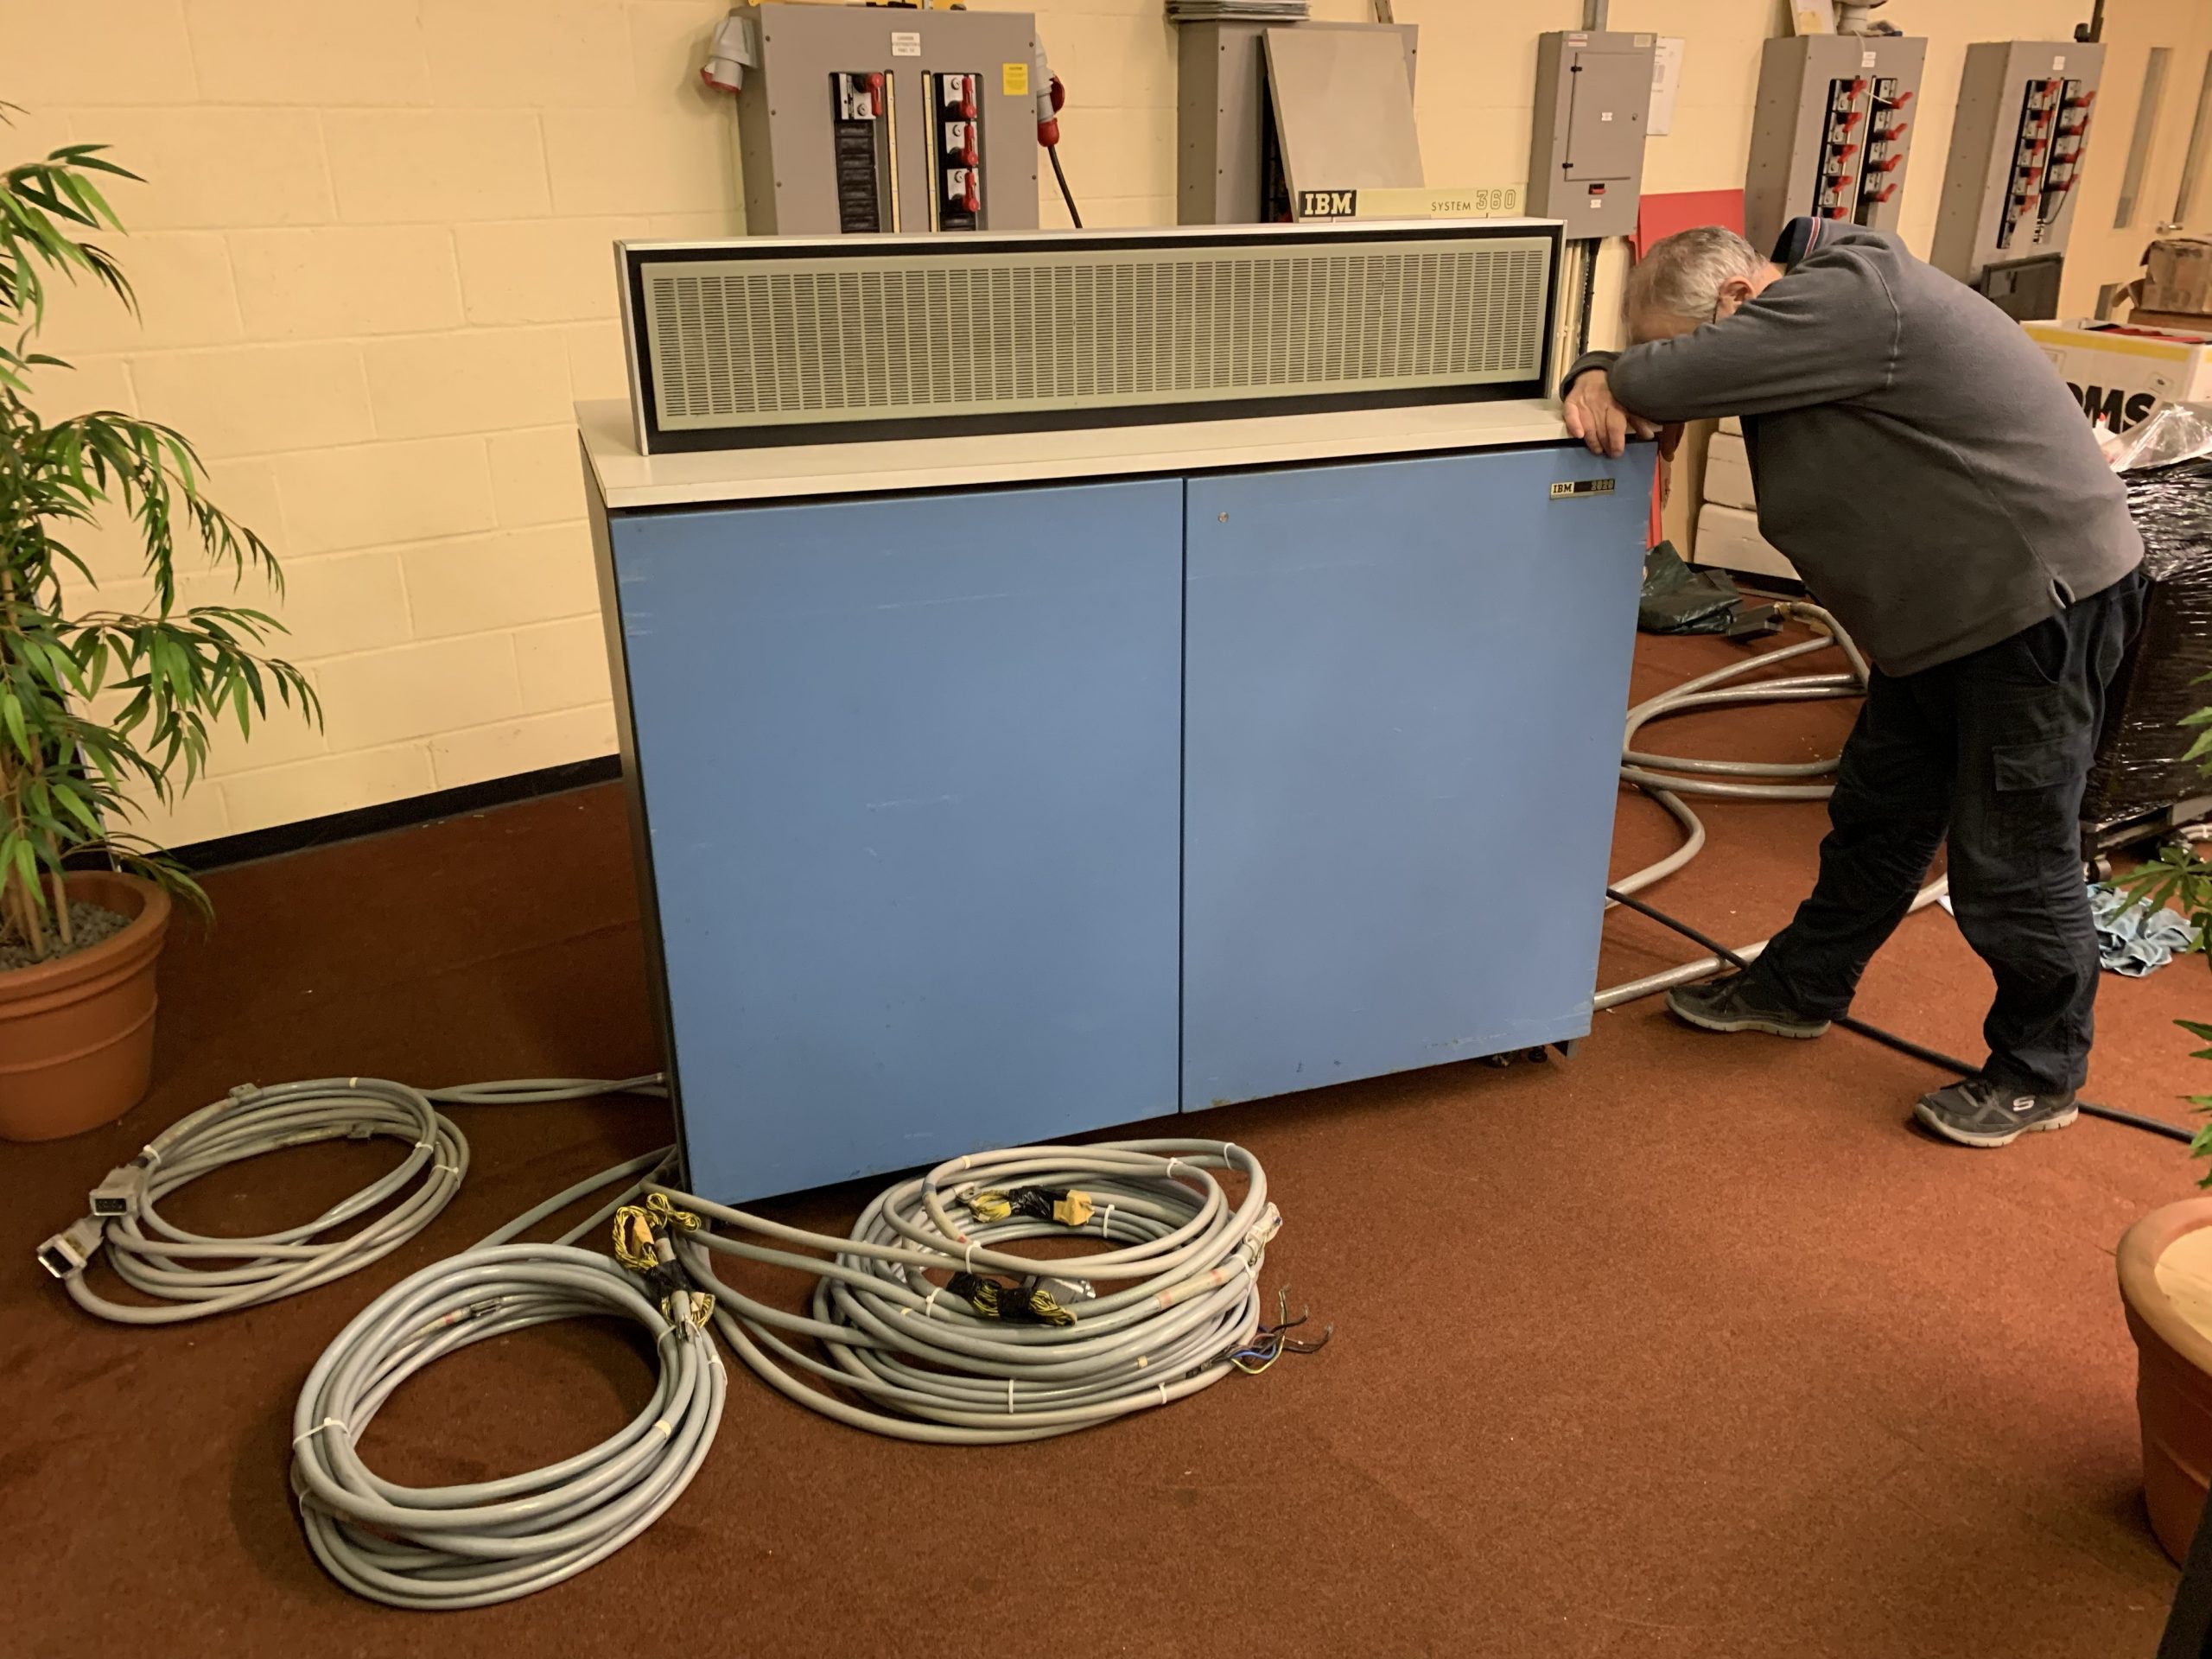
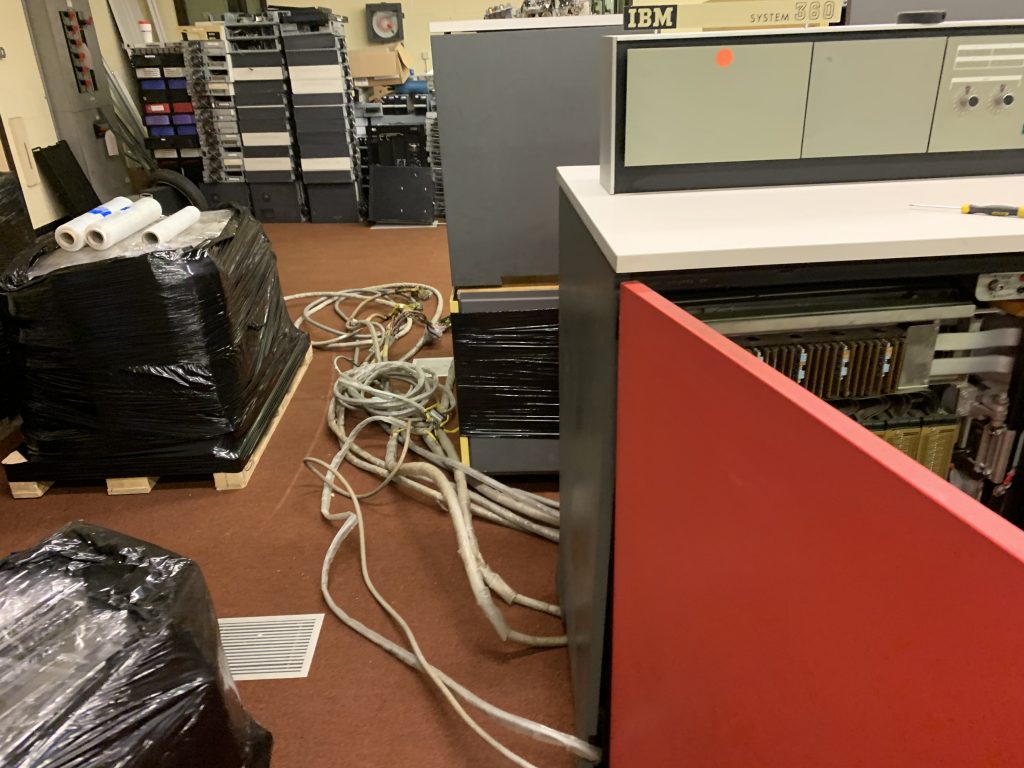
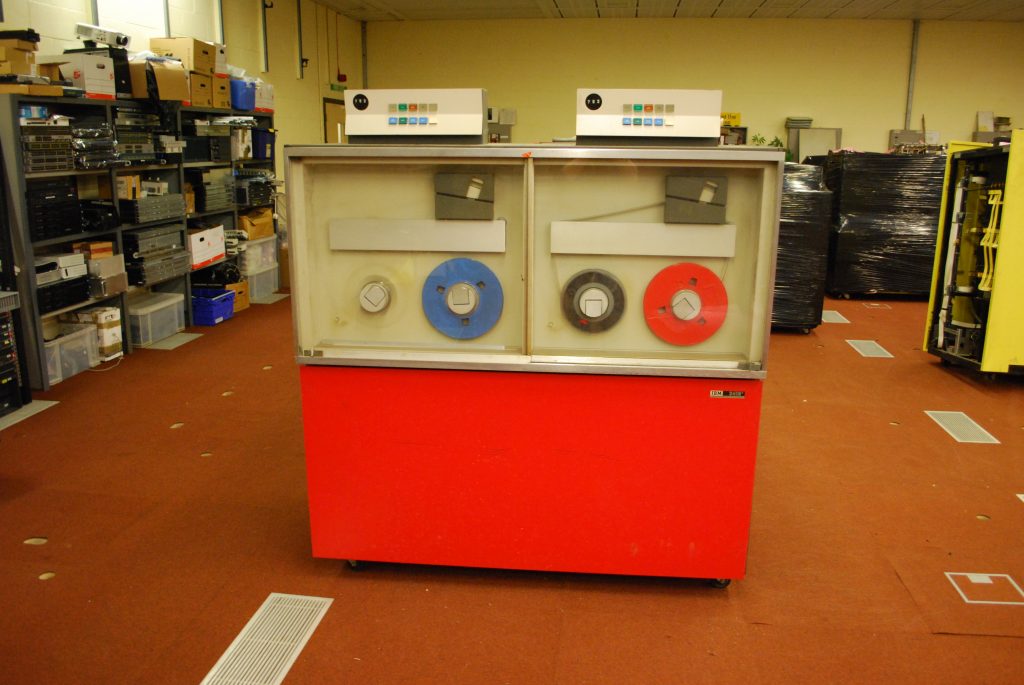
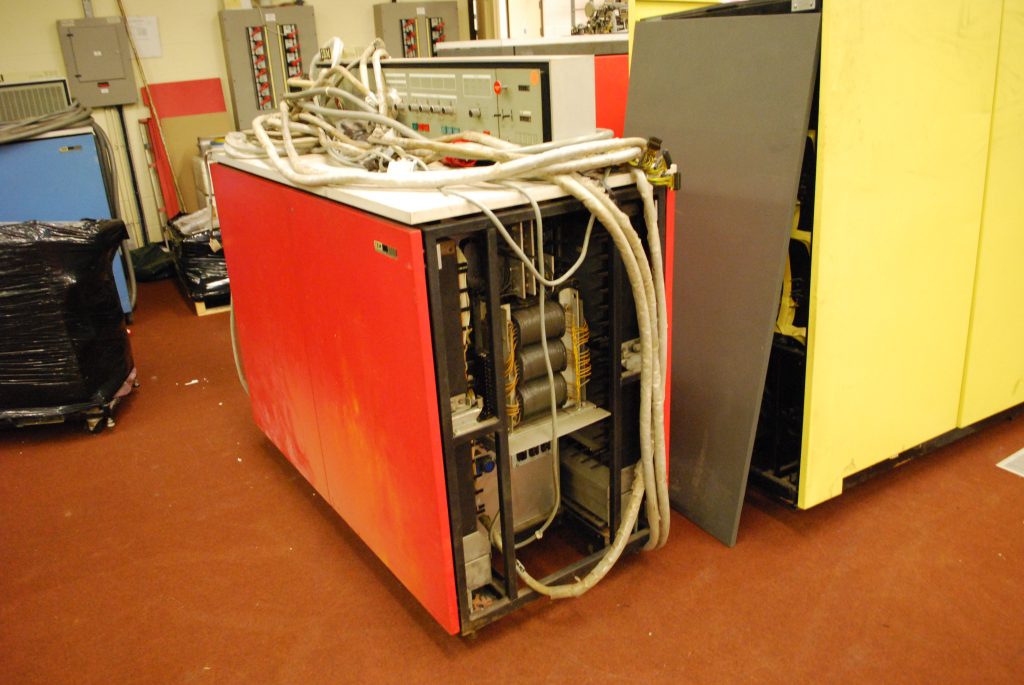
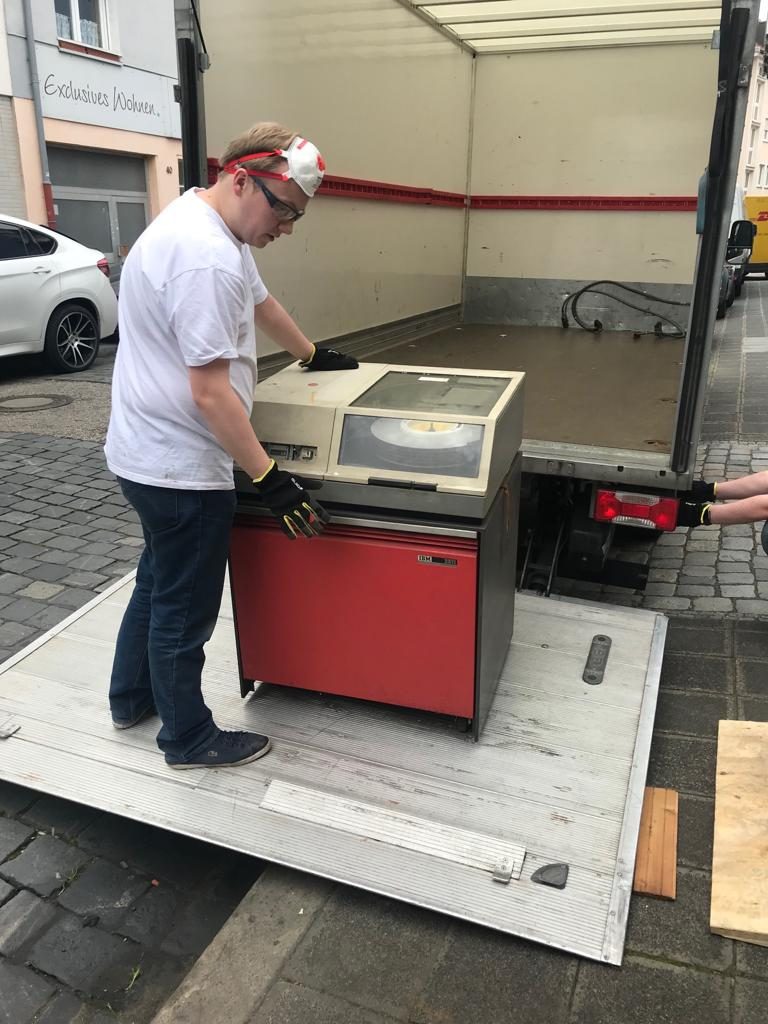
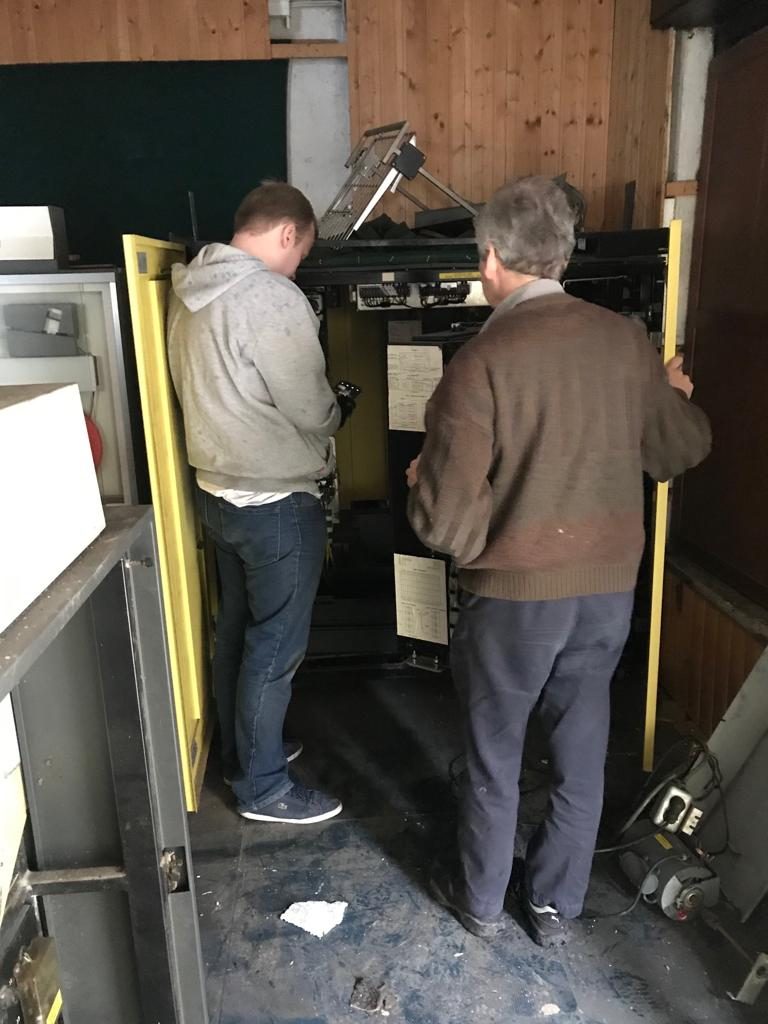
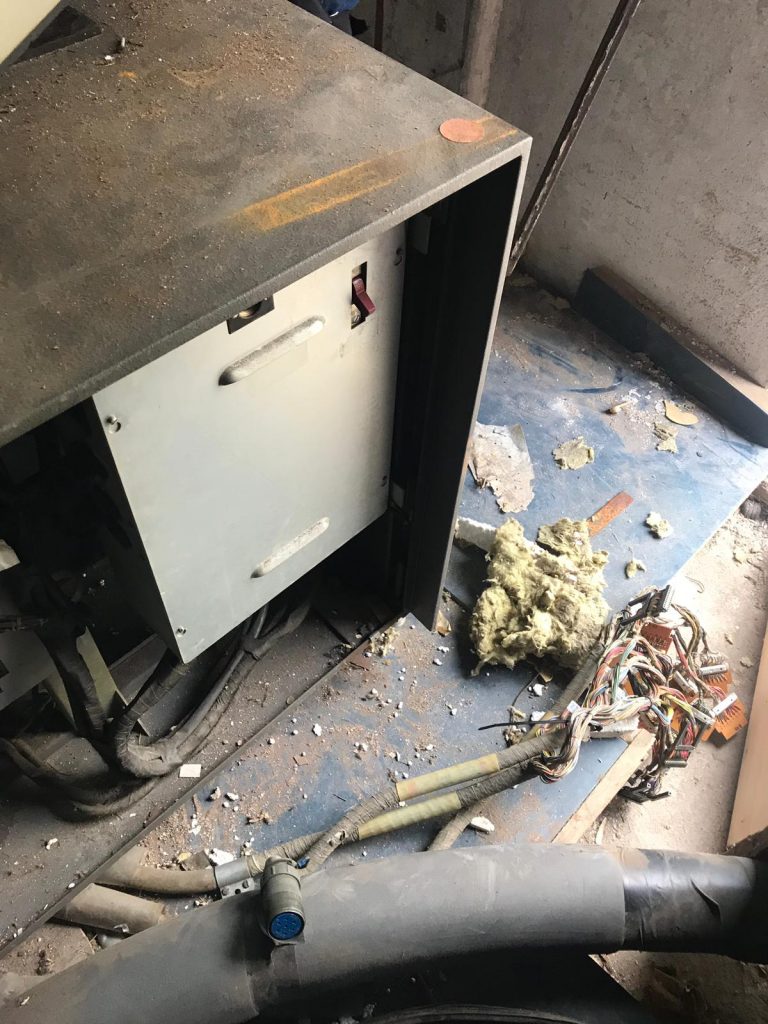
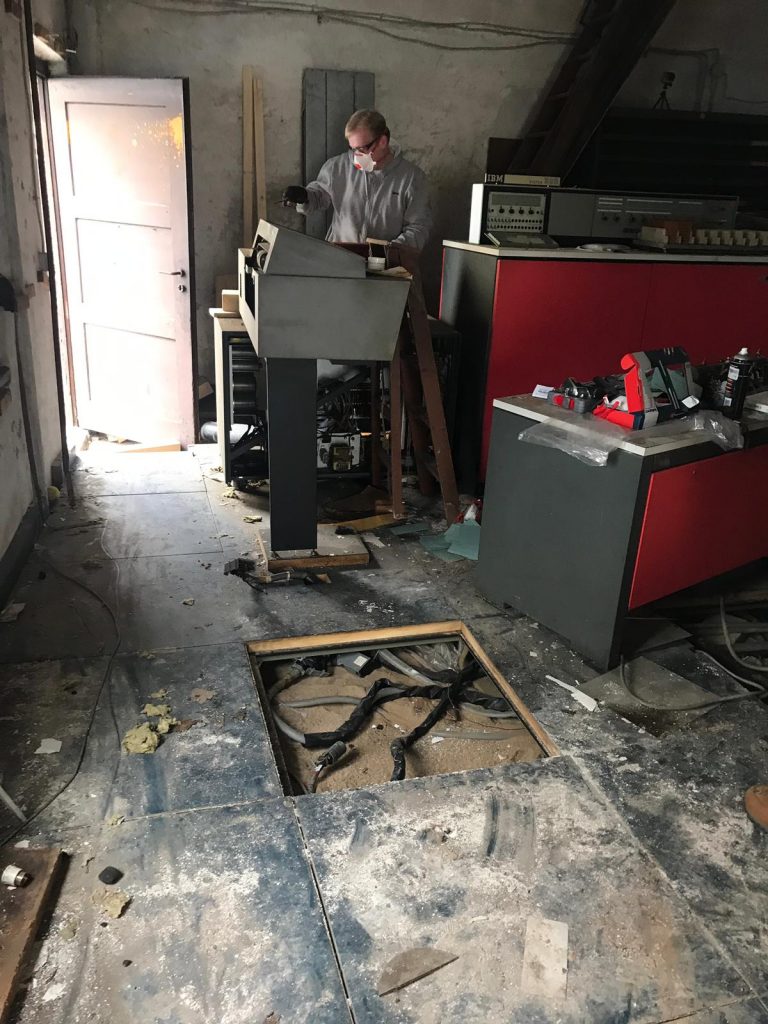
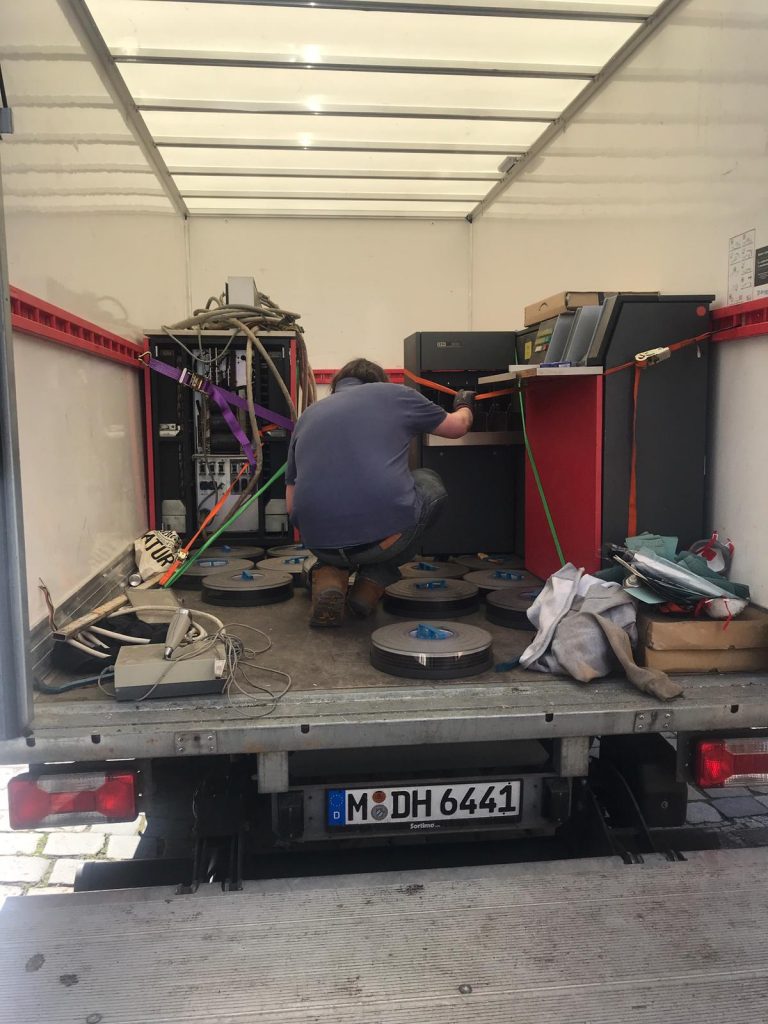
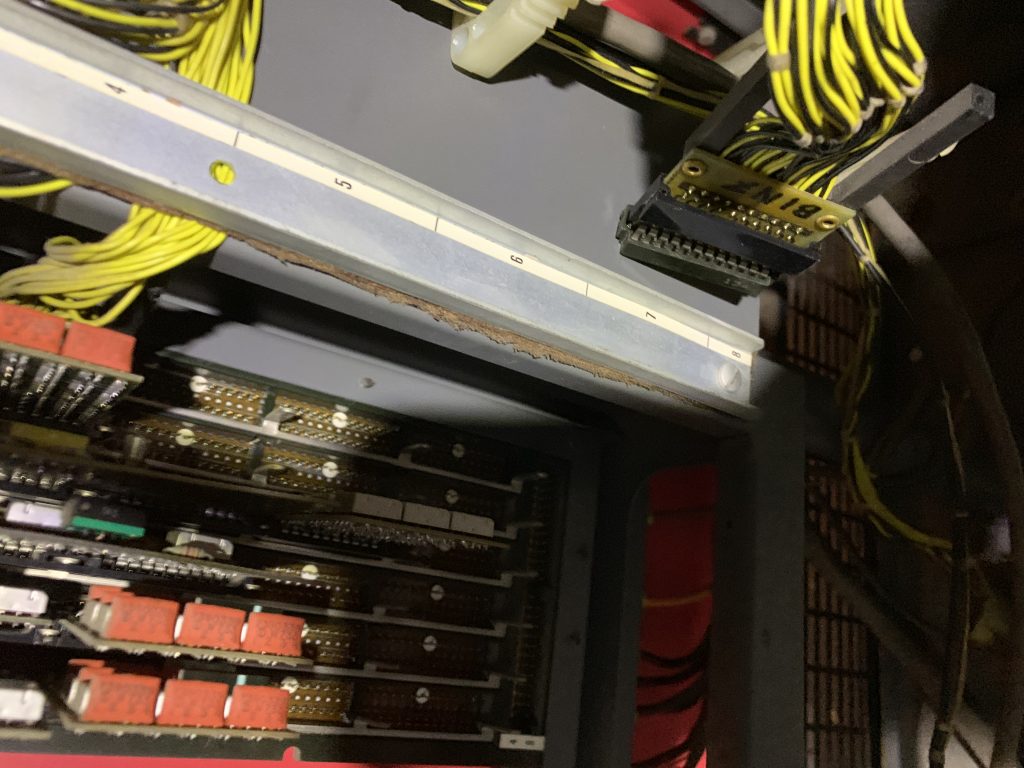
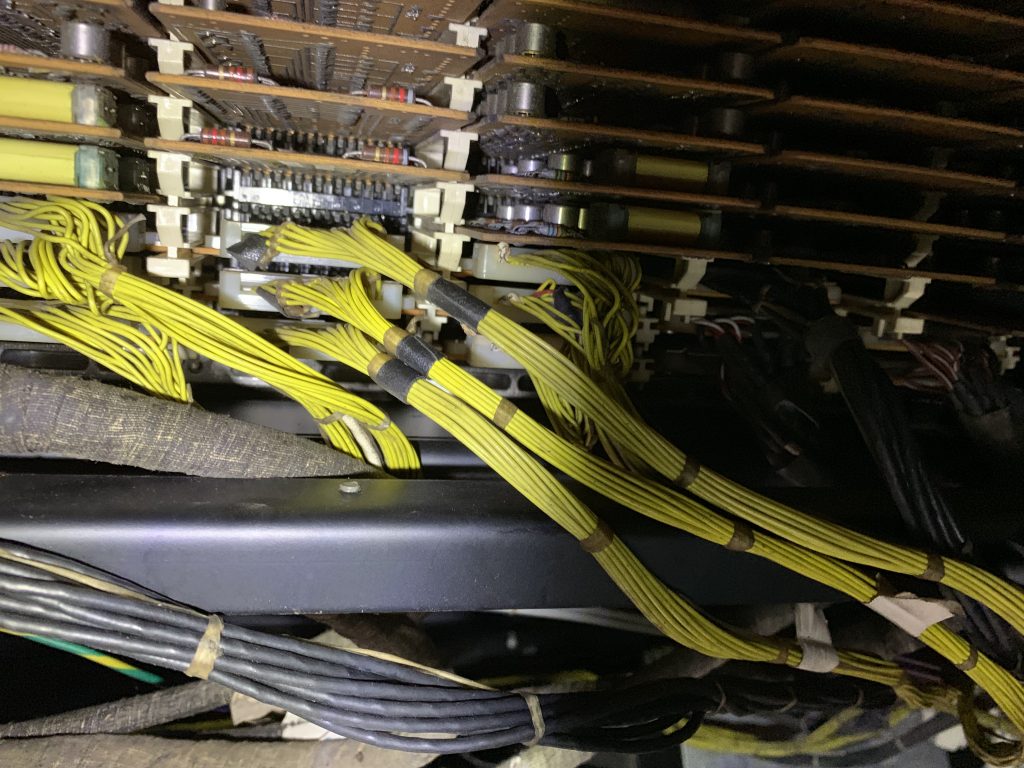
So, next up was the first 360 CPU. This presented more of a challenge as the cables hanging under the system, which are wired directly into the backplane, meant we couldn’t use the ramp method. After scratching our heads for a few minutes we concocted a solution involving a car jack & a pile of wood:
Now this probably looks really sketchy, and thats because, like everything moving big iron related, it was. First, we jacked up the front of the machine to a height slightly above that of the pallet, and then wedged in some wood on the supporting rail. We then positioned the pallet under the front wheels of the CPU, and smacked out the wood. This enabled us to roll the machine forward onto the pallet as far as the angle of attack would allow, and we then jacked up the back of the machine and rolled it forward on the jack enabling us to locate it fully onto the pallet. This may sound slightly convoluted but it was actually a very quick operation, and by the third machine we were getting quite good at it!
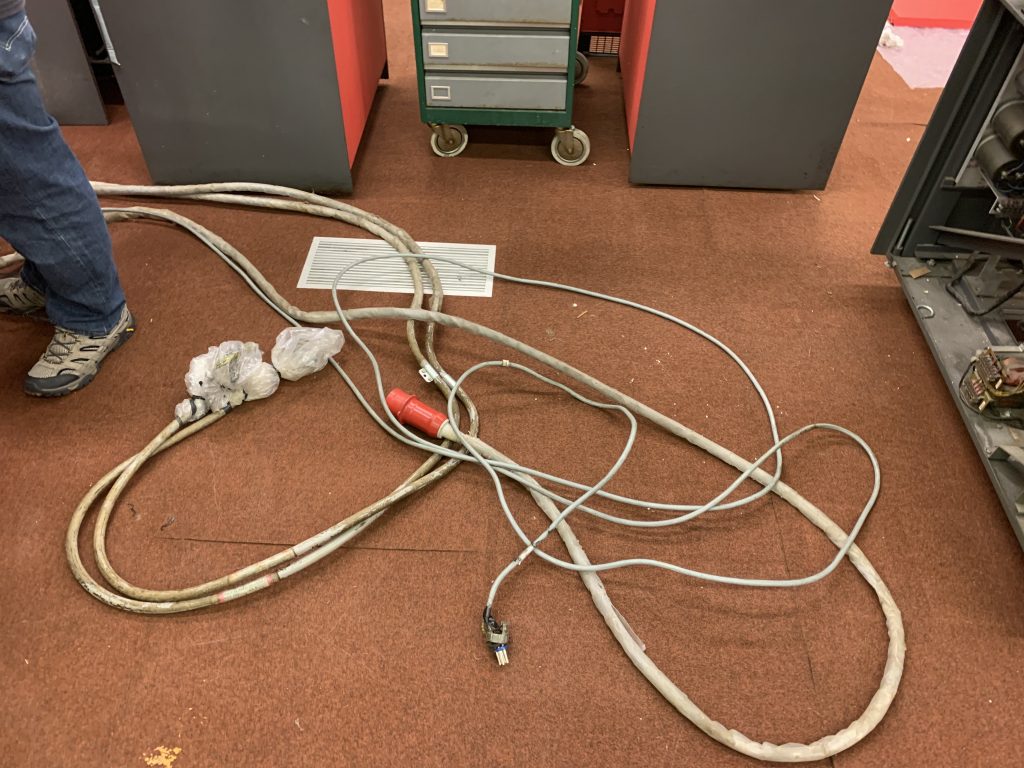
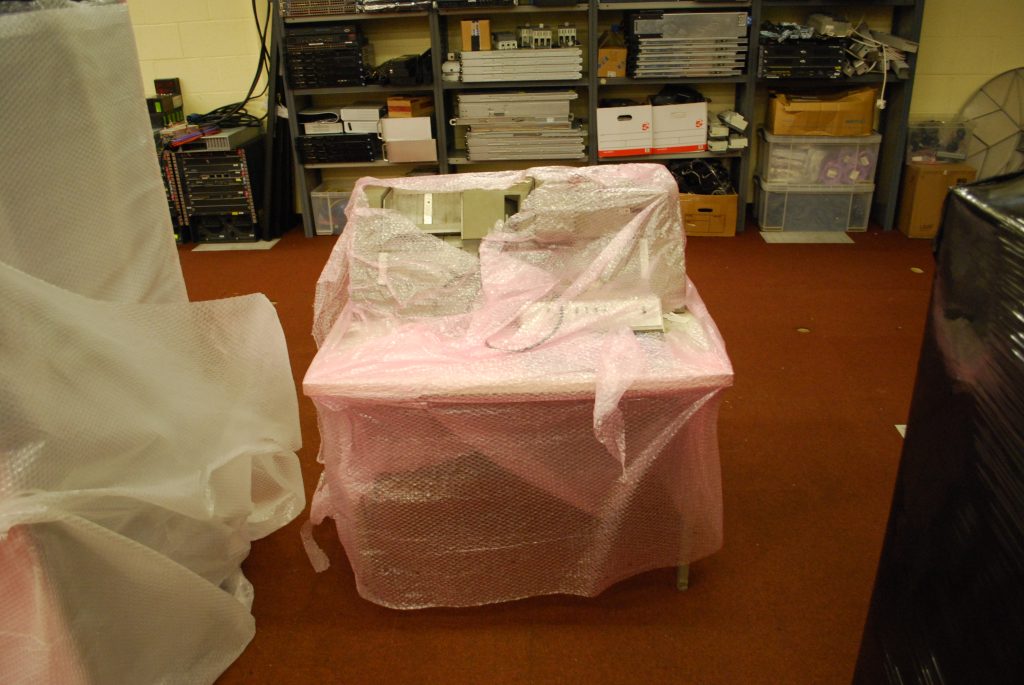
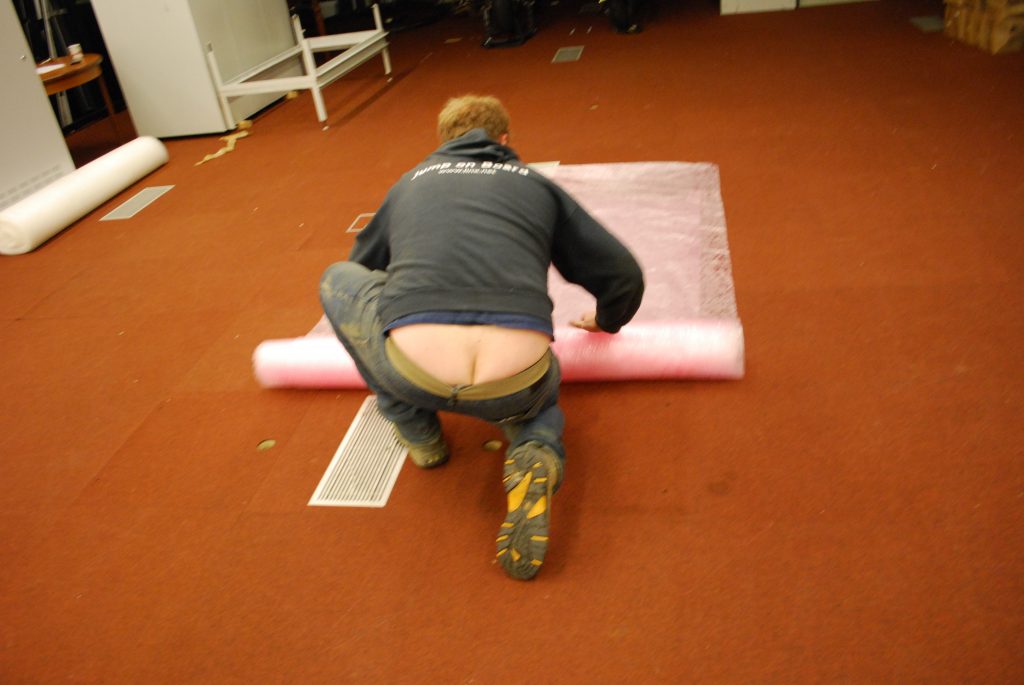
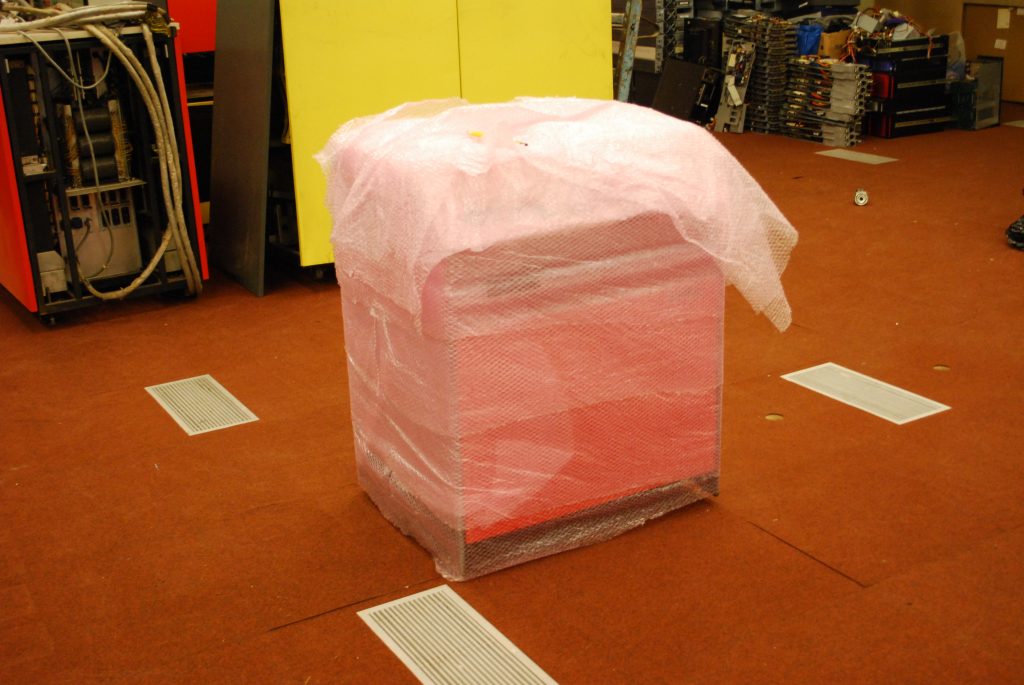
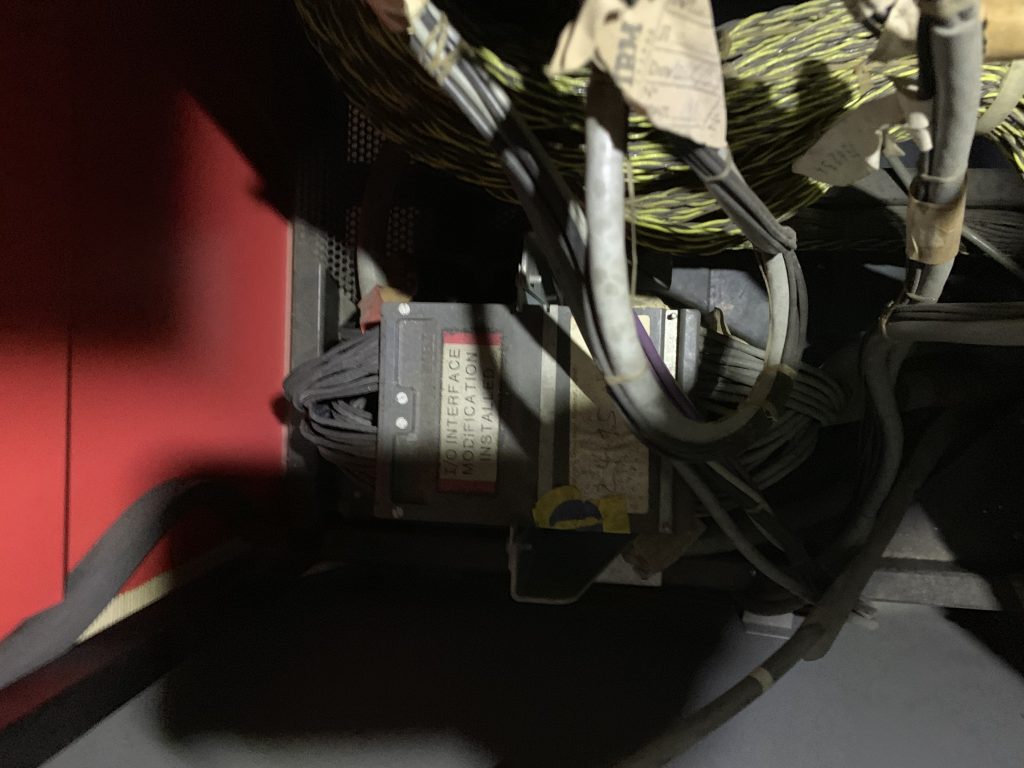
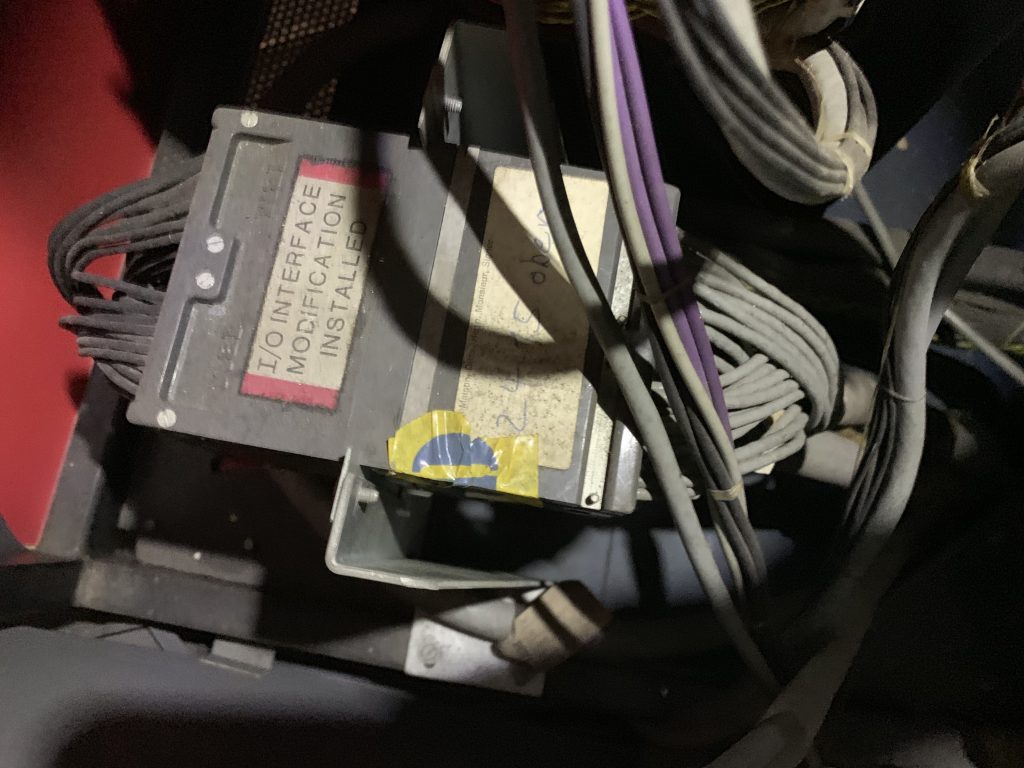
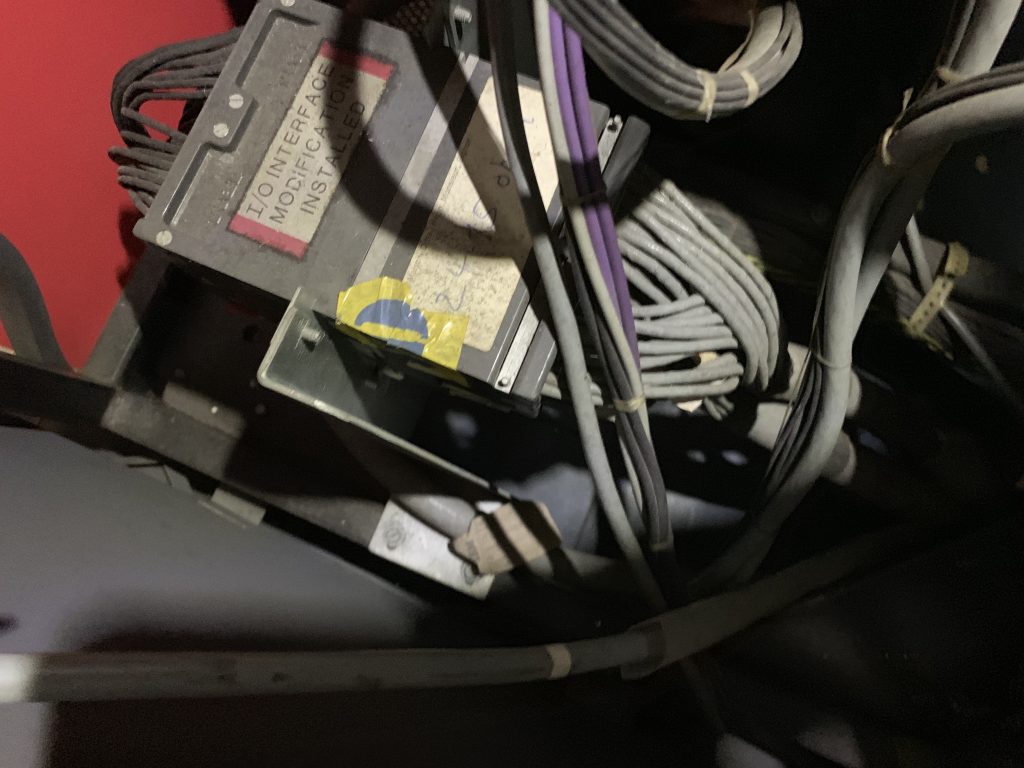
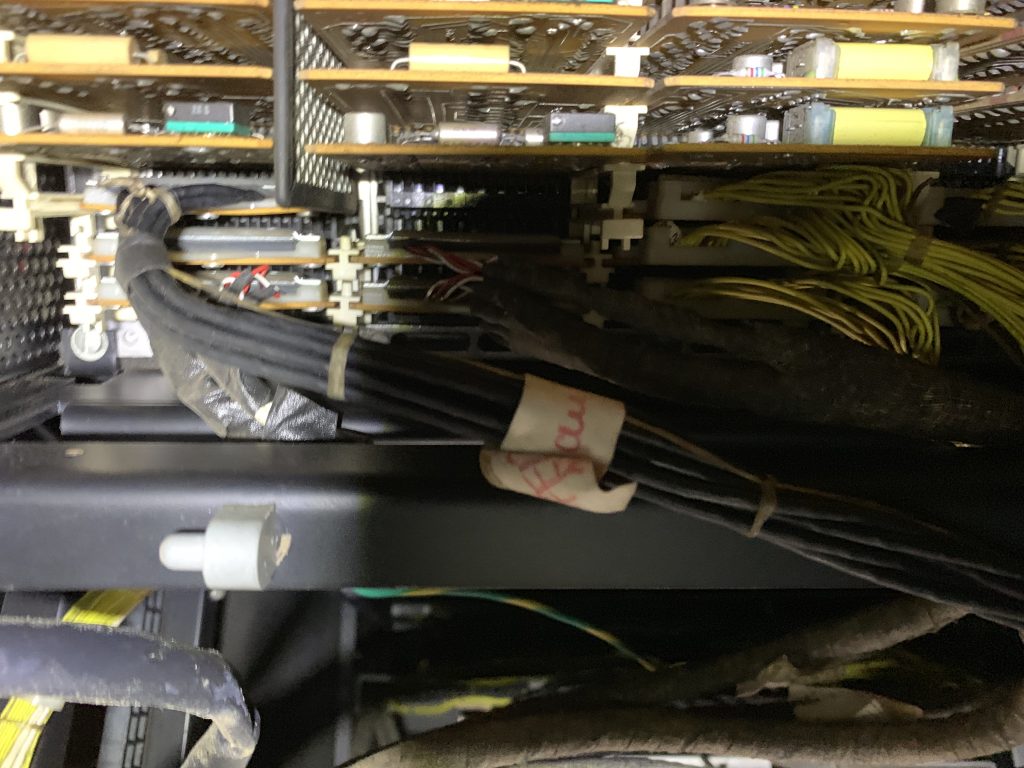
Because the cables are hard wired into the CPU’s, we had to bundle them and cable tie them to the ends of the machines, later wrapping them in a significant amount of bubble wrap and blankets to protect them from crush risk:
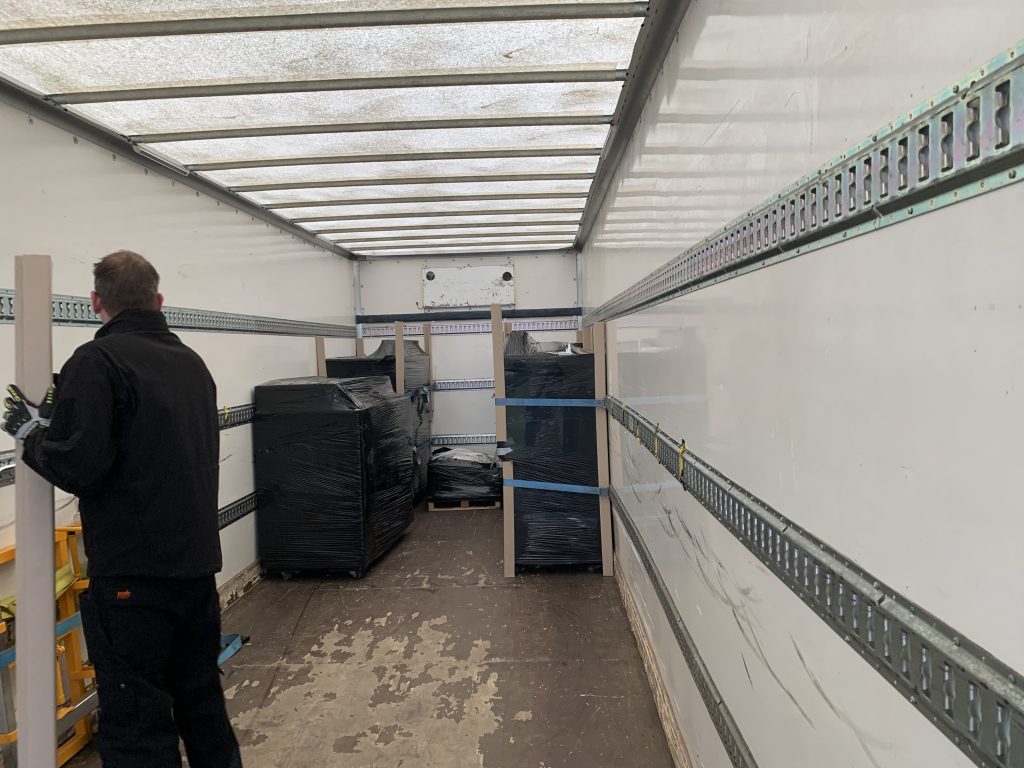
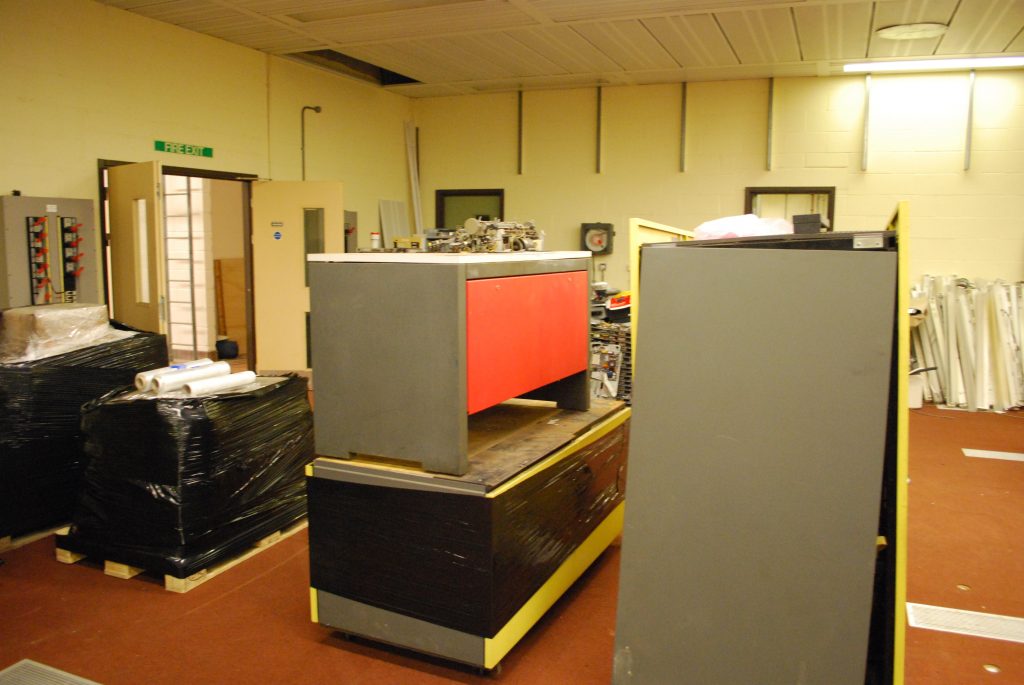
We continued loading items throughout the next few days, using the same method each time:
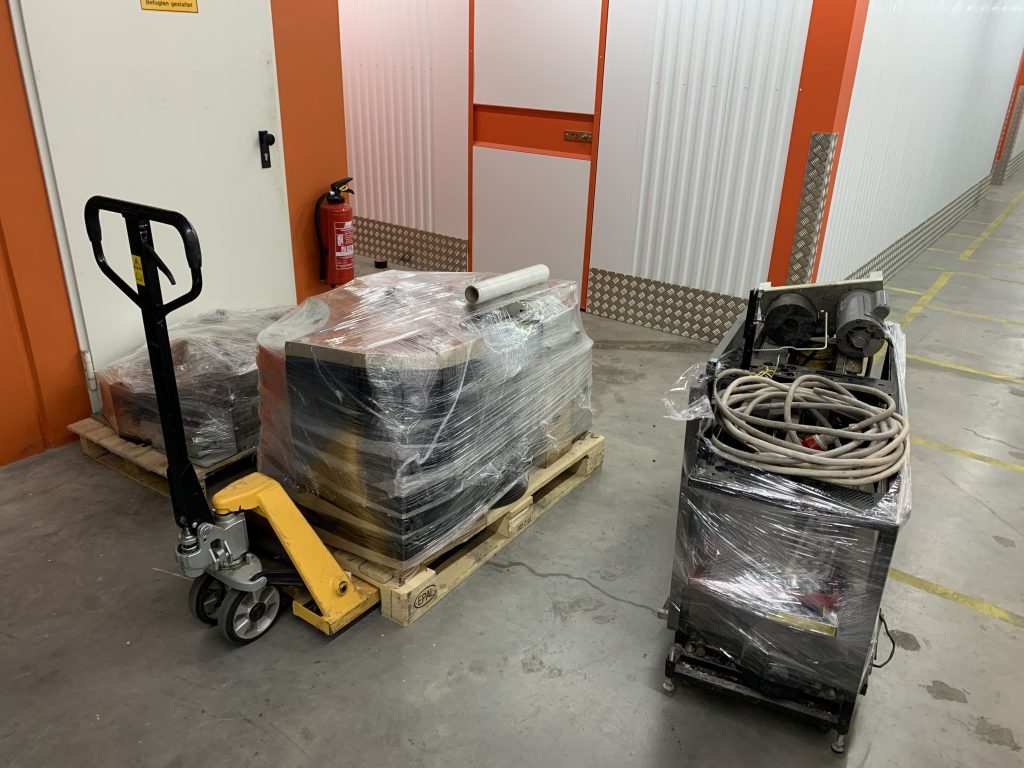
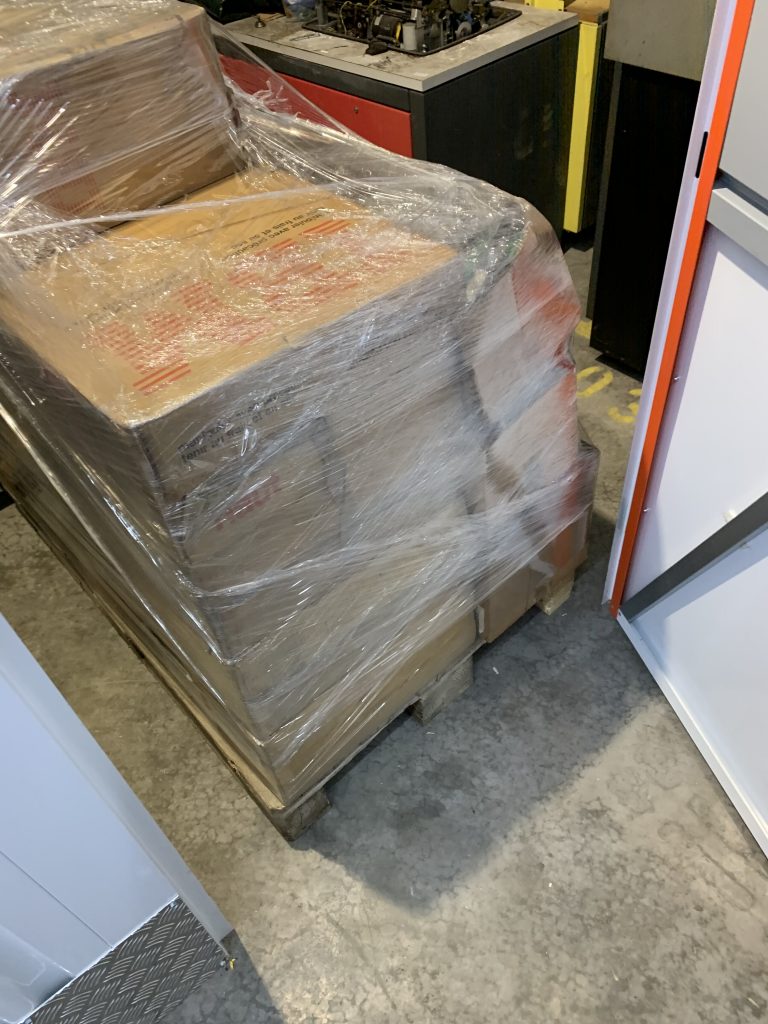
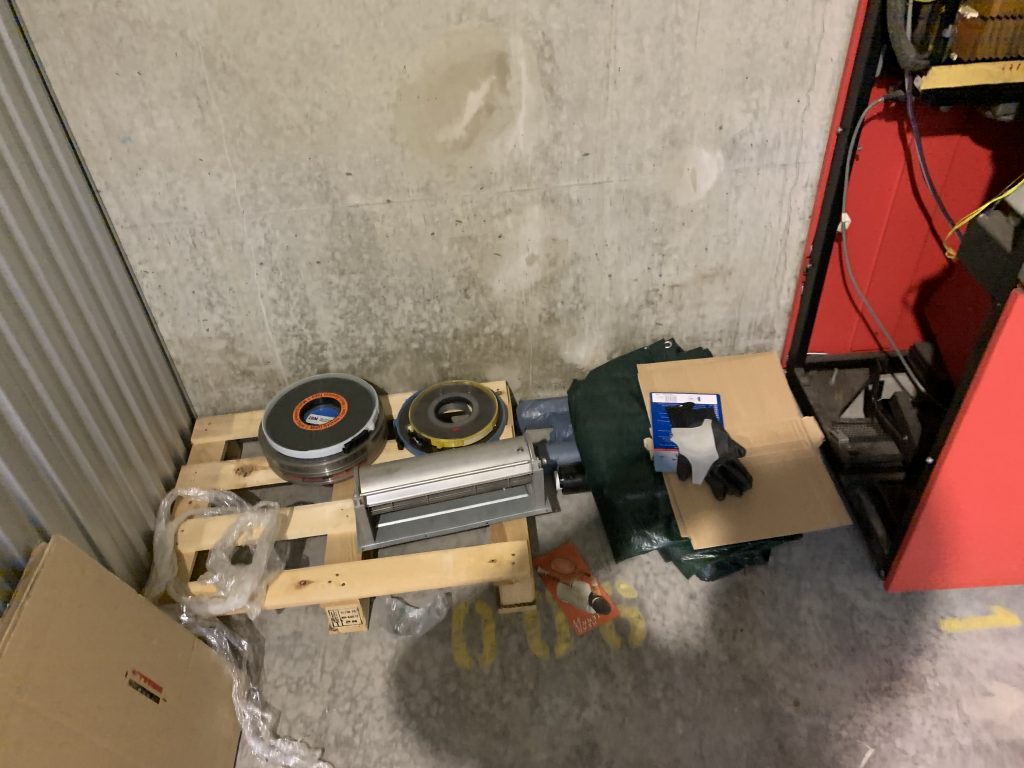
For the exceptionally heavy item, the master tape drive, we decided to reinforce the pallet for extra security. This involved a trip to Wickes to buy some plywood (Wickes is no Bauhaus, trust me), which we then cut and secured to the pallet:
This enabled the loading of the nearly 1 tonne tape drive:
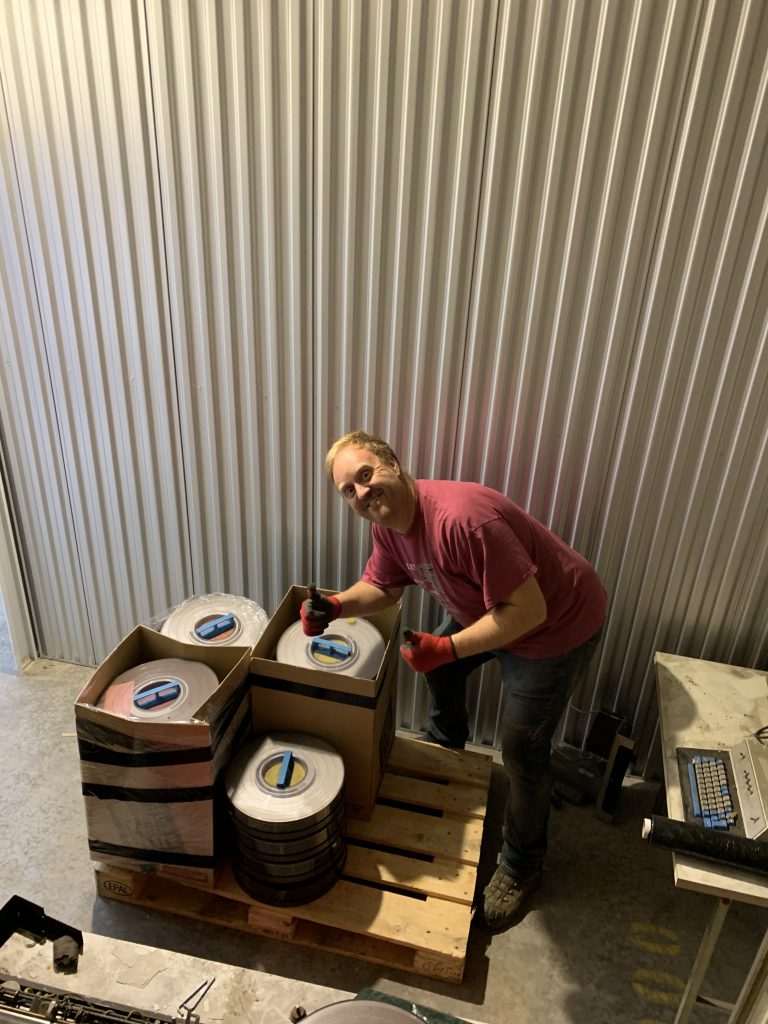
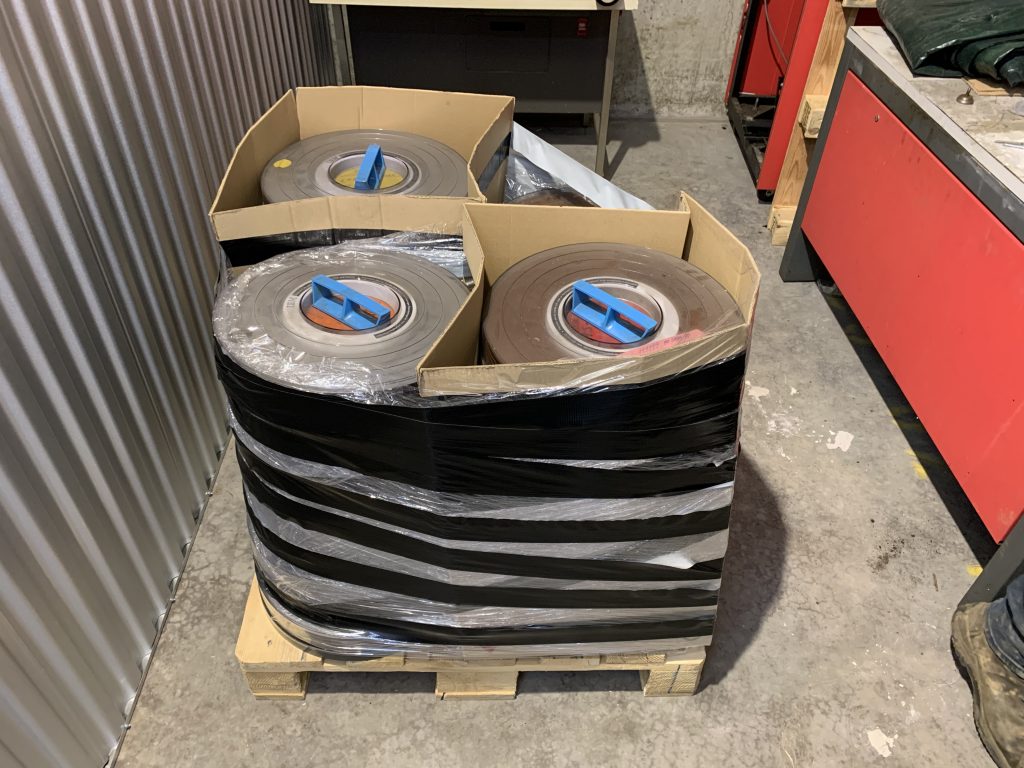
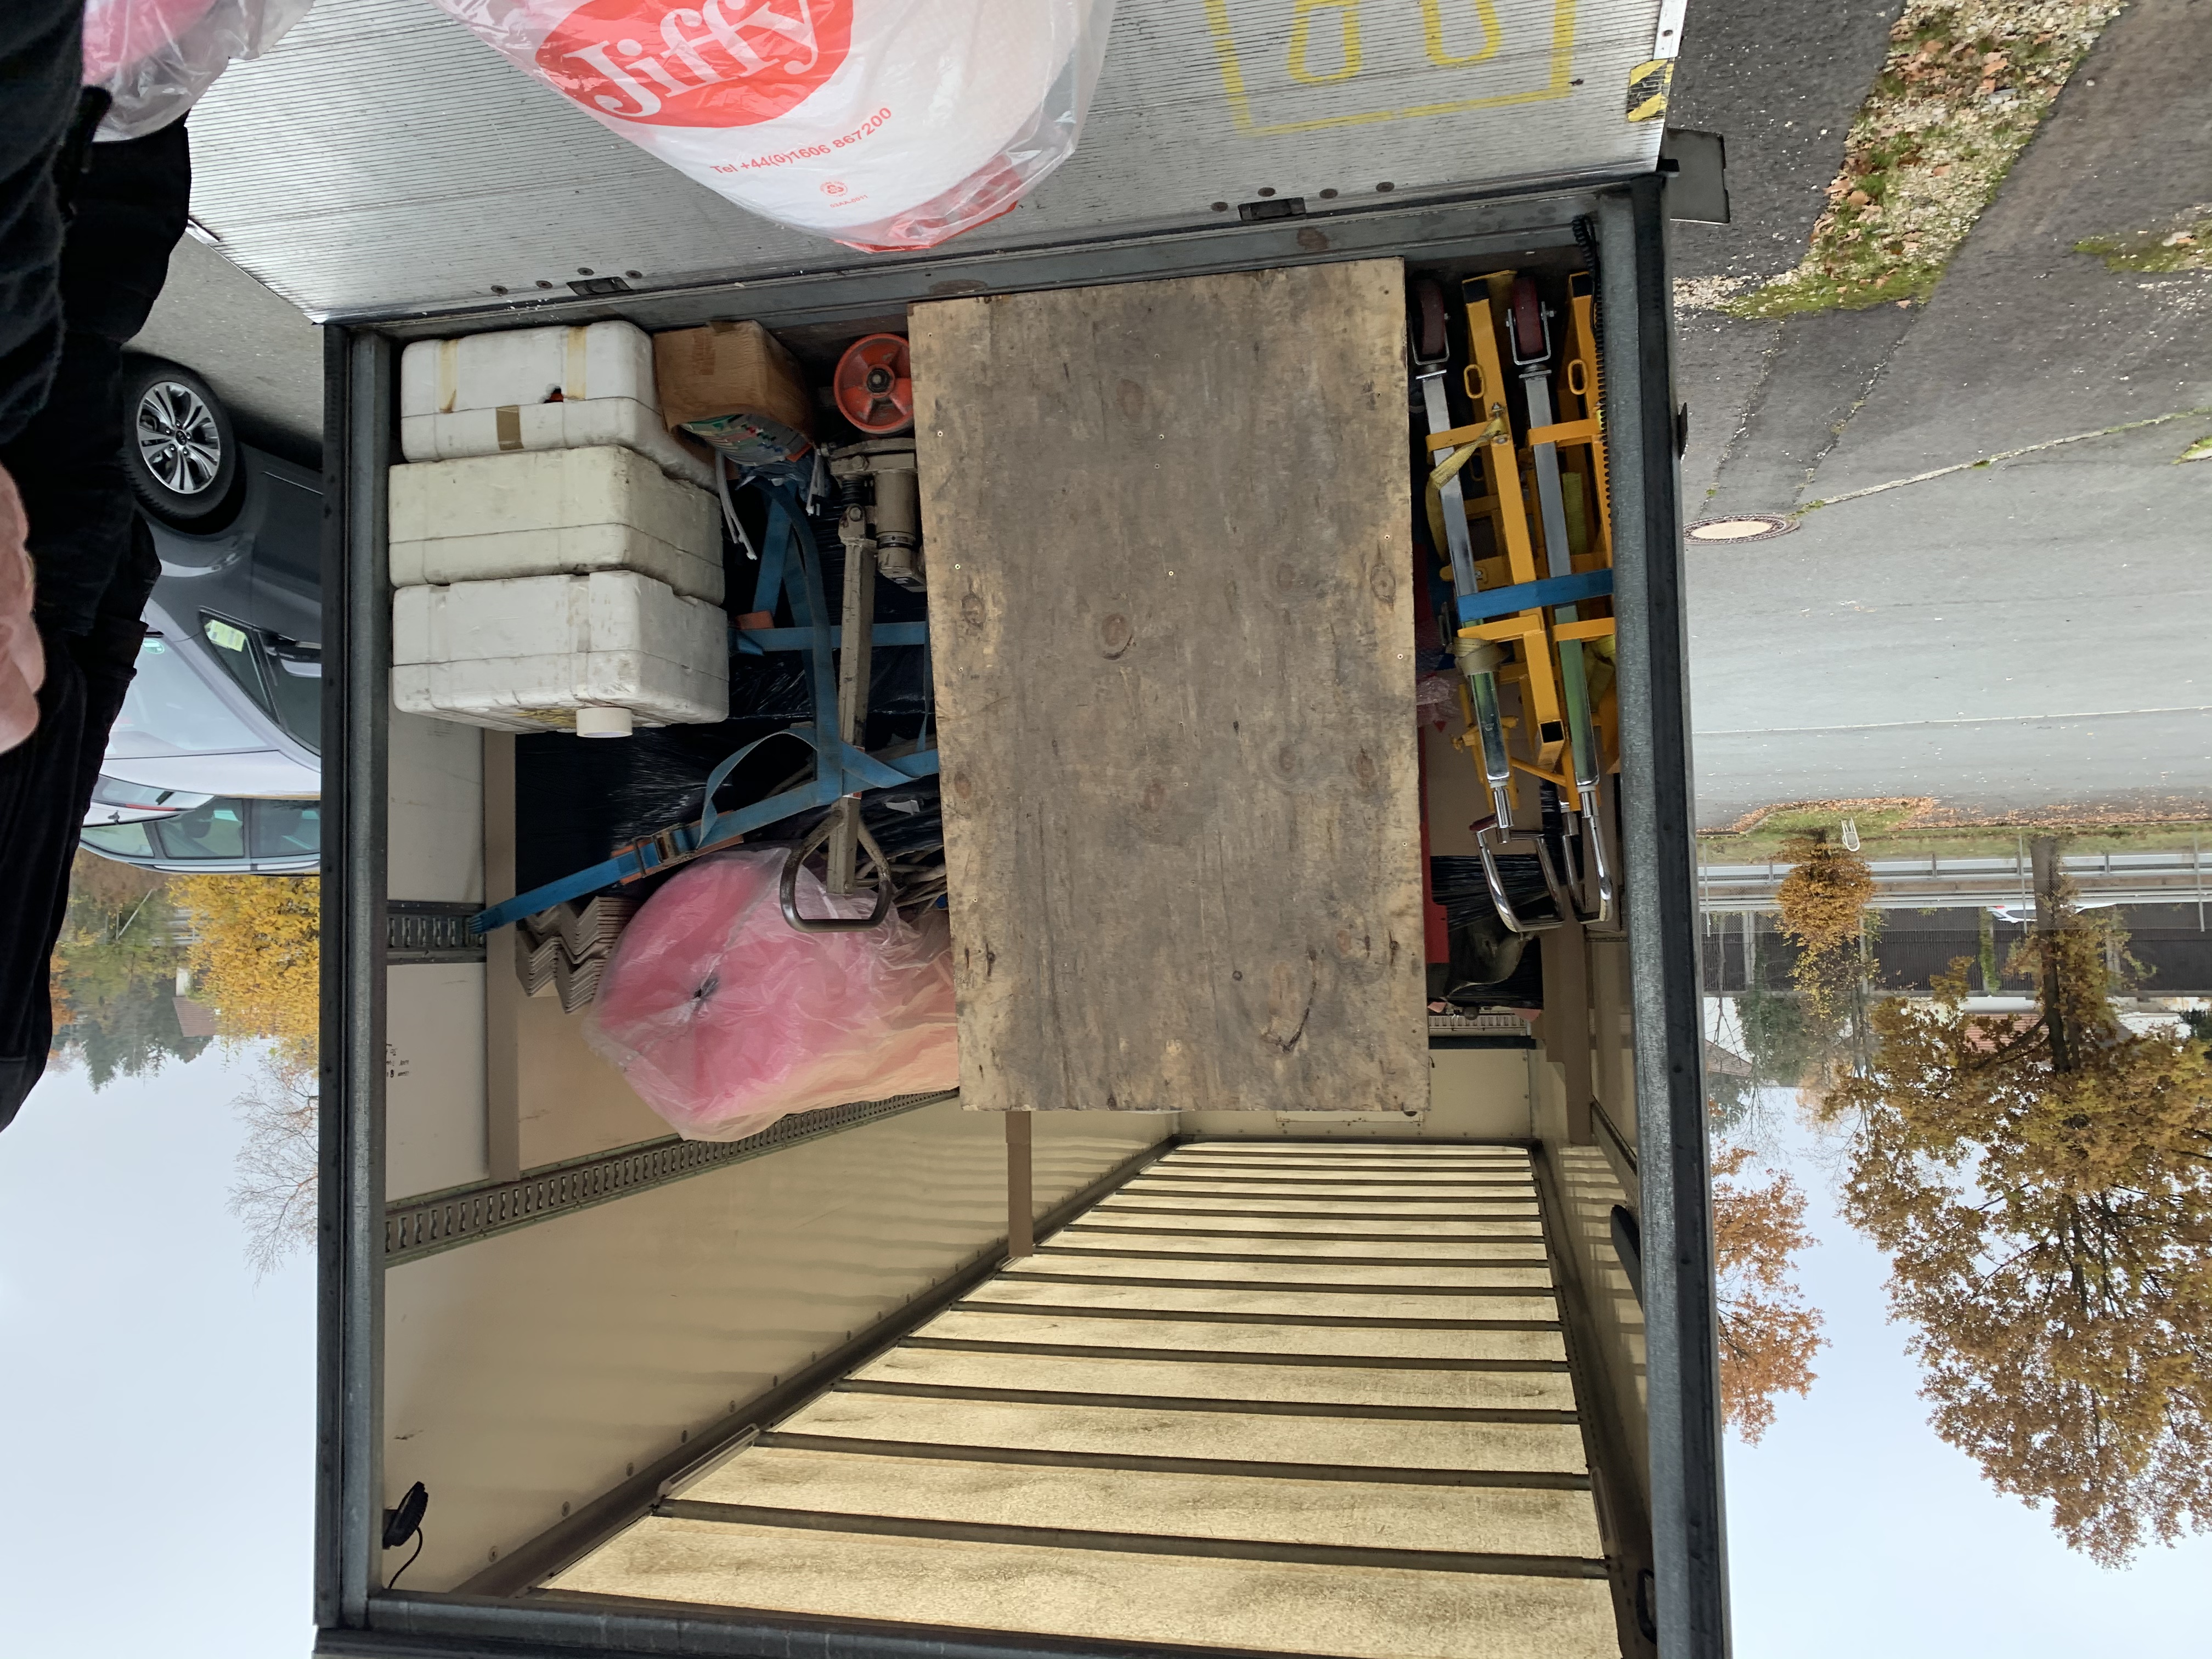
We then boxed and crated up the spares & consumables for easy shipping:
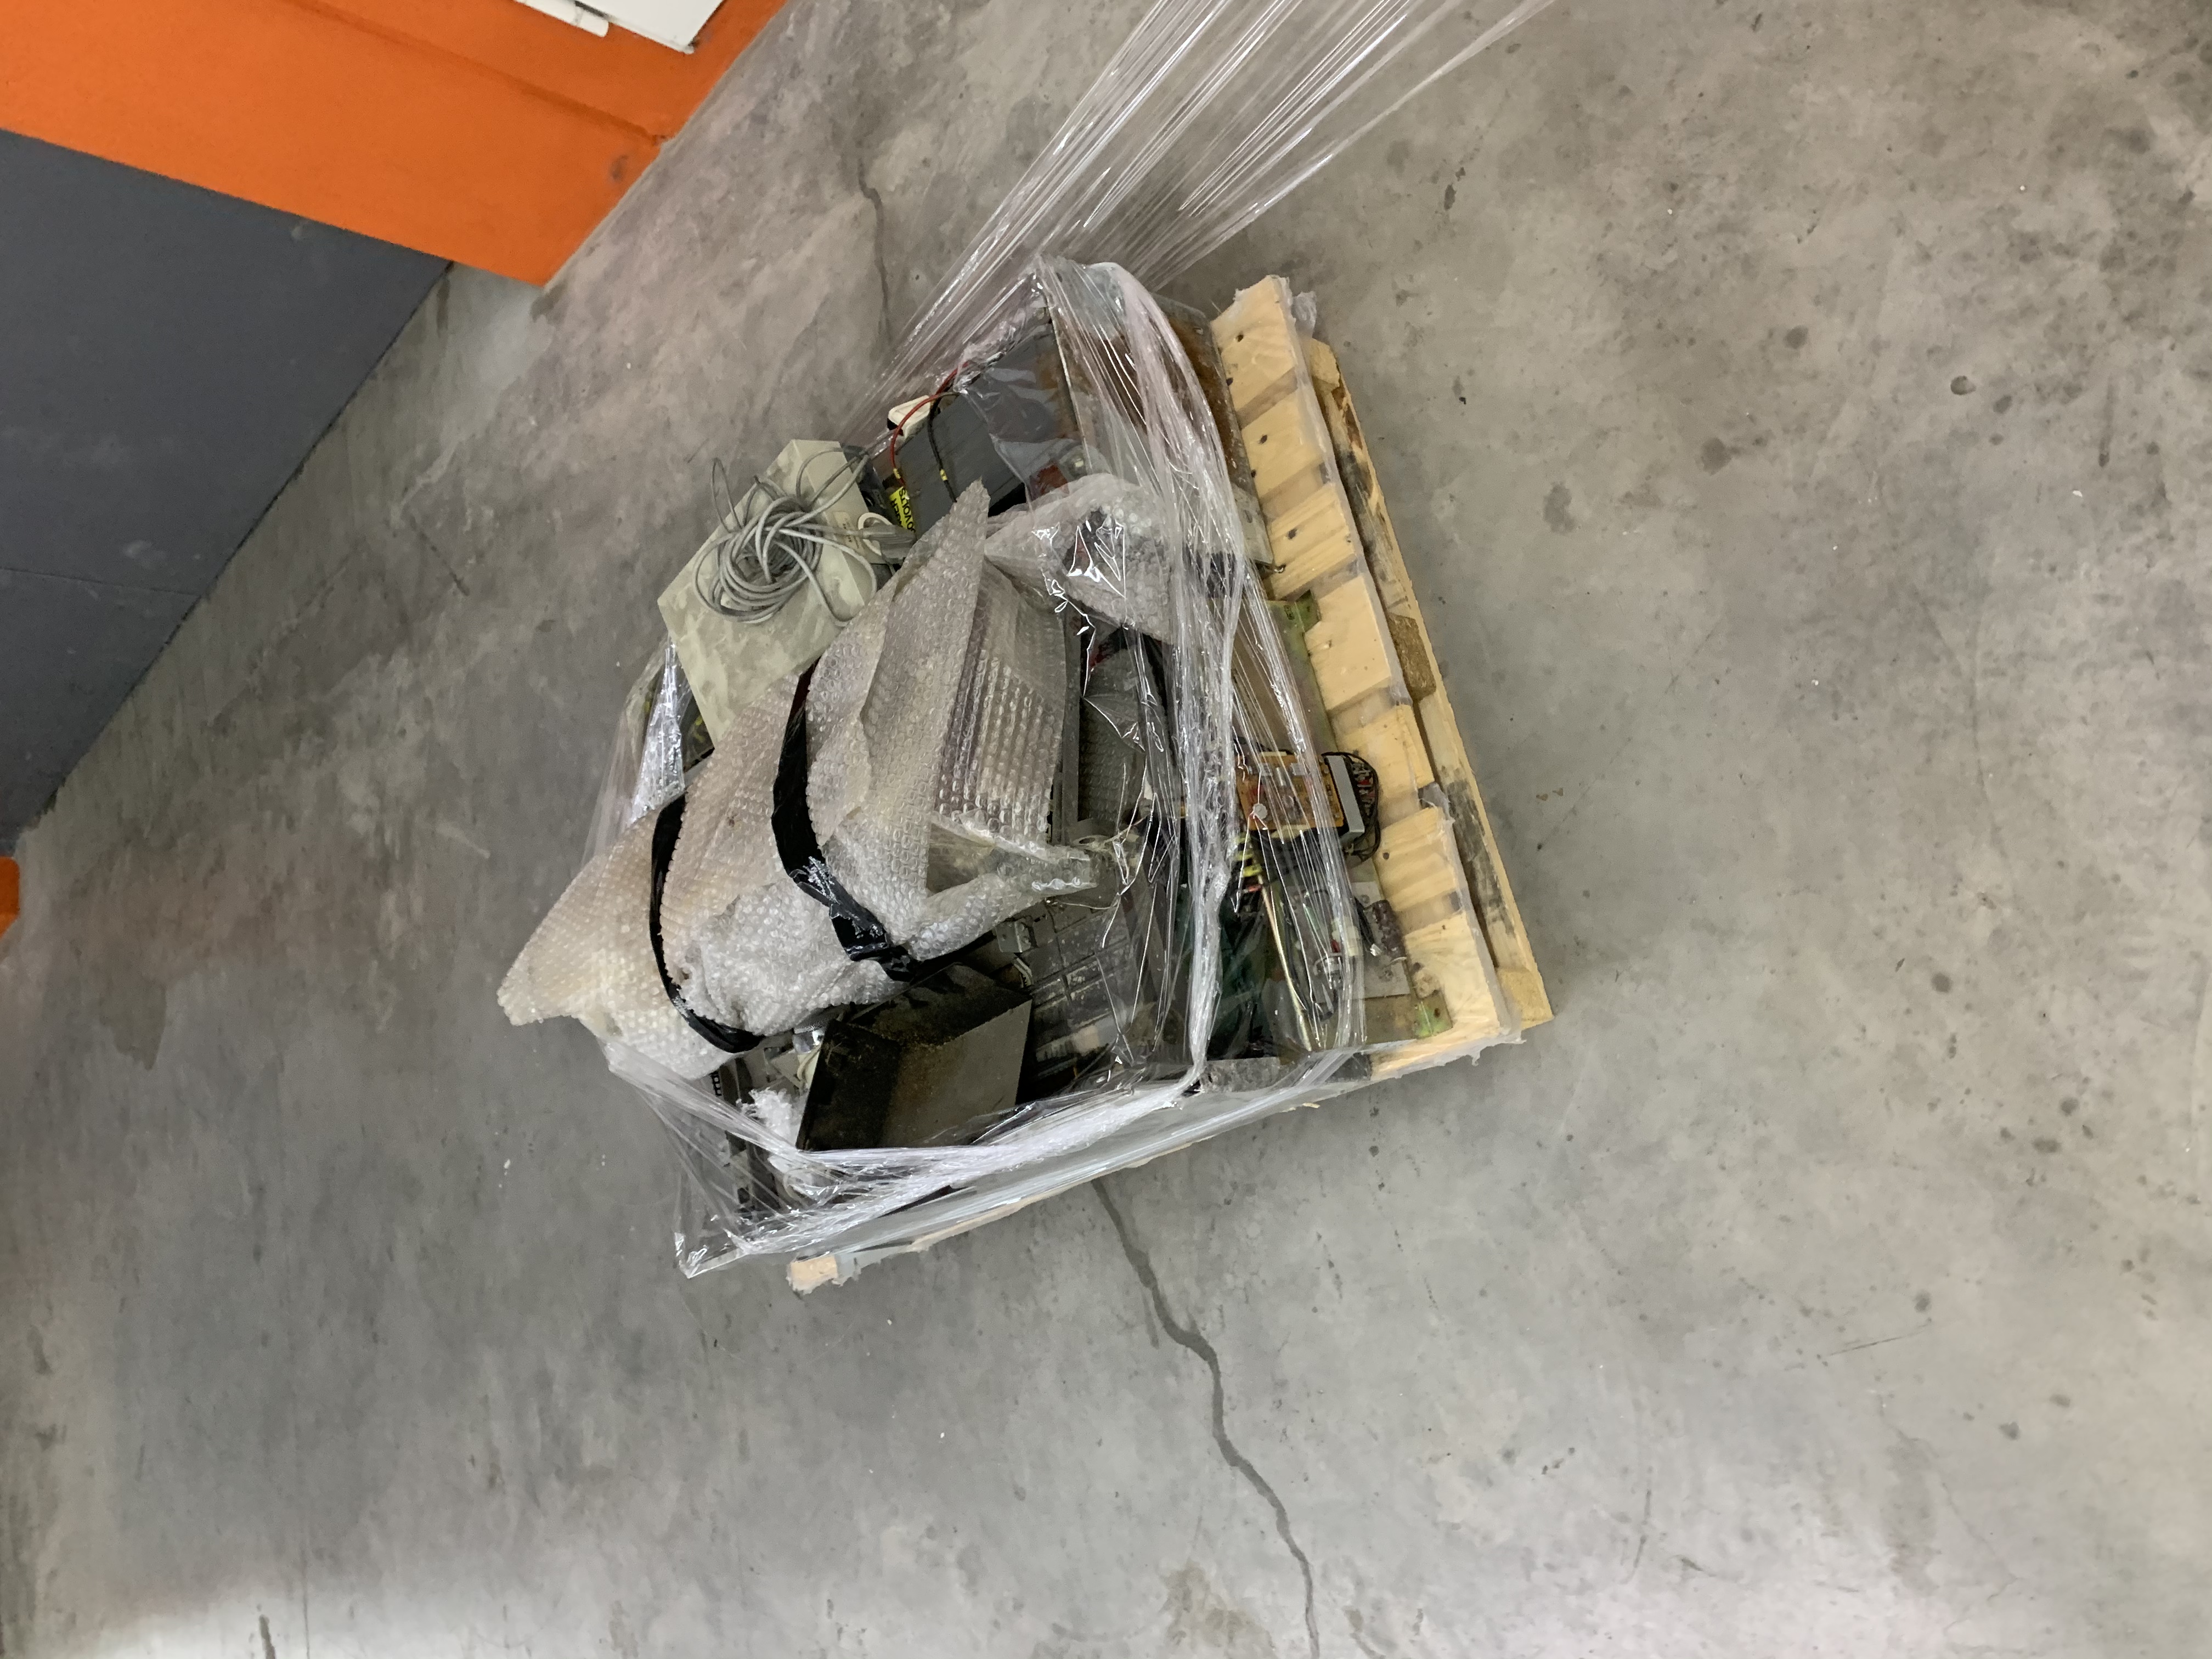
Some of the slightly more bizarre items we had acquired, like spare System 3 parts, were also palletised and used as support structures to ship other items such as loose pannels:
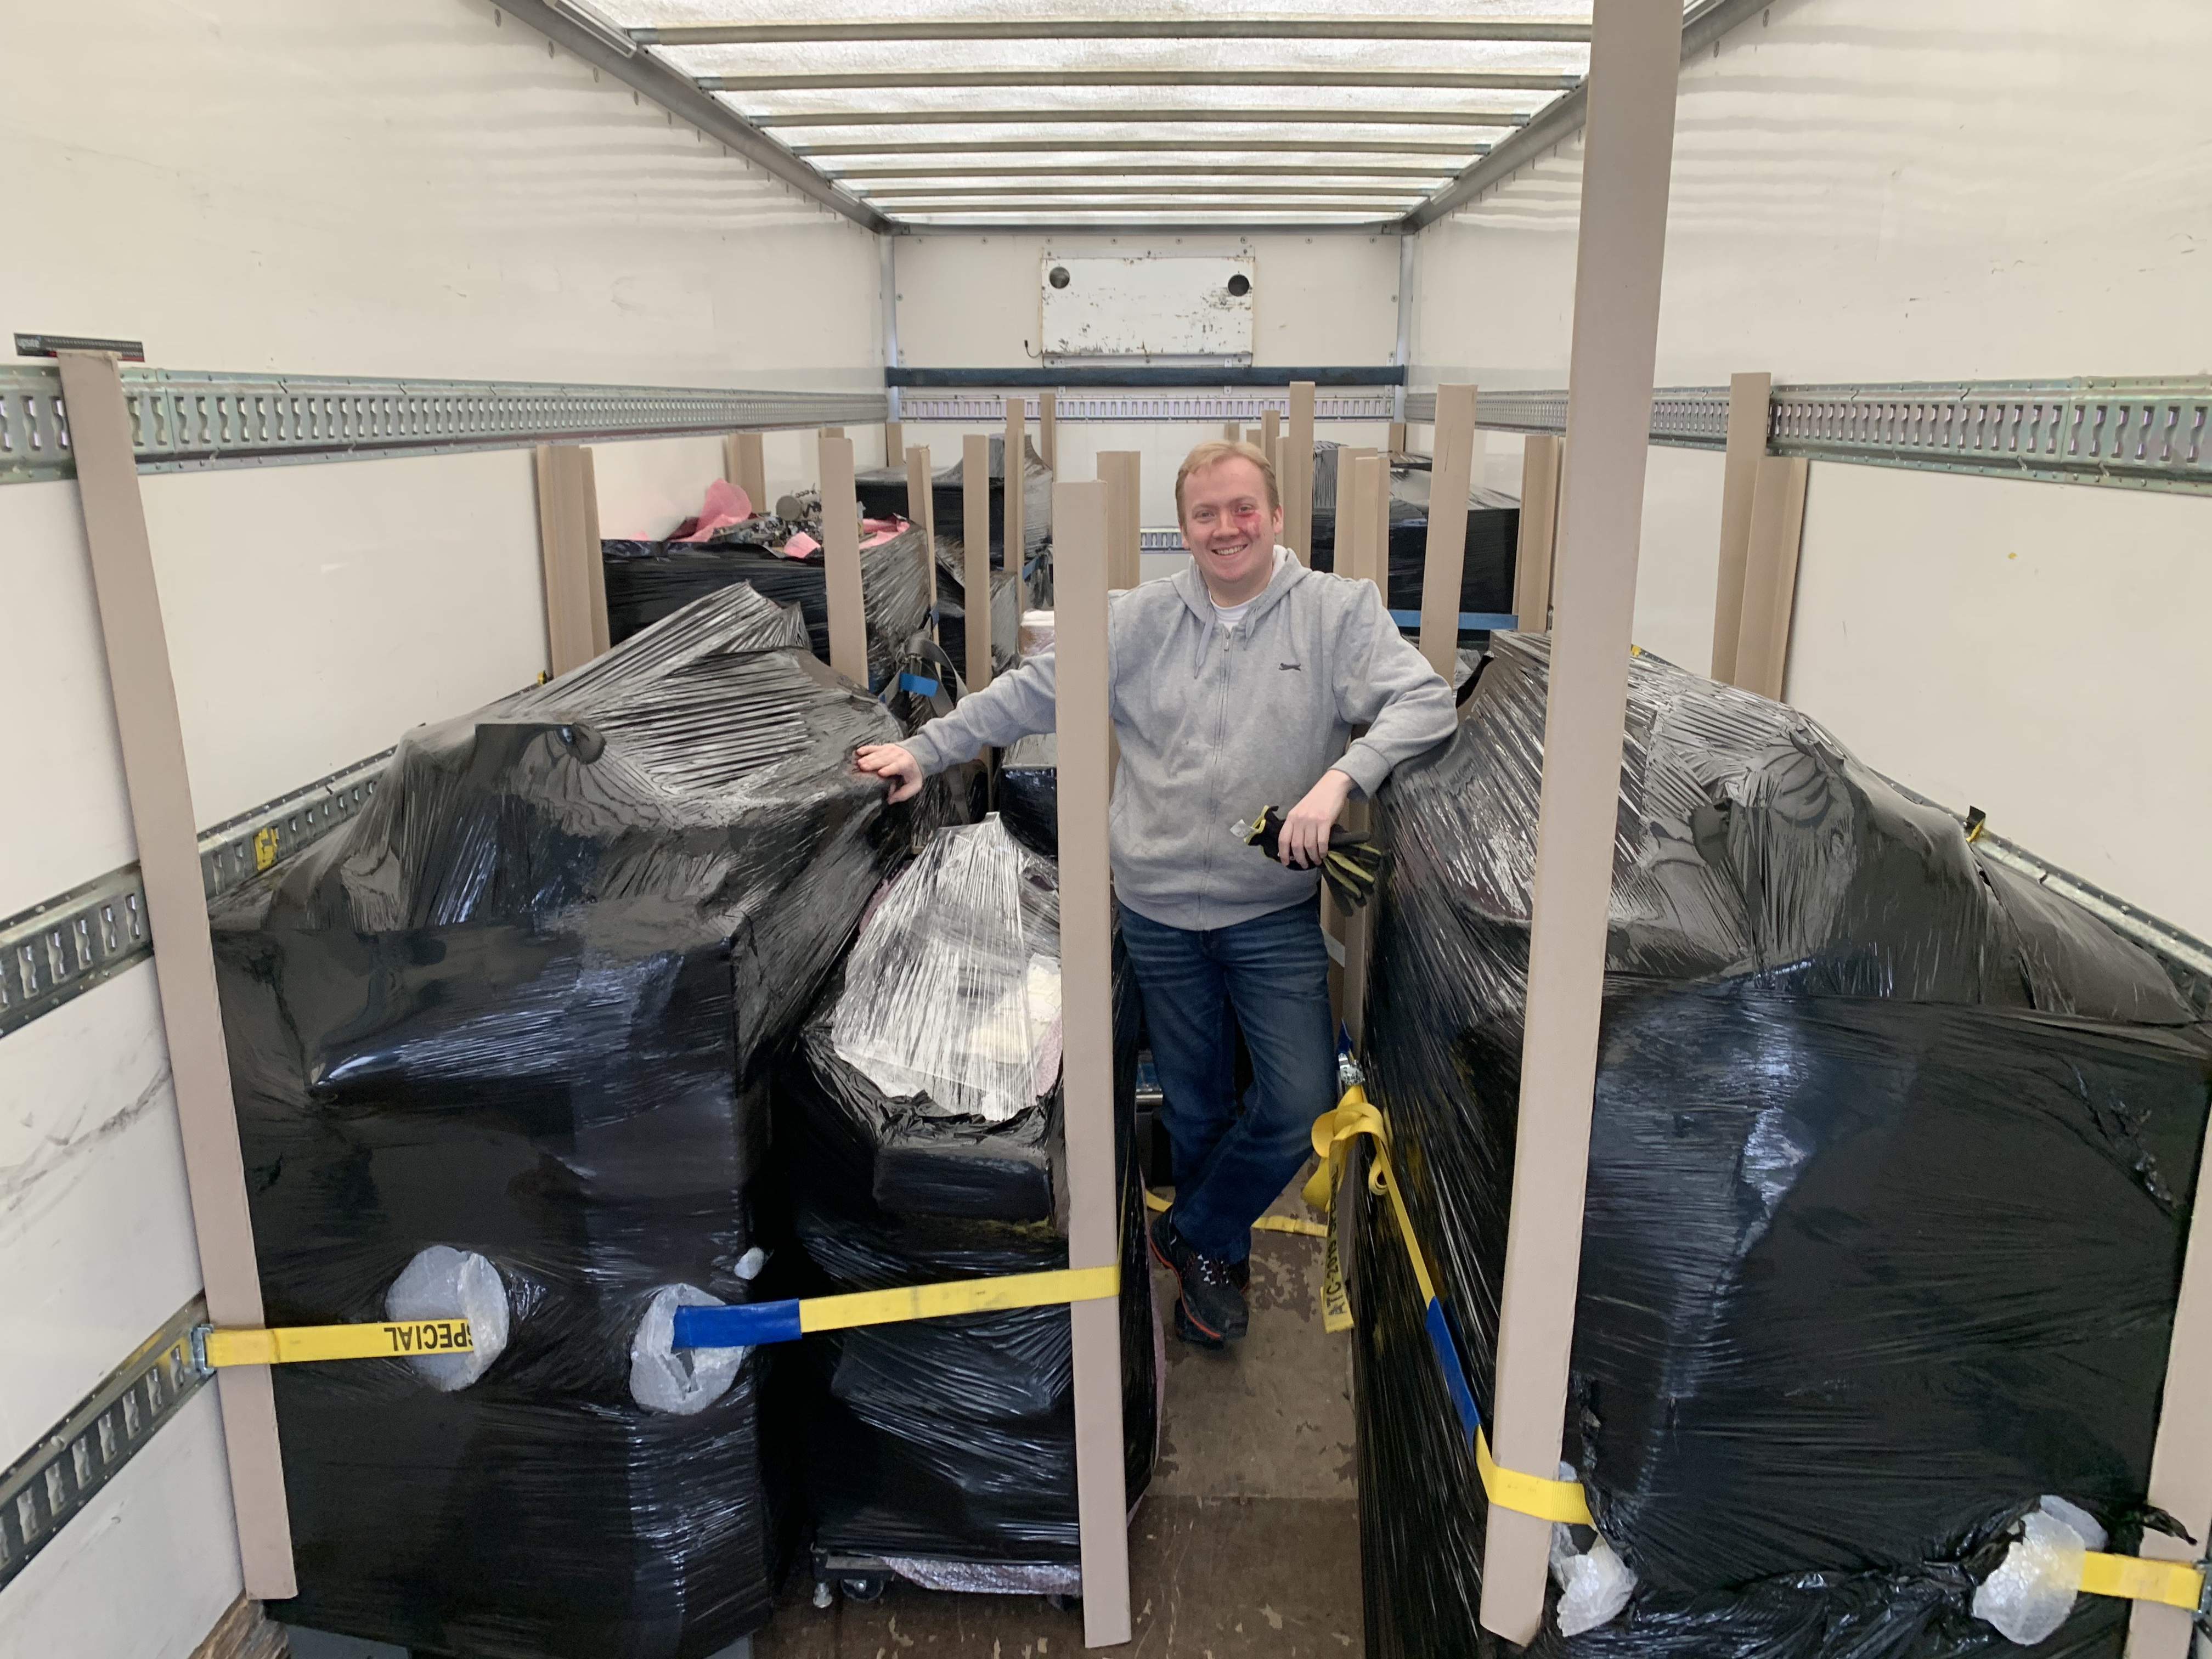
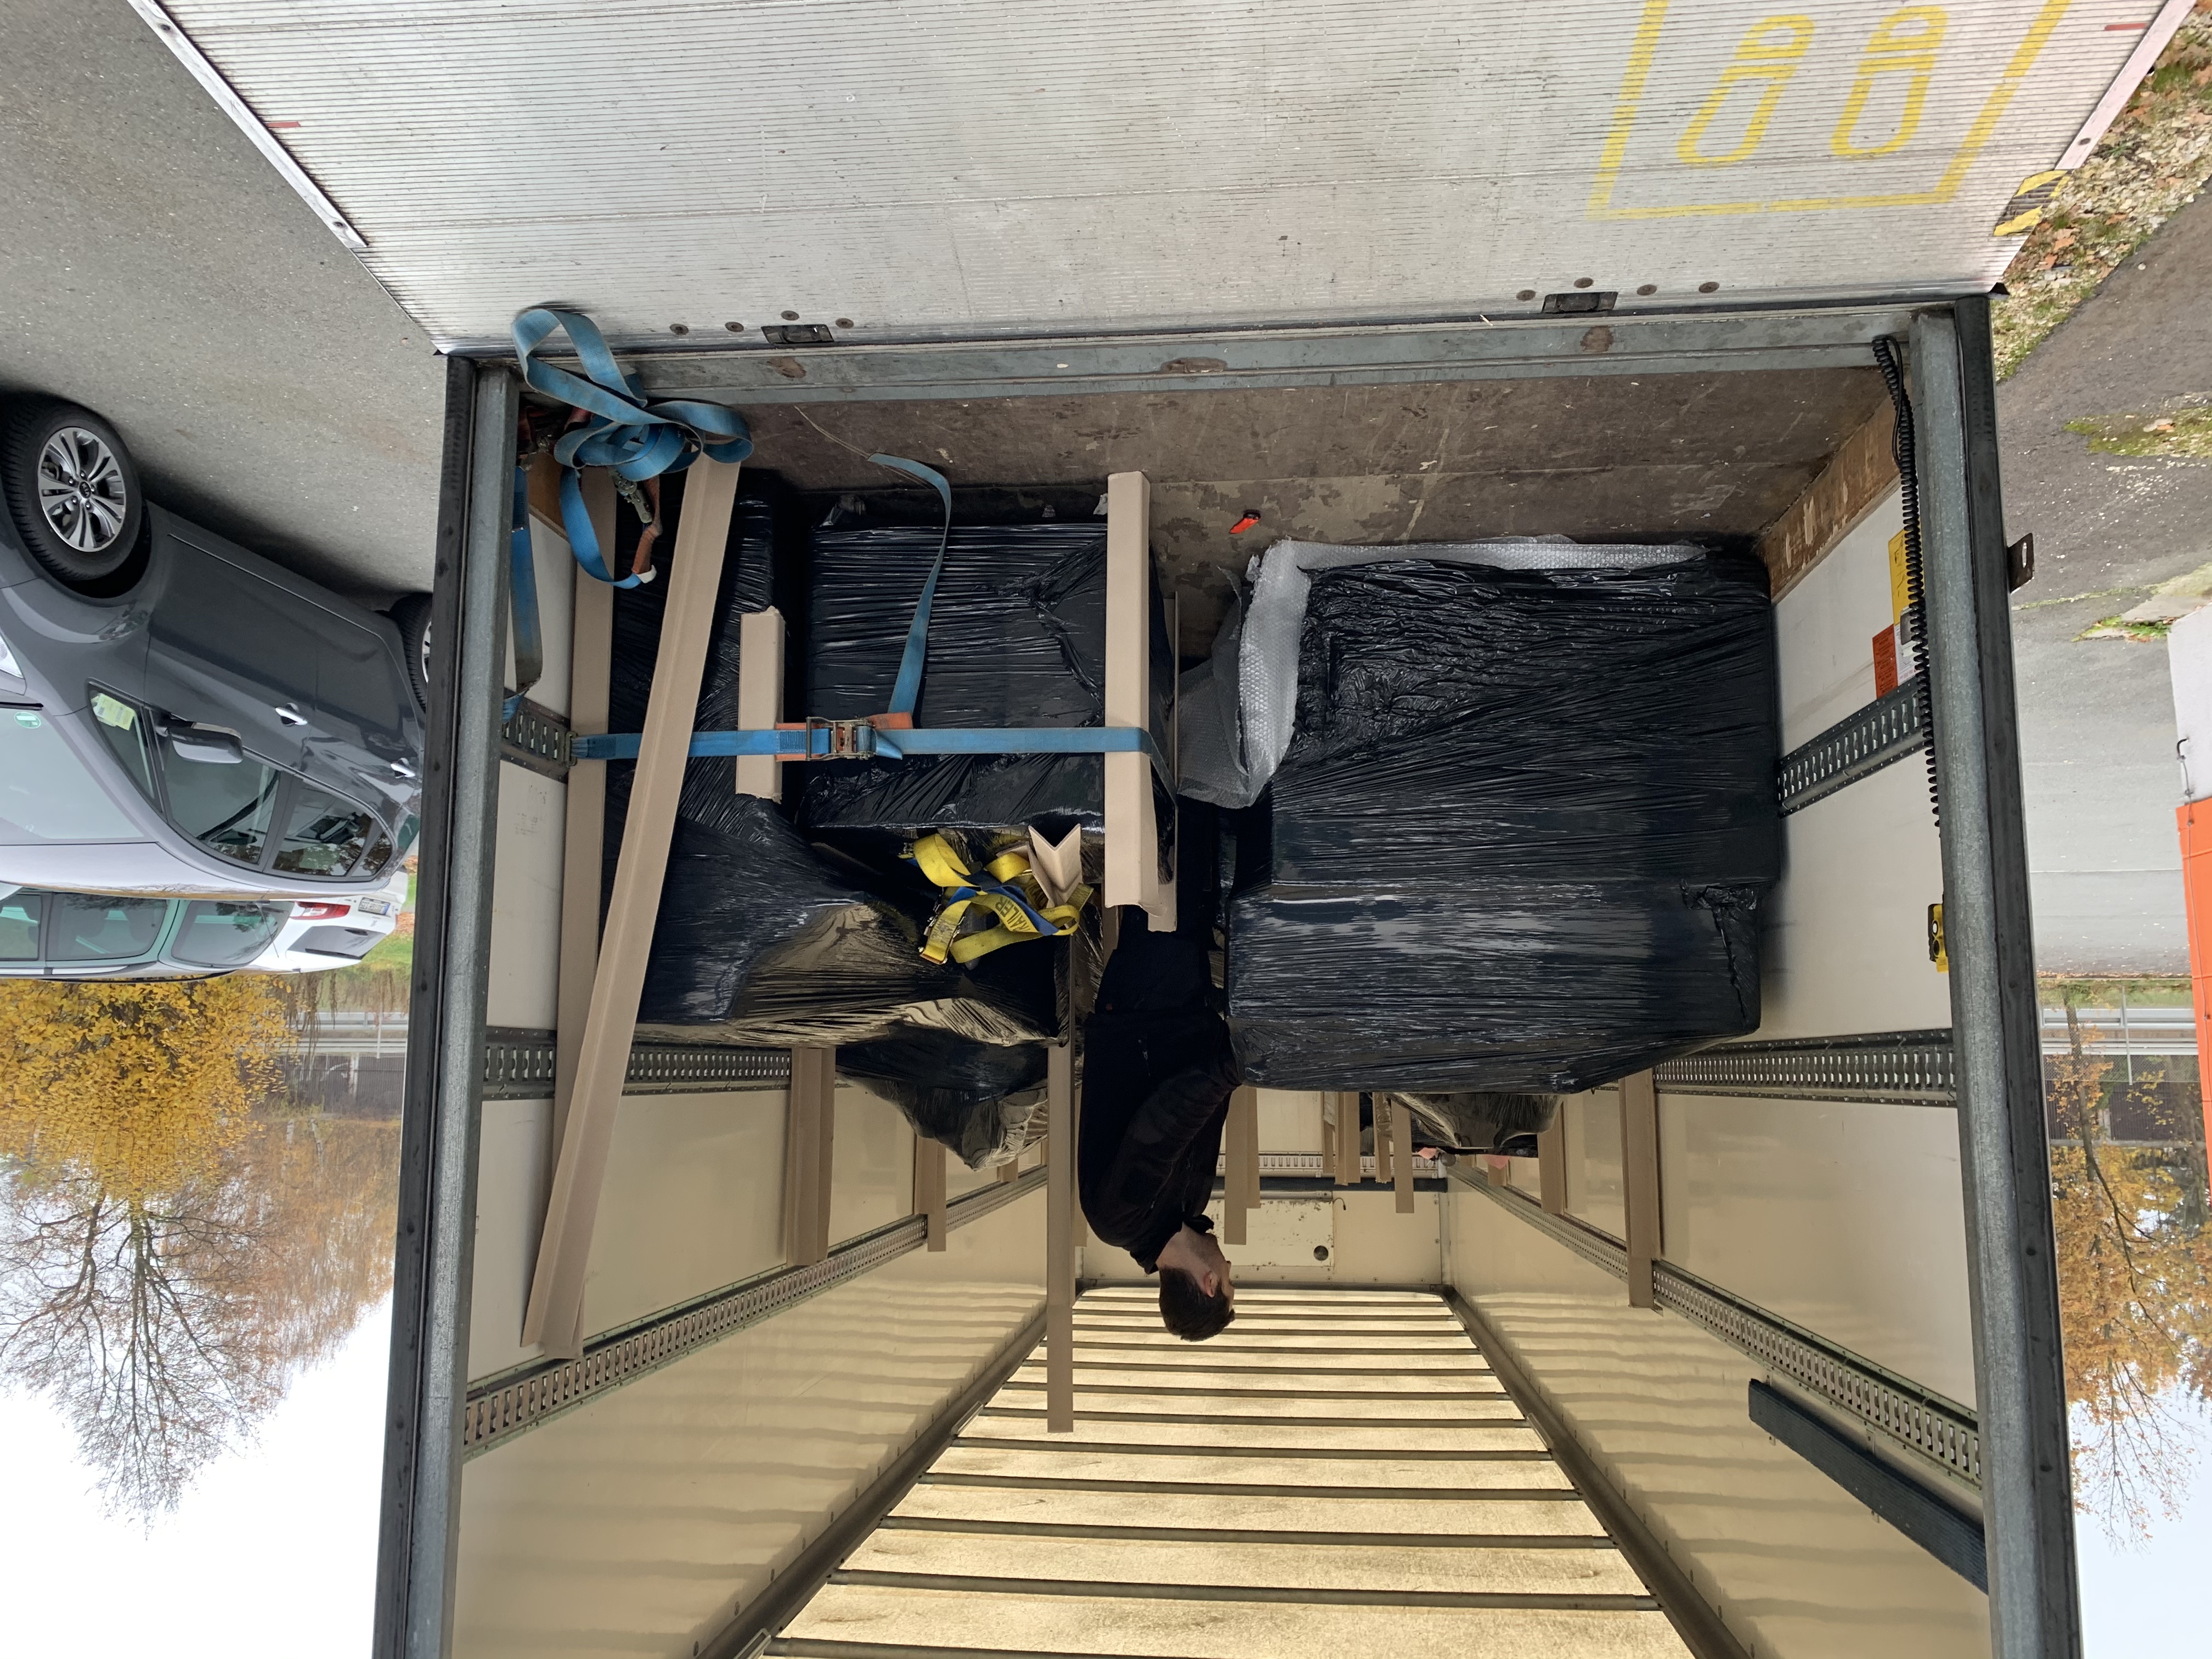
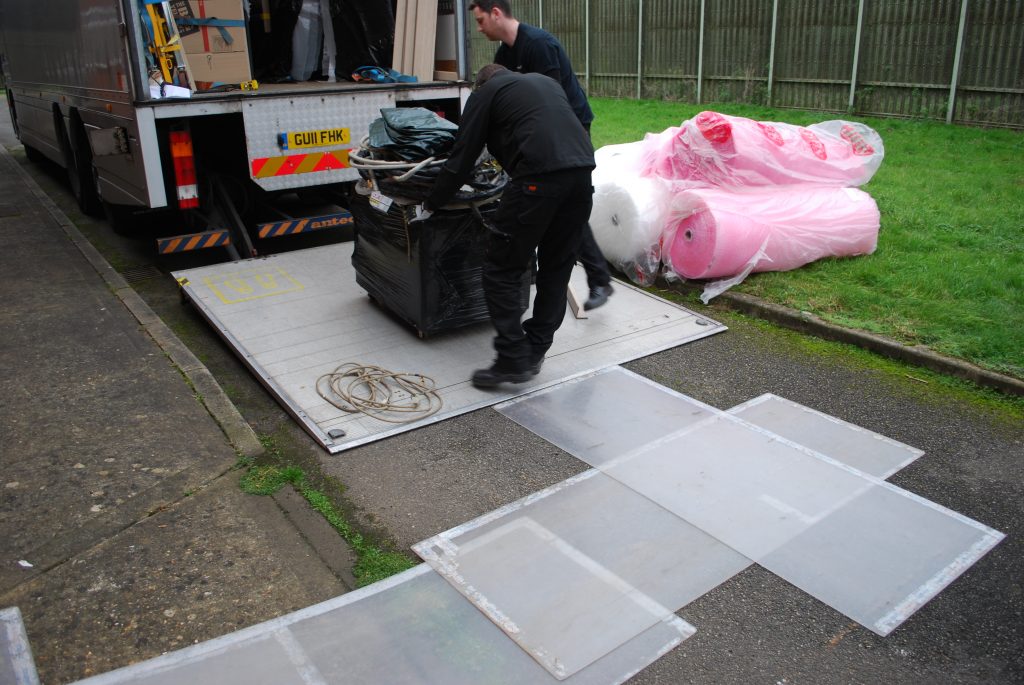
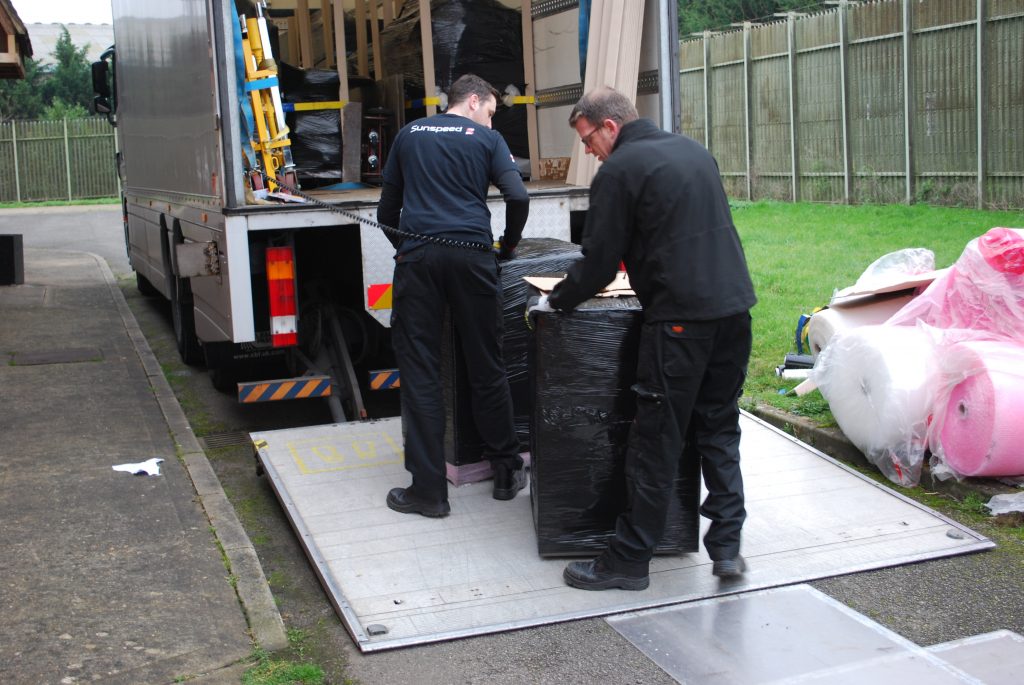
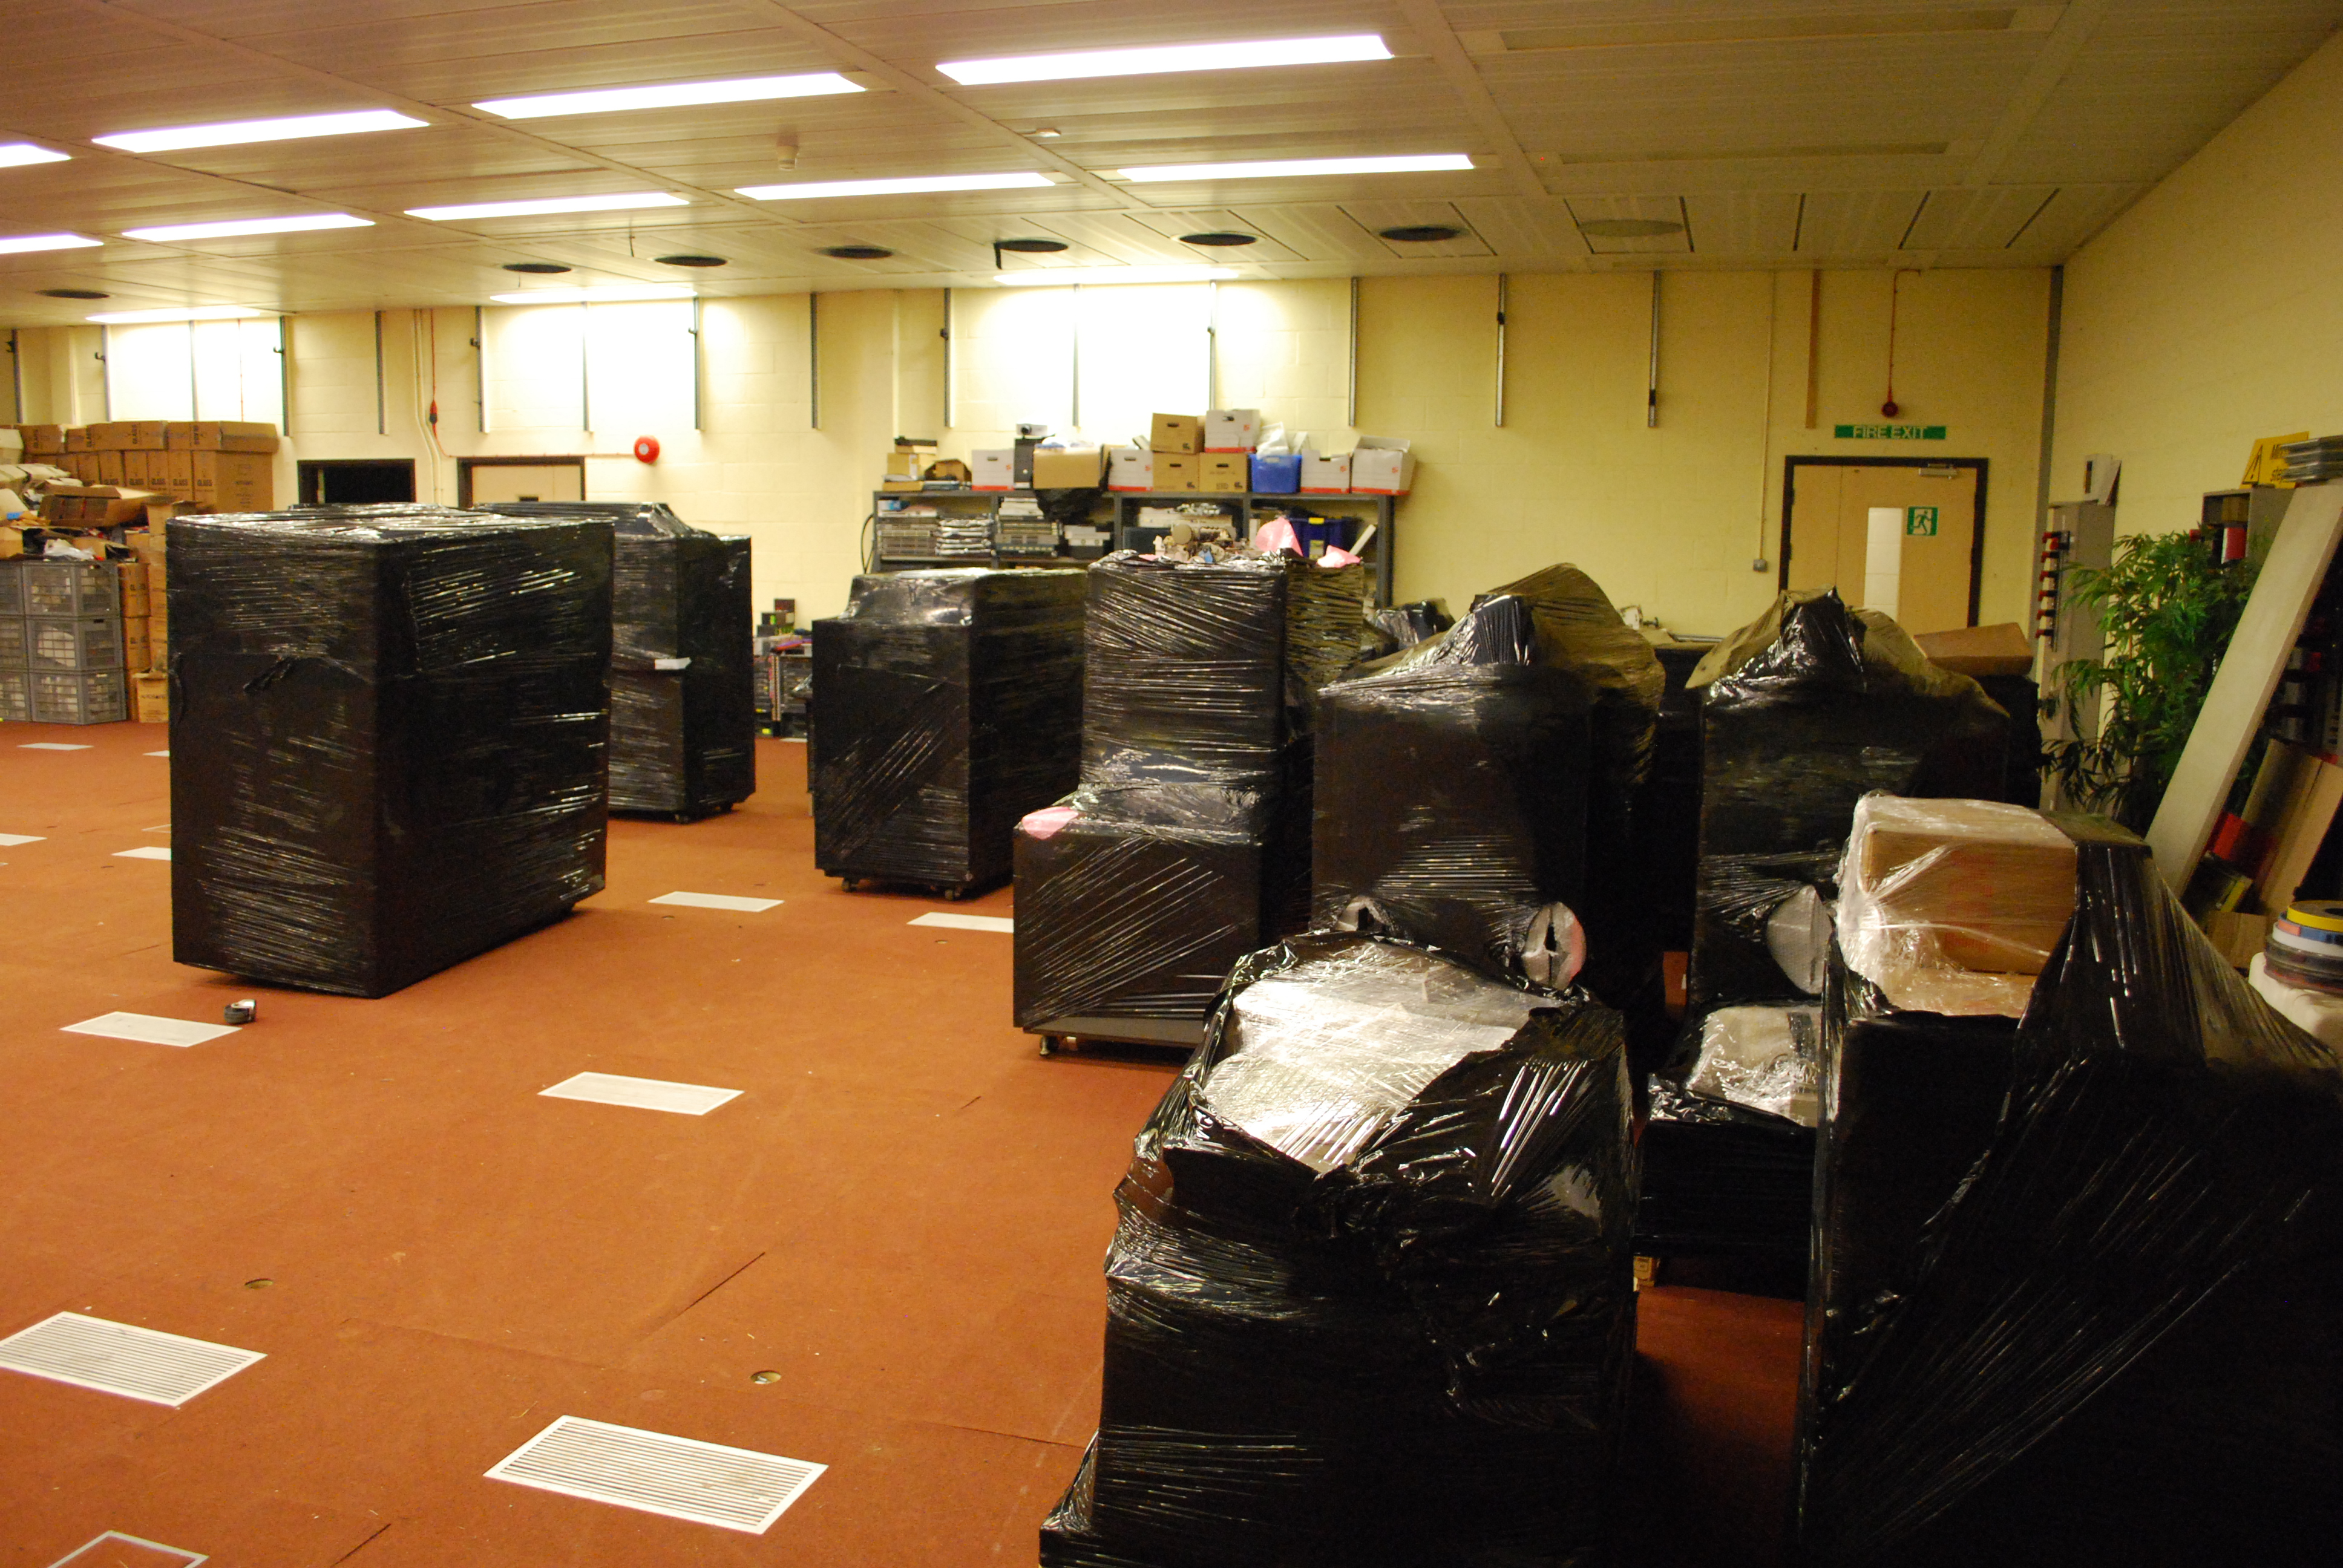
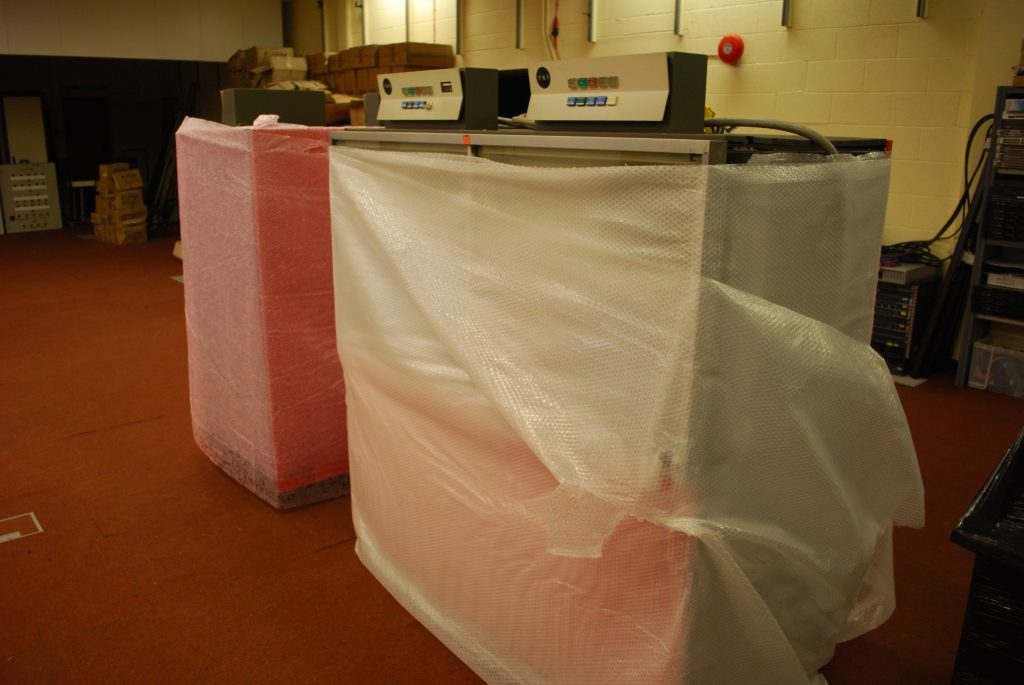
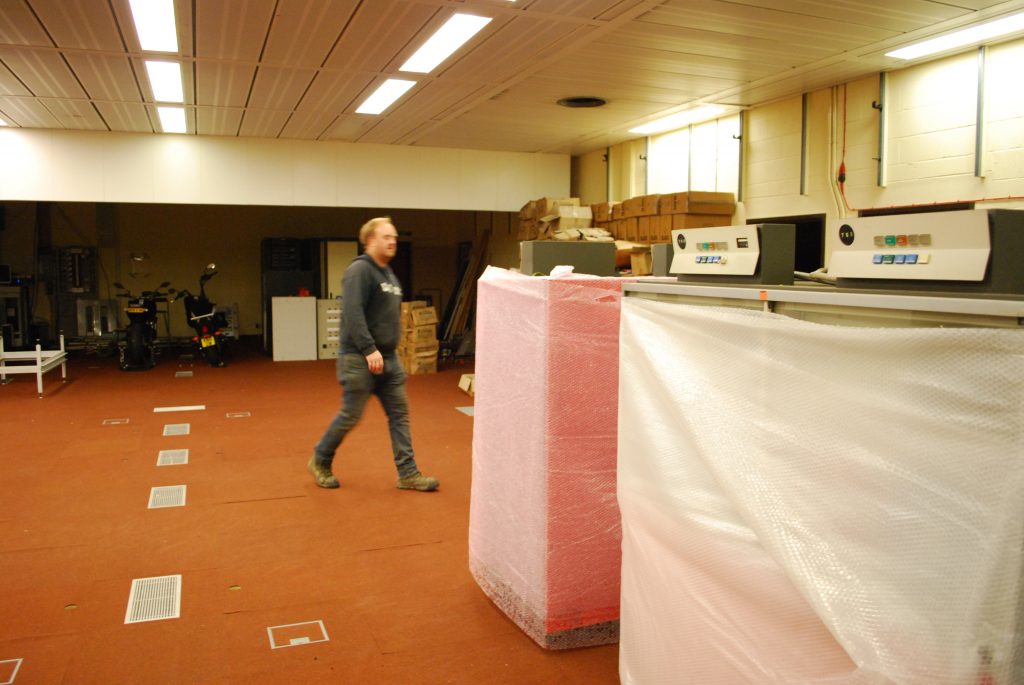
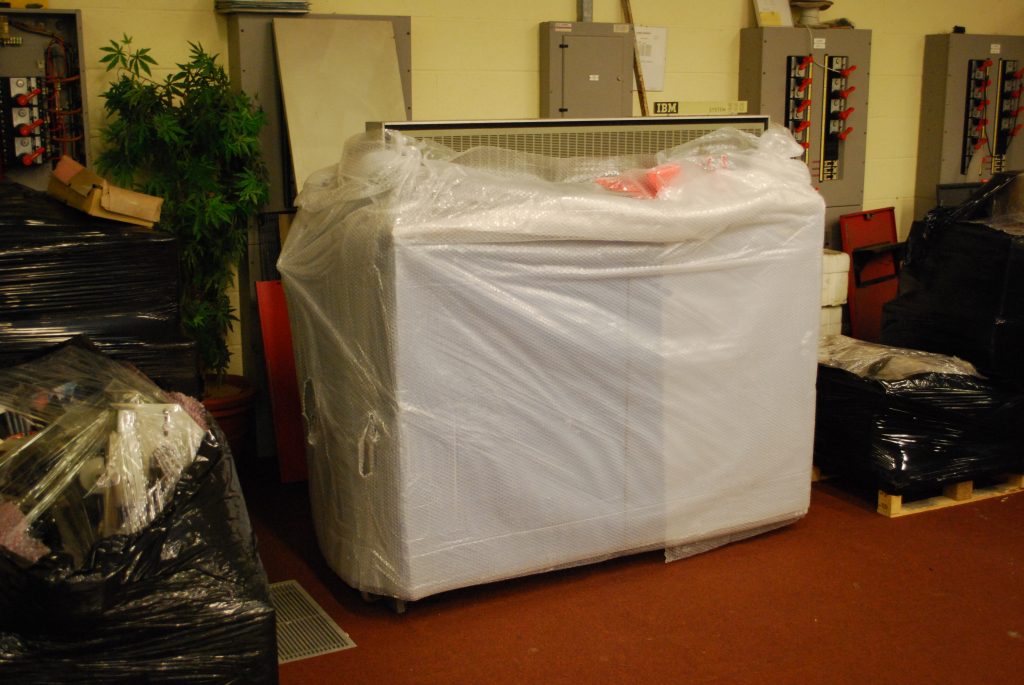
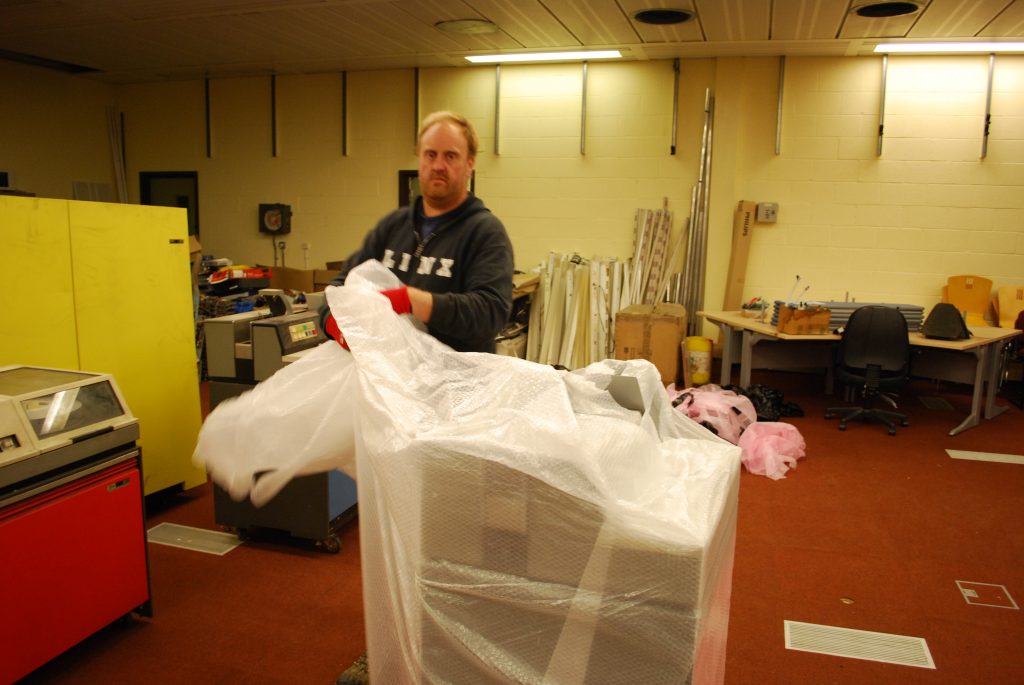
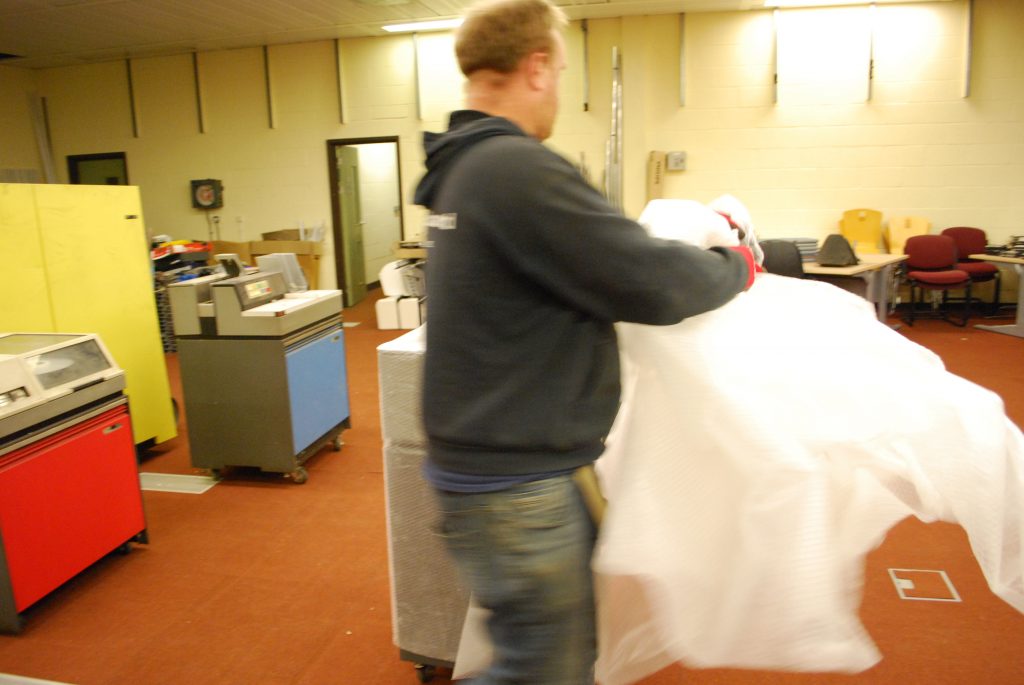
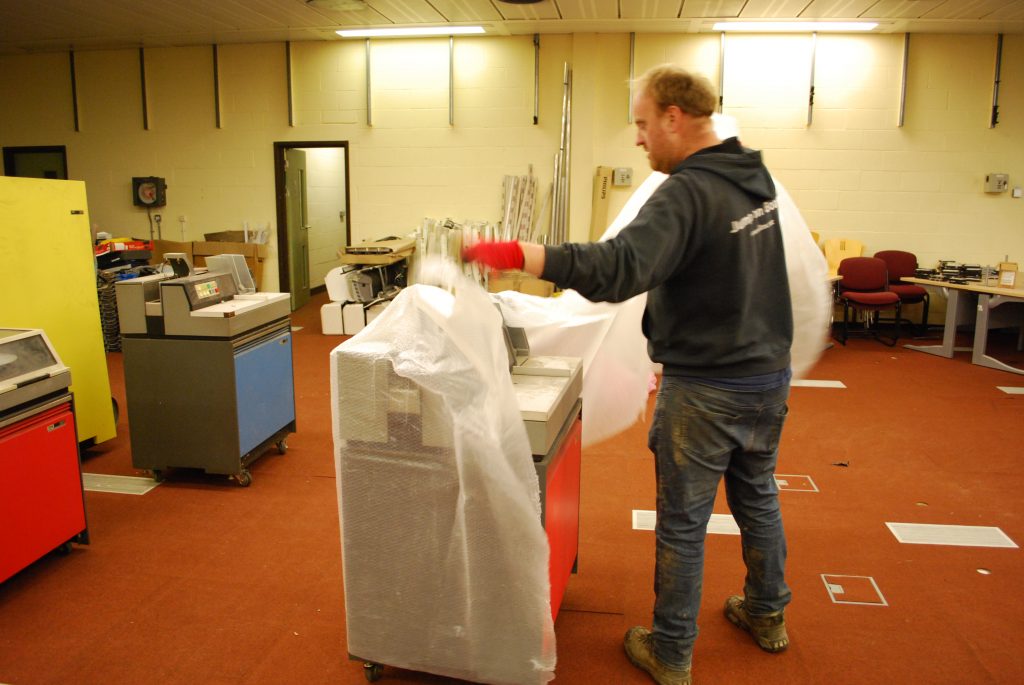
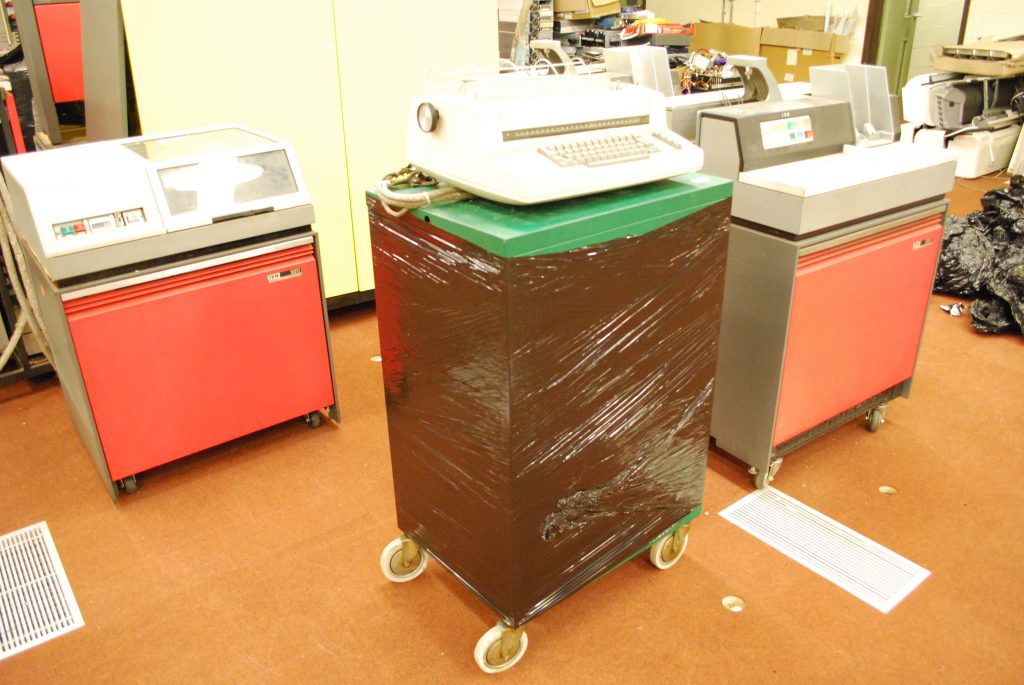
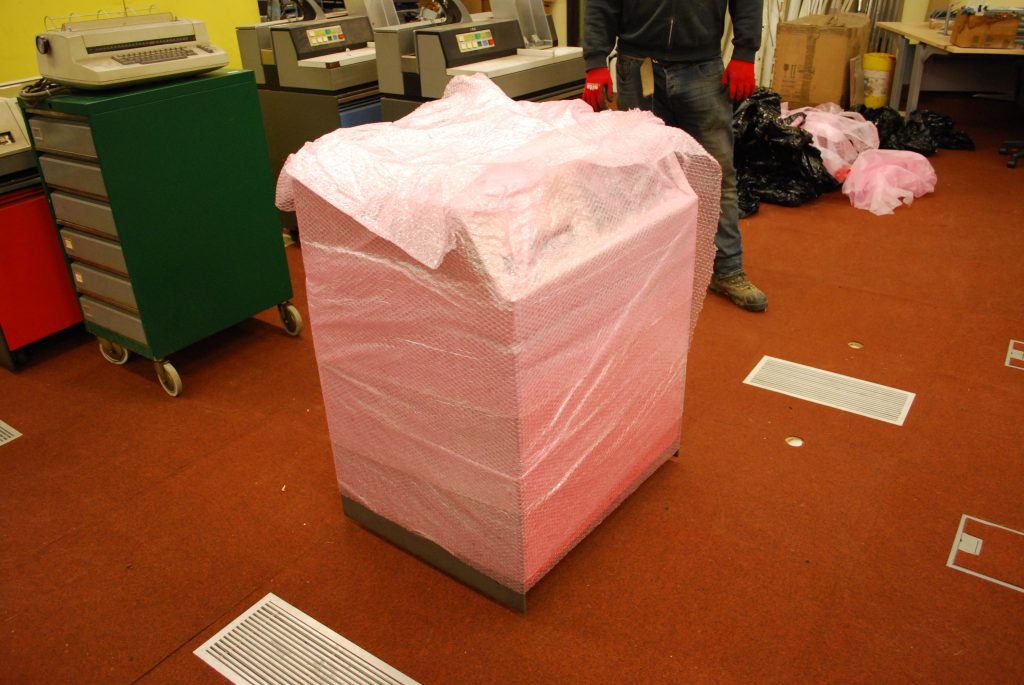
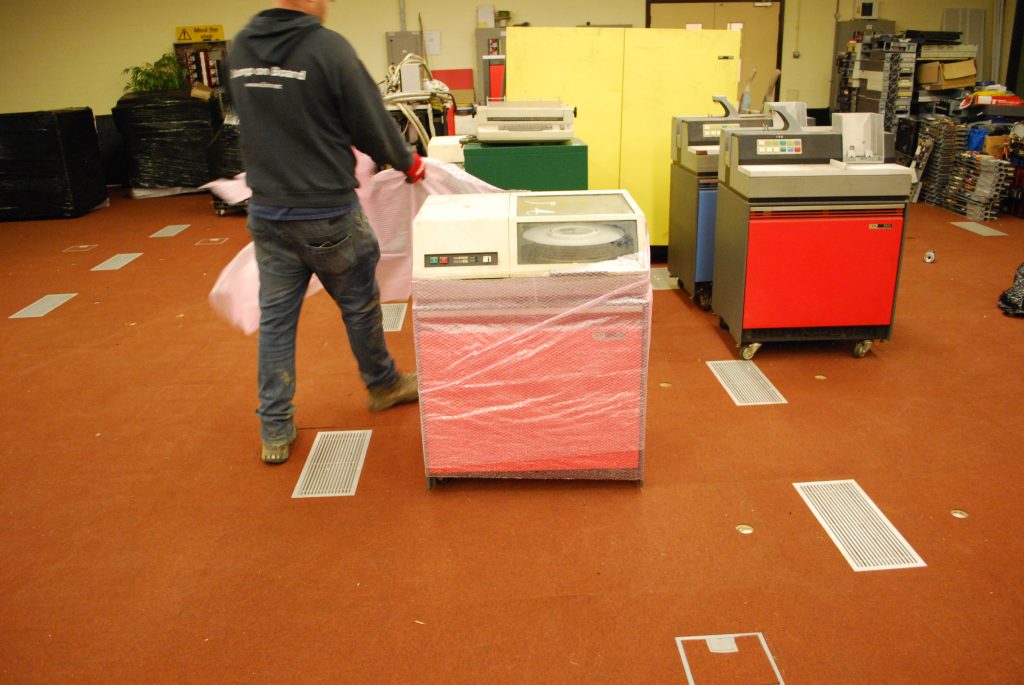
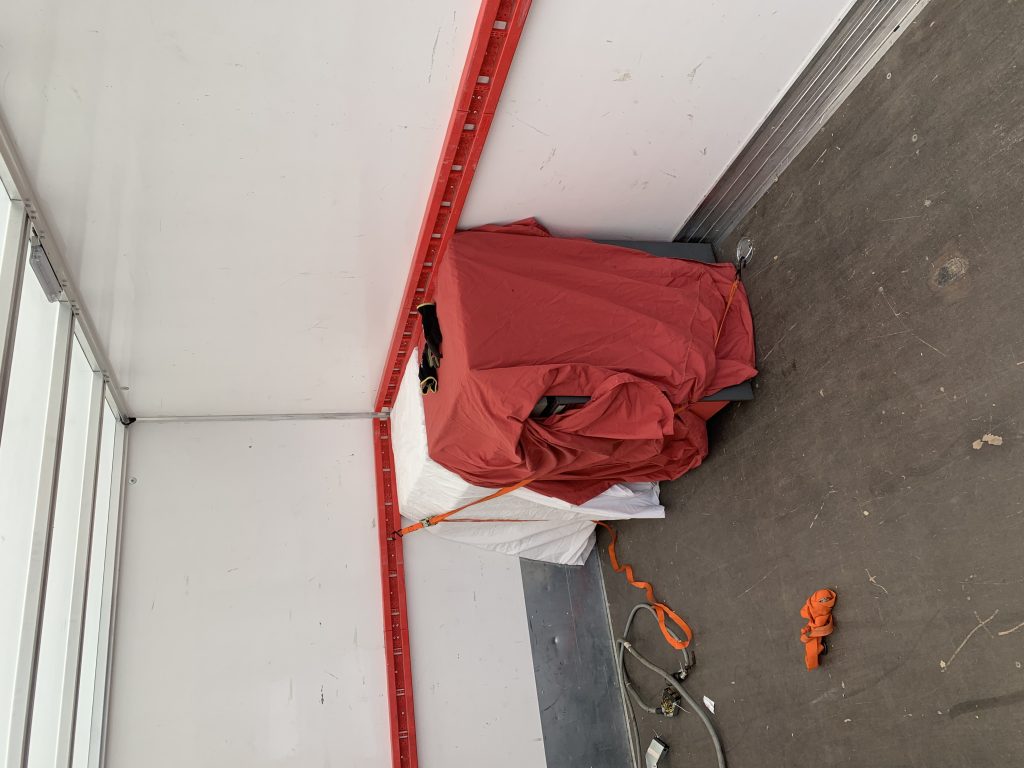
With all of the machines palletised and strapped down, we set about wrapping everything in bubble wrap, moving blankets, and pallet wrap:
We also cut and used pieces of 2×4 to box in the wheels so the machines wouldn’t move at all during transit:
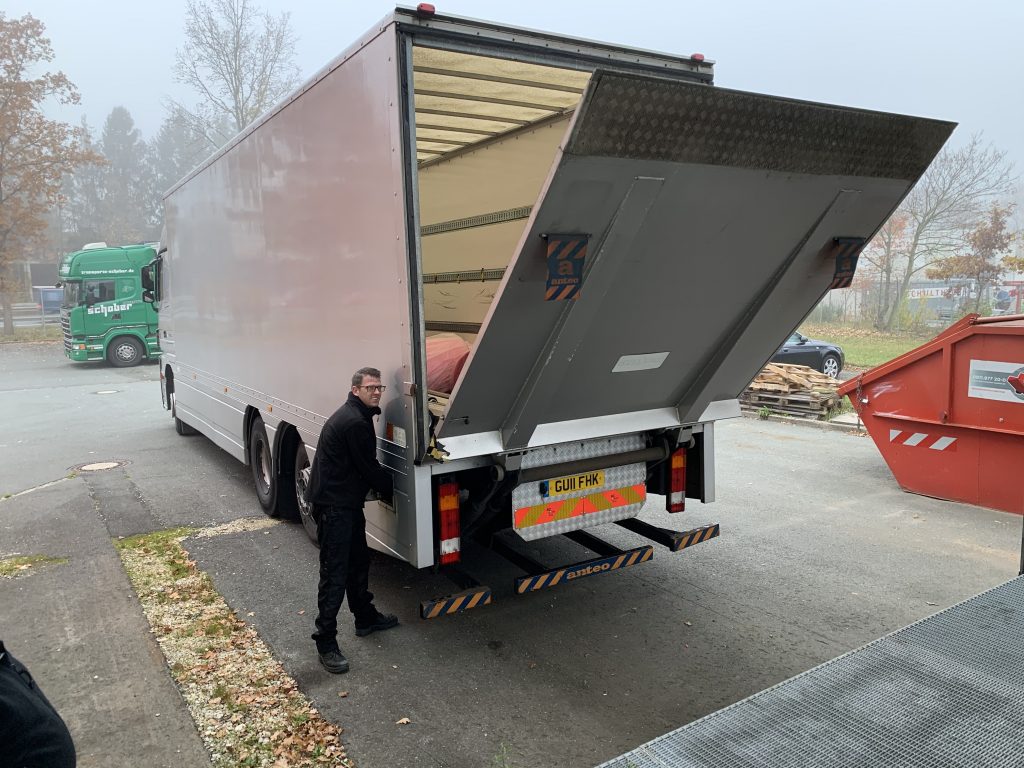
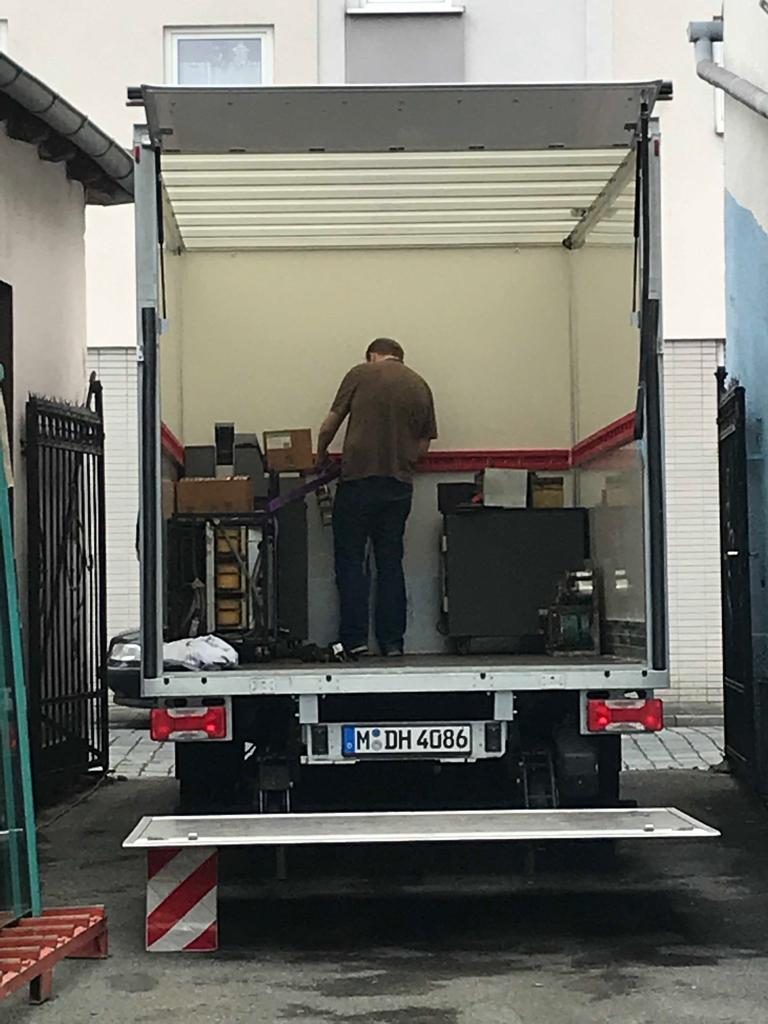
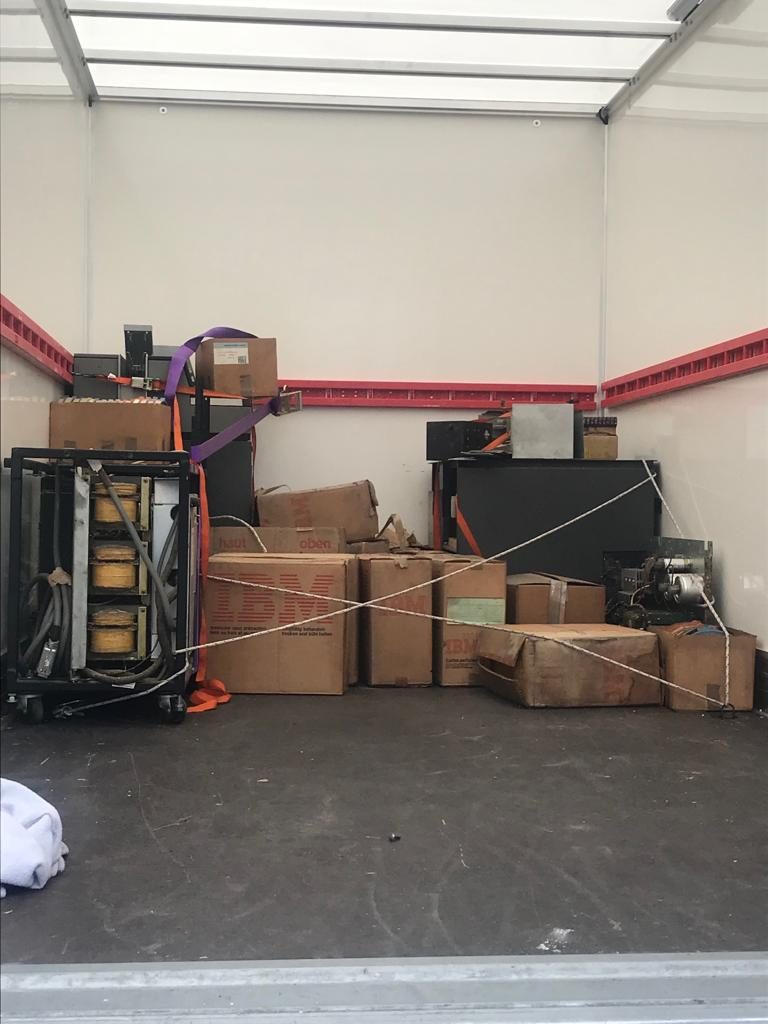
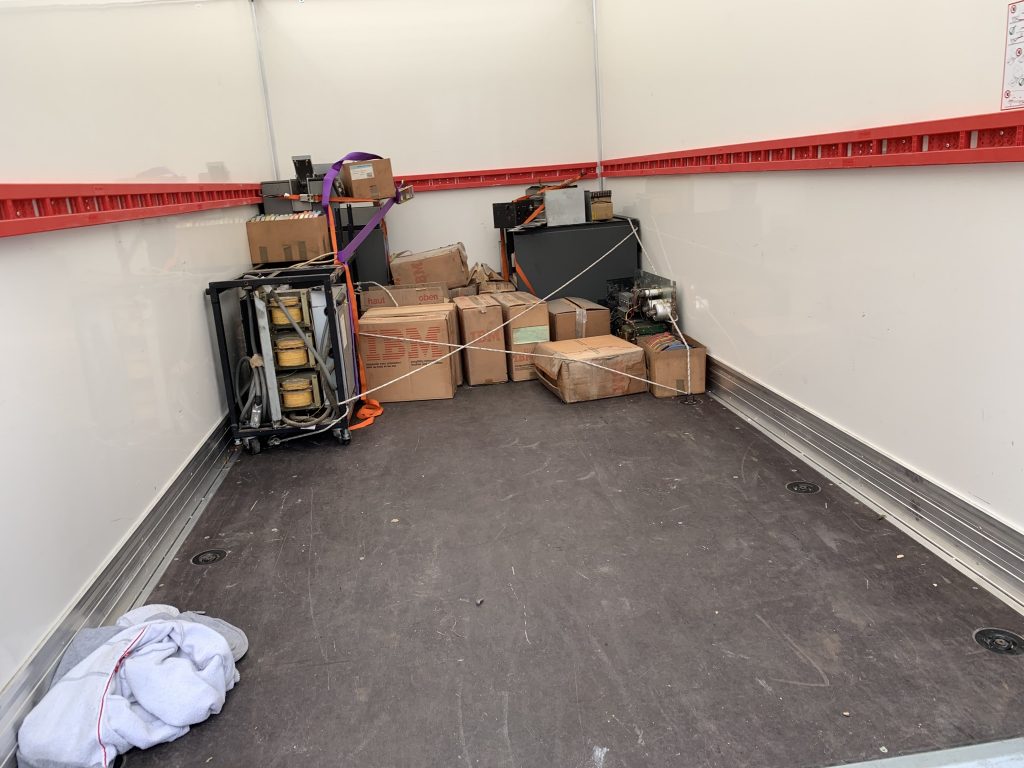
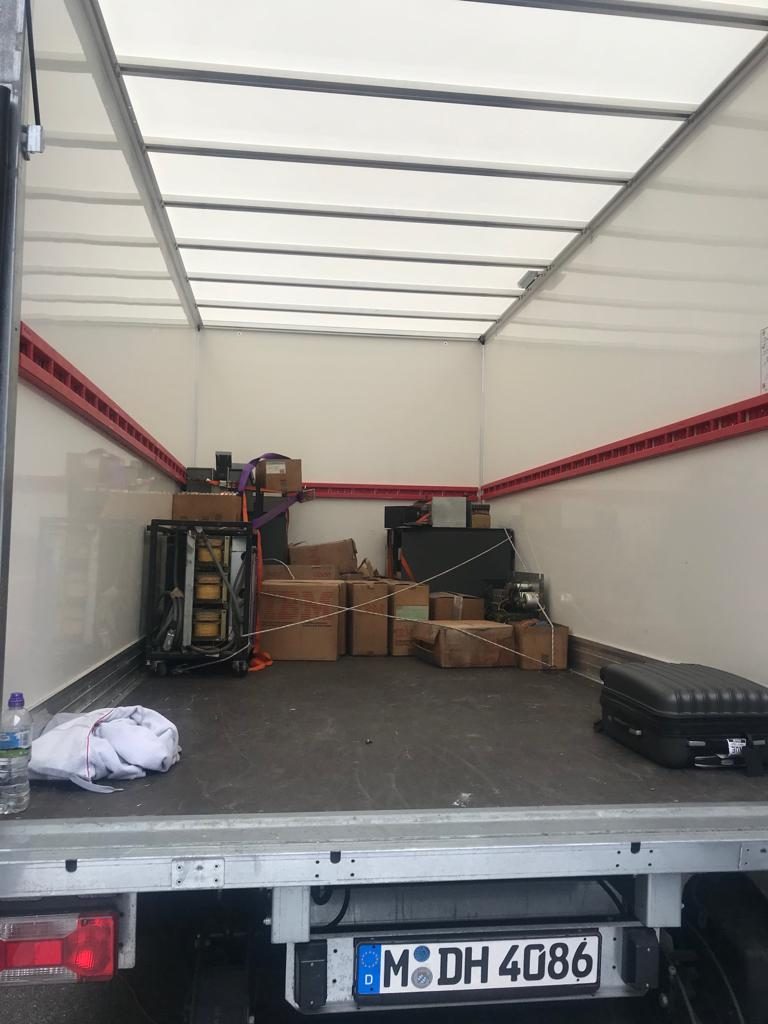
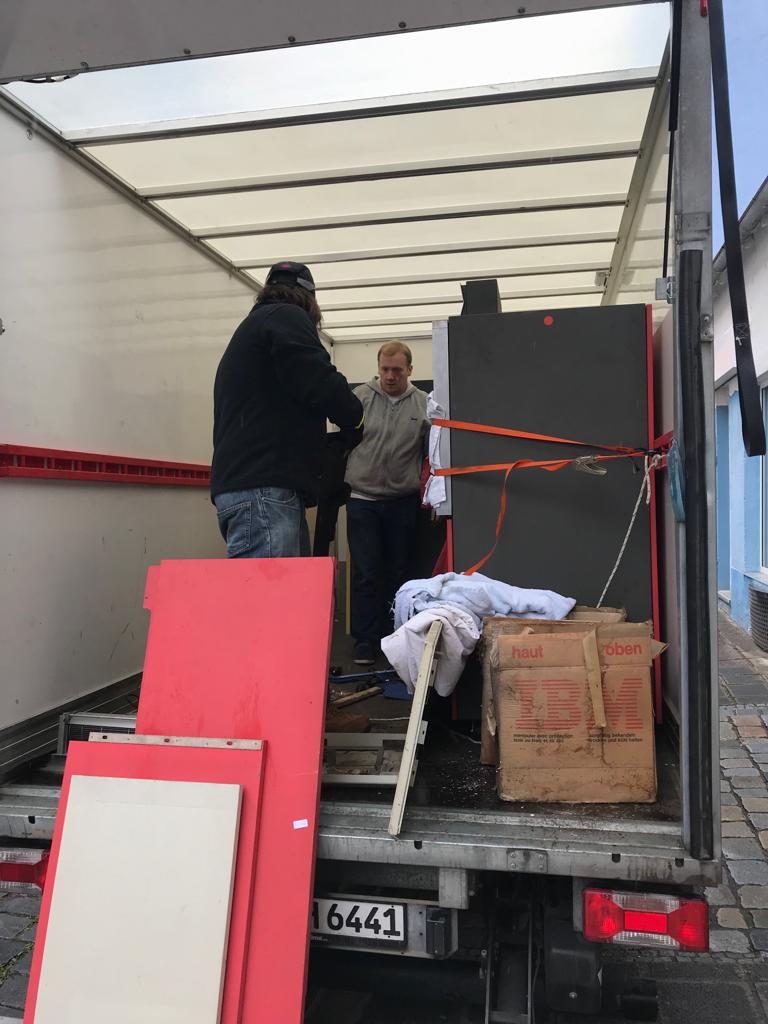
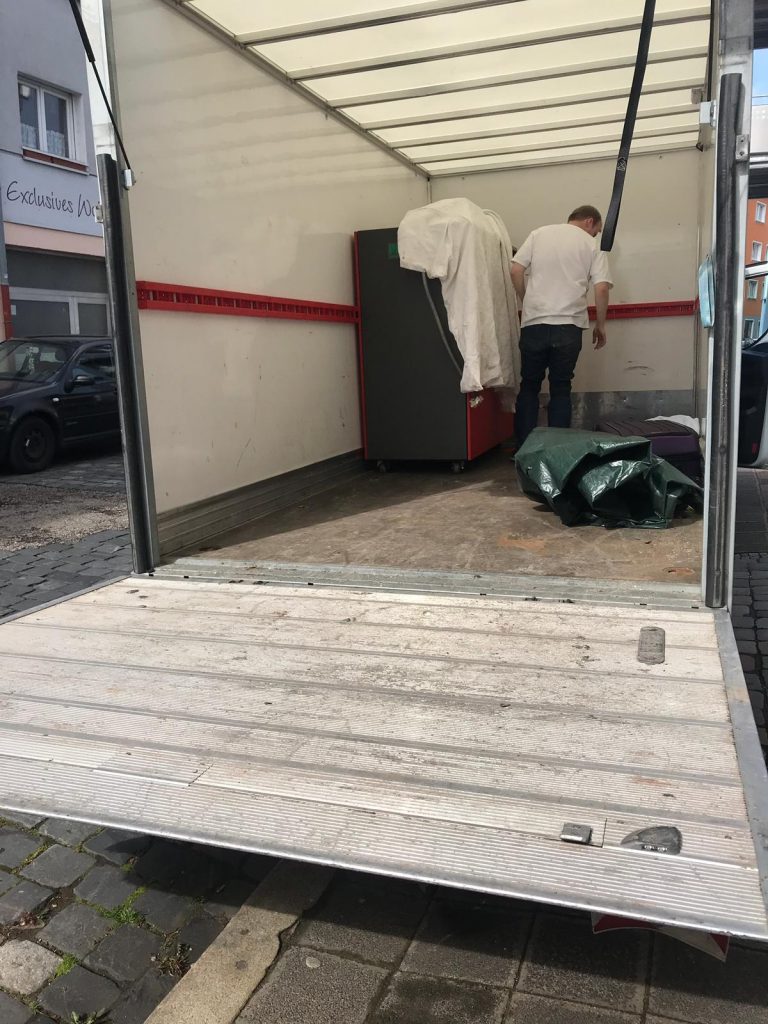
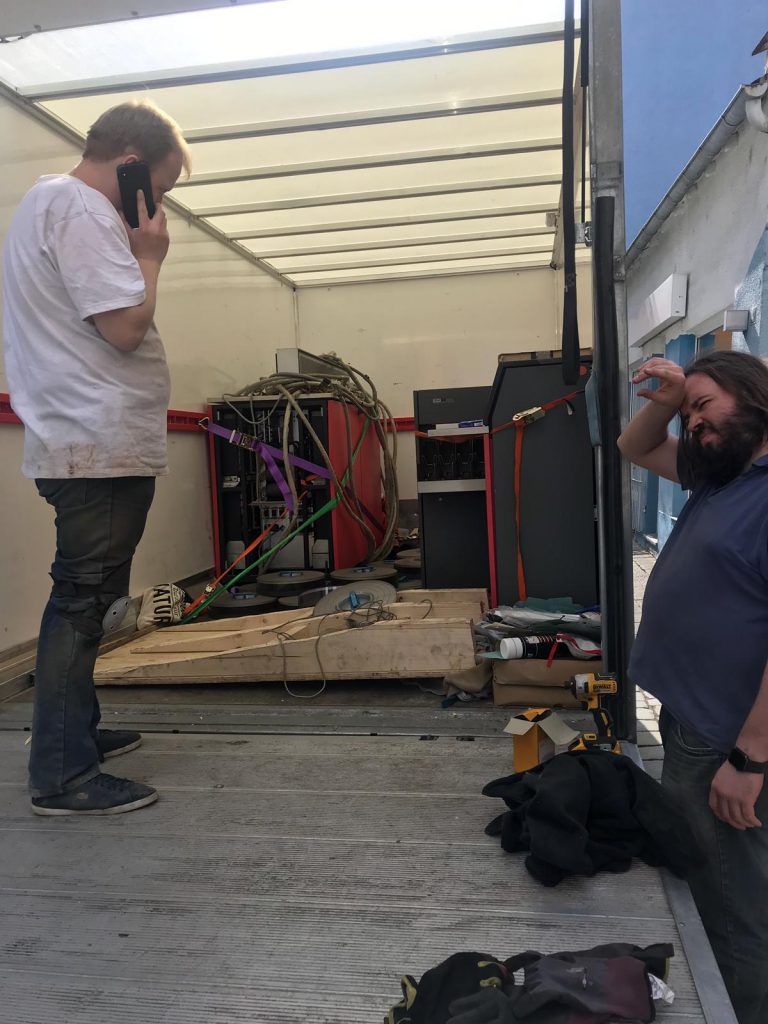
Having started on the 10th of May, and finished packing everything on the 17th, it was time for the trucks. Because of the Francis Scott Key Bridge collapse at the Port of Baltimore, shipping had become a real challenge. It took the team several days to identify and engage with a shipping provider that could do the end to end move for a reasonable price. Eventually they did, and two trucks arrived to take the machines. I dutifully climbed into the forklift and loaded them one by one onto the trucks. Please don’t judge my forklift driving too harshly, at the time the brakes were… well, the less said the better.
With everything loaded up, the trucks departed and we waved goodbye to the machines as they’re off to their new home.
On October 18th System Source Museum will be holding a special gallery opening for the IBM 360’s, and I’m very happy to say that we’ll be in attendance to see them in their new home. We’re exceptionally pleased that we found somewhere that was not only willing to take the machines on a loan basis, but is going to display them to the public, restore them to working order, and use them as tools to educate future generations. It was a real pleasure working with the team from System Source on the project, and I’d like to extend to them my personal thanks for the highly professional and effective approach they’ve taken to the project.
I’ll write an update when we go to see the machines in their new home, and hopefully we’ll be able to keep updating the blog as they progress with their restoration.
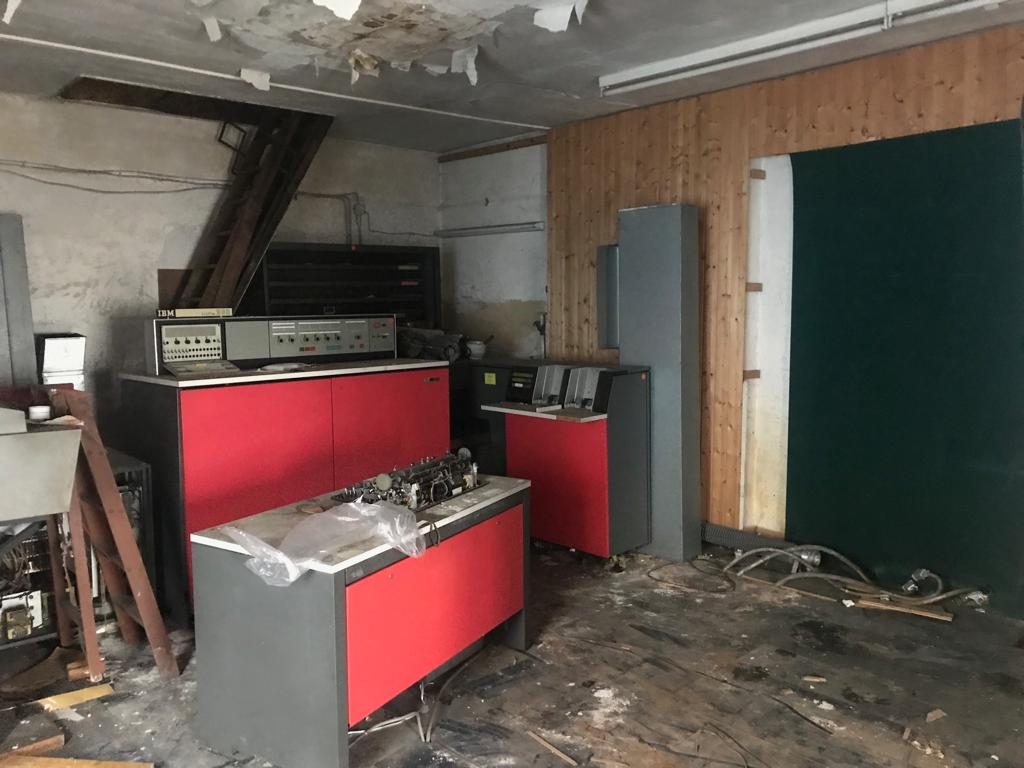
Hello! If you’re still here reading this blog, I’m impressed. We haven’t posted anything of note for some years now and frankly, thats because we haven’t done anything of note with the project. The machines have been sitting in their home, virtually untouched, for 4 years now. Chris & I (Adam) are just too busy with our respective professional and personal lives to give them a second look, and we’ve come to the difficult decision that it’s time to look at letting the systems go.
When we originally moved the systems to Creslow, part of our agreement was to provide PR visibility for the services offered by ecom. Whilst this initially obviously garnered some visibility, our lack of progress with the project has obviously had the knock on effect of stalling this effort as well. Our landlords have been exceptionally gracious about this, however we are now at a point where we either need to really invest time in the project to build this quid-pro-quo relationship, or we need to invest a fairly significant amount of cash in rent to cover the lack of visibility. We’ve discussed it at length, and we think that it’s very unlikely that either Chris or I will have time in the next 10-15 years to focus on this, so it’s time to look at other options.
We are therefore inviting proposals or offers focused around one of the following core ideas:
A museum or preservation organisation takes the machines on permanent loan or possibly as a donation depending upon exactly what the terms look like
A private entity takes the machines on loan for display for a fix period
A foreign museum takes the machines, with negotiation around coverage of costs
A private collector purchases the machines from us for a sum to be negotiated at the time
If you have an alternate proposal we would also be open to hearing it.
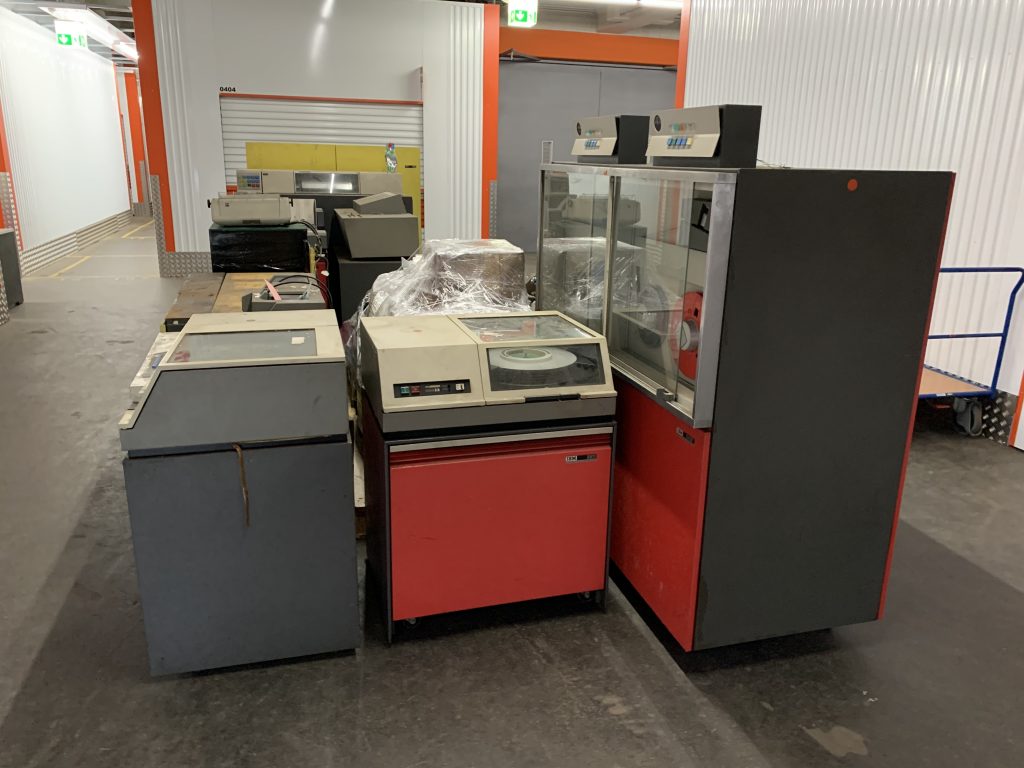
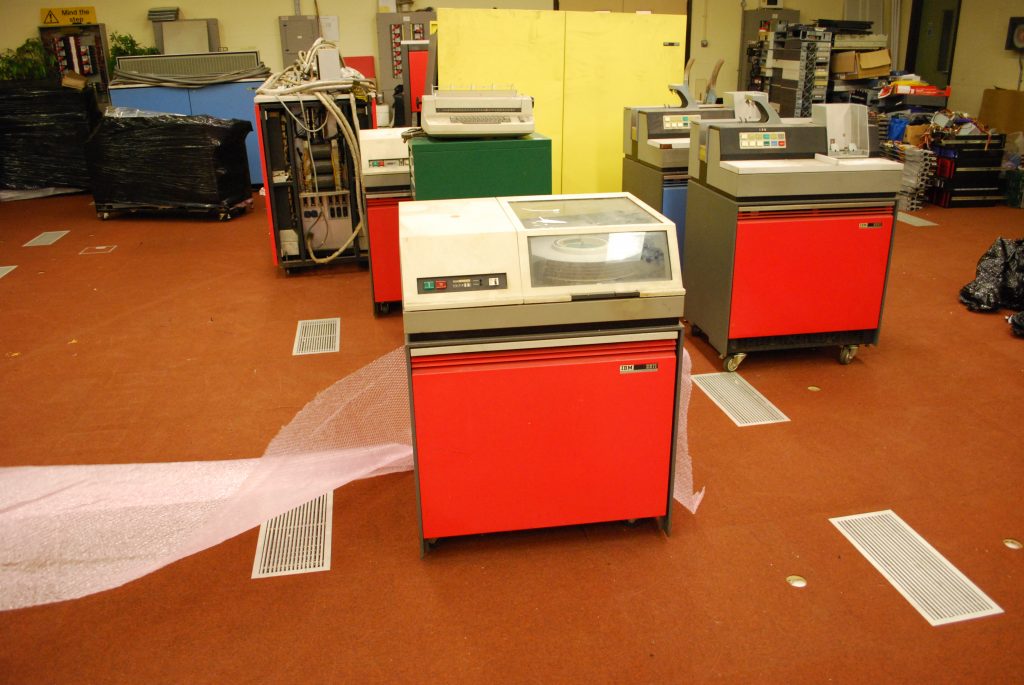
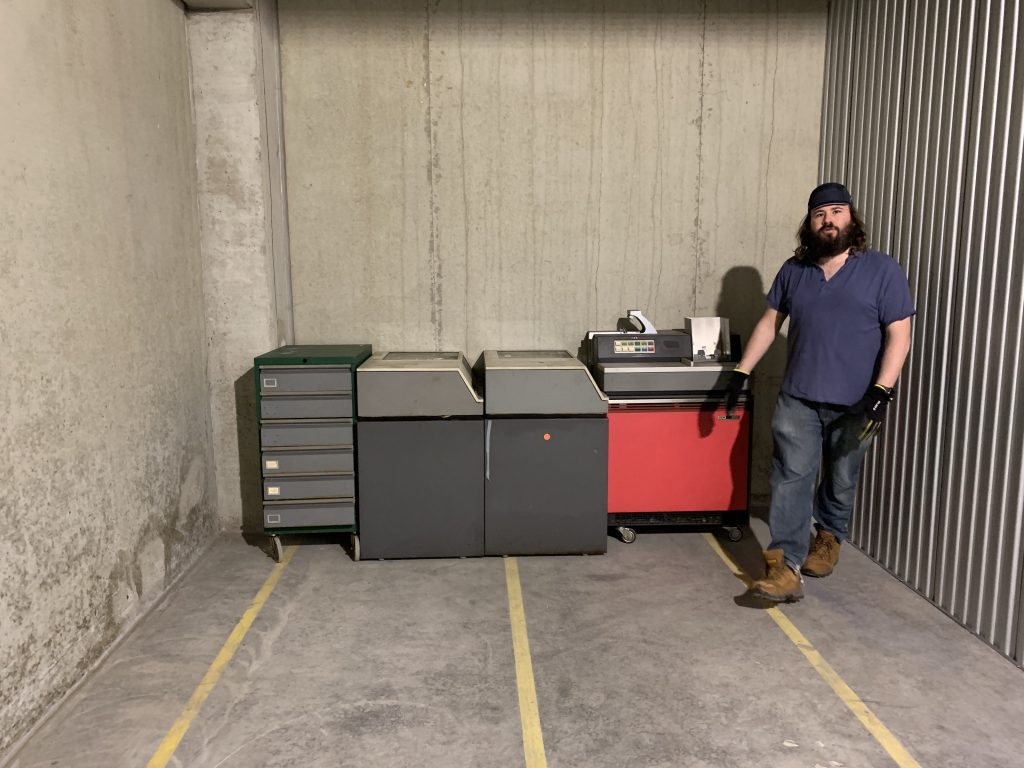
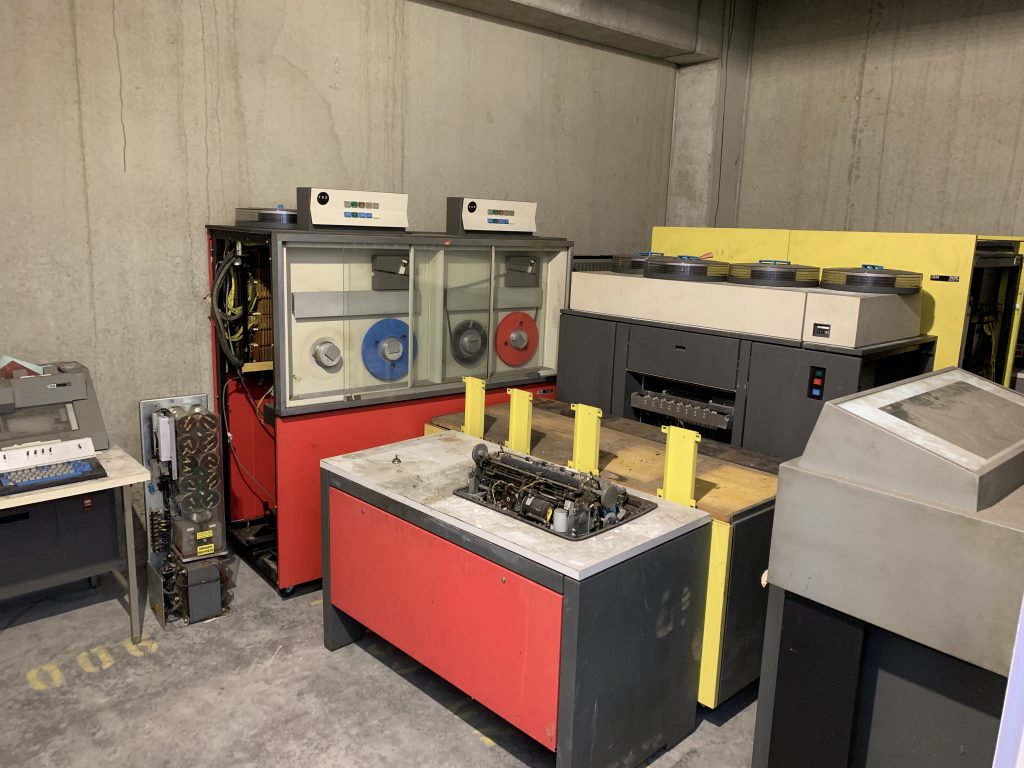
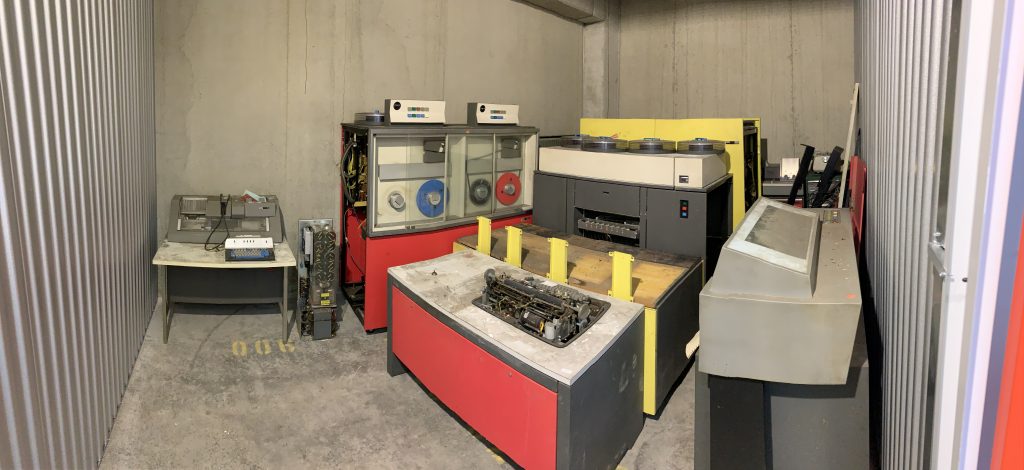
We have three main systems in the collection, as detailed below:
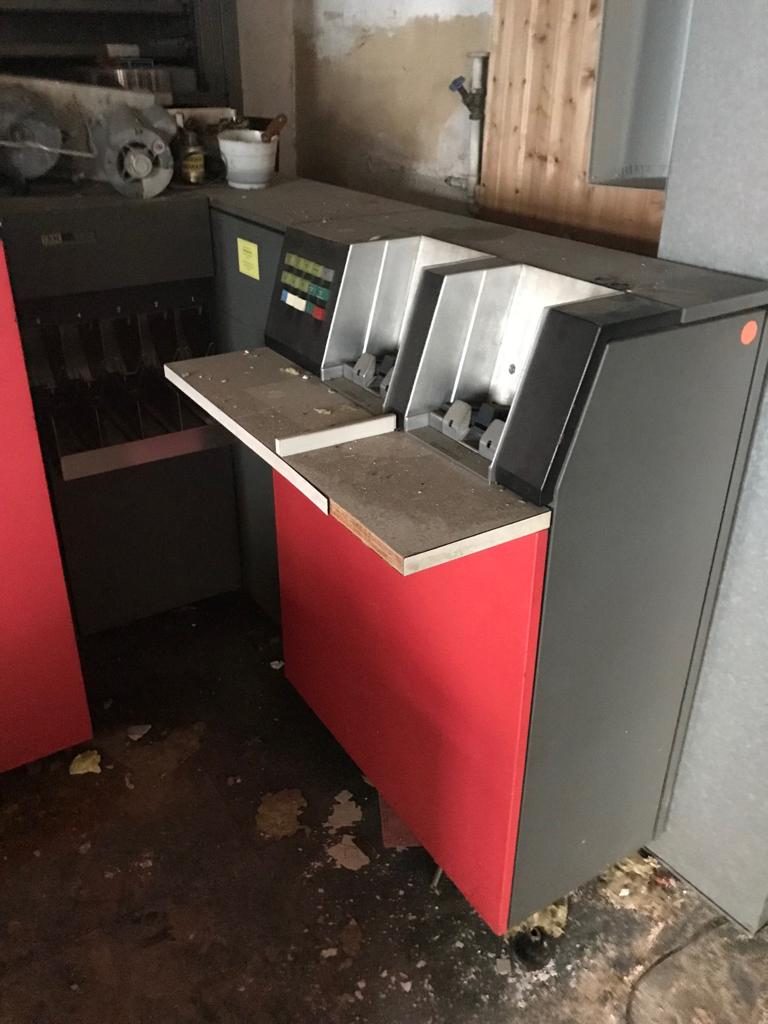
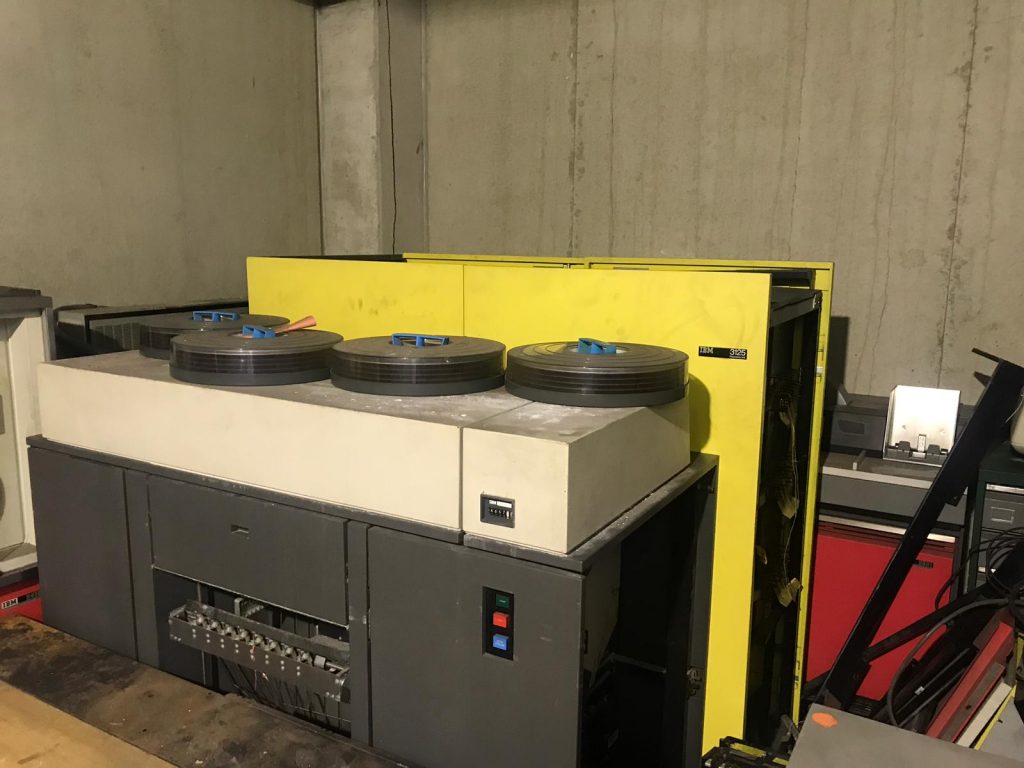
Red IBM 360 Model 20System
1 x IBM 360 Model 20 CPU in Red
1x 2203 System Printer
2x 2311 Disk Drives
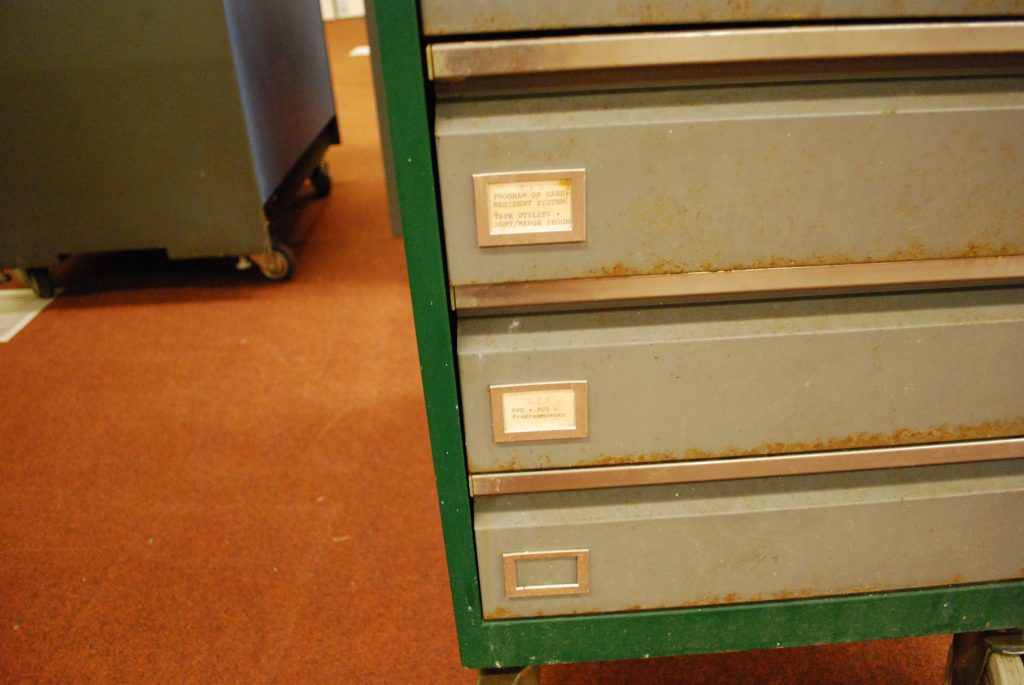
1x 2152 System Console (possibly the last remaining example of this in the world, though in poor condition)
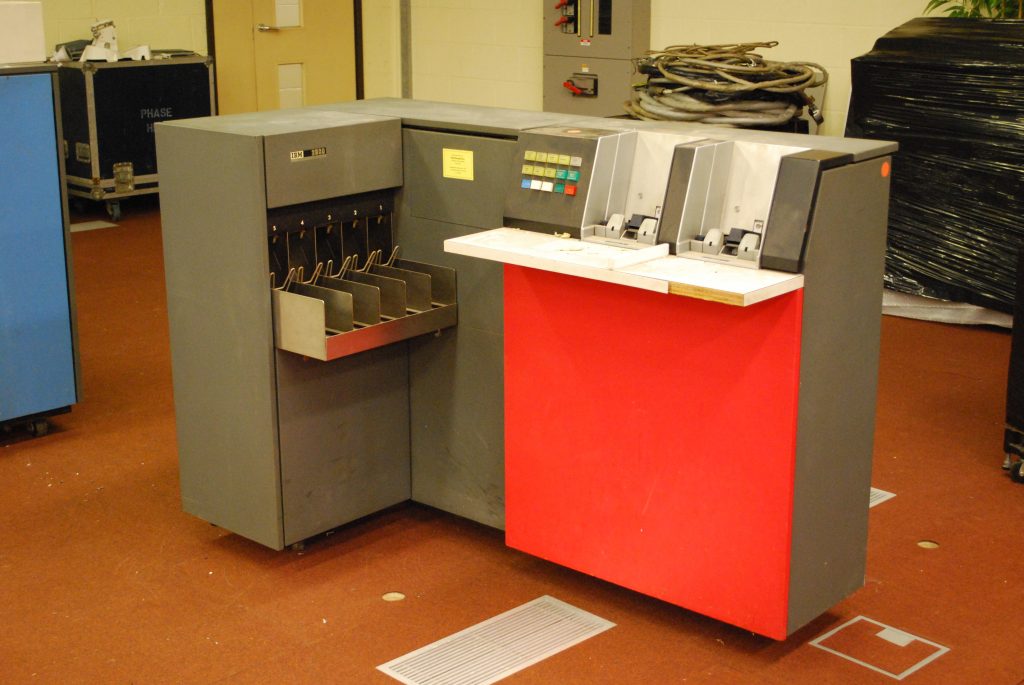
1x 2560 Punched Card Reader/Punch/Sorter
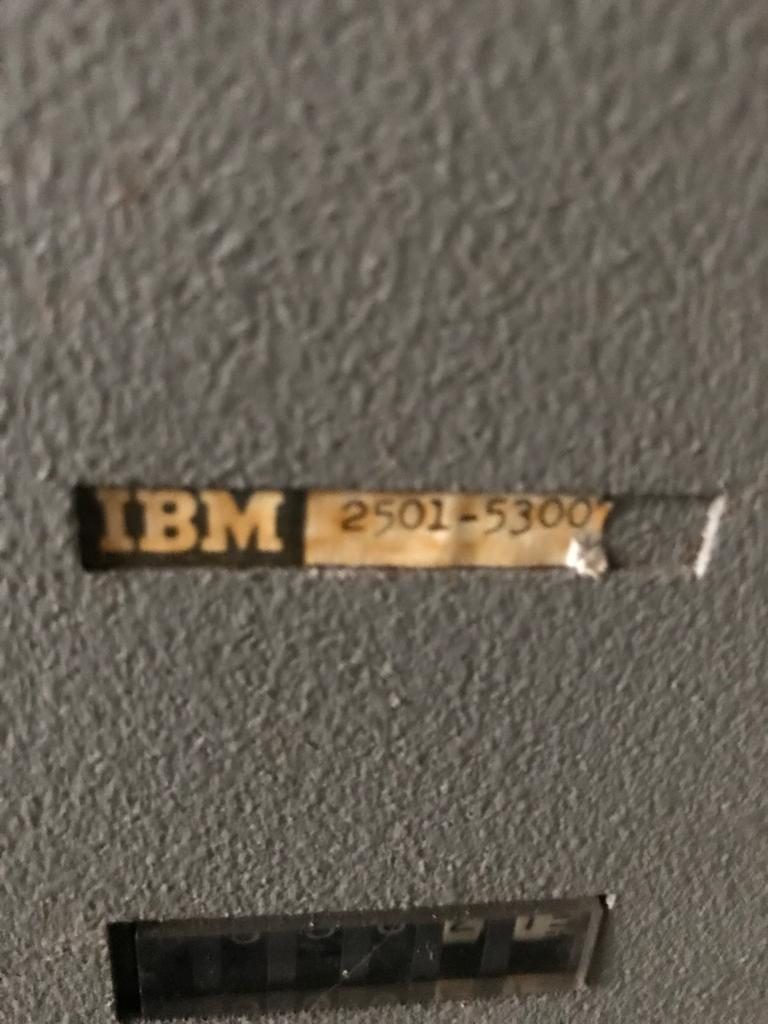
1x 2501 Punched Card Reader
2x 2415 II Tape Drives (One master, one slave) (Possibly only remaining examples of this model globally)
25x IBM Disc Packs
Blue IBM 360 Model 20System
1 x IBM 360 Model 20 CPU in Blue
1x 2501 Punched Card Reader
1x 1403 Printer
System 370/125
1x 370/125 CPU – Unknown condition
1x 3504 Punched card reader (incomplete)
Miscellaneous
1x 029 Card Punch
1x 5471 System Console
Assorted other spares and unknown/incomplete components
Around 12 full boxes of brand new IBM punched cards
————–
In an ideal world we would like to see everything go together, but we understand that this is an enormous amount of kit and that might not be possible. We are not will to split up individual systems, but we are willing to split things by the groupings above. For instance if there was interest in only the red system due to its complete set of peripherals, we would be willing to negotiate on that basis.
It is extremely rare that systems such as this become available, and these are two of only a handful of privately held IBM 360’s in the world.
If you have an idea or a proposal, please email me on the following address. Please do NOT email me to suggest I contact X museum unless you are a representative of that museum or hold a direct relationship with them and know they are interested:
We are genuinely sad that we’ve been unable to work on this project and take it where we wanted it to go. We set out with strong intentions, but alas, as is often the case life took over and we were unable to push forward in the way we wanted to. We hope that someone comes along who will be able to keep the systems safe for future generations.
Wow, it’s been a while since our last post here, almost 2 years! Time has totally flown by. I checked the traffic this morning and was pleasantly surprised to see that we’re still getting 2,000+ hits per month which is just incredible given that we haven’t published any updates.
So, I’m guessing you probably want to know whats going on and why we’re not posting here. Let me summarily answer your most important questions below:
Are all of you okay? – Yes.
Is the project dead? – No.
Do you have any updates for us? – Unfortunately, not really.
So, the reason we haven’t been posting here is mainly because, well, nothing has changed. Chris & I have both been insanely busy with regular life, work is non-stop and personal commitments on top mean that currently we have little time to focus on the project. I’m additionally moving to Southampton for a new job which will put me further away from the project and will likely just add to the delay.
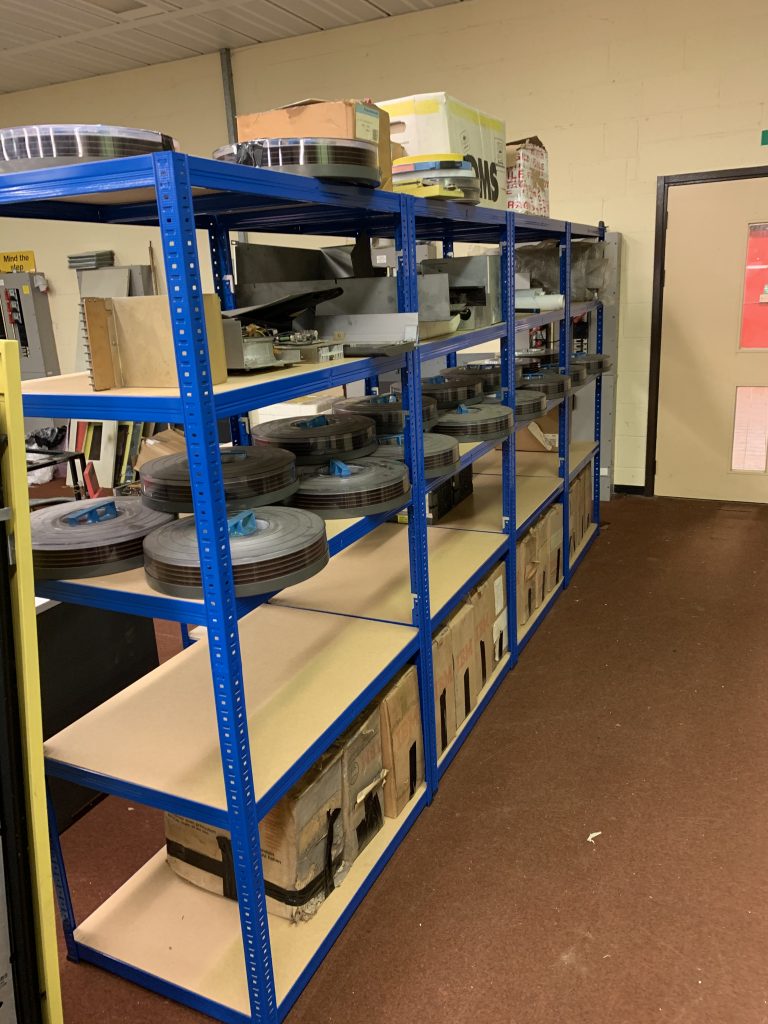
The small updates we do have for you are mainly administrative. Back in June 2020 Peter Vaughan purchased and donated some shelving units to the project to allow us to better store our parts, media, etc.
And in September of 2020 we had some members of the CCS (British Computer Conservation Society) visit us in a socially distanced fashion (remember that?!) to ask us some questions about the project following our application to join their projects register.
We have now successfully joined the CCS, and look forward to working with them in the future.
So, what of the project now? Well, for now we’ve basically decided to park the project for a while until one or both of us has more time to spend on it. It sucks because we really want to see the project move forward and succeed, but right now neither of us are particularly in a position to make that happen; and whilst we do have fantastic support from the rest of the team, realistically we need to be somewhat involved in order to be able to progress things in the direction we’d like them to go in.
So, basically we’re on pause for the moment. When will we be off pause? I don’t know. It depends on a lot of factors. Trust me though, if anything changes you will all be the first to hear about it!
All the best,
Adam
P.S. If you’ve sent us an email and we haven’t replied, I can only apologise. A lot of them seem to have disappeared into a black hole of our old email server, and so if you’d like to get in touch please send us another email and we’ll do our best to get back to you.
Well, what can I say. It seems as though the last update was a lifetime ago. The world has changed so much! As you might imagine we have been unable to complete any work on the IBM 360 over the last couple of months due to the lockdown restrictions in place in the UK. We are hopeful that in the coming months as the lockdown eases we will be able to return to the project and start posting regular updates again.
We have received a few items off of the Amazon wishlist, and I will post the proper thanks in due course, I am currently unable to do so as they get delivered to my fathers house and due to the self isolation policies I have been unable to collect them thus far. I hope to be able to collect them soon, and we are really very grateful to those of you who have been kind enough to send things to us! We hope we can put them to good use soon enough!
The only update I am really able to provide on the project itself at the moment is that we’re going to be featured in a TV programme this coming week on BBC One Scotland! The programme is called Silicon Dreams, from Ships to Microchips. Peter Vaughan and I were filmed with the 360 for the programme some months ago. Peter was also filmed at TNMoC with the 1130. The programme documents IBM’s plant in Greenock, Scotland and the impact its presence had on the local area. Part of our 360 appears to have been manufactured at this plant, and thus we were asked if we’d like to take part. So if you happen to be able to tune into BBC One Scotland, the programme will be broadcast on Tuesday the 26th of May 2020 at 20:00, otherwise it’ll be available on iPlayer shortly thereafter.
Speaking of TNMoC, as I’m sure you’re all aware, during these difficult times of COVID-19, museums such as The National Museum of Computing have had to shut their doors to ensure the safety of the staff, volunteers, and indeed the visitors. TNMoC relies on corporate visits, school visits, and members of the public to cover its overheads. Despite furloughing the staff and reducing costs as much as possible, massive overheads are still depleting the museums funds and without your support museums like TNMoC may be forced to shut their doors. TNMoC is very near and dear to all of the teams hearts, it not only brought us all together but it’s given us all a platform to save these incredible machines from the scrap heap and enabled us to display them to the public in ways they would never have been seen before. If you can help in any way at all, TNMoC have a crowdfunding campaign here, every little helps towards the survival and eventual reopening of the museum.
That’s all there is from me for now, although I hope to have some more media content to post soon, and I also hope that we can get back to work restoring the 360 ASAP. Until next time, I hope you all stay safe and well.
We know we’re a few months late, but we want to wish all of our readers a happy new year! And to kick off the new year (even if we are a bit late) heres our first post of 2020!
We’ve all been rather busy in our personal and professional lives of late, and as such the updates haven’t been as regular as we would have liked. We’re hoping to get quite a few days of work in this year, and we promise we’ll update you all as much as possible!
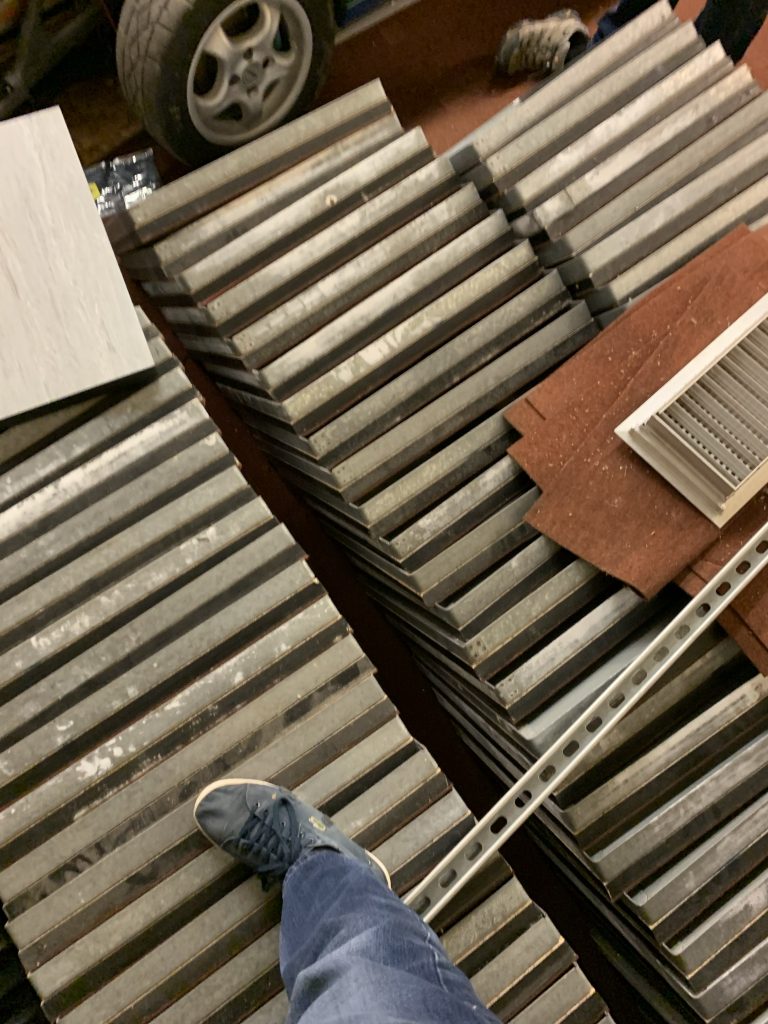
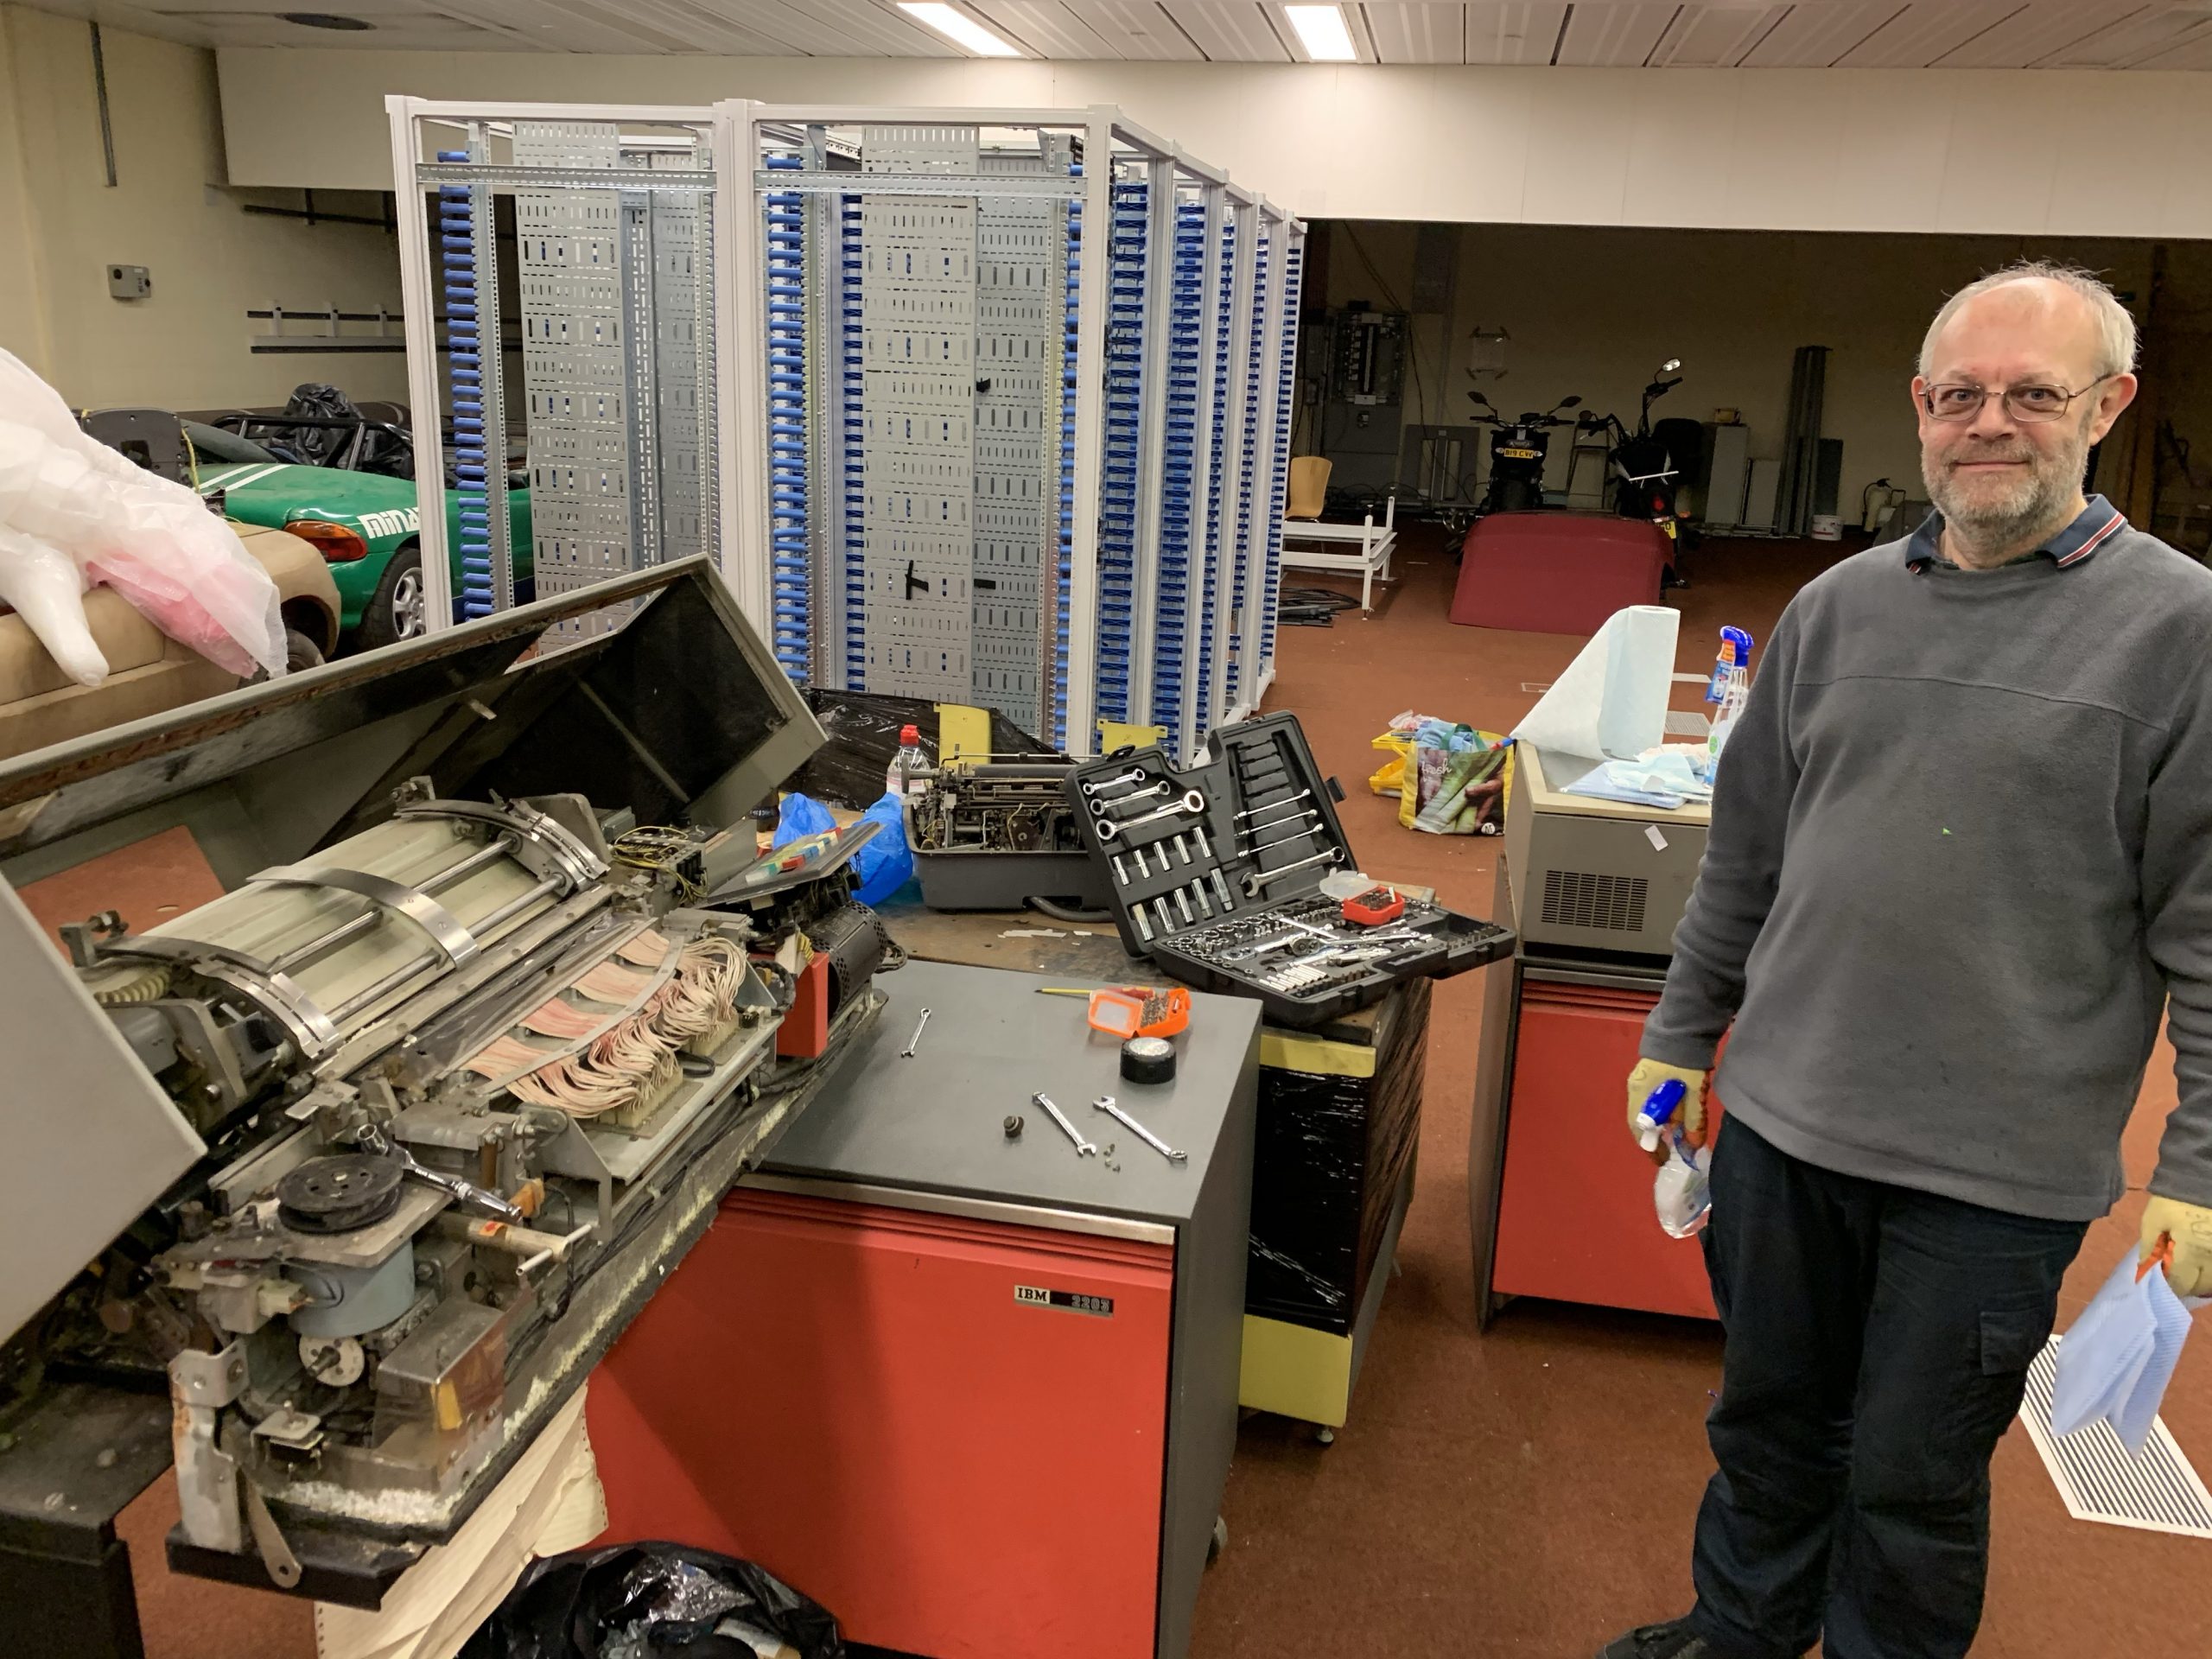
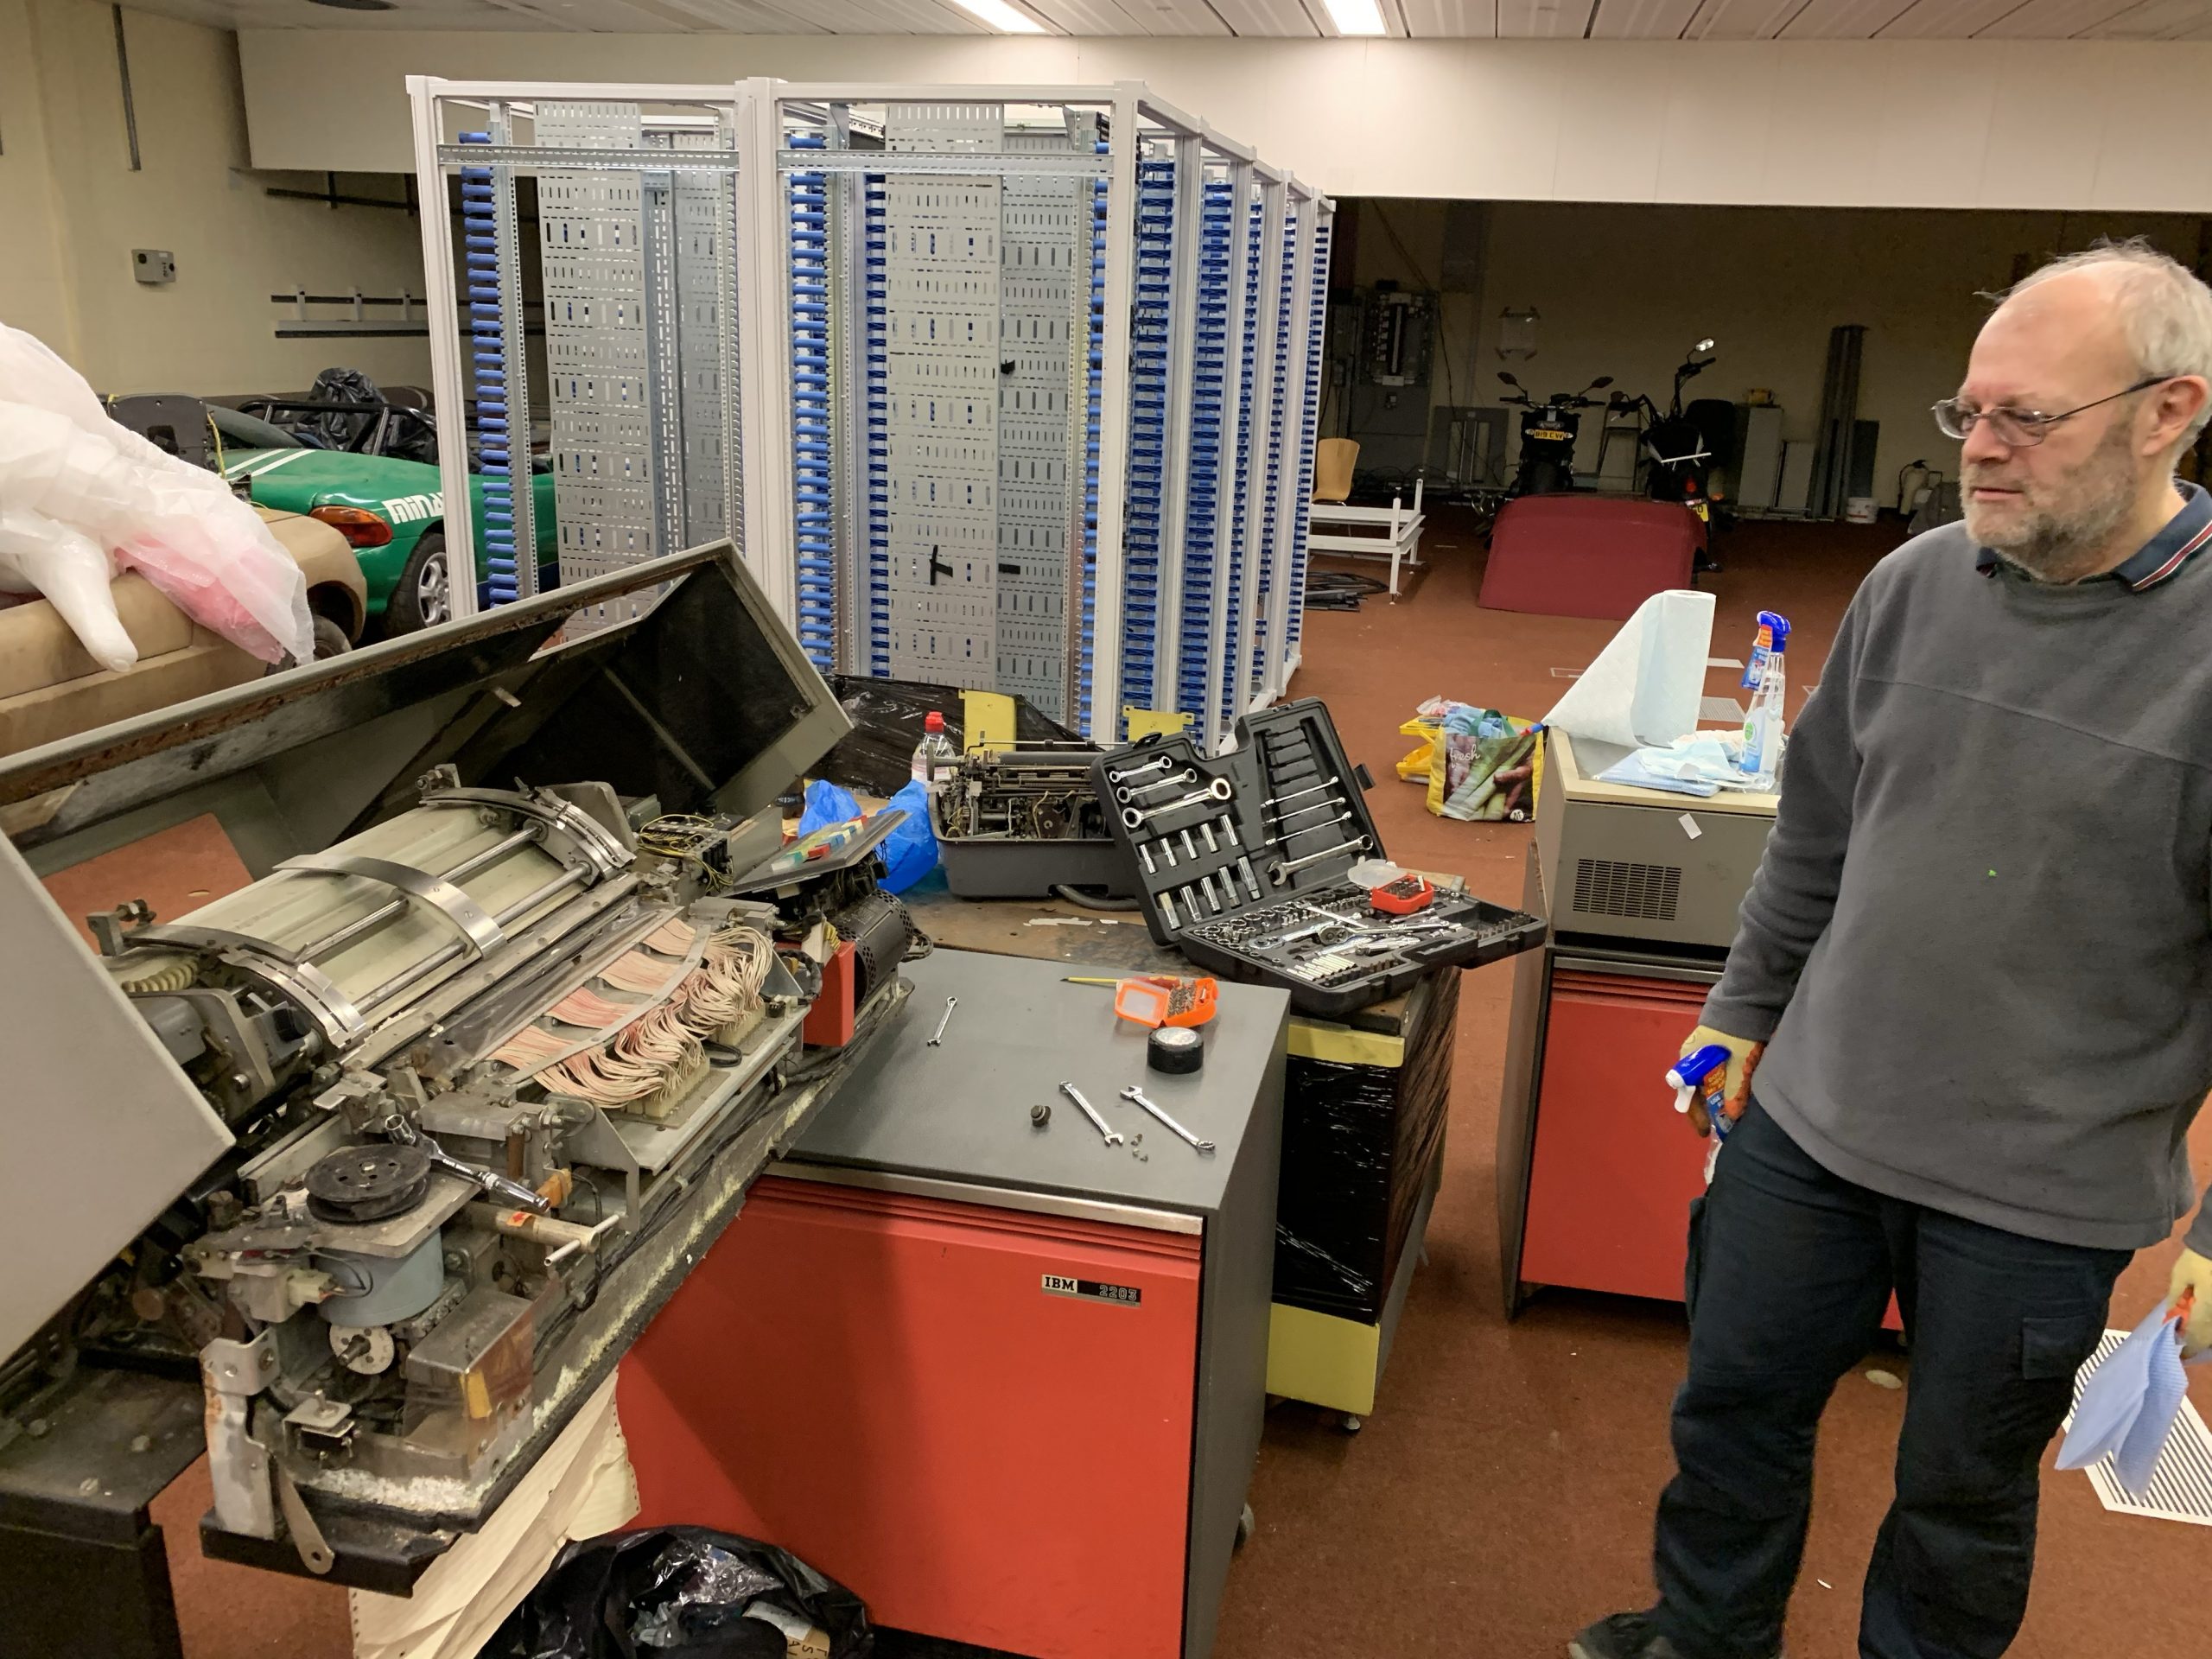
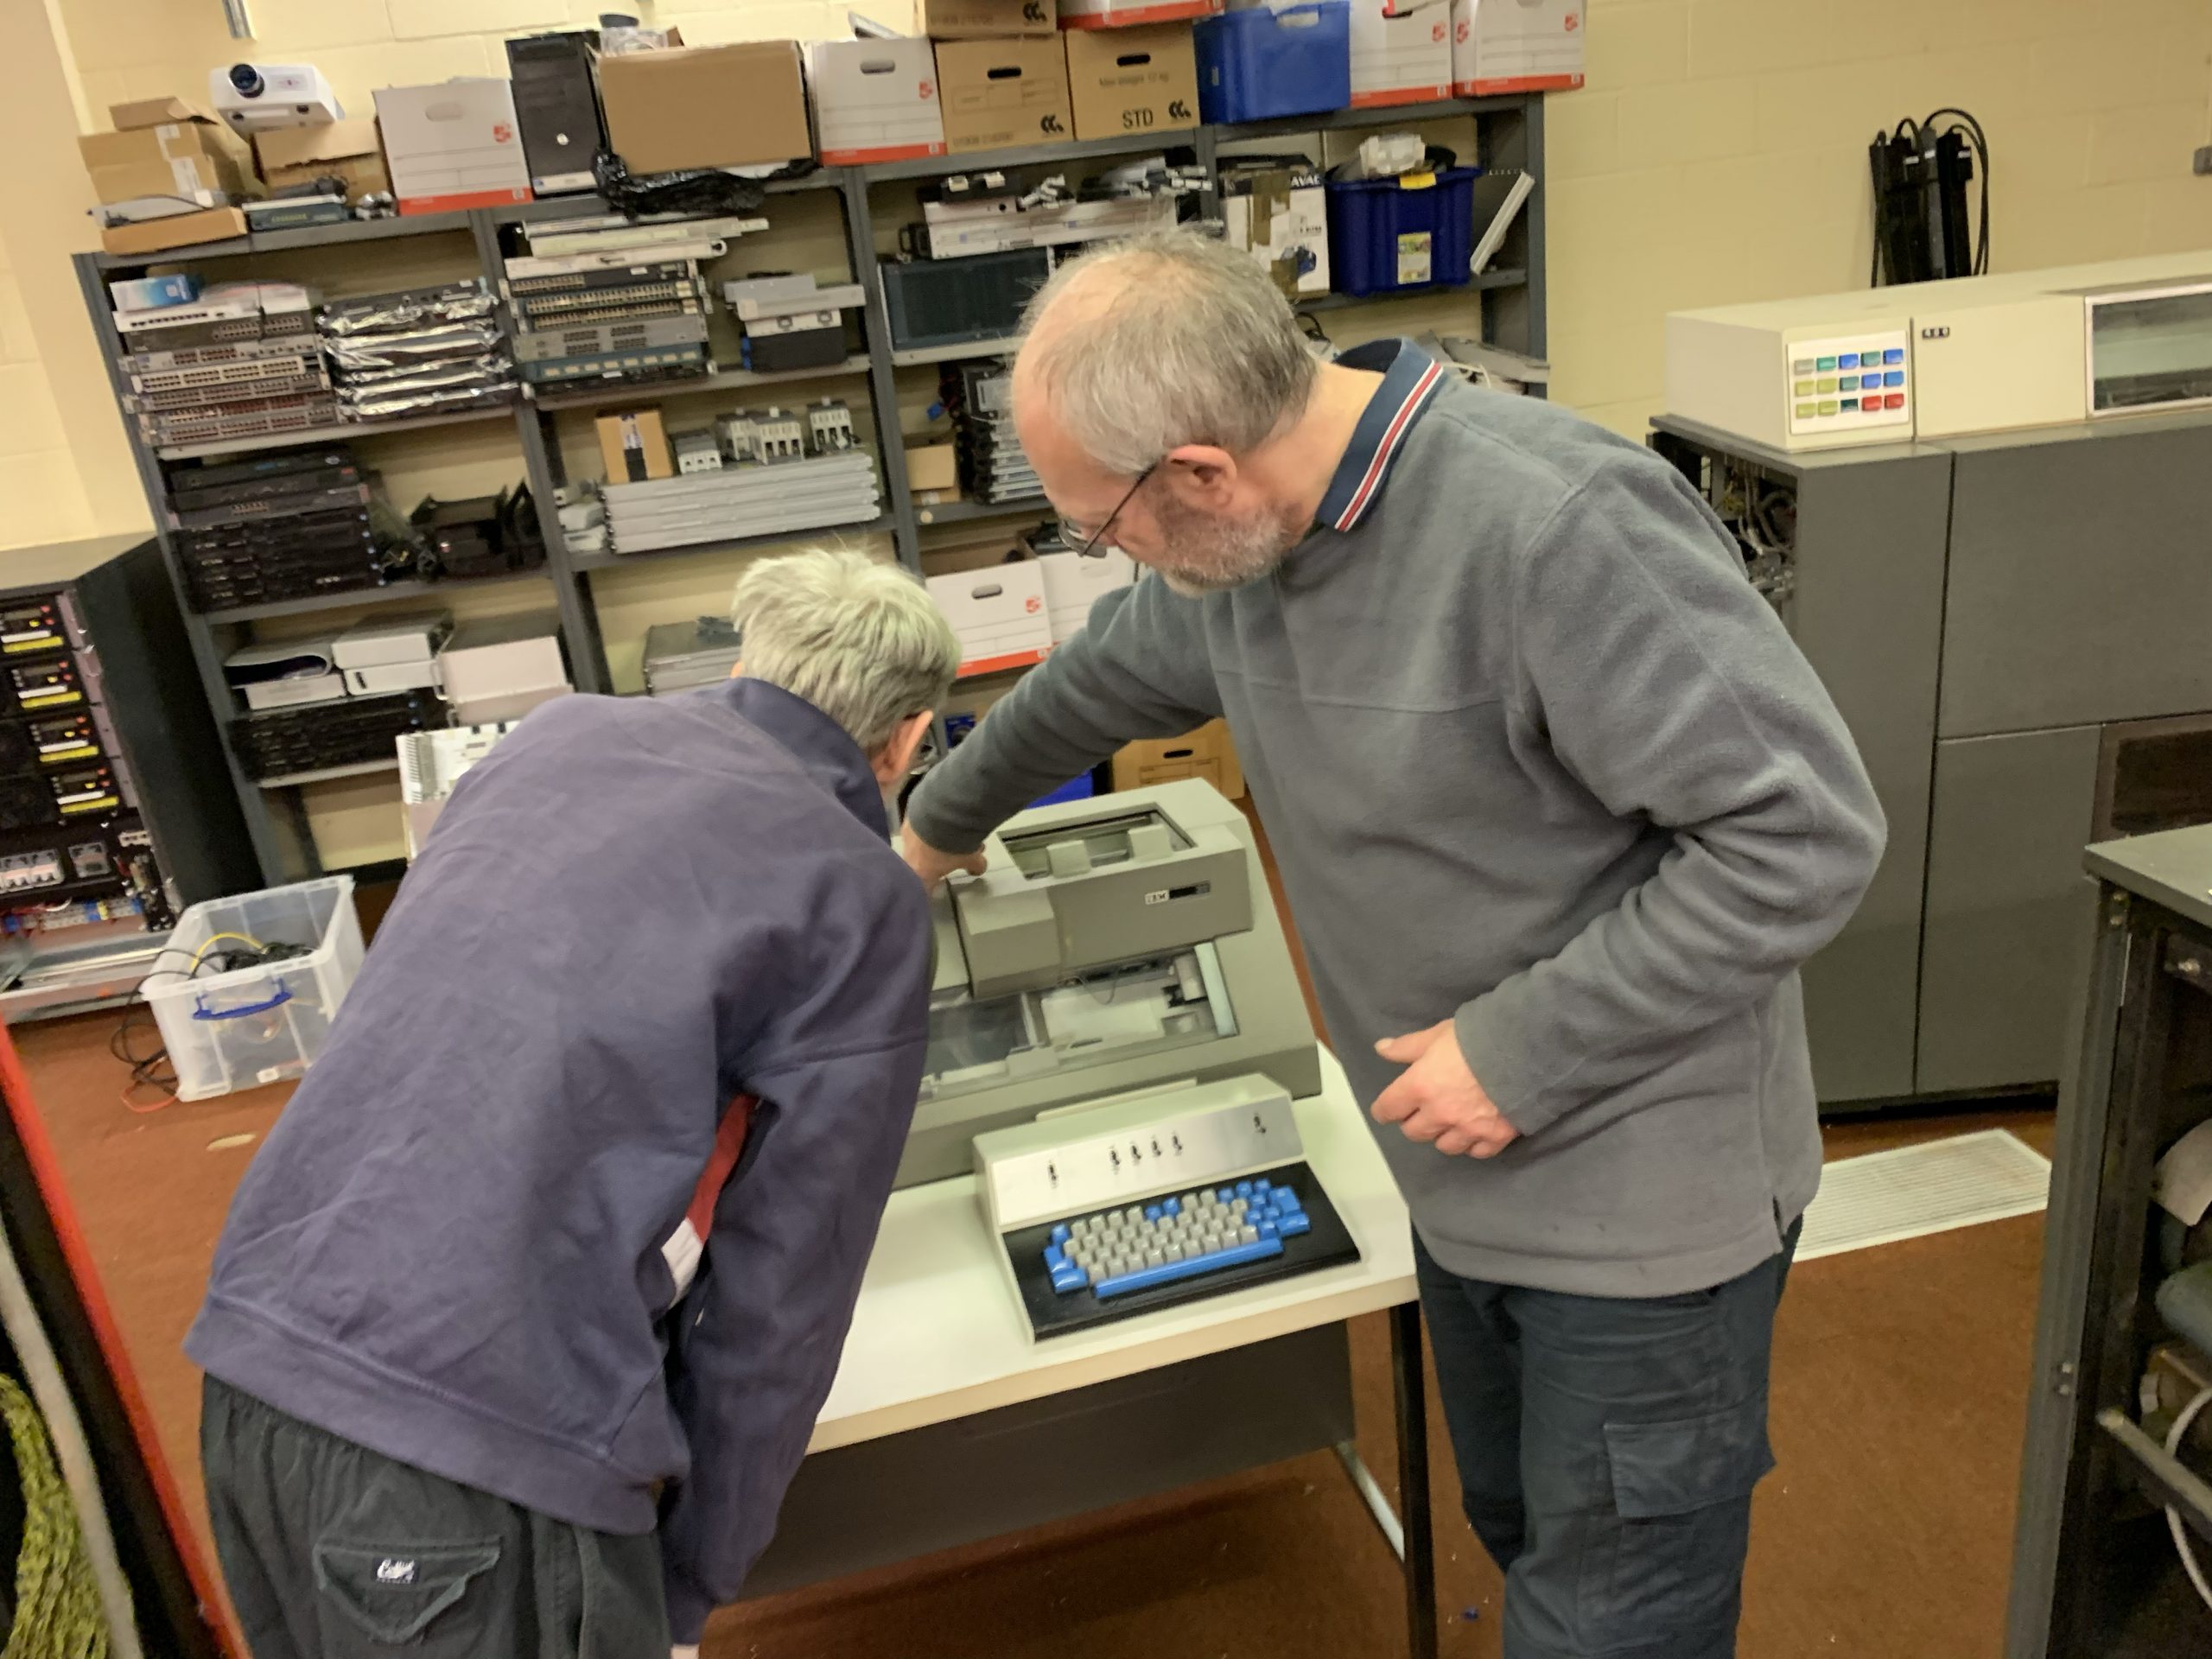
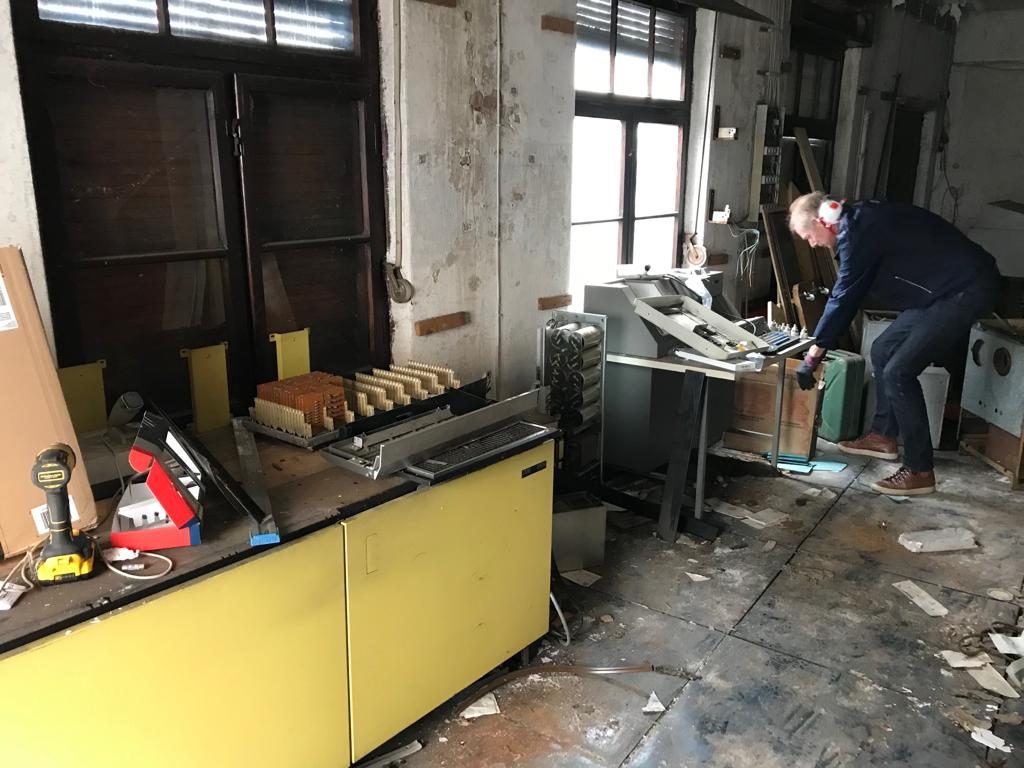
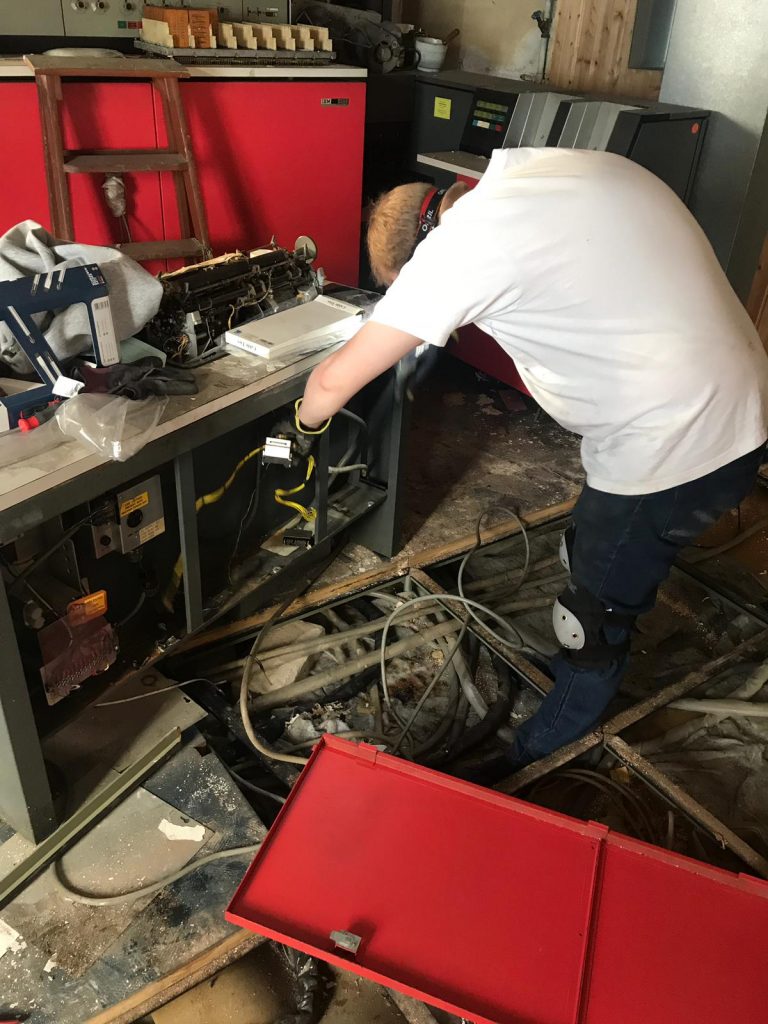
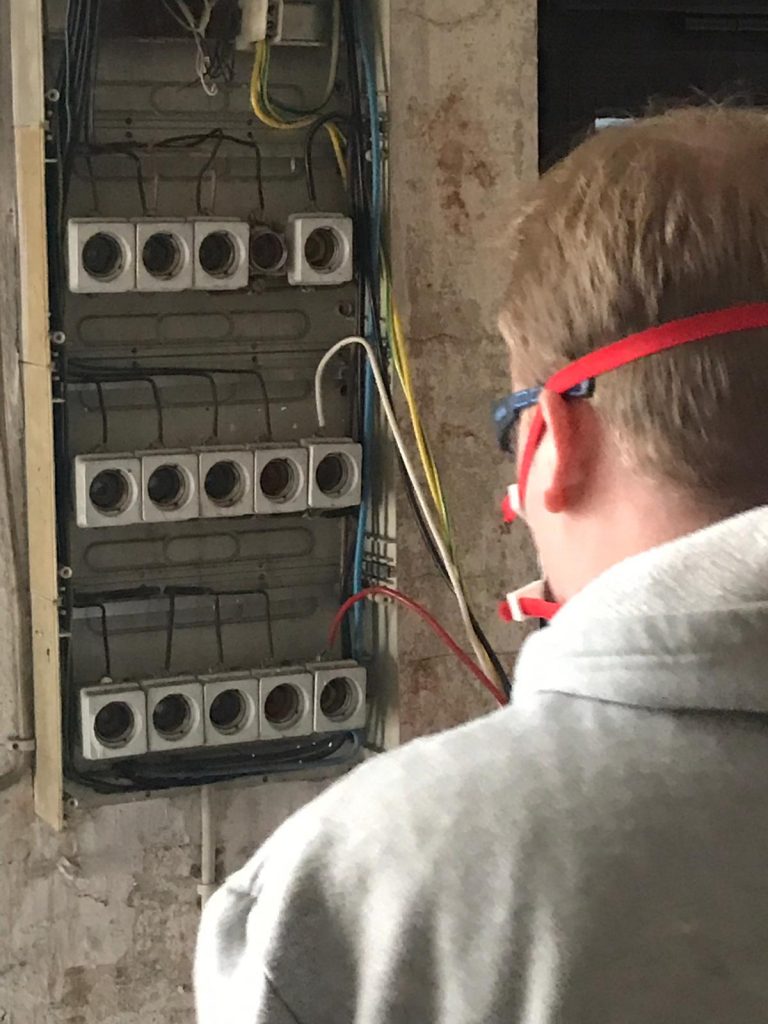
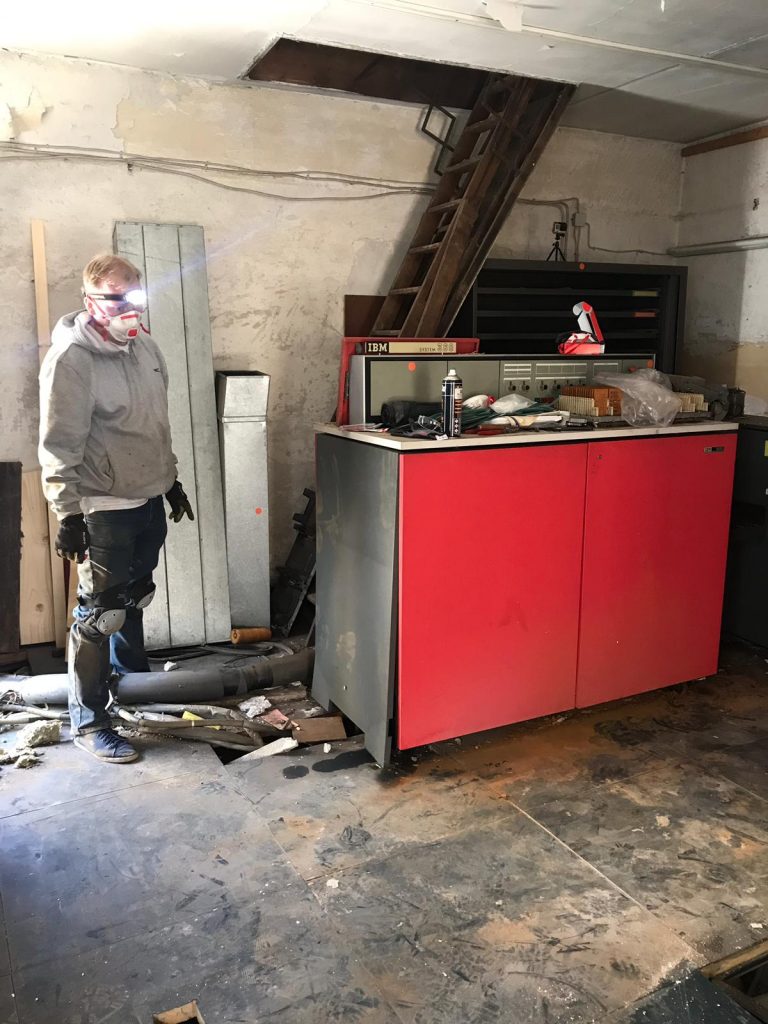
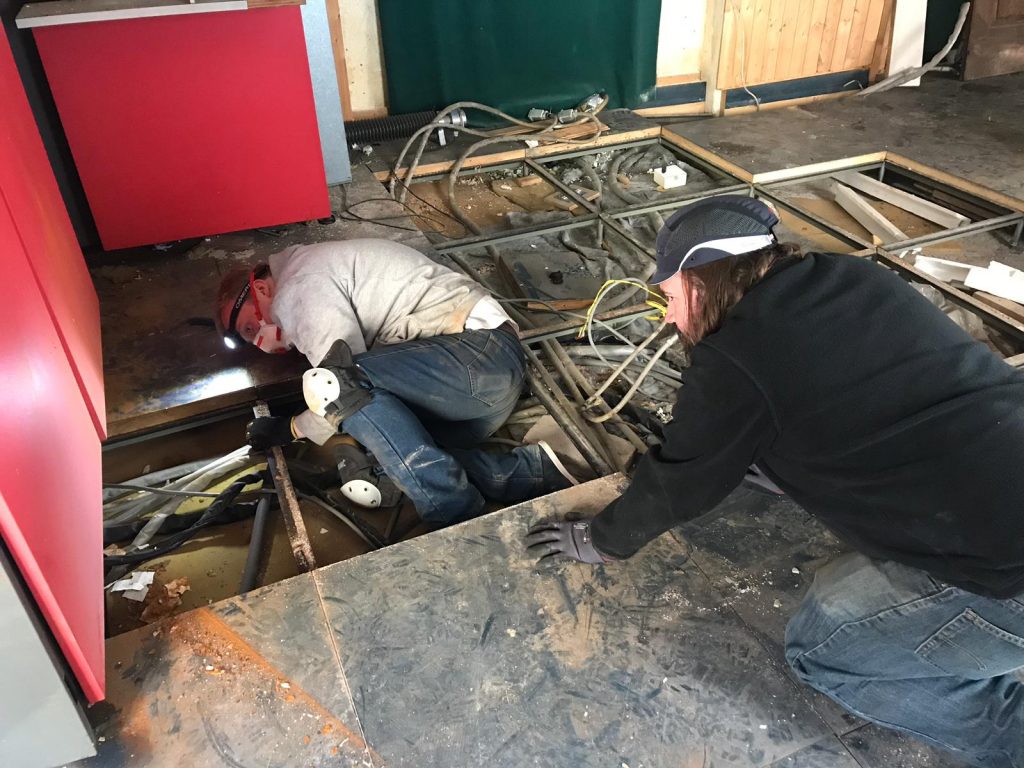
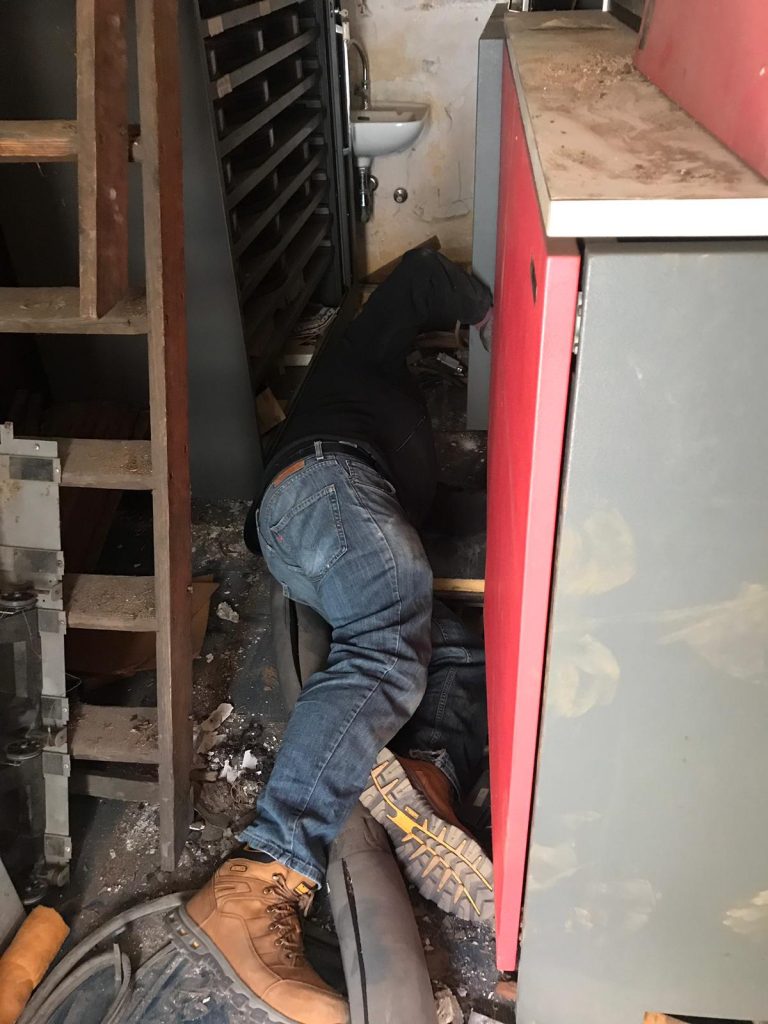
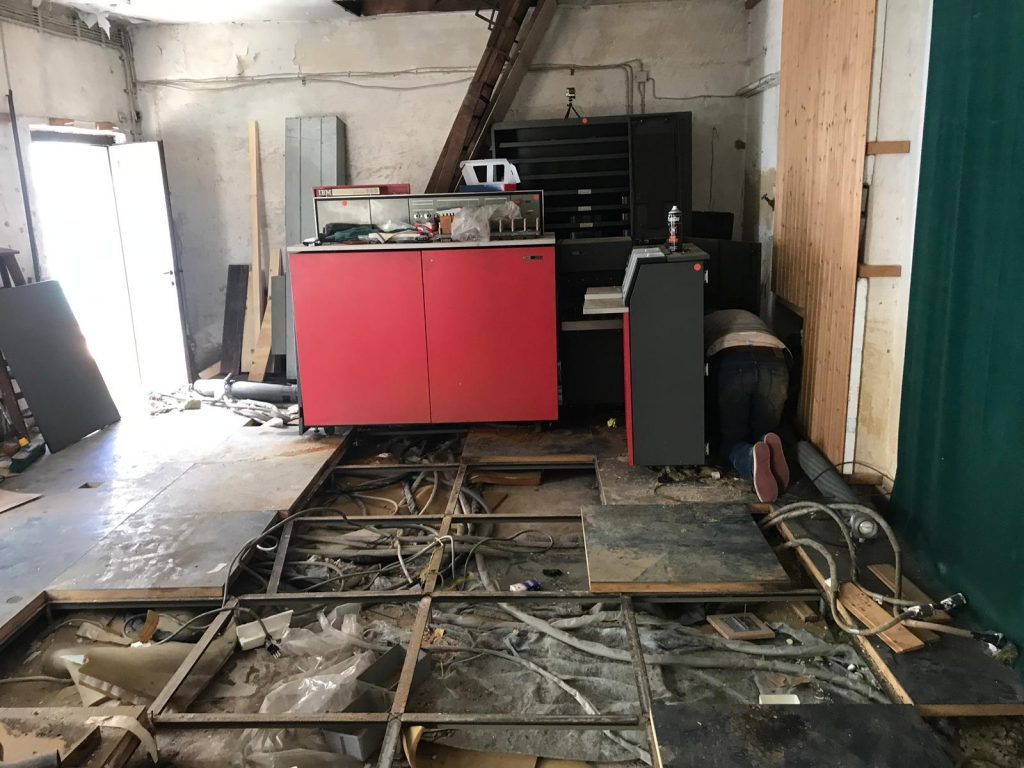
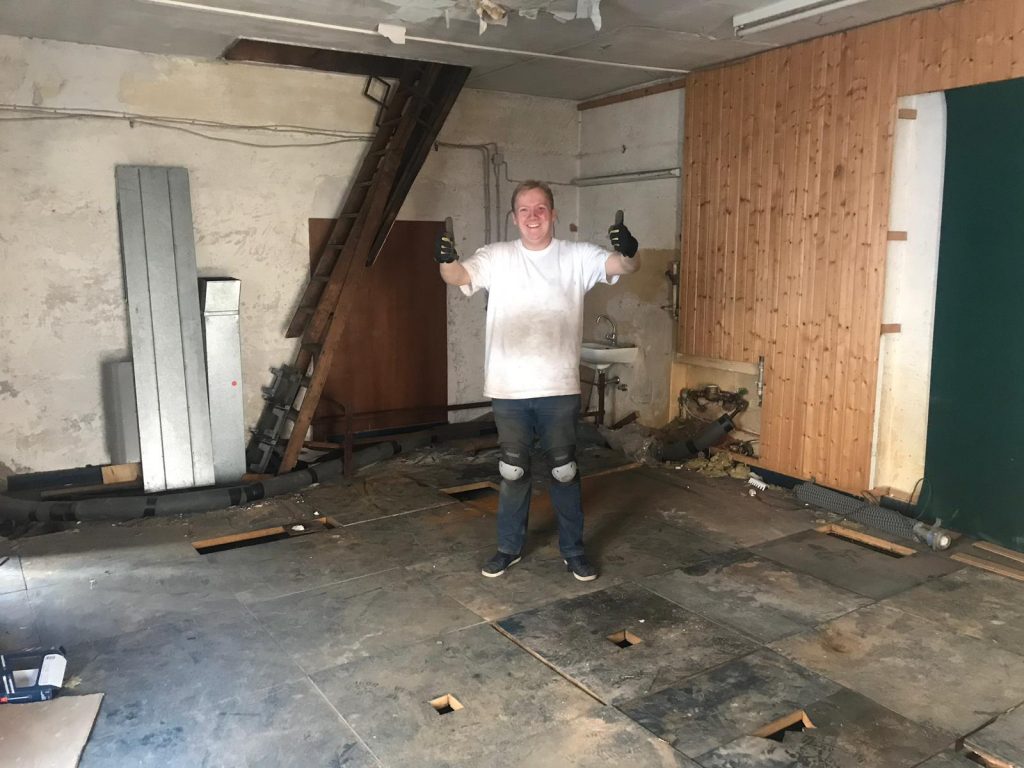
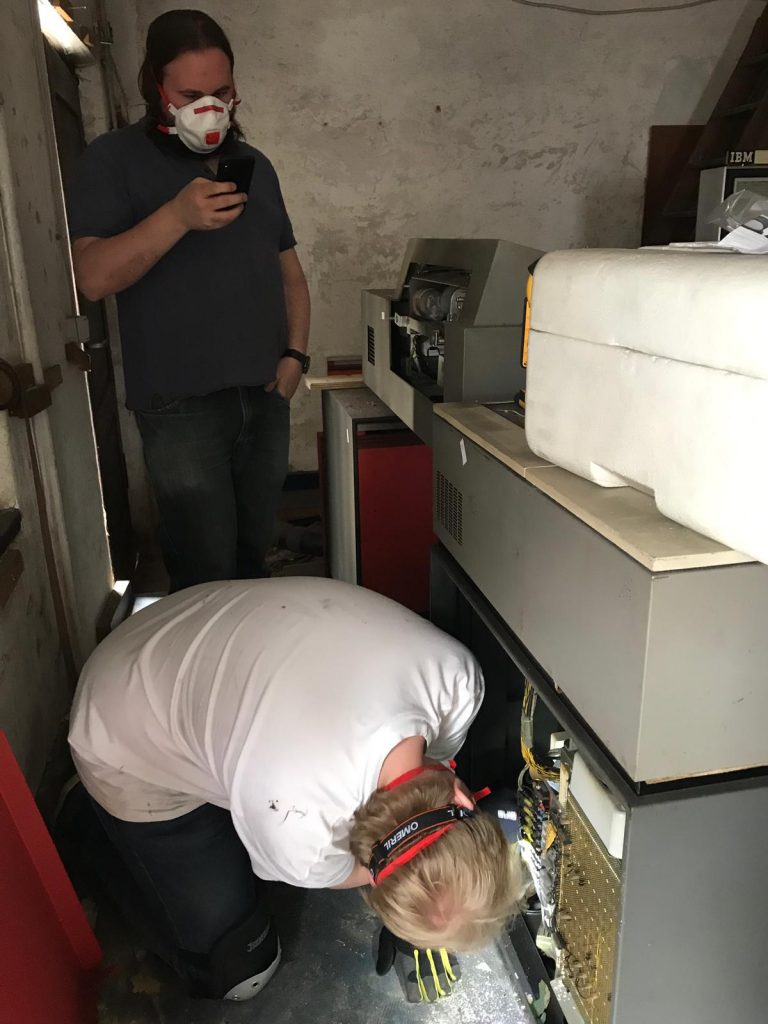
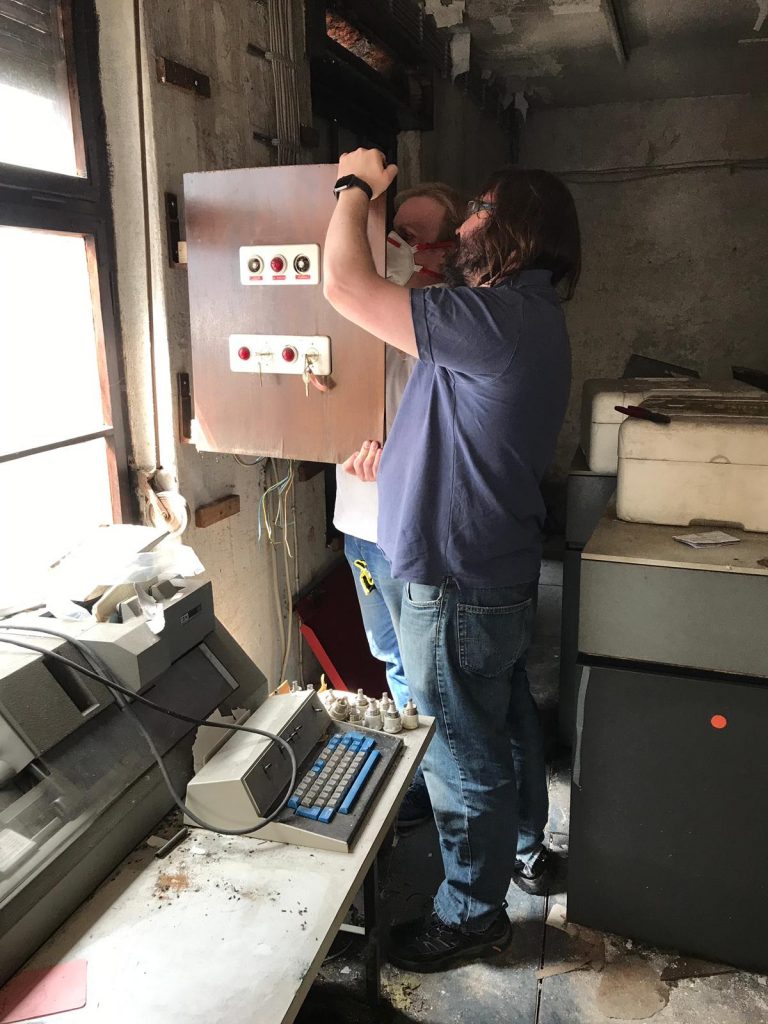
We all agreed to meet on Sunday the 1st of March to resume work on the machine. We didn’t really have any set goals for the day, except to continue cleaning the machine, and have another go at removing those stuck disk packs from the drives. I arrived first, around 11am, and Chris Blackburn arrived shortly thereafter. Helpfully over the last few months Chris Wilkie had somebody install 4x 3 phase 5 pin commando sockets for us on proper breakers so that we could run our new heaters. Chris Blackburn and I set about plugging them in and getting them tested, and save for a dodgy cable with one of the heaters, 3 of them were soon pumping out just enough heat to take the edge off of the cold in the room. I then make the big climb over the pile of spare raised floor tiles to find one with an appropriately sized hole in it to run the cables through:
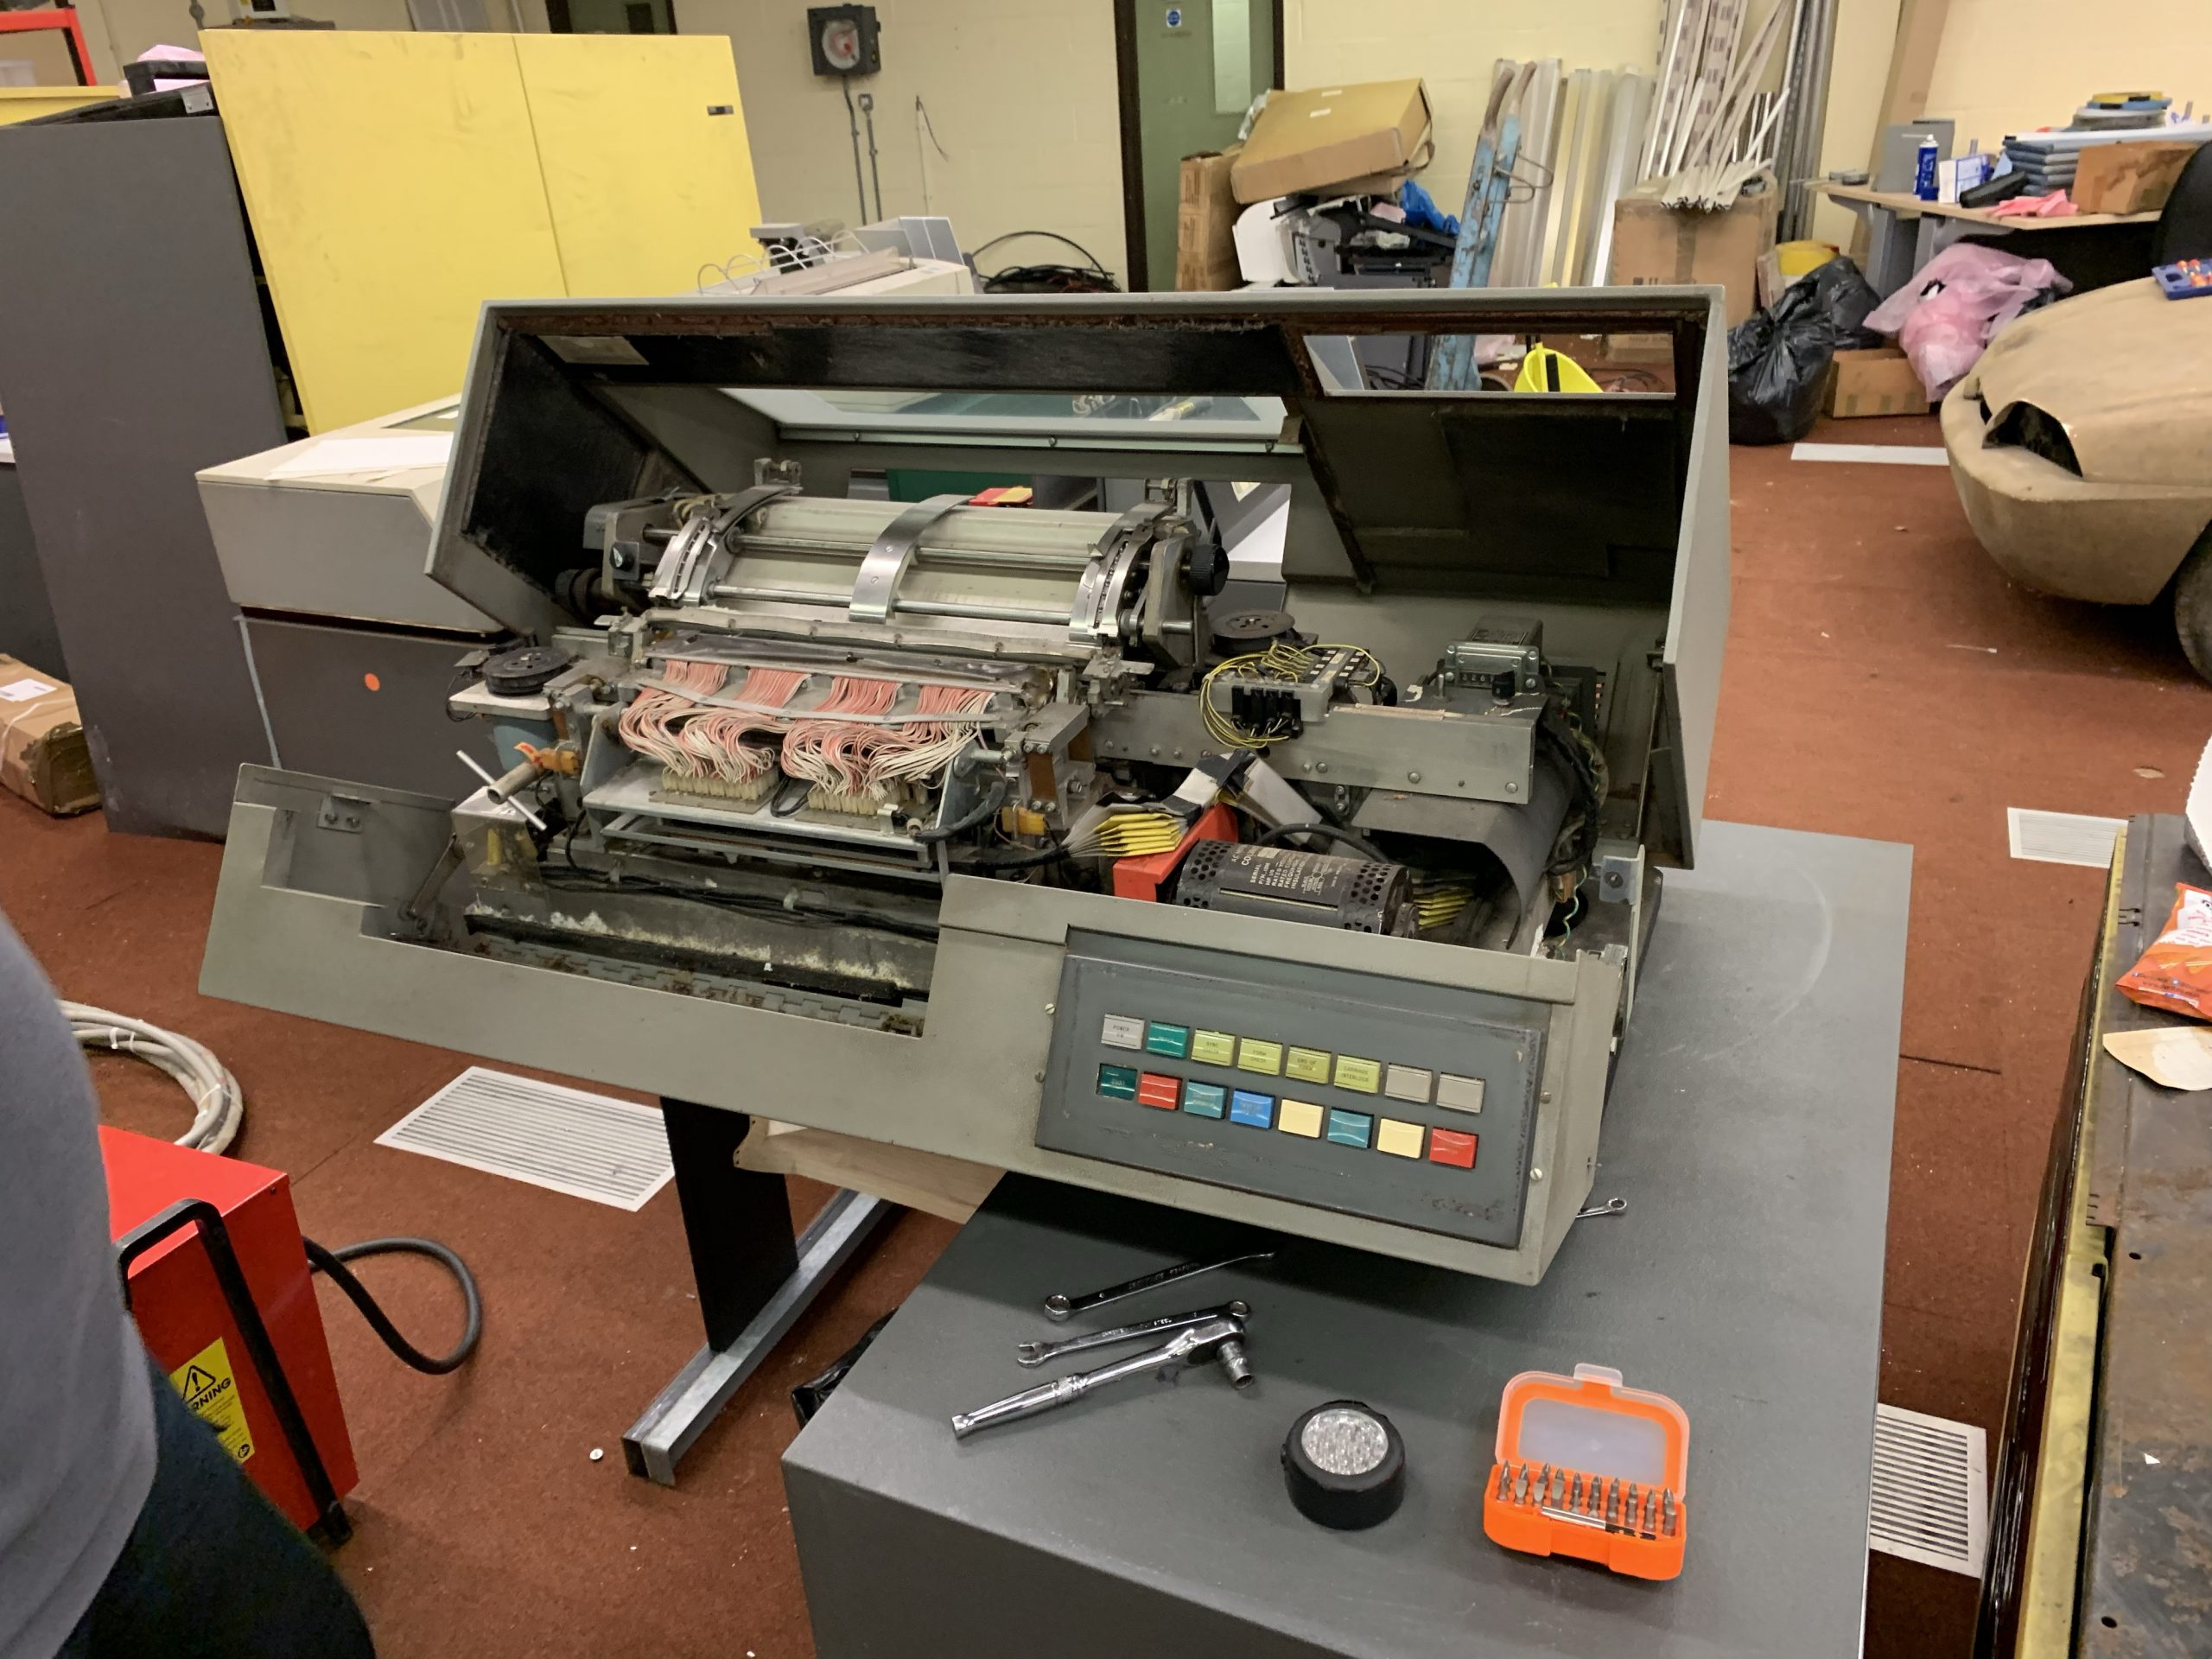
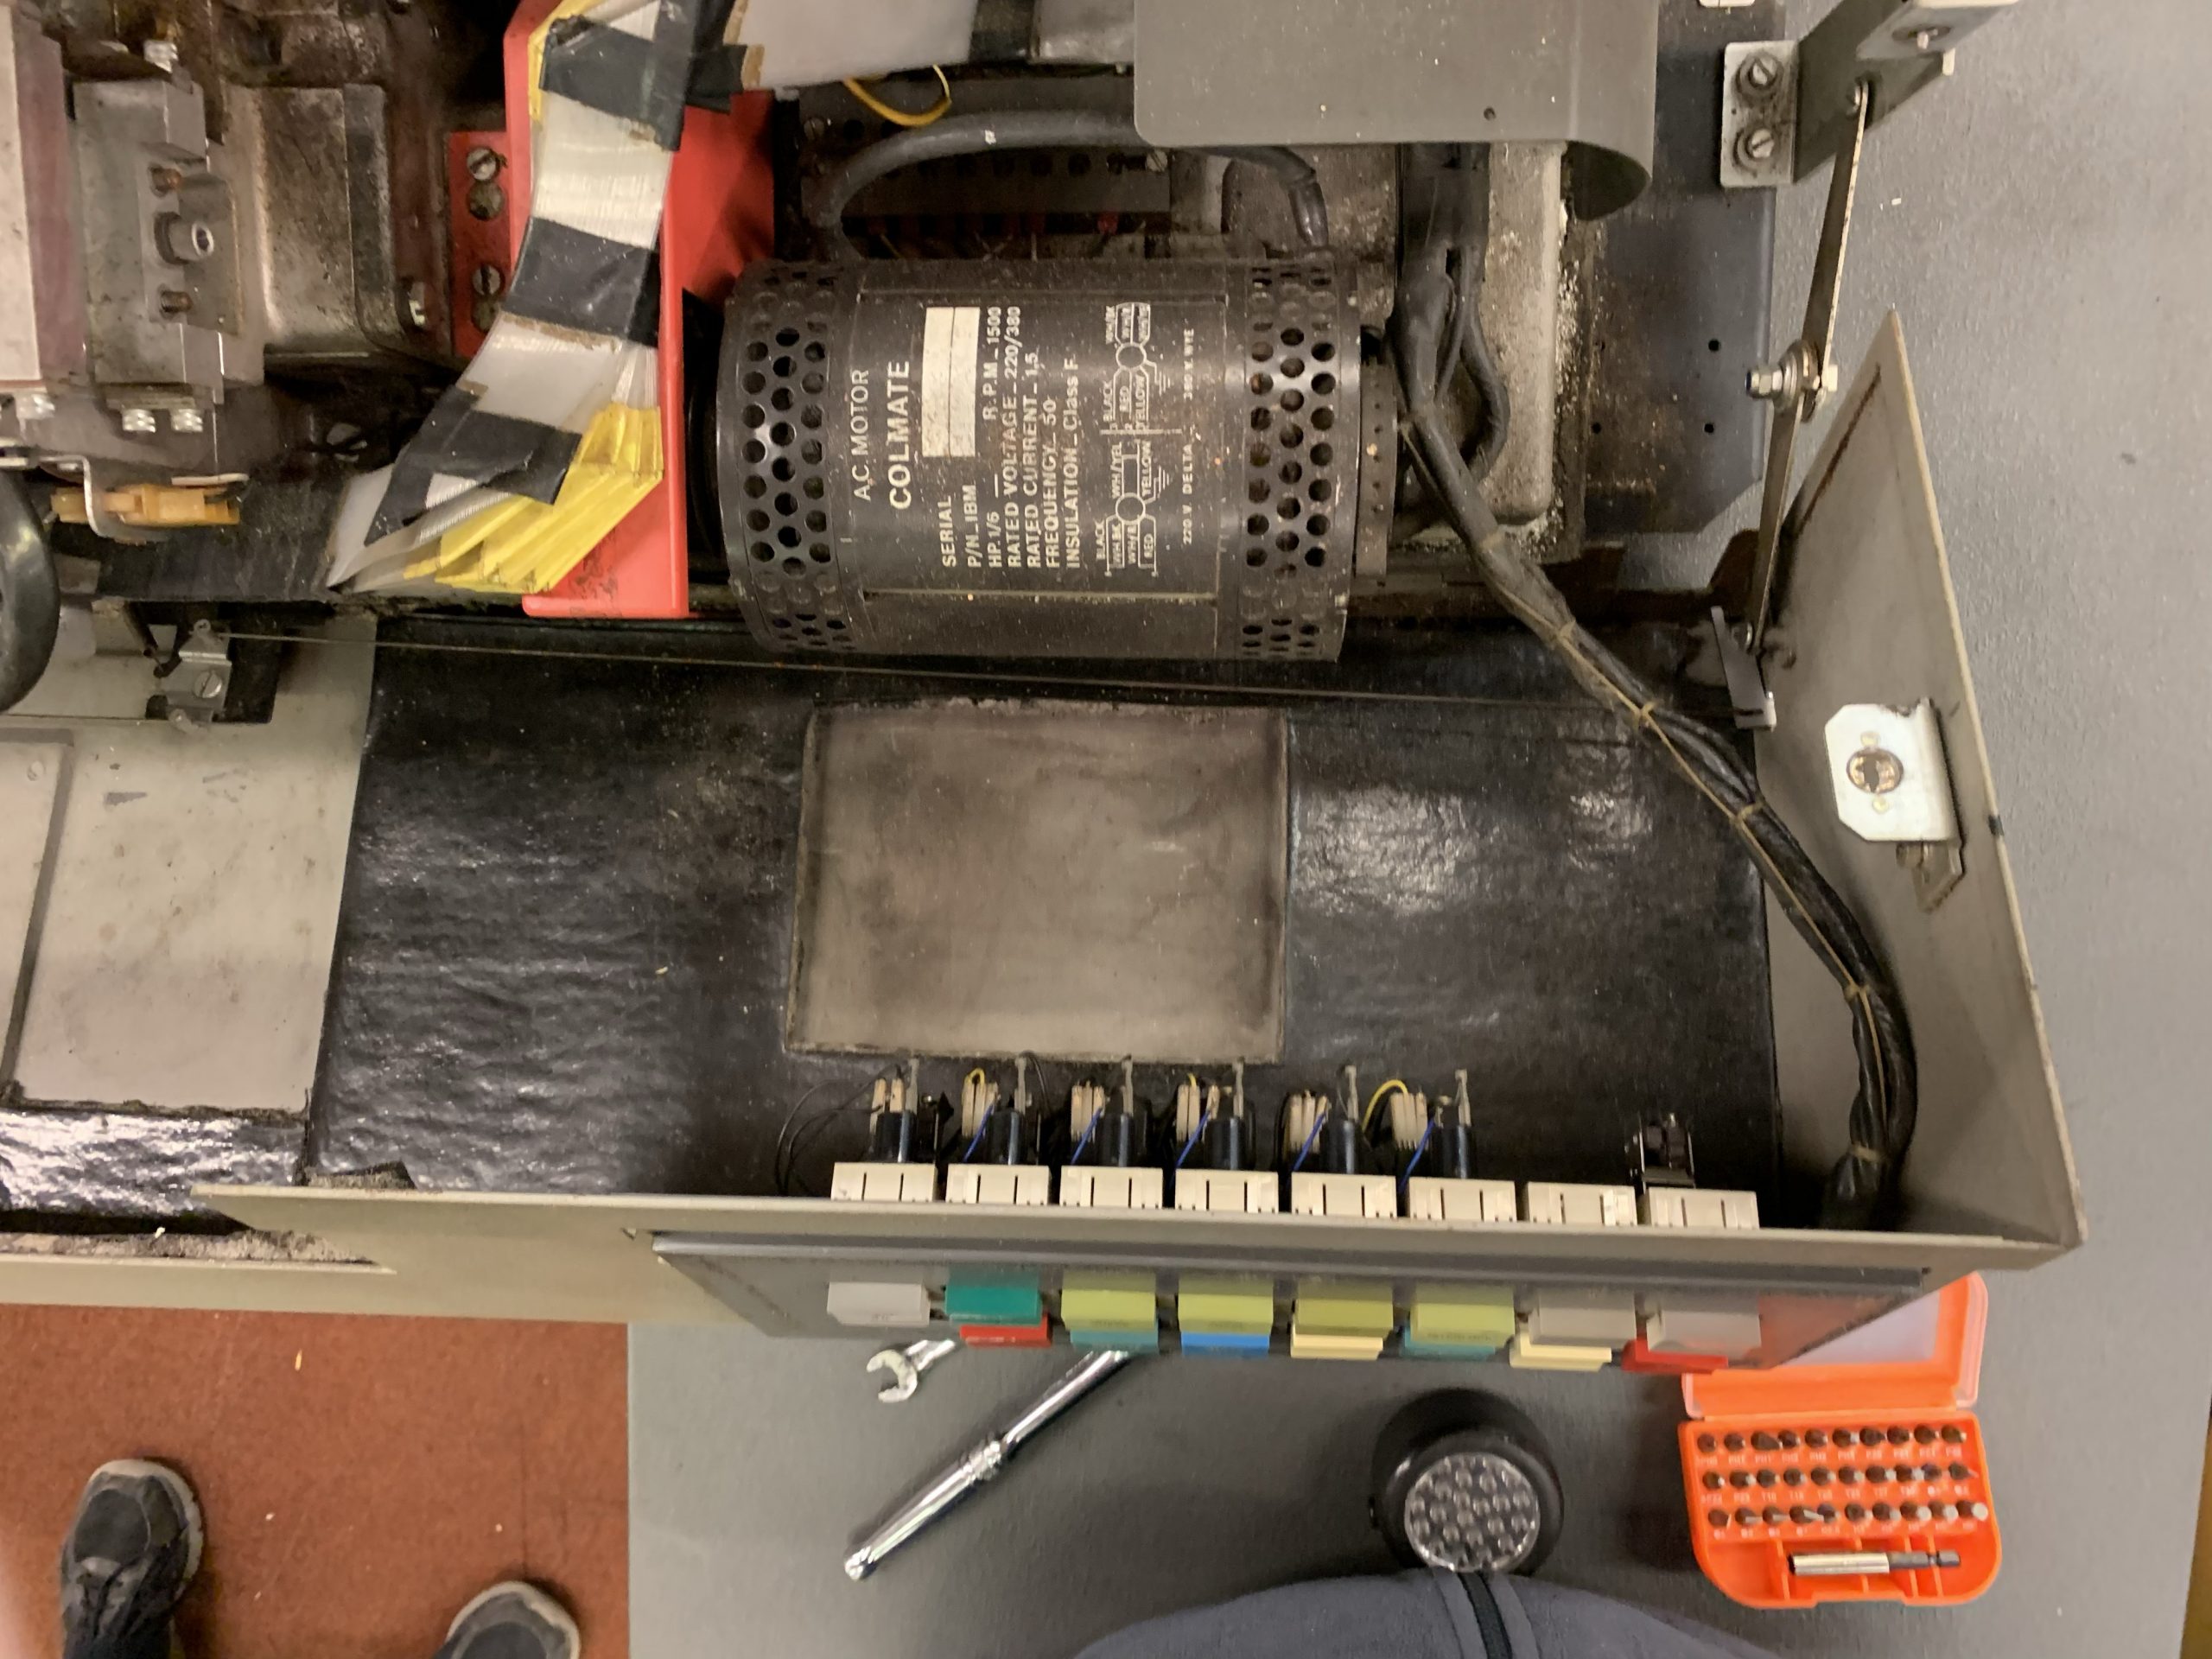
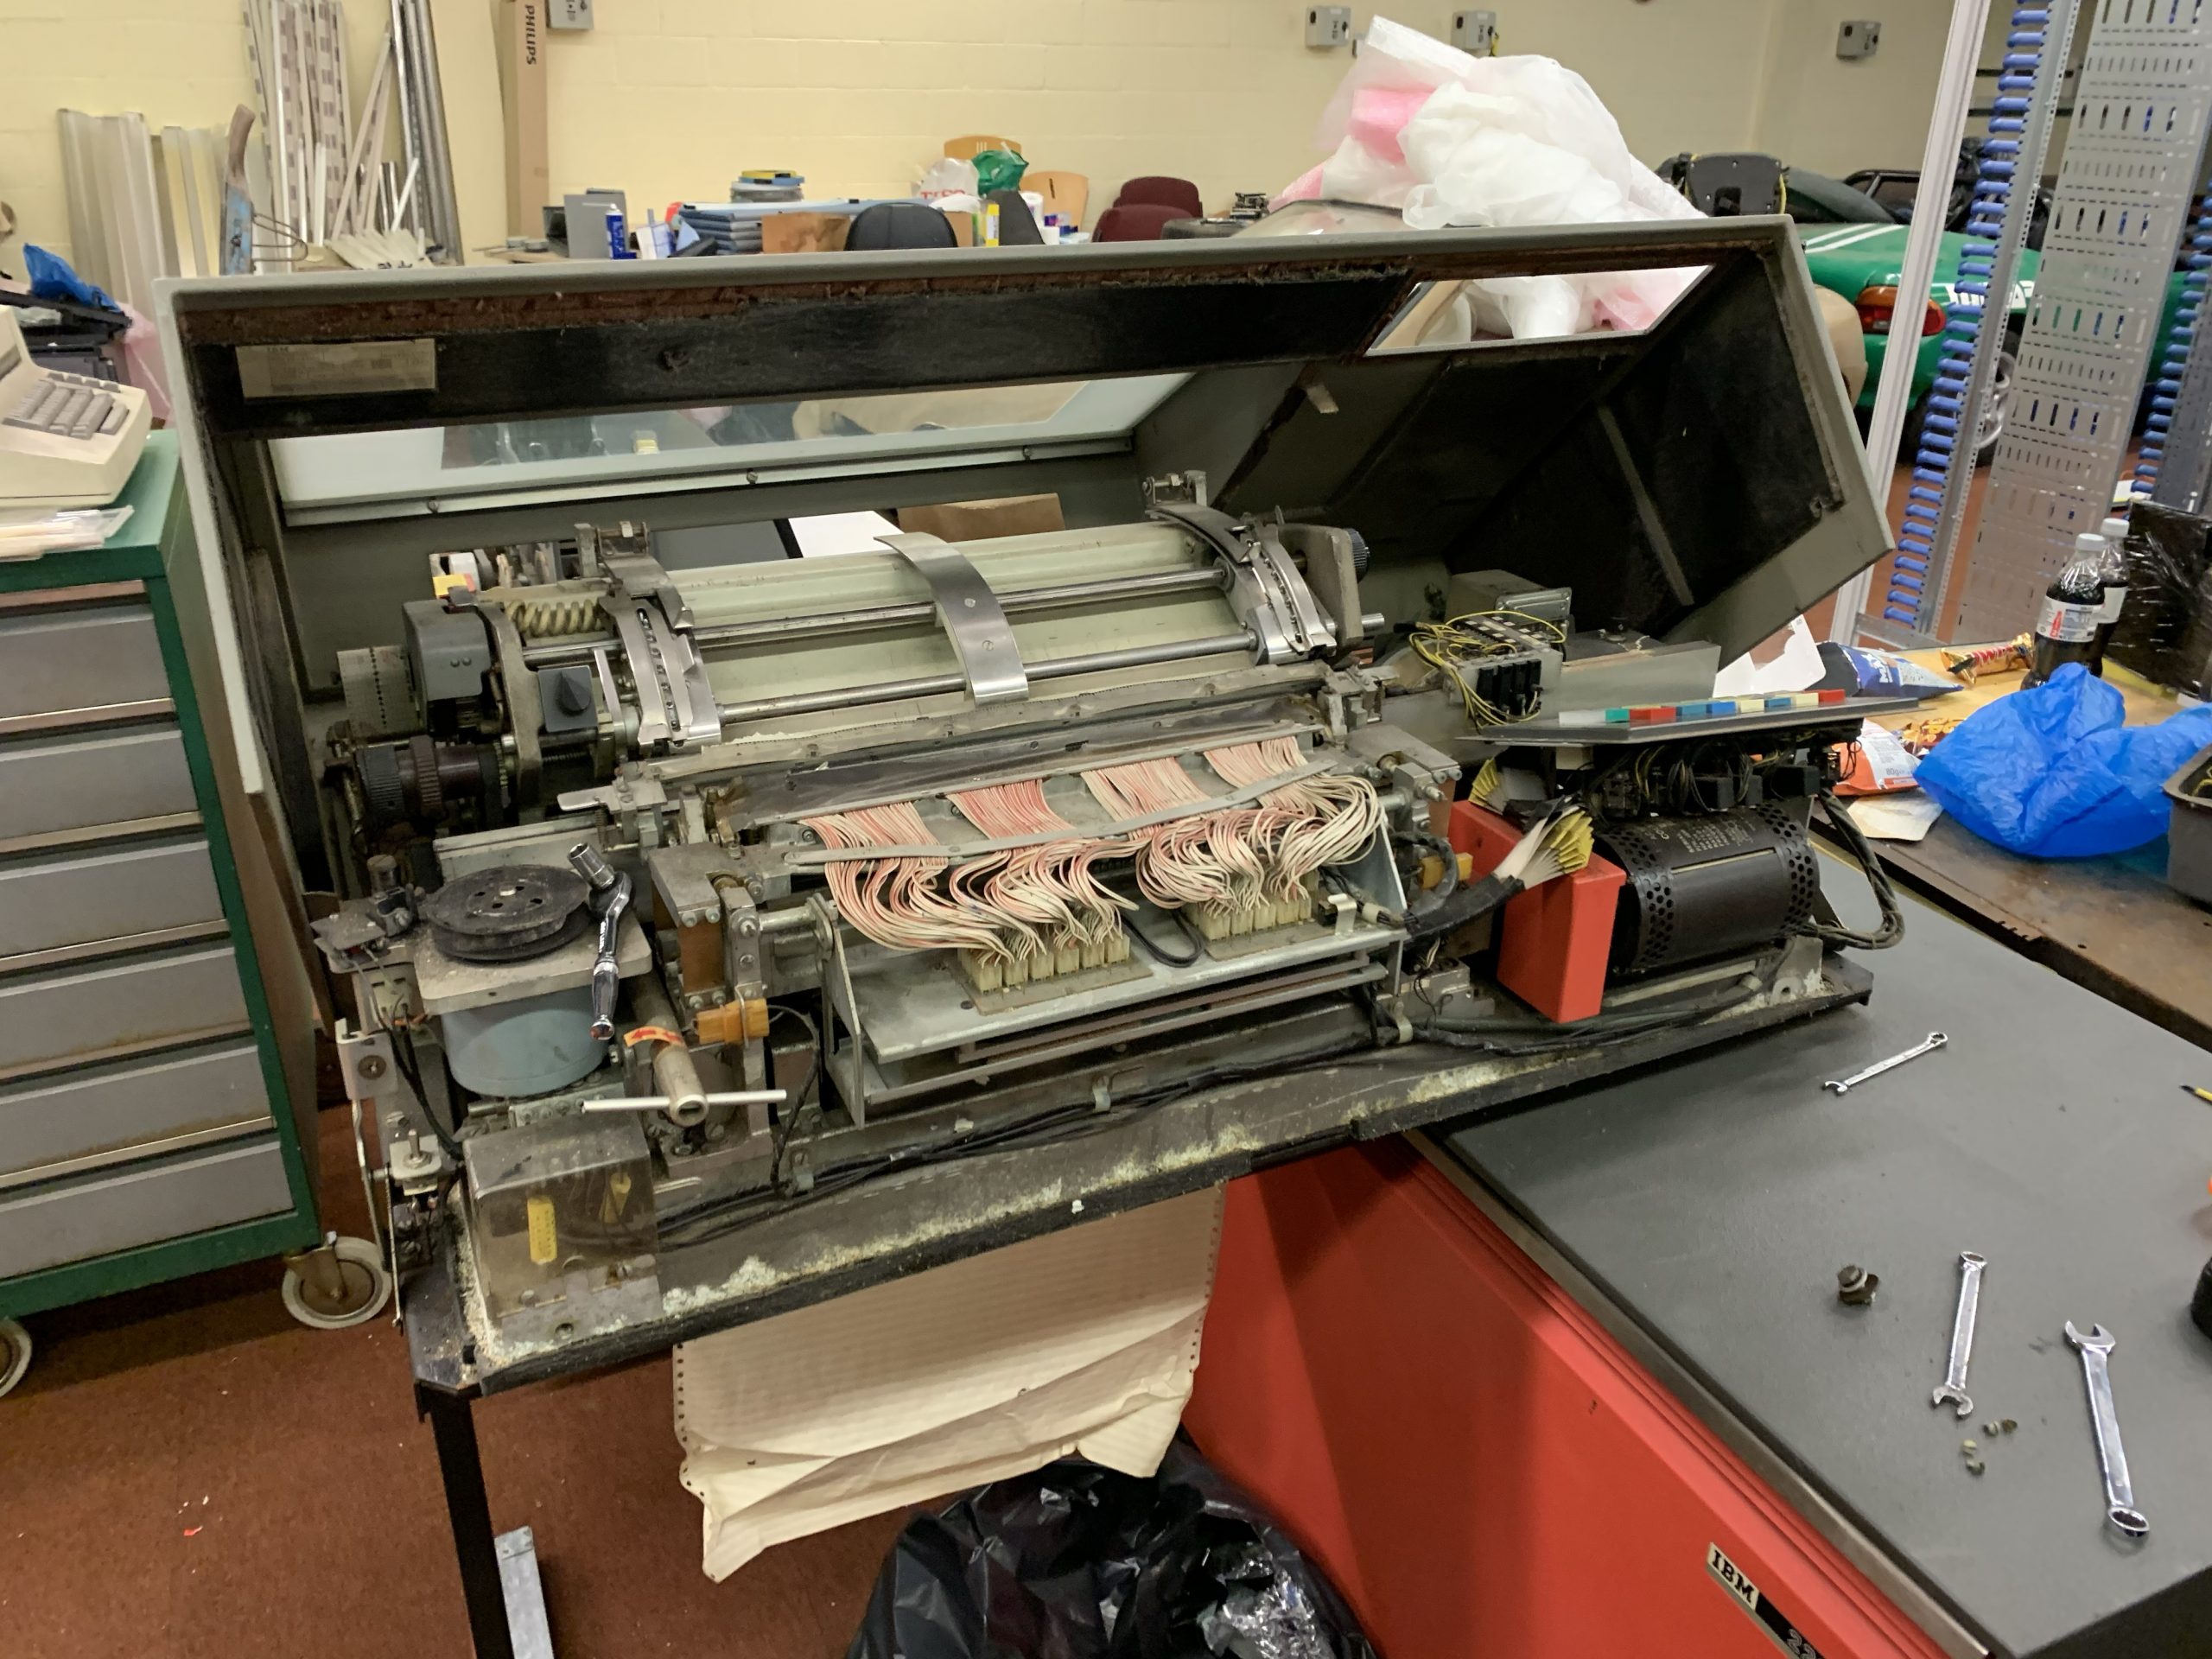
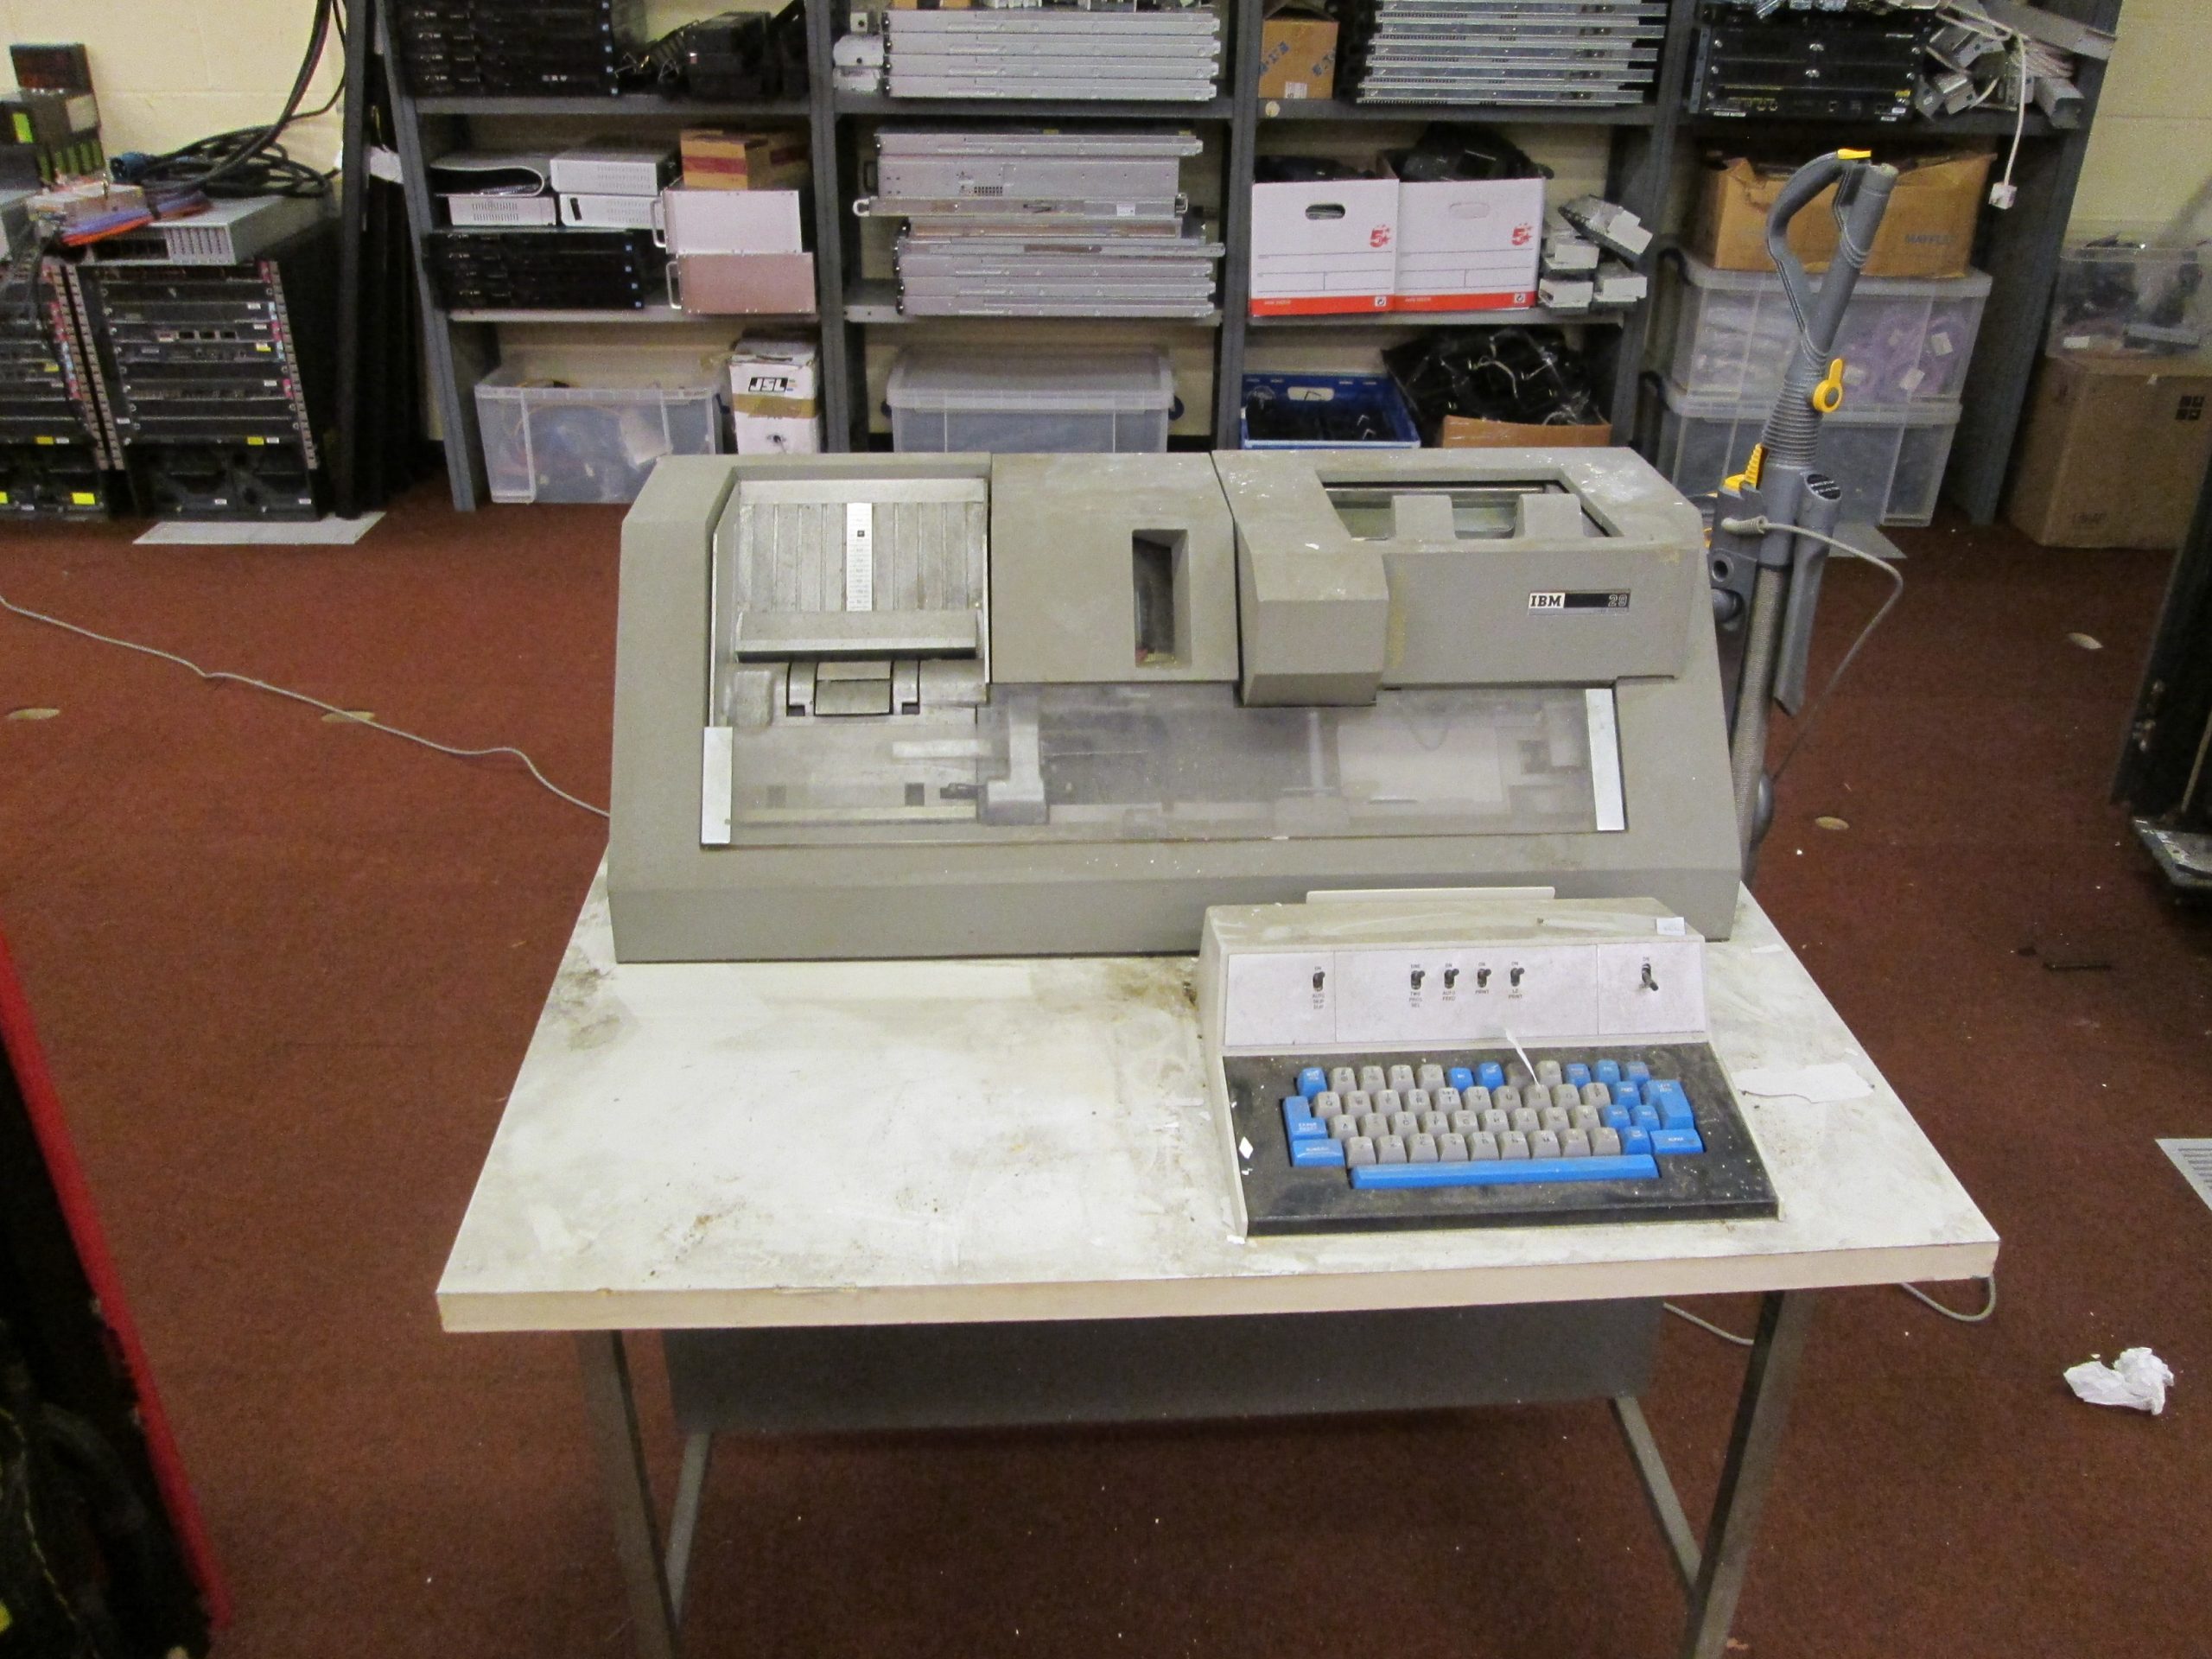
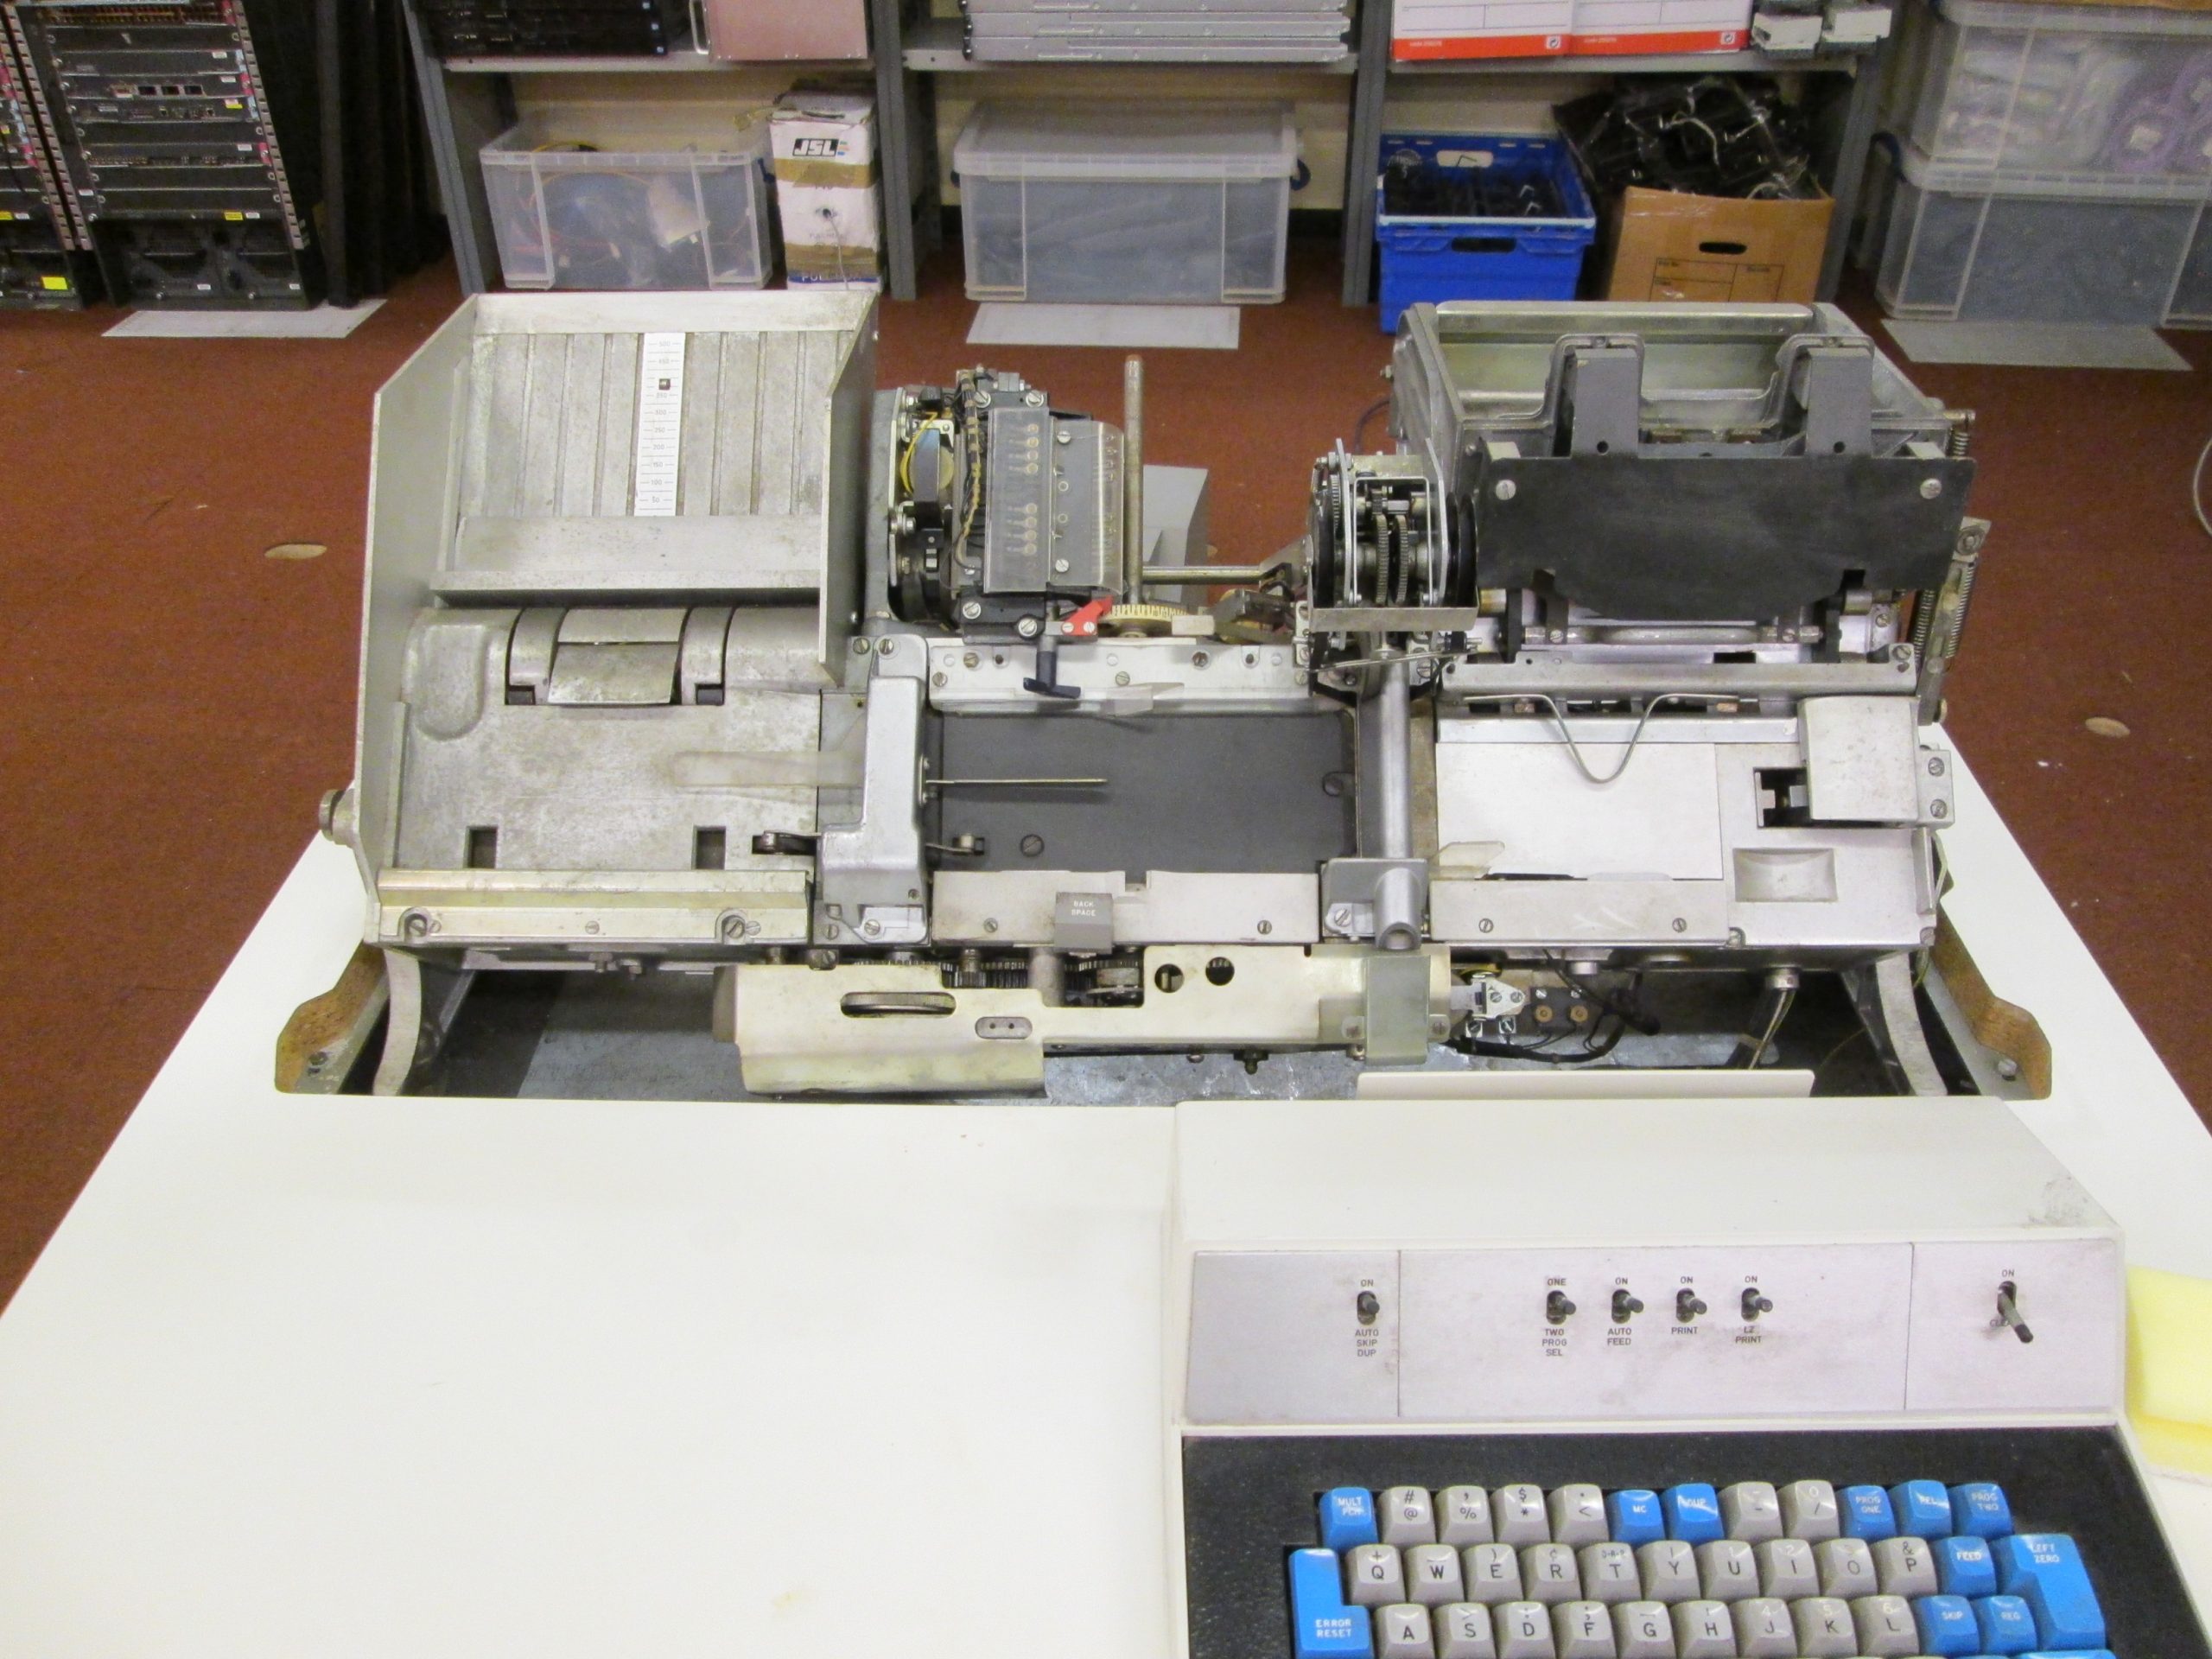
After that, we set about cleaning some bits and pieces like the top surfaces of one of the disk drives and the sides of one of the tape drives. Shortly thereafter, Peter Vaughan arrived and we set about trying to get into the front of the 2203 printer that we had discovered was seized last time. We originally thought that the limiting arms at the sides of the panel were what was impeding our ability to open it, however after loosing these off by quite some distance we were still unable to open the panel. I then realised that the bottom hinge of the panel was only mounted to the frame via 4x bolts tensioned against slots. I loosened these bolts, and we slid the front free of the machine. I then removed the control panel so as not to stress the wiring, and set the front panel down elsewhere:
Front panel free of the hinge
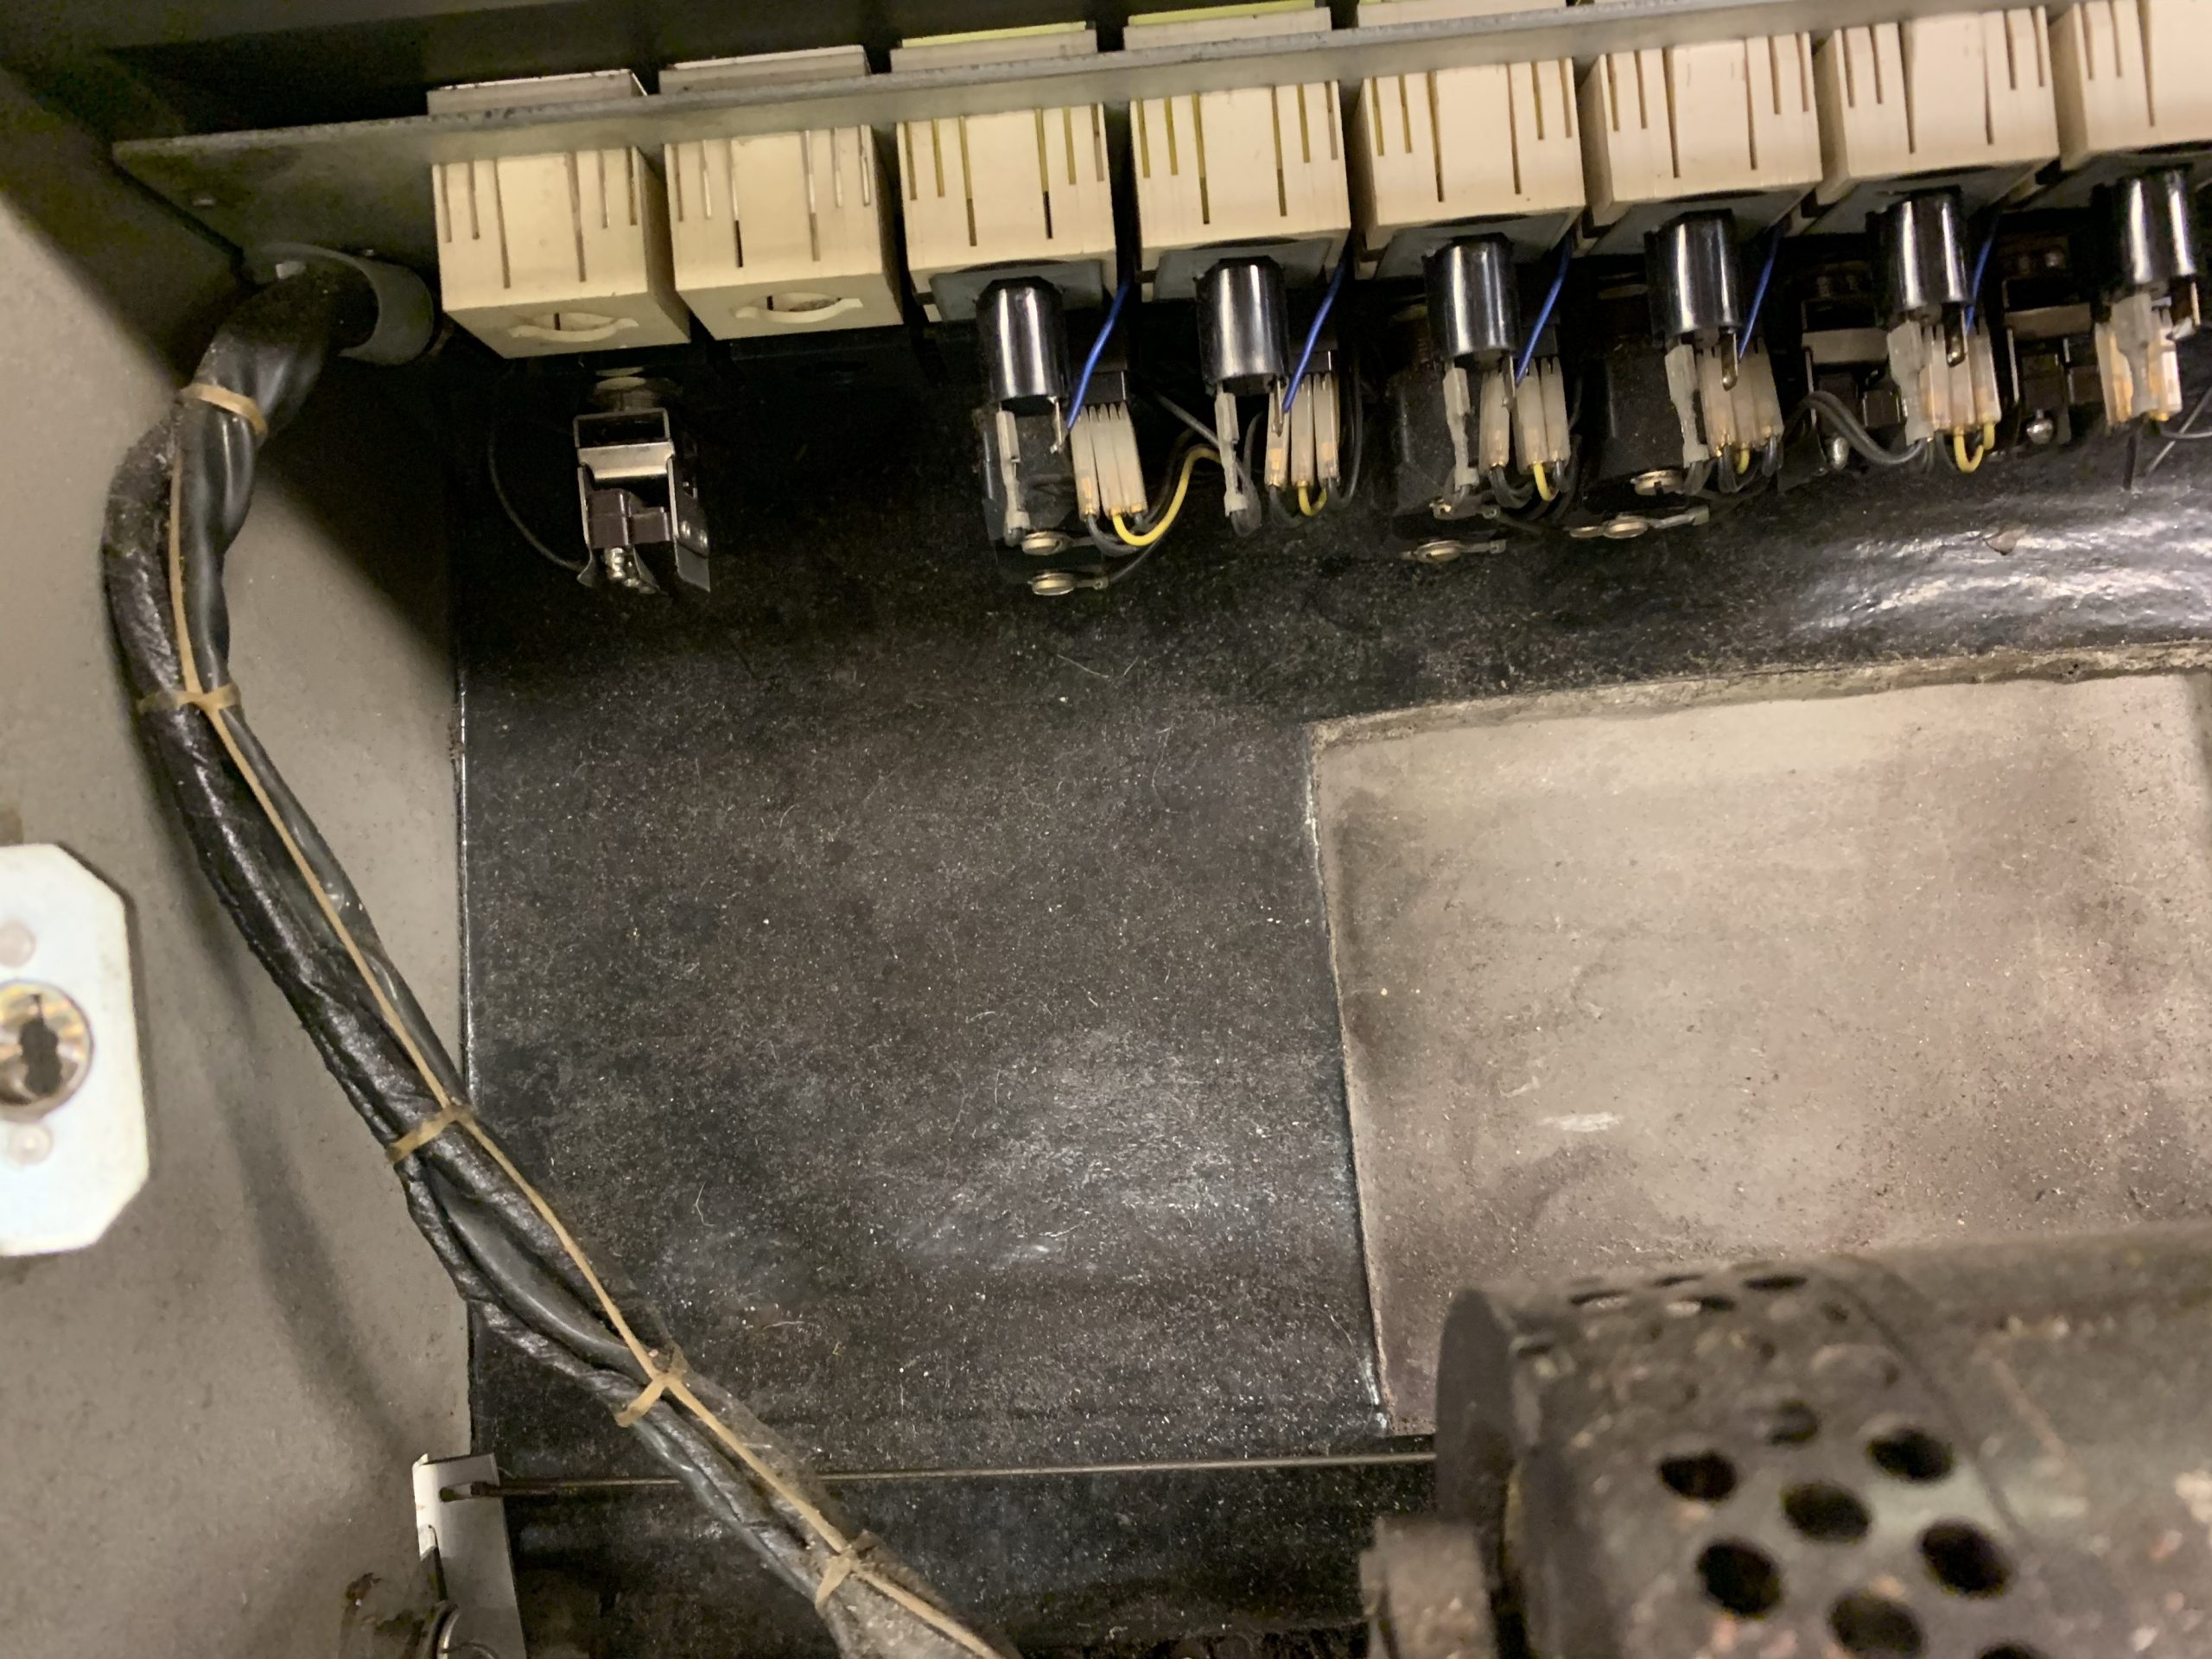
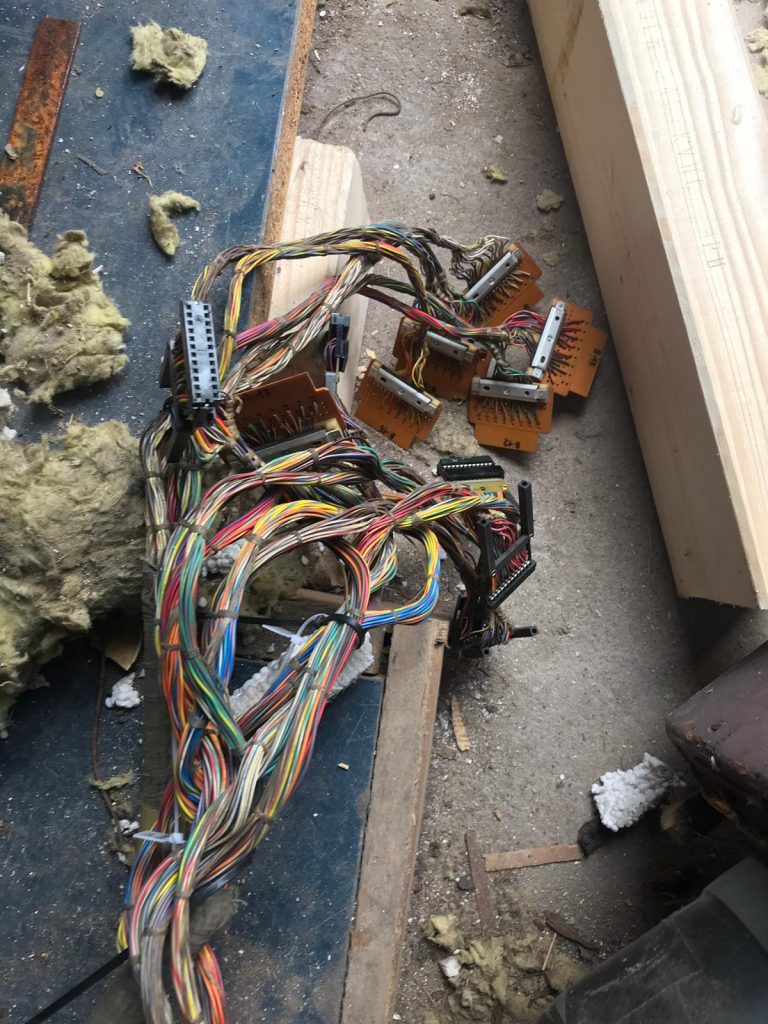
Control panel wiring
Control panel wiring
Control panel wiring
Close up prior to panel removal
Panel removed
Panel removed
Panel in front of the red CPU
Peter and Chris looking pleased with the progress!
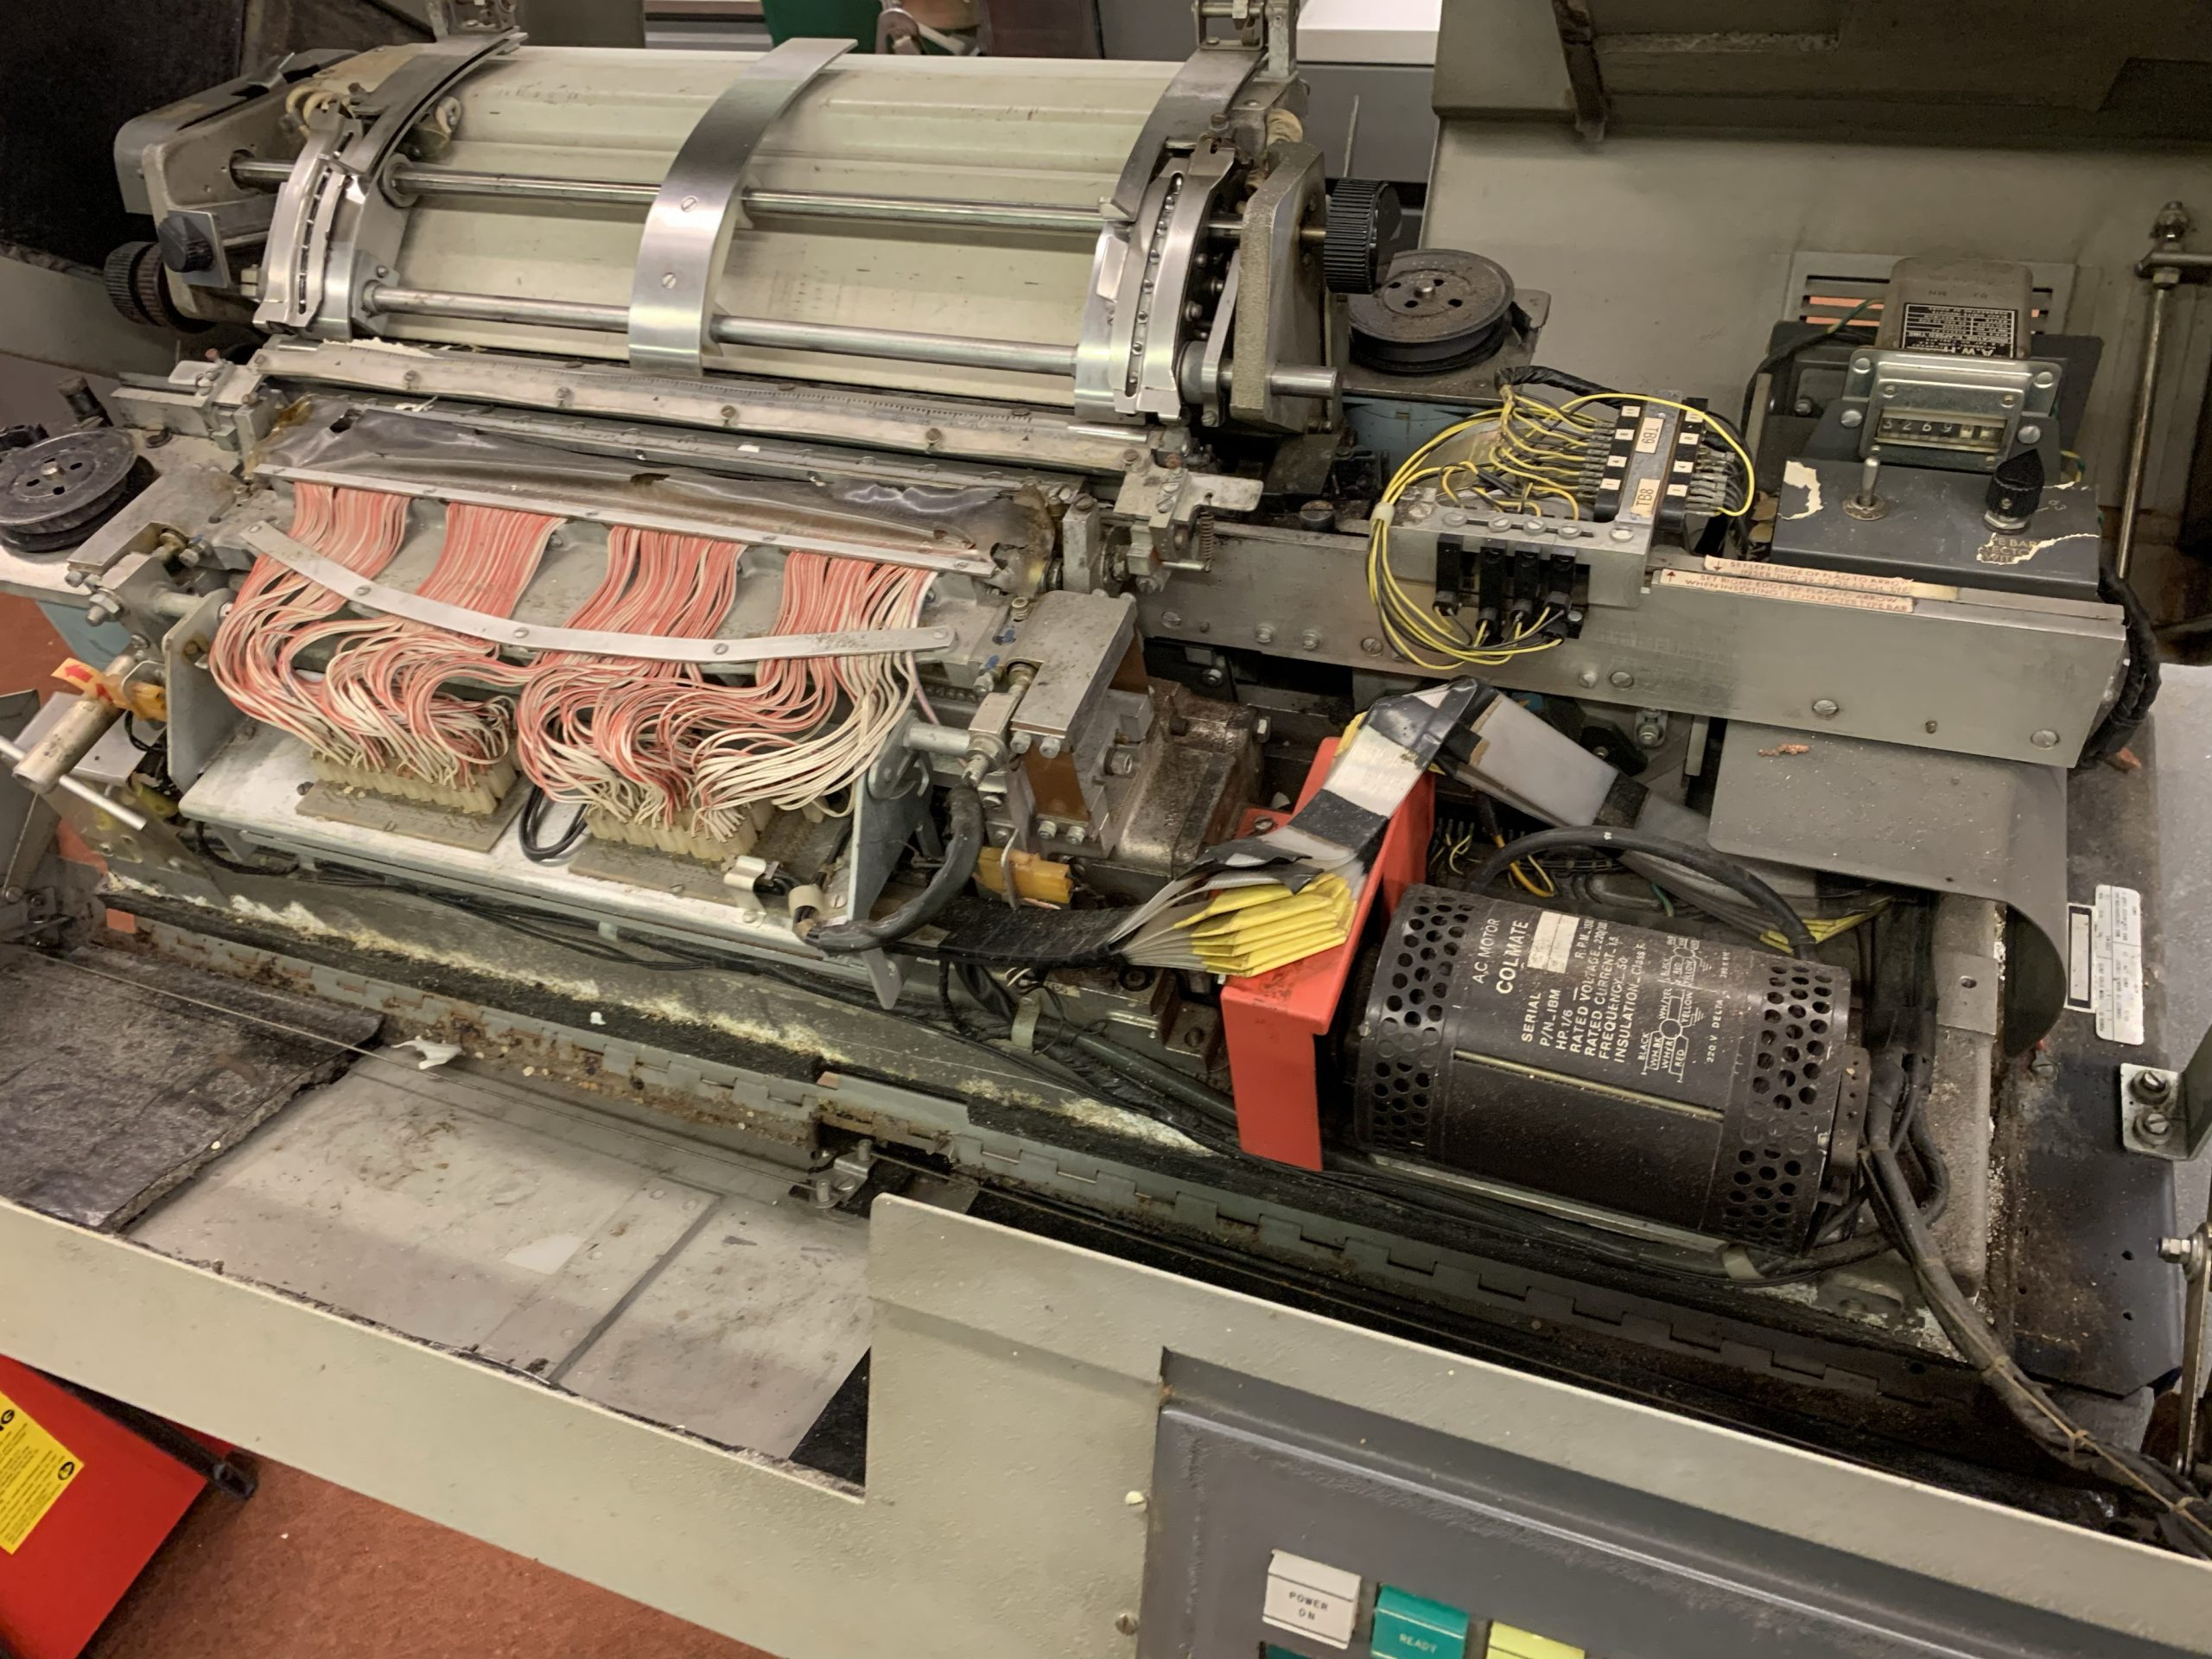
The (rather dirty!) printer minus it’s front panel
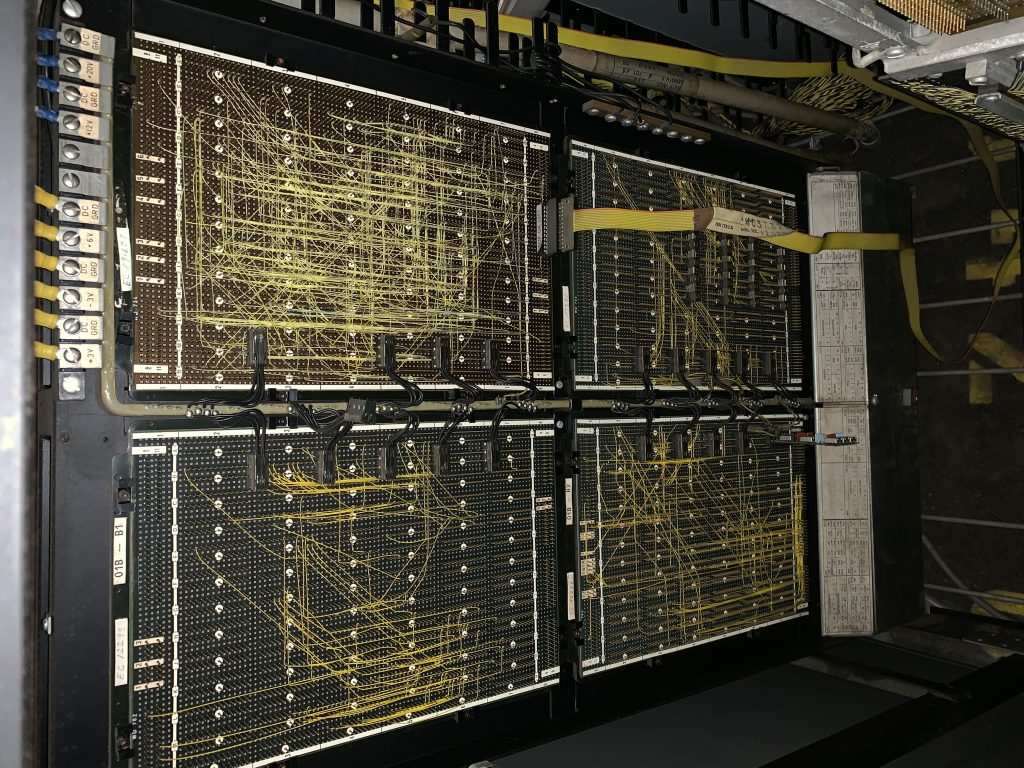
With that completed, Peter set about cleaning and tidying the cables from the Blue CPU much as he had previous done for the red one. About this time, Simon Van Winklen arrived and met Peter and Chris for the first time. He then got stuck in continuing cleaning the 29 card punch and re-assembling the casings onto it:
Inspecting the Model 29
Inspecting the Model 29
Inspecting the Model 29
Inspecting the Model 29
Inspecting the Model 29
Inspecting the Model 29
Inspecting the Model 29
Re-assembled and cleaned Model 29
Re-assembled and cleaned Model 29
A proud Simon with his clean 29!
After we’d had a good look inside the 29 and inspected the condition of some of the internal parts, Peter continued cleaning the blue Model 20 CPU’s cables, and I must say how very clean they look now!
Evidently this process had tired out poor Peter though:
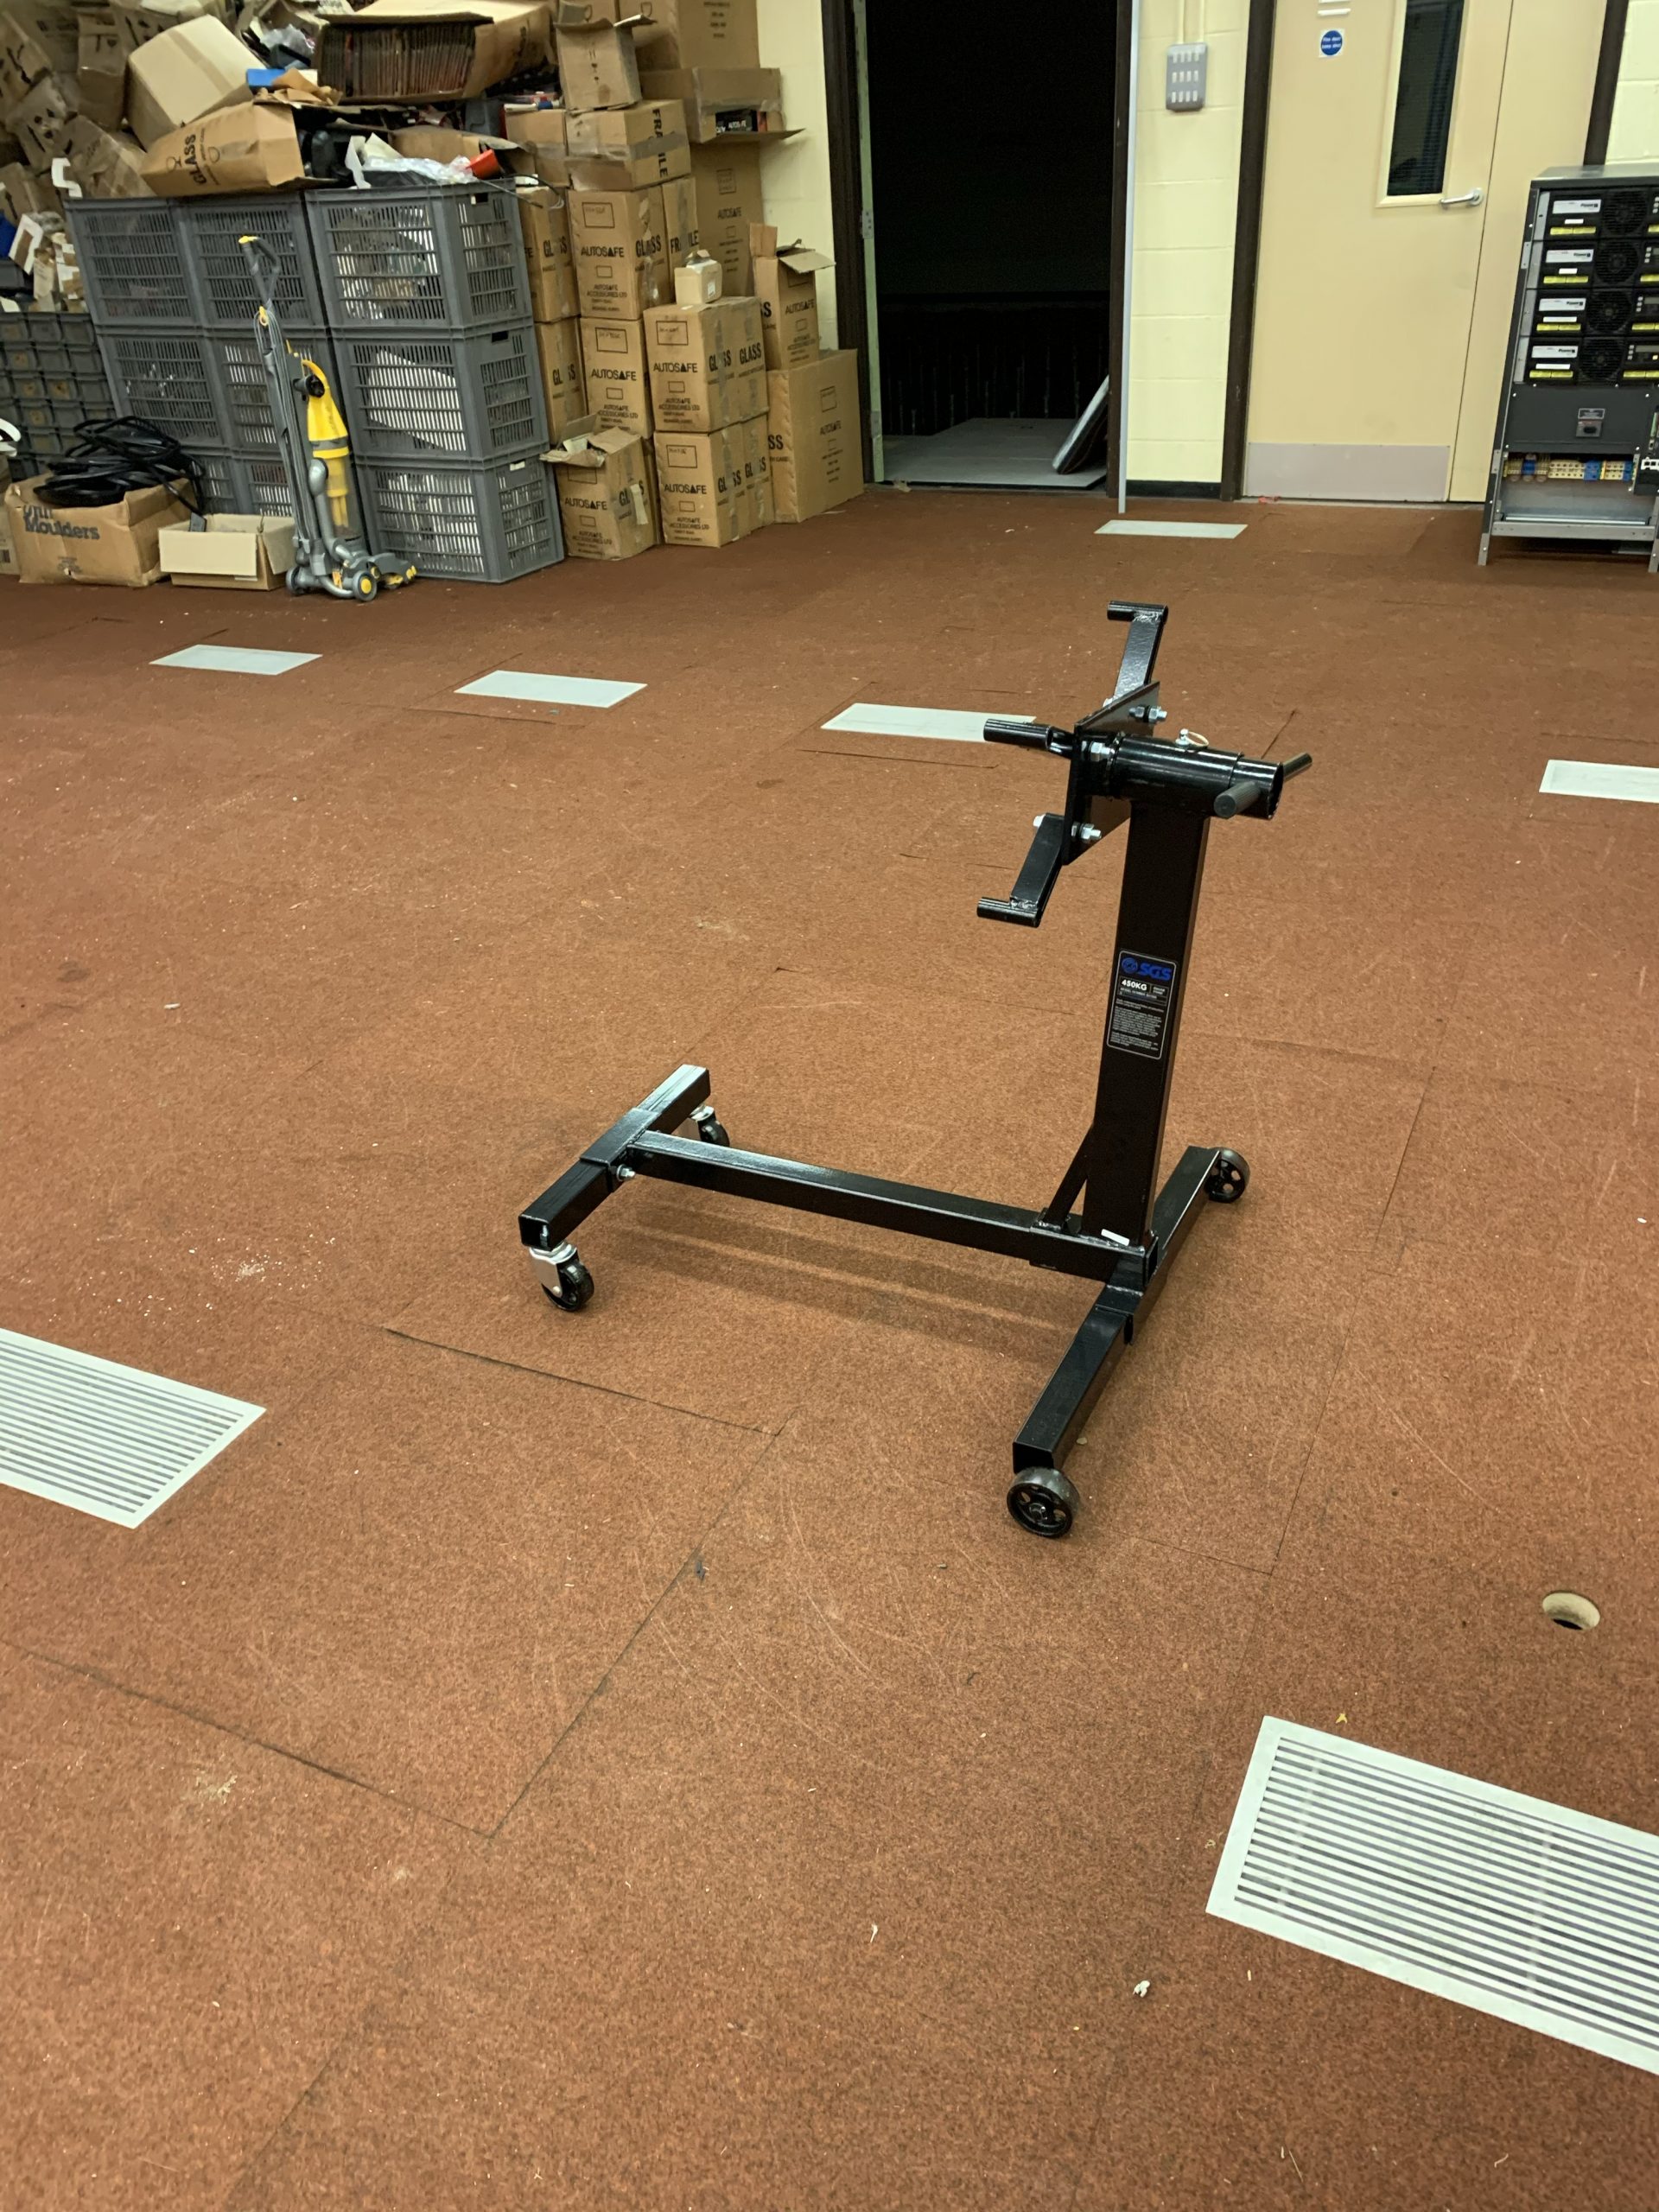
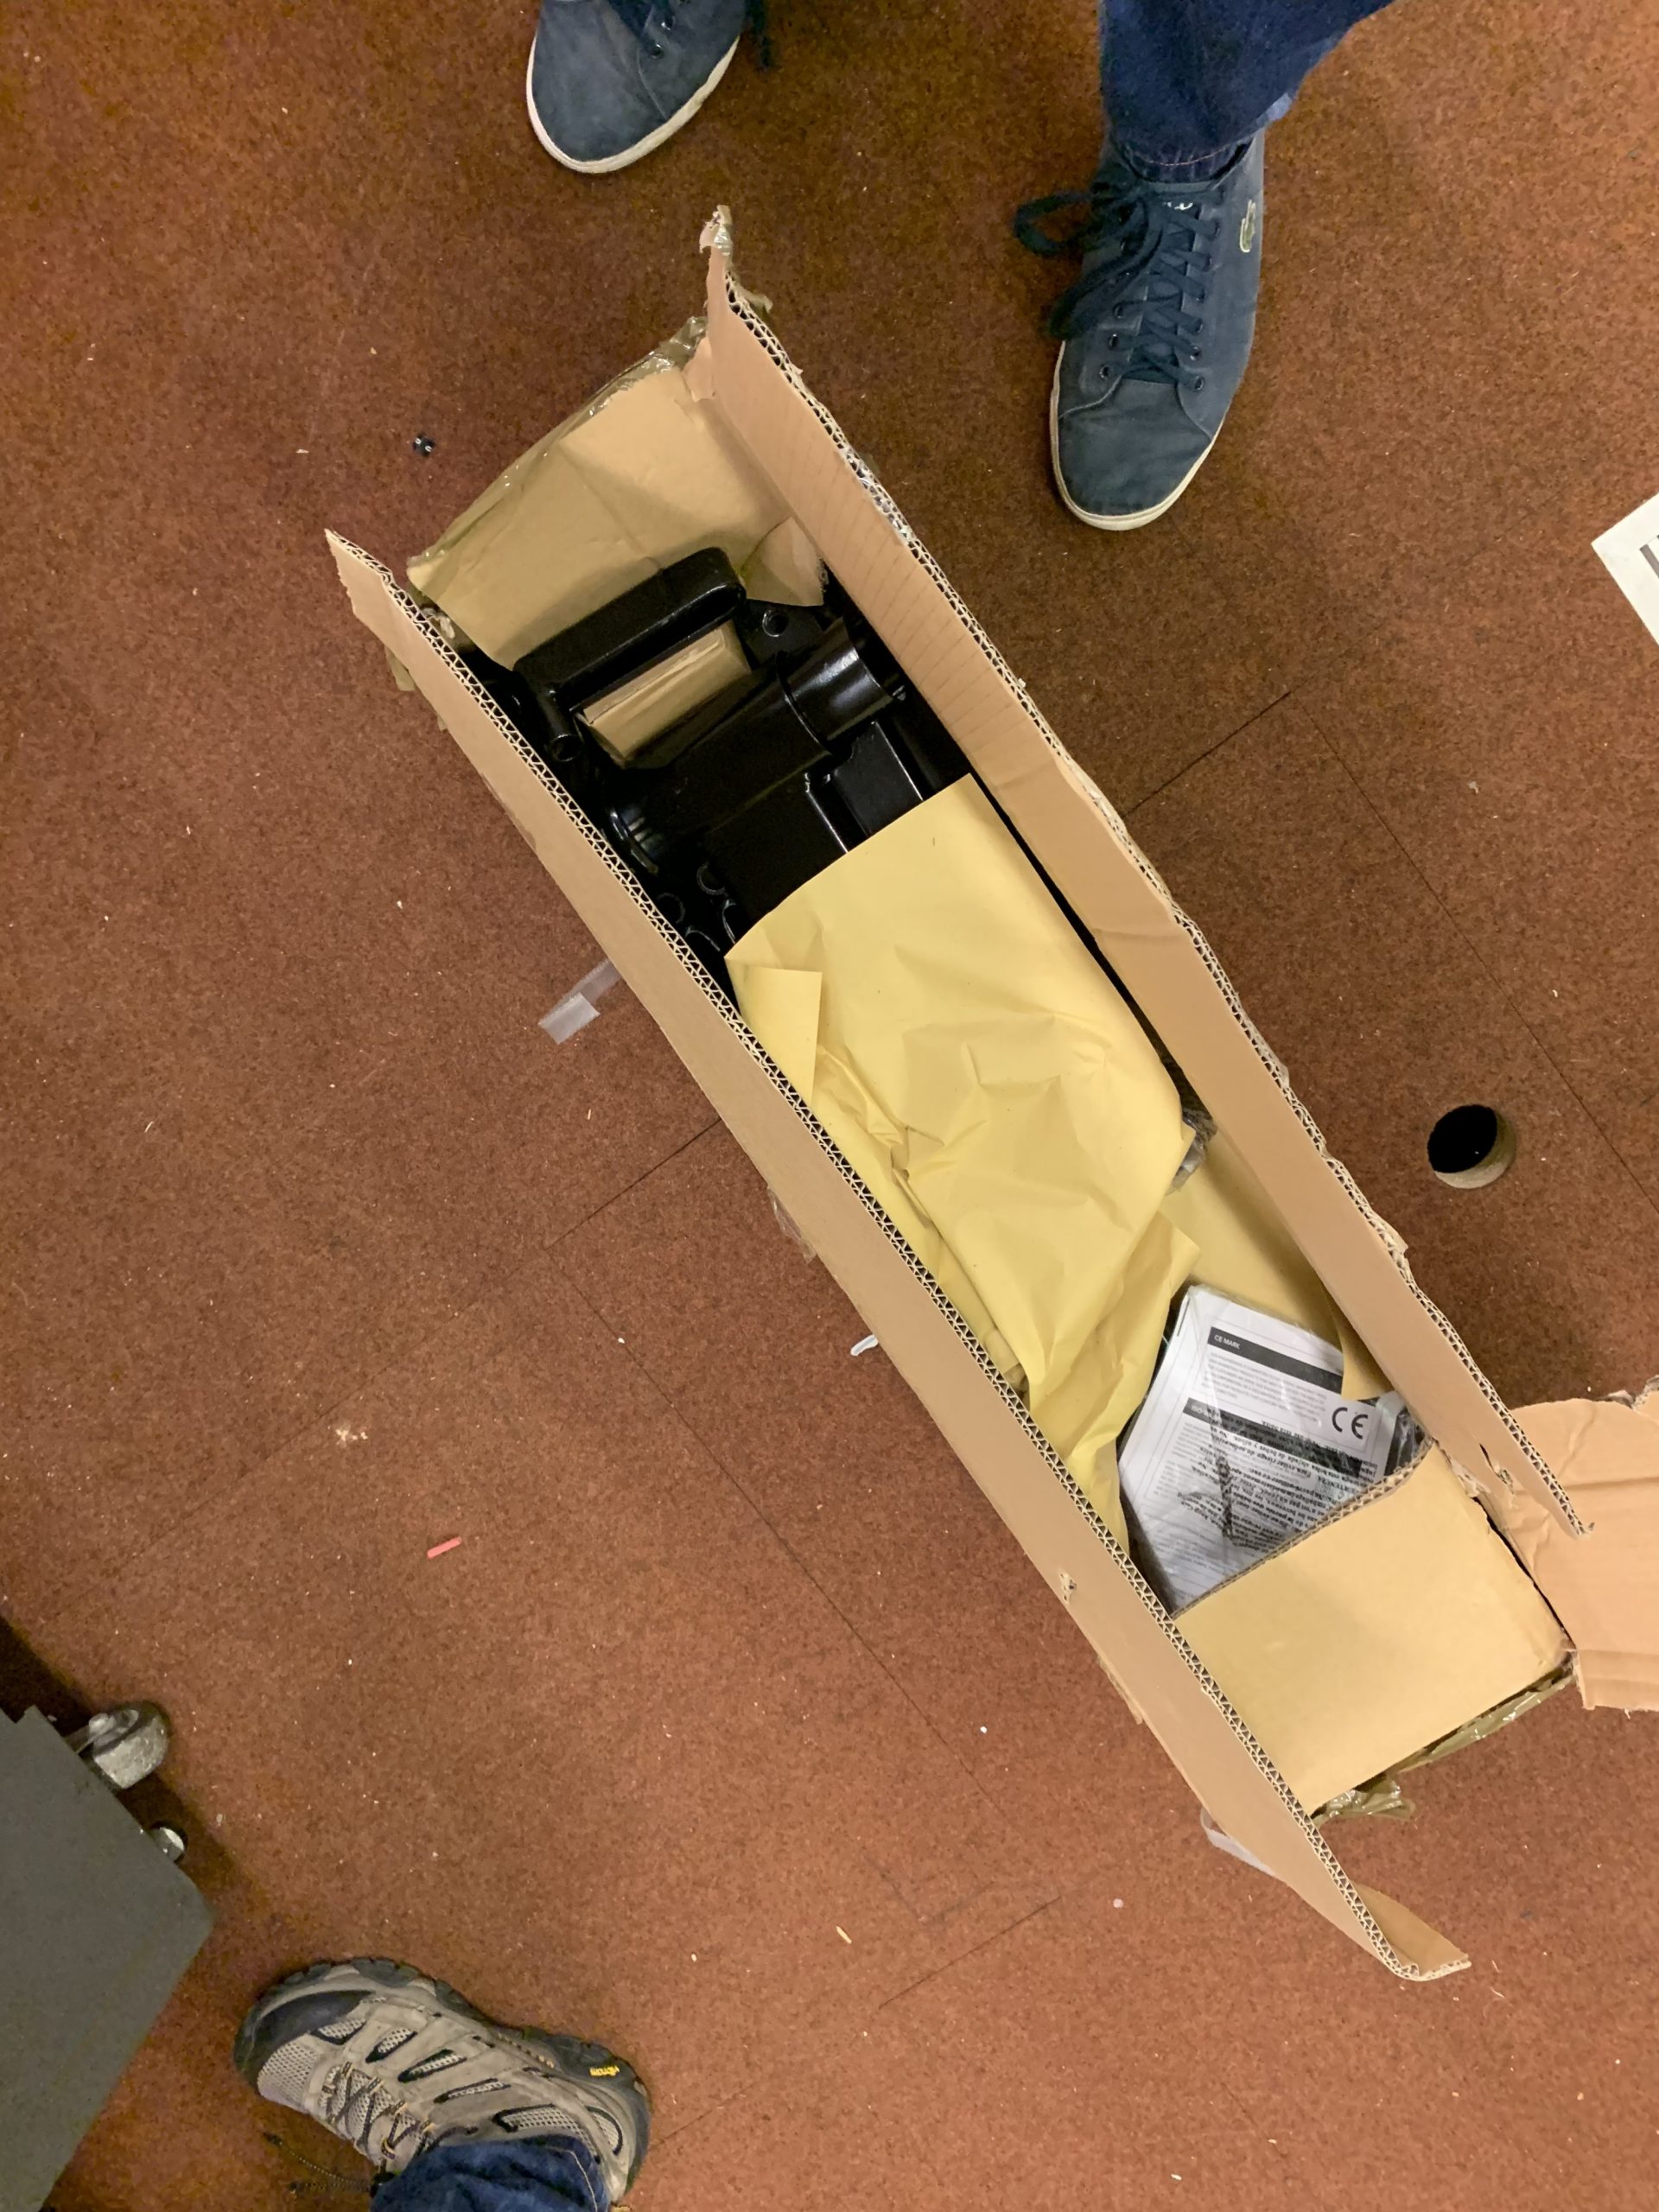
Whilst Peter was cleaning the cables, I found an Engine stand I’d dropped off here a while ago in it’s box, so I enlisted Chris to assist me with assembling that. It’ll be the new home of a BMW M50B25 I’ve got kicking around that’ll get forged and turbo charged at some point in the future:
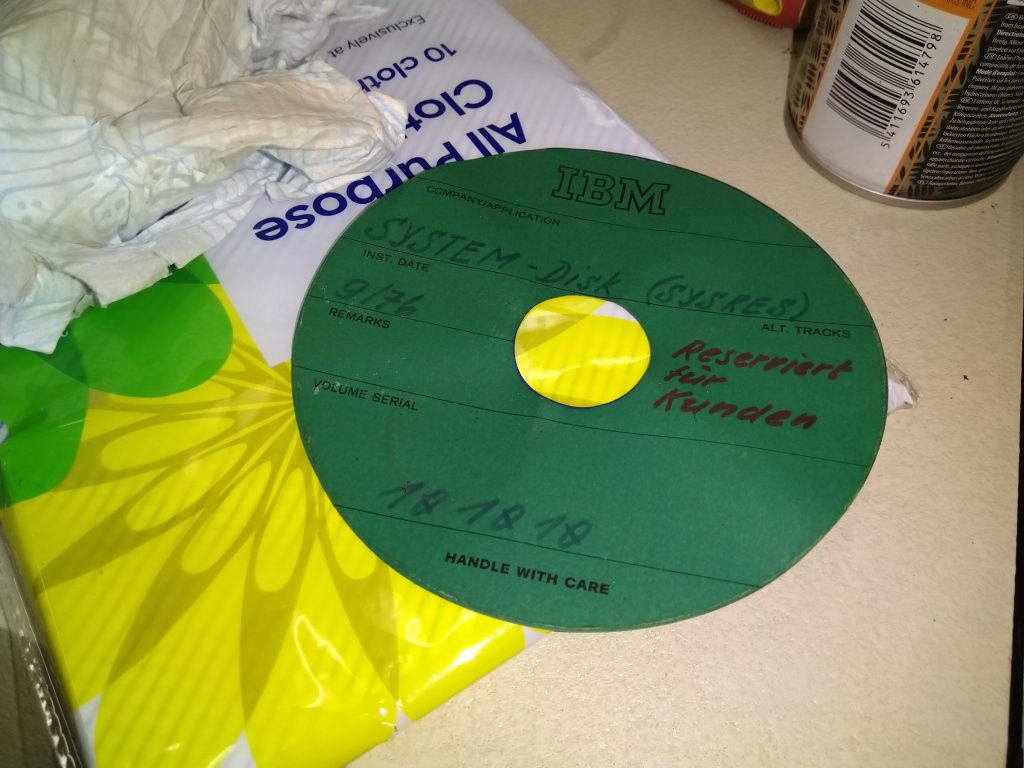
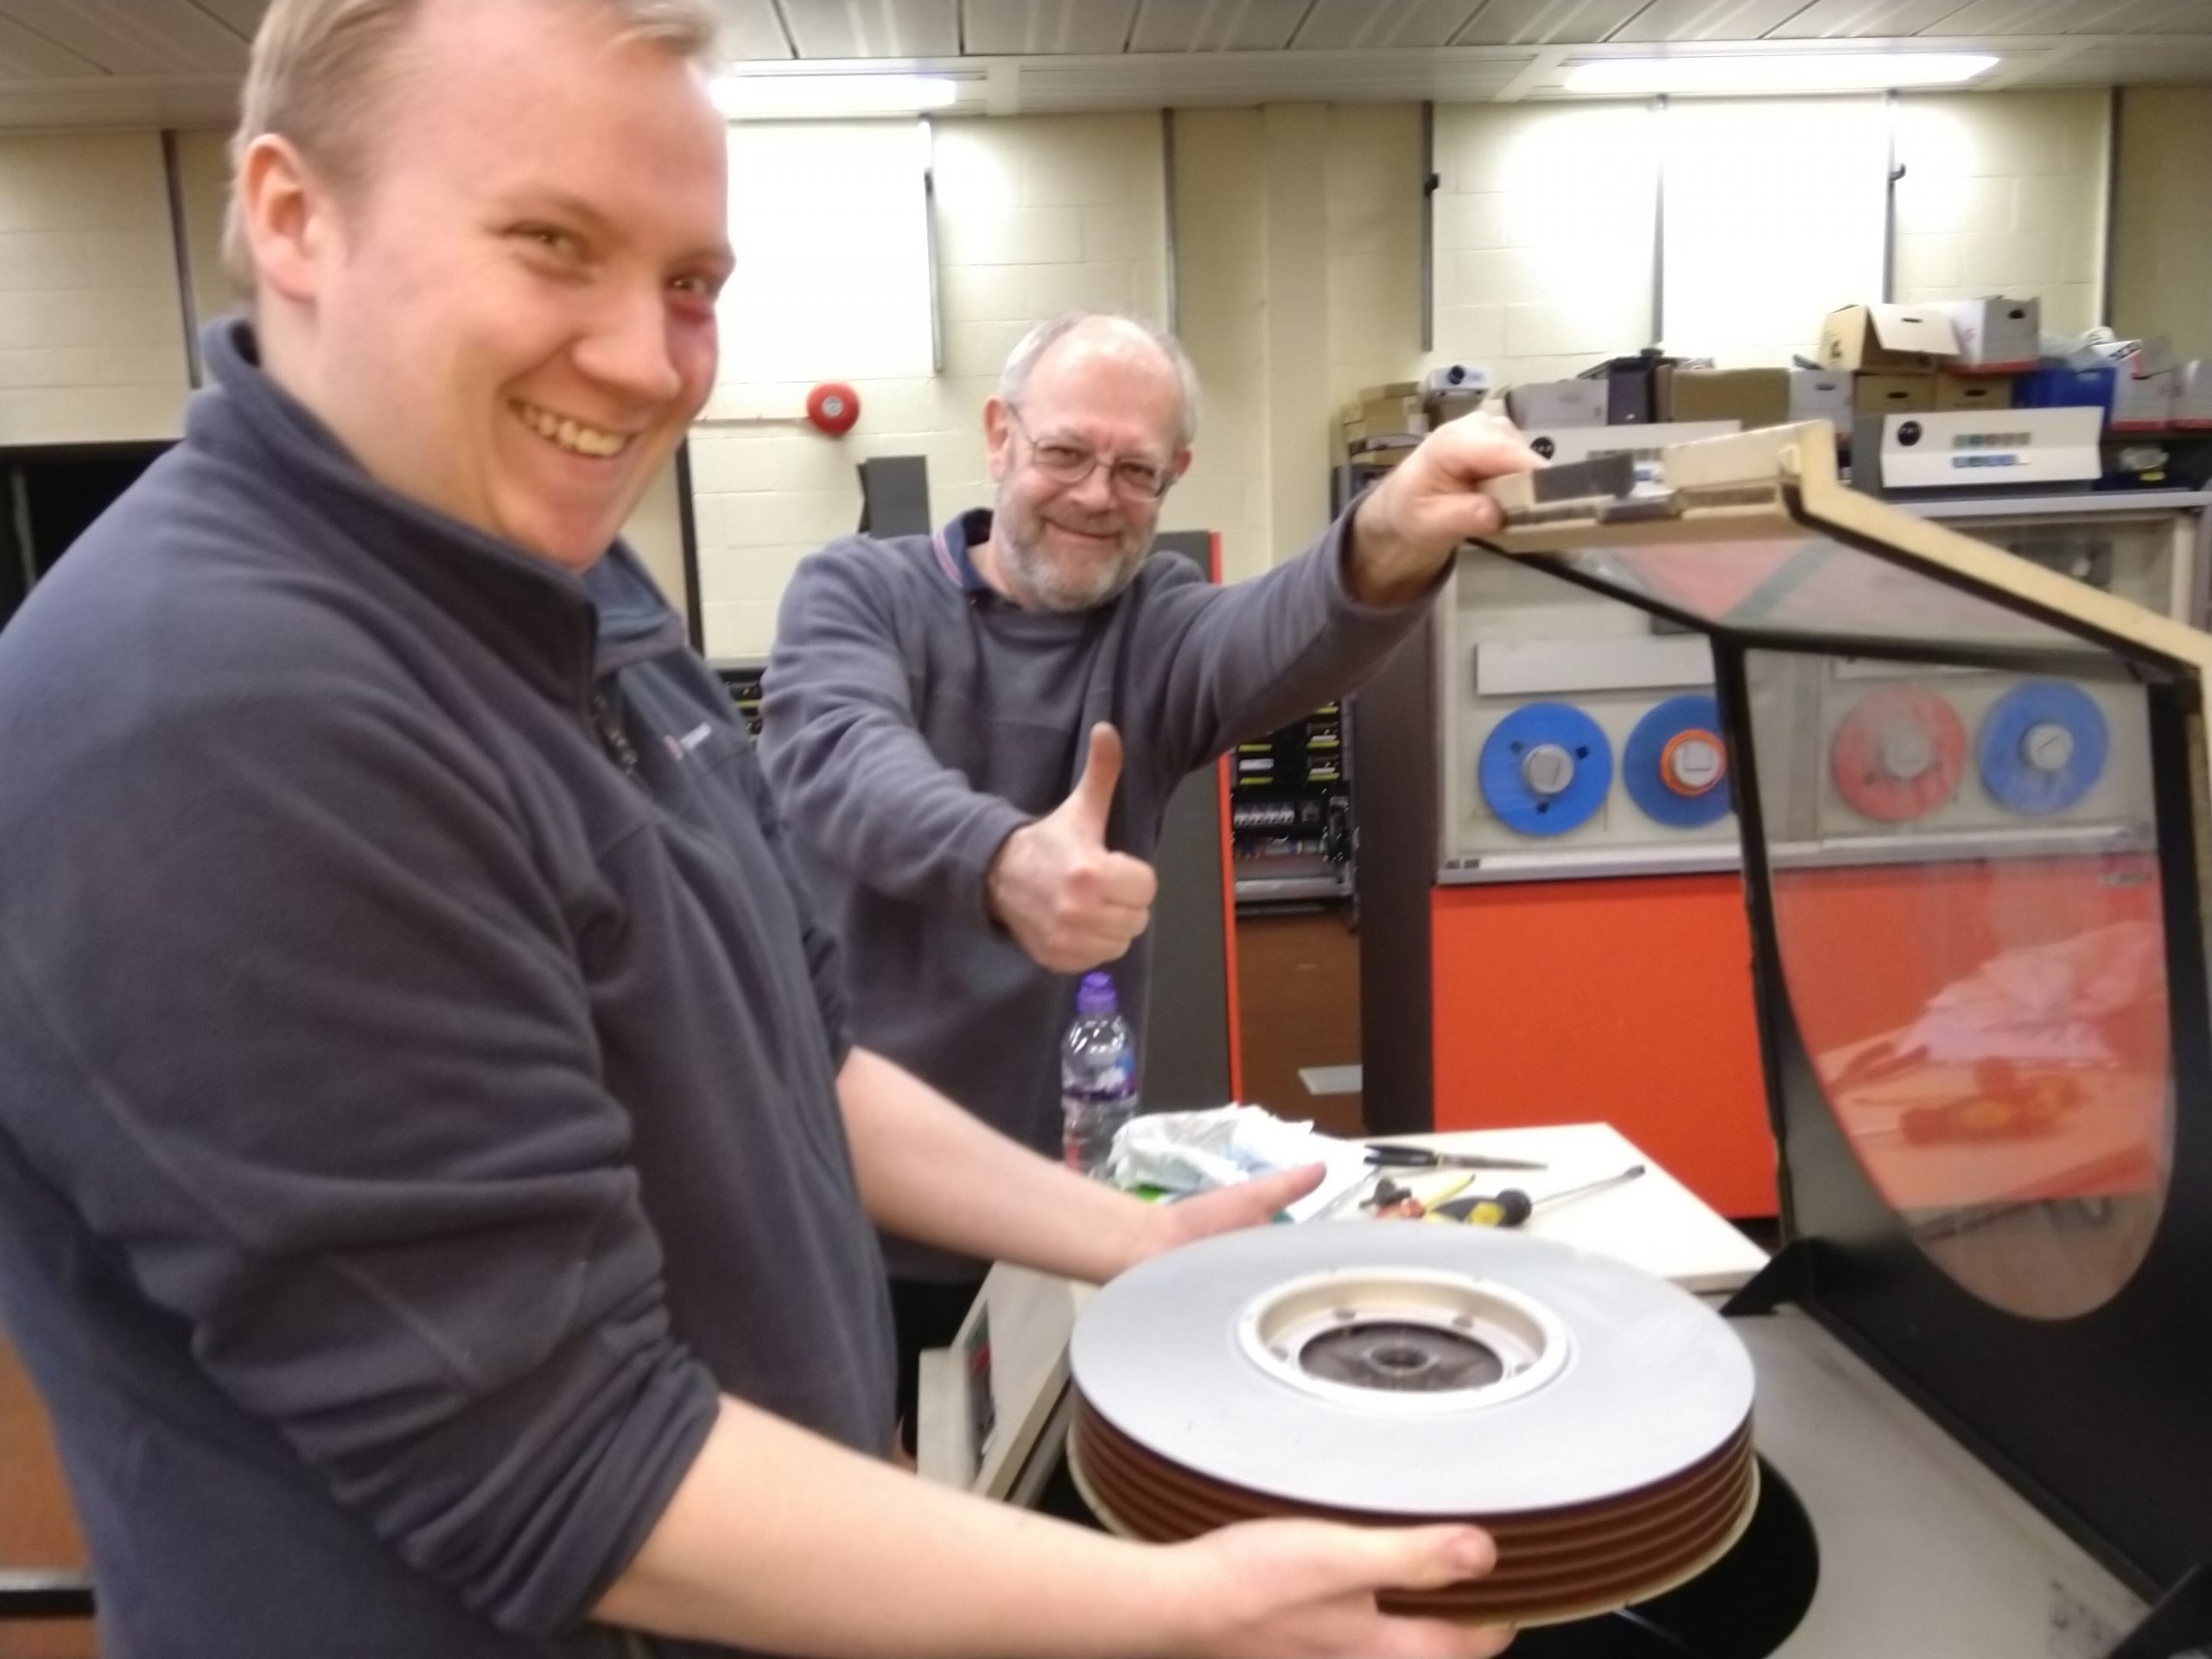
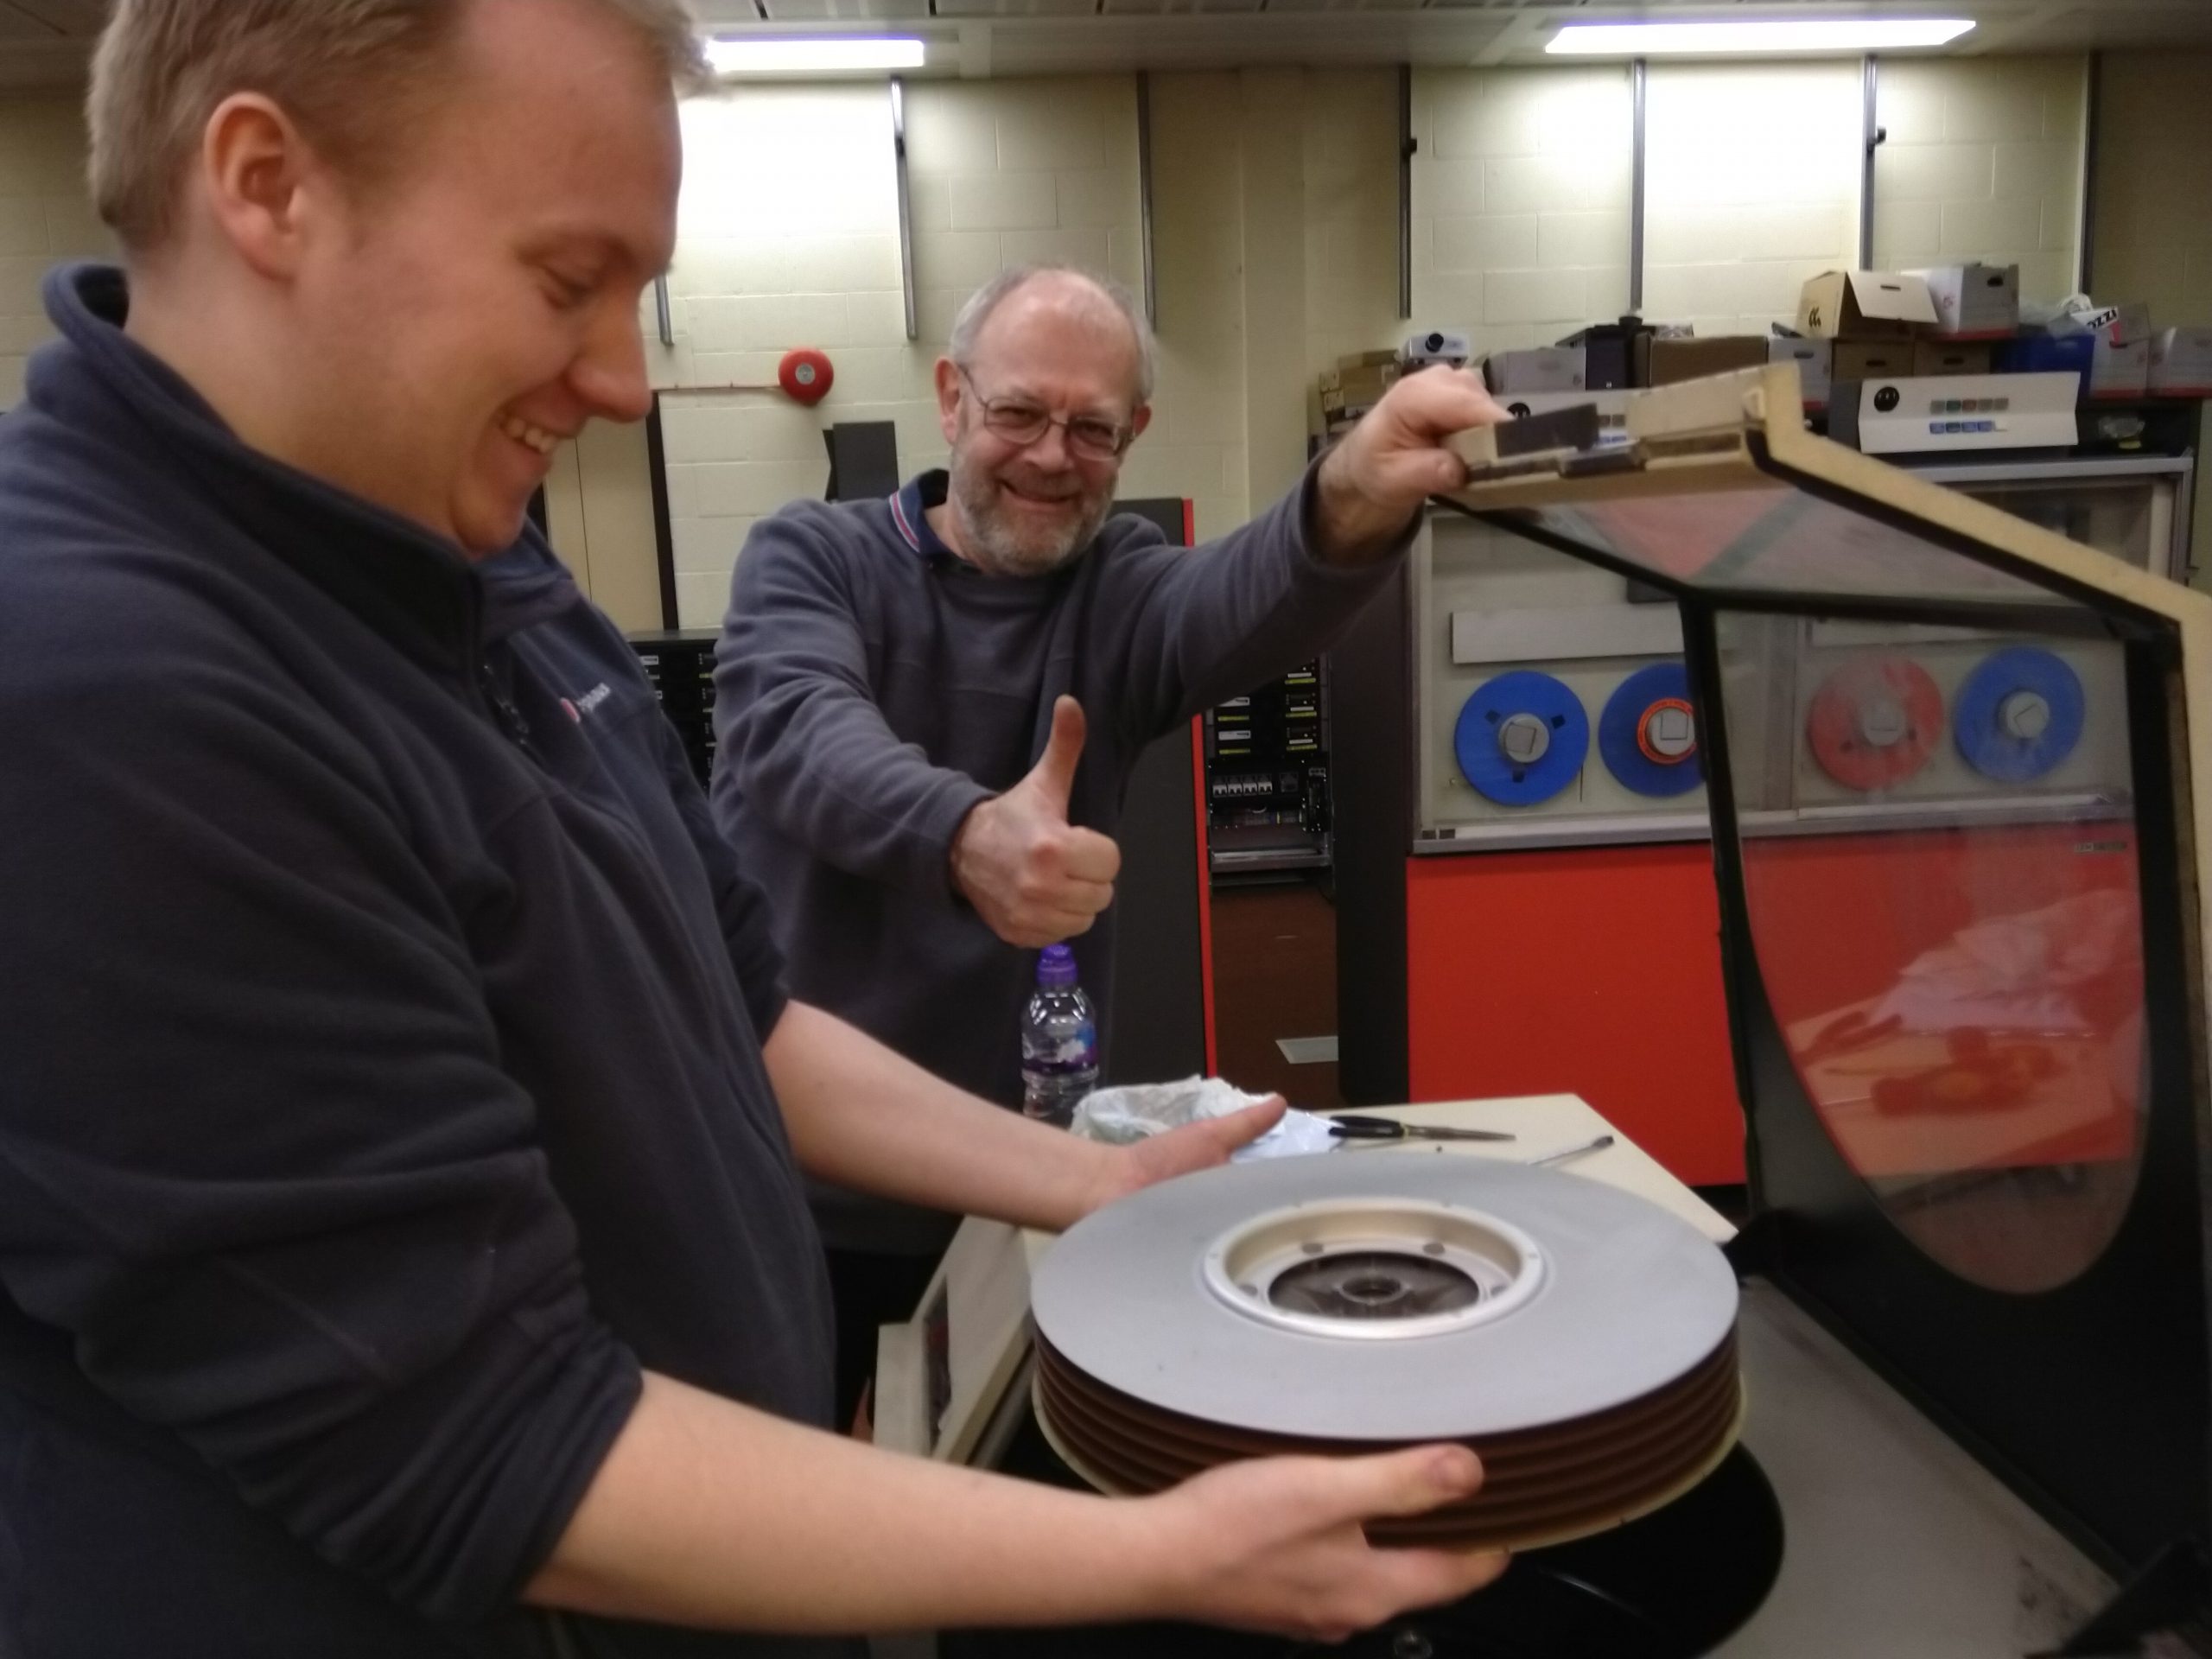
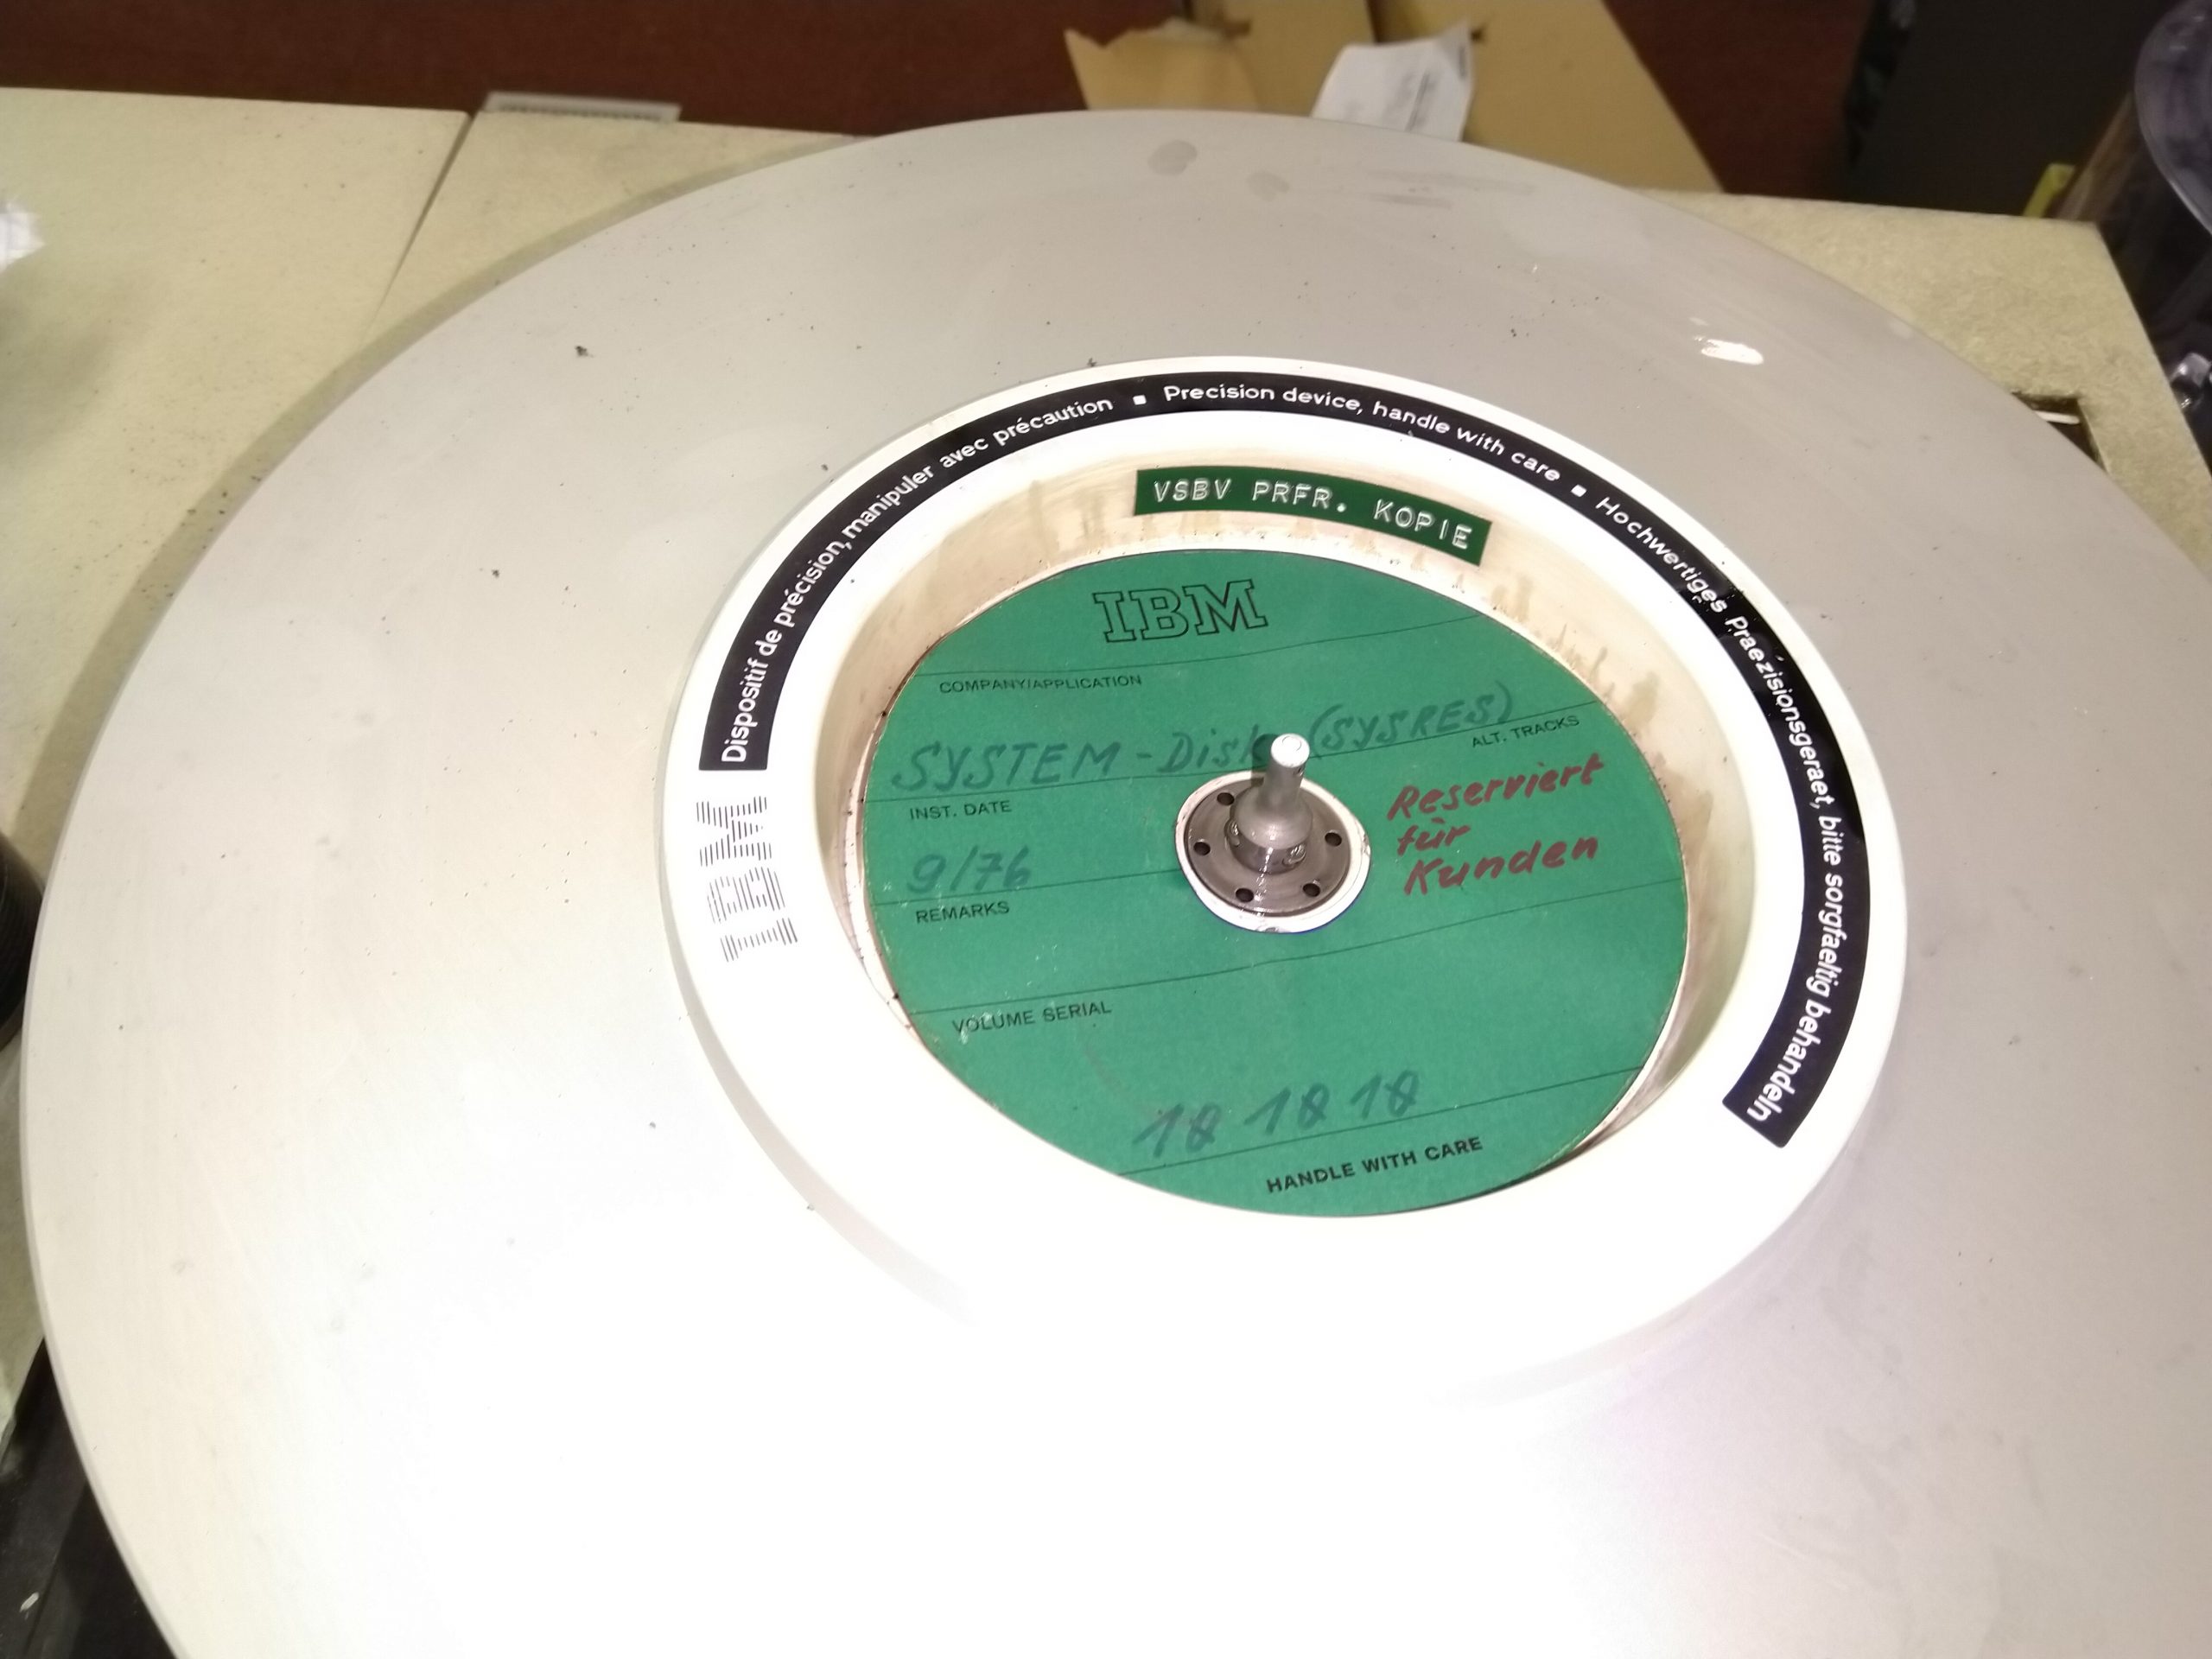
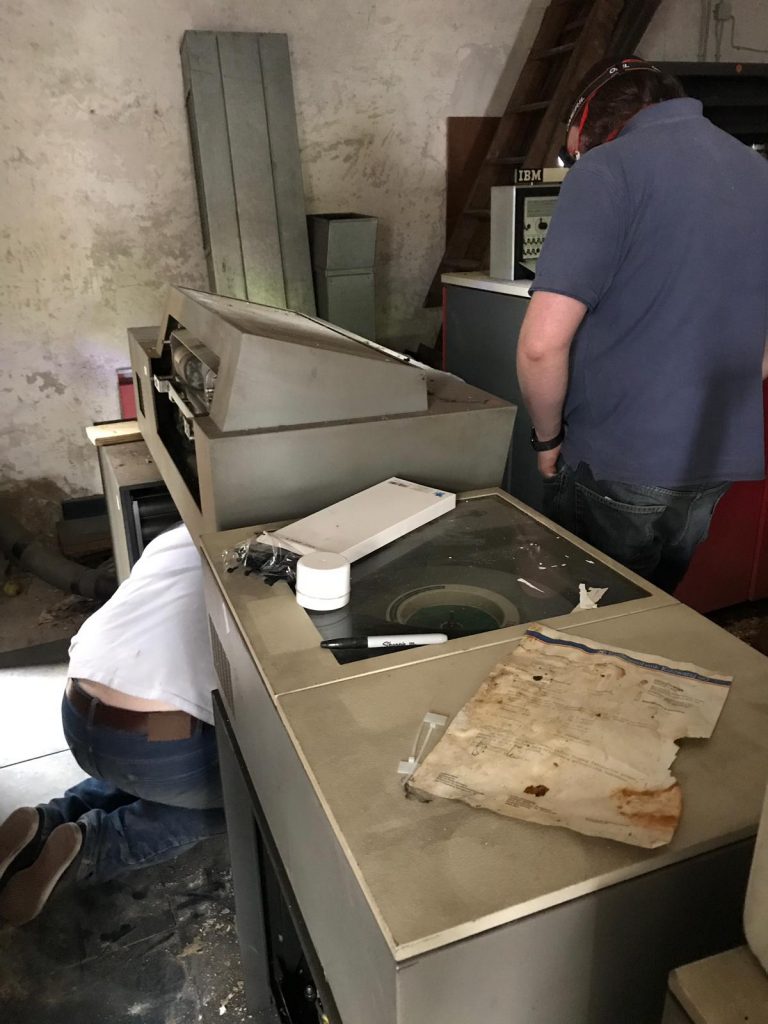
After that was all done, we turned out attention to the two disk drives. Now, you may remember from previous posts that both of the hard disk drives have disks stuck in them. We’ve tried brute force, and we’ve tried taking the drives apart around them to get to the spindles to release them, all without any success. Having the disks stuck in the drives was proving to be a real pain, particularly as one of them is labeled as a system disk and that sounds rather important to say the least!
System disk label
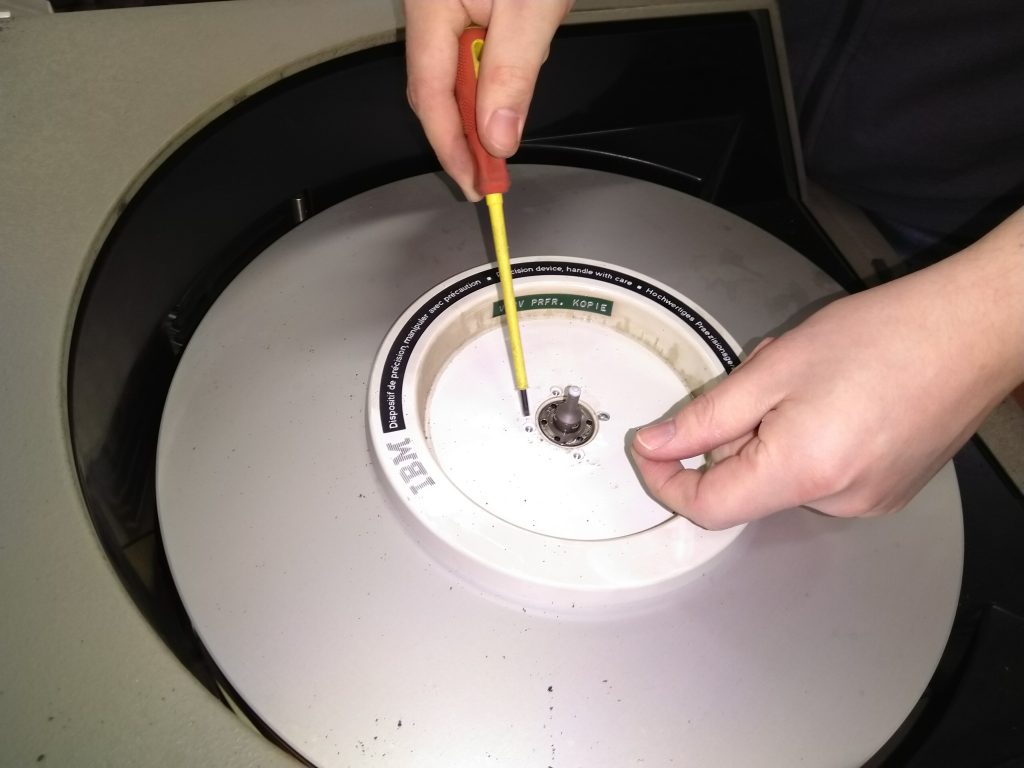
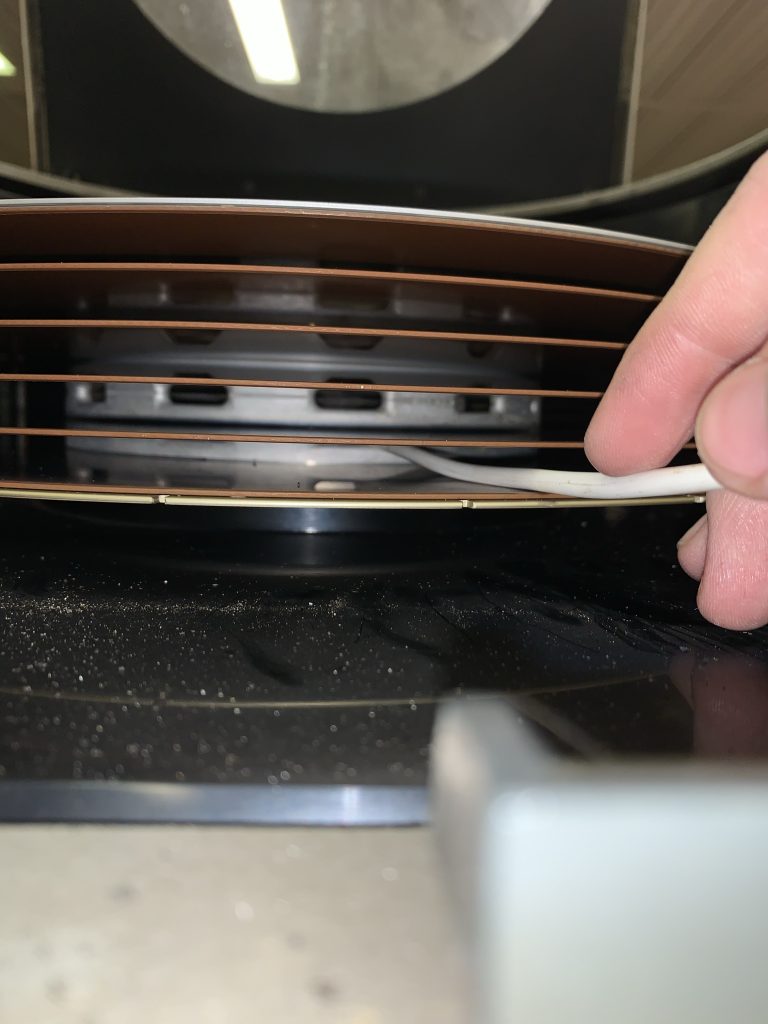
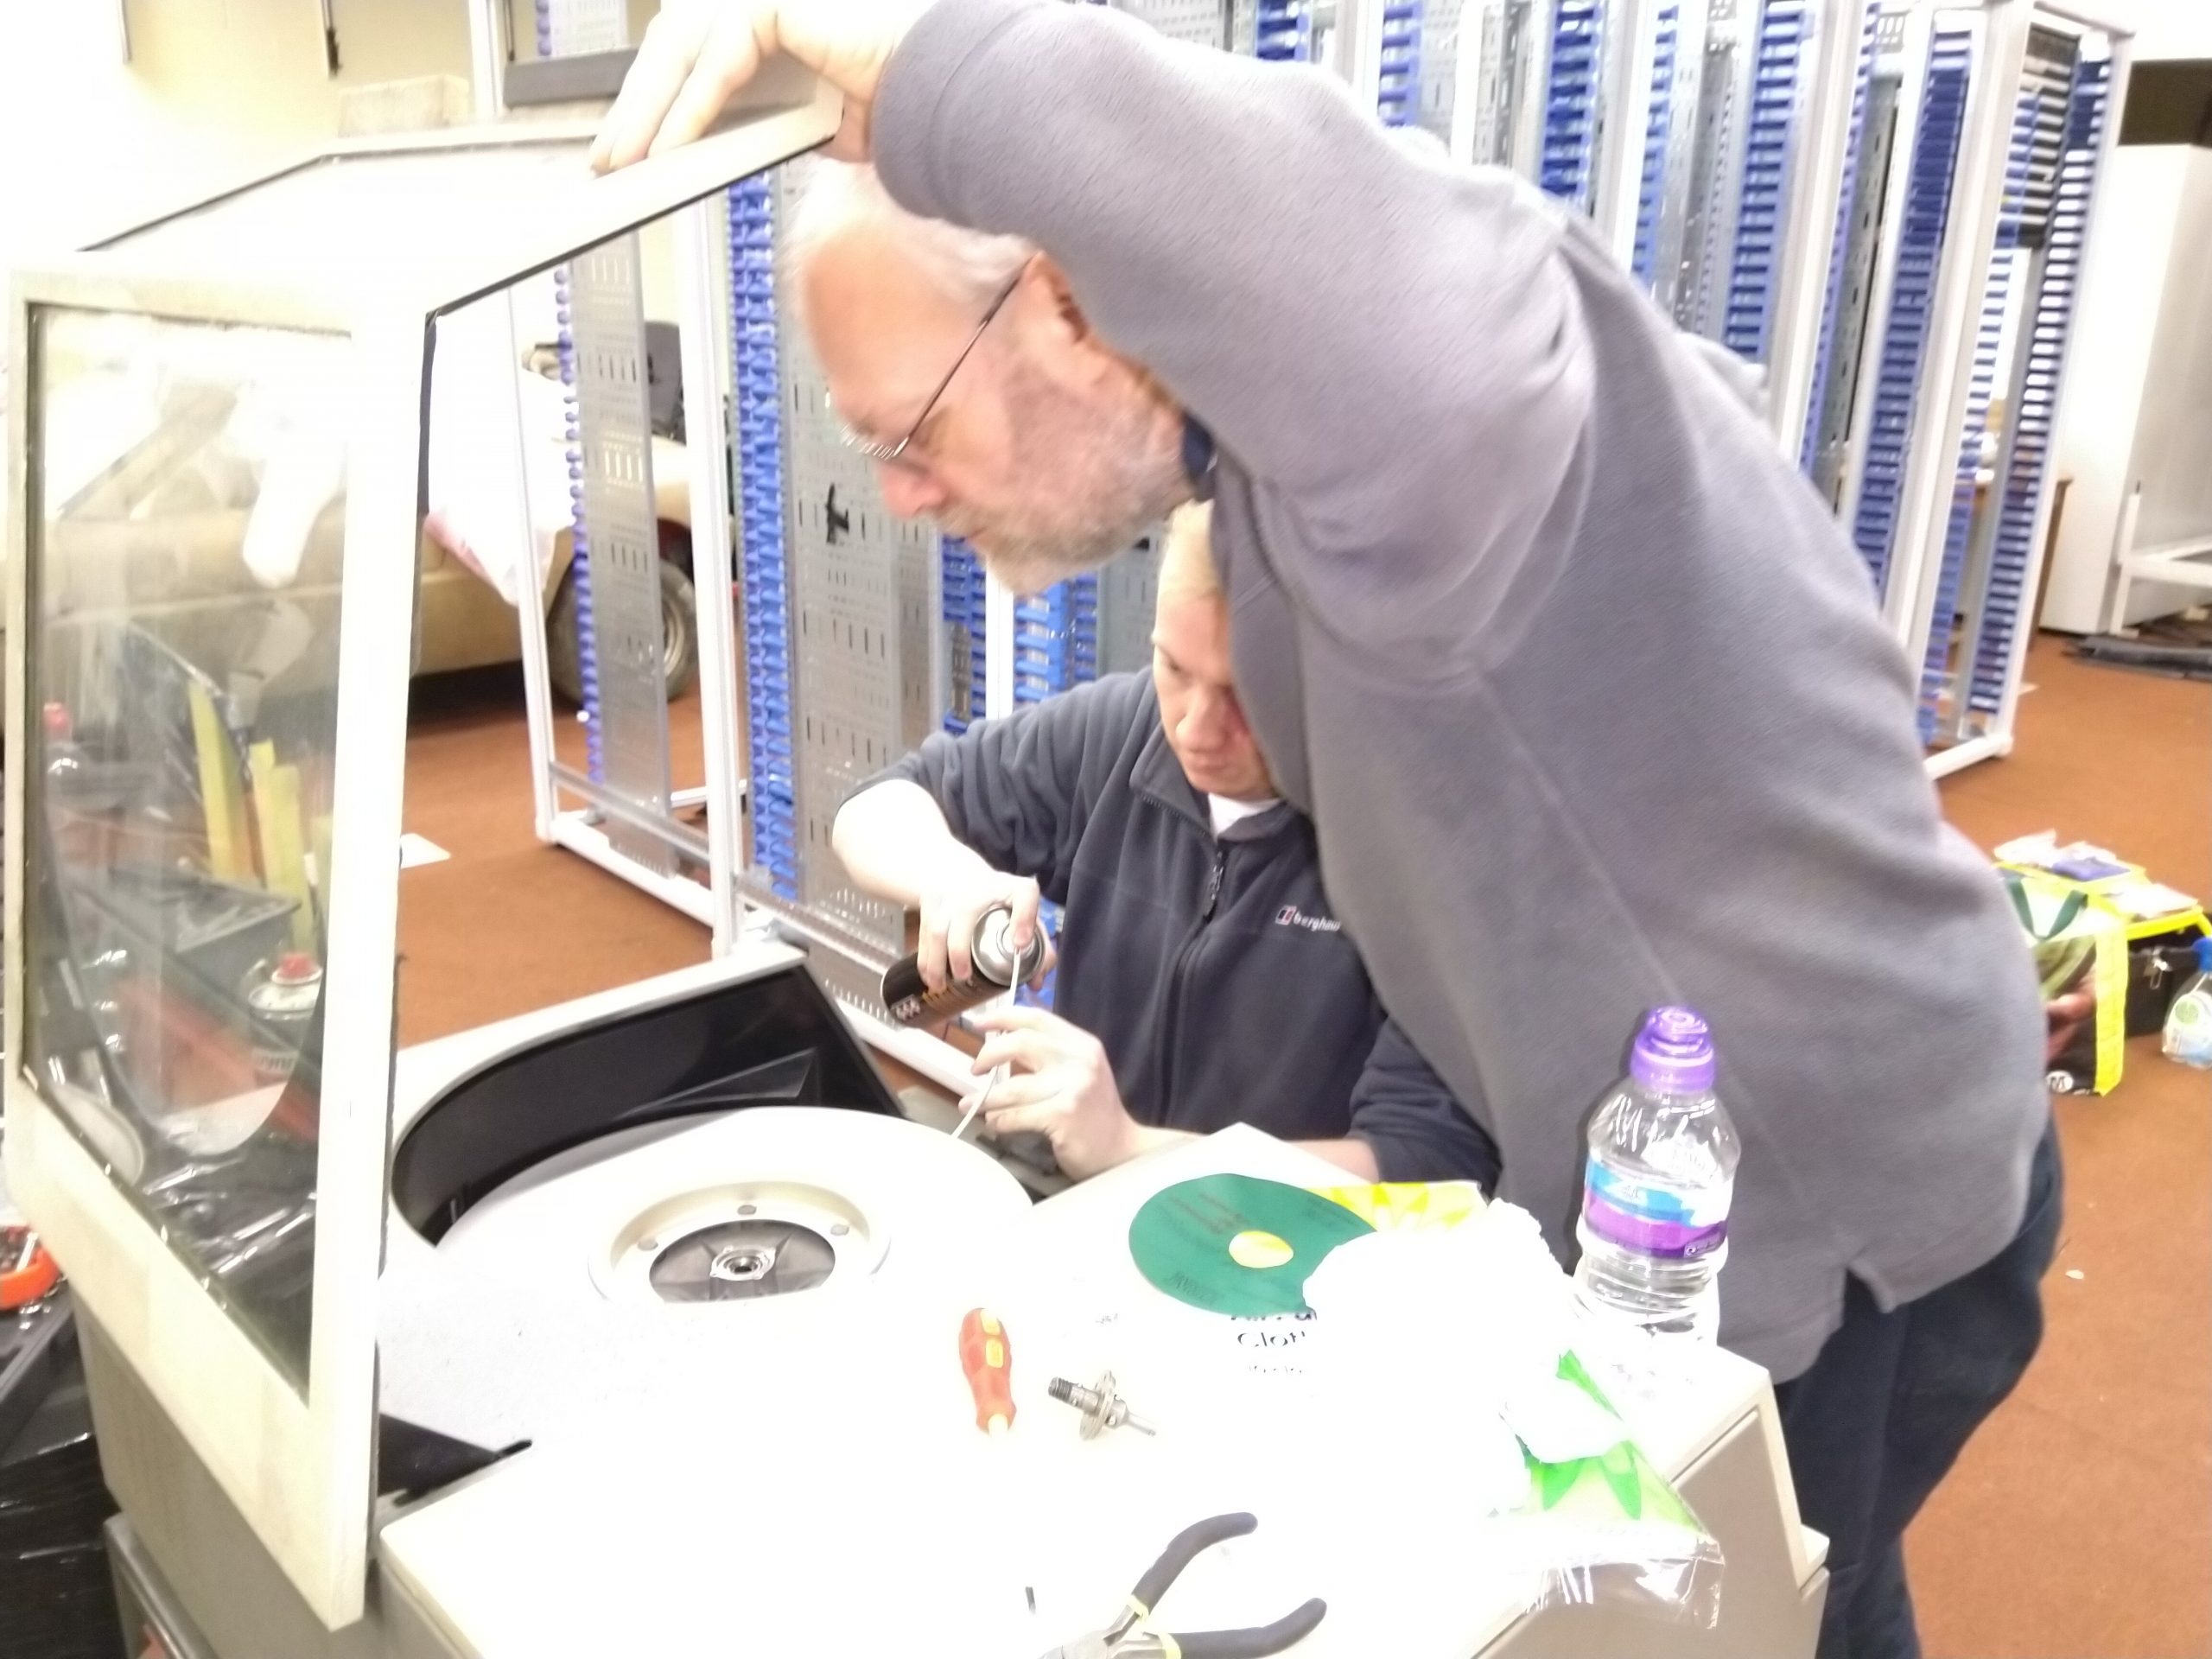
On the drive with the system disk in it, we could get the spindle to unscrew, but we couldn’t get a pack handle on anymore because the locking balls were stuck in the out position. We initially tried squirting some PlusGas releasing fluid down the centre of the disk through the holes in the locking spindle to try and release the disk from the centre. This didn’t seem to have much effect. Upon a closer look at the disk structure, we thought that maybe the centre was hollowing and that there were air holes in the centre. This was confirmed when I found a disk in the pile of disks that was unlabelled and looked unimportant, and decided to experiment by removing the plastic top. It turns out that removing the plastic top provides access to remove the spindle lock and release mechanism which lets you see the centre locking mechanism. We also confirmed that on the bottom of the disk is an air filter, and the inside is indeed hollow. So not knowing where the disk was binding, and not even really knowing what the drive spindle looked like, we decided to try and get some PlusGas release fluid into the centre. We started by removing the plastic top of the disk:
Adam looking guilty!
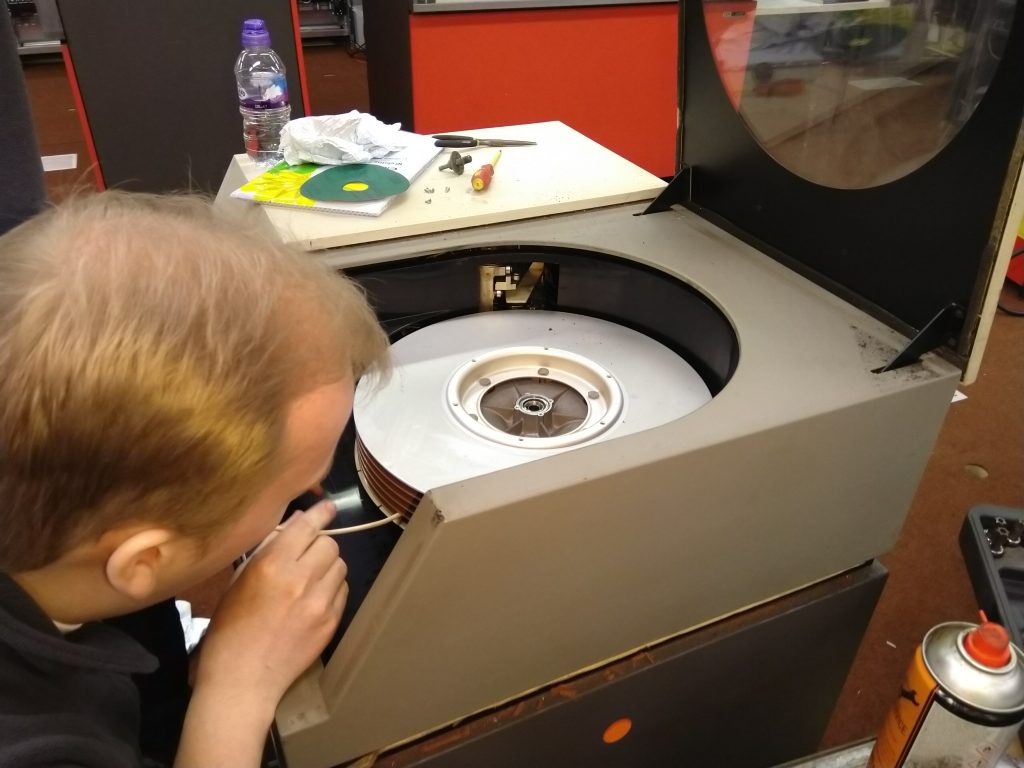
I then found some old Telephone cable lying around, cut a small length off, pulled the wiring out of one end and used it to make a long straw to go into the centre of the disk:
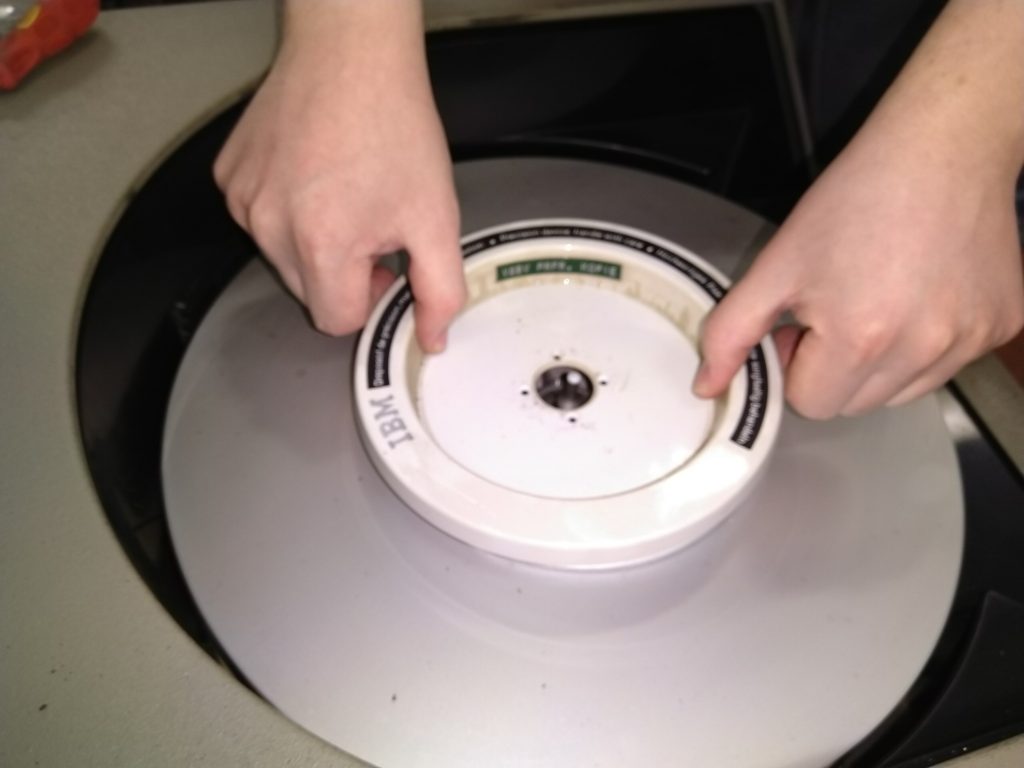
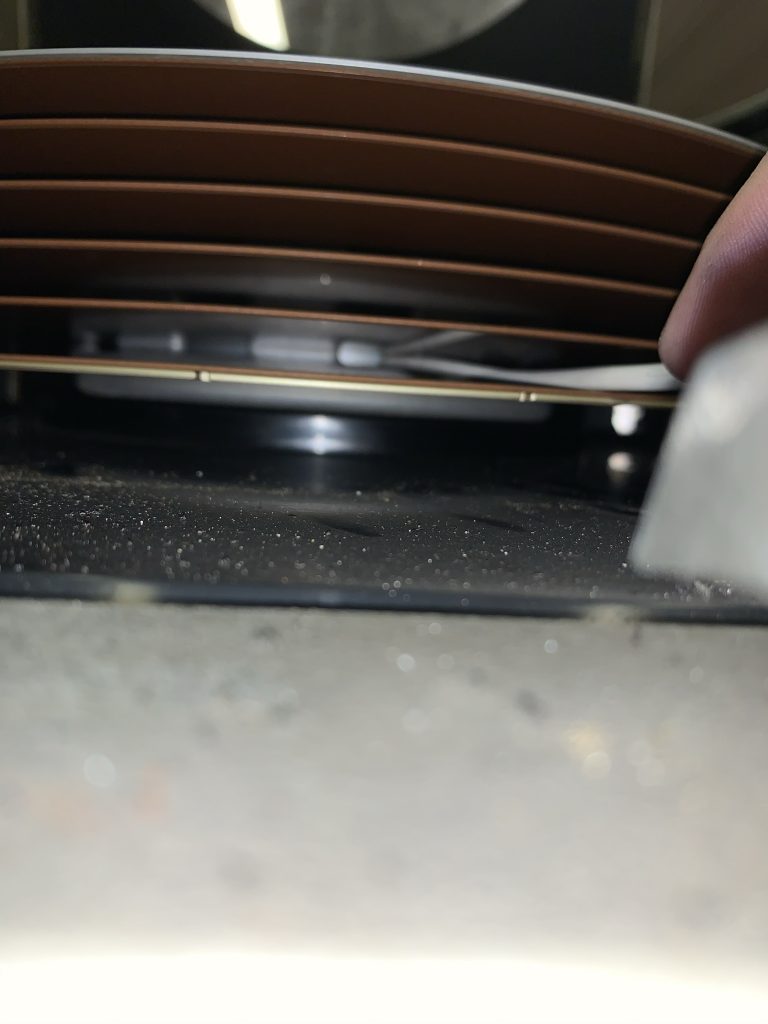
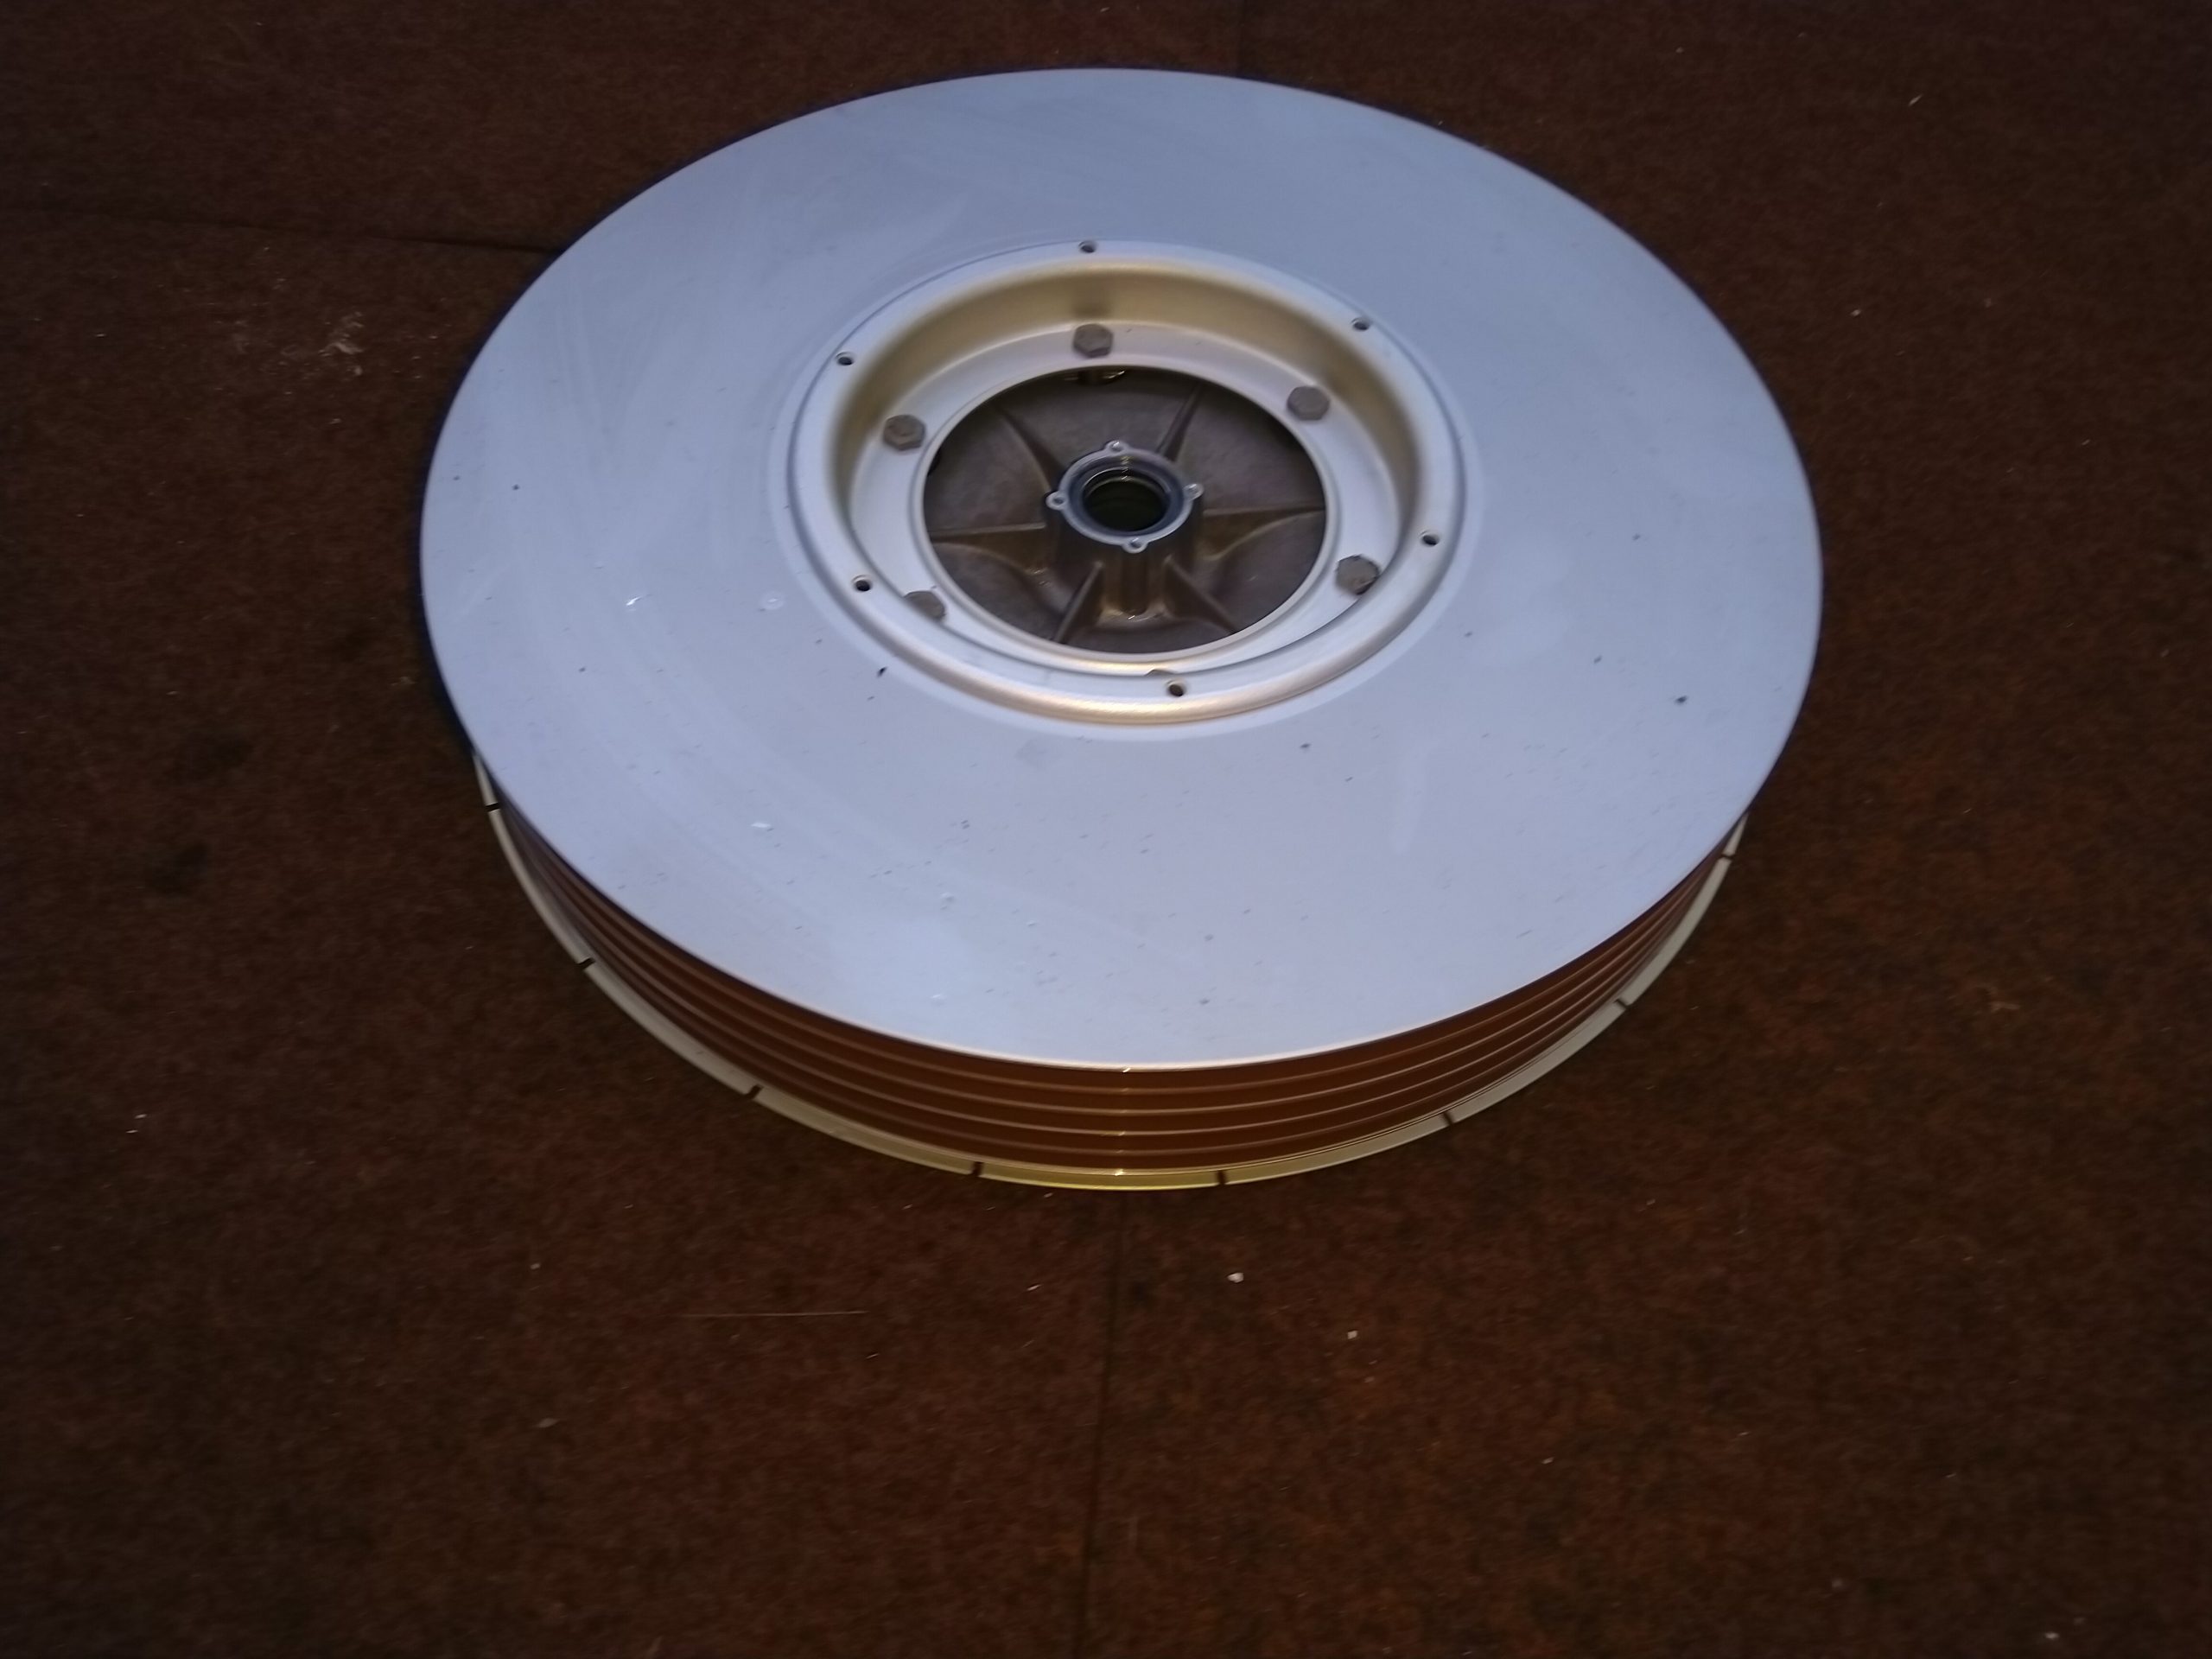
Having dumped quite a bit of PlusGas in, I managed to get a long, thin screwdriver under the centre hub of the disk and apply some light pressure; low and behold the disk popped off!
Adam and Peter looking pleased with the removed disk
Adam and Peter looking pleased with the removed disk
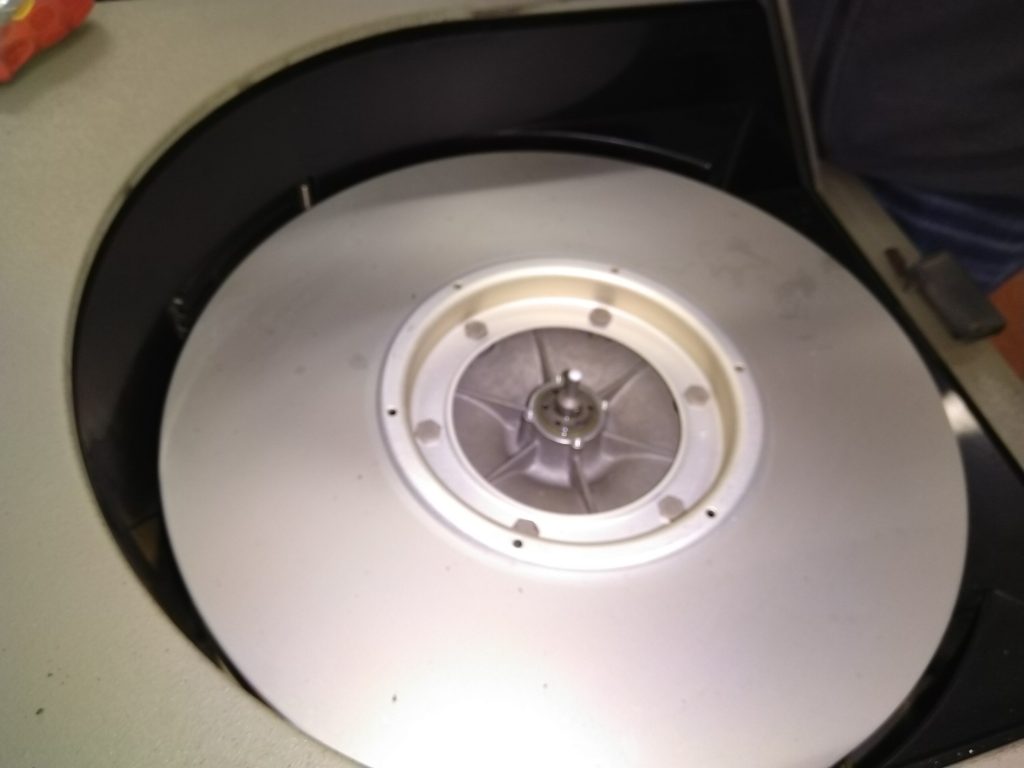
Our first look at the removed spindle, along with a small puddle of PlusGas!
The removed disk
Top re-assembled
An empty drive!
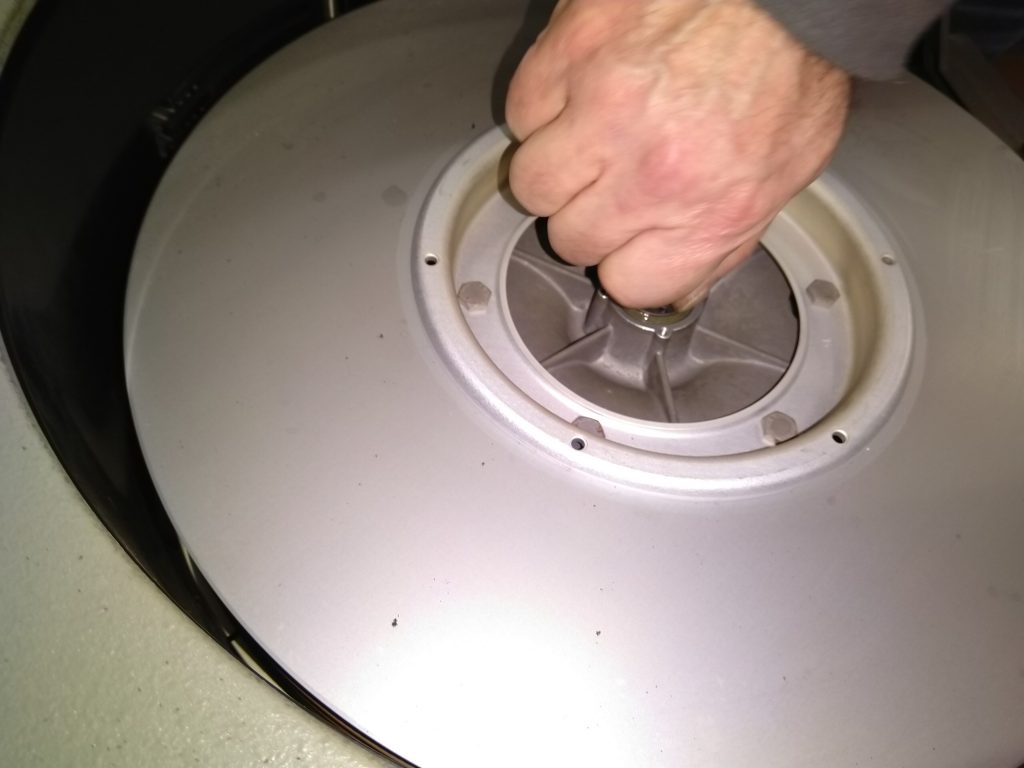
Okay so one down, one to go! The next drive was a bit trickier as the disk spindle top wouldn’t unscrew because the thread was completely seized. The locking mechanism was also broken on this disk and so we figured it was okay to sacrifice the top, particularly as we now know we can swap them, as such after dumping a load of PlusGas down the spindle and waiting a bit, I put some heavy duty water pump pliers on it and after a few goes got the thread to loosen off. With the spindle removed, the disk just happily popped out of the drive! With both disks successfully removed, we can now begin cleaning and inspecting the condition of the disk drives. It’s also a major worry off of our plates!
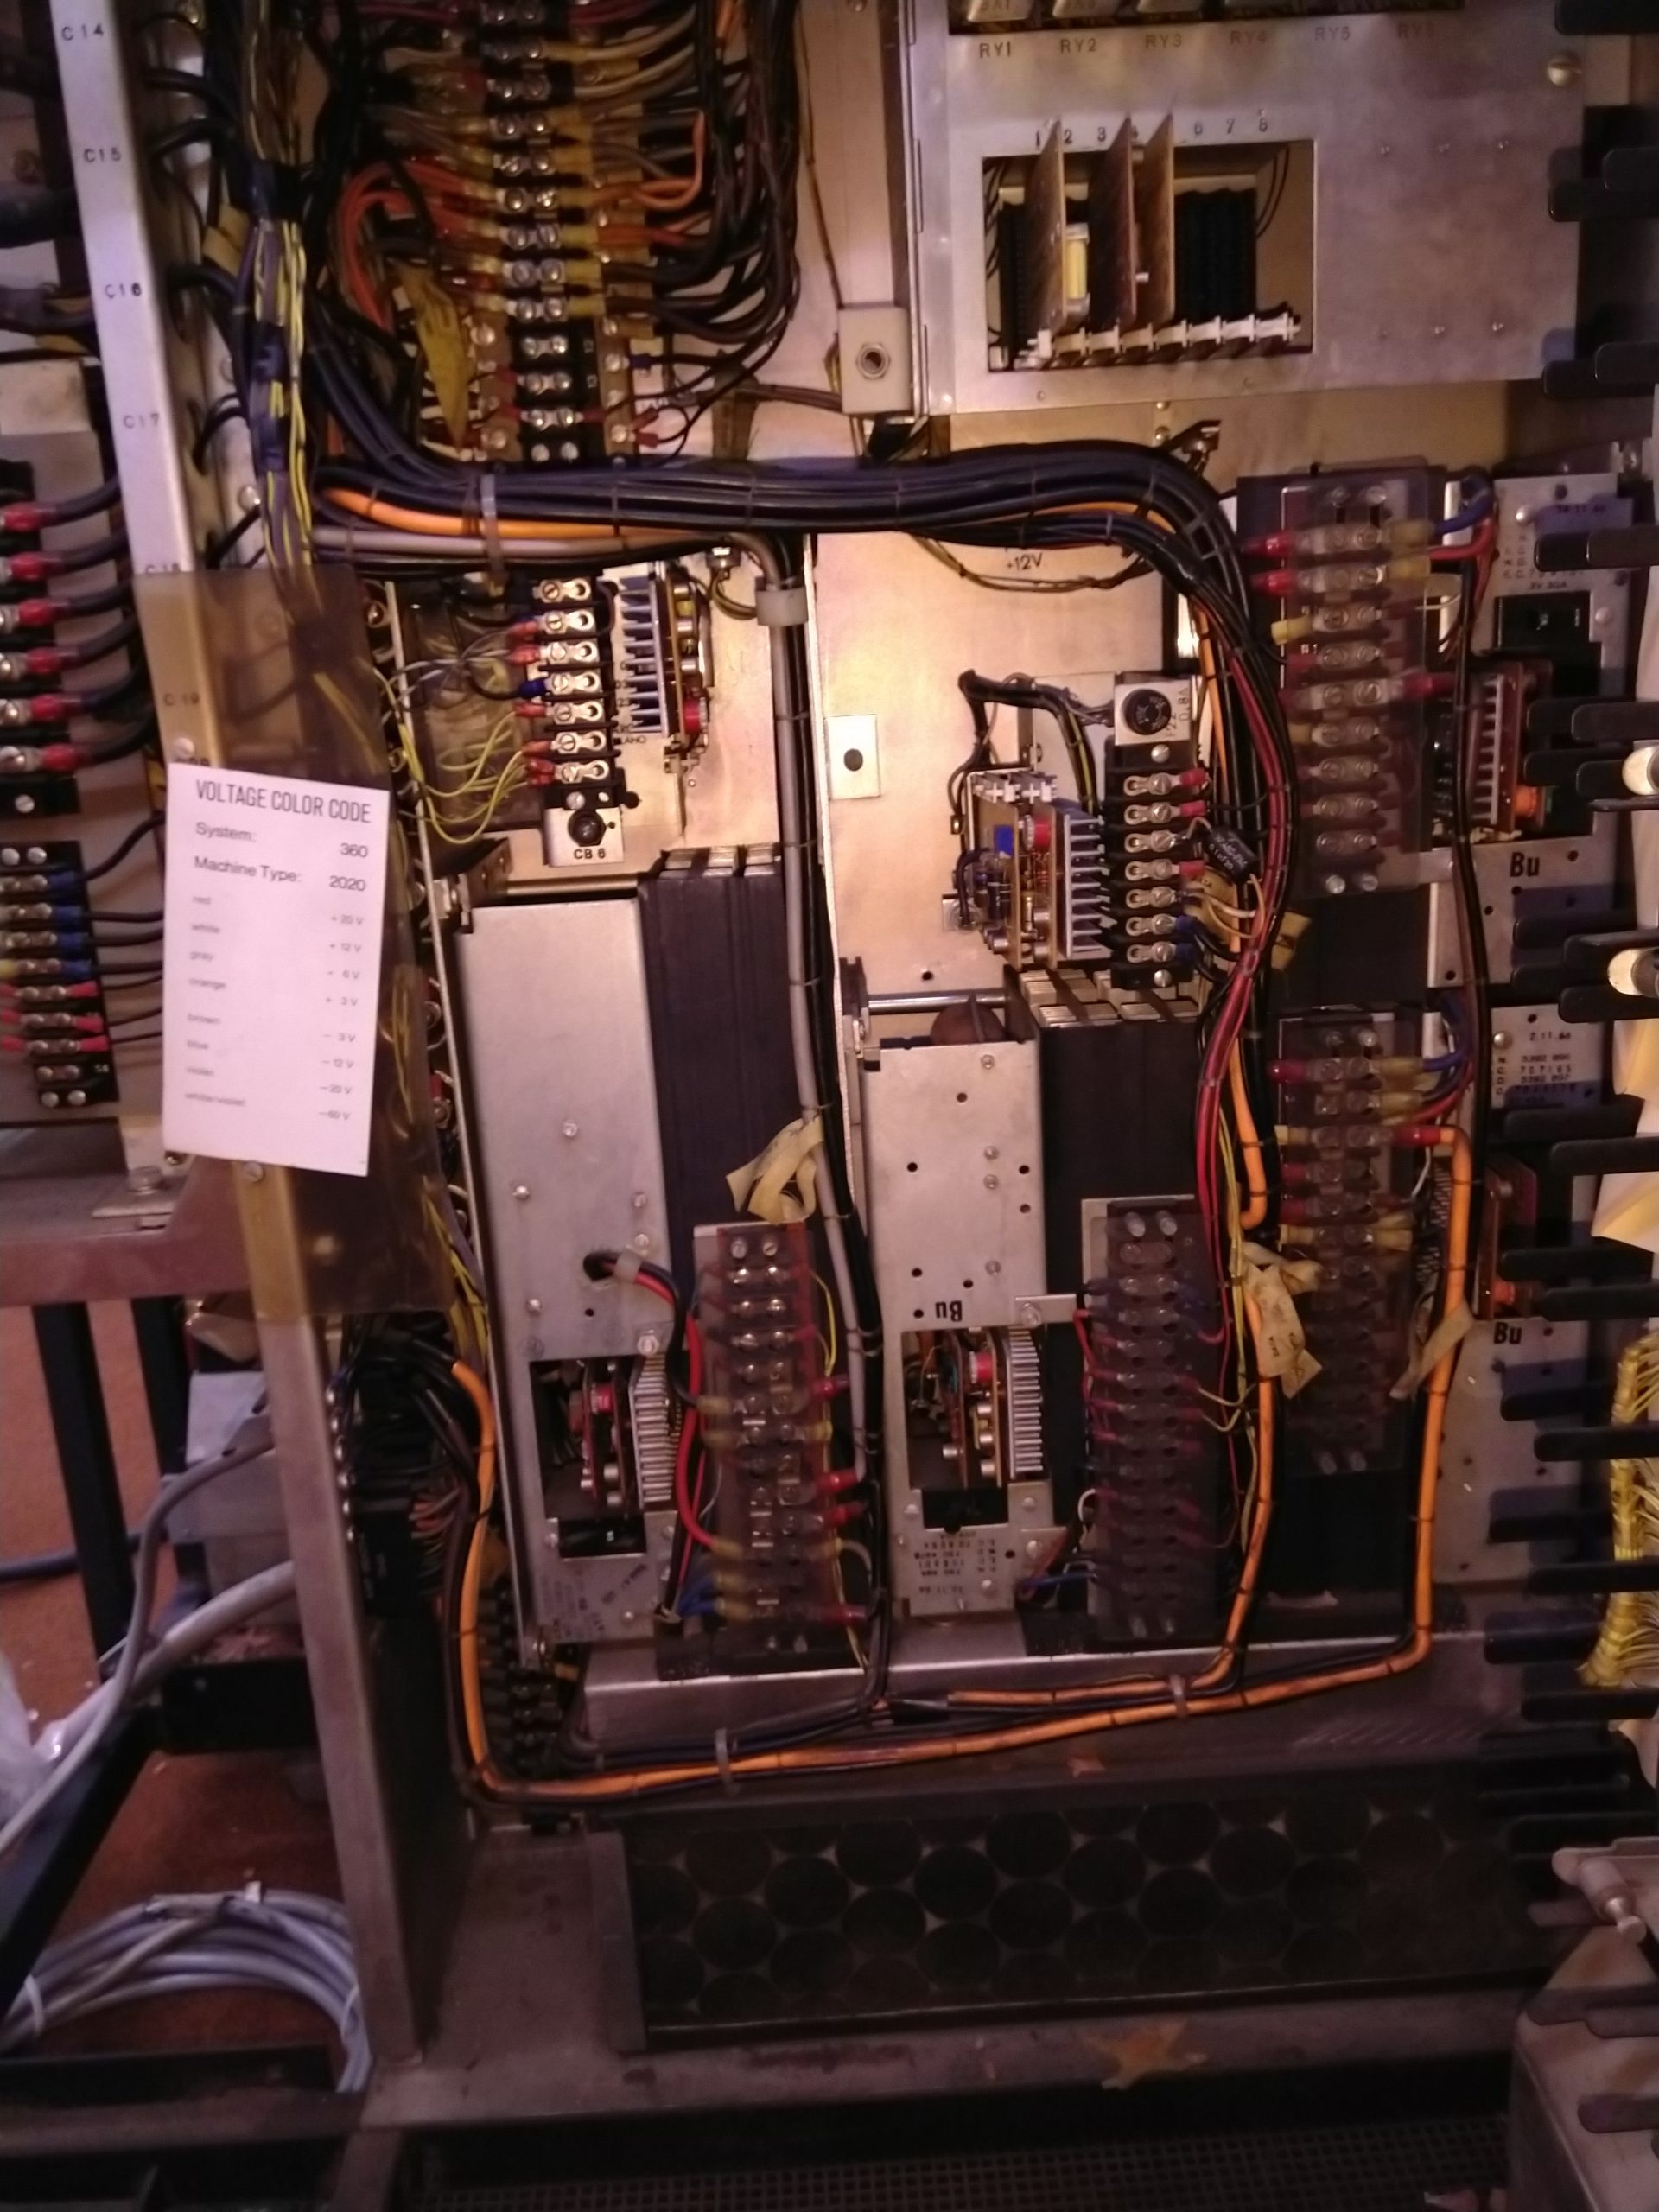
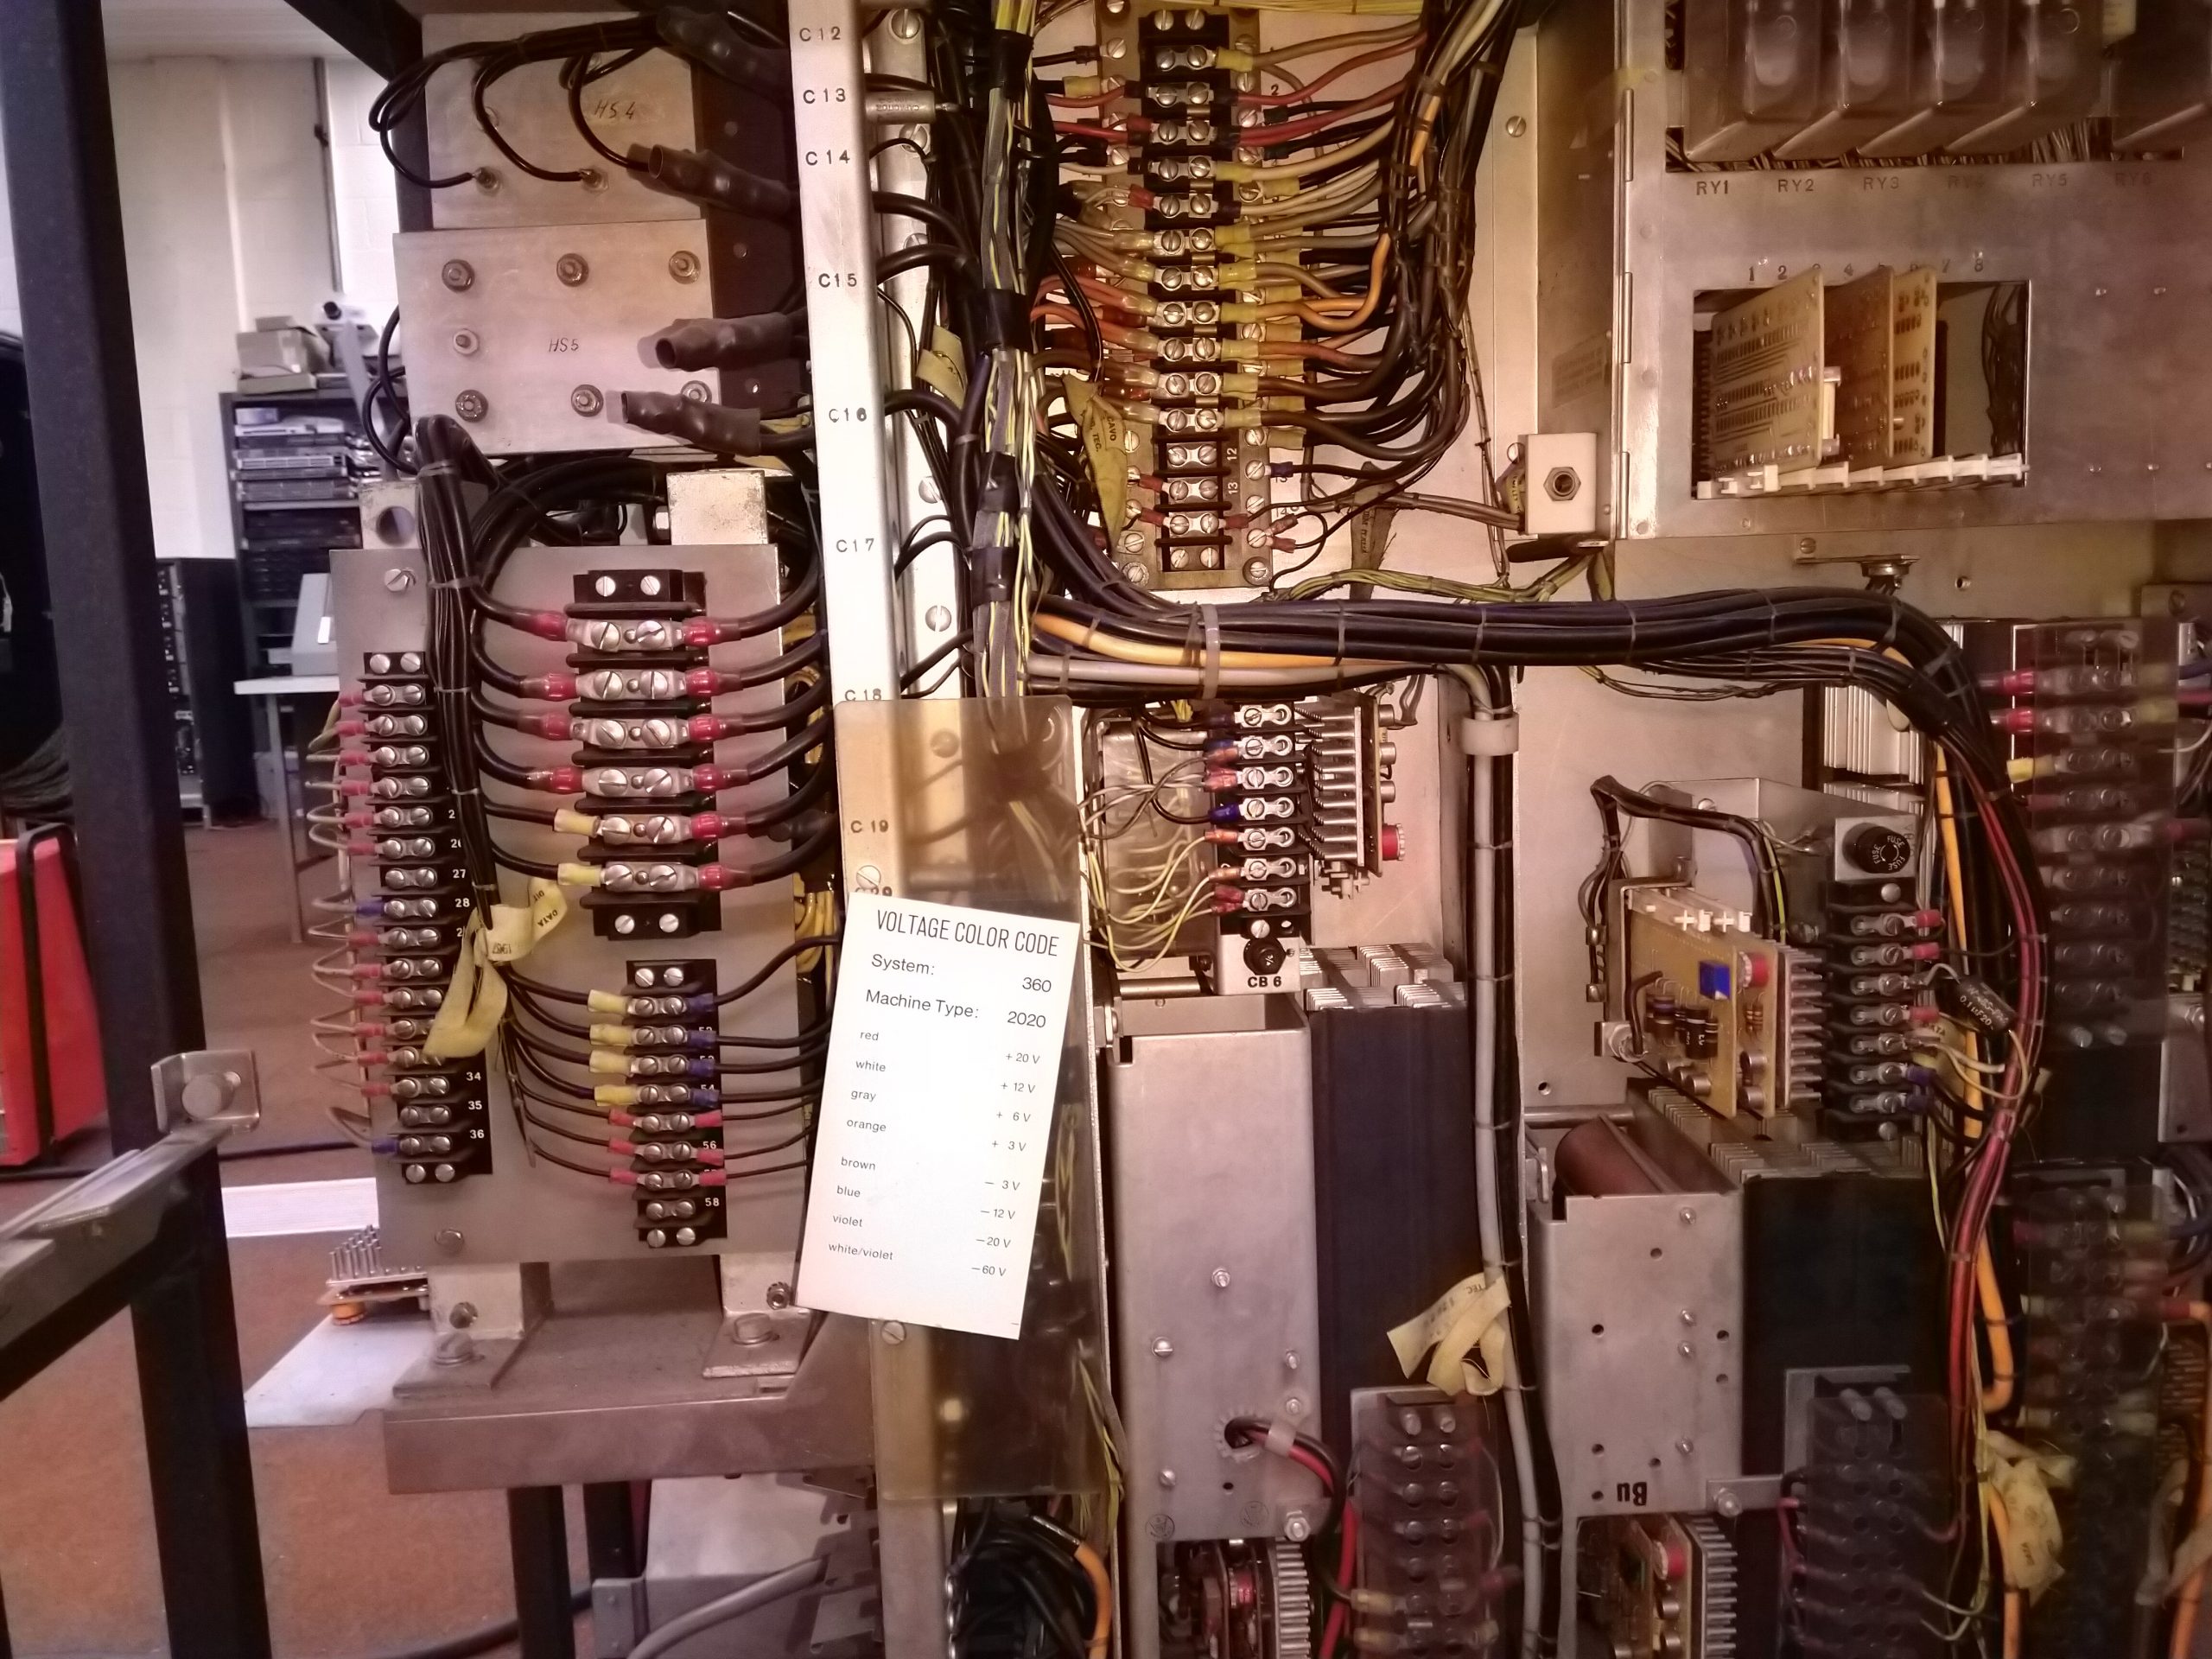
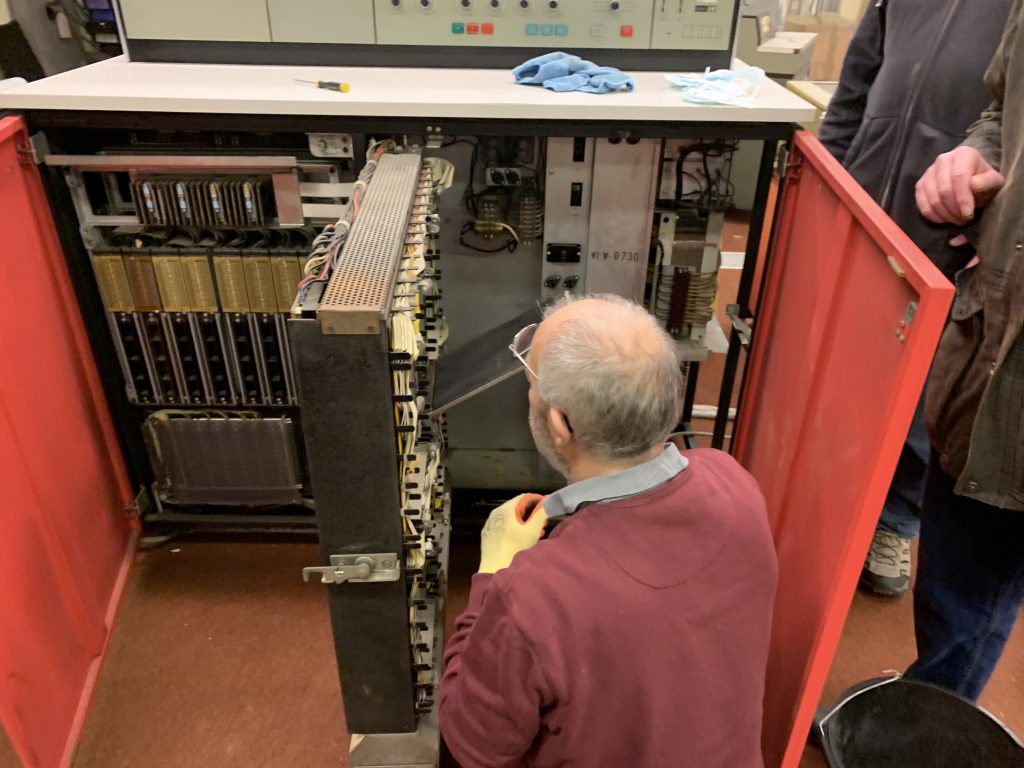
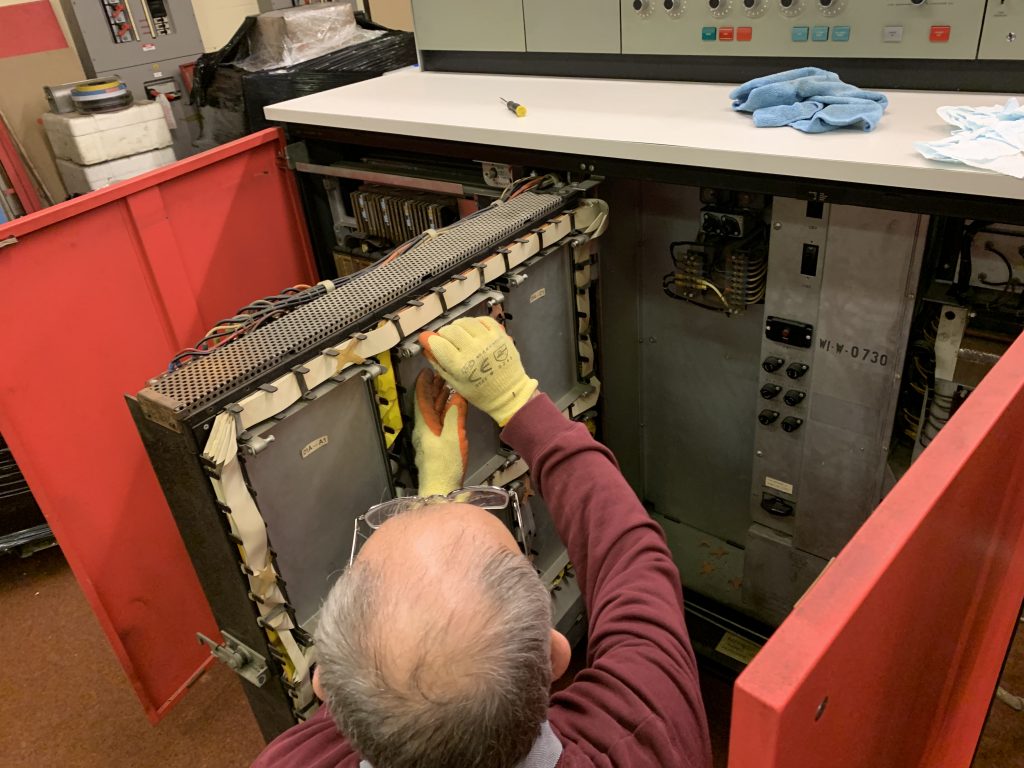
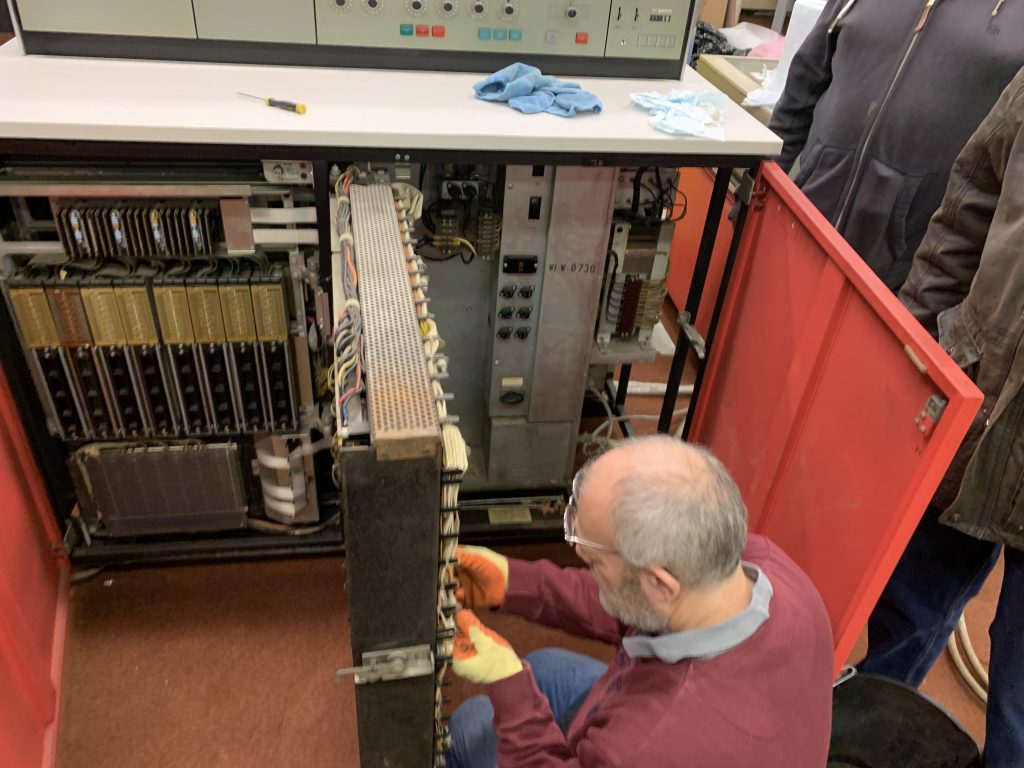
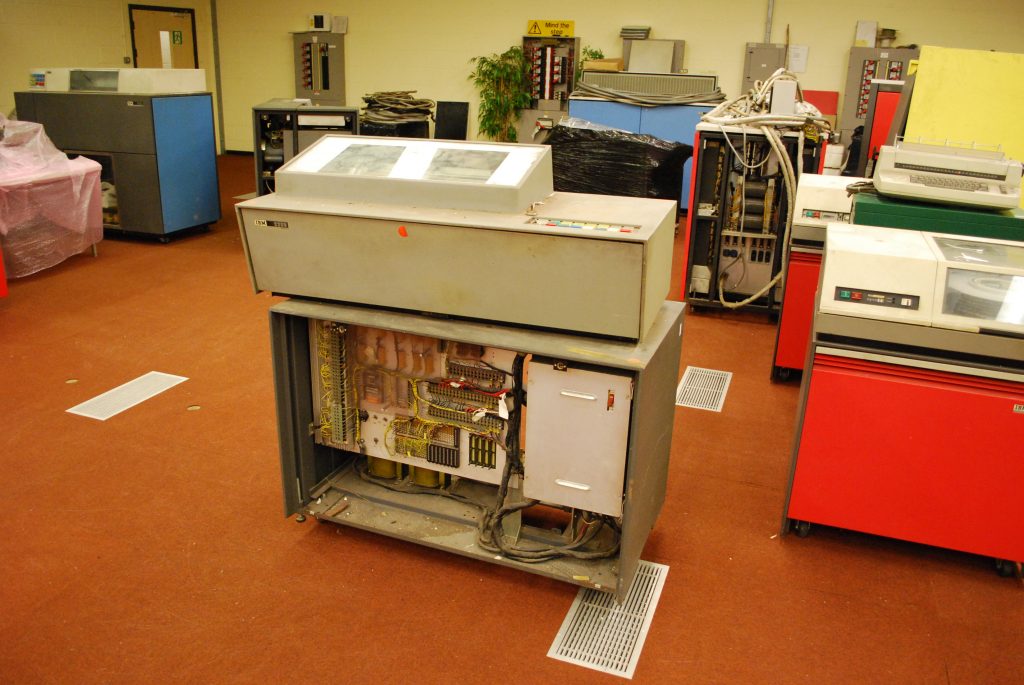
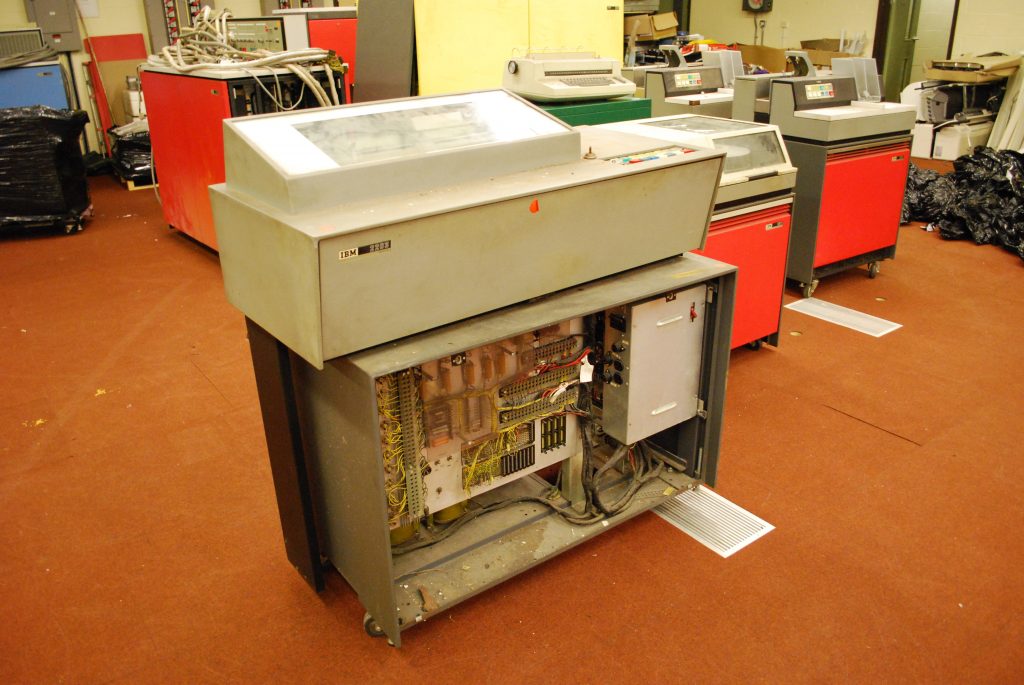
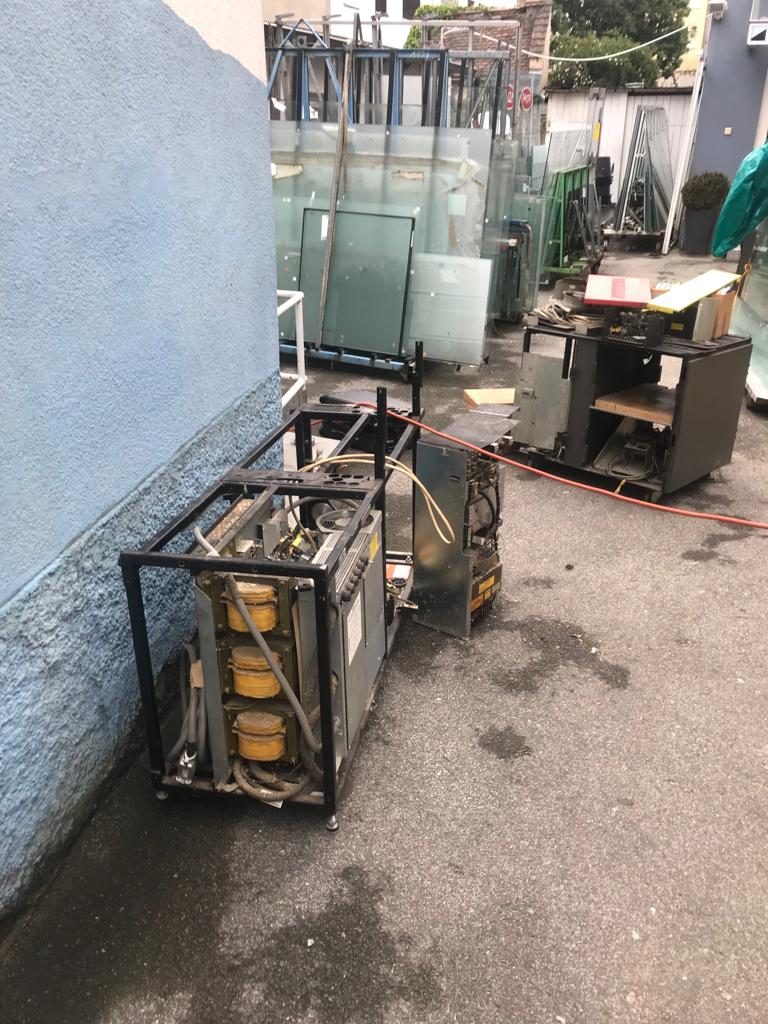
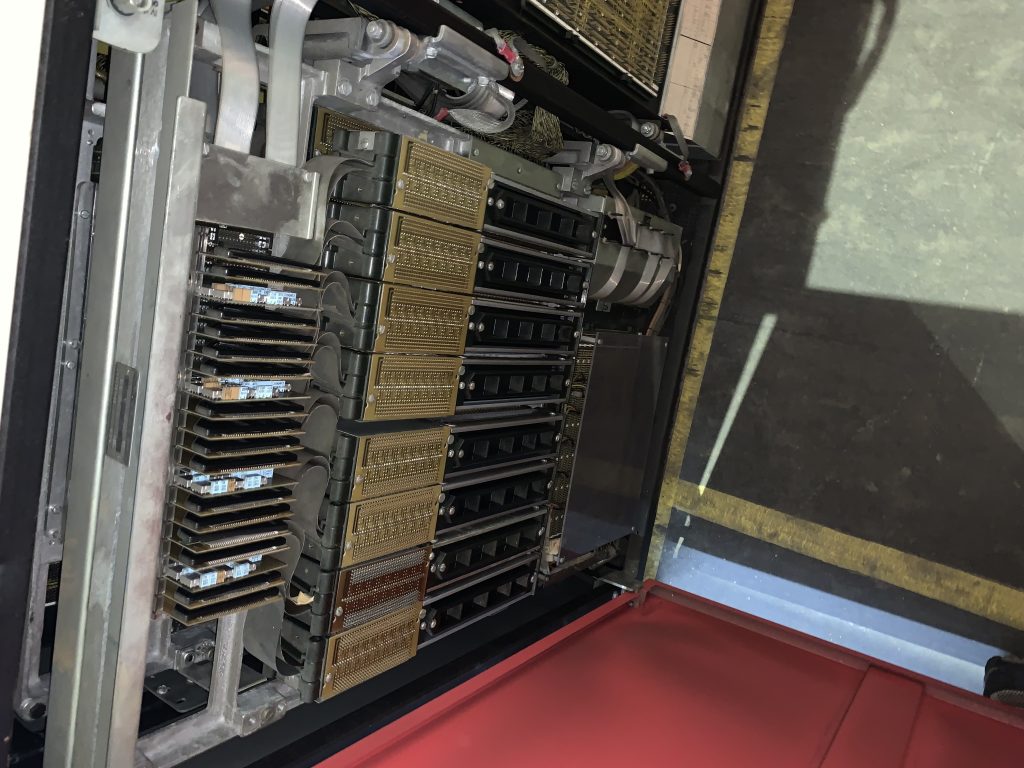
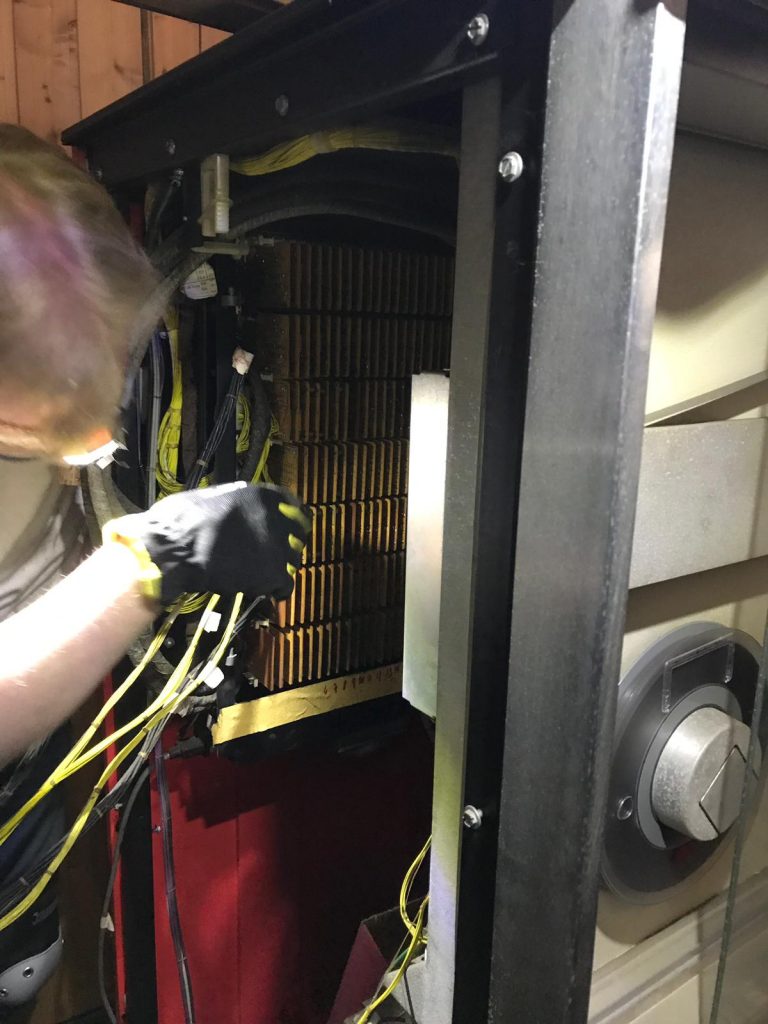
The last thing we did was to start taking a cursory look at the power supply units in the red CPU. I think I’ve mentioned before here, but most of the power to the peripheral devices comes from the CPU PSU’s, and of course it uses a 3 phase input. Now, nobody on the team thus far is really a Power supply engineer, and I for one certainly don’t have enough experience of 3 phase linear power supplies to even begin thinking about taking this on, so we’re on the hunt for a power supply engineer who knows their stuff! All the supplies are going to need re-capping and thorough bench testing before they’re used, but luckily they are incredibly well documented in the manuals which of course any prospective engineer will have access to. If this tickles your fancy, or you know somebody who might be interested in helping us out, please contact us as soon as possible!
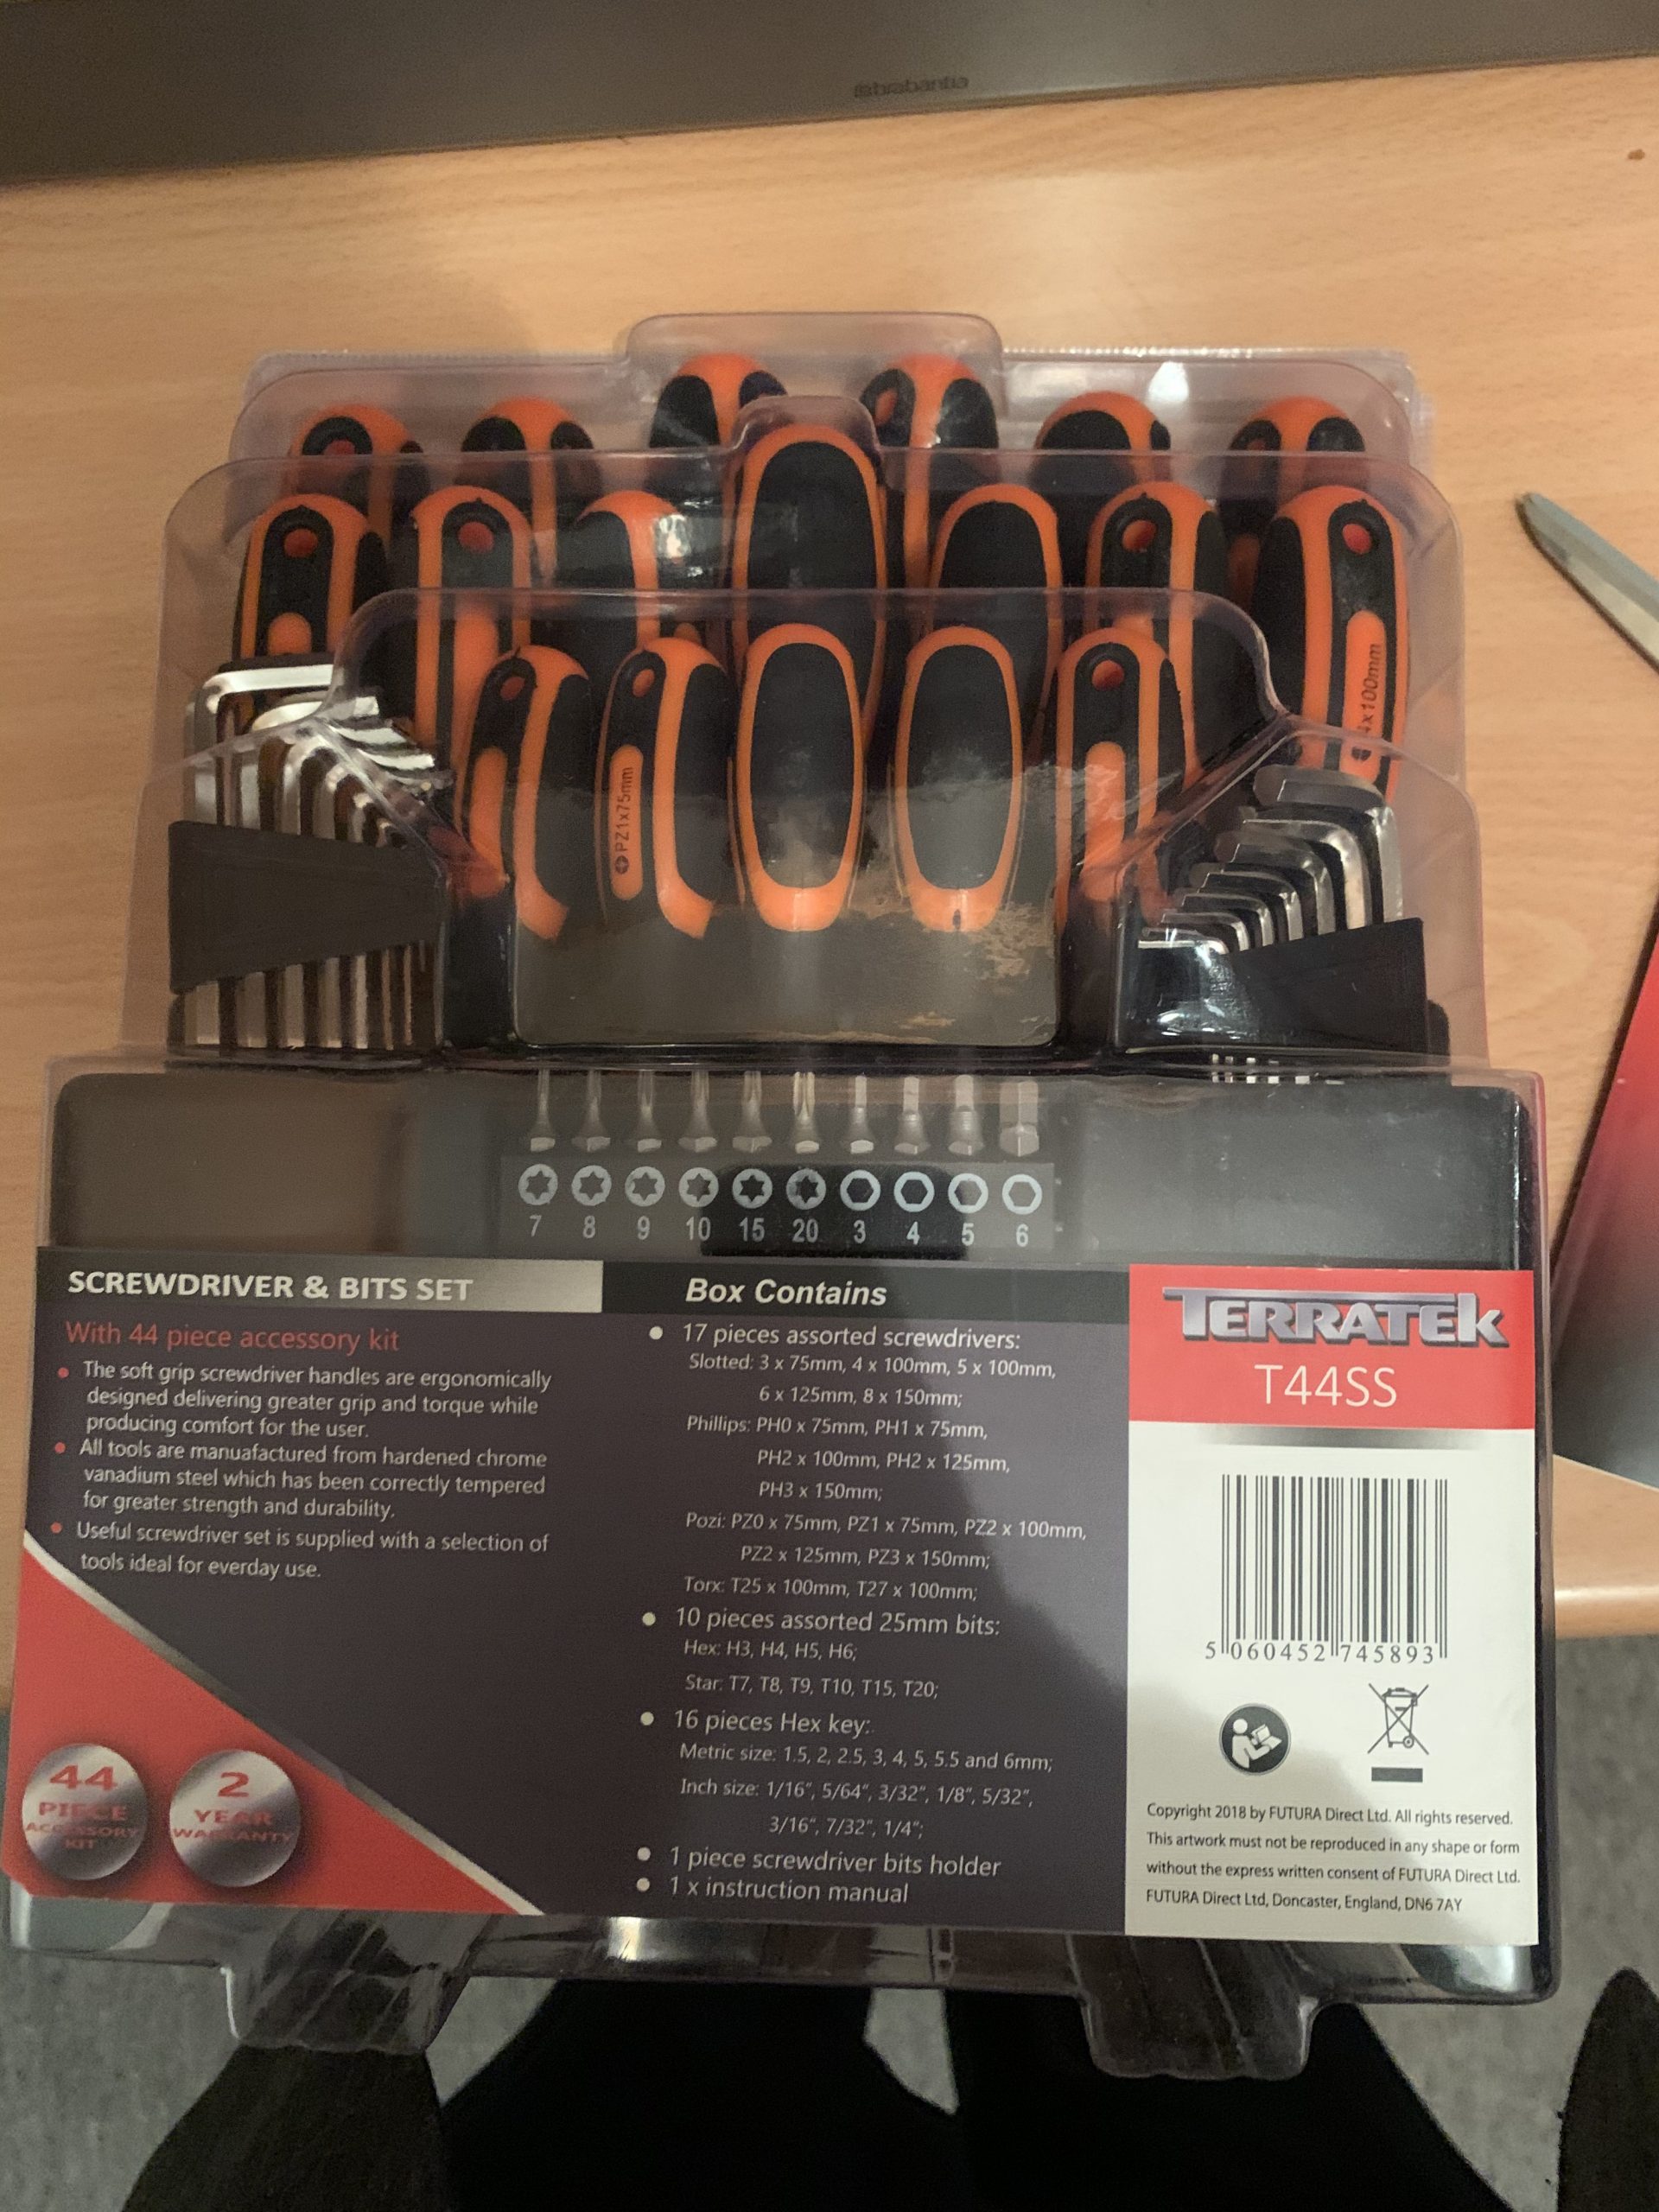
One last thing I wanted to say on this post, is a big thanks to David Gander. In early December a mystery packaged arrived addressed to me, and it turns out it was a set of tools off of our Amazon Wish List! It was very kind of David to send these over to us, and we’re really glad he’s enjoying the blog, so a big thanks to David and we hope you enjoy the ongoing work we document here!
So, there’s probably going to be a trend of things in the next few blog posts, and one of them is going to be, well, you guessed it! Cleaning! The machines were all very dirty when the arrived and it’s going to take us quite some time to clean the outsides, let alone the insides, so please bear with us whilst we post about it; hopefully you’ll find the process as satisfying as we do!
Simon Van Winklen
Over the past week or so I’ve been conversing with a chap called Simon Van Winklen about working with us, and very kindly he’s volunteering some of his time to come and assist us with the restoration process. Simon is a retired Engineer who’s career started with real-time control systems, 8bit to 32bit controllers, GSM base stations and Ethernet switching, before finally ending up in Project management of large software systems. Hopefully we’re going to be able to put Simon’s skills to good use by helping us build modern interface devices to the system so we can load programs from modern computers and read data out of some of the subsystems (e.g. card readers, tape readers, and disk drives). That way the mechanical factor is removed when we want to run tests or indeed just want to save the wear on original consumables and components.
Simon’s first day was on Saturday, so he came over to Creslow Park in the morning and I showed him around the site and the system. Simon was keen to get stuck in so I suggested that perhaps he’d like to start doing some cleaning on the 29 card punch. After explaining the restoration principles (something I’m still working on, but have a good feel for) he set to.
A rather dirty 29 card punch
After giving it a general wipe down, I showed Simon how to remove the top of the punch so he could get to the interior. About this time my father showed up and brought with him a semi-working Dyson he’d just retired for us to use on the project. The motor bearings in the Dyson are on their way out, but it still works for the time being.
Simon did a very thorough job on the outside of the 29, and it’s now looking a lot better!
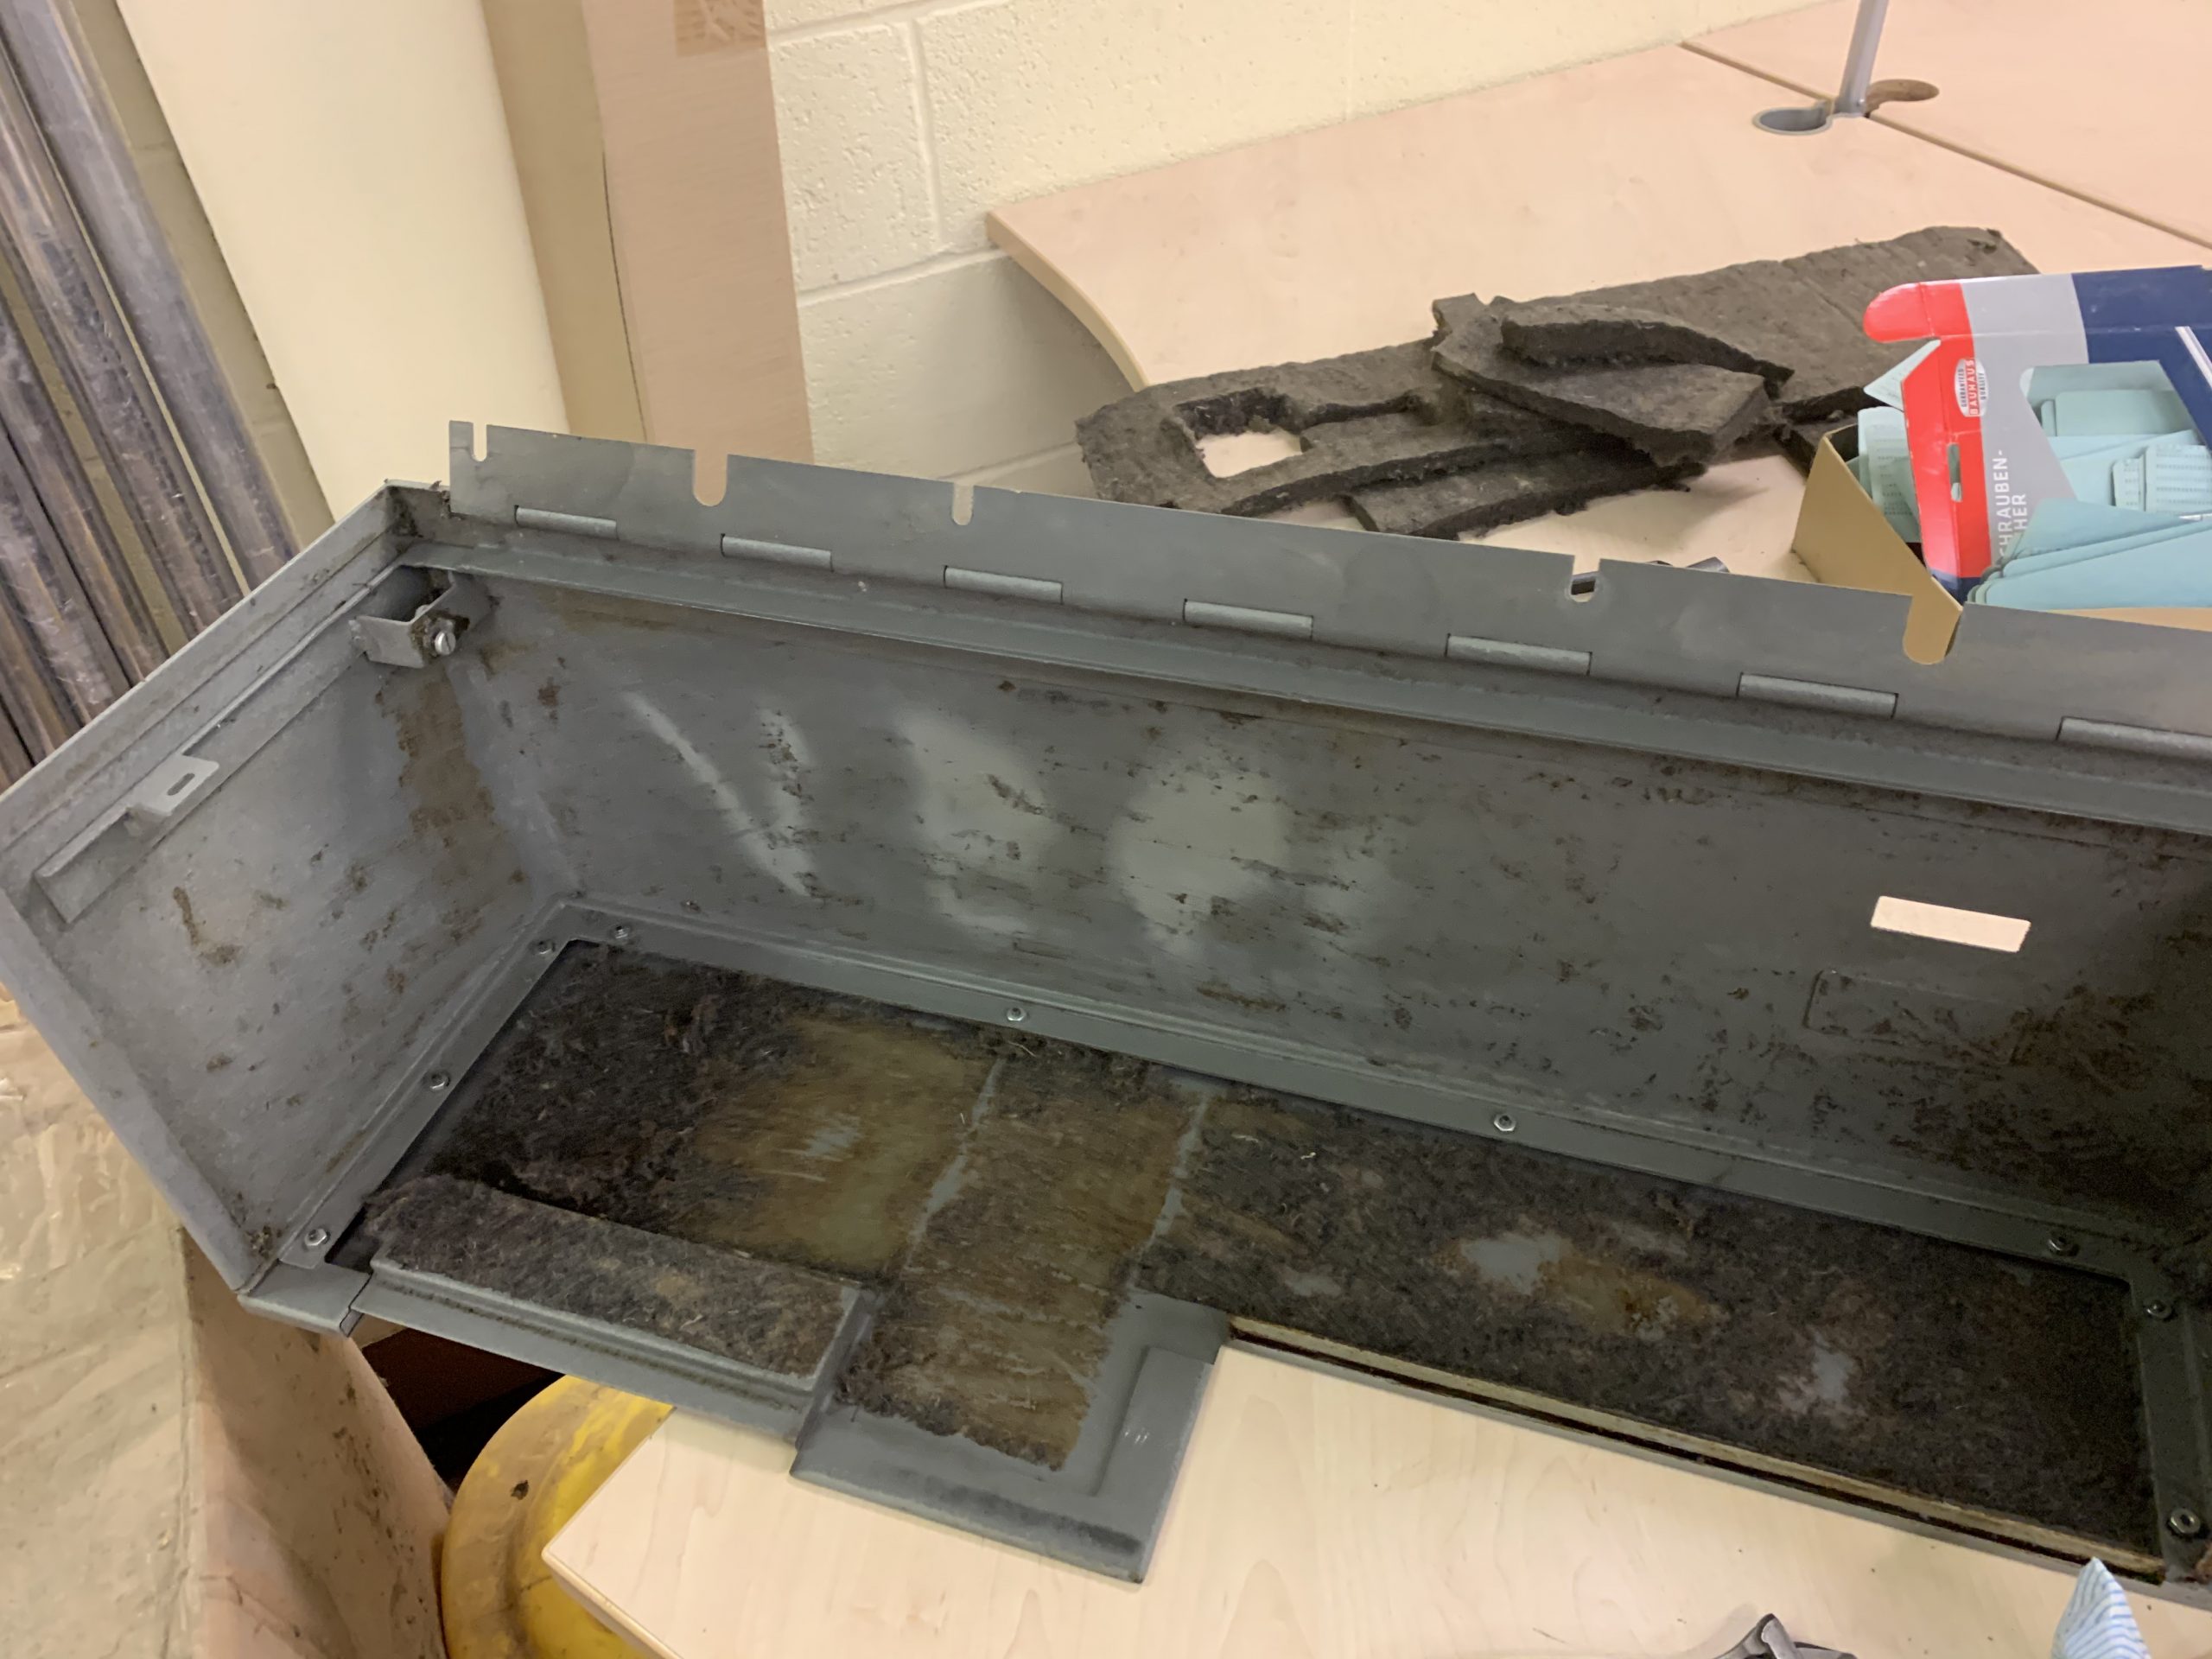
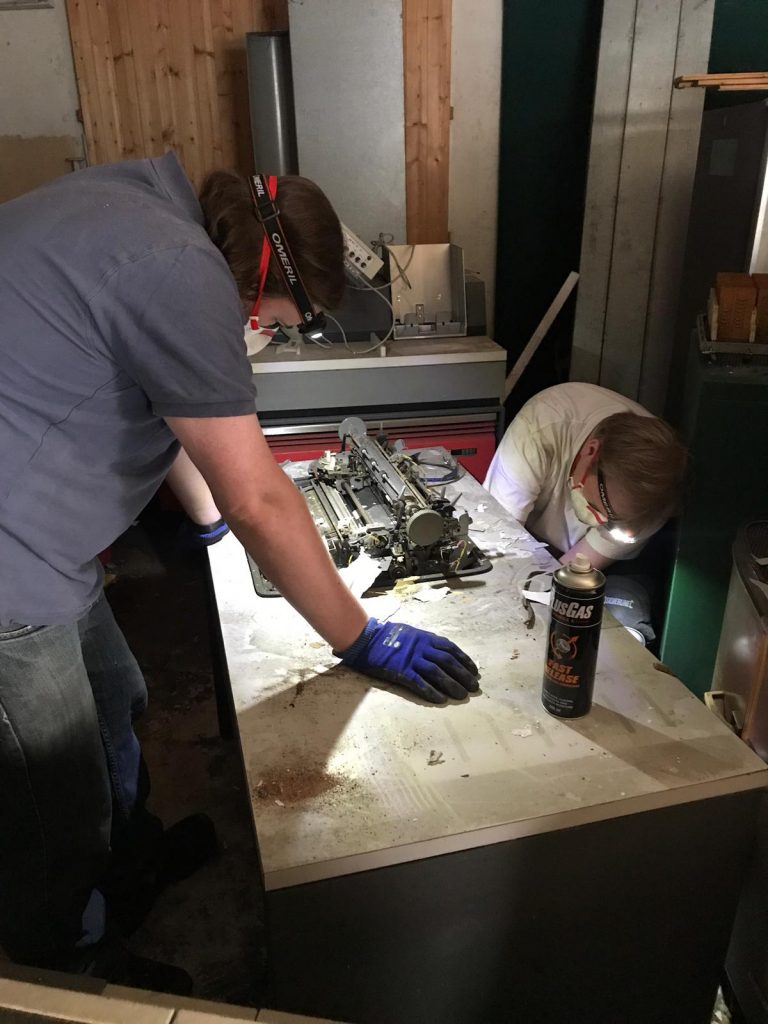
Whilst Simon was working on that, and my father had begun cleaning the 2203 system printer, I set about looking at the 2501 card reader. One thing a lot of people reading might not be aware of is the danger of old acoustic foam. Machines such as this generally use a combination of classic fibre acoustic deadening and modern plastic-based acoustic foam; both of these are generally pretty bad news. They both degrade, fall apart, get places they shouldn’t be, and then get rather sticky and difficult to remove.
Once I’d opened up the top of the 2501, it became immediately clear that the foam in the top was in pretty bad shape. The fibres were coming loose and would likely interrupt the operation of the machine.
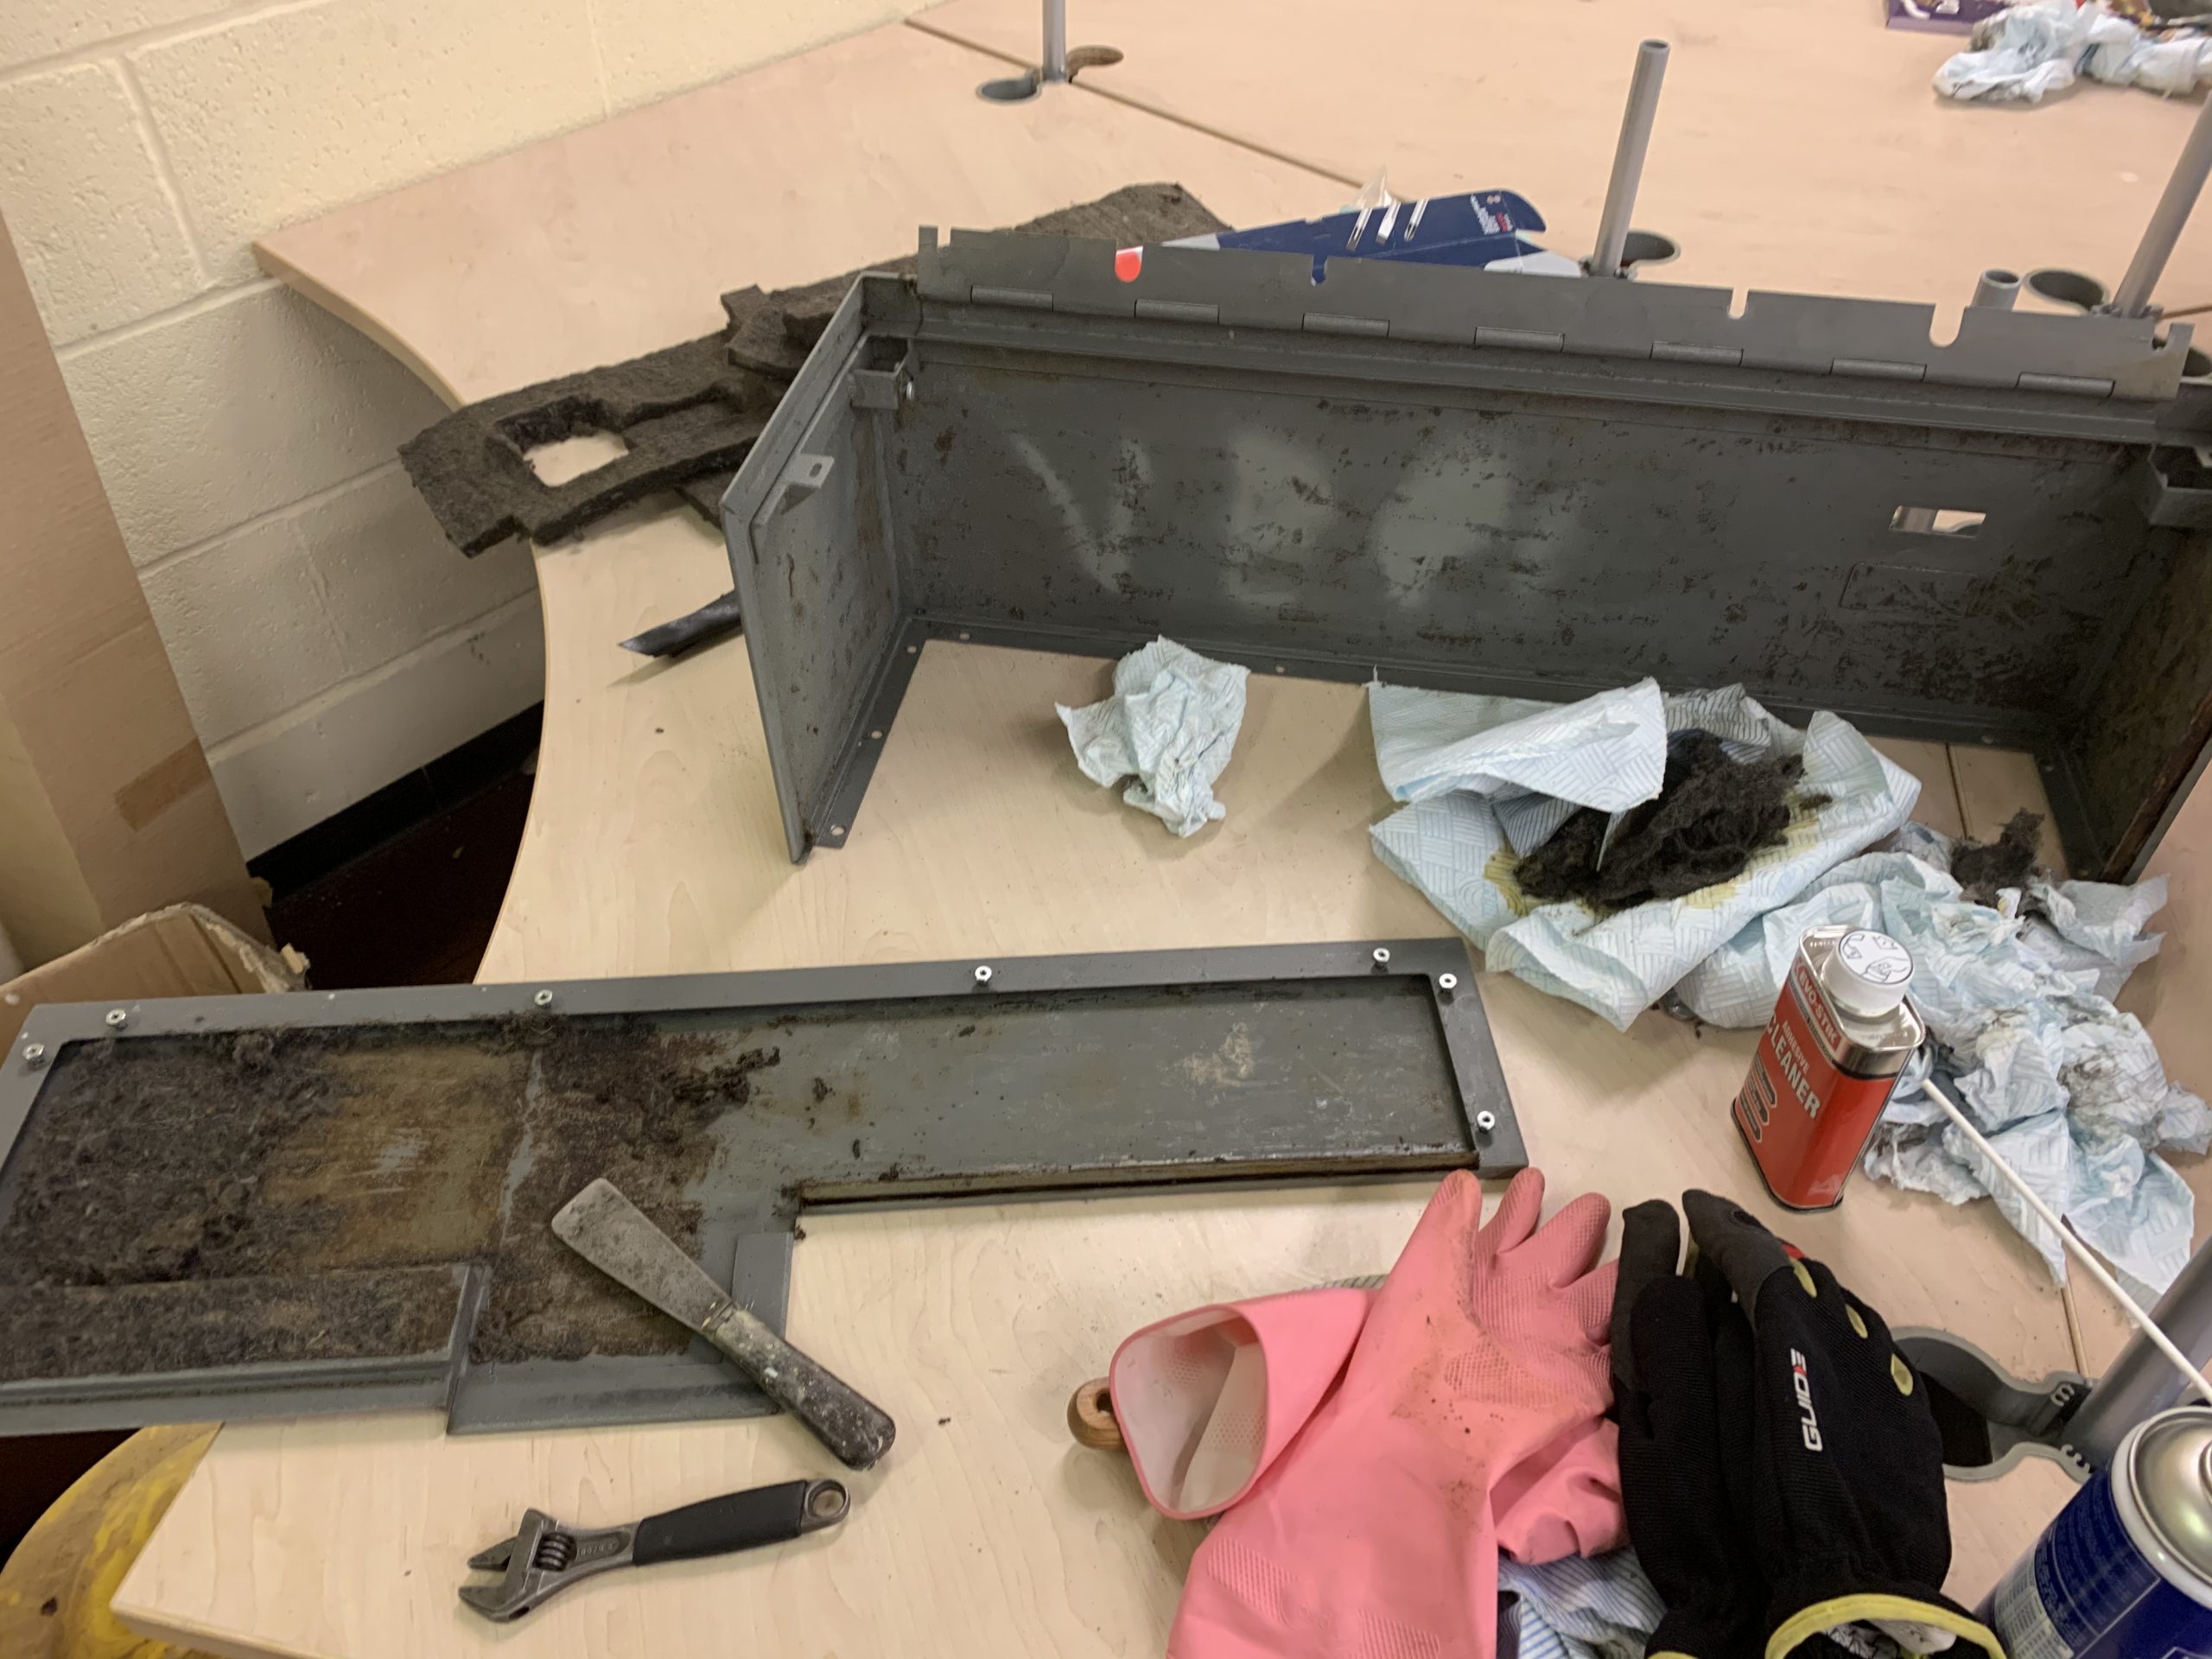
Over the last few years of dealing with such things, I’ve come accustomed to removing this stuff so I set about using the best method I’ve come up with – pipe freeze spray. You freeze the foam and then scrape it off. It keeps most of the fibres stuck together and rigid rather than flexible and sticky. This works better with the synthetic stuff, but still did a reasonable job here:
Unfortunately, the pipe freeze spray is rather expensive at around £25/can, but it saves more than its value in time!
Following the removal of most of the fibres, I set about removing the sticky residue with Evo-Stick adhesive cleaner:
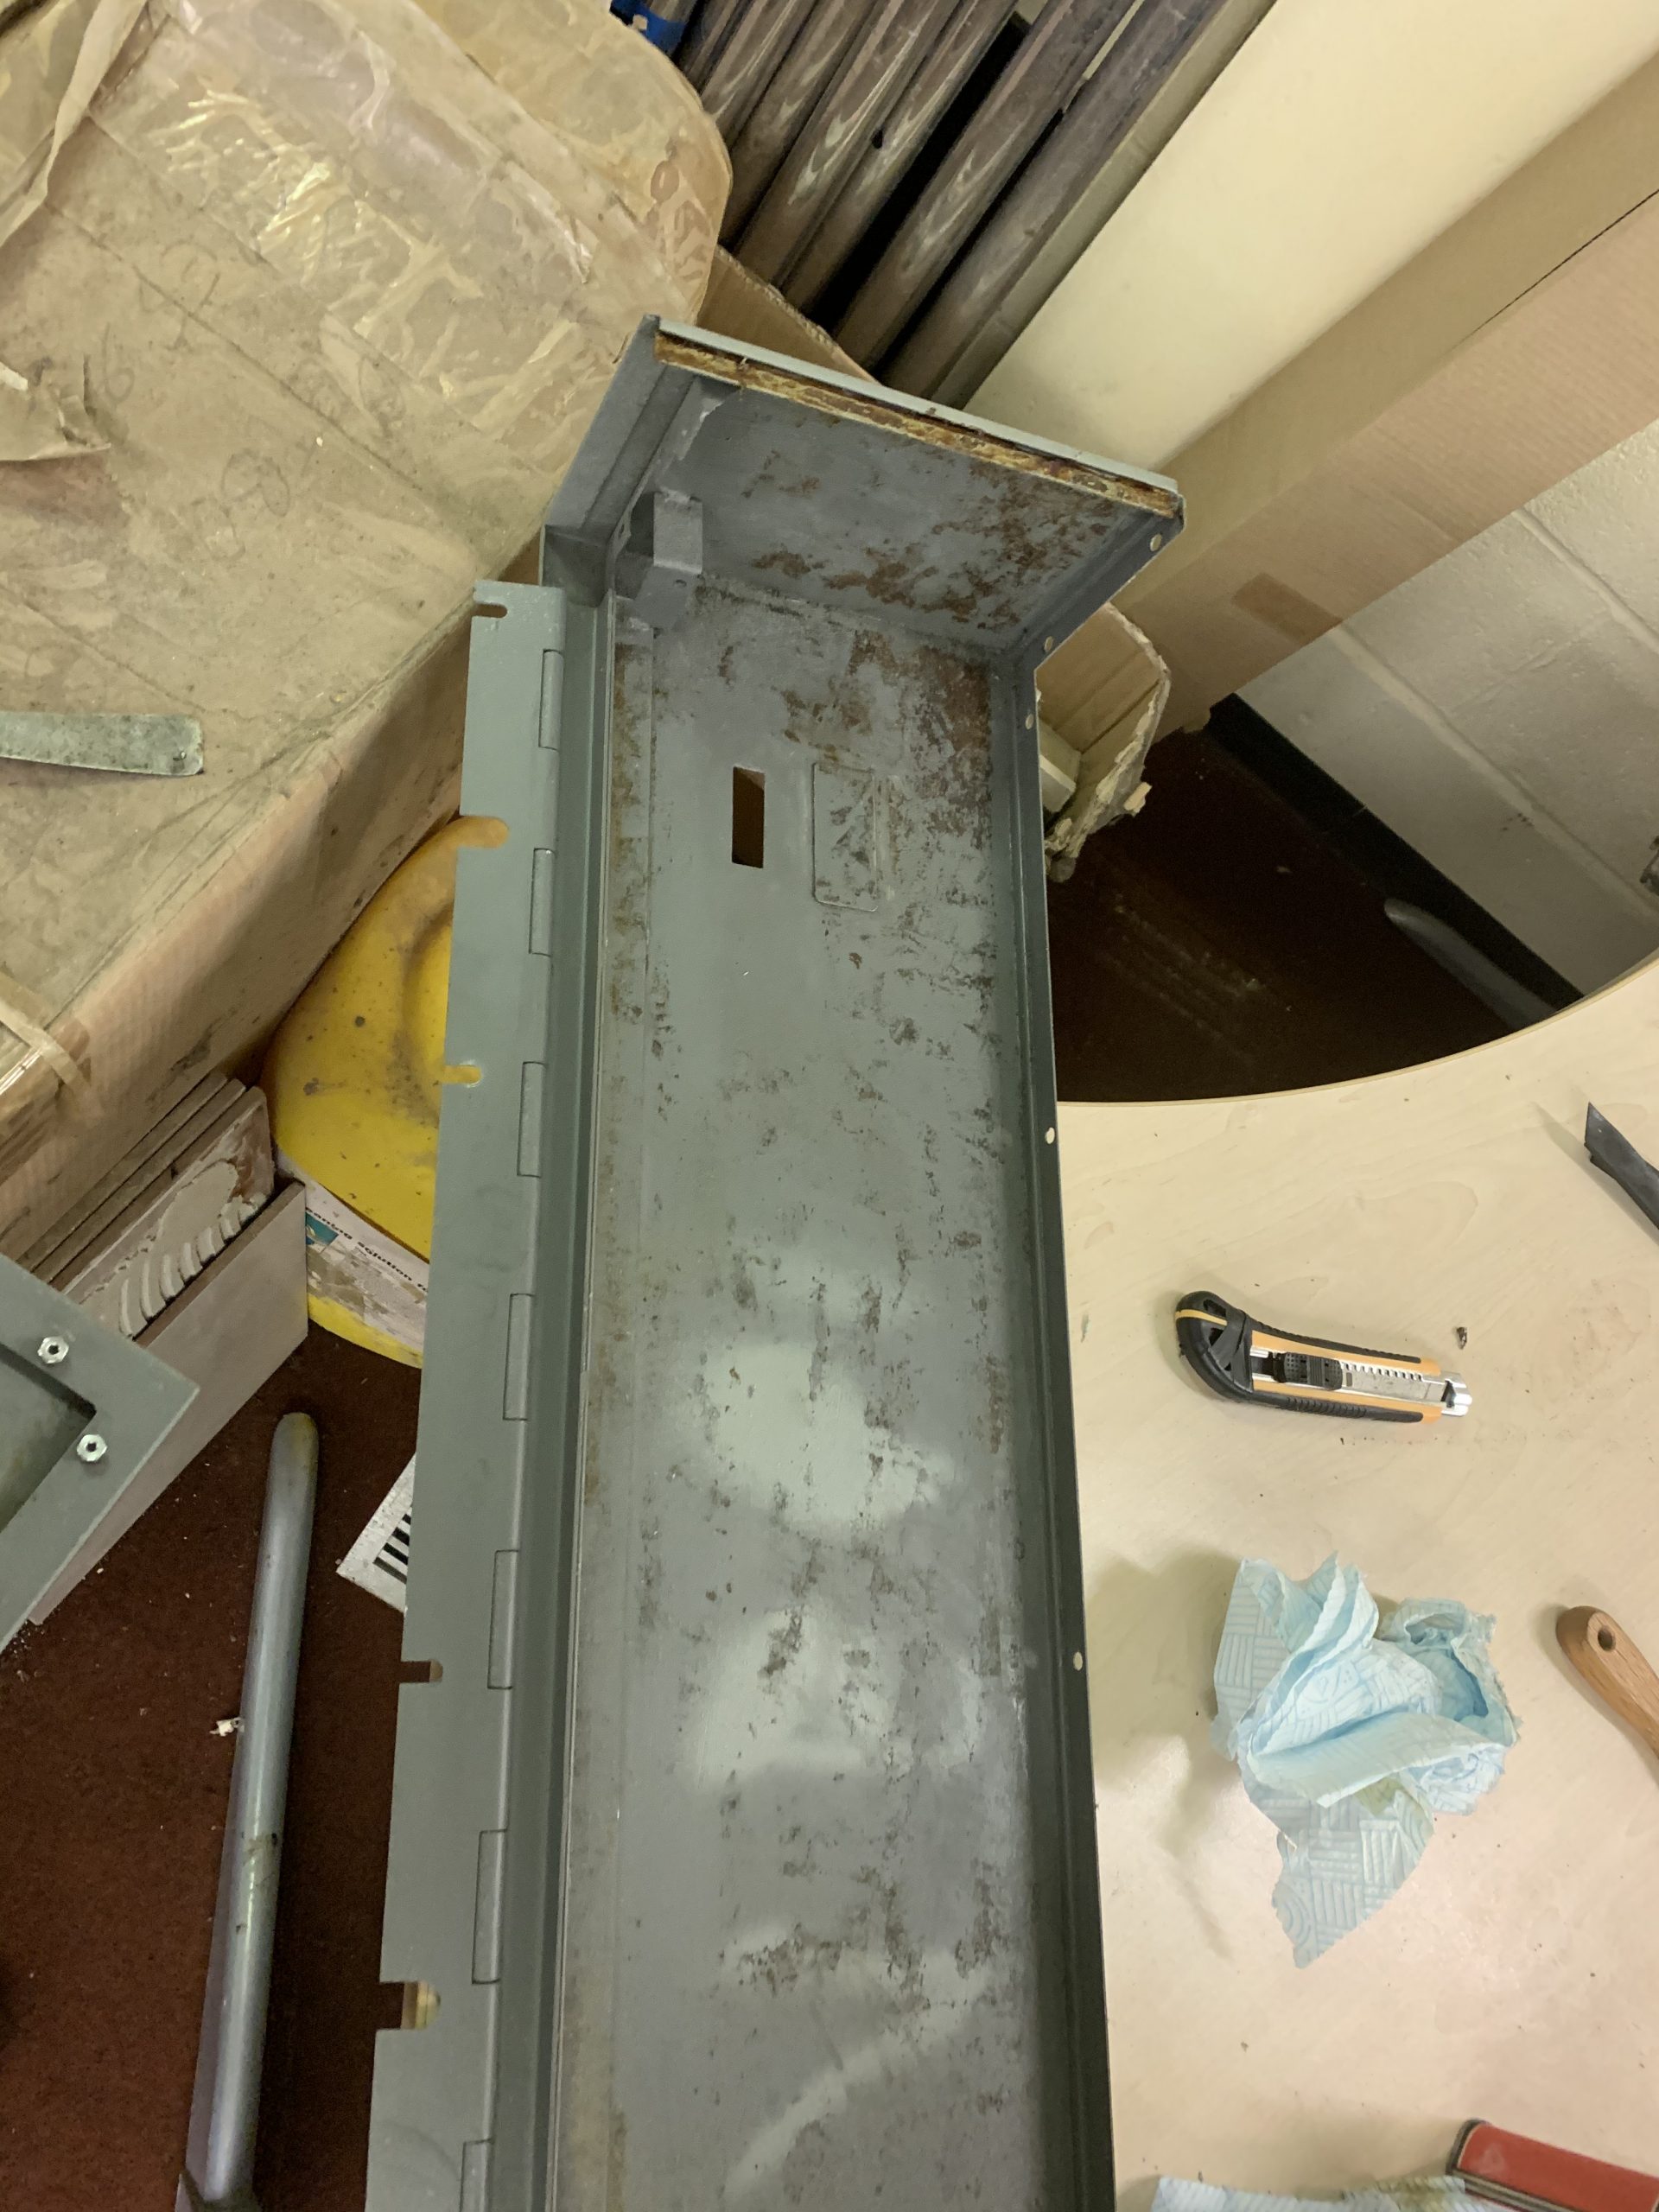
This seemed to work reasonably well, so I removed the top section of the unit and continued to remove the residue:
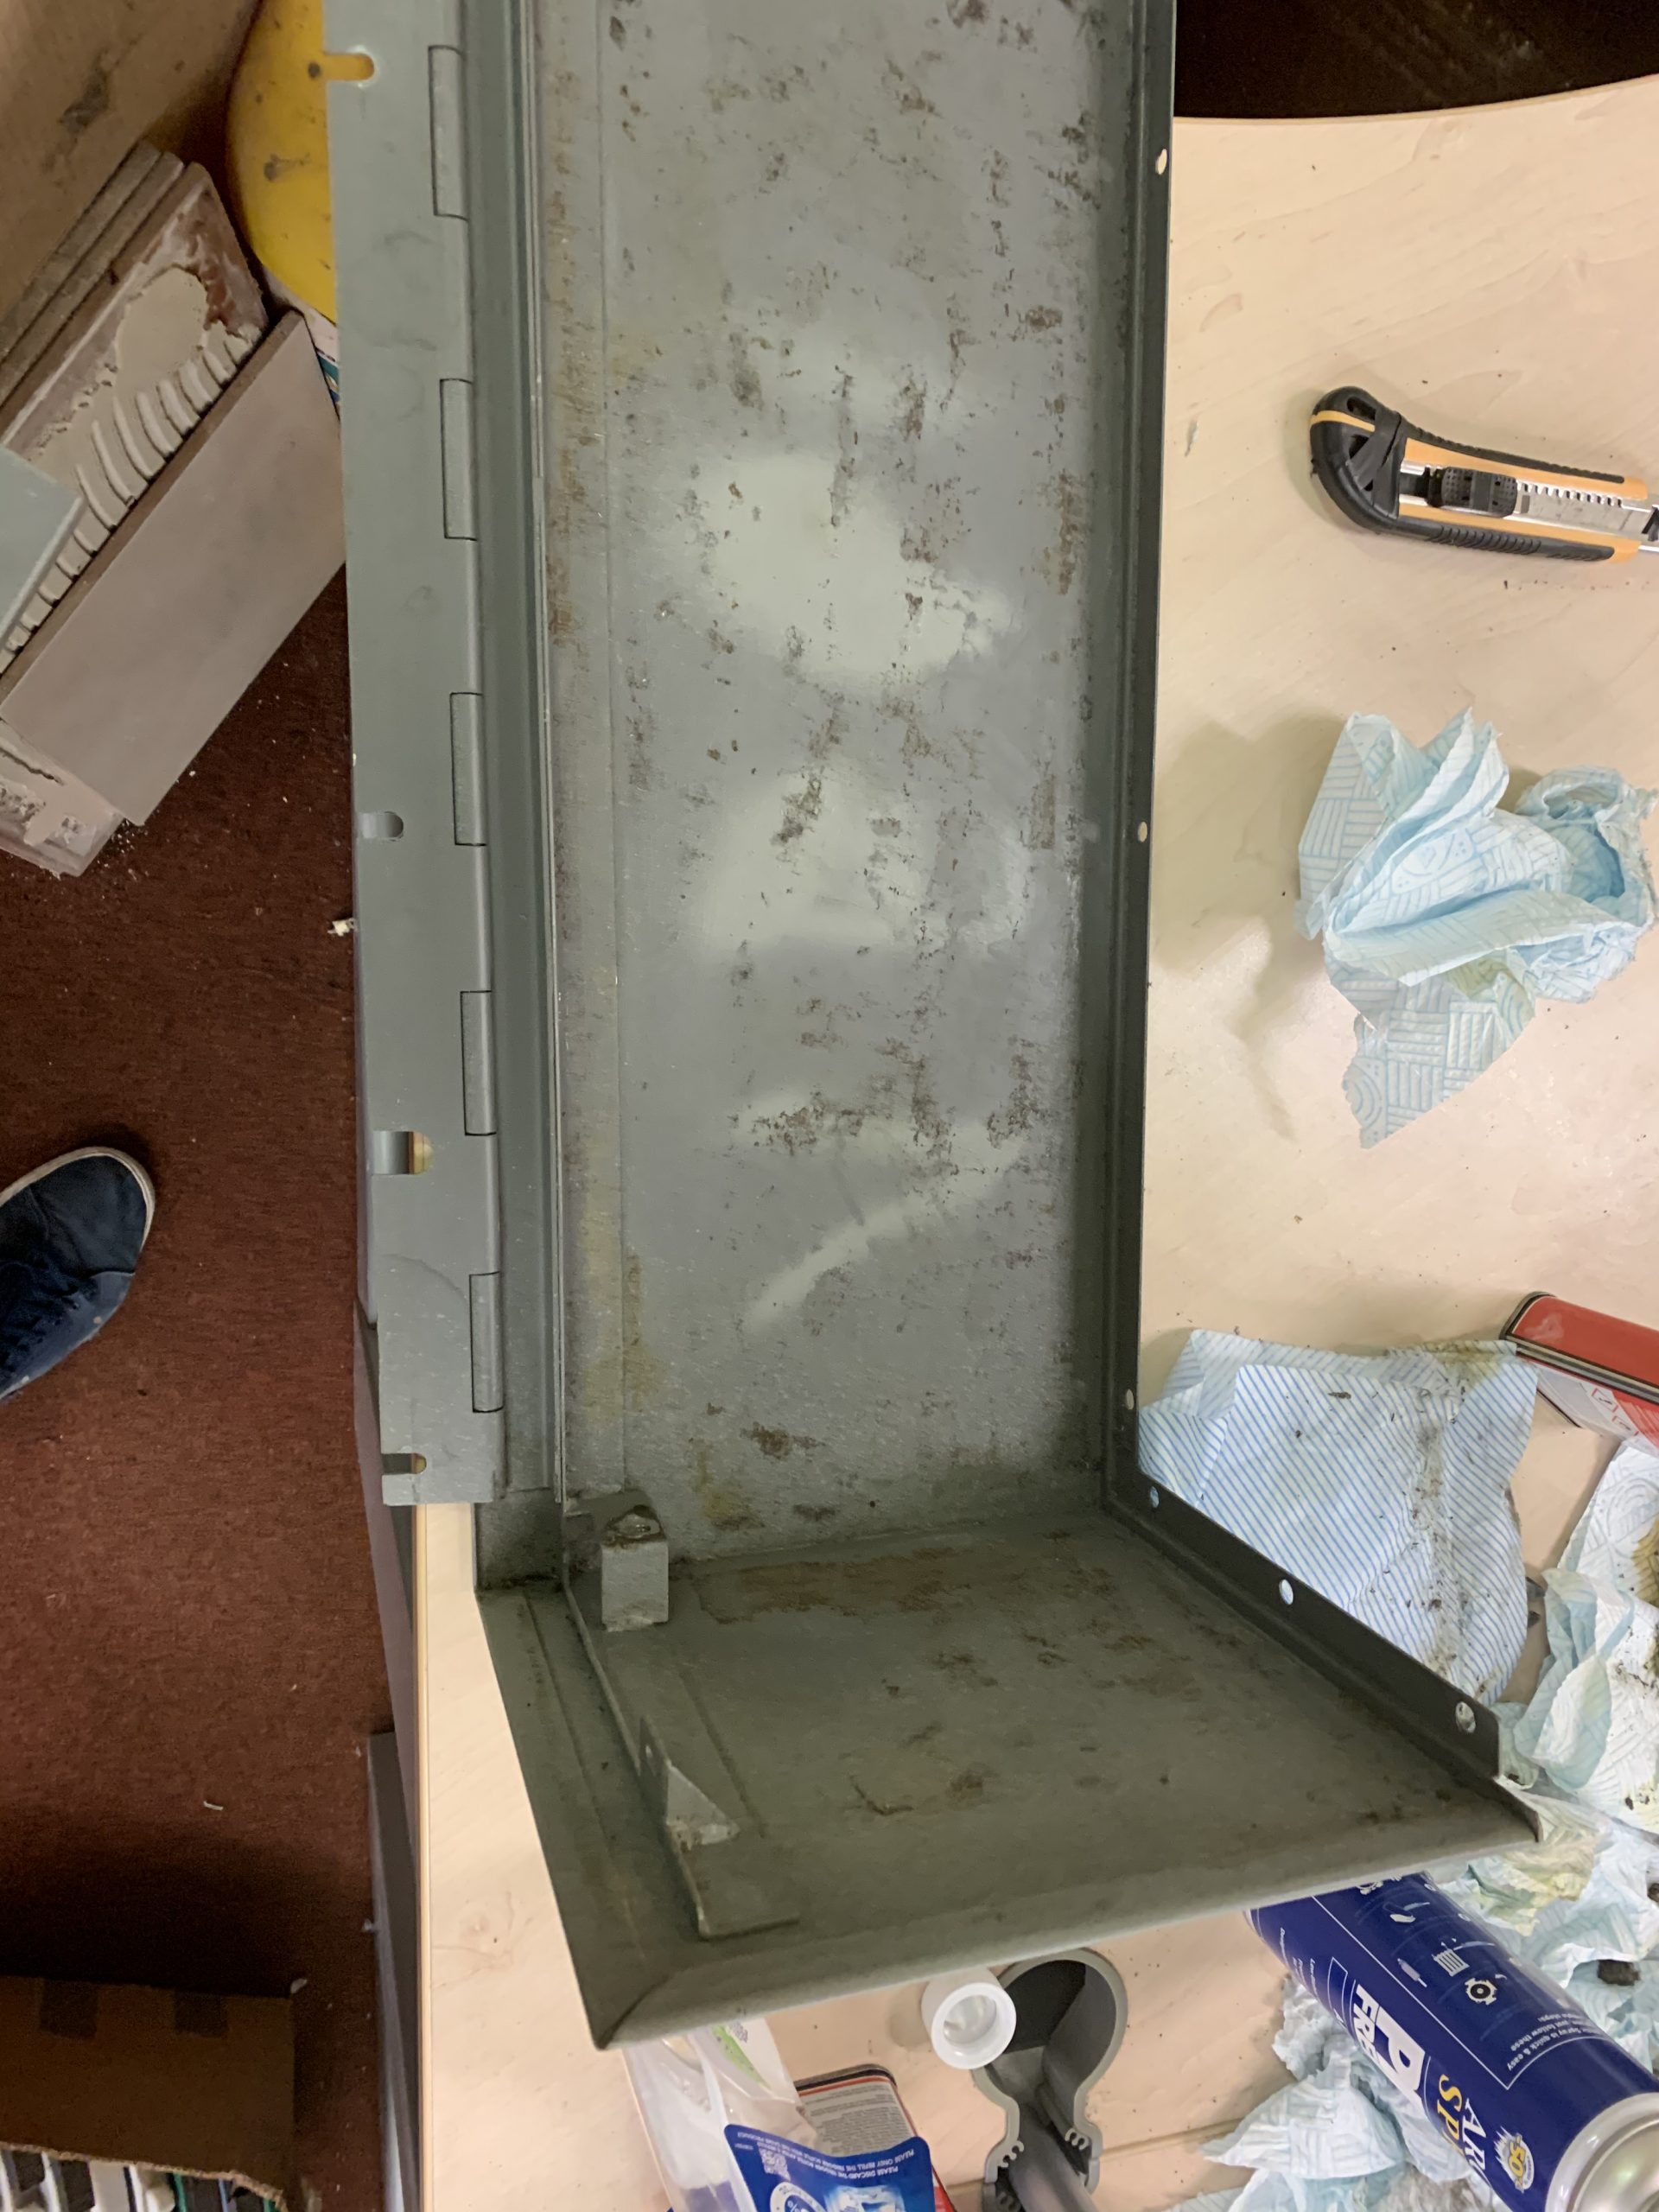
Soon enough, it was all done and looking reasonably clean, there were a few spots of rust that need treating but nothing major:
With that done, and with the foam pieces intact thanks to the freeze spray removal method, I’m now able to produce a template and cut some new foam. The new foam will be Class 0 acoustic foam which is fire resistant, fibrous, and does not erode or migrate in air movement (up to 6,000 ft/min, 2,800Mt/min). This foam will be replaced as part of a component refresh programme every 10-15 years subject to inspection.
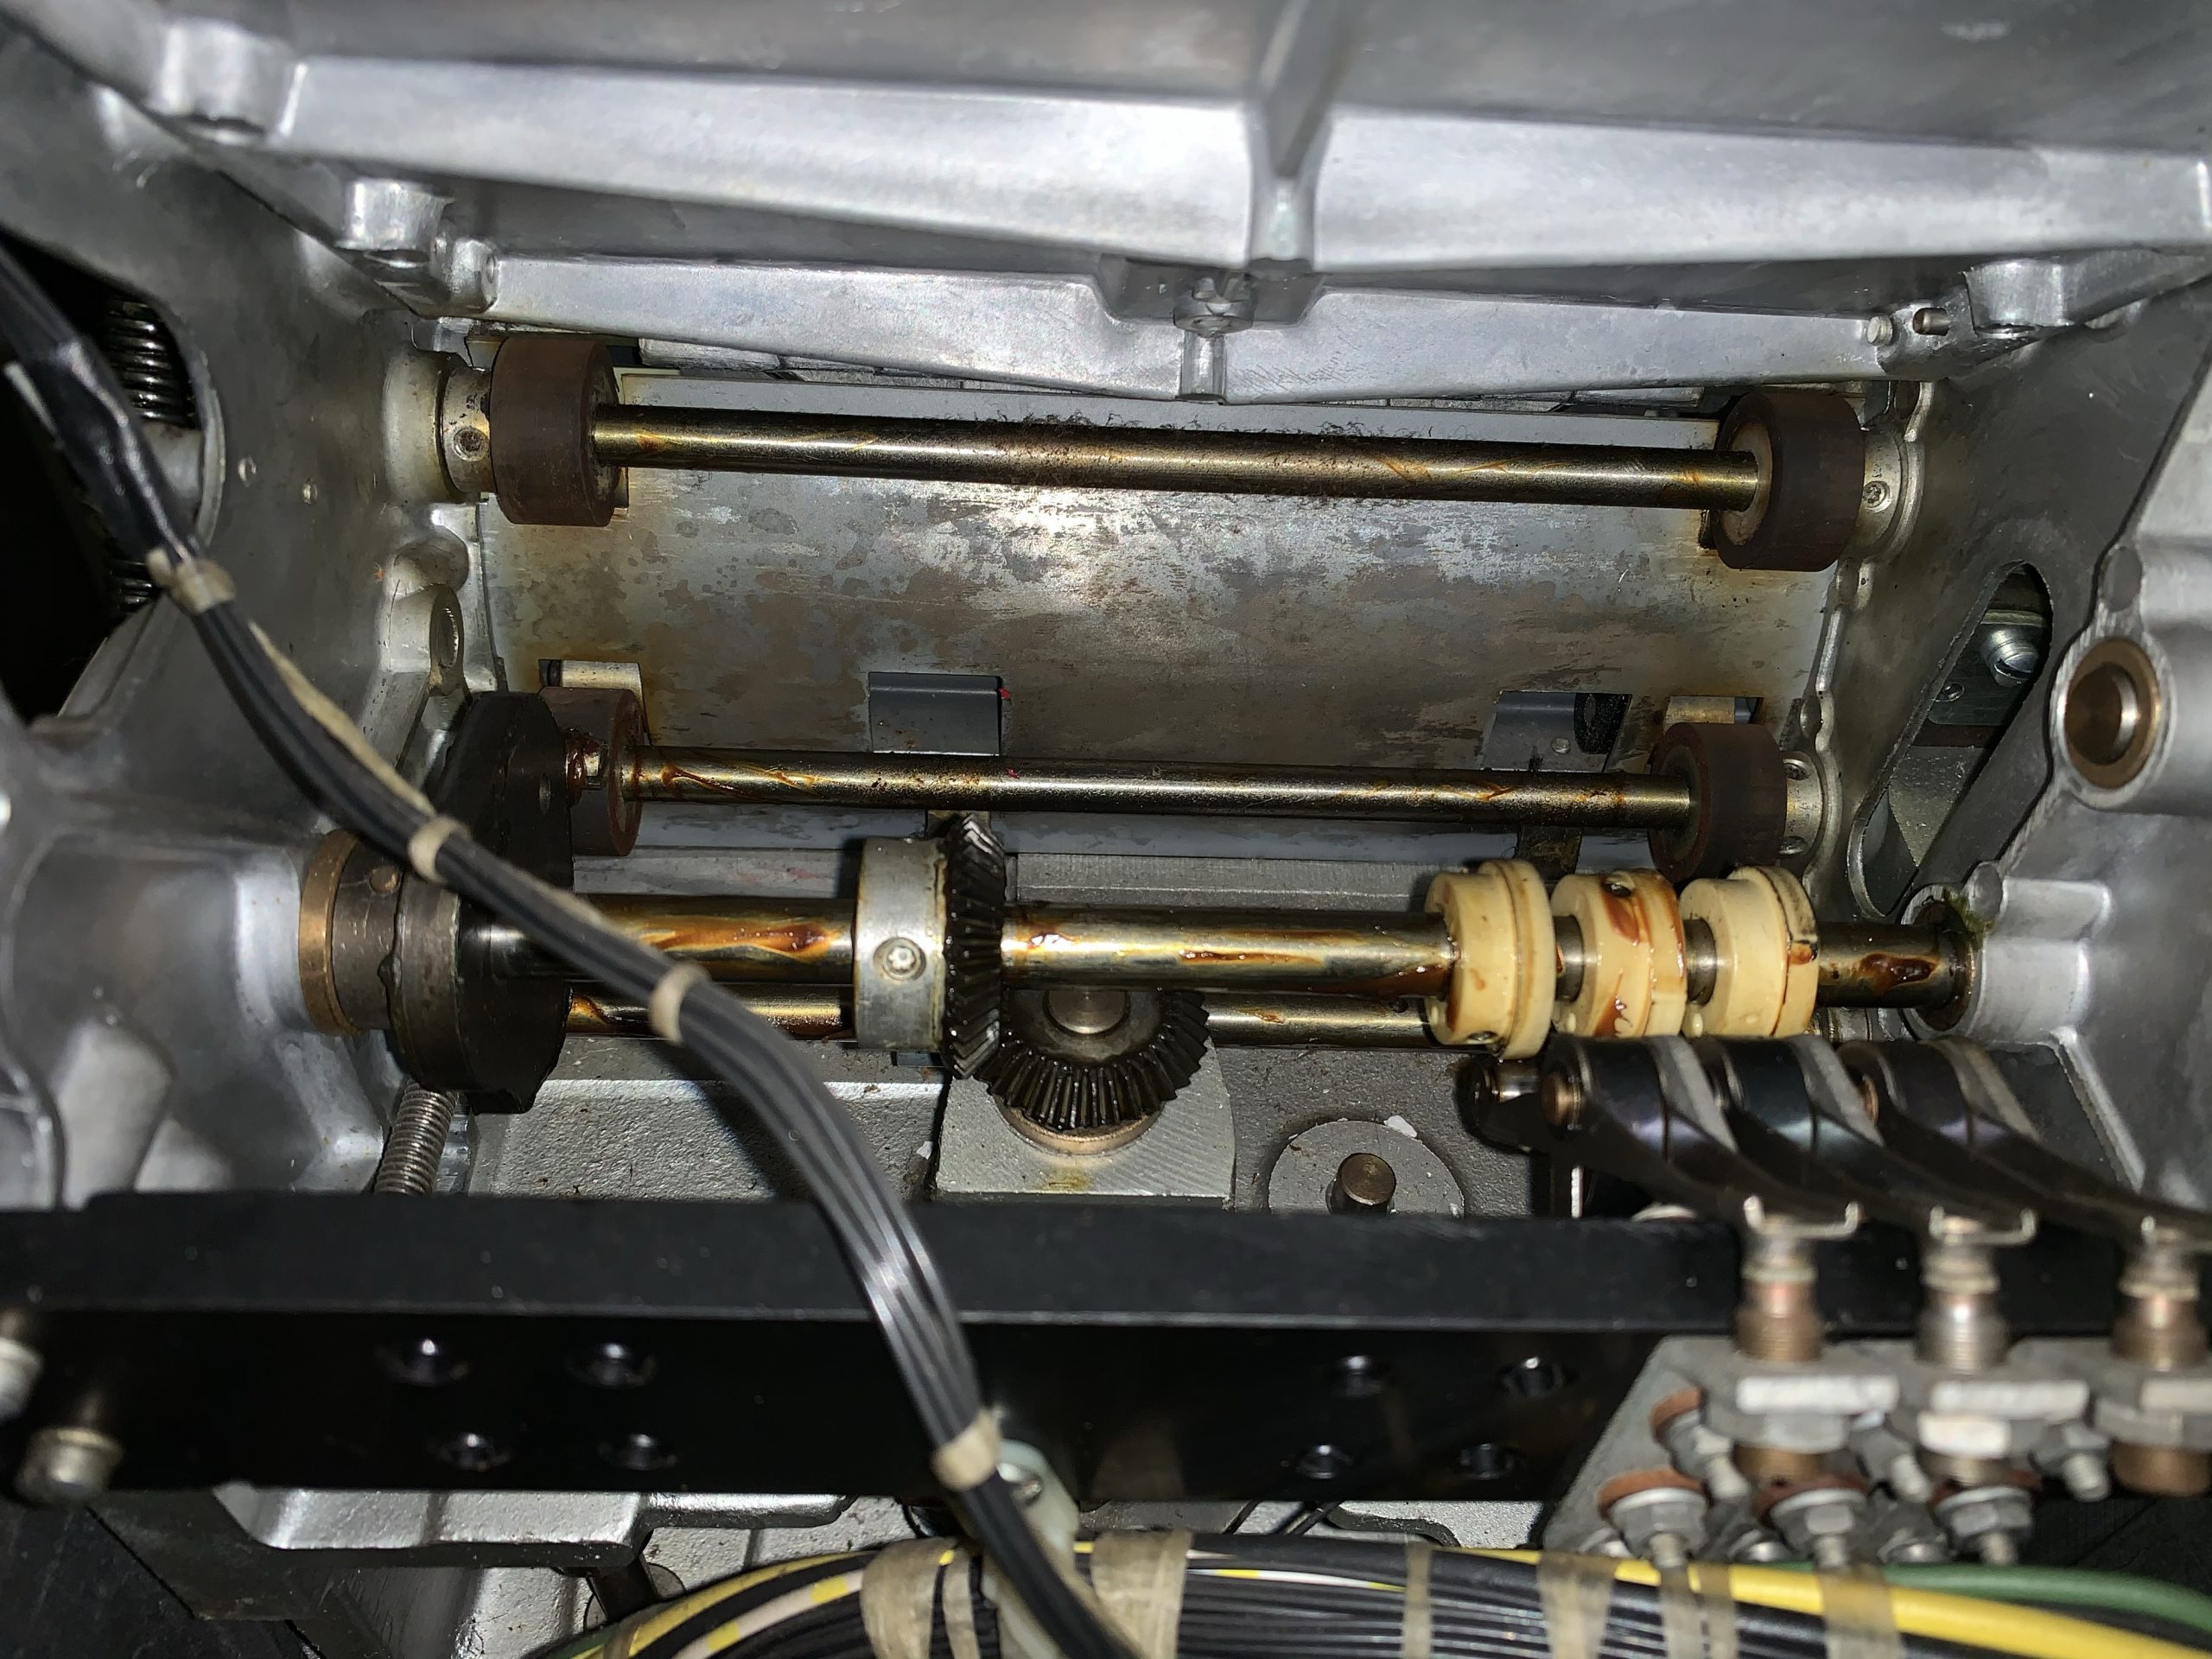
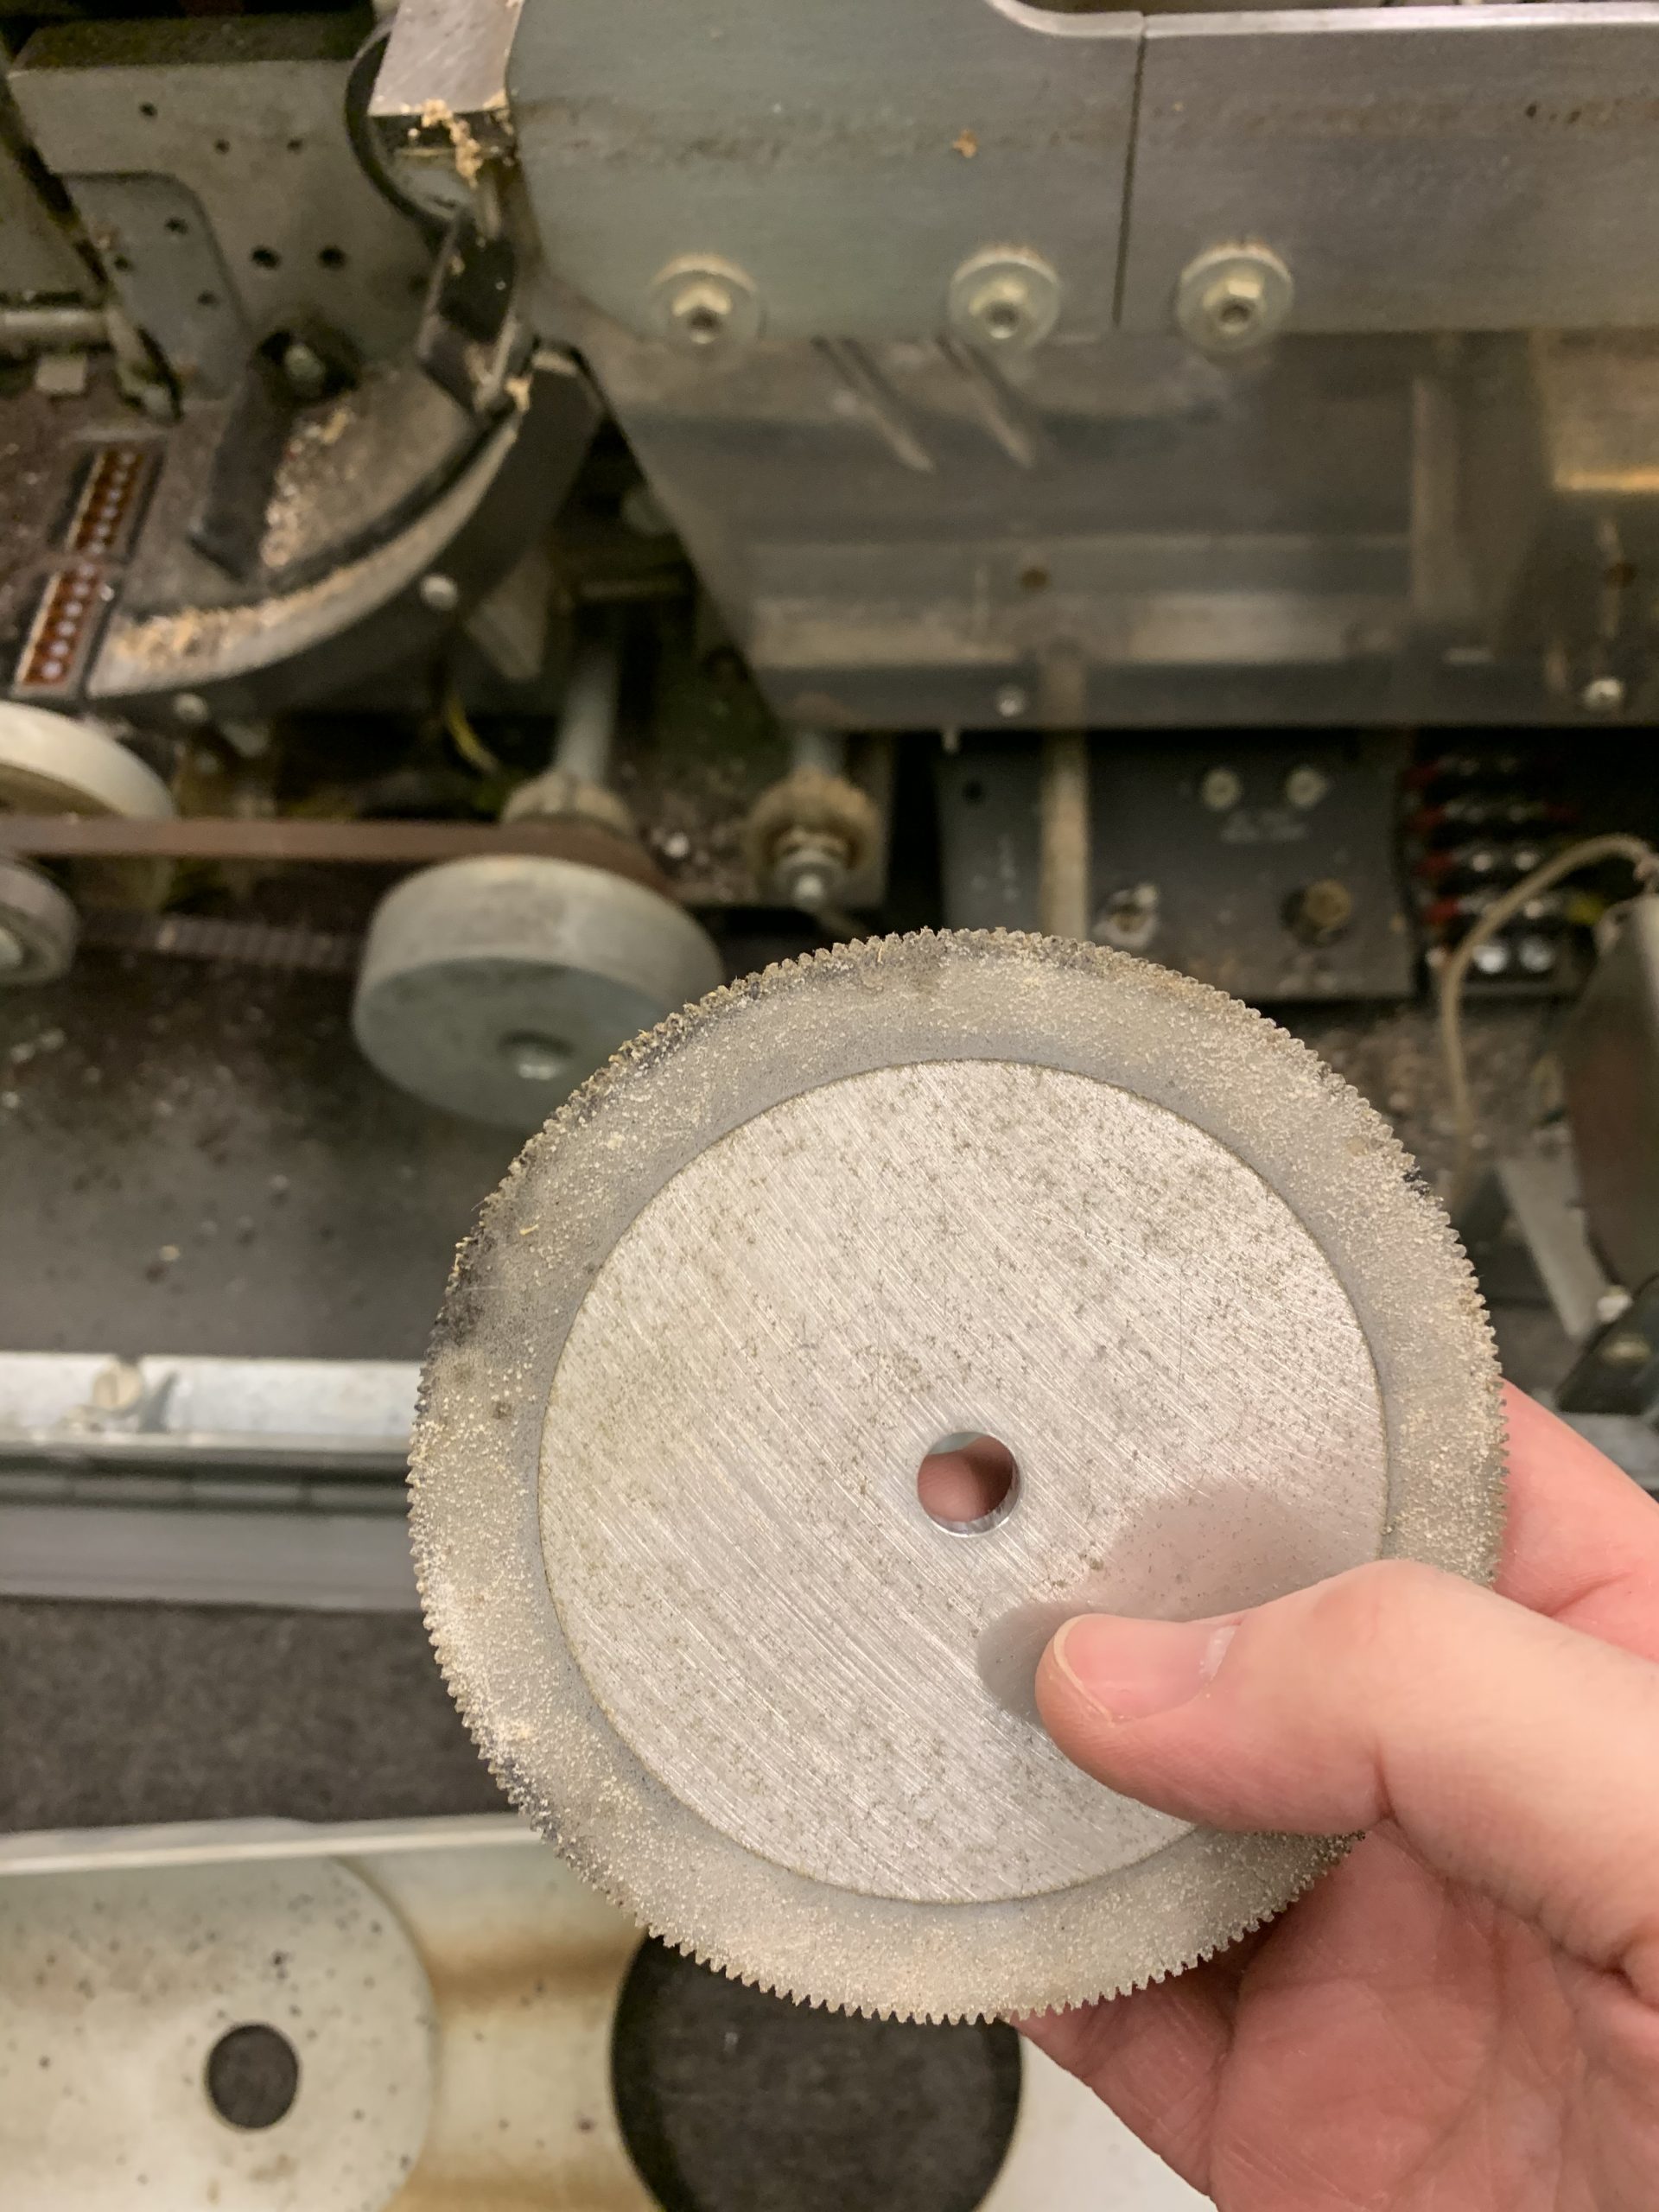
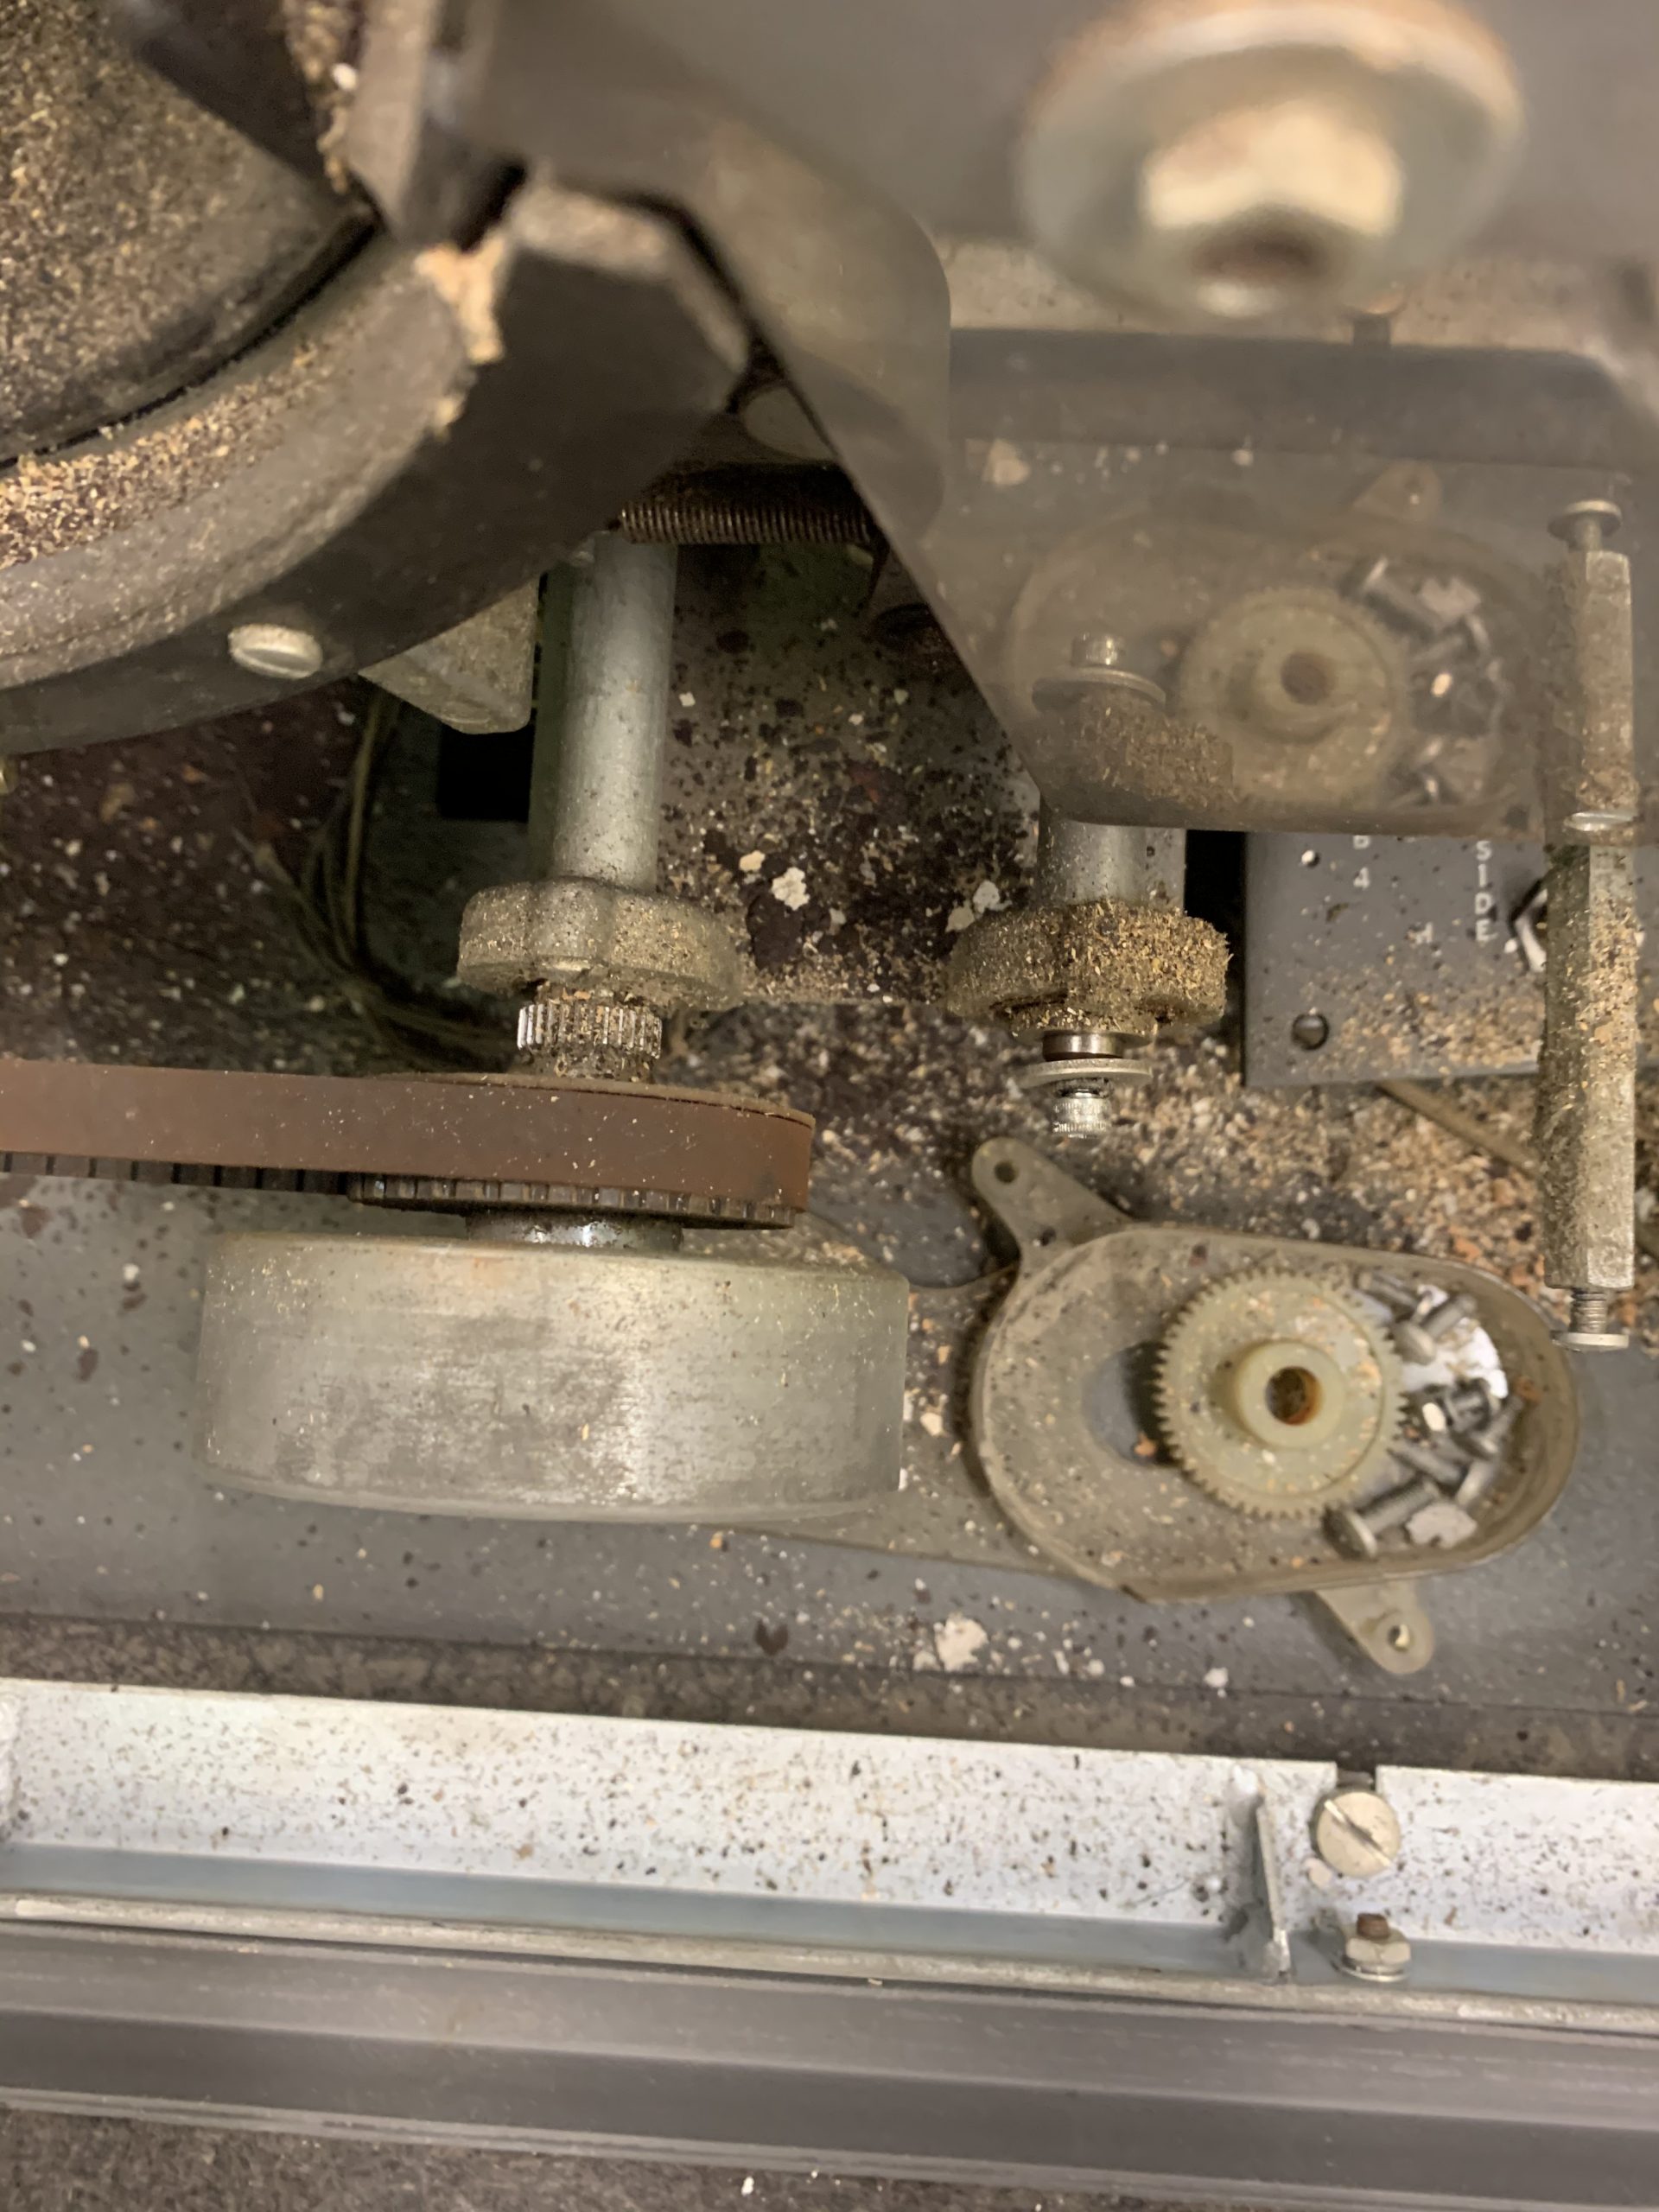
After cleaning up the top section, I turned my attention to the internals and the mechanics. The first thing I noticed on the red reader (the one that has all of its parts and appears to be in the best condition of the two) was that it had a number of perished rubber/plastic components in the back, including a feed wheel and a gear. Luckily, having checked the other 2501, it has both of these parts intact (but not very many others!); this, of course, means I have a reference to re-produce both, and as far as the gear goes we’re hoping to work with laser scanning and 3d printing company who have provisionally agreed to scan the gear for us and 3d print a number of copies in various resins and plastics. As far as the feed wheel goes, this is simply a metal wheel with a rubber outer which I can re-produce on my lathe, so that’s one to add to the to-do list.
The good gear, and what it meshes with
I thought I should probably give the inside lower part of the cabinet a bit of a clean next, so I did that as well:
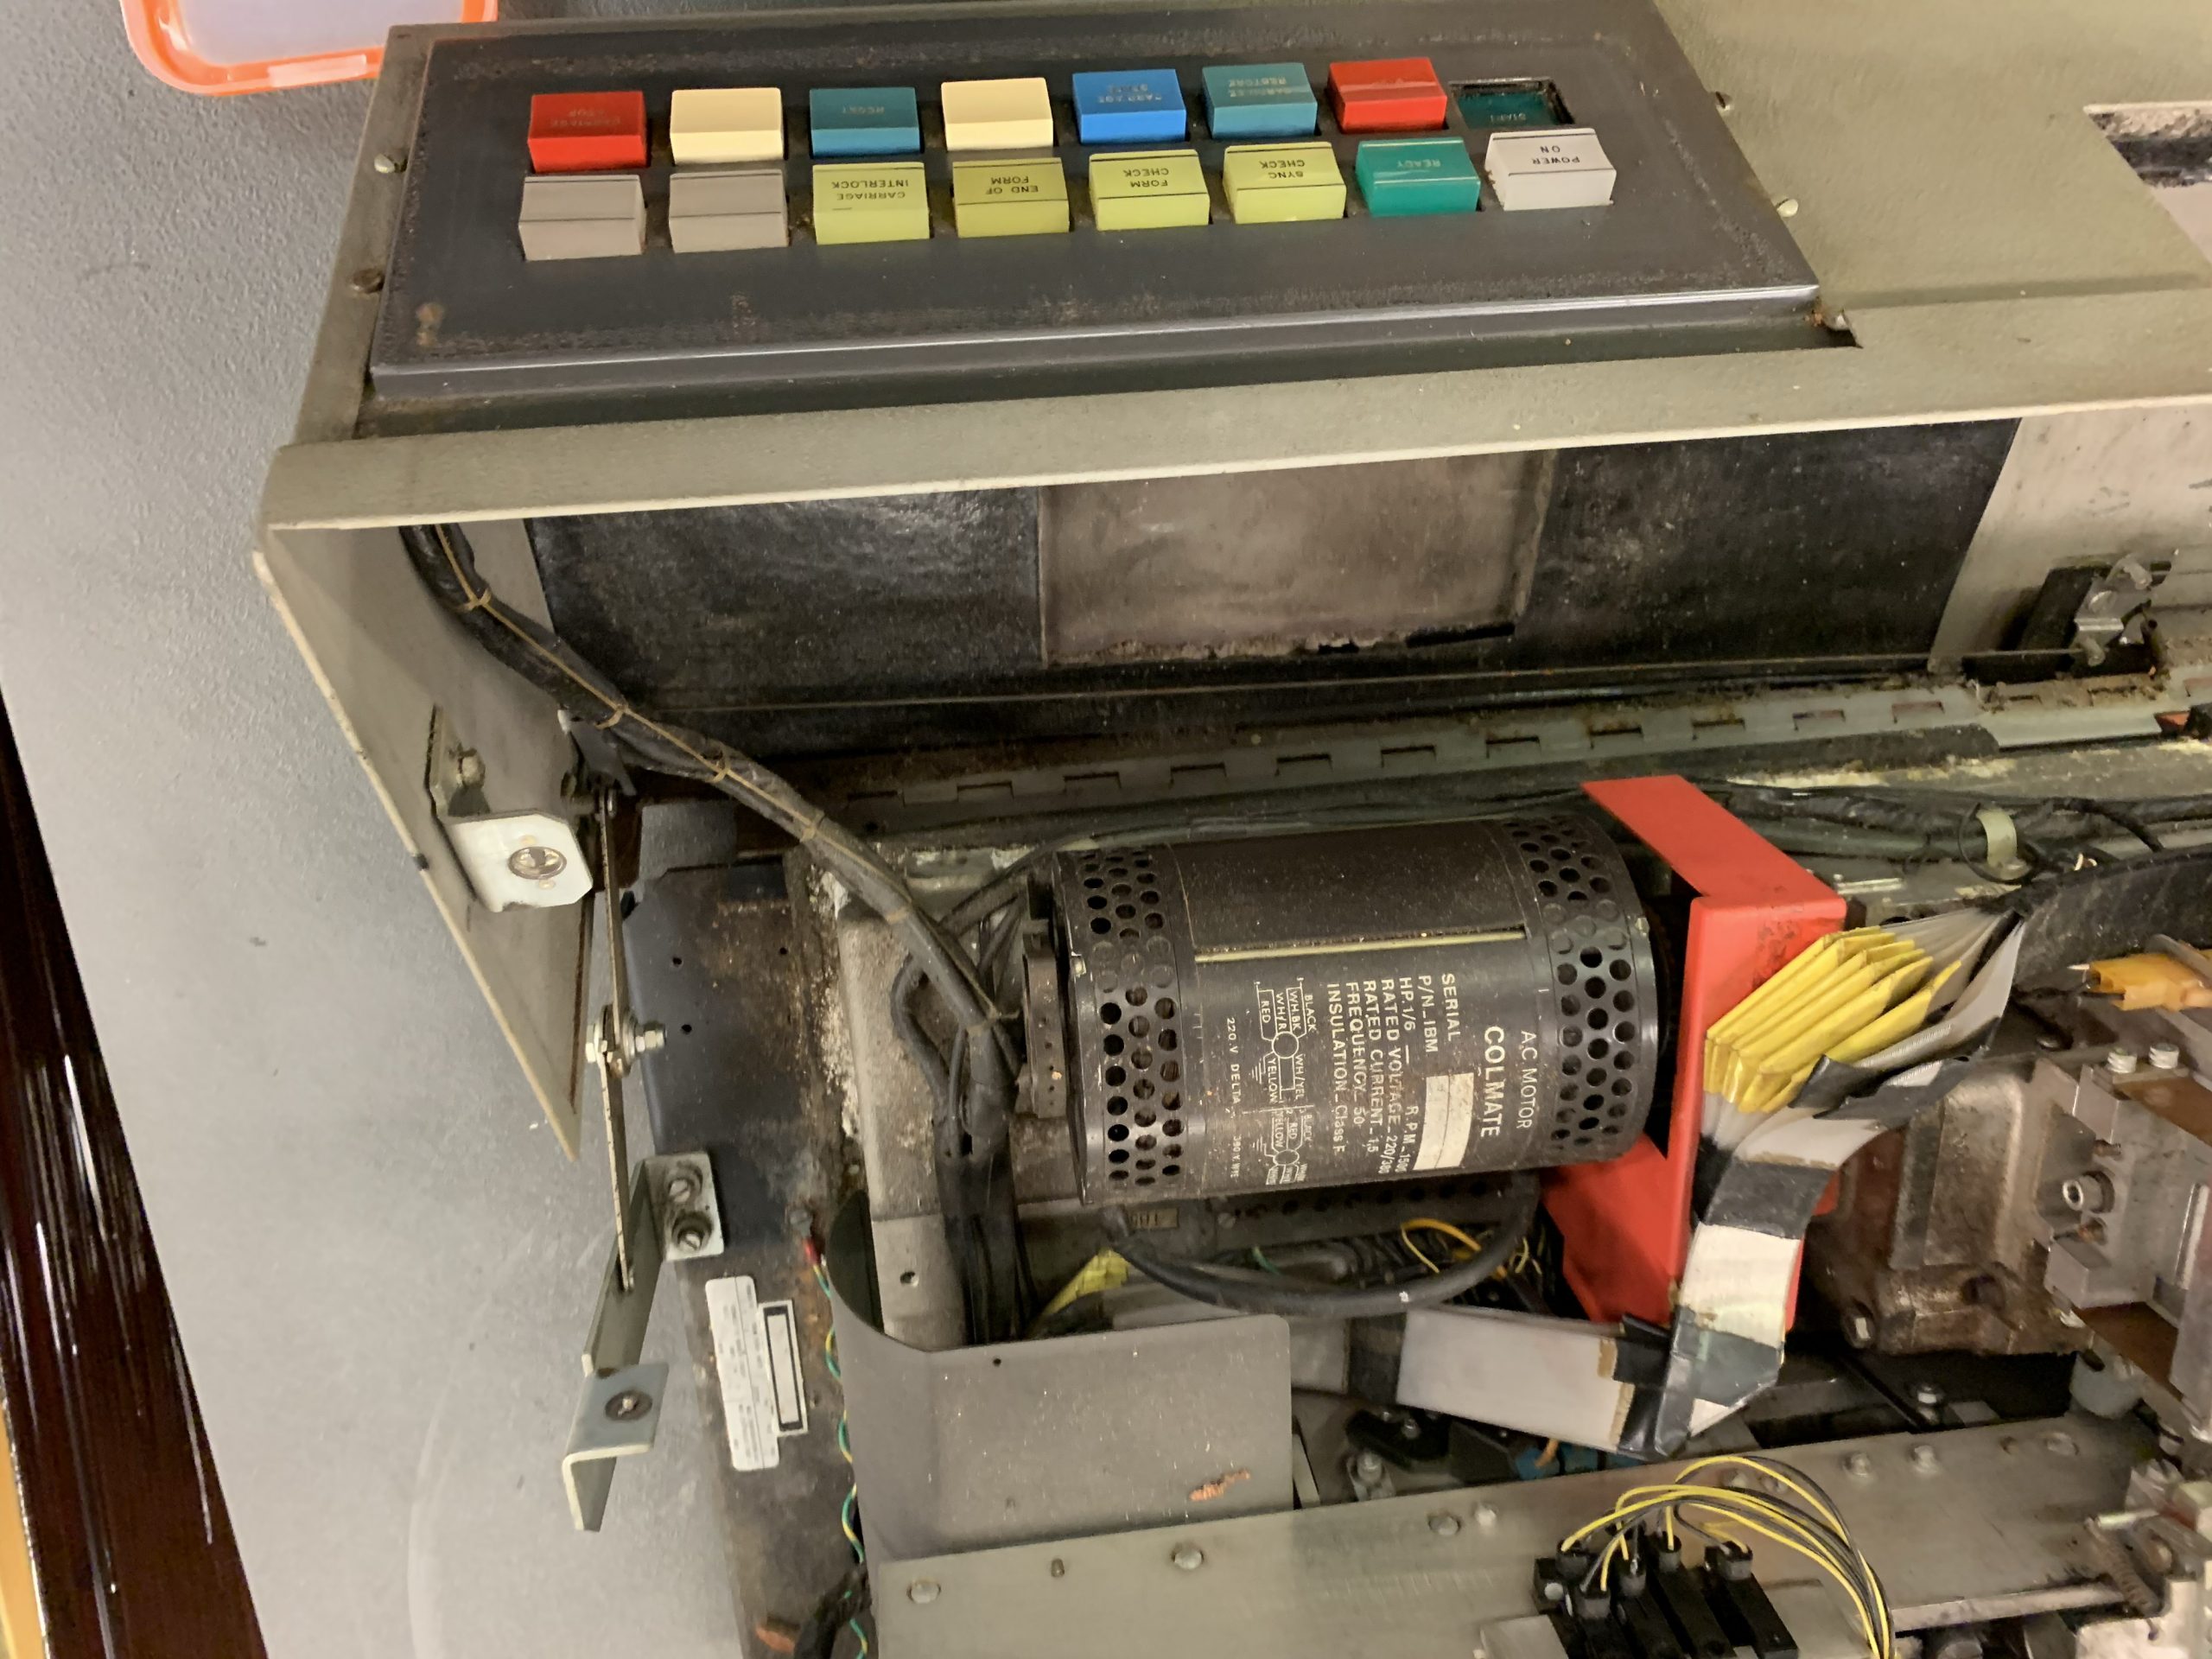
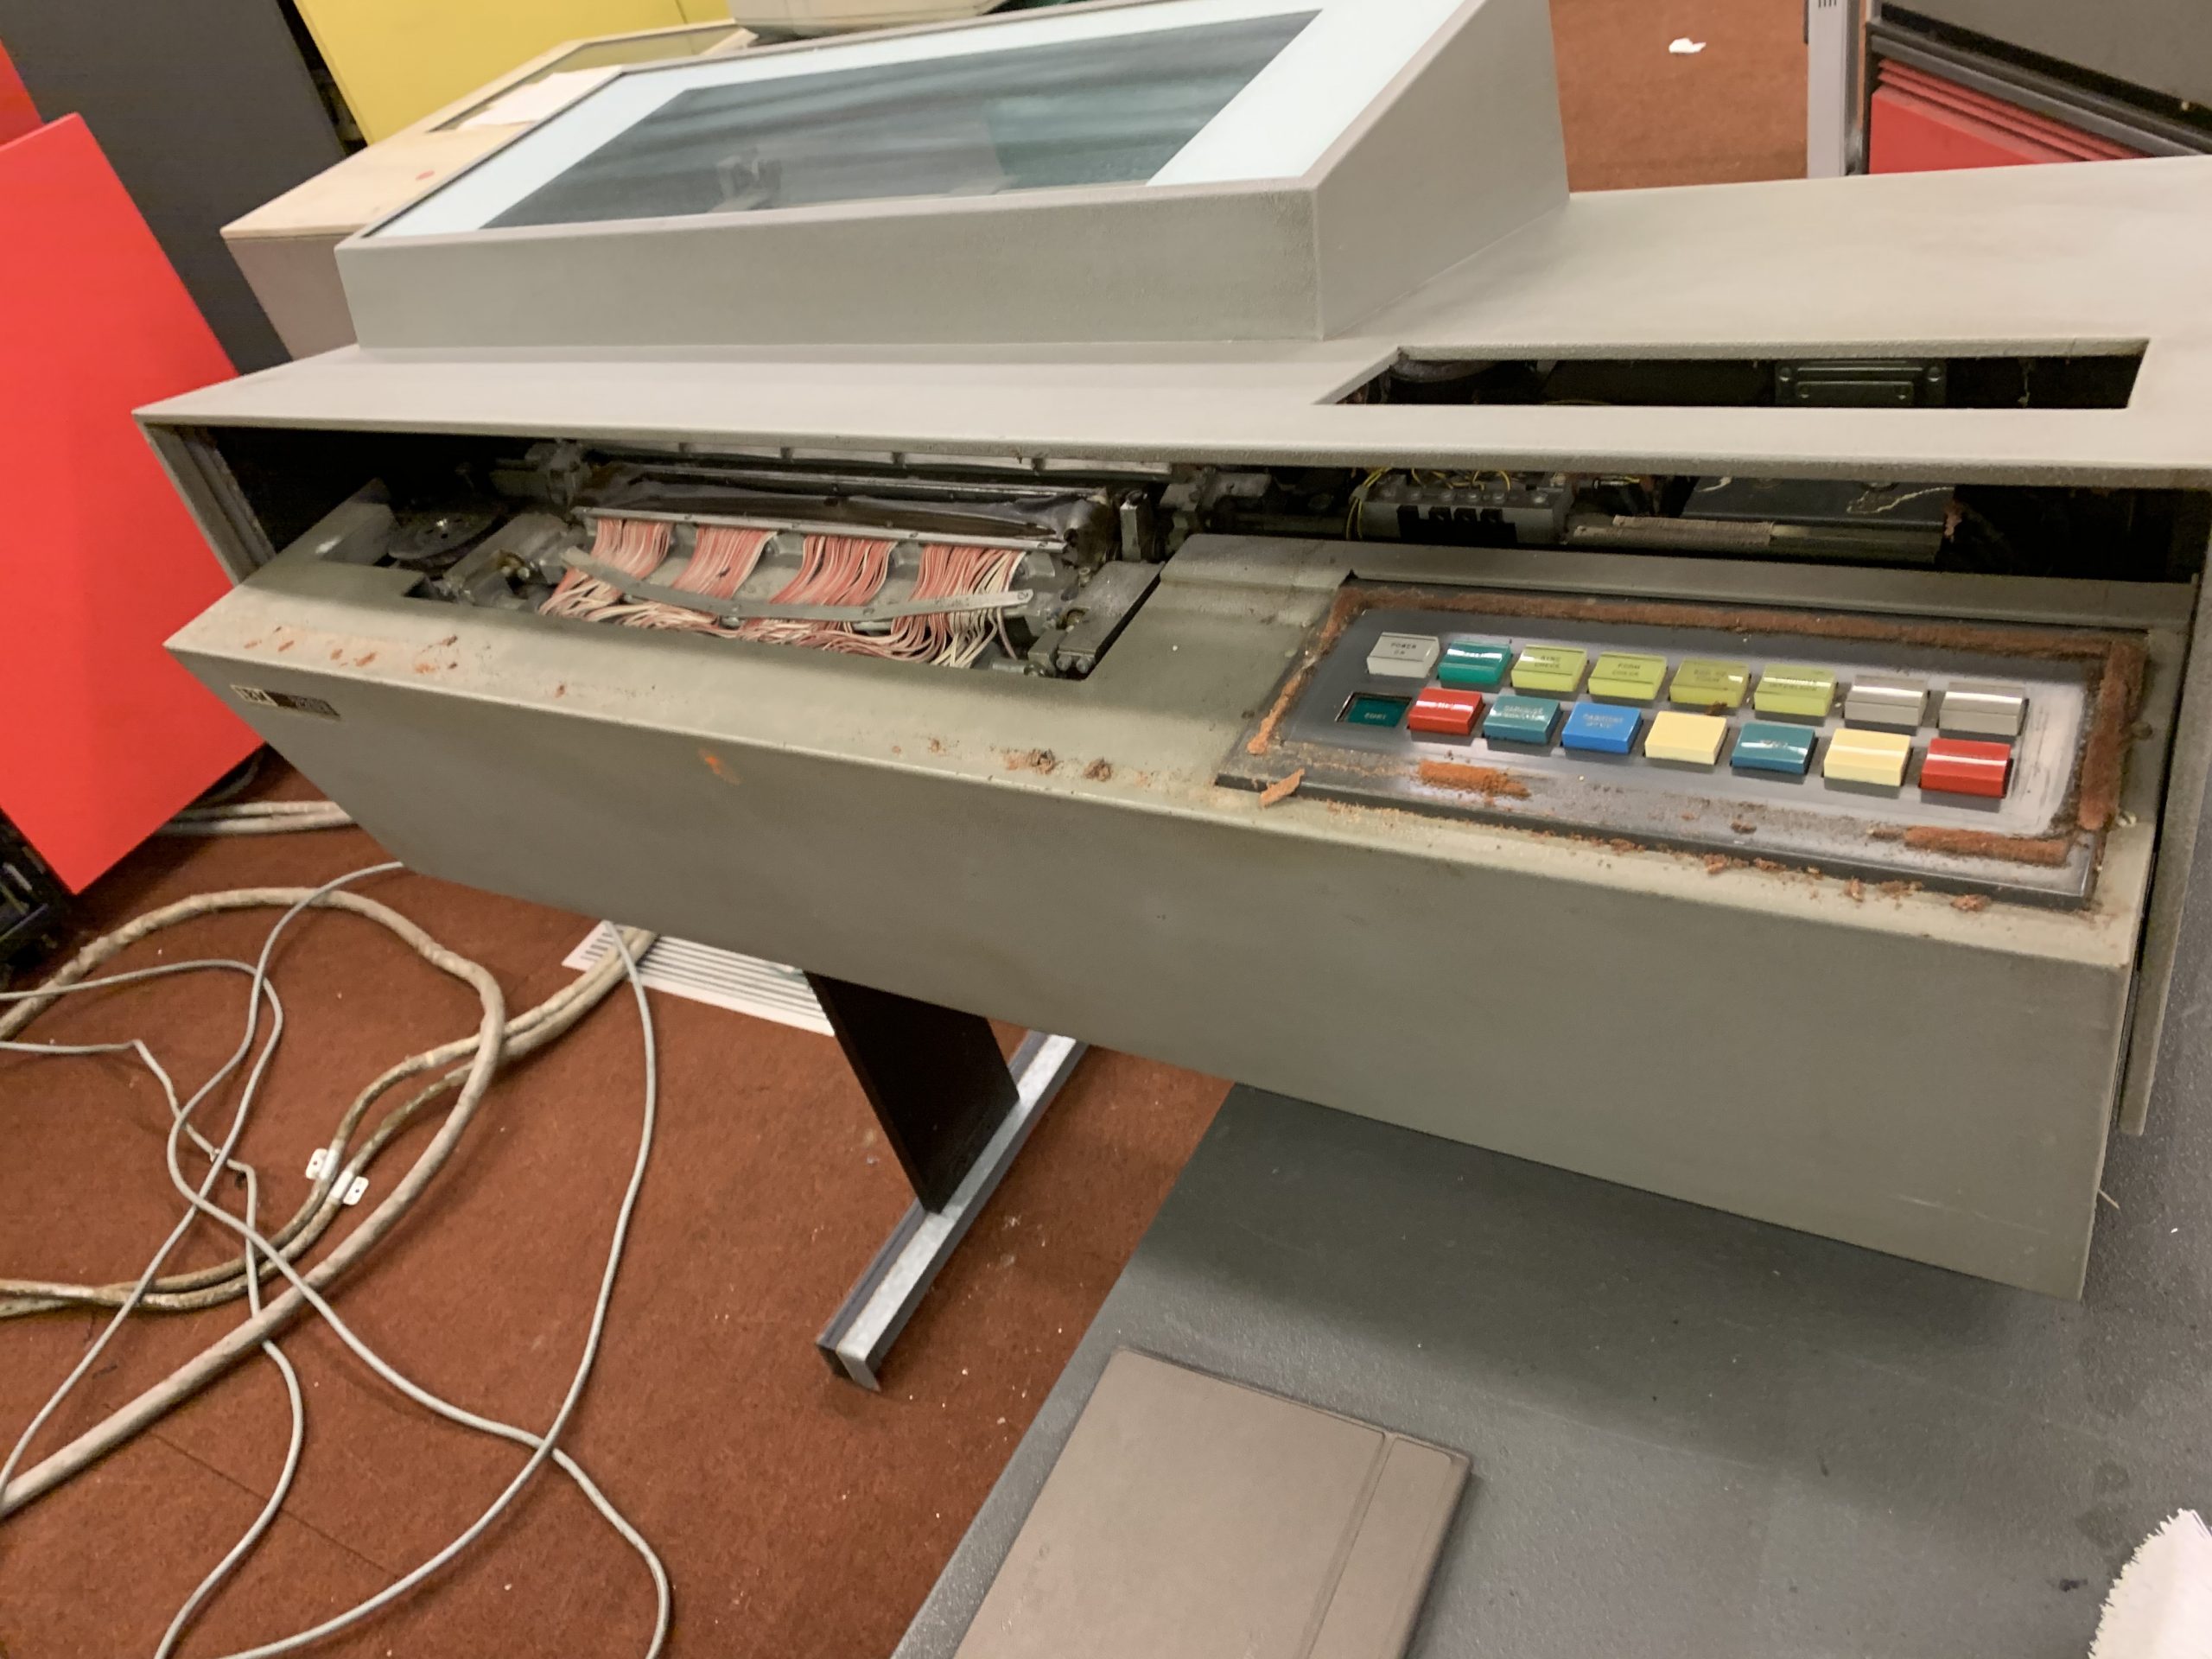
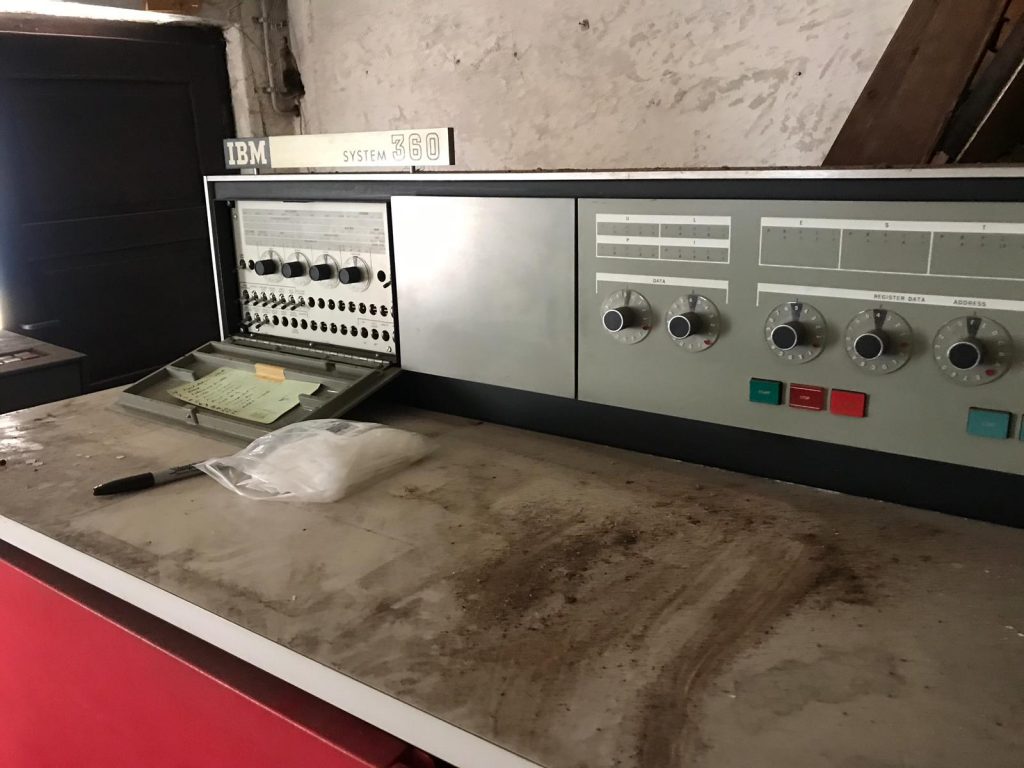
After all that was done, I decided to take a look at the 360 processor control panel. Whilst our control panel isn’t as grand as some IBM 360 panels, it does still have a number of blinkenlights! These lights are driven by bulbs which, of course, are IBM specific; and these days are about as common as hens’ teeth. I imagine we’re going to have to build a custom PCB with LED’s eventually, but having removed the back of the control panel for about the 4th time myself to show my father, he immediately noticed 2 spare packs of bulbs resting inside it!
A very rare find indeed, and one that may just keep us going on the real bulbs for at least a little while longer.
After a few hours working in the building, one tends to feel rather cold as it’s not a very warm space; perfect for a data centre but not so for humans! this has been limiting the number of hours we can work in one stint in the building, so when I got home on Saturday night I started looking for heaters. Now, I’ve got a paraffin heater that I use to heat my car workshops when I’m tinkering in the winter, but A) this is very expensive to run, and B) it produces a lot of fumes and moisture, and as such, I thought I’d look for some large electric heaters. I found a chap locally who was selling some second hand Clarke devil 6015 15kW 3-phase fan heaters for a very reasonable price, so I went over on the Sunday morning and bought 4 of them. Hopefully these will take the edge off of the cold, despite the horrendous cost of running….
On Sunday Simon was busy with other things, but Peter Vaughan was going to be joining us in the afternoon after taking care of some other jobs. My father (David) had kindly agreed to come and lend a hand again by continuing to clean the 2203 system printer. Remember that acoustic foam I was talking about earlier? This is what it looks like when it’s VERY degraded:
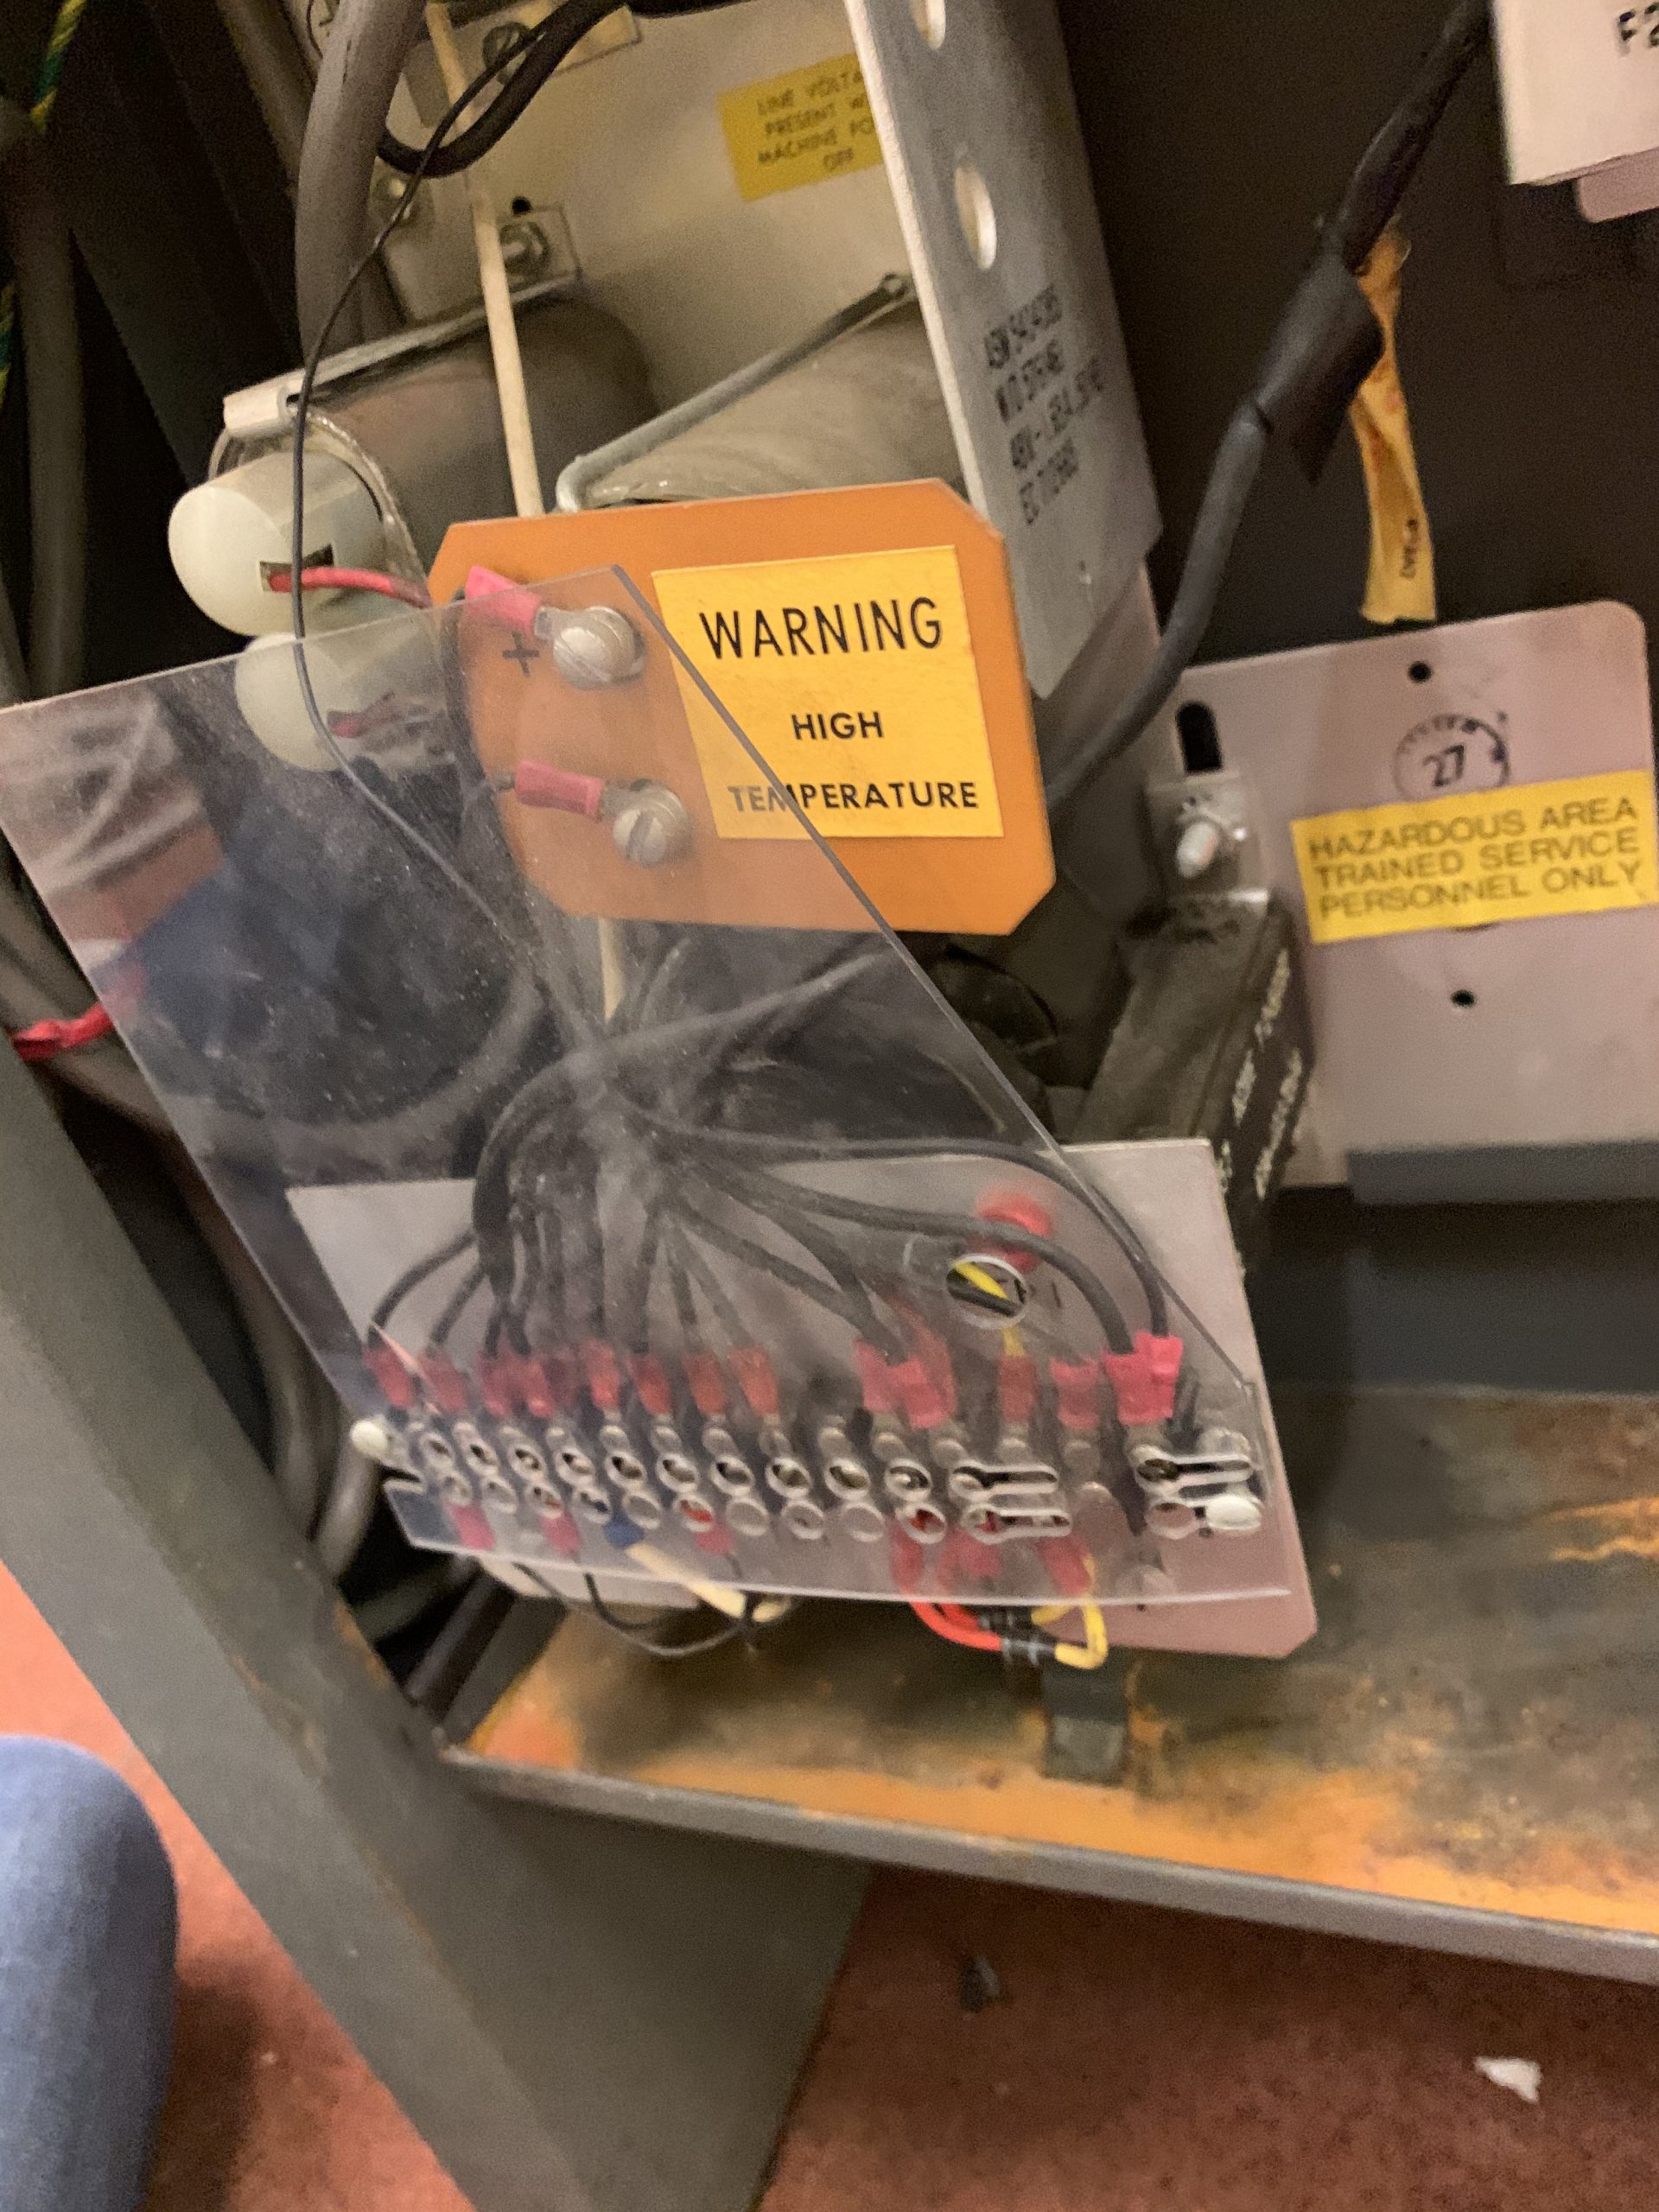
When Peter arrived he originally intended to spend the day cleaning all of the cables and sorting them out, but he got slightly distracted looking at the 1403 printer. We’d spent some time on the Saturday trying to figure out how to open this thing, but it remained closed. We knew that the lid was electrically actuated, and reasoned that there must be a manual release, but could not for the life of us work out how to get into the thing!
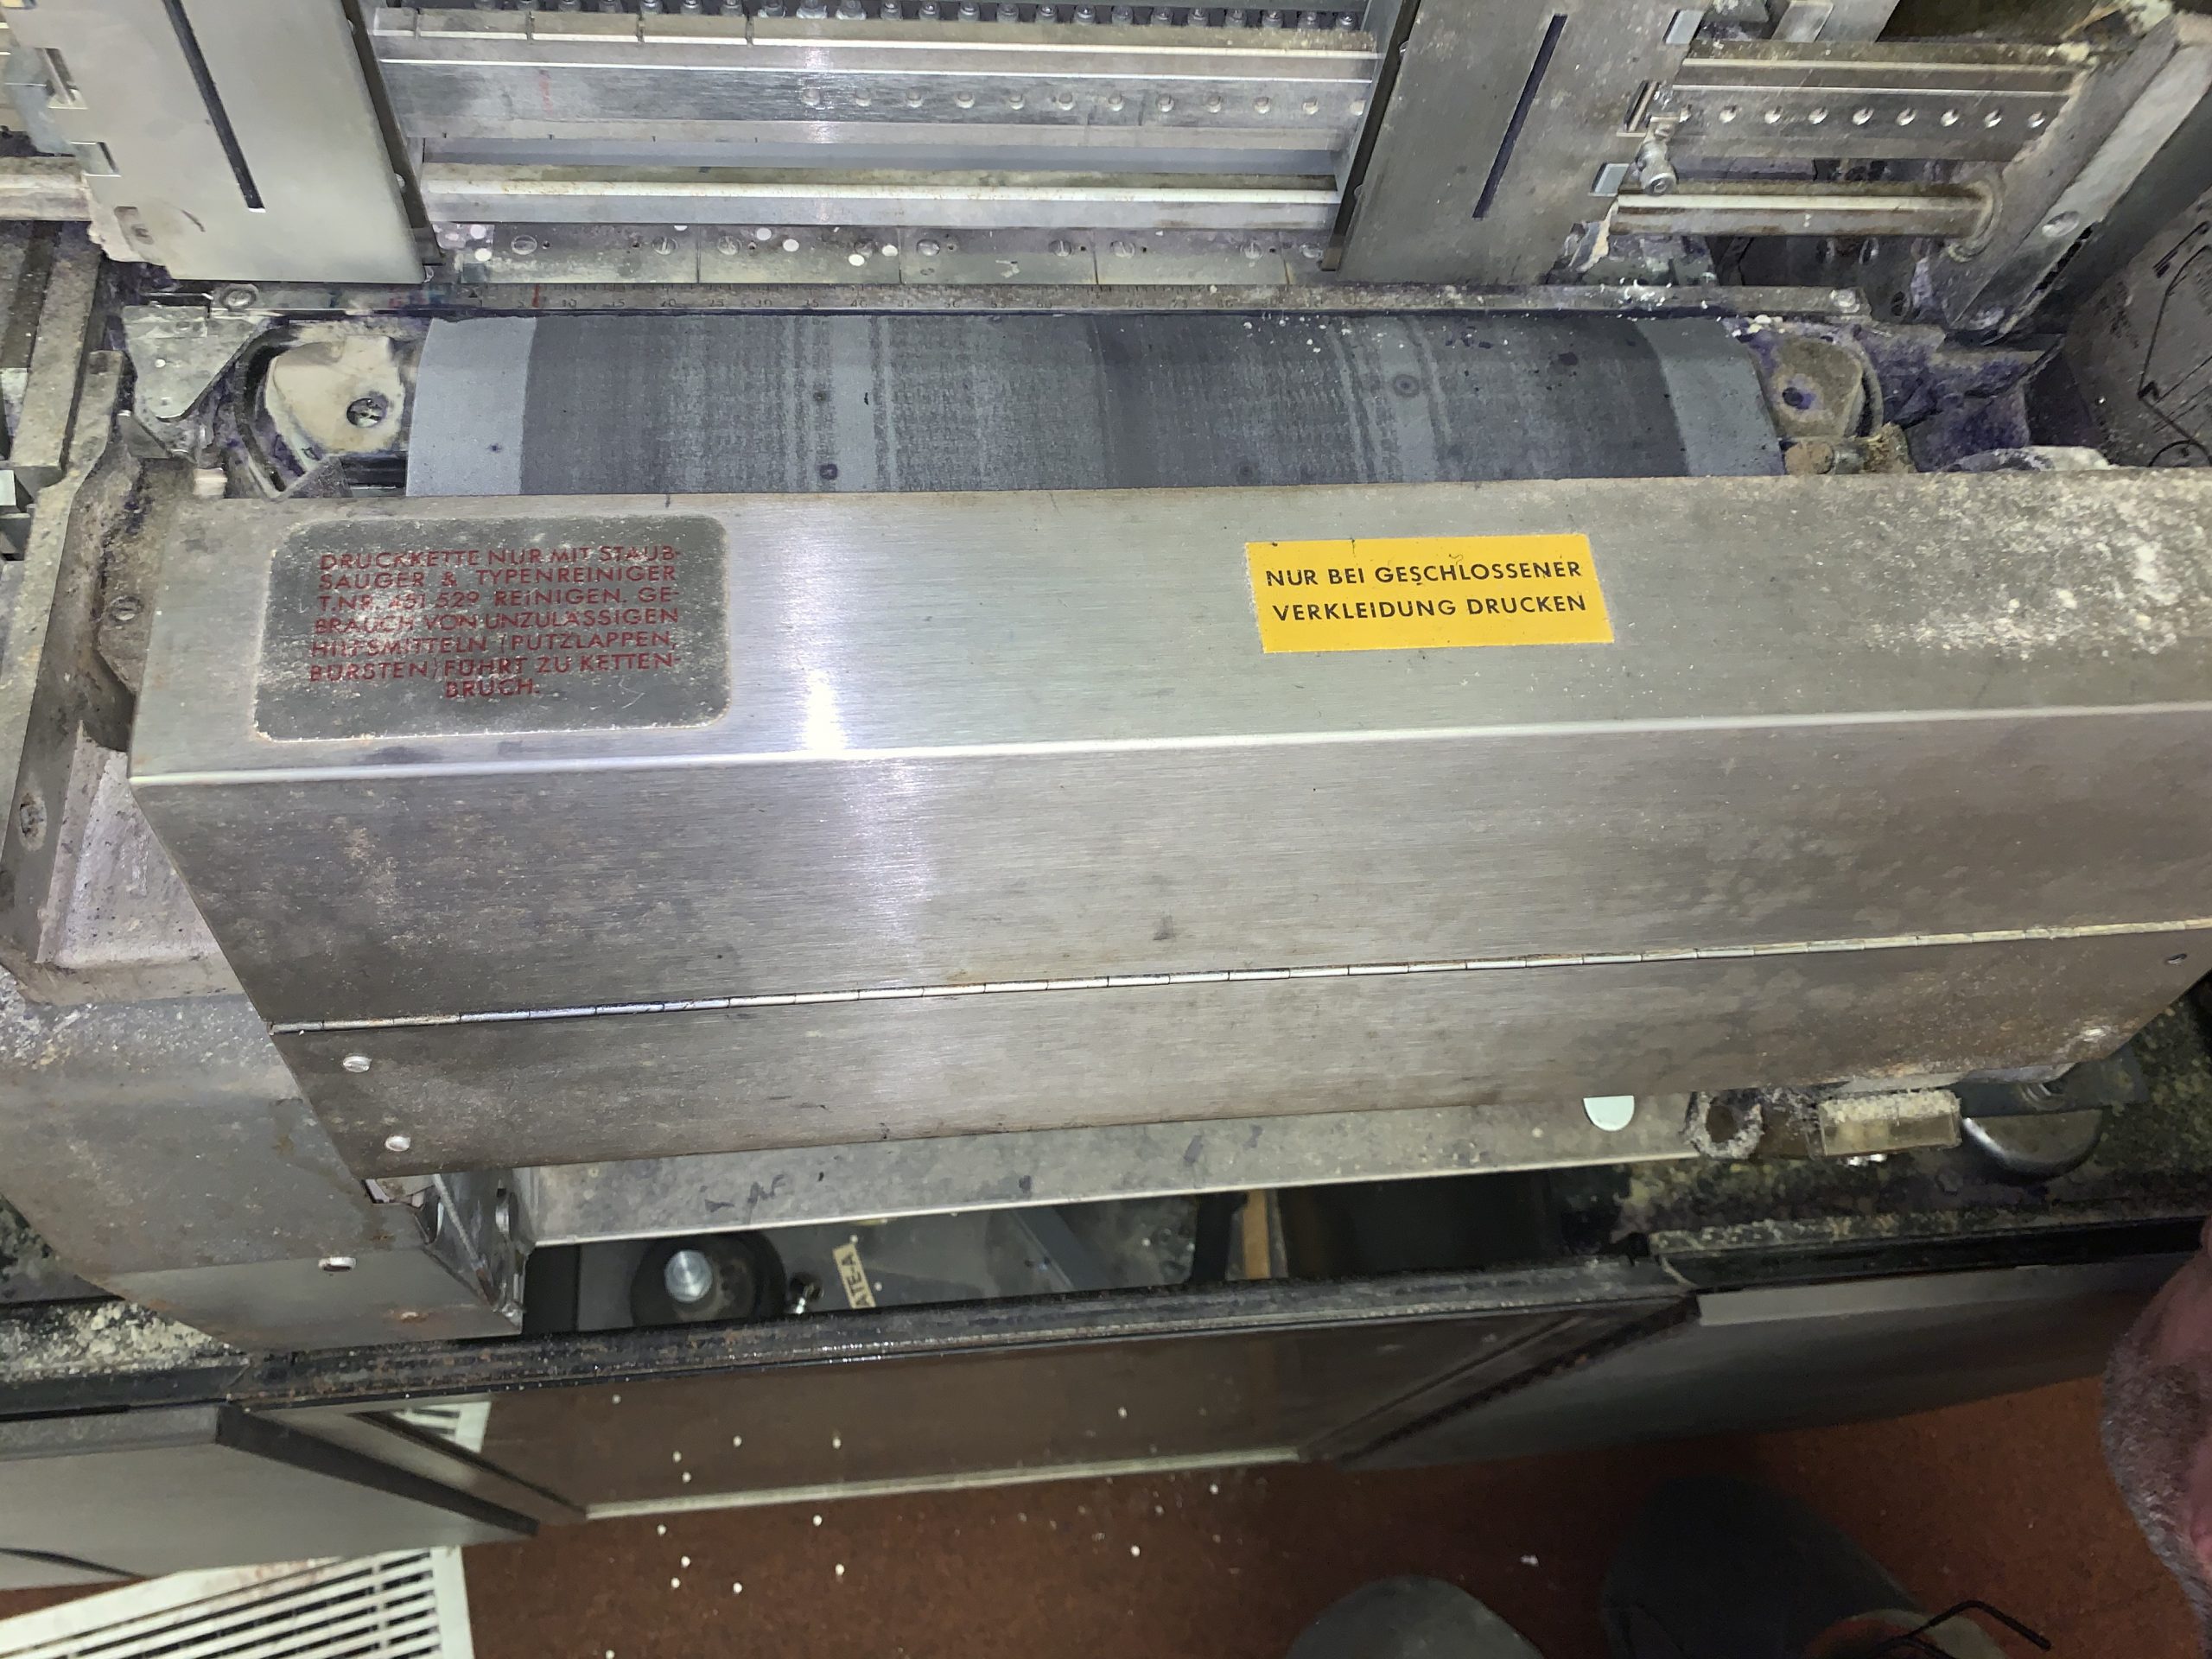
After some time looking for catches and investigating panel gaps, Peter managed to find this:
Yes, buried deep inside of the rear of the printer (once you work out how to release the very stuck and hidden rear catches) is this warning, and just above it is the hand crank. Excellent. Subsequent cranking and some lifting assistance heralded an open printer and a pleased Peter!
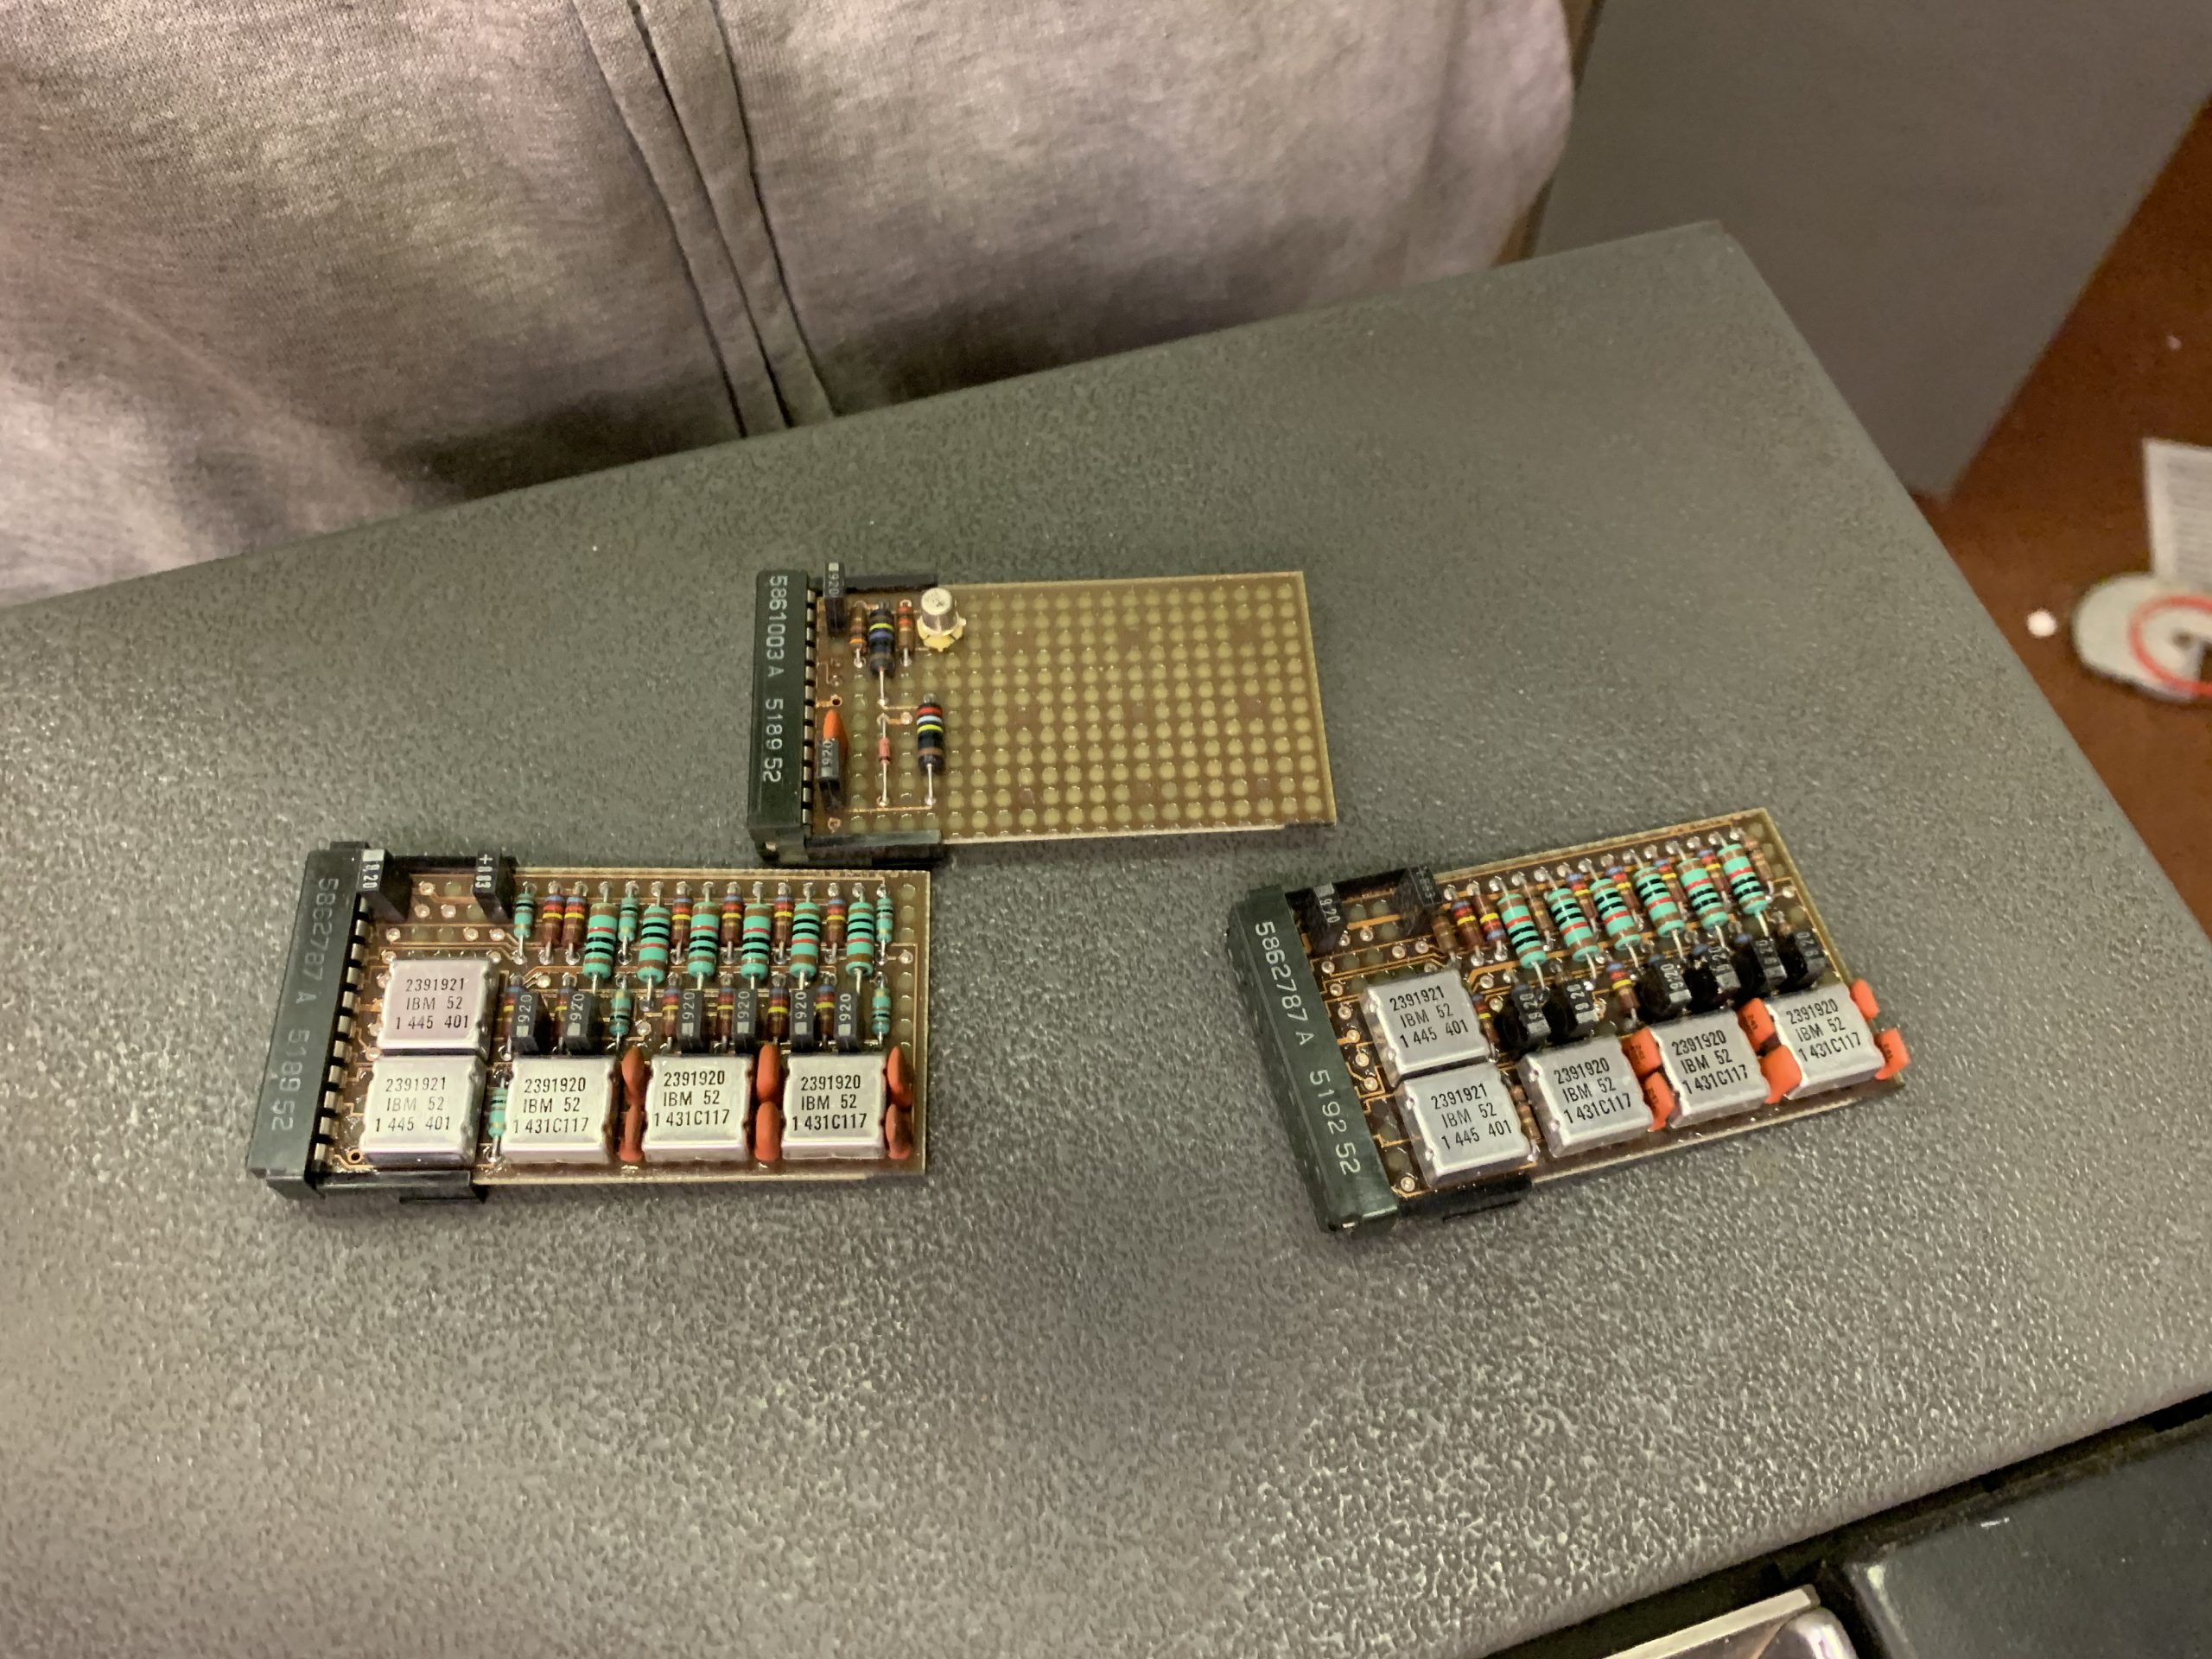
In the bottom of the printer there was rather a lot of rubbish including more tennis gear, medical paperwork for the previous owner, and a lot of wood; but buried in all of this mess we did find 3 spare system cards, two of which contain SLT’s:
These may very well be from the printer, so of course, these were preserved whilst everything else was disposed of. Have a couple more shots of the printer:
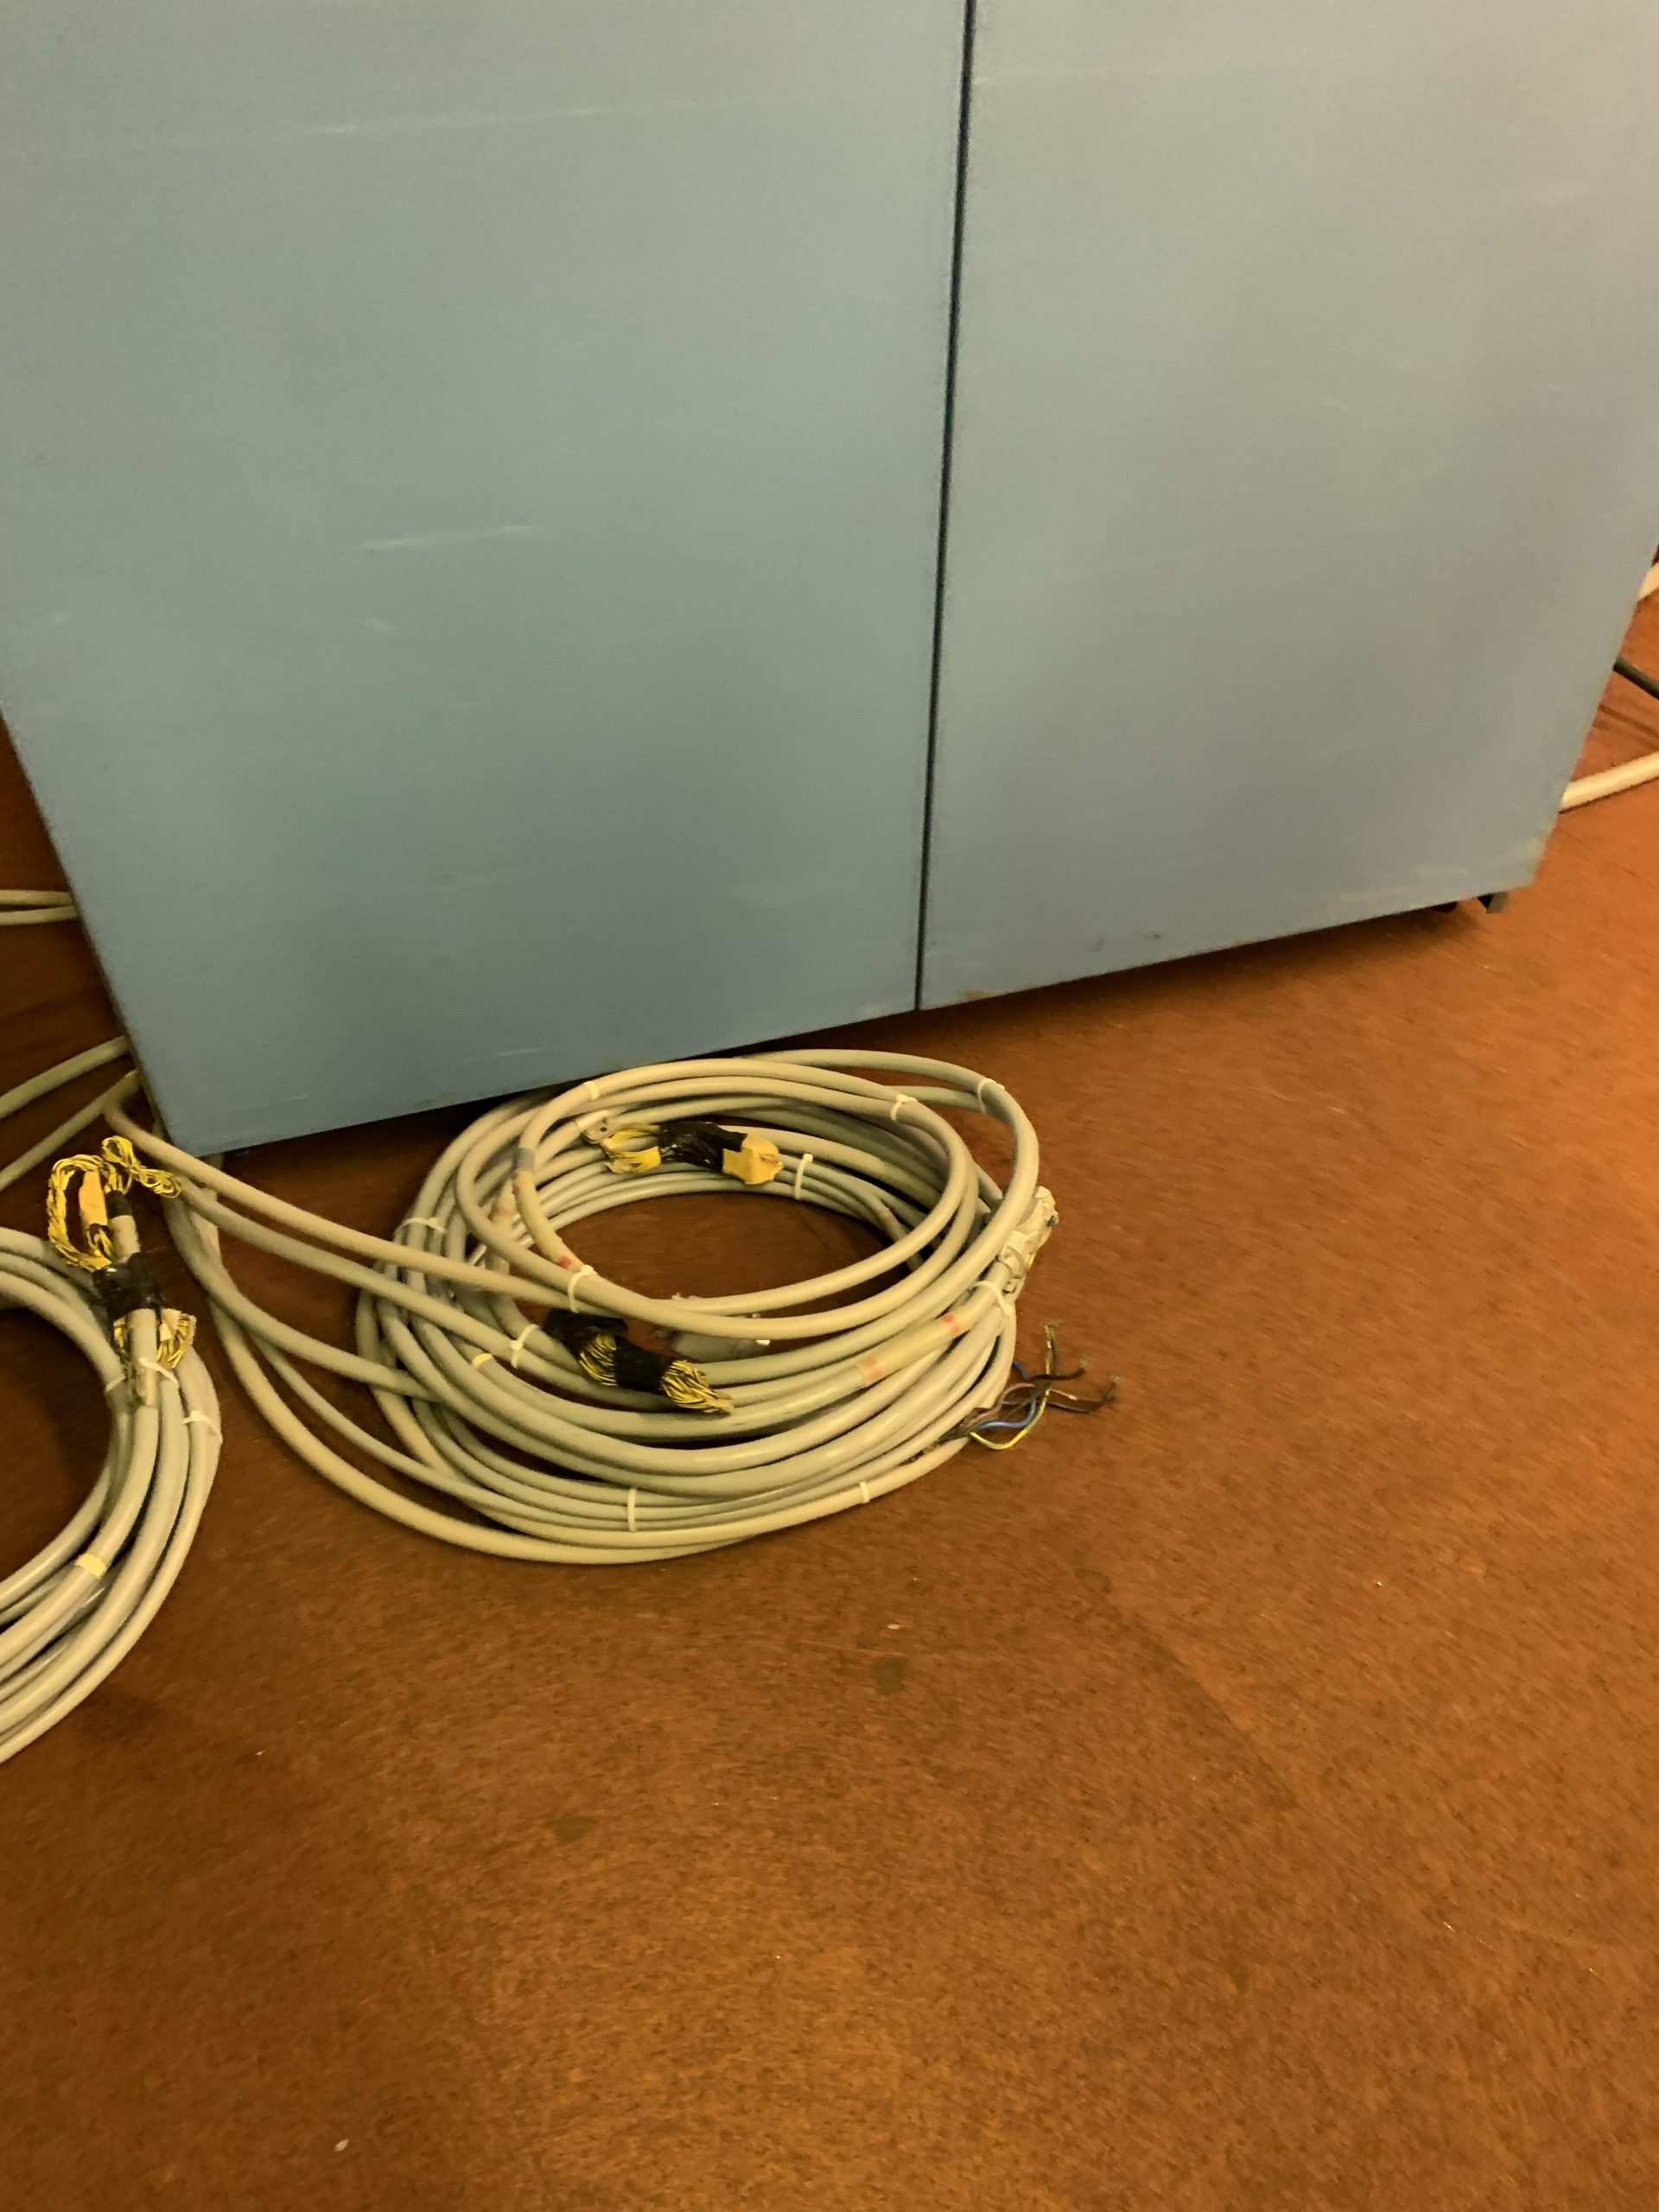
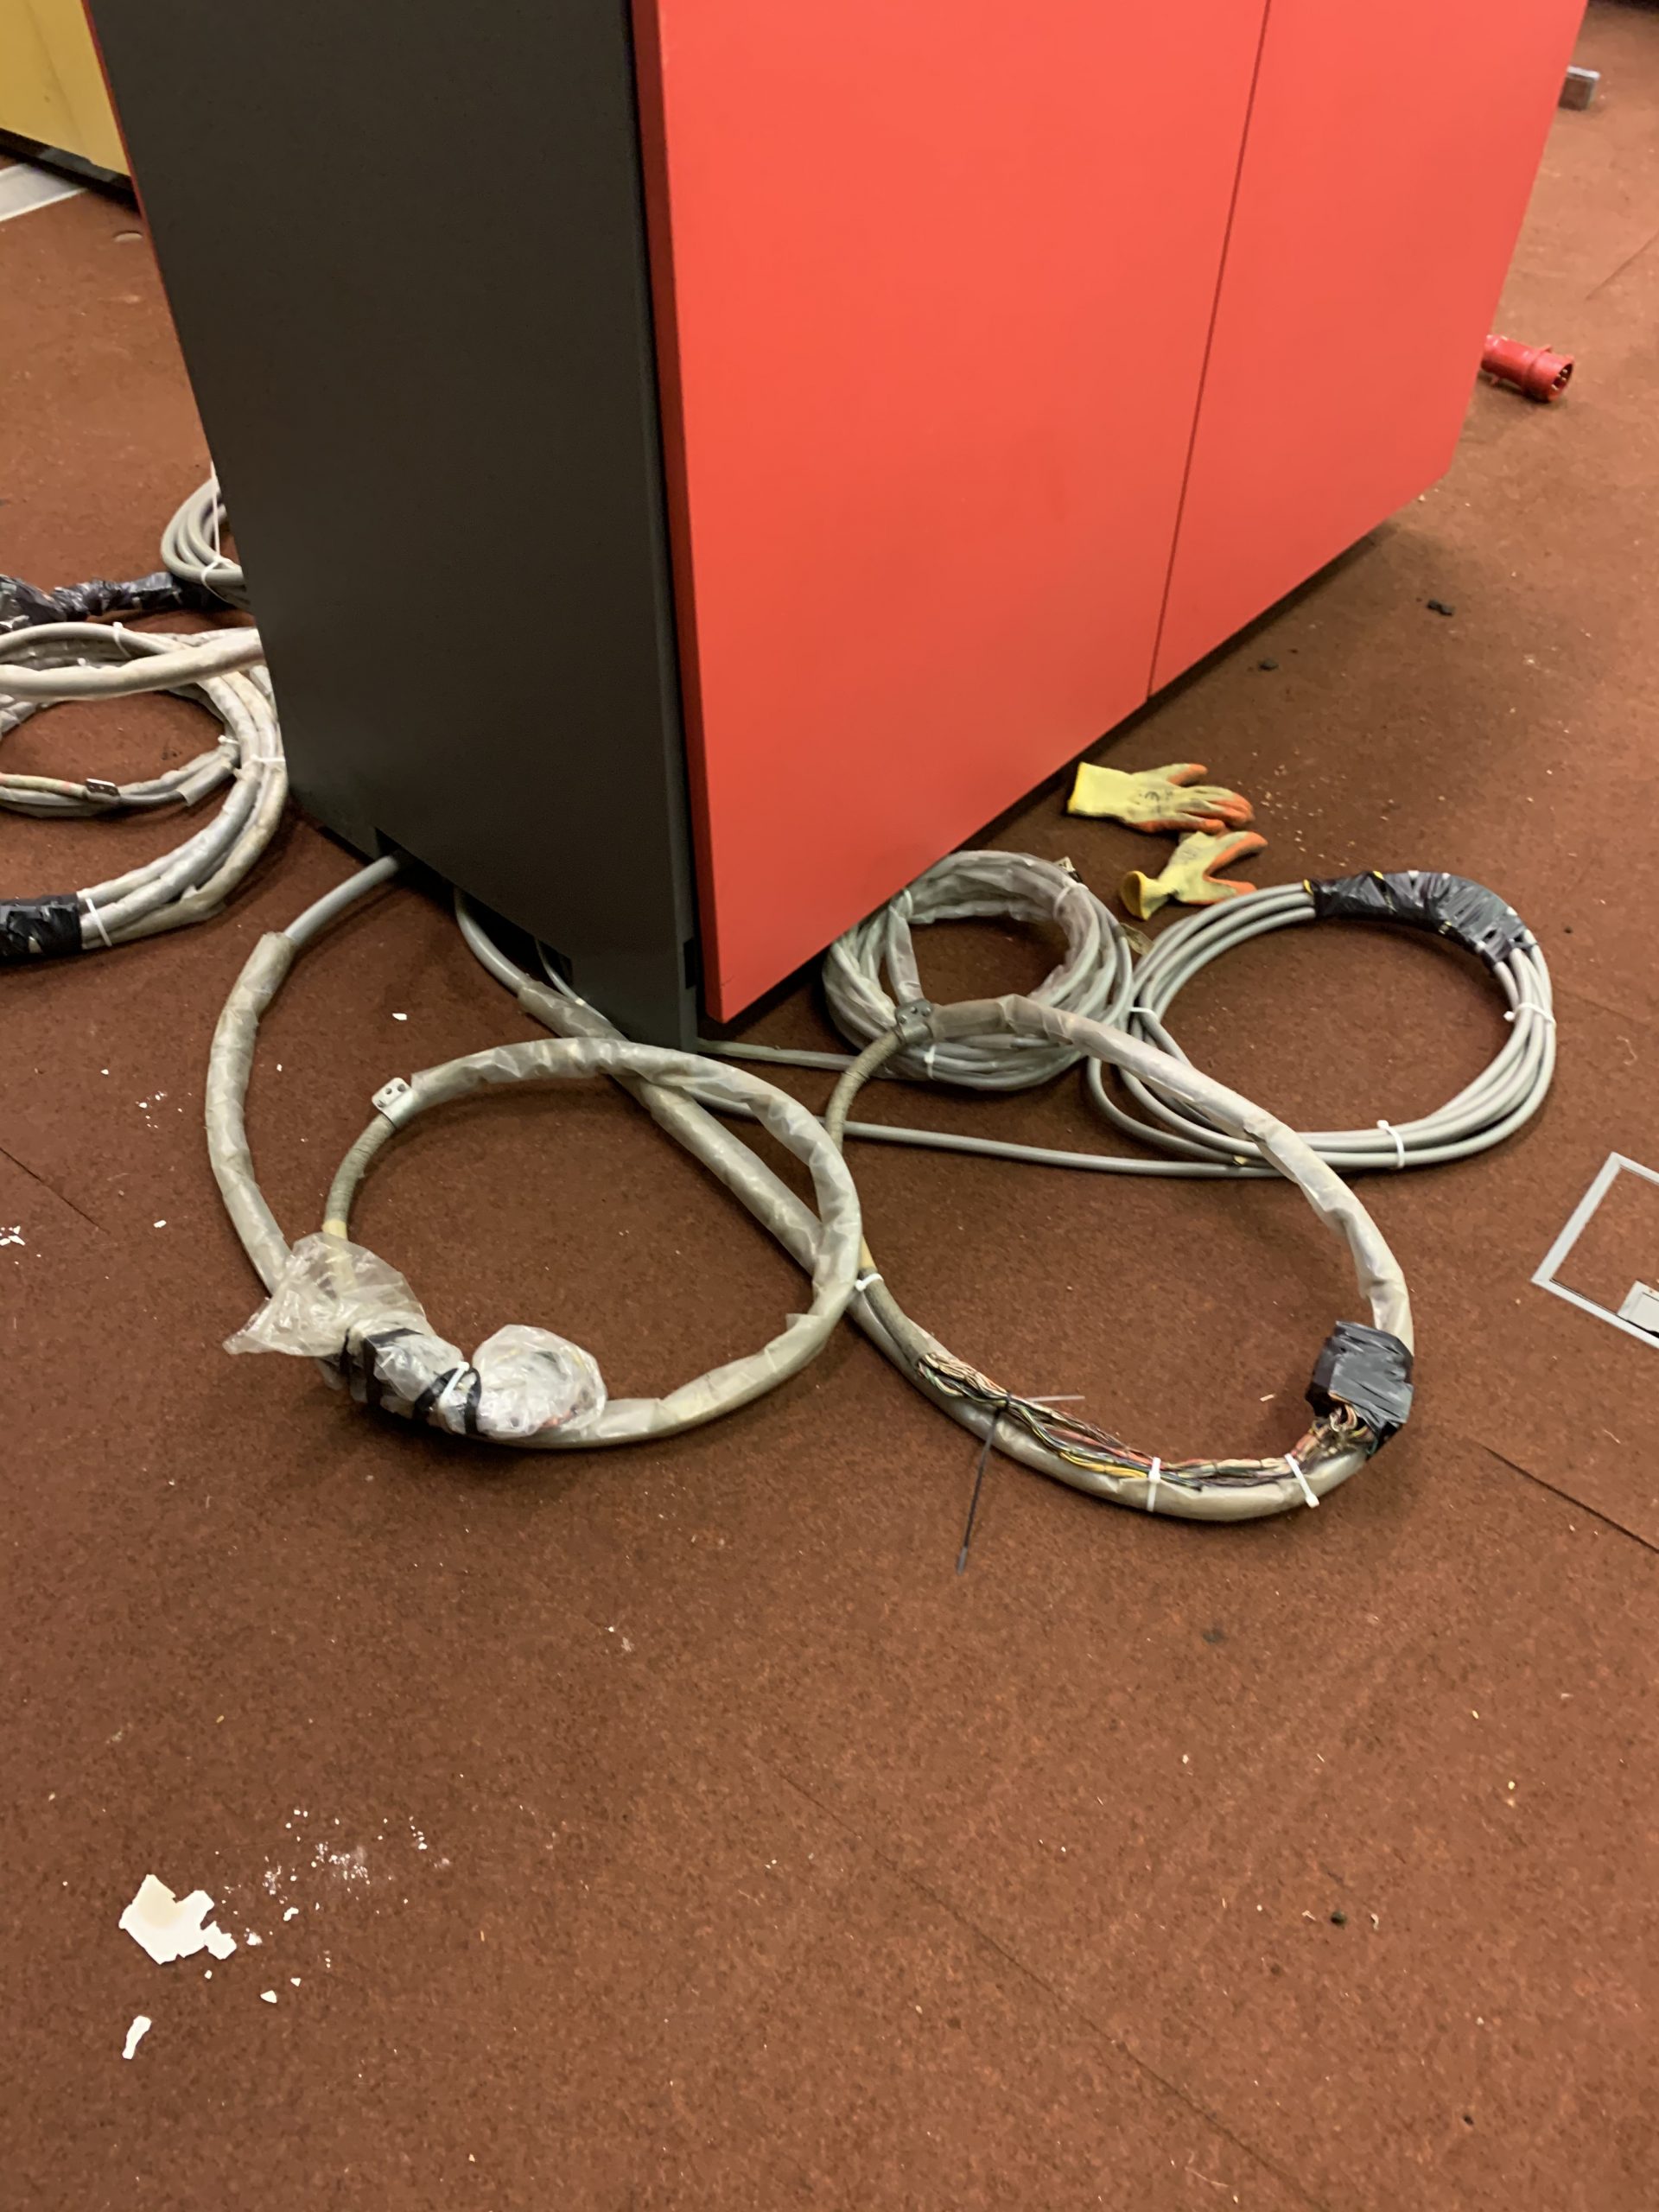
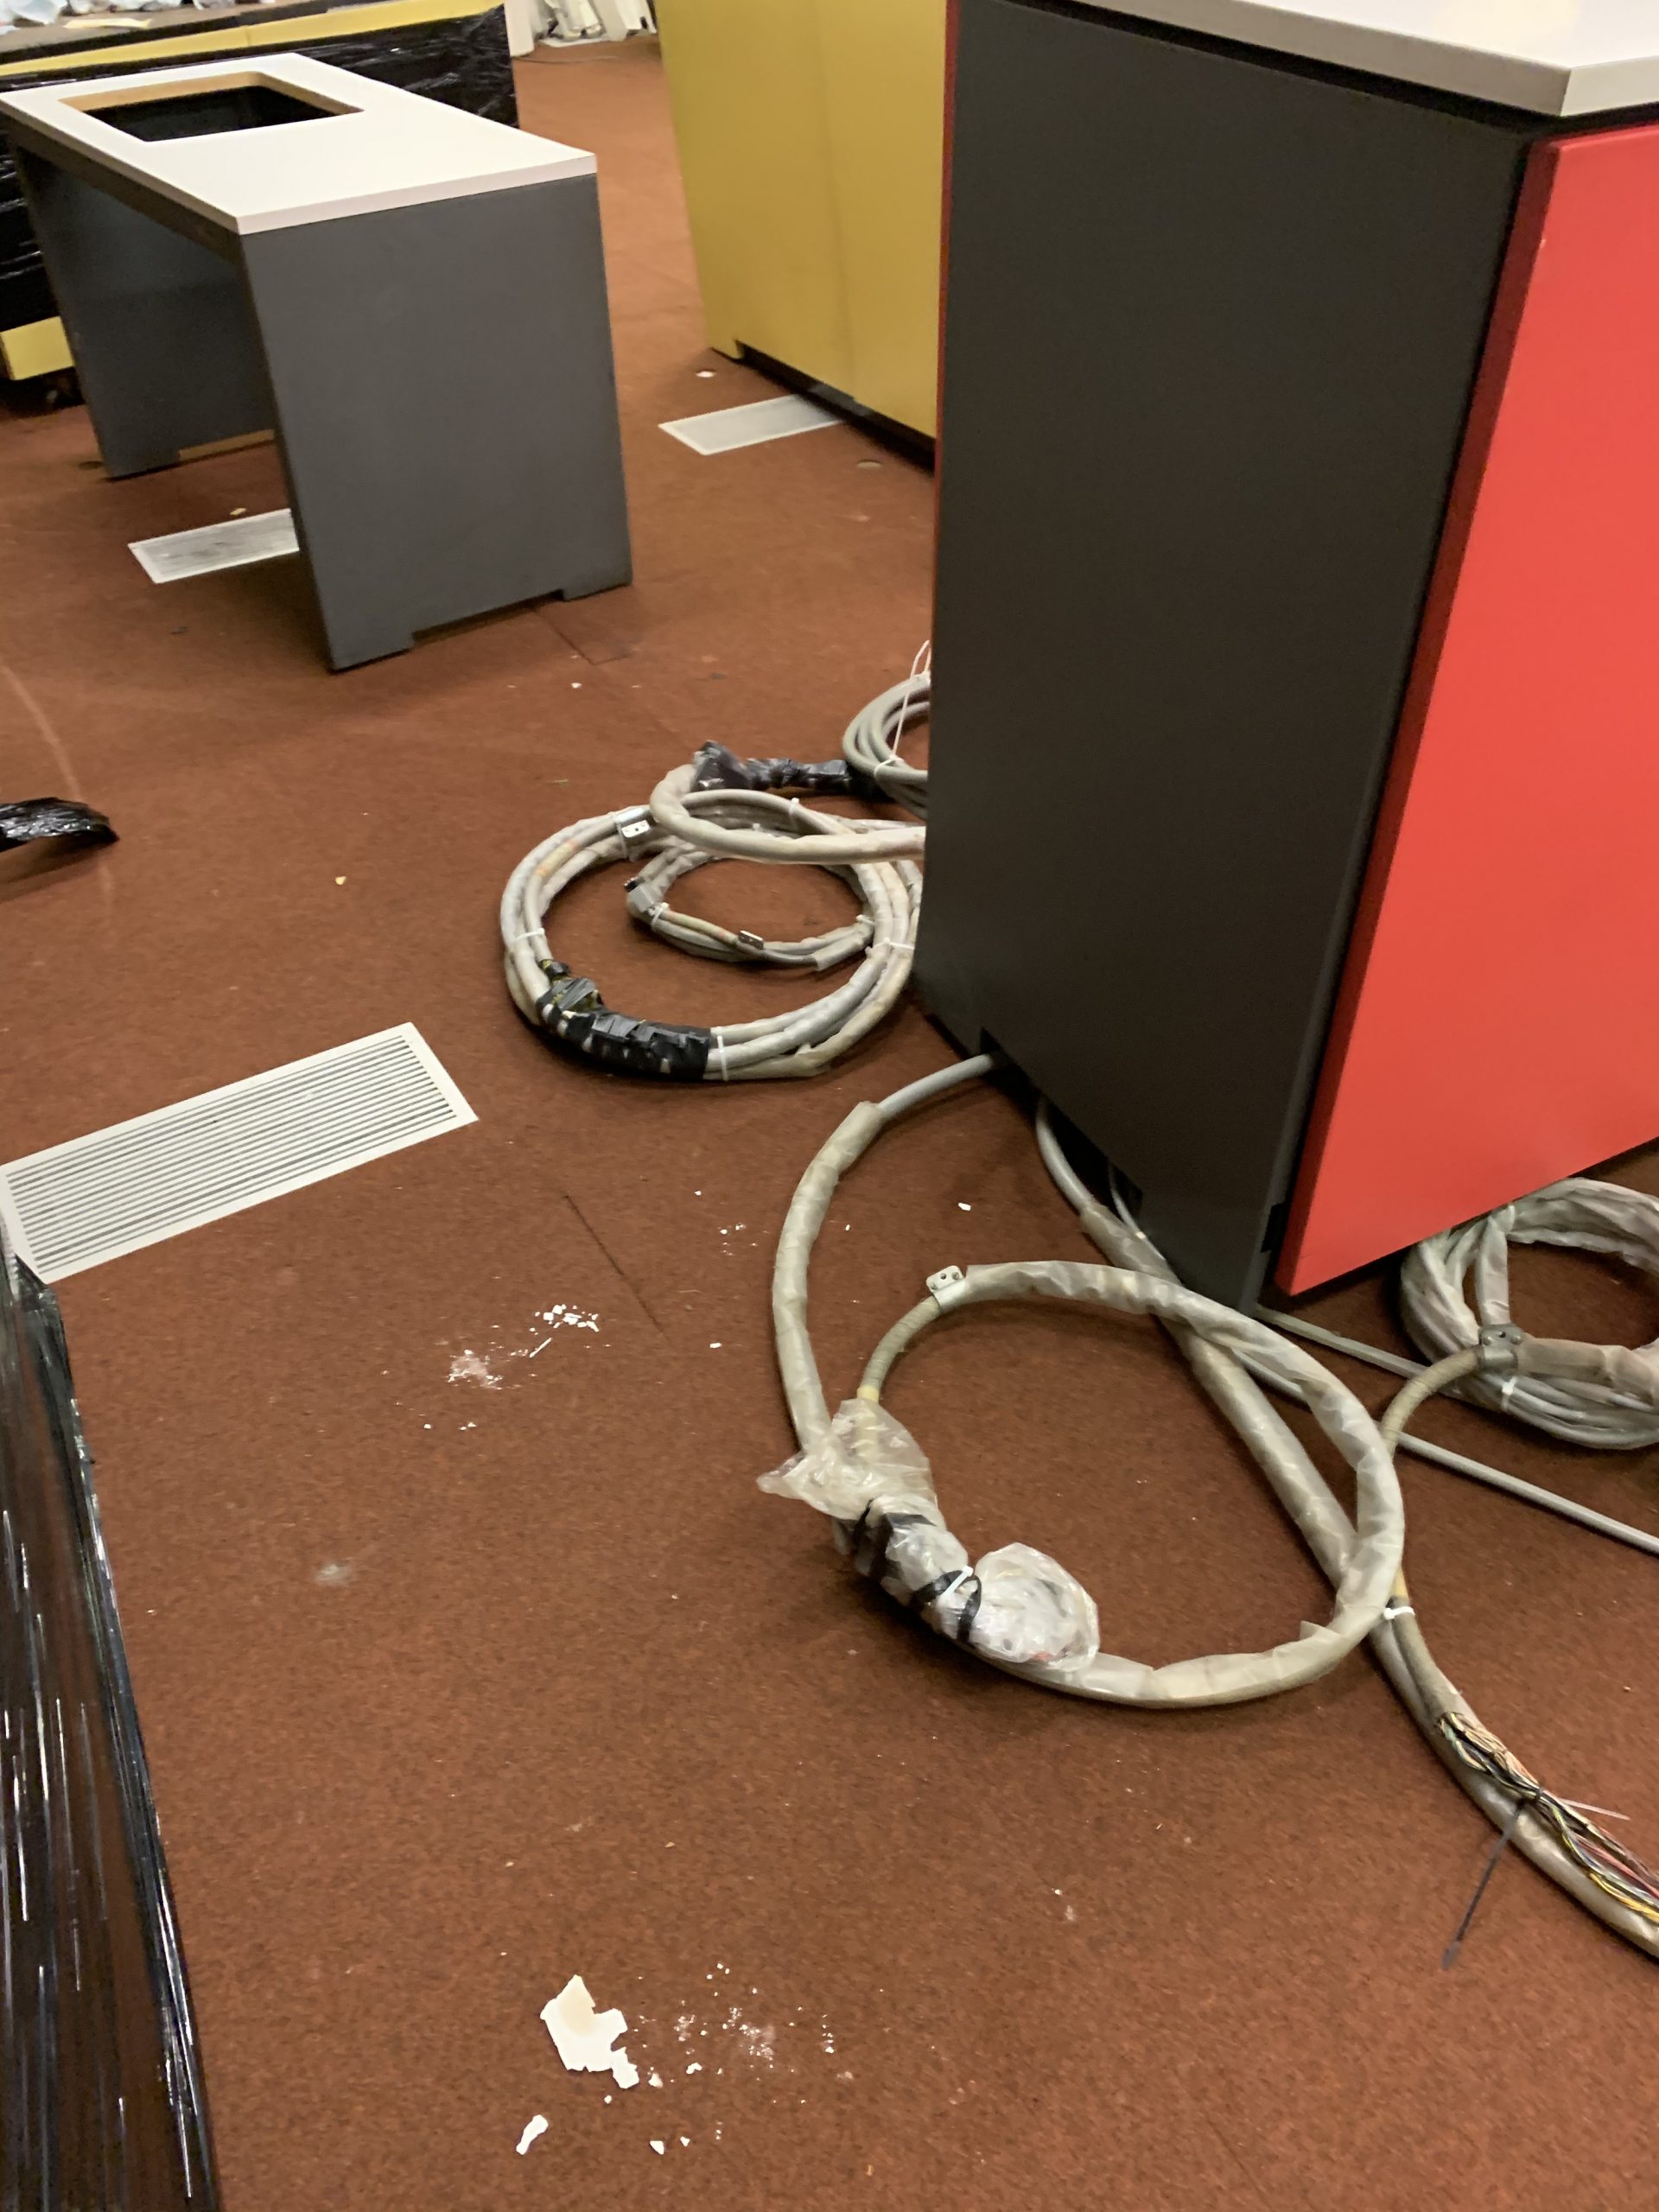
After getting the printer open, my father set about giving it a bit of a clean up (it’s positively filthy), and Peter set about his original plan of cleaning and organising cables:
With these looking much better (and being considerably less sticky!) they could be organised into nicely coiled loops and tucked out of the way next to the machine to remove any trip hazard.
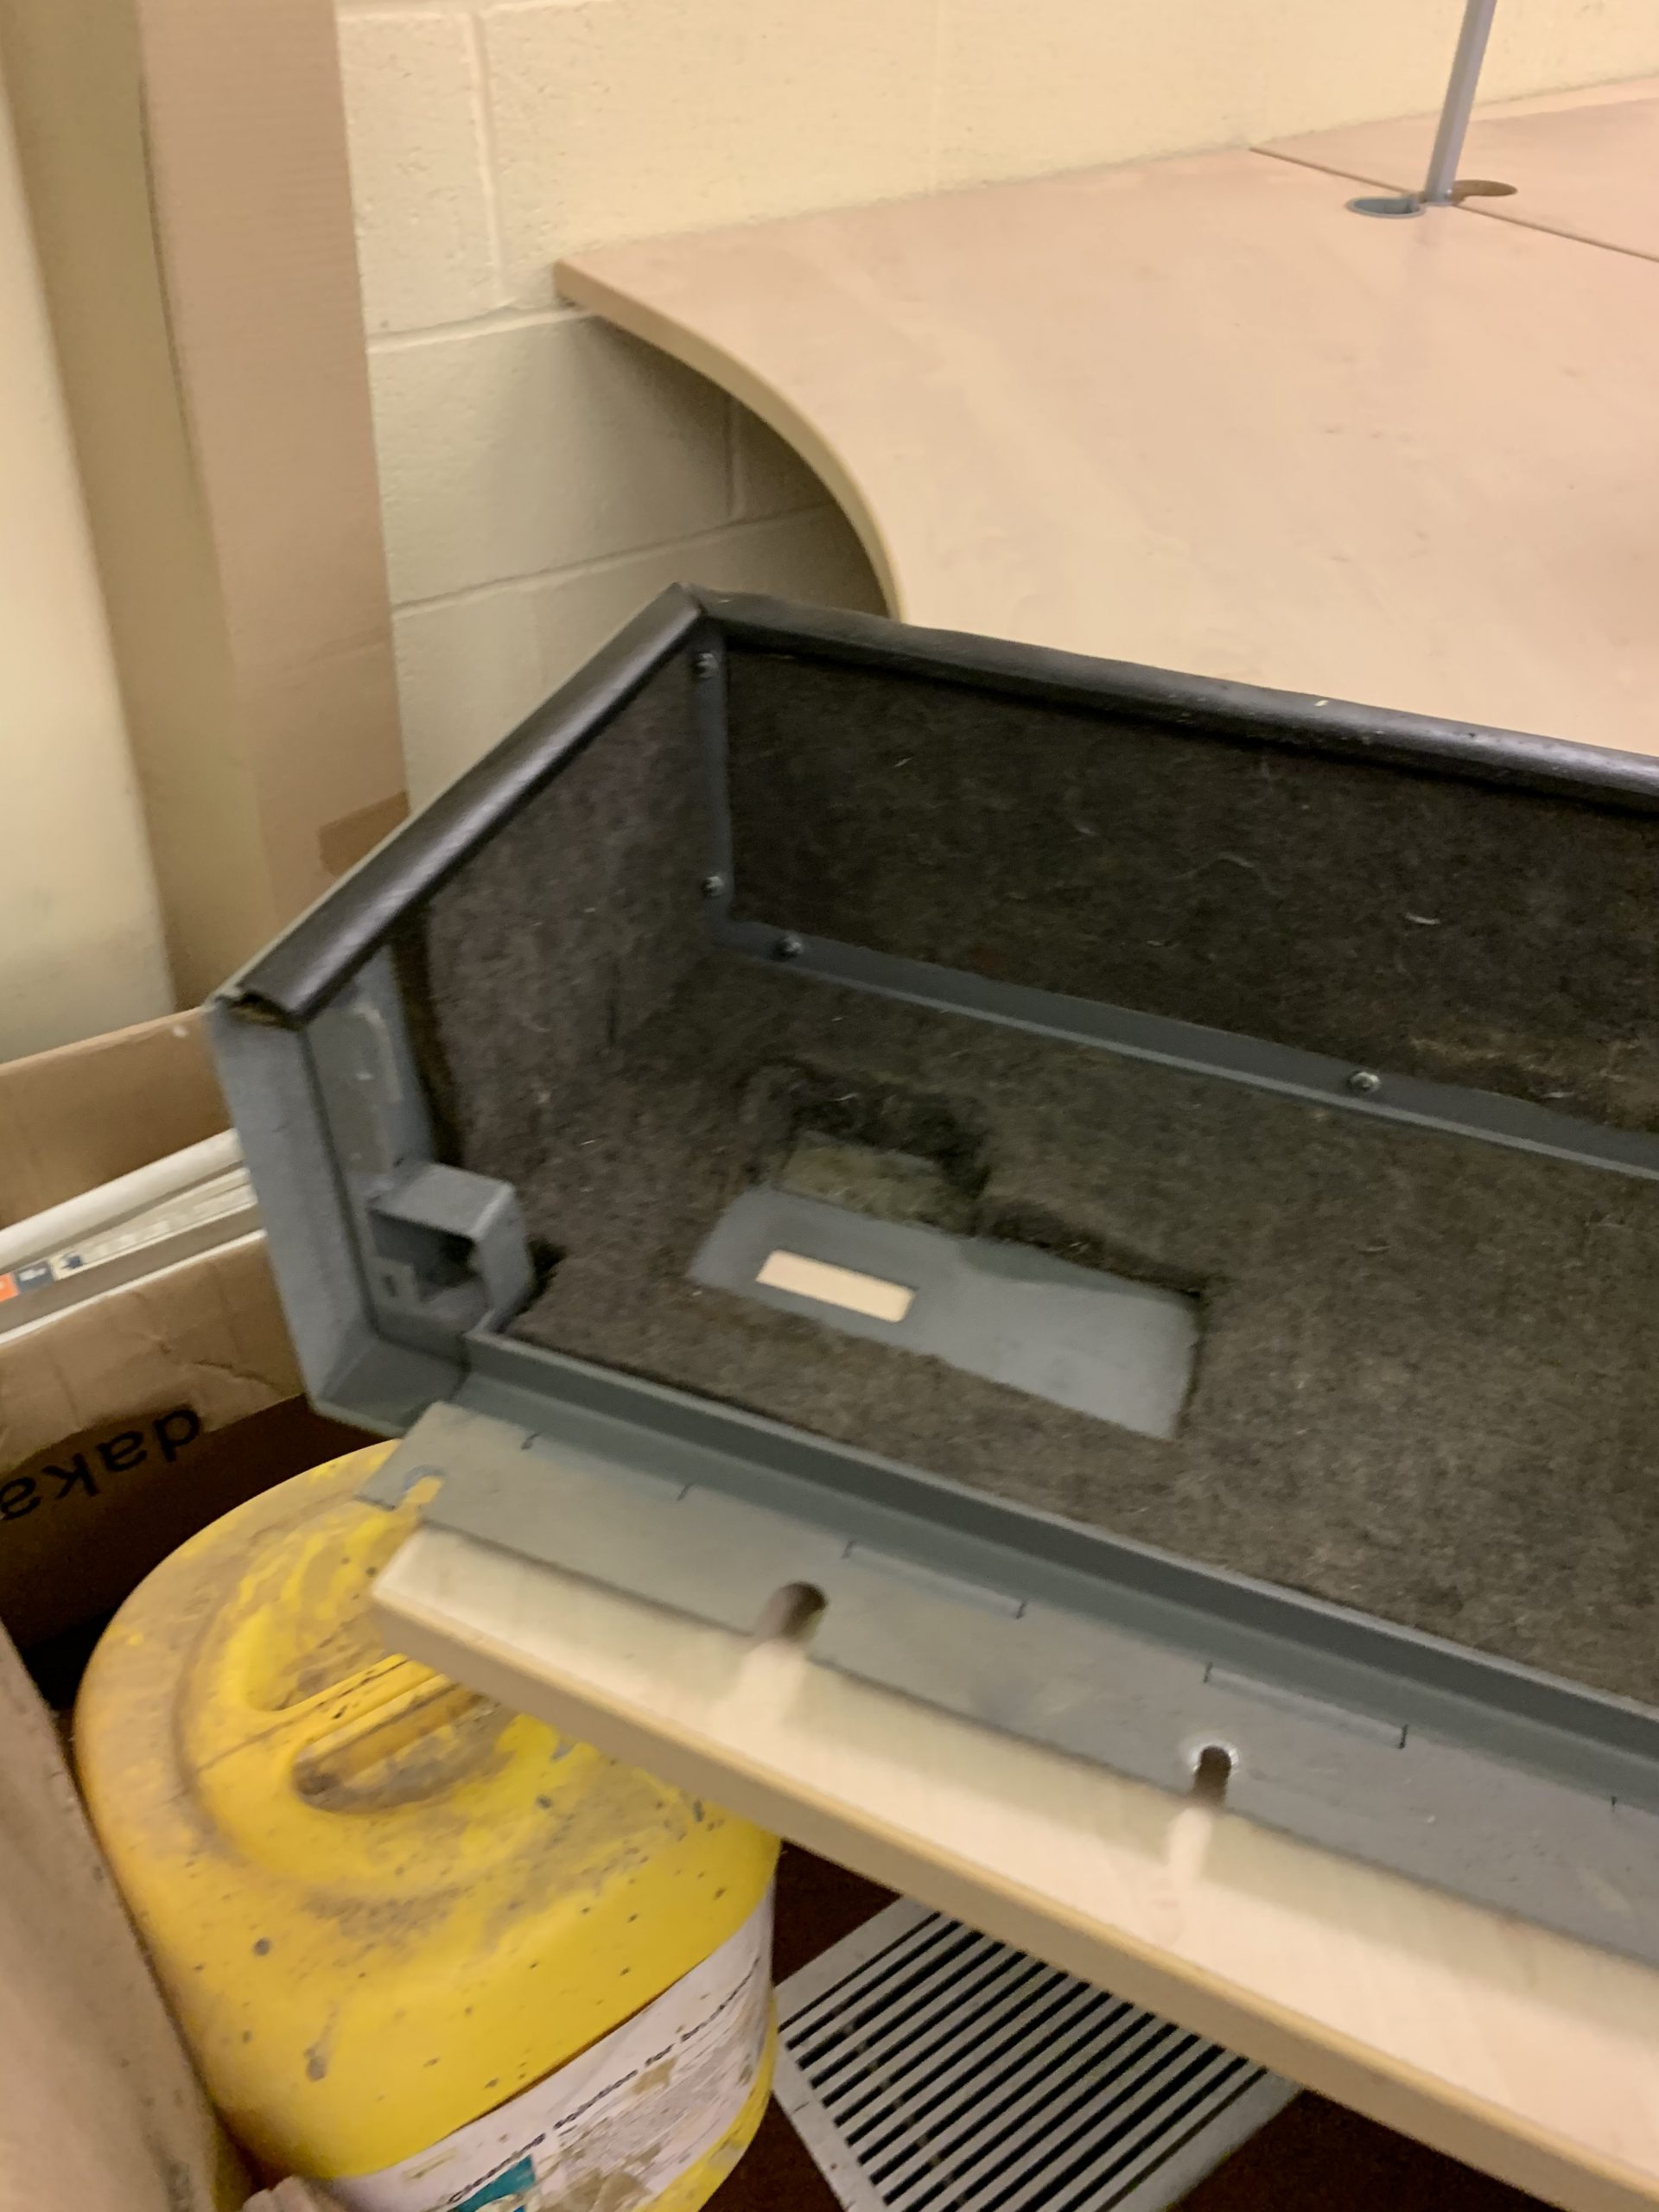
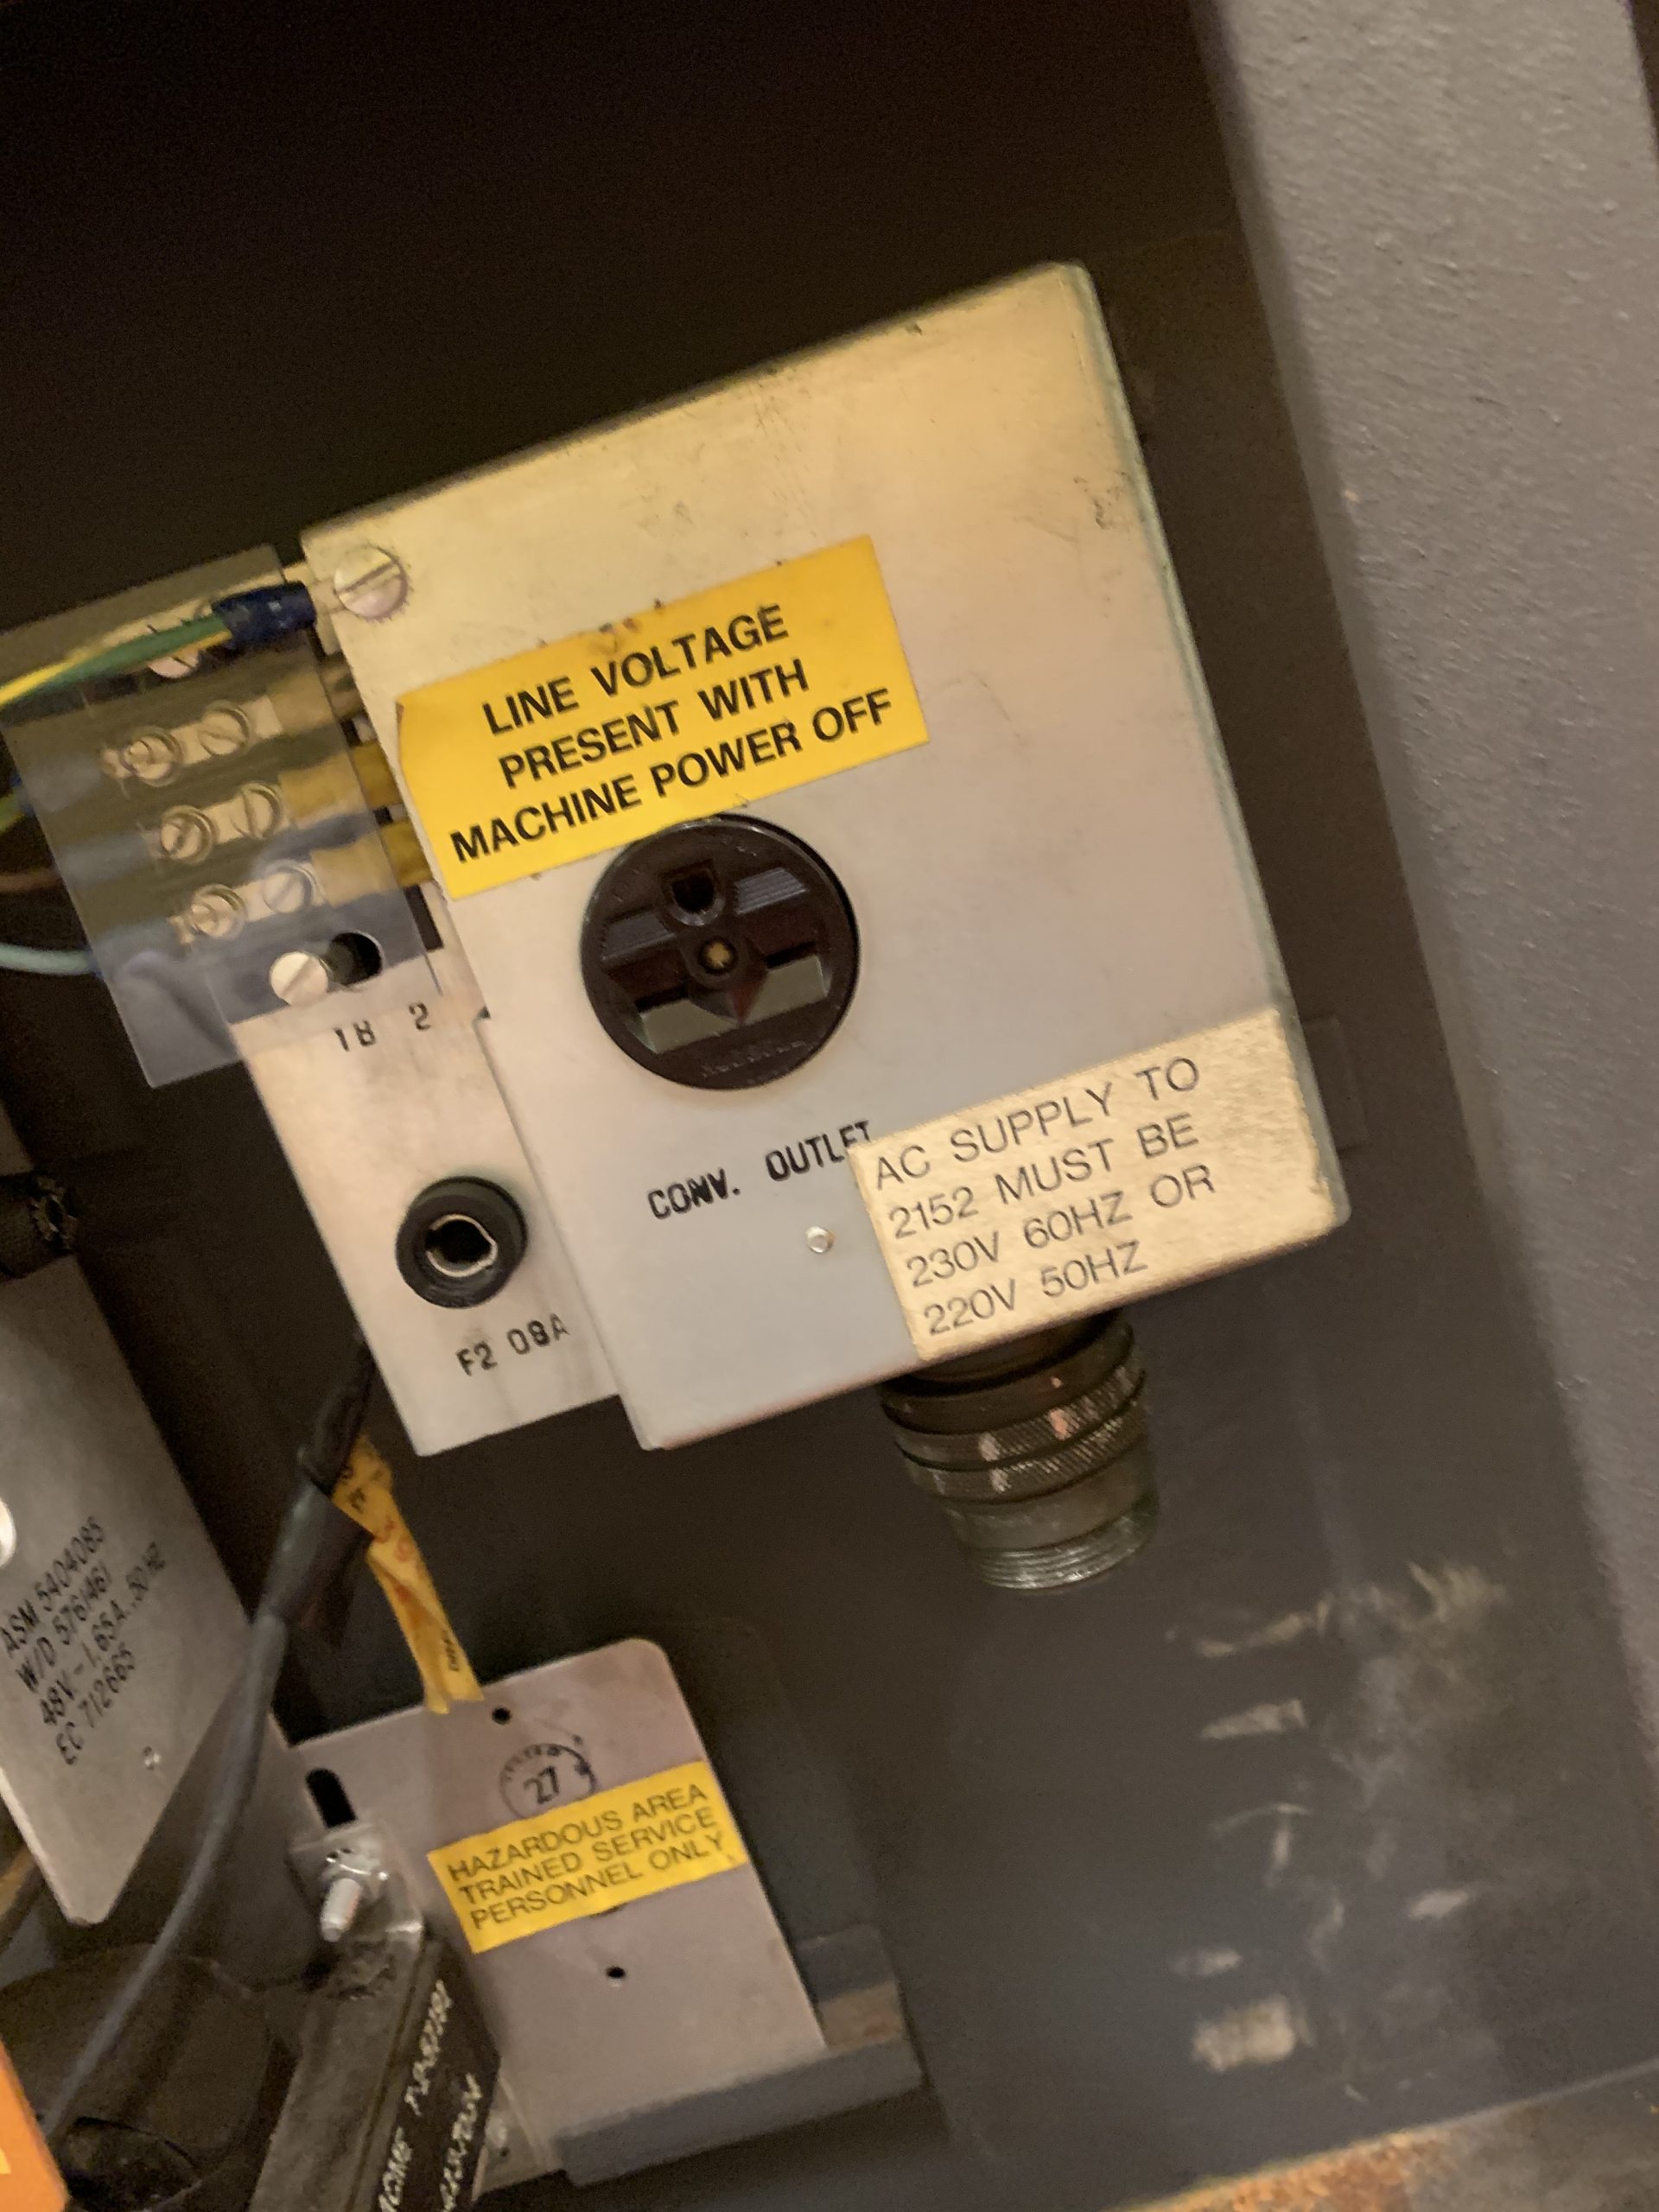
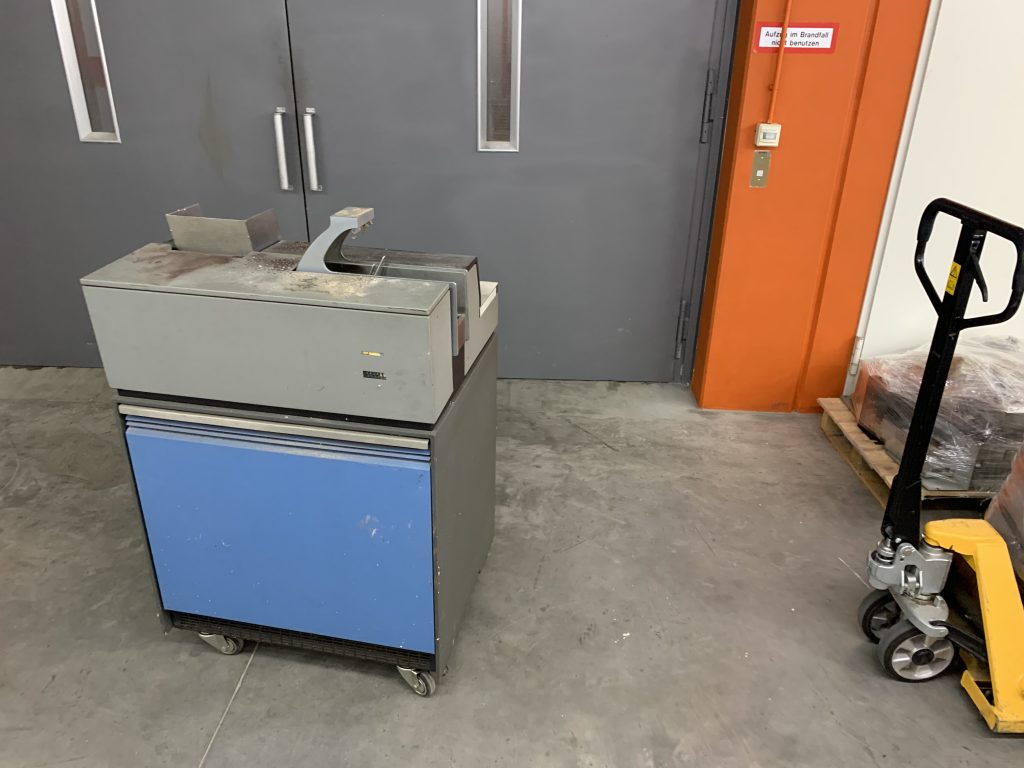
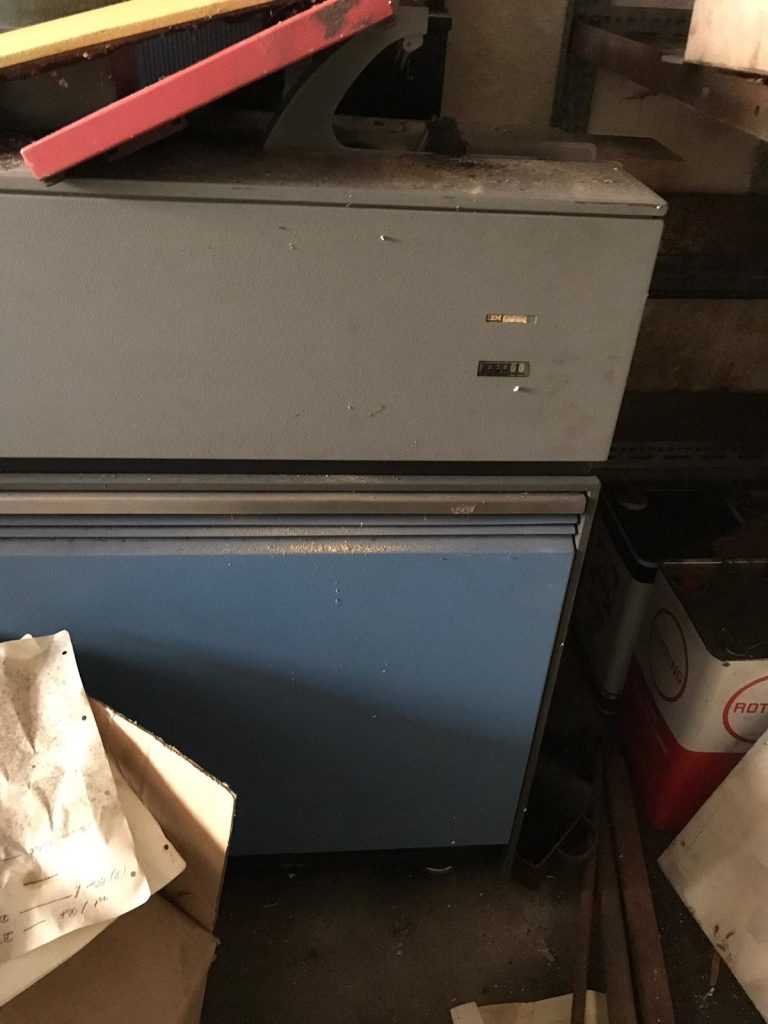
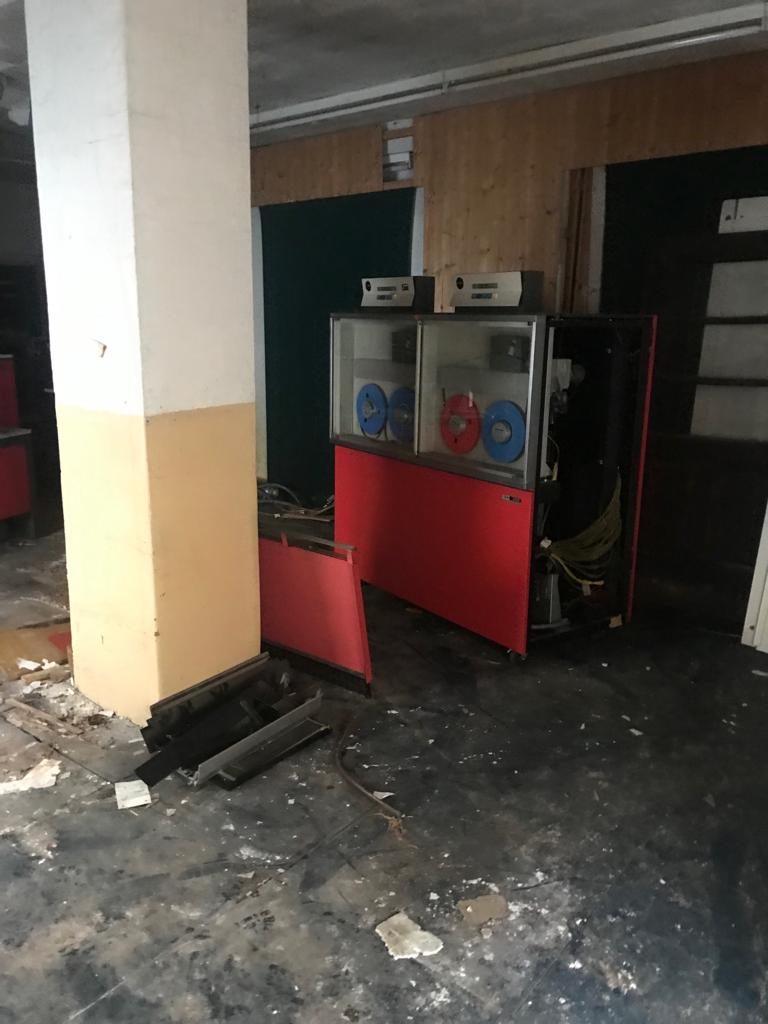
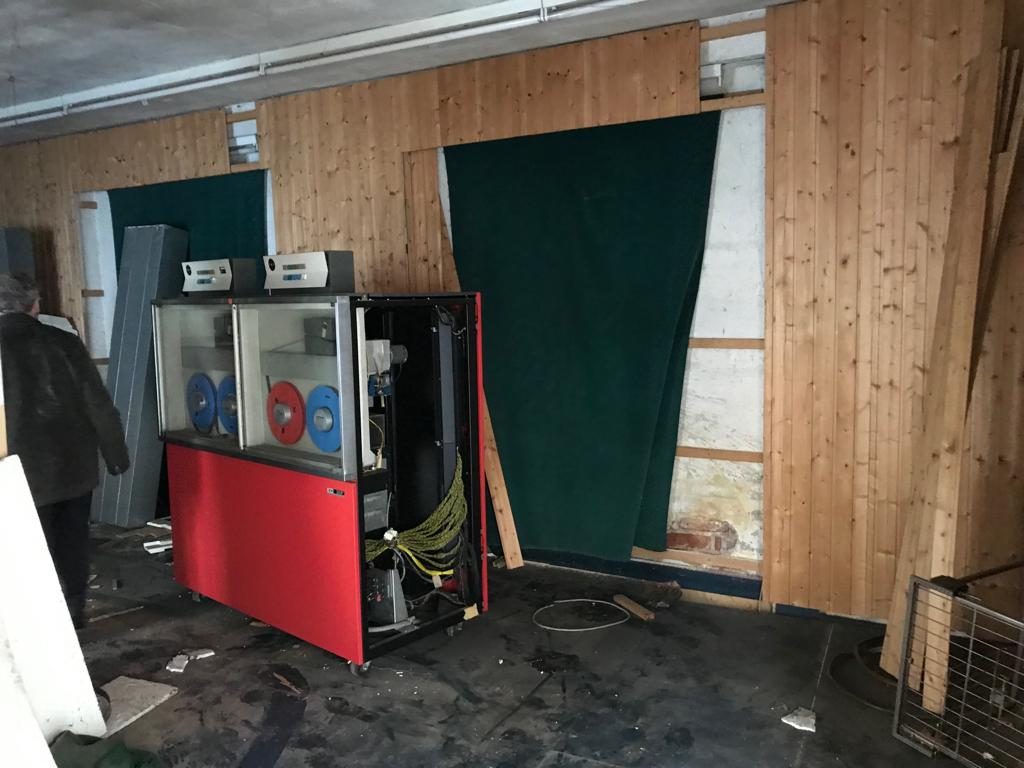
Now some of you may remember seeing a somewhat worse-for-wear looking system console in the early photo sets:
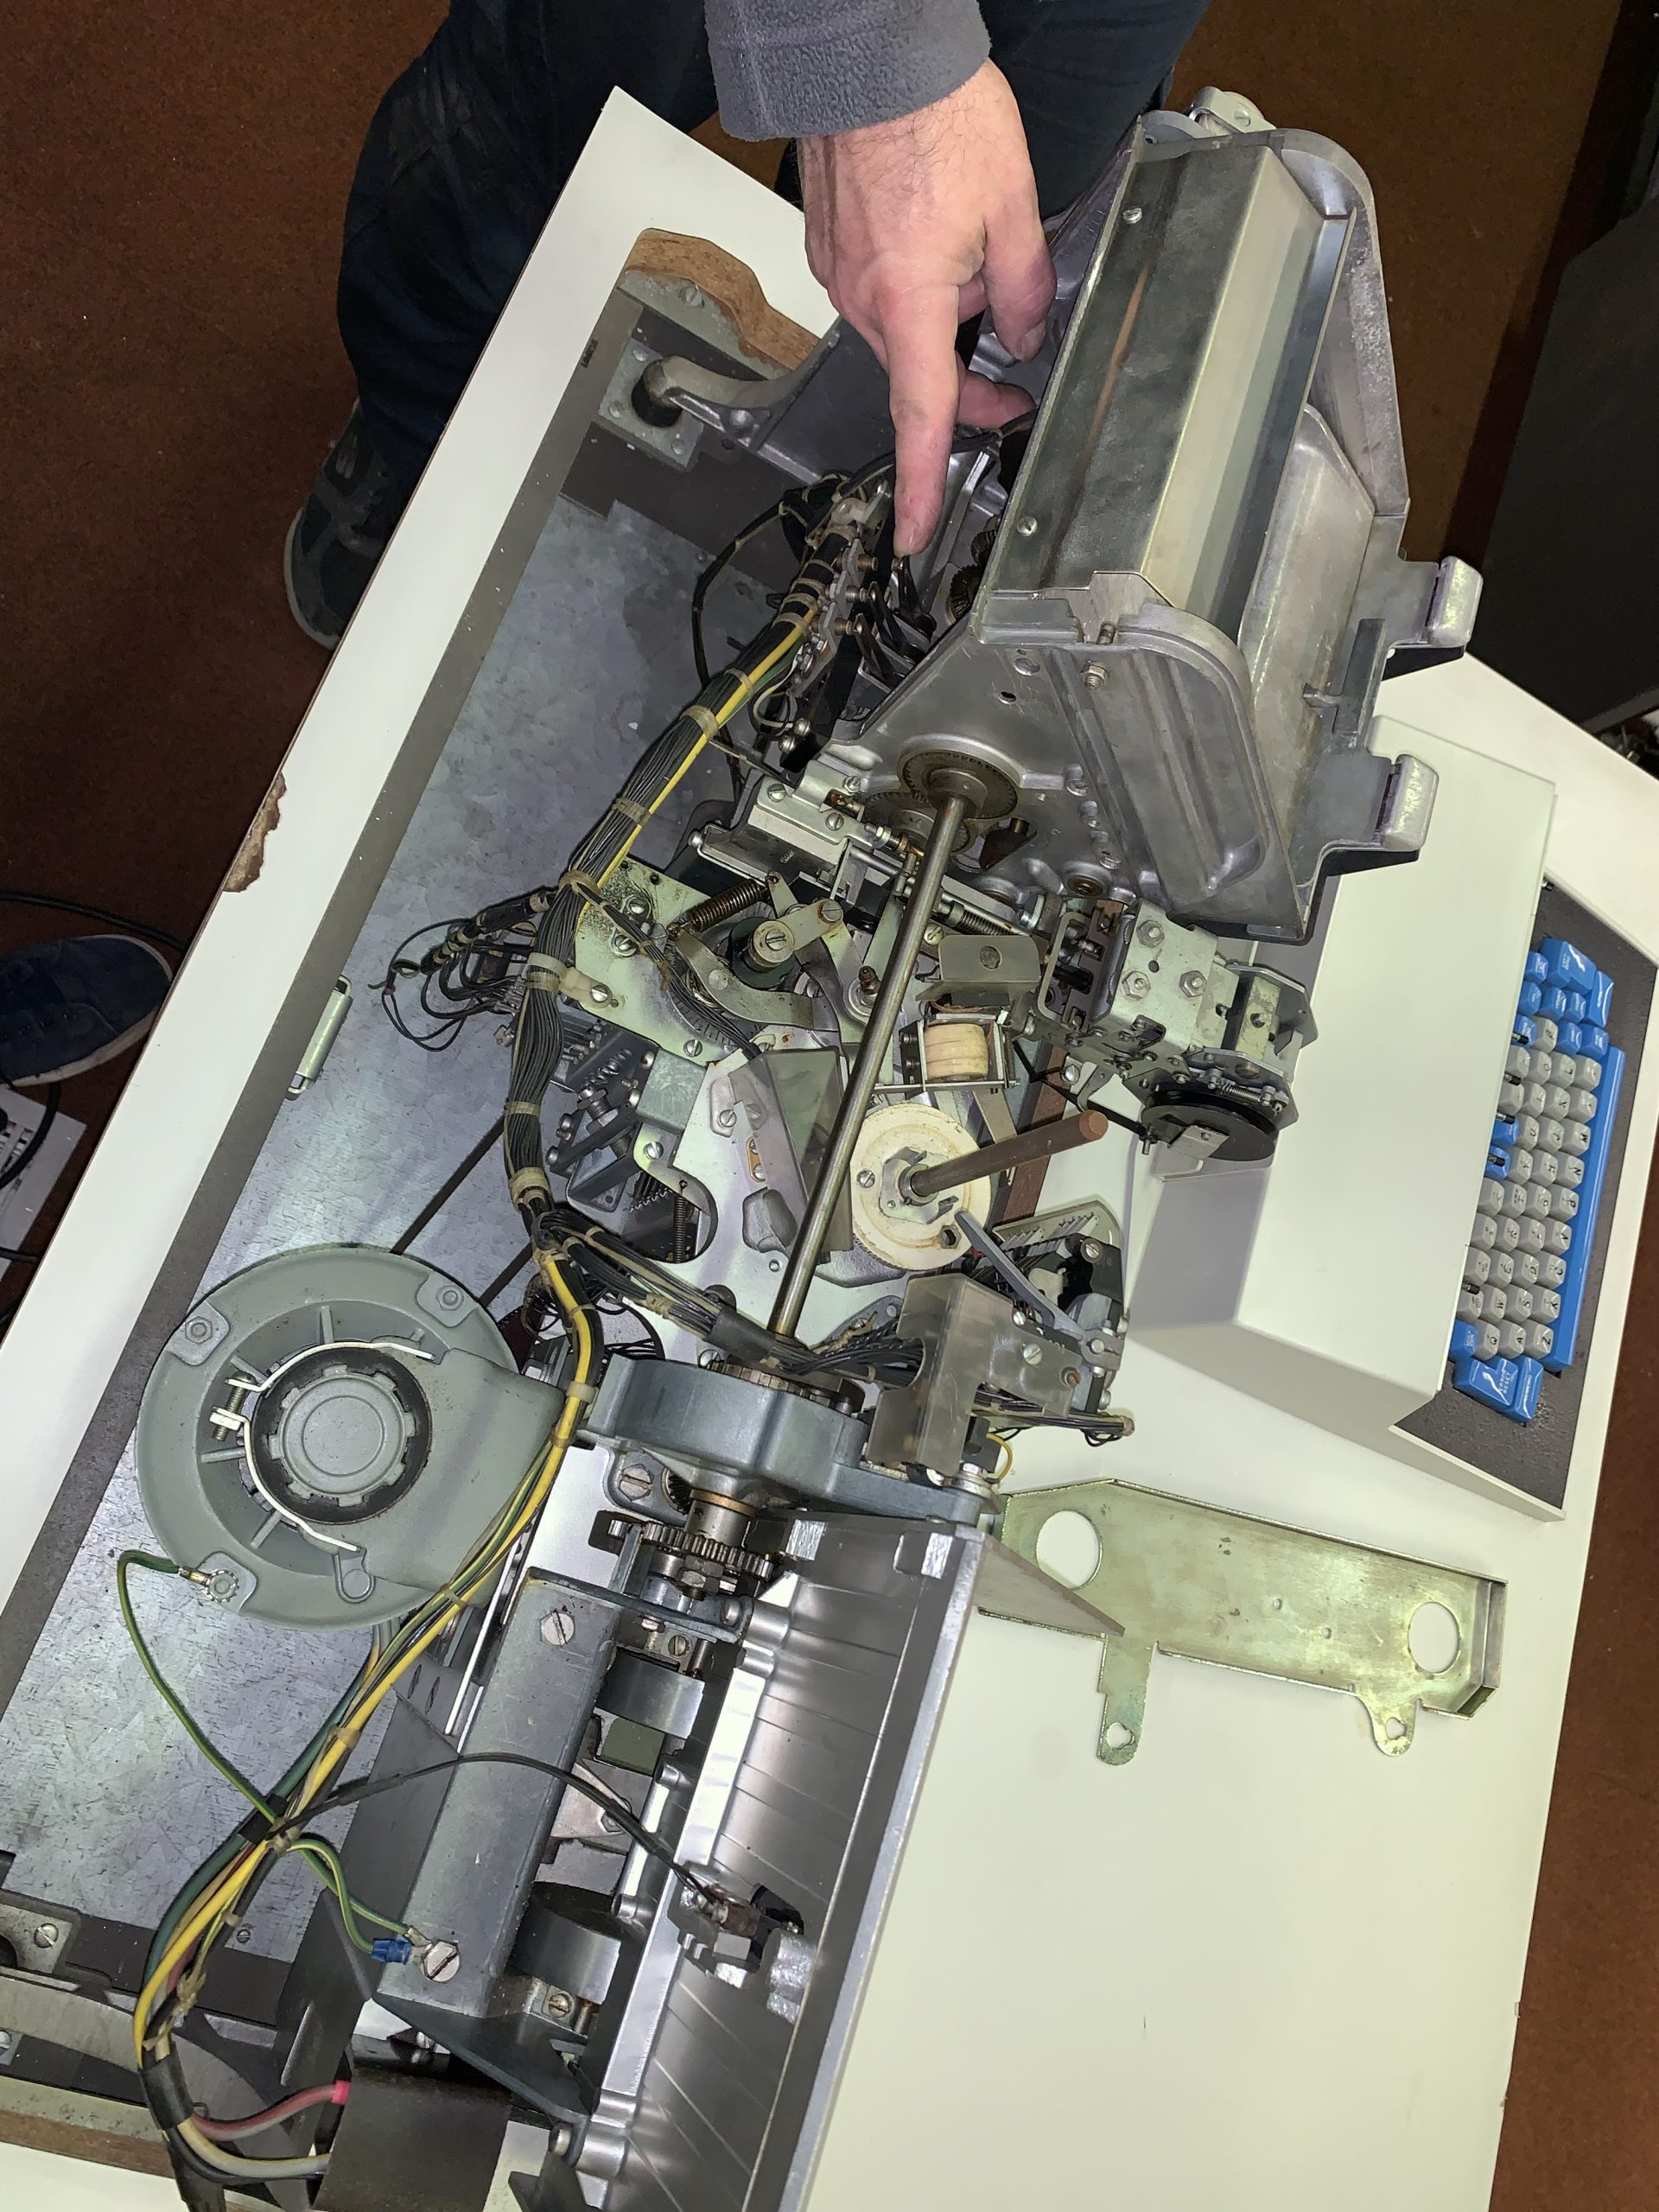
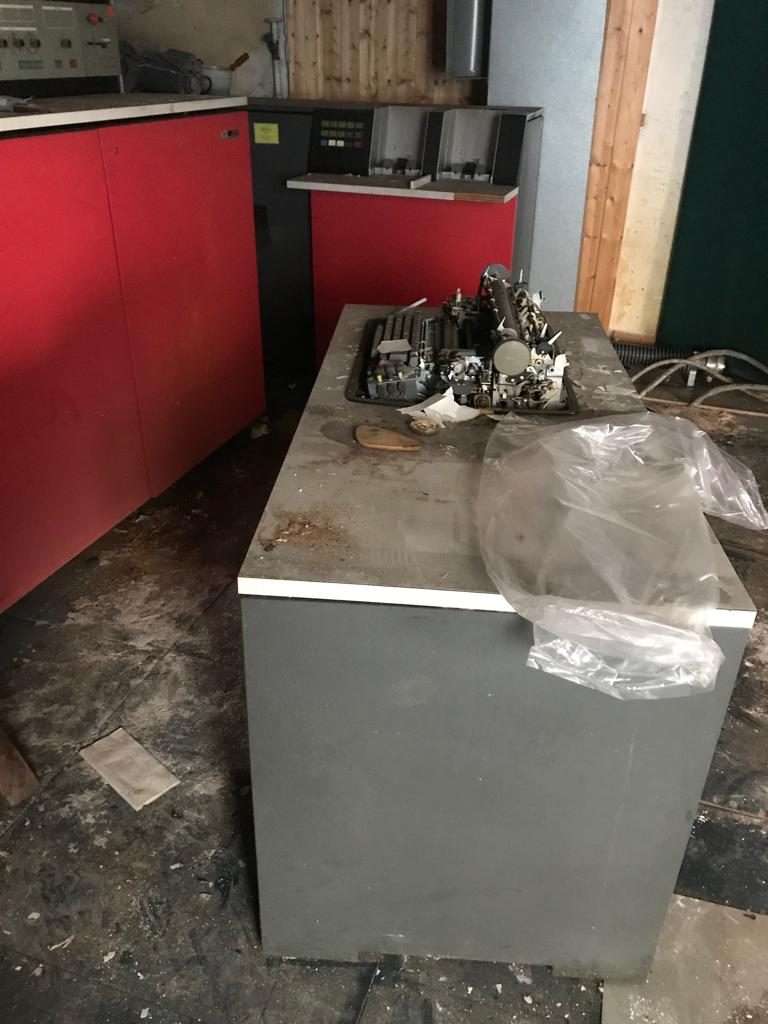
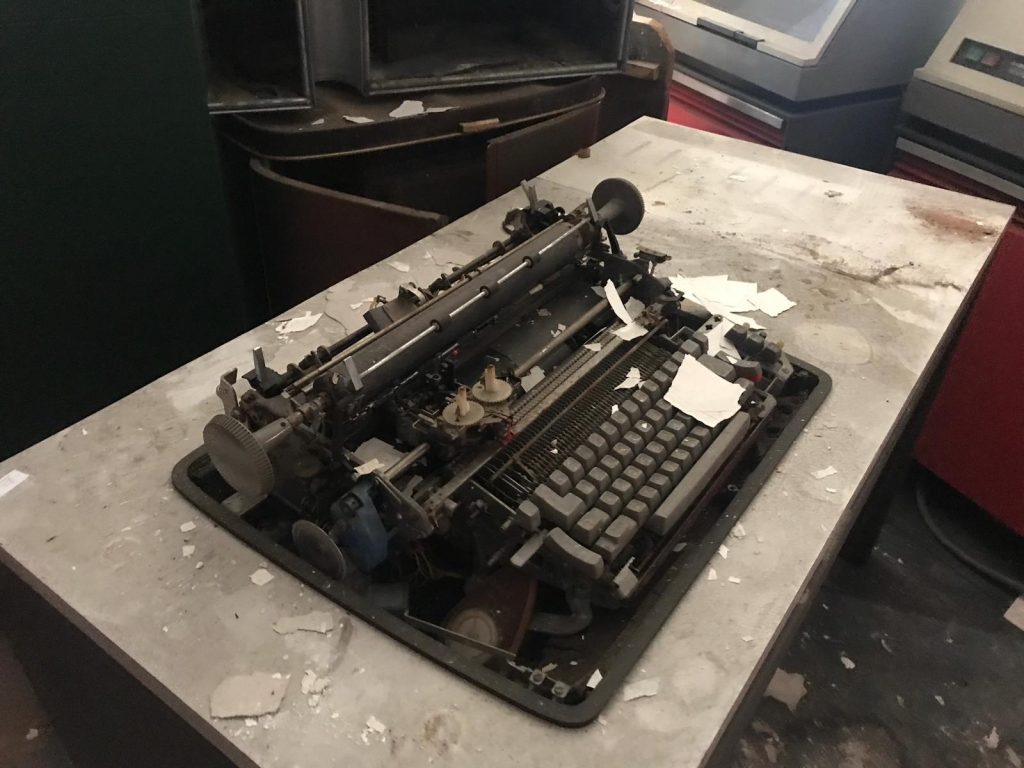
This is labelled as a 2152, but we can find very little information about it anywhere. I’ve also not seen any photos of it attached to systems, but I do know it was cabled into our red processor, and we have a cable labelled up for it, however it is in extremely poor condition. I decided to open it up and take a look at it to determine it’s restorability.
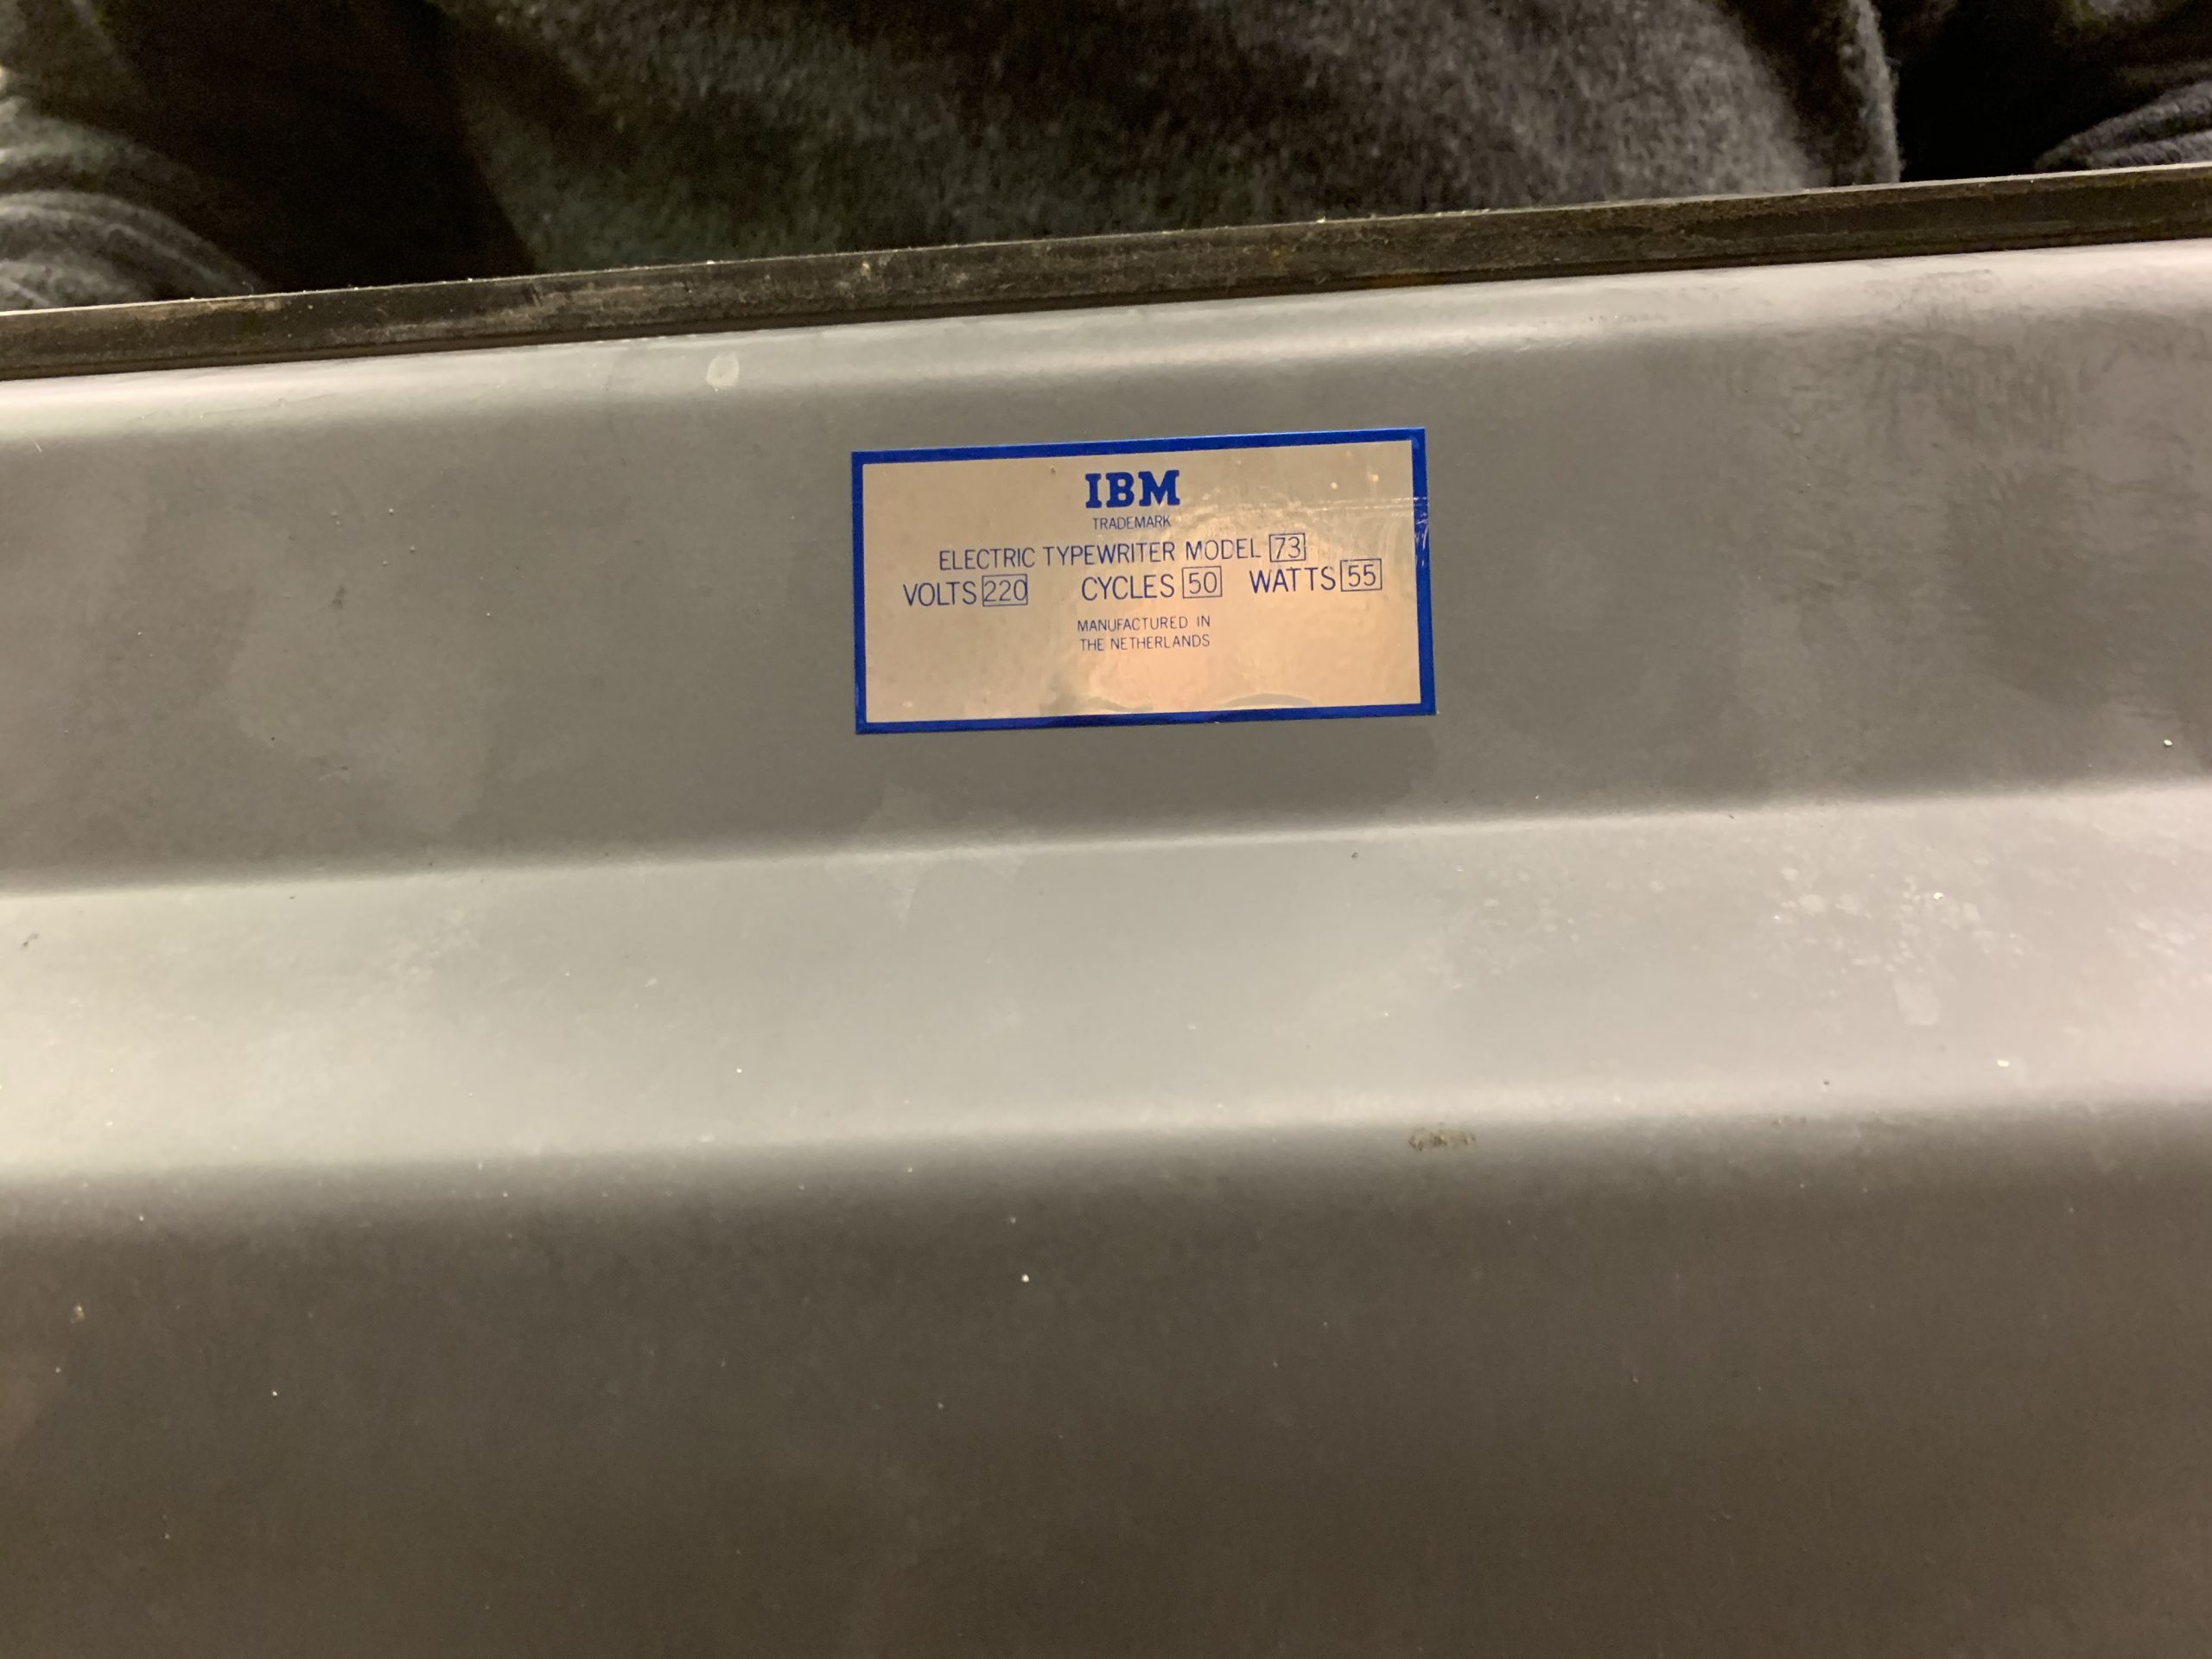
We pulled the teletype from the desk to expose the model label:
Okay, so we know it’s a model 73. I’m no expert on IBM Selectrics, so I posted in an IBM golfball typewriter facebook group. They informed me that this was akin to a 72, but with some extra bits. A chap on there has very kindly offered to donate a model 72 to us to use for parts to repair our 73; this is going to be no easy task! If you happen to be, or know, a selectric engineer we could really use some help!
The current state of our 73
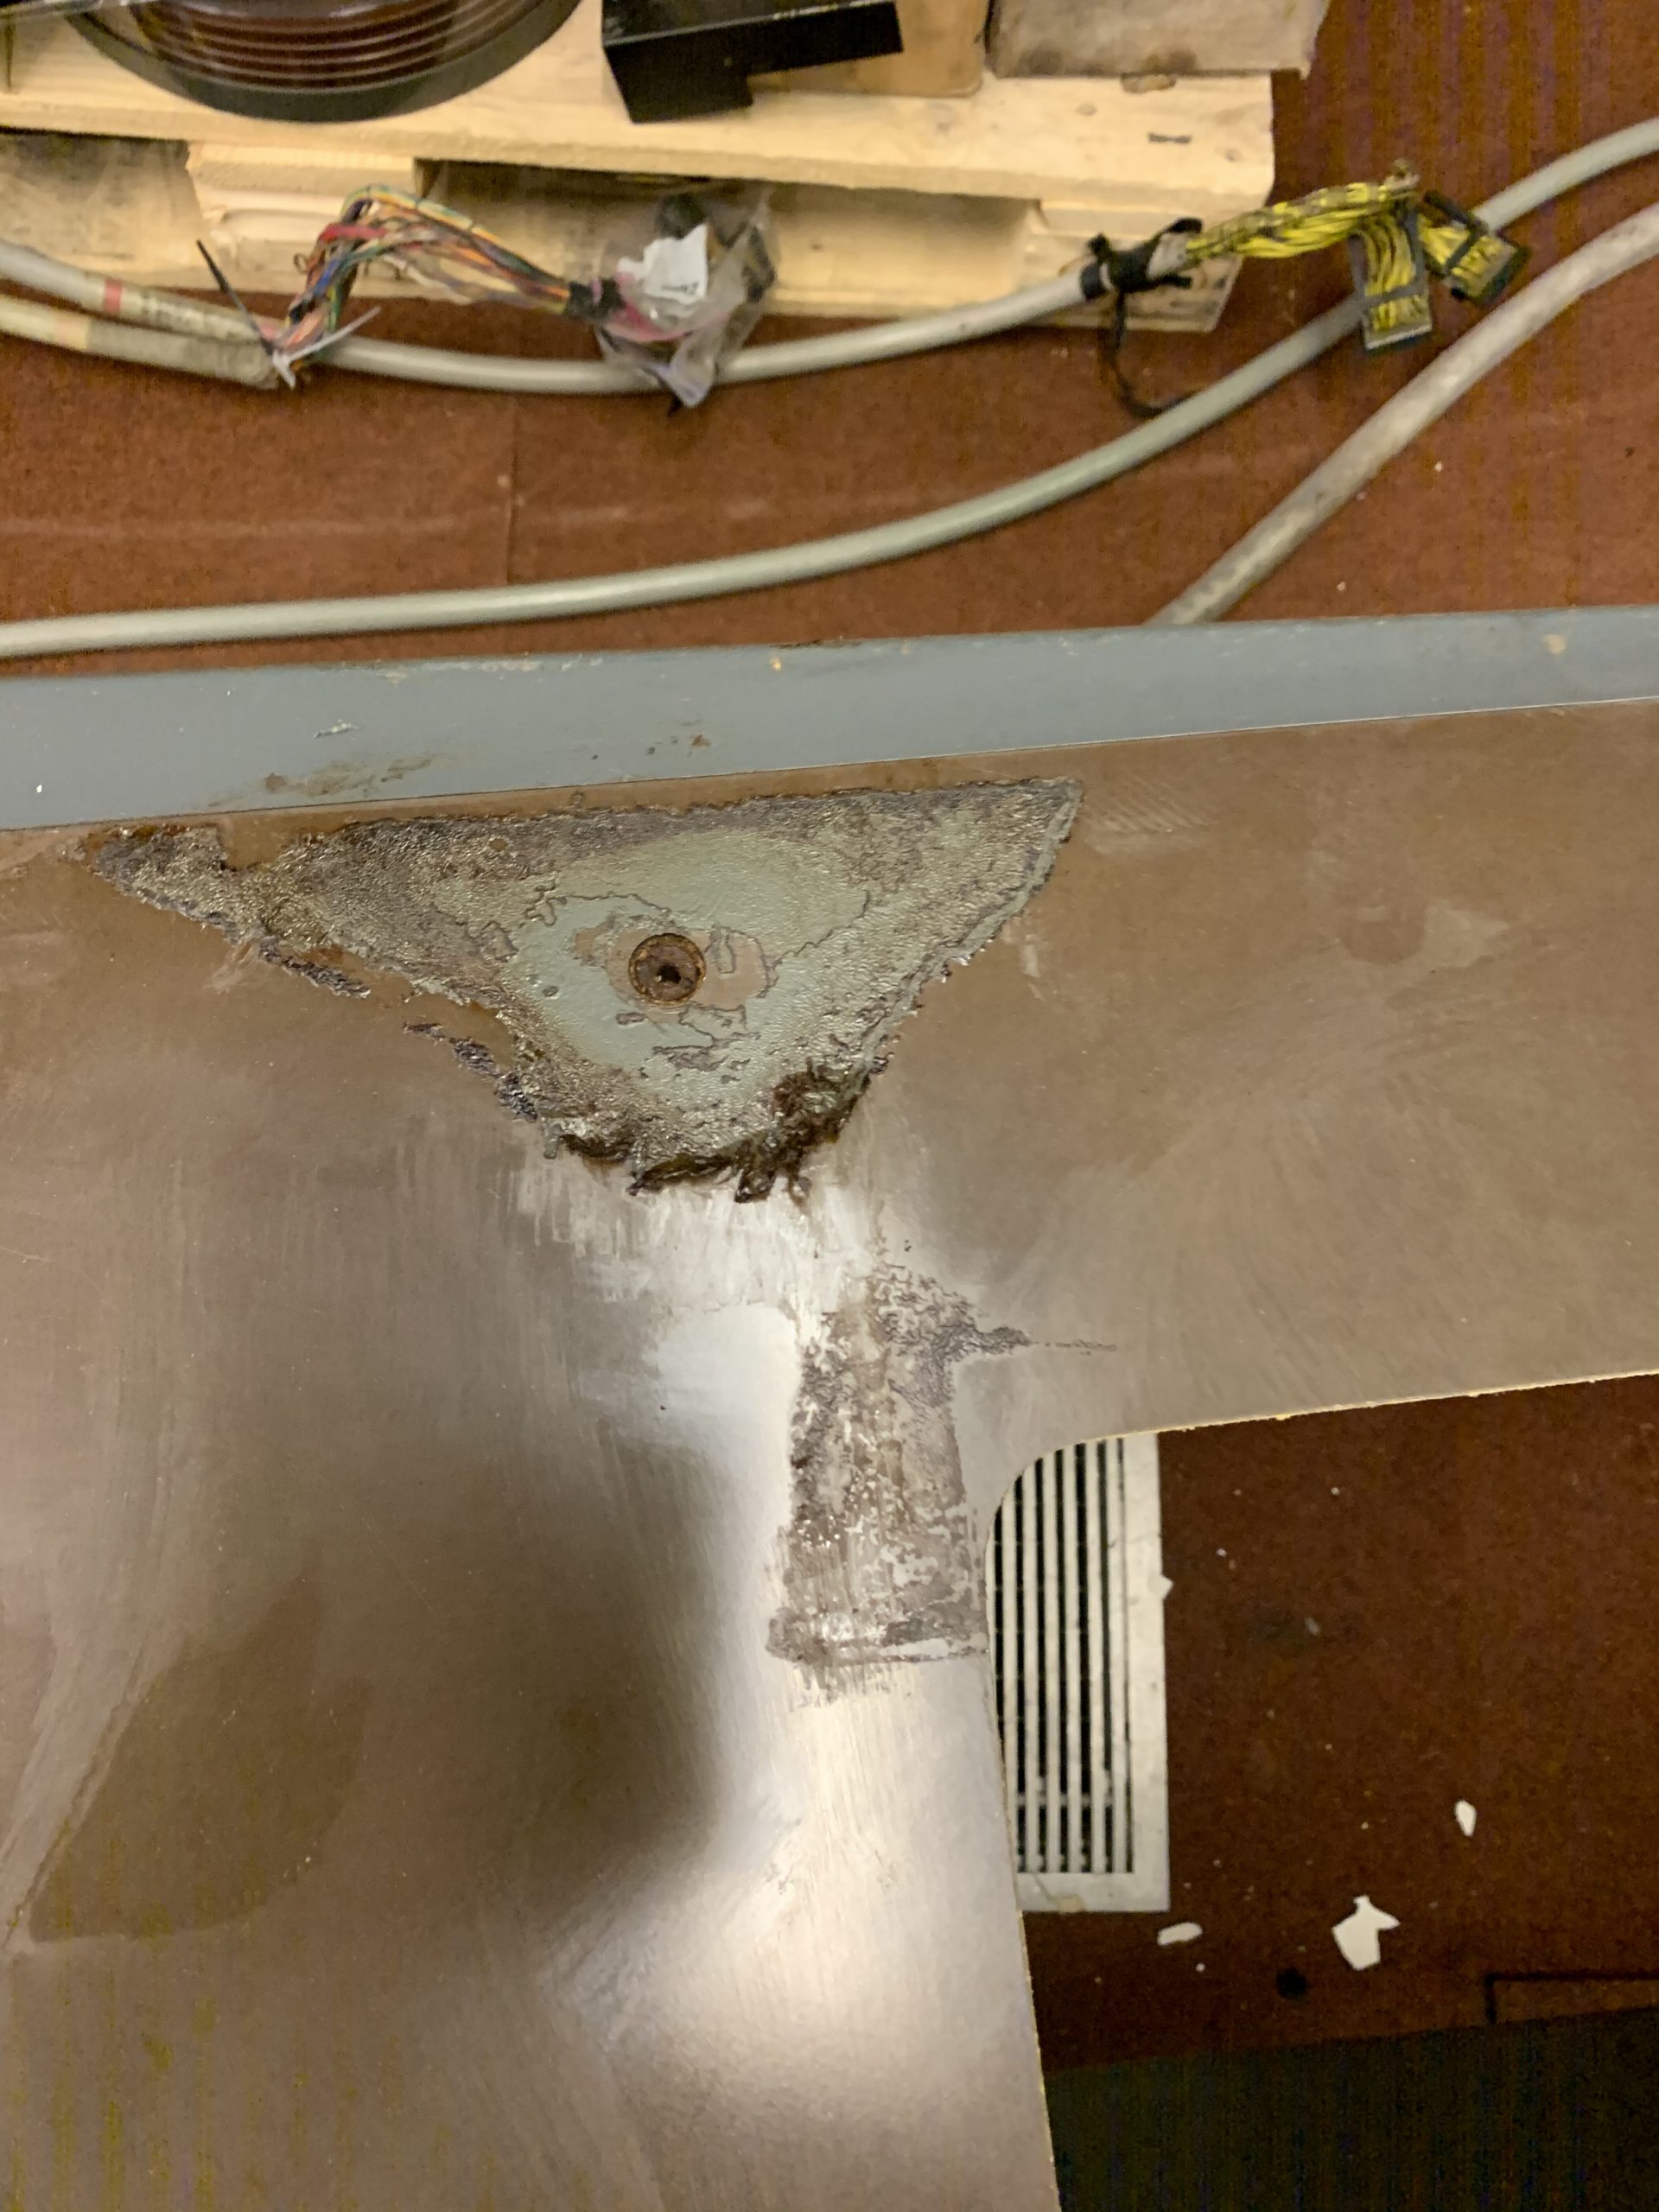
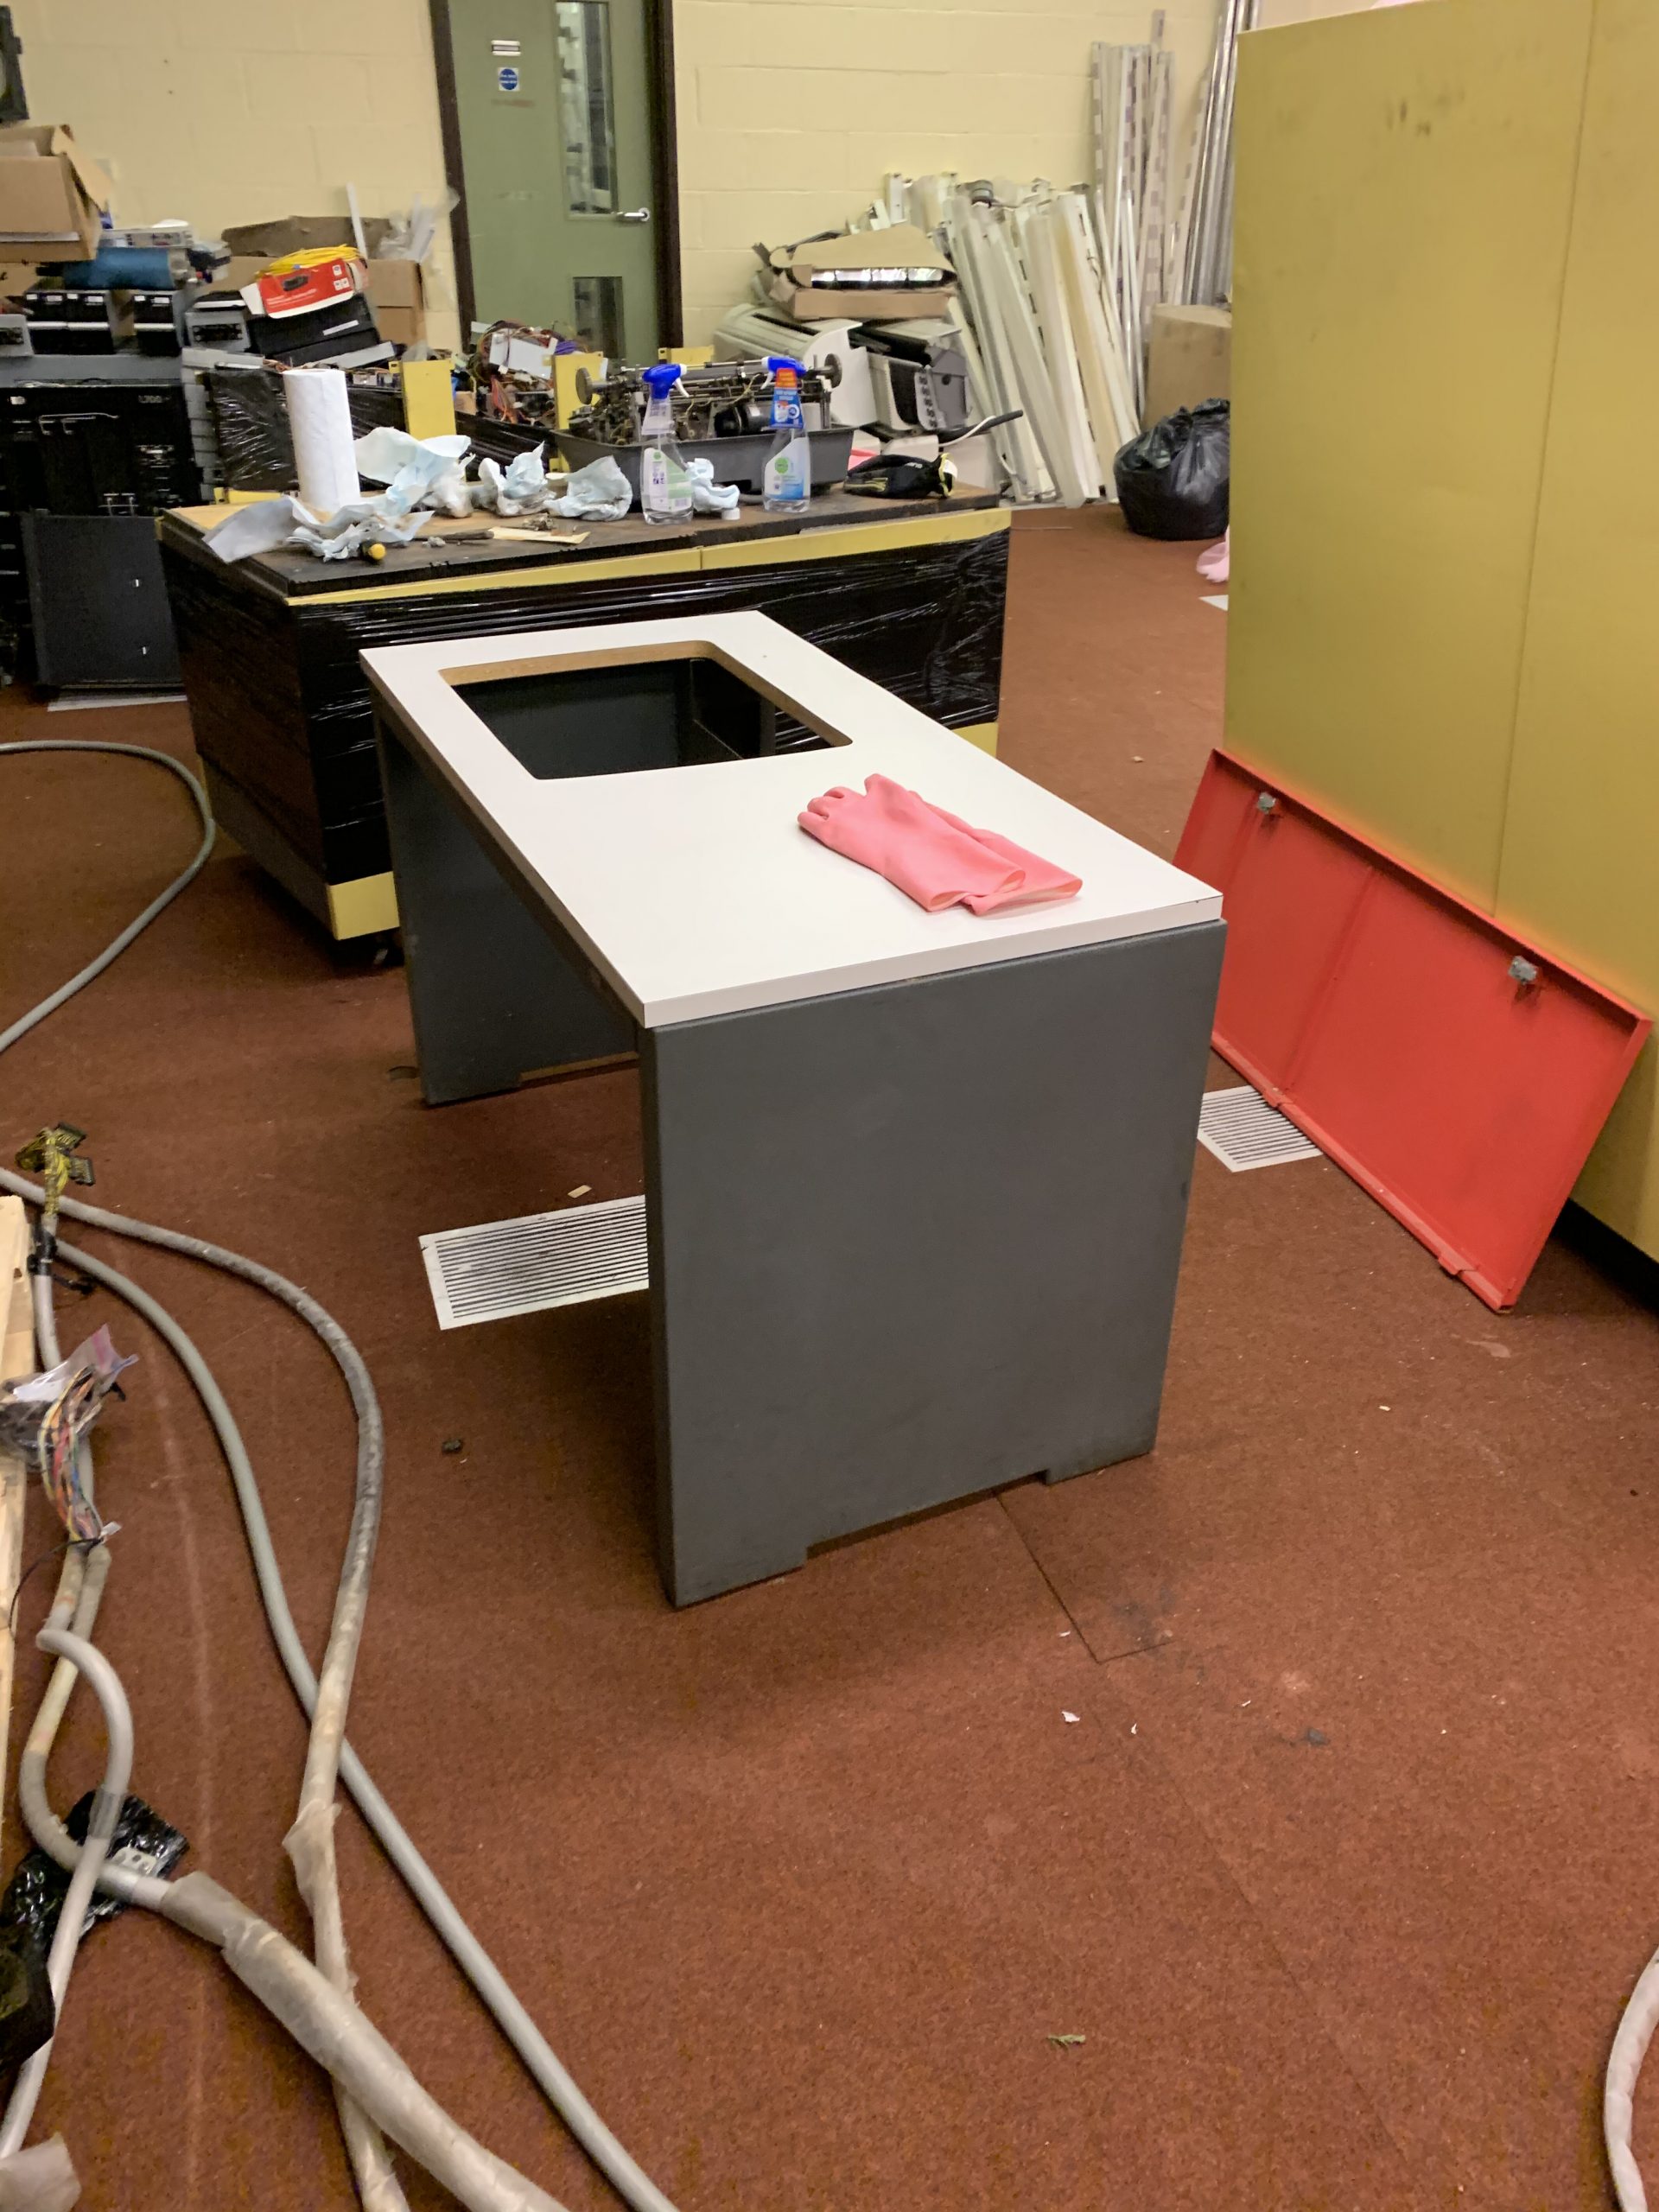
Since I can’t do much with that just yet, I thought I’d turn my attention to the rest of the desk:
I gave it a good clean up and removed the oily residue on the underside of the top panel as pictured. The frame is quite rusty so I’m going to have to treat that and decide a more permanent way forward to preserve the sheet metal. This will inevitably form part of the restoration and conservation policy. The Power Supply will require re-capping, and I’ll also be replacing the cowboy cabling install that’s left about 5 feet of unused cable shoved in the side, but this is all subject to us having a working Selectric teletype to use on the desk!
The only other news is mainly to do with organisation rather than restoration, but we’re having some 3-phase sockets installed to run the heaters from, and we’ve also ordered some Shelving from BigDug for all of the accessory items. With Christmas coming up we may not have very many updates for a while, but we’ll keep you updated with anything we do manage to get done. If you enjoy reading the blog and you fancy helping us out, we do have an Amazon Wishlist located here, and a Paypal donations link here. We really appreciate any help you can give us. Until next time!
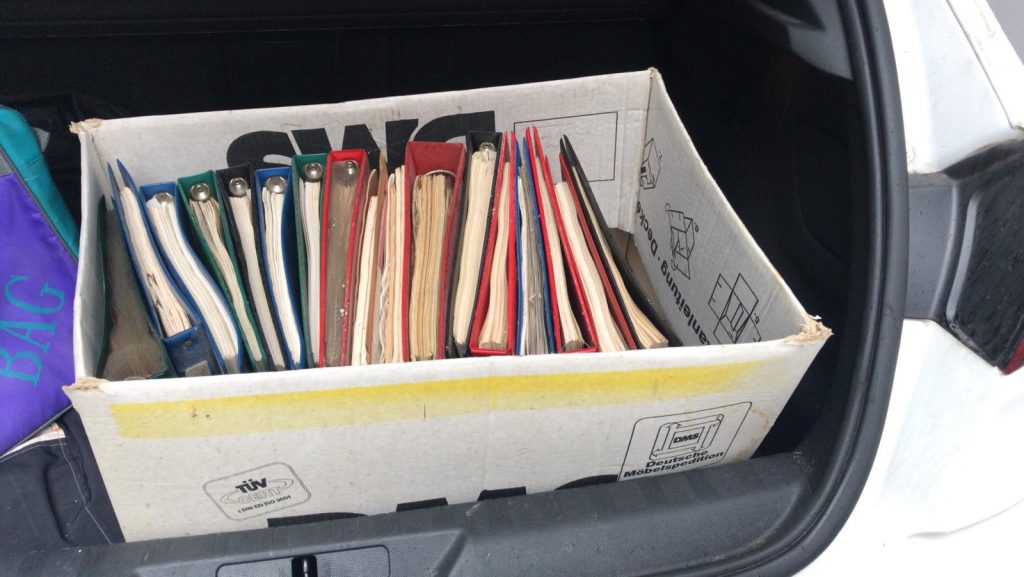
So we mentioned in some of our earlier posts that we have a plethora of manuals that we found in the original building. These manuals are a rather obscure size being slightly longer than A3. This makes them very inconvenient to scan as they don’t fit on a regular scanner, and as such we needed a much bigger scanner. A0 scanners are particularly scarce, especially on the used market, and they command a high price (usually in the thousands).
After browsing eBay for a while I happened upon a listing by a recycling company located fairly near to me for a Colortrac SmartLF Cx40 in unknown condition. For the price (<£100) it was worth a punt! I won the bidding for just under £100 and my Father kindly collected it for me the following day whilst I was at work.
Once I had the scanner home, I proceeded to go online and download all of the available software and manuals as due to its origin it was a bare bones scanner. Once I had a VM setup on my MacBook (yes, it only works in Windows), I set about powering on the scanner. It powered up okay, and was recognised by the software – so far so good! Next, I tried to scan something. Now I should explain, this scanner is not an A0 flat bed, that would be far too large to fit in my house; instead this is an A0 sheet feed scanner that takes one sheet at a time. The way it does this is rather than one large CCD spanning the length of scanner, it has multiple CCD’s staggered down the reading edge. The software on the PC then stitches together the various images from the CCD’s and produces a final image, so when I scanned the first item I got something resembling a very strange piece of abstract art. After consulting the manual it appeared that I needed a specific alignment sheet to put through the scanner which aligns all of the CCD’s. I then spent weeks scouring the internet to find one of these sheets, but alas I could not find one. What I did find is a diagram of one in a manual from a much older colortrac scanner….
So I did what any good engineer would do. I got some A0 paper, and I did my best to hand draw the same sort of thing as on the diagram (two triangles if you’re interested). I then ran the calibration utility on the software with the sheet in the scanner, and crossed my fingers. I then attempted a scan with an A0 sheet with various lines drawn on it, and it all seemed to align correctly! In hindsight, I think that the alignment is simply done by putting a large piece of paper through the scanner and it uses the edges to line up the CCD’s, but regardless of this it worked!
I scanned the first page of a document and it came out okay, and with some more adjustment to the various scanning settings I managed to get it scanning in some excellent quality images. There is a slight fault with one of the CCD’s that leaves a slight bluey tinge on one section of the image, but it’s barely noticeable and easily fixed in post-processing if so desired. I’ve already scanned a couple of manuals, but I’m not going to post them online just yet as I’ve asked some friends of the project at IBM to contact their legal department to get a letter stating that they’re happy for us to do so. If you’re reading this from IBM, please poke your legal team as we’re keen to get these manuals and in the future the software online ASAP so everybody can have a look through it all and to preserve everything publicly for future generations.
For now, have a picture of my lash up scanning station; I’m about to move this and revise it as I may have recruited somebody to scan everything for us who will be able to work on it a lot more than I can!
Note: This is non-destructive scanning. The Scissors are NOTHING to do with the manuals! The manuals are held in ring binders.
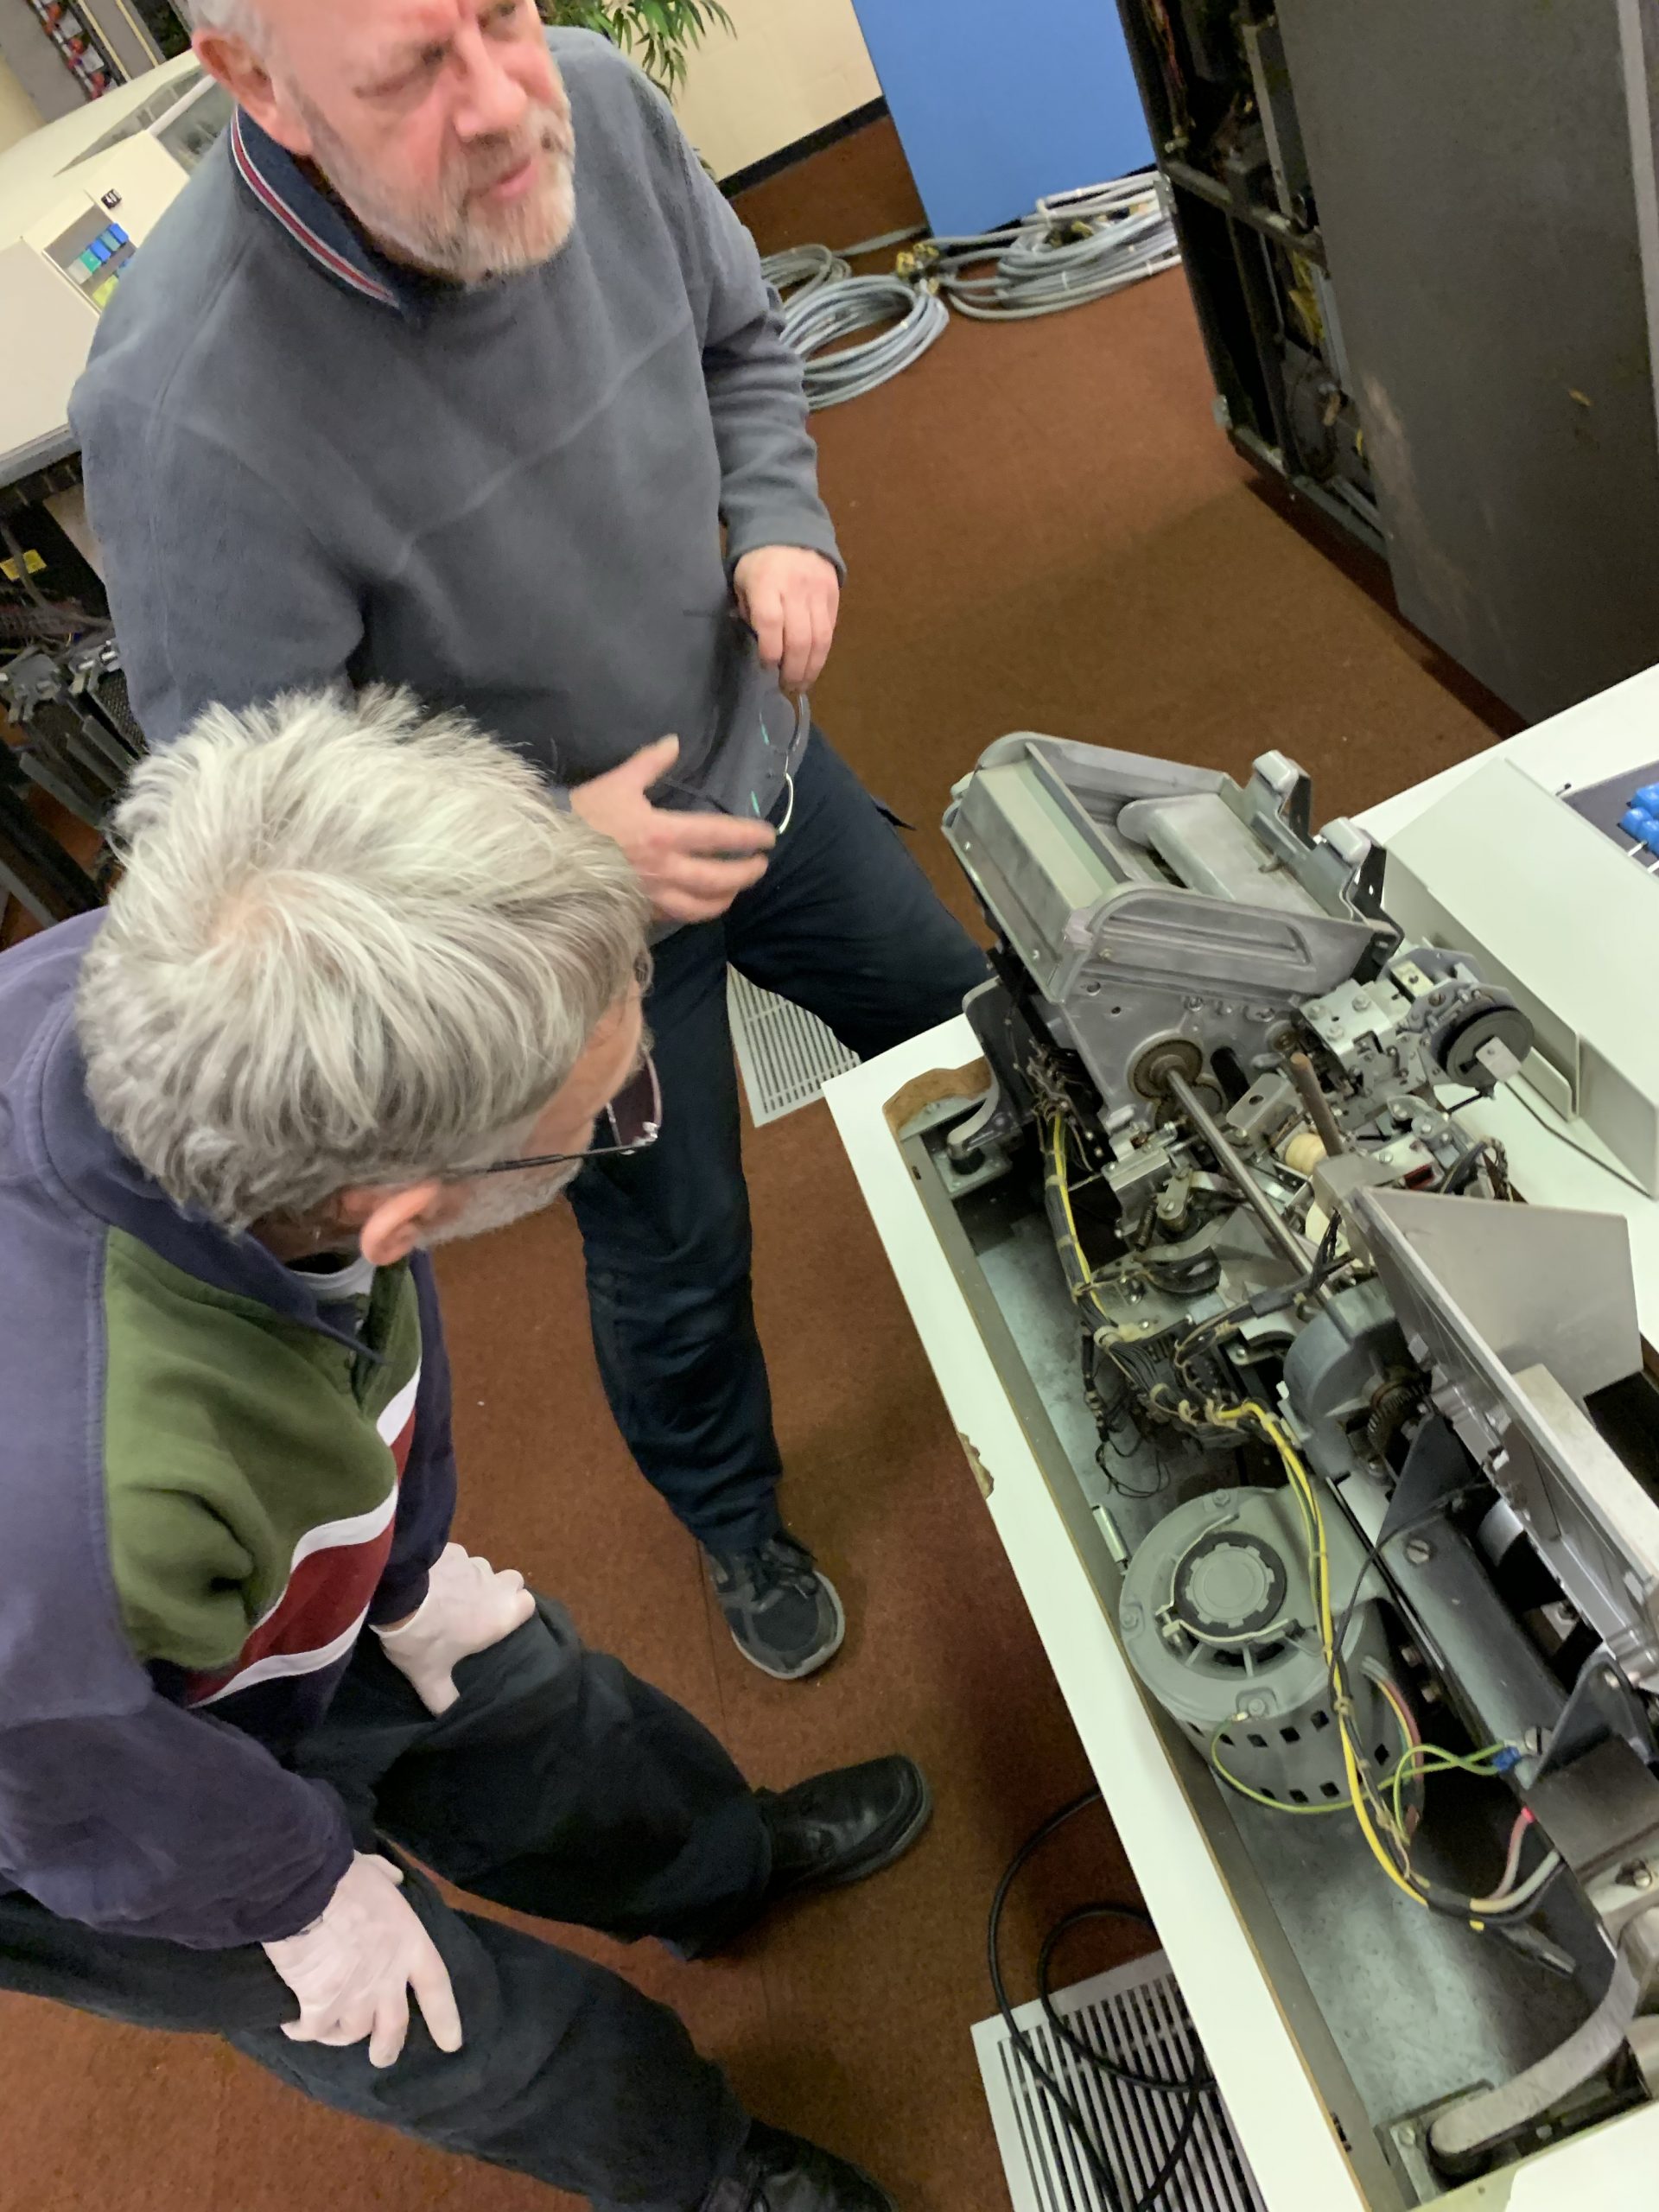
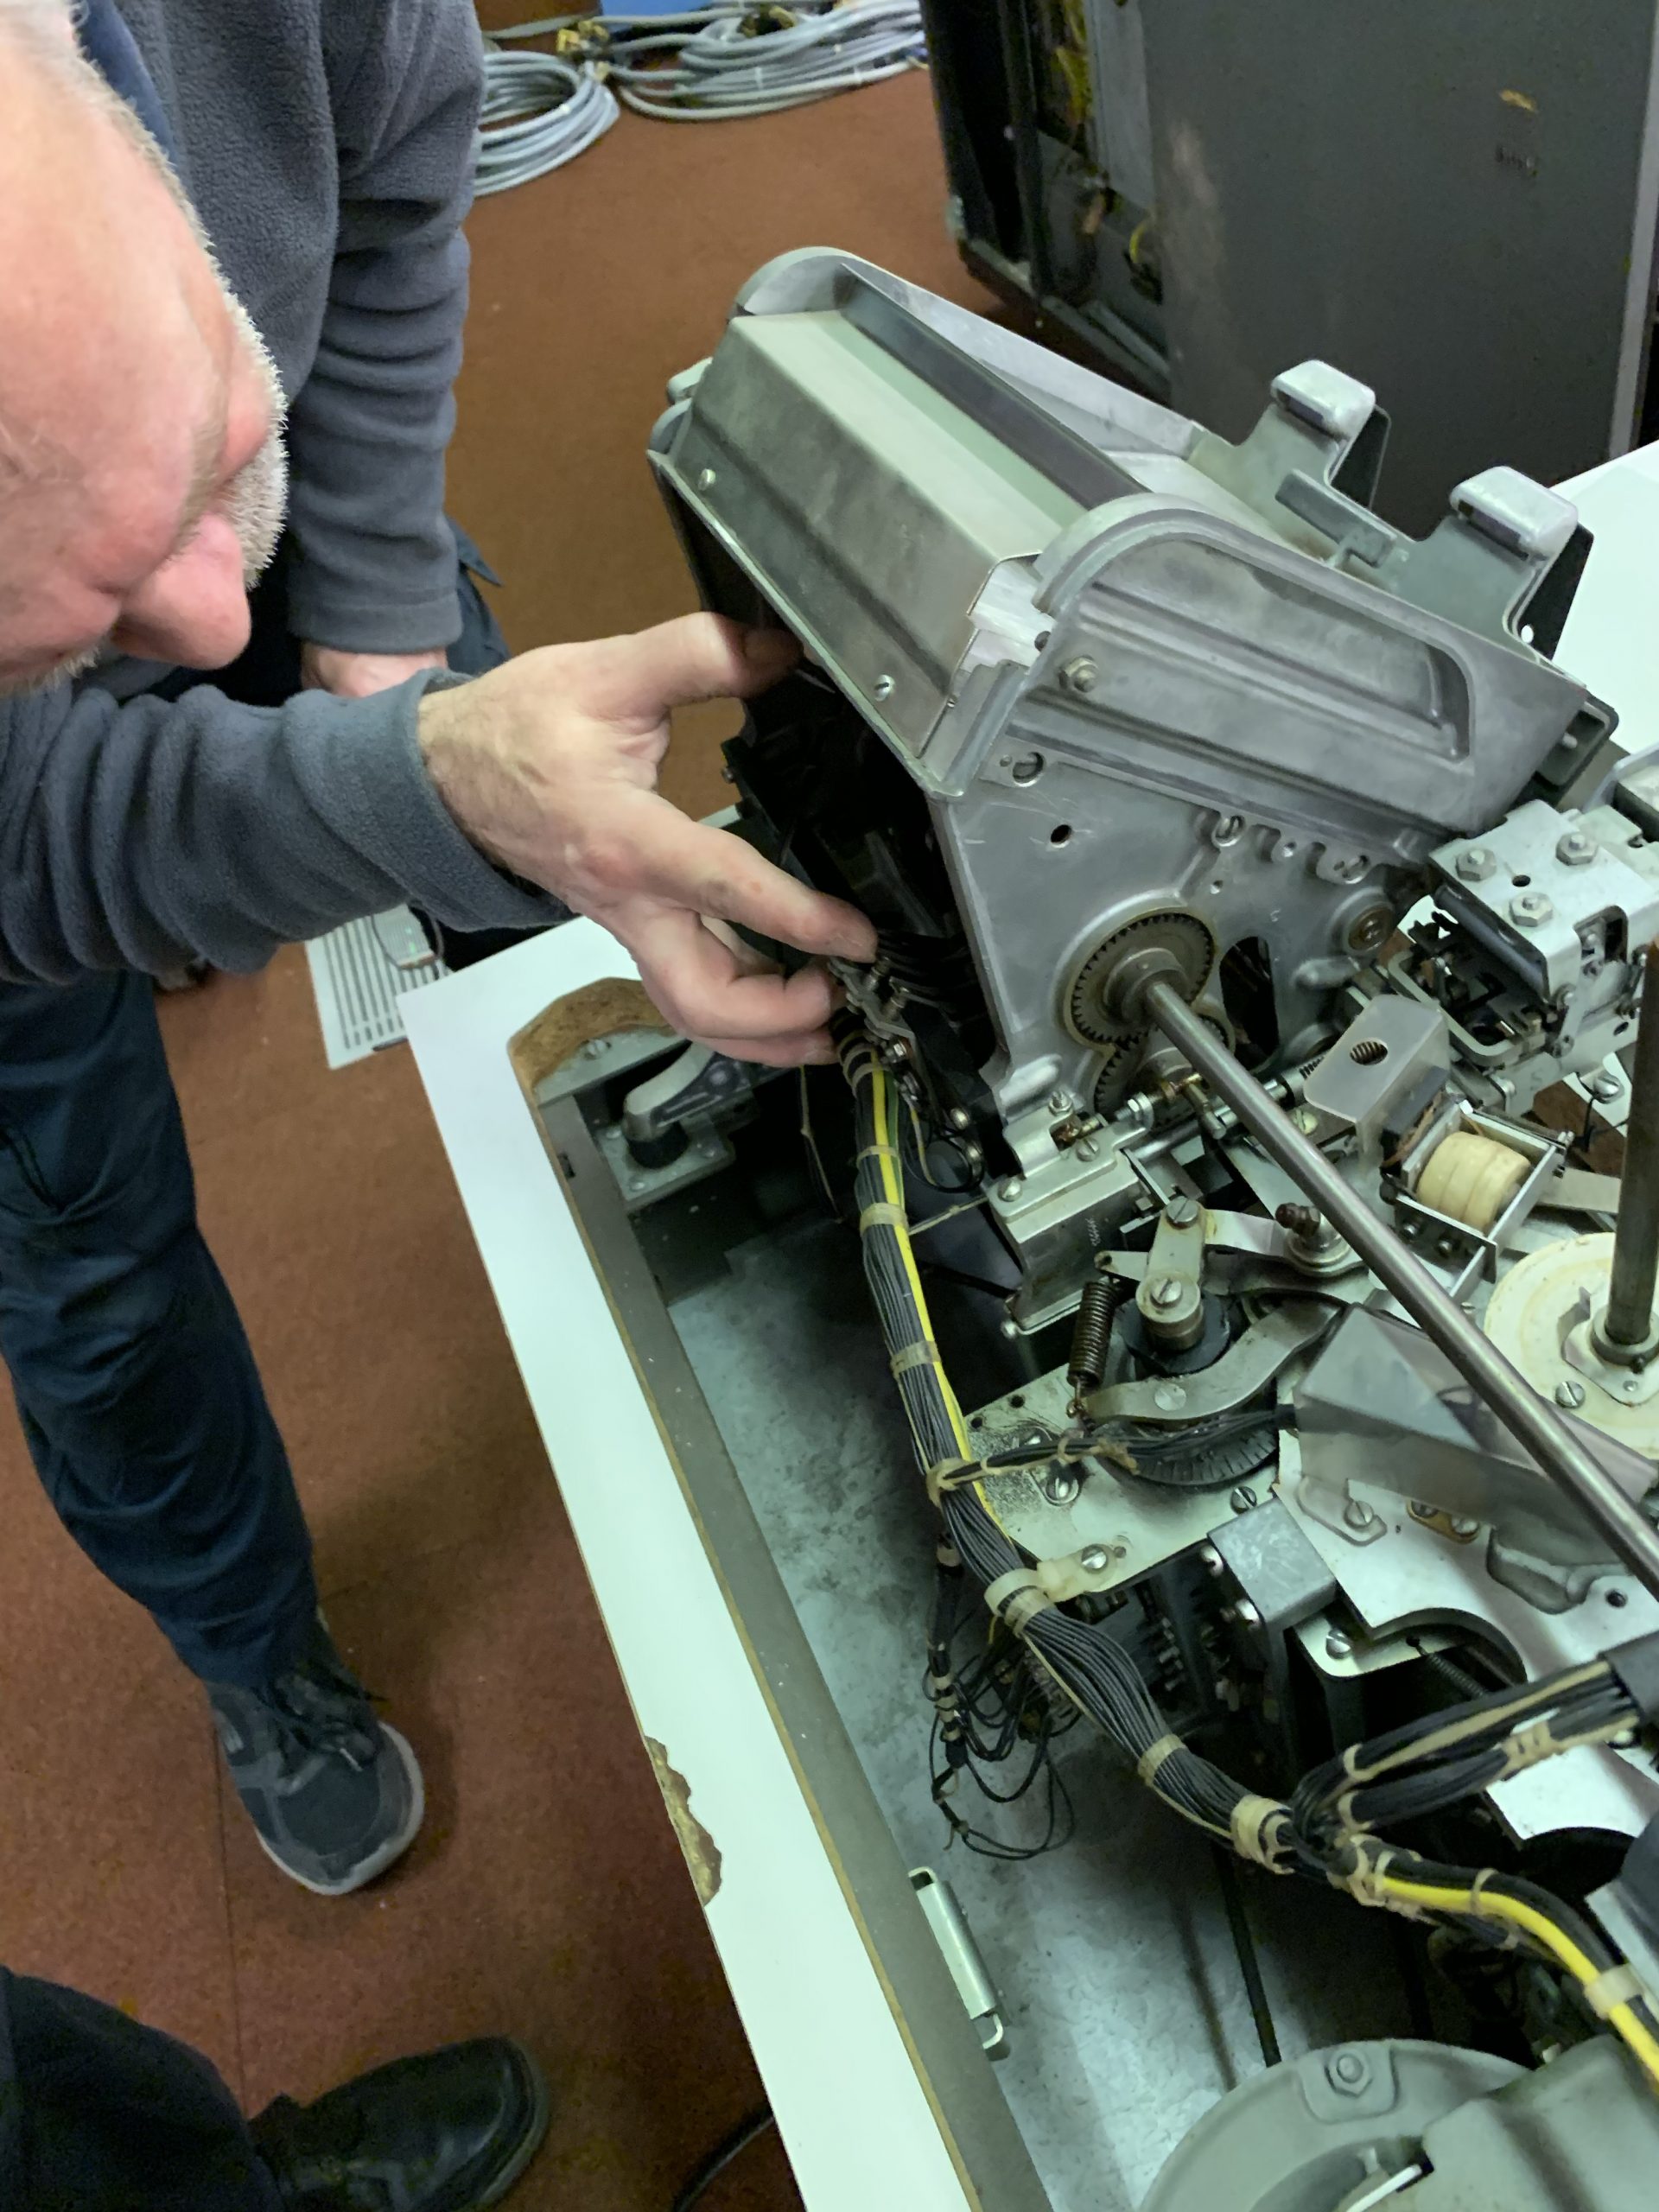
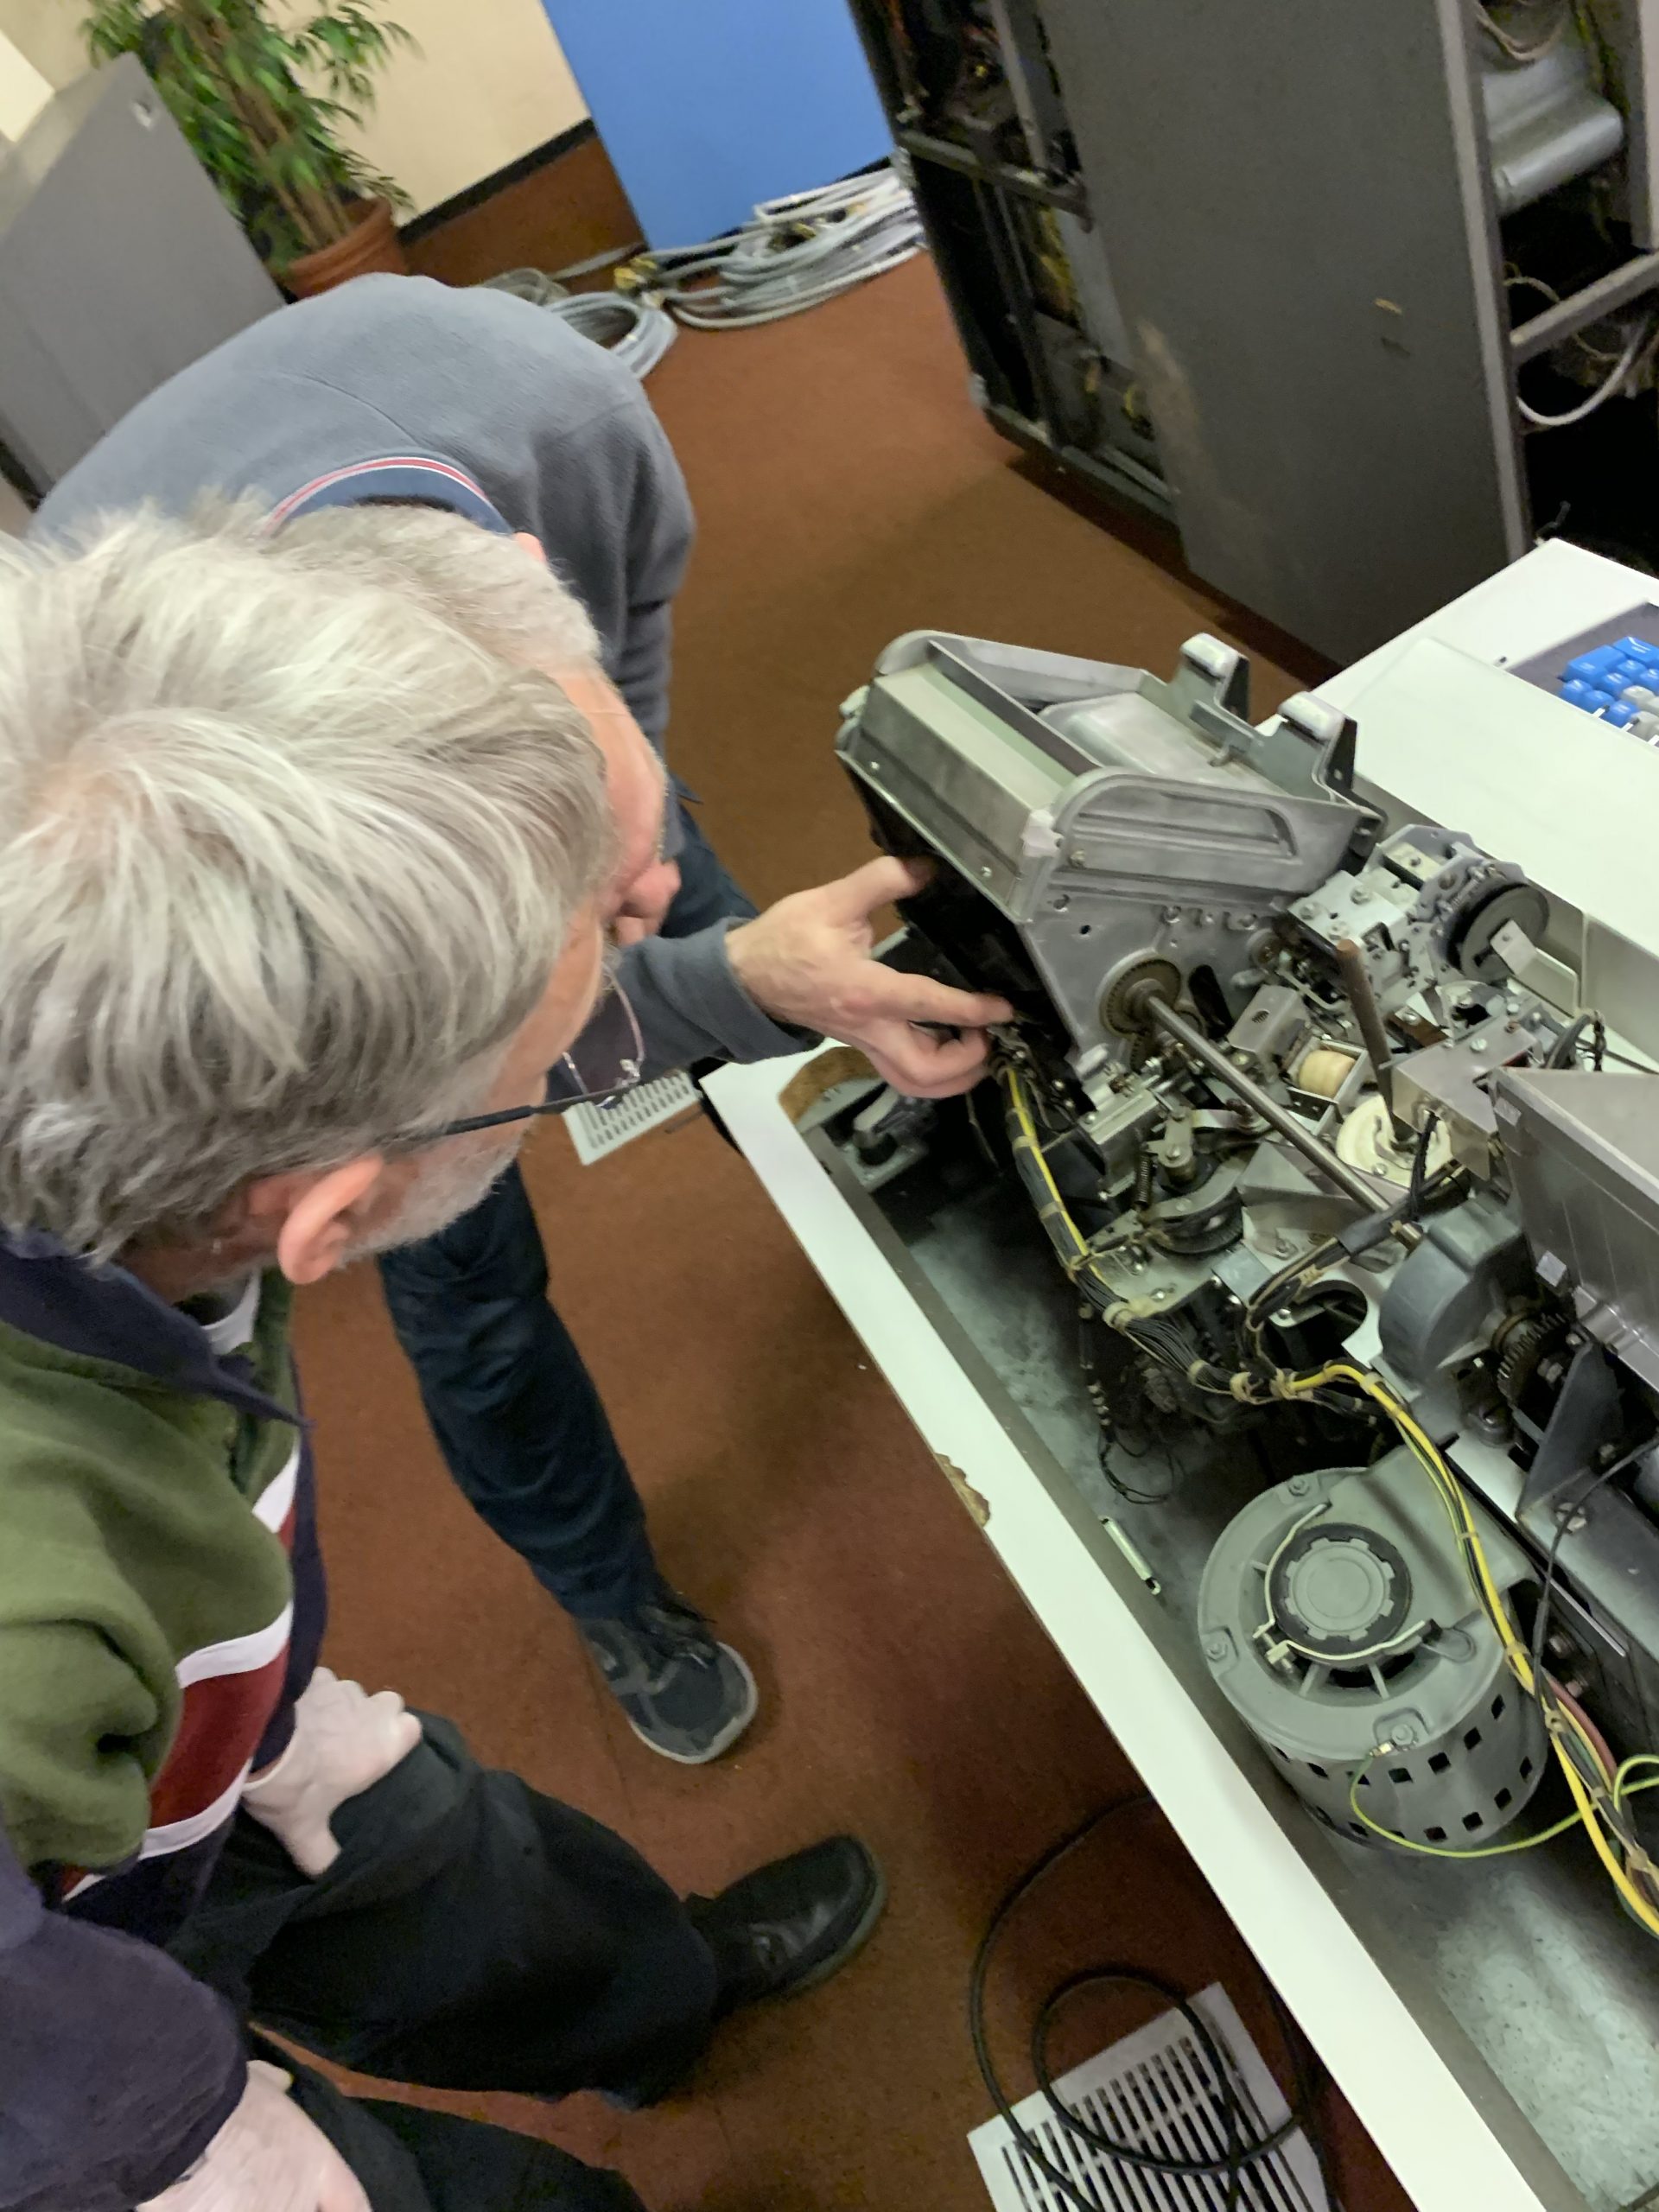
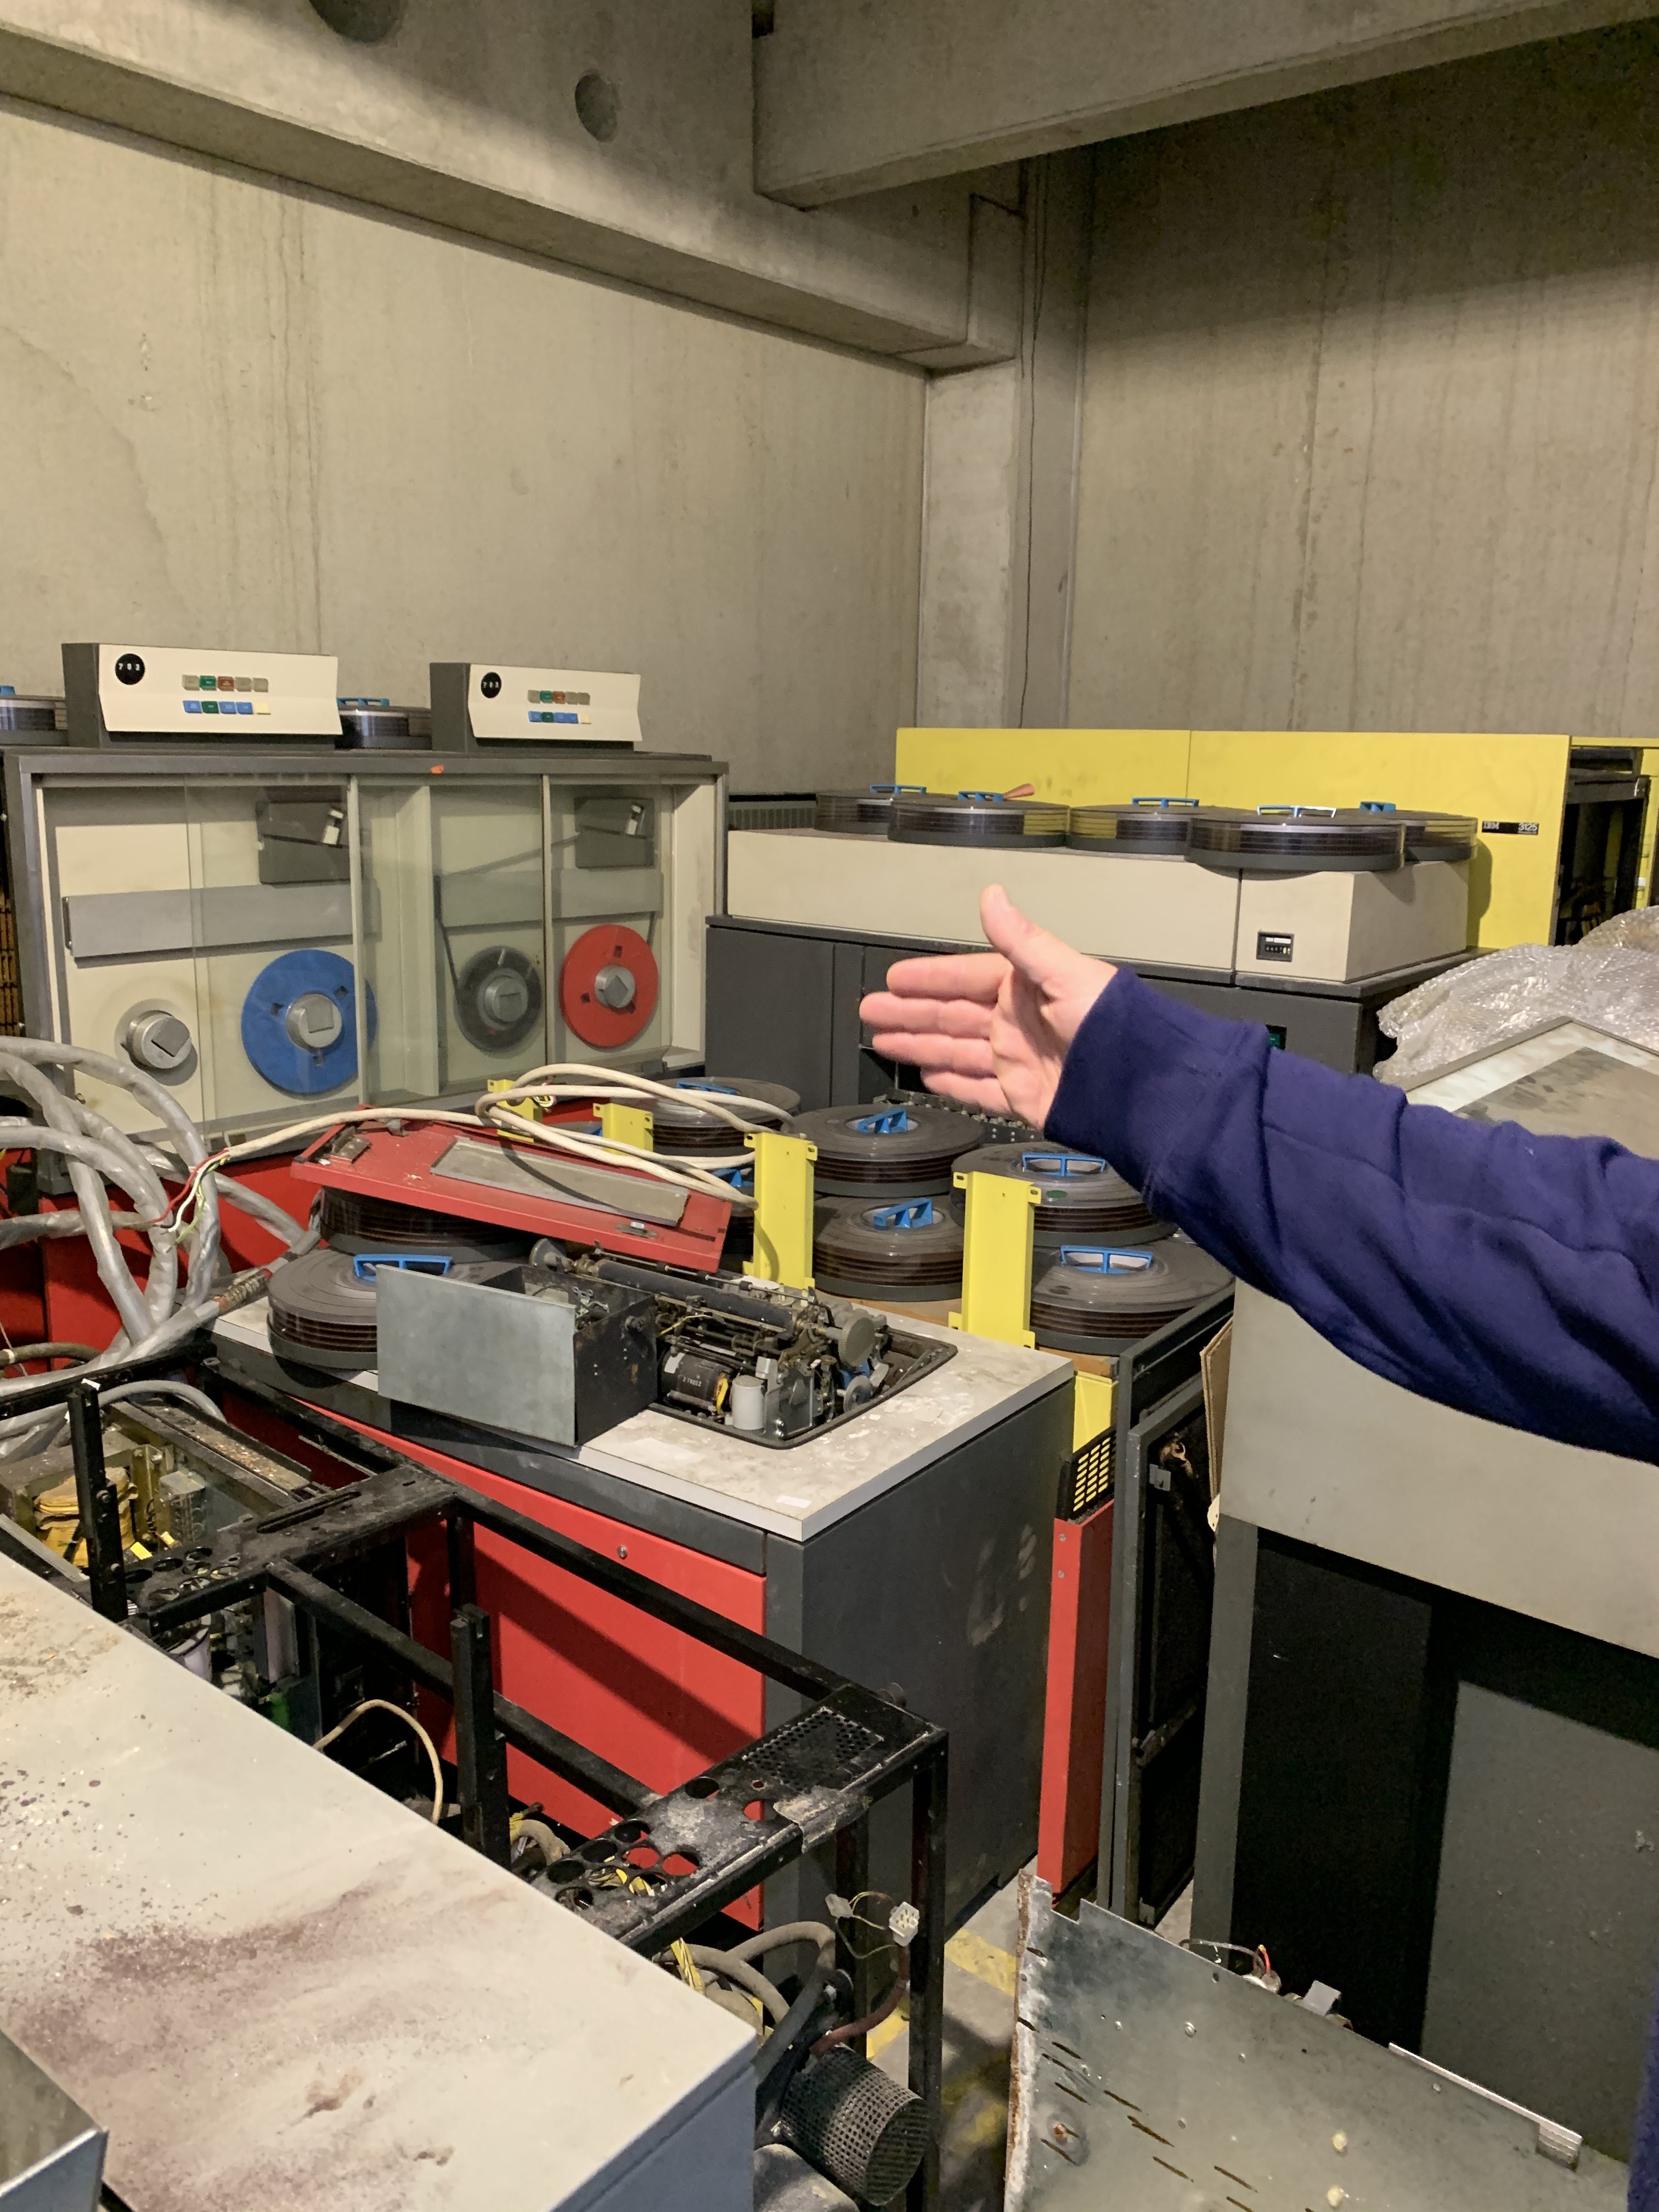
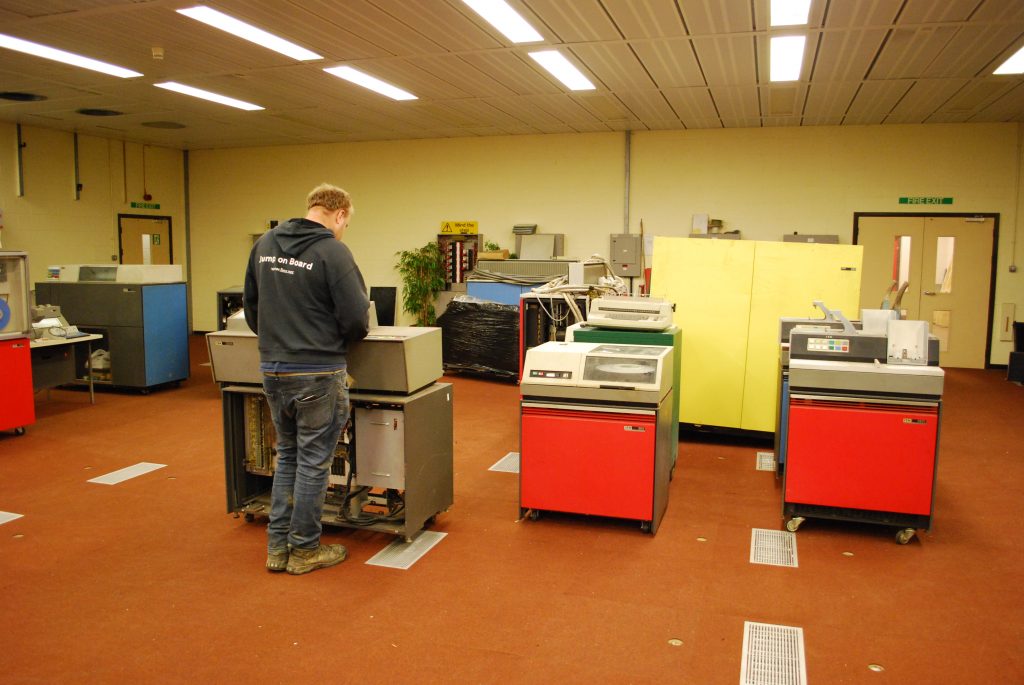
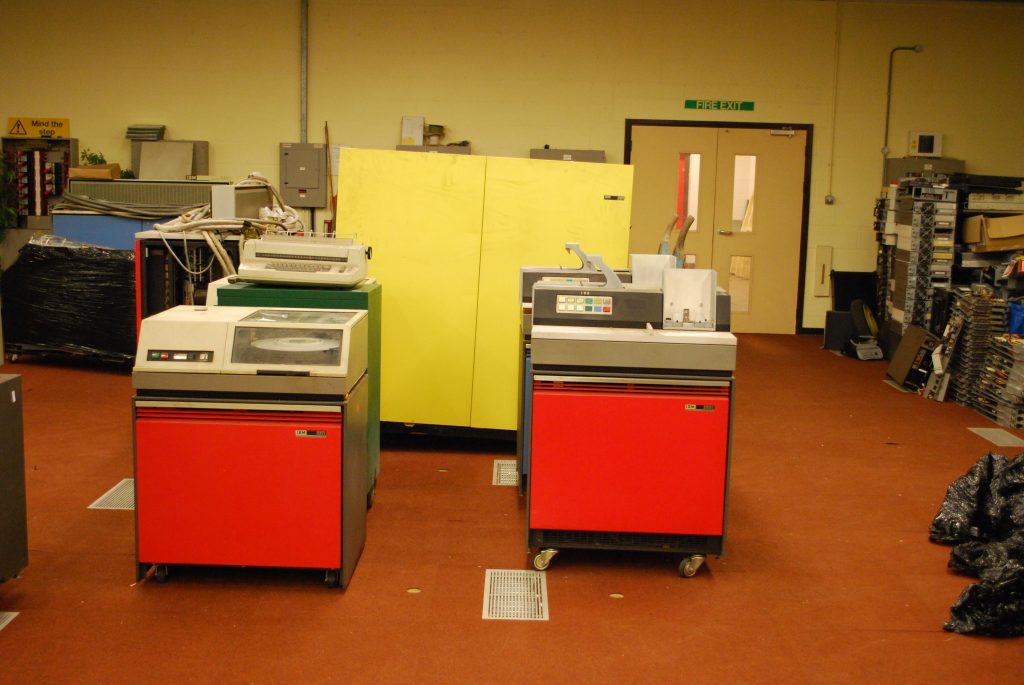
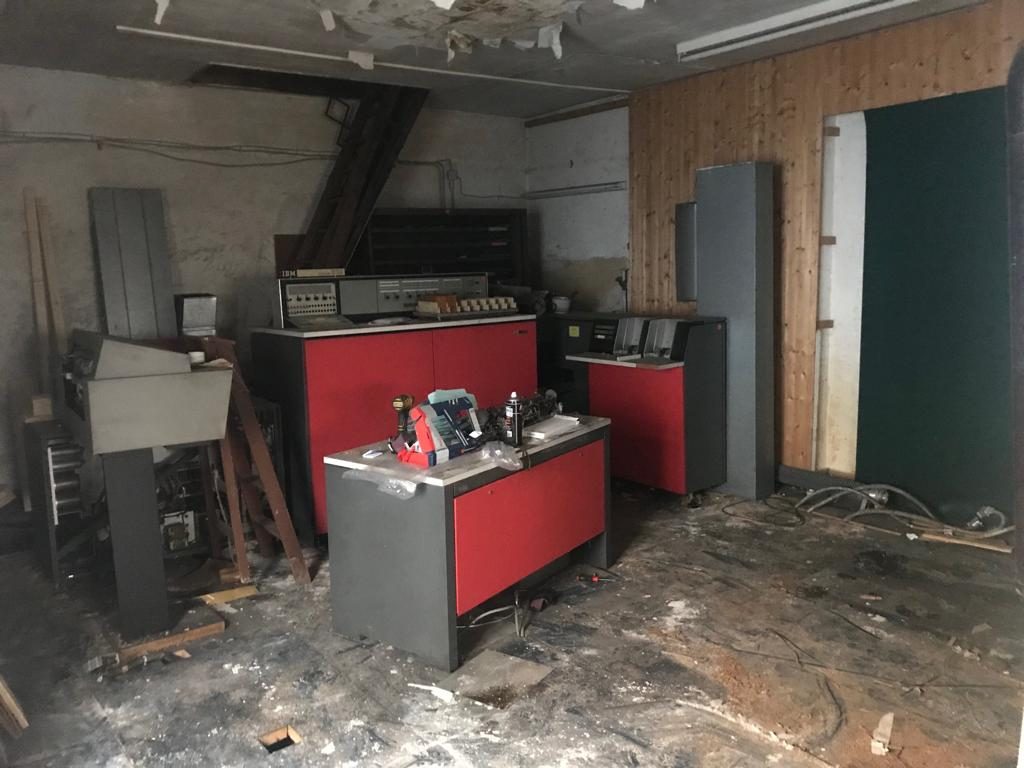
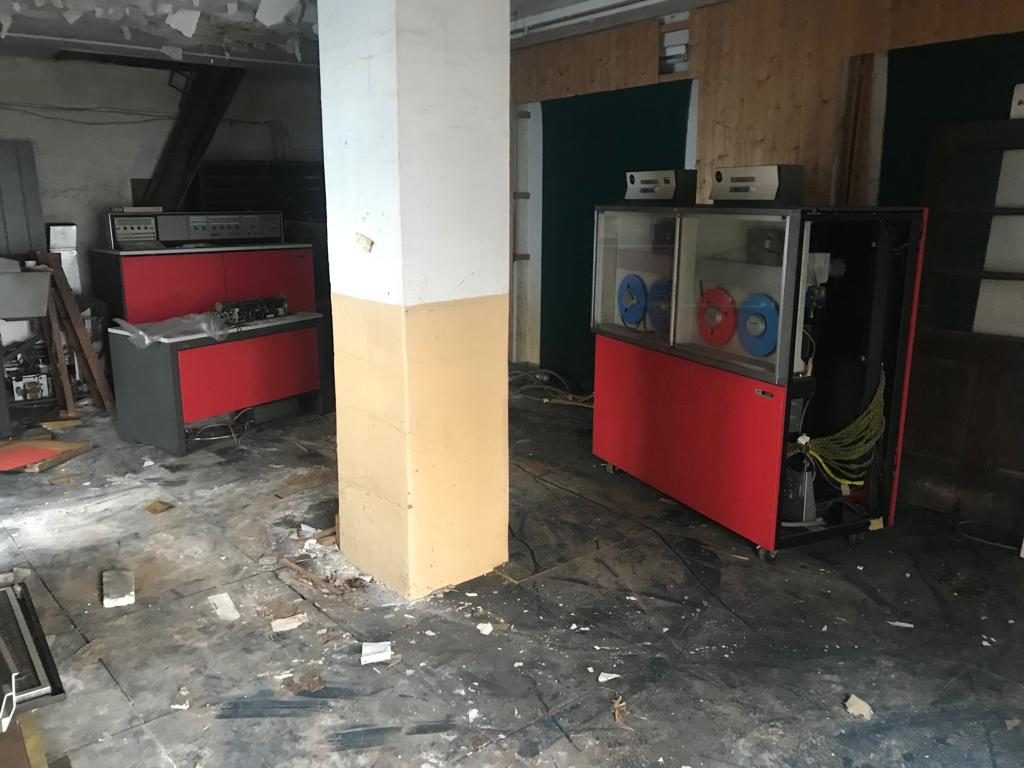
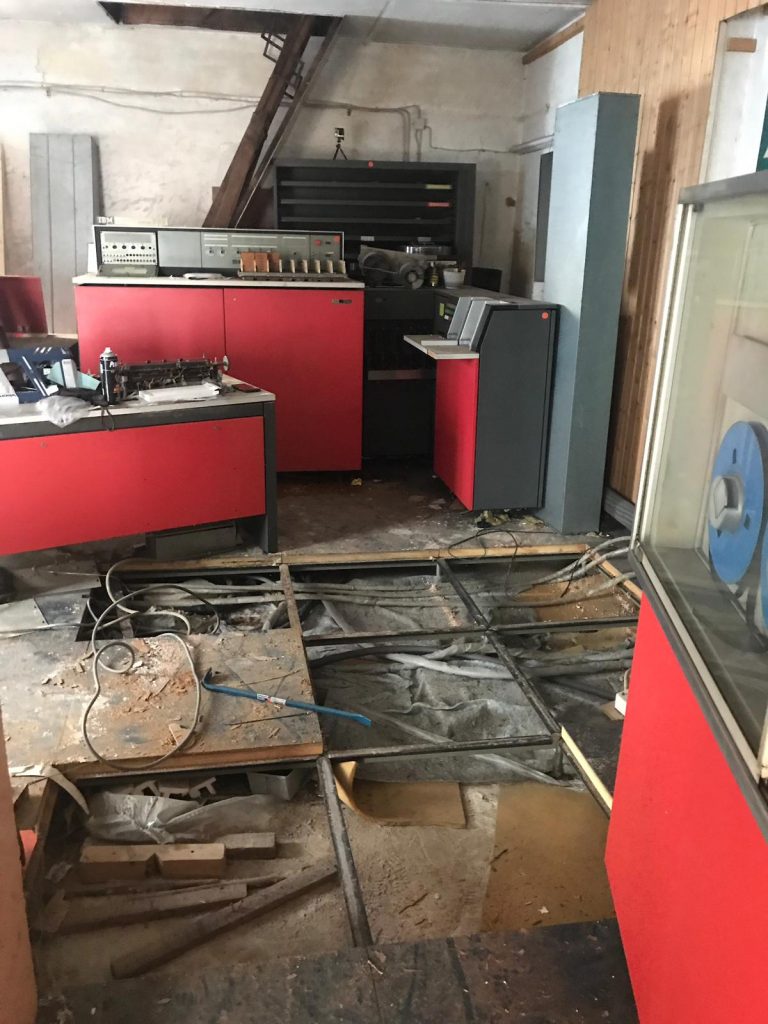
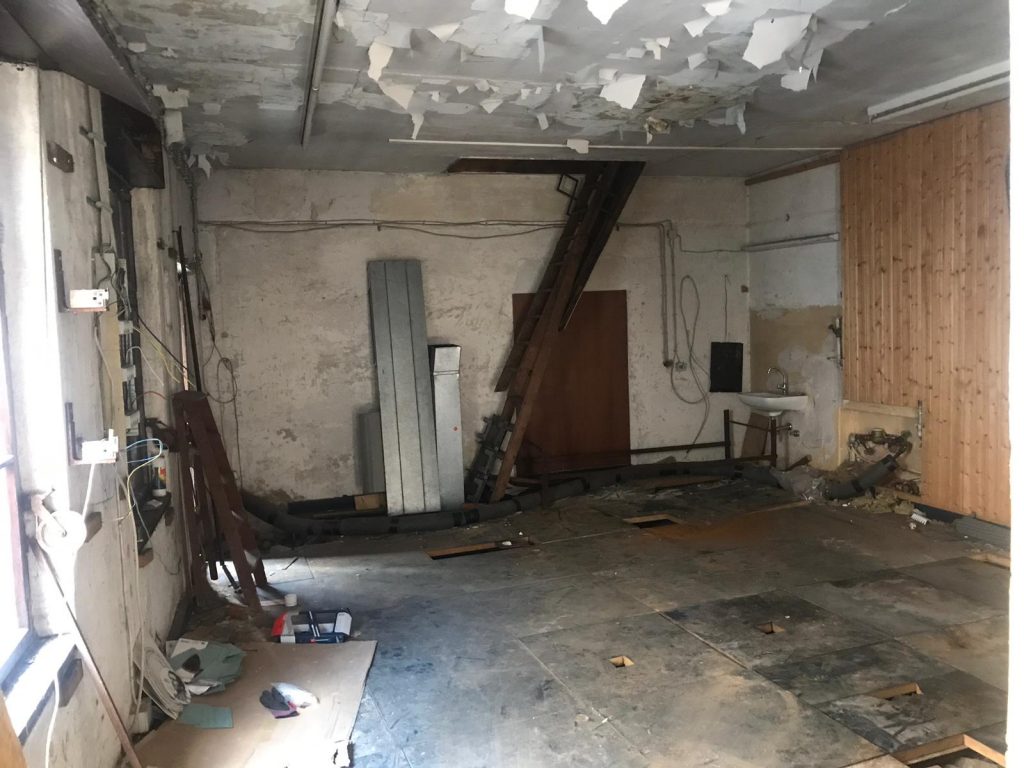
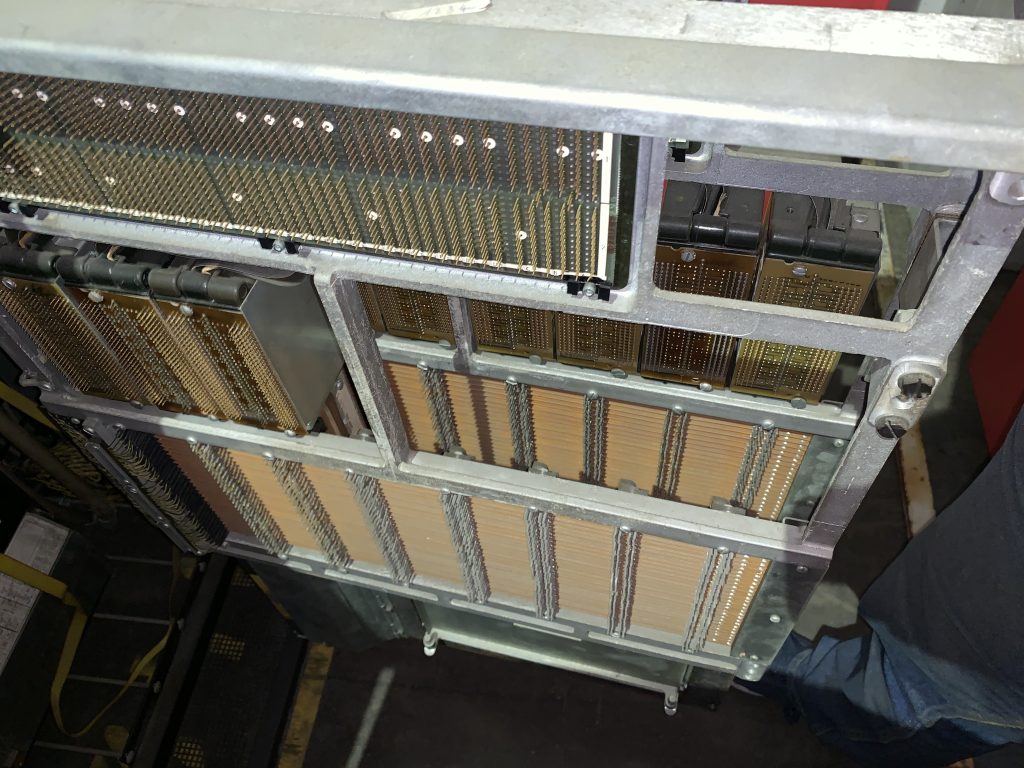
Onto a new subject! Following the delivery of the machine to Creslow Park last week, we ventured up there as a full team to start taking an in-depth look at the machine and to begin cleaning it. This would be Peters first look at the machine in person. After showing everybody around the facility we got stuck in:
Now obviously when cleaning these kind of ageing machines, one must be careful not to use anything that could cause damage. Whilst it may be tempting to use bleach based products or other abrasive cleaners, these are likely to do more damage than good in the long run. As such, I tend to keep to bio-safe washing soaps and warm water where possible. Where a surface demands a more invasive cleaner, we tend to use Dettol Antibacterial Surface Cleaner Spray; this is a very light cleaner and still doesn’t contain any bleach. We do have some anti mould&mildew cleaner should we find anything containing such things that we need to deal with, and that does contain bleach, but luckily nothing of the sort has been found yet!
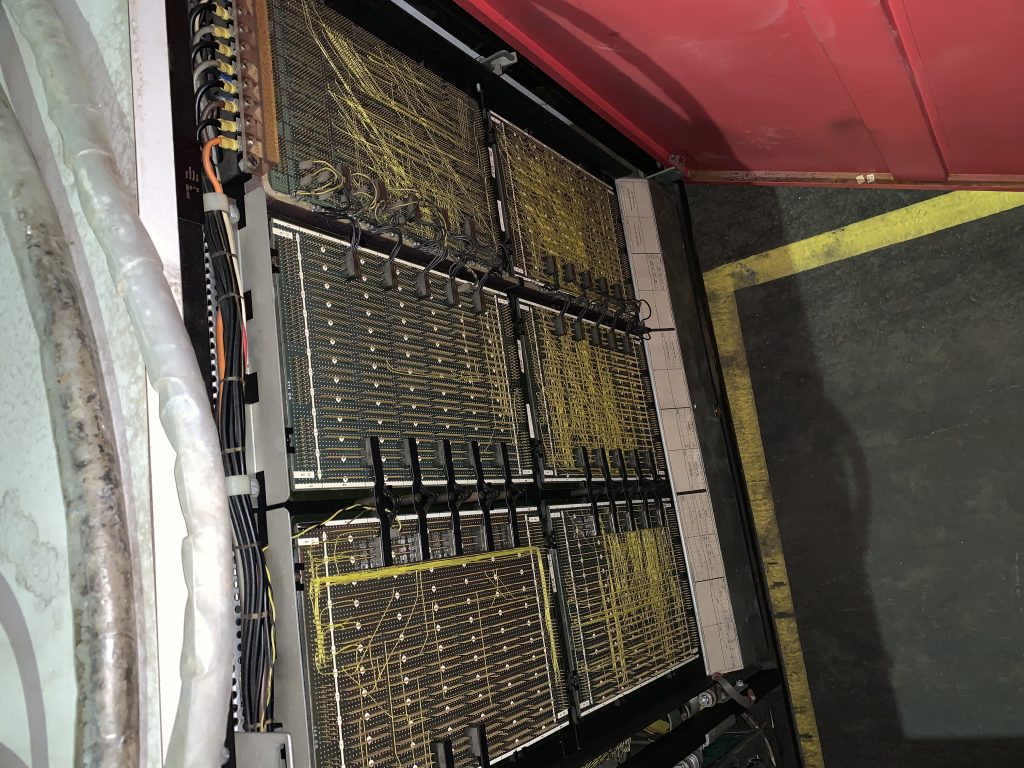
I tackled one of the punched card readers whilst Peter tackled the red CPU and John and Chris B. tackled the smaller printer. All of this equipment is caked in years of dirt and grime on the outside so it’s quite an undertaking to clean it all, however underneath the equipment appears to be in excellent condition! Peter opened up the red processor doors and had a look at the specifications, it appears that this unit was manufactured in 1967, and contains 16k of memory. We also opened up the blue CPU and discovered that despite the fact we thought it was an earlier model due to some of the connectors and lamps, it is in fact a later model having apparently been produced in 1969! Hopefully some of the documentation will shed some light on when these systems were installed and perhaps also where.
After this, we decided to try and remove one of the disk packs from one of the drives. One of them is labelled “System Disc”, so this is obviously likely to be important, but since it was stuck in the drive and we had no spare carry cases we had to transport it in the drive. Today we found an unlabelled disk and decided to swap that one out and put the System disk inside the casing; well it seems this is not going to be a simple task! We manually released the disk from the casing, and then went to remove the disk from the drive. We engaged the casing top, turned it to unscrew the pack spindle, and… nothing. We couldn’t remove the disk!
I think there must either be a brake holding the disk in, or it could be seized. We’re going to consult the manual and try again on a later visit.
After a few hours cleaning, the items we’d started tackling were looking a lot better. We’d also established that on the surface, most of the machines seem to be in excellent condition. The backplane pins have no signs of corrosion, and the wiring appears to be in good condition. These are excellent initial indications as to the difficulty level of the restoration.
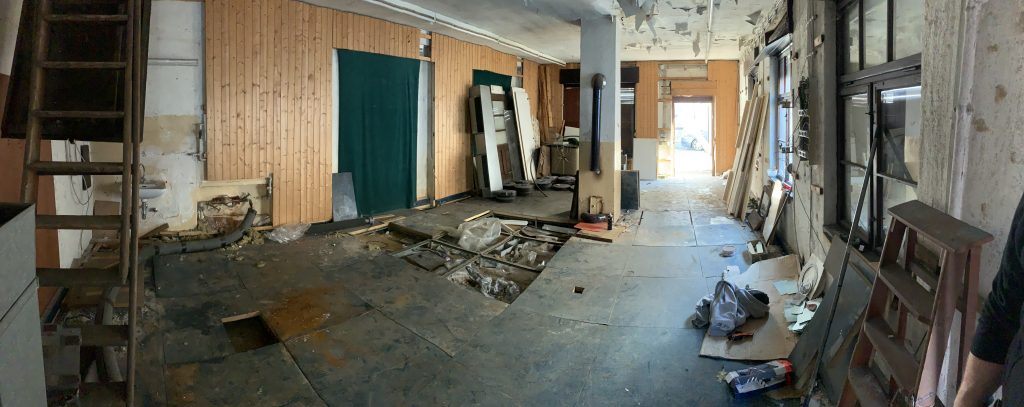
At this point, it was getting towards the evening, we were all hungry and a bit chilly and thus we packed up and went home. Not before a panorama though!
Well, where to start! The last few weeks have consisted primarily of anticipation, excitement, and towards the end, utter exhaustion. But finally, FINALLY, the IBM is home!
It all started after our friend John Oates at the register shared our plight as detailed in our last blog post (see here). This was read by a chap in Melbourne, Australia called Kevin Silk, who then saw a LinkedIn post by a chap called Dan Apperley and left a comment:
I had no idea any of this was going on until the following day when I received a call in my office just after 9am. The caller introduced himself as Dan and said he was from a company called Sunspeed. Dan told me that he had read the blog, read about our troubles finding a haulier, and that he and Sunspeed could help! Of course, I was very interested so I sent Dan an email with a list of all of the items, along with their dimensions and weights. He confirmed that they’d be able to help, and because they recognised the importance of the project and how much they liked it, they were kindly willing to do it at a significant discount which was covered completely by the crowd funding donations.
Now, one thing we were particularly concerned about when moving the machines was rough handling, improper loading leading to damage, and undue shock and vibrations from the moving vehicle. The major reason we were so happy to hear from Sunspeed is that they are a speciality IT relocation company who are used to dealing with large, heavy, delicate pieces of equipment. Dan from Sunspeed said:
“We were made aware of the project on LinkedIn by a follower of the Blog. Upon reading about the issues being experienced trying to find a large enough vehicle with a tail-lift capable of handling the weight, I knew we could help. We’re really pleased we could help out and be a part of this amazing story to recover such a rare piece of IT history. Well done to Adam and the team! I think we’ll now have to change our marketing to: Whether you need to move a single server, an entire Data Centre or recover an extremely rare and sensitive IBM 360 Machine from Germany before Brexit, then Sunspeed is here to help!”
So, we set about putting a date in the diary, booked some flights, hotels, and a rental car, and the big wait started.
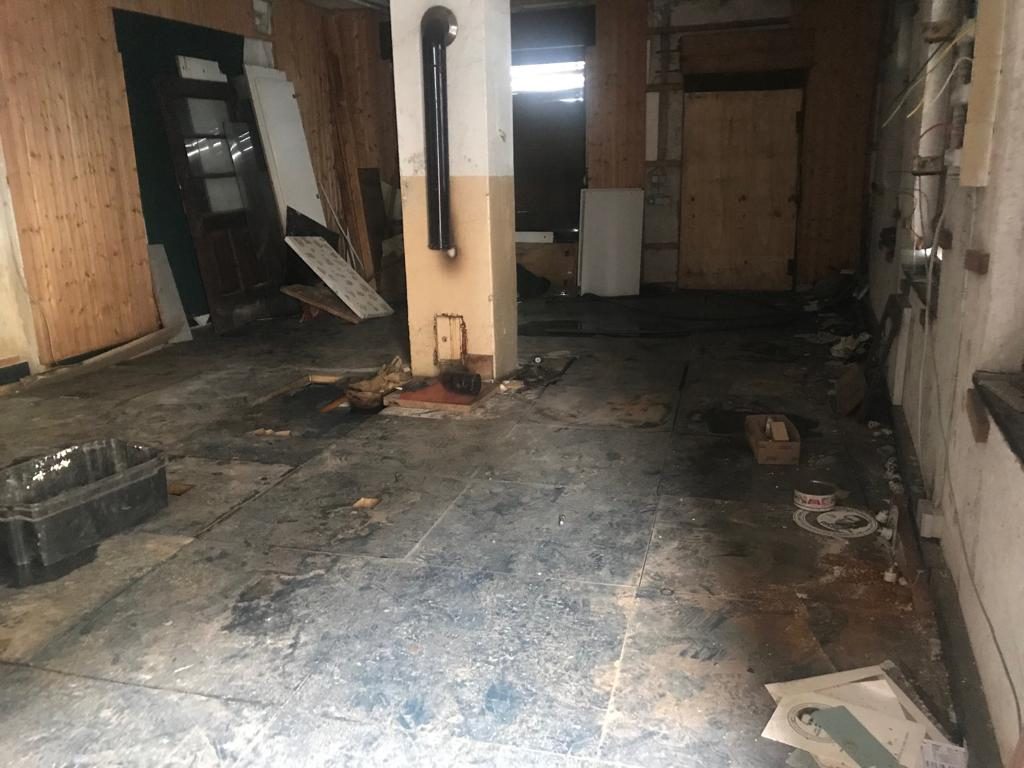
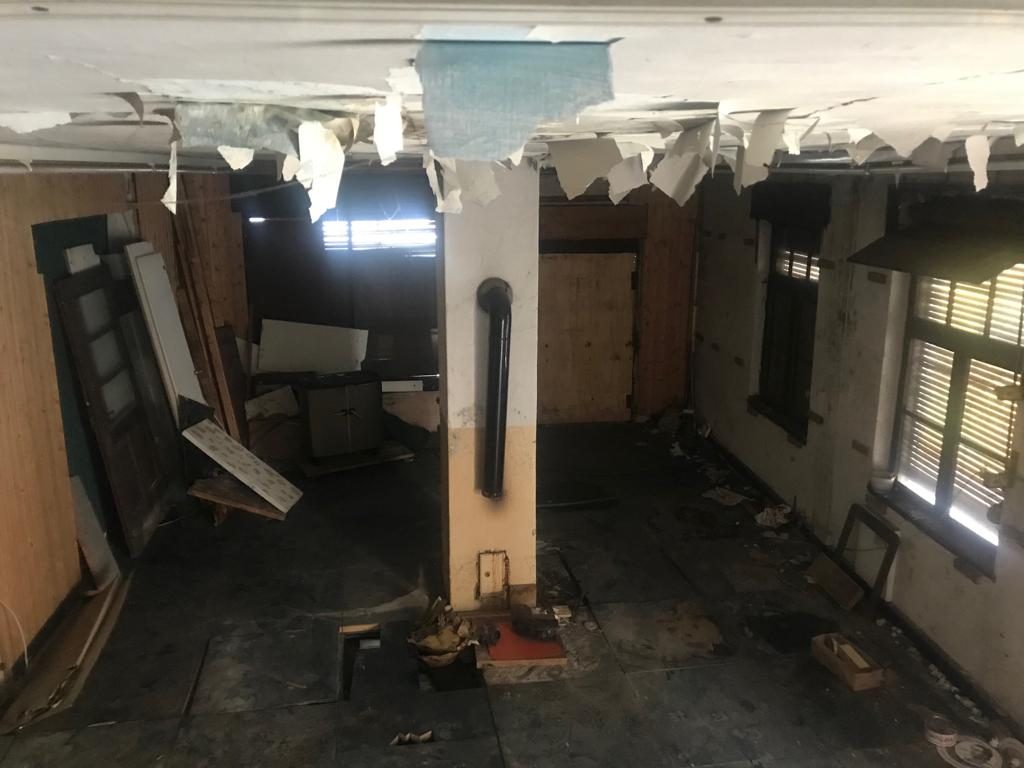
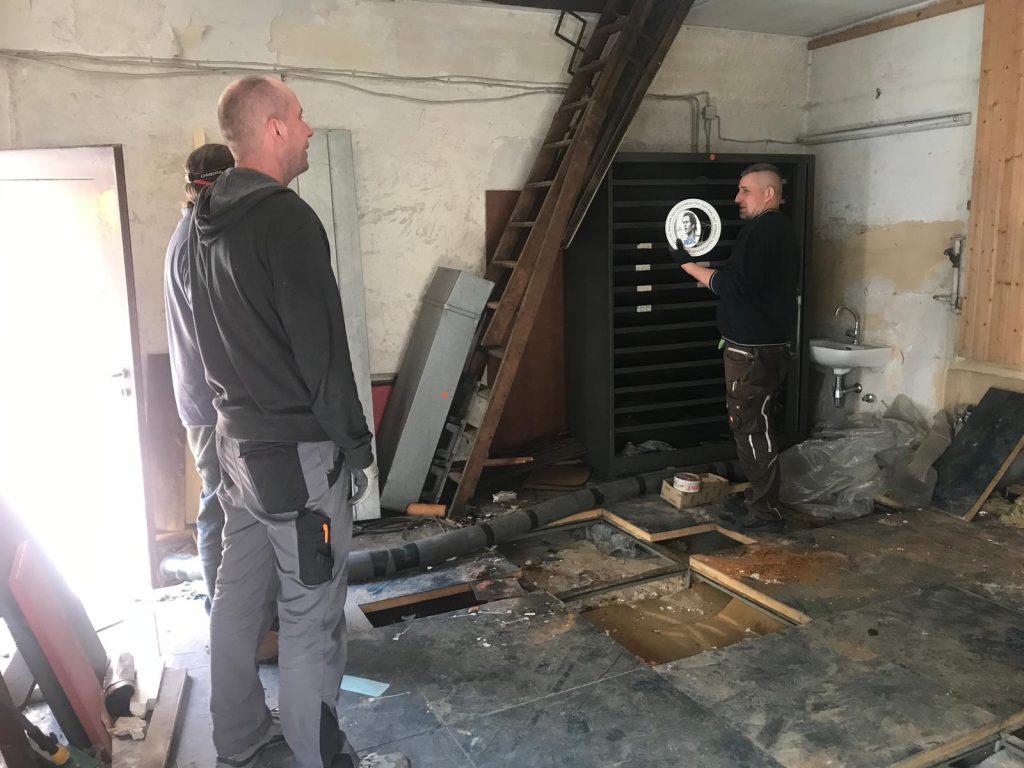
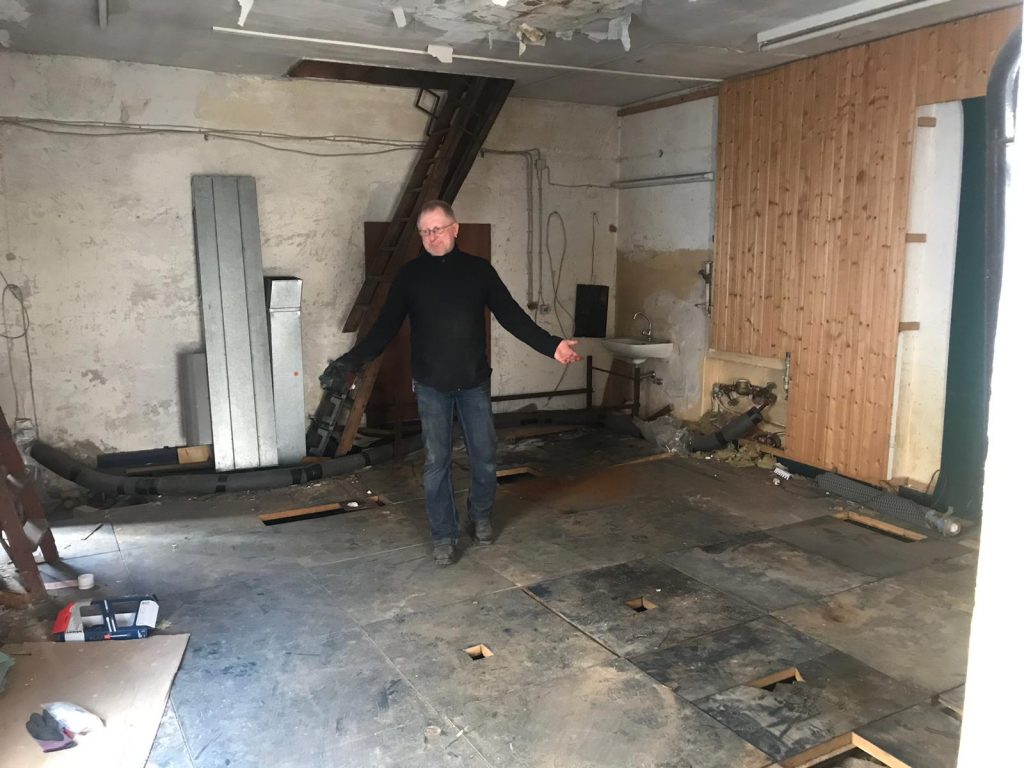
Now, in some of the past posts we’ve dropped a couple of hints that we were going to be hosting the machine in a former Mi6 building. Creslow Park, formerly known as Creslow Transmission Station, was built in the 1940’s as a remote shortwave radio transmission facility, operated by HMGCC at Hanslope Park. It is located in a hidden location in rural Buckinghamshire. Around 1990 a state-of-the-art transmission facility was built on the site and it is believed it was used for around 18 months prior to being mothballed. Documents found on the site suggest the building and its systems were being actively maintained until around 1996 after which the Government locked the doors and eventually sold the whole site to a local farmer.
Chris Wilkie
This is probably where I should introduce somebody else to the blog, and that person is Chris Wilkie. I’ve known Chris for quite a long time, originally through his car building forum LocostBuilders, and then we later met again when he volunteered at TNMoC. Chris is a close friend of mine, and somebody who’s going to be instrumental in this blog post.
Chris Wilkie has owned the lease on the Creslow Park site for around three years. He is working on complete modernisation of the transmission building to use as a modern data centre and is generously allowing us to take up a corner of the former transmitter hall in order to set up and work on the IBM. The site represents the perfect backdrop for our work and it will be fantastic to see both projects evolving together. Incidentally, Chris is looking for an anchor tenant for the facility so if anyone reading has a requirement for highly secure and discreet data centre space, or even if you just fancy the idea of hosting a personal server in a former MI6 top secret facility, please drop him a line and say we sent you. His email address can be found at www.creslowpark.com.
Chris W. (as he will now be referred to) had kindly offered to join us in Germany for the packing and loading and so we booked him a flight out as well. What I perhaps hadn’t mentioned to him was that the flight was at 7:35 from London Stansted which necessitated his arrival at my house at 4am! Despite this, we agreed the time and put a plan together.
So, this is the story of how you ship a 1960’s IBM across Europe.
As described above, Chris W. arrived at my house bright and early at 03:50. We loaded our cases into my car and headed for the airport. You might say it was a little chilly when we arrived:
We headed in, cleared security with no issues, and got ourselves a Burger King. Shortly thereafter we boarded our flight and after a short nap we arrived in Nuremberg, which pleasantly was slightly warmer than the UK! We headed over to the Rental car desk and I picked up my rental for the next couple of days, a Kia Venga. I had booked a Golf, and I’m not sure one would call this equivalent, but it was cheap so one mustn’t grumble.
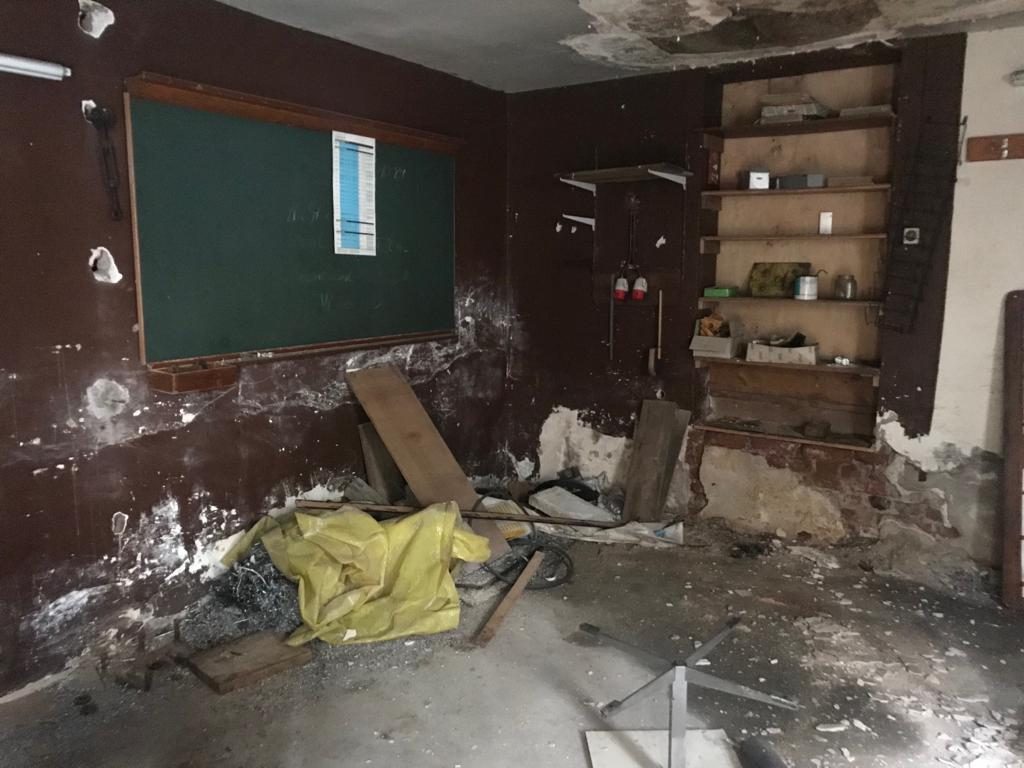
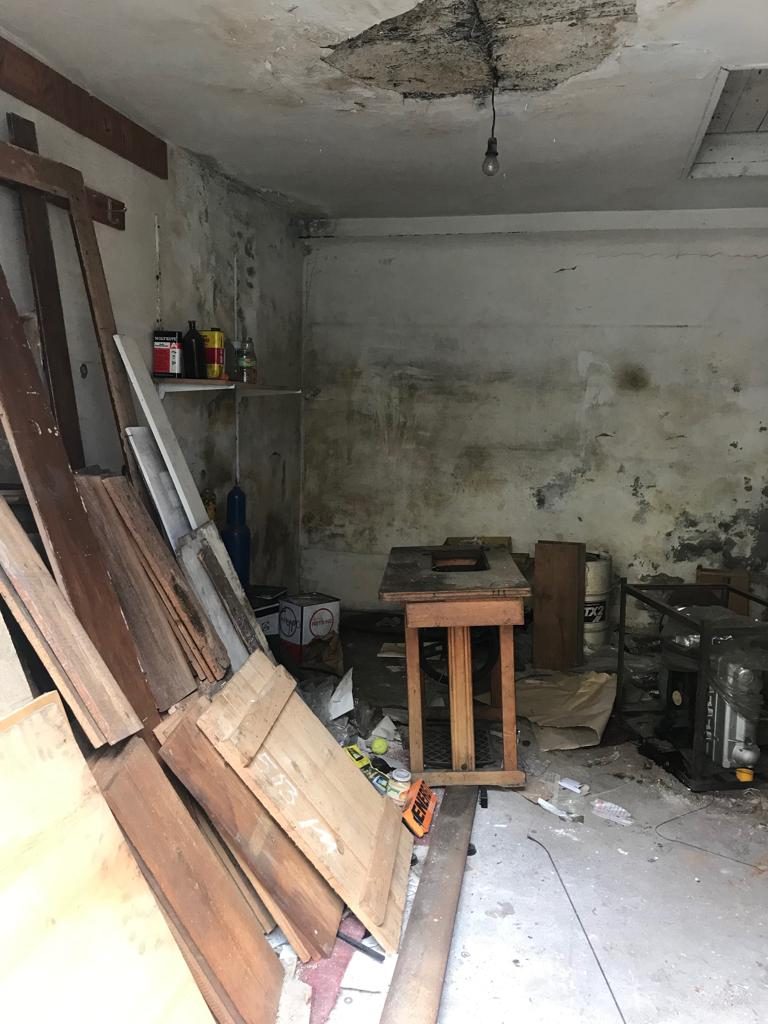
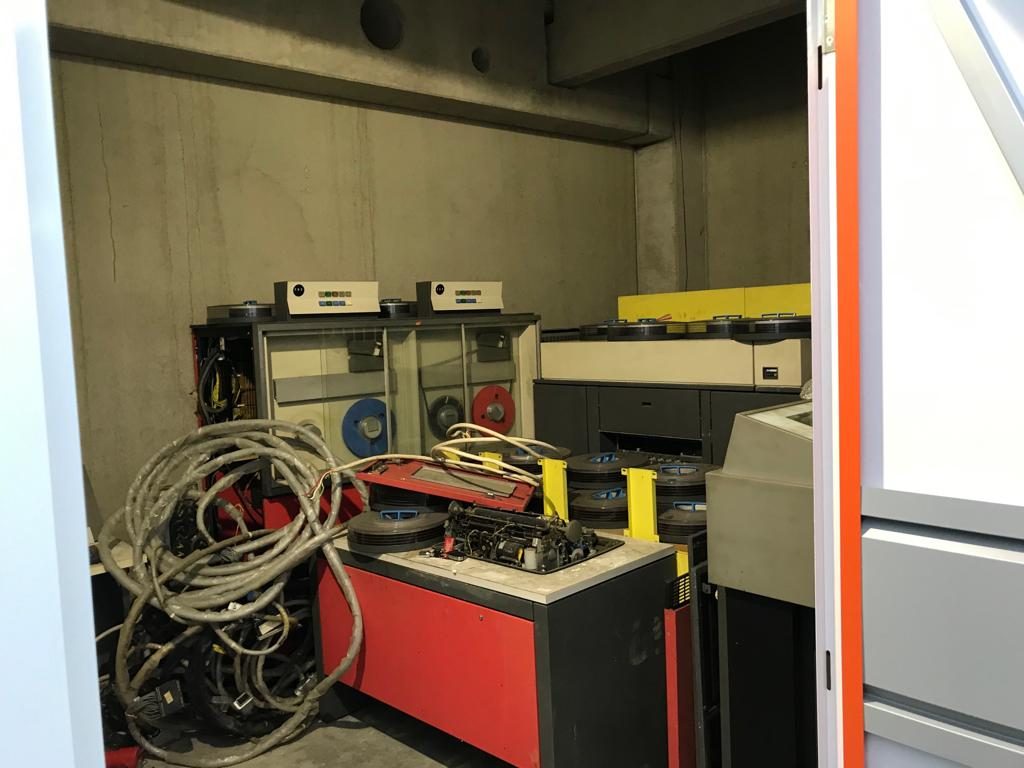
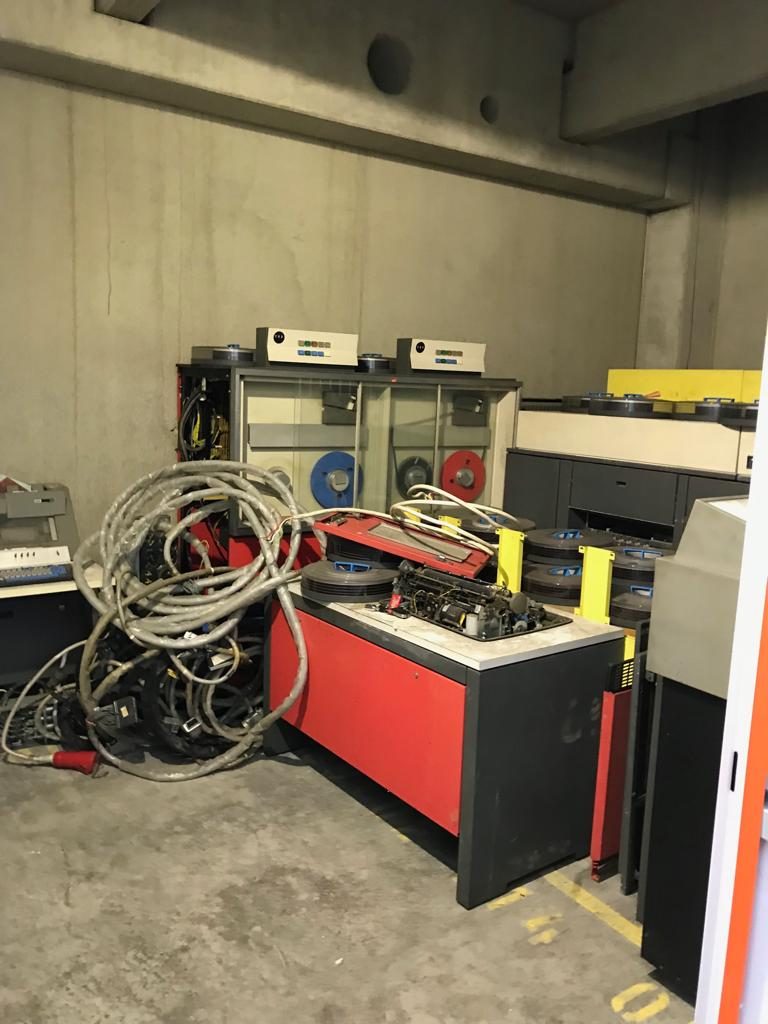
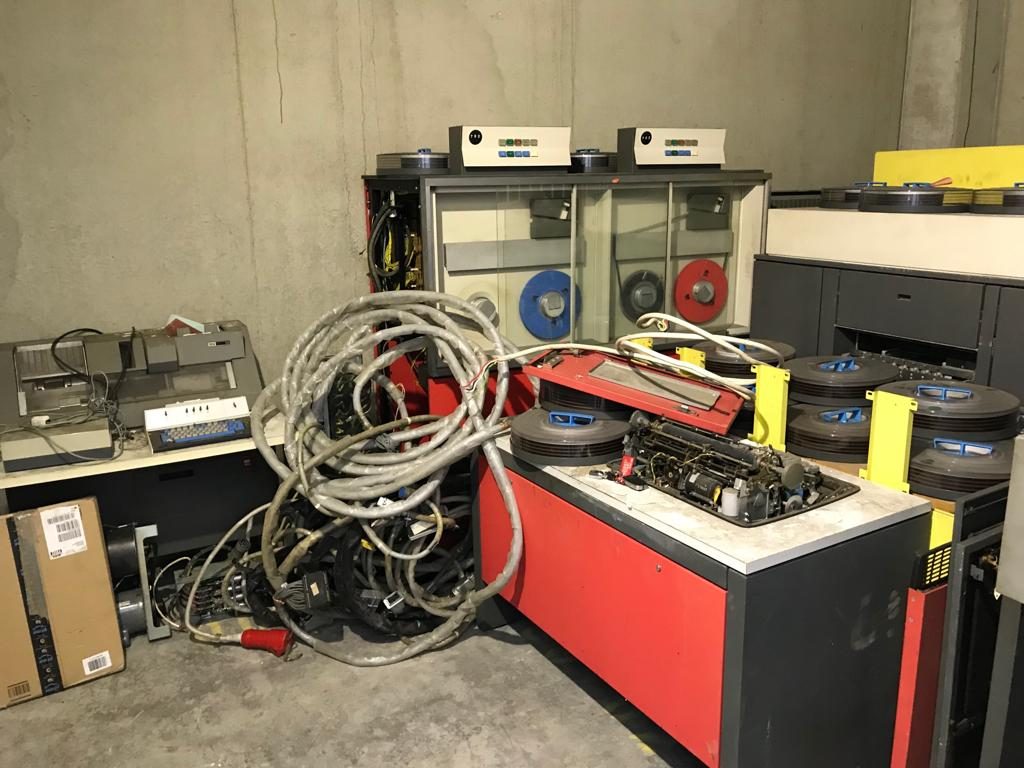
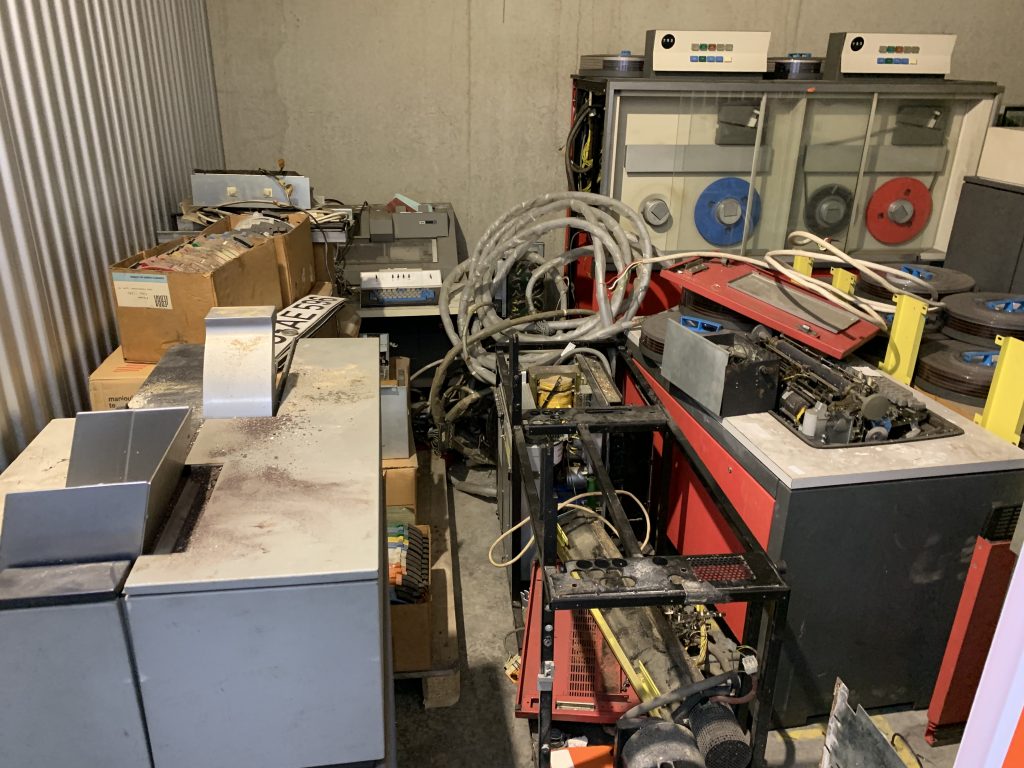
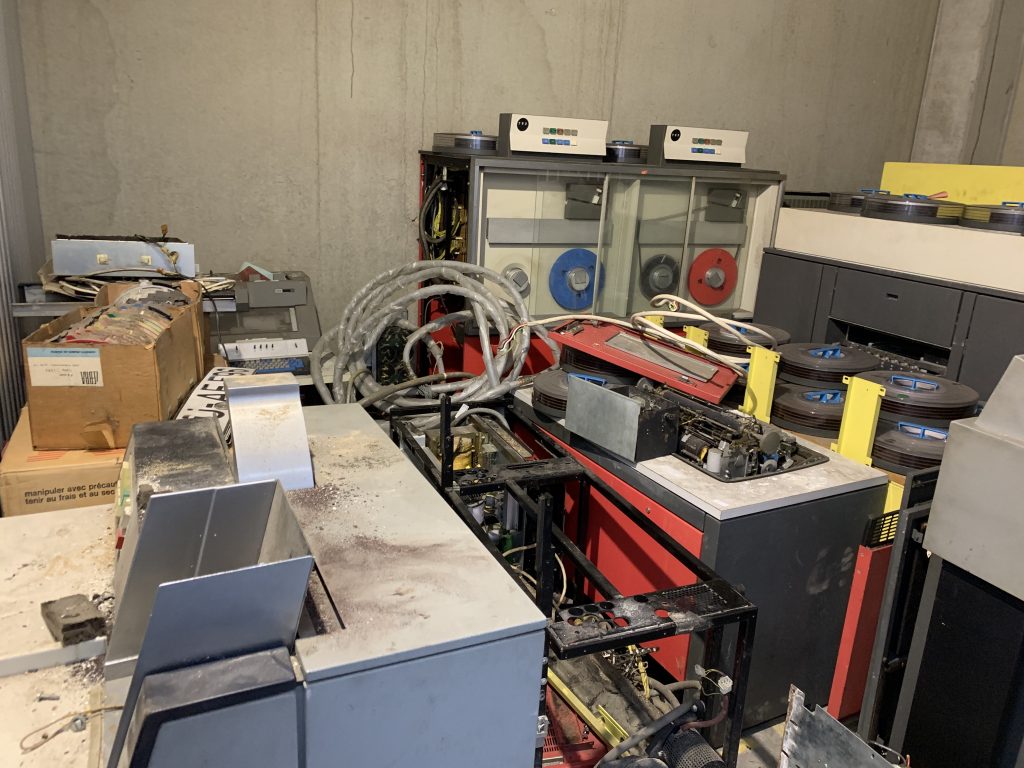
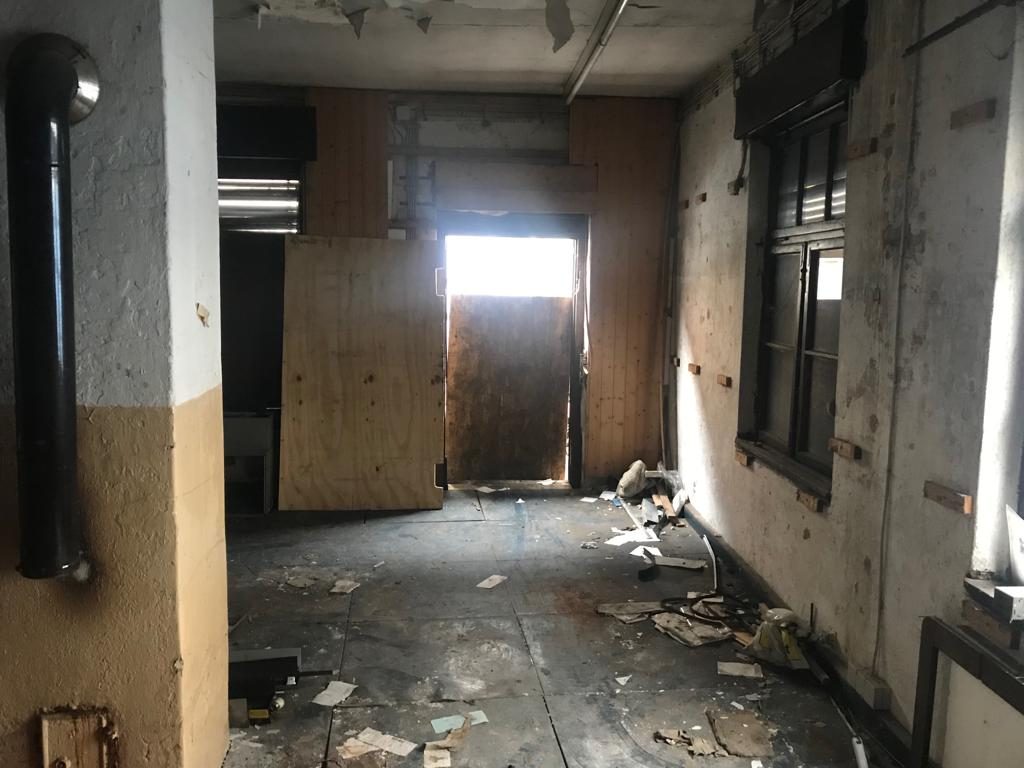
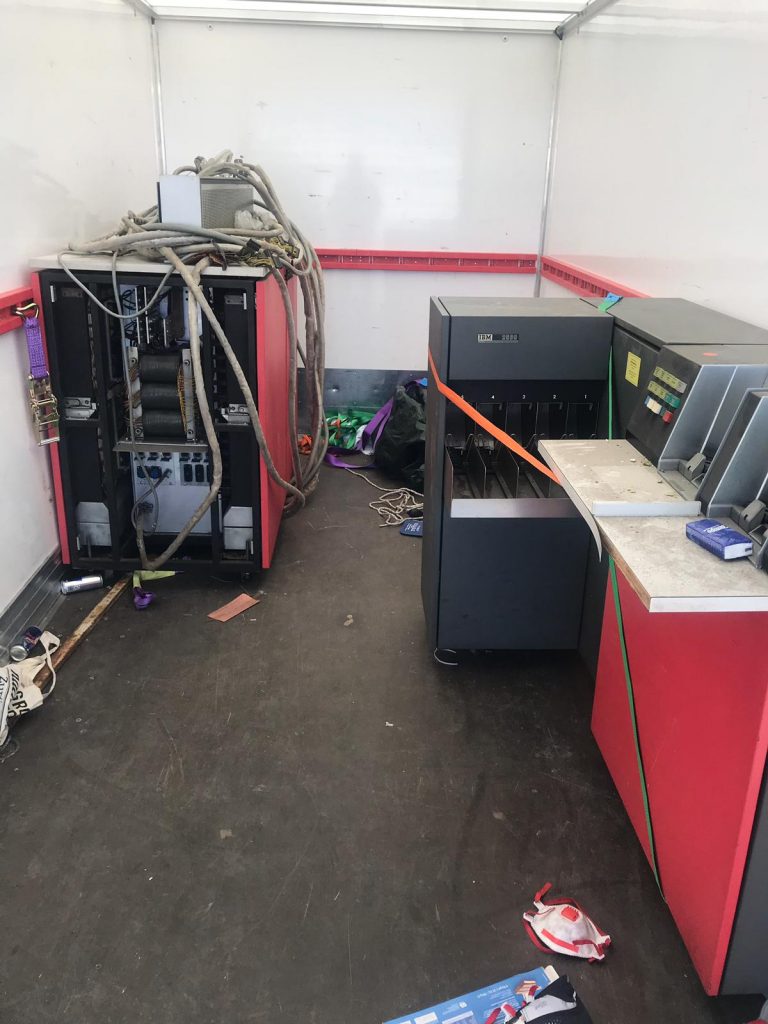
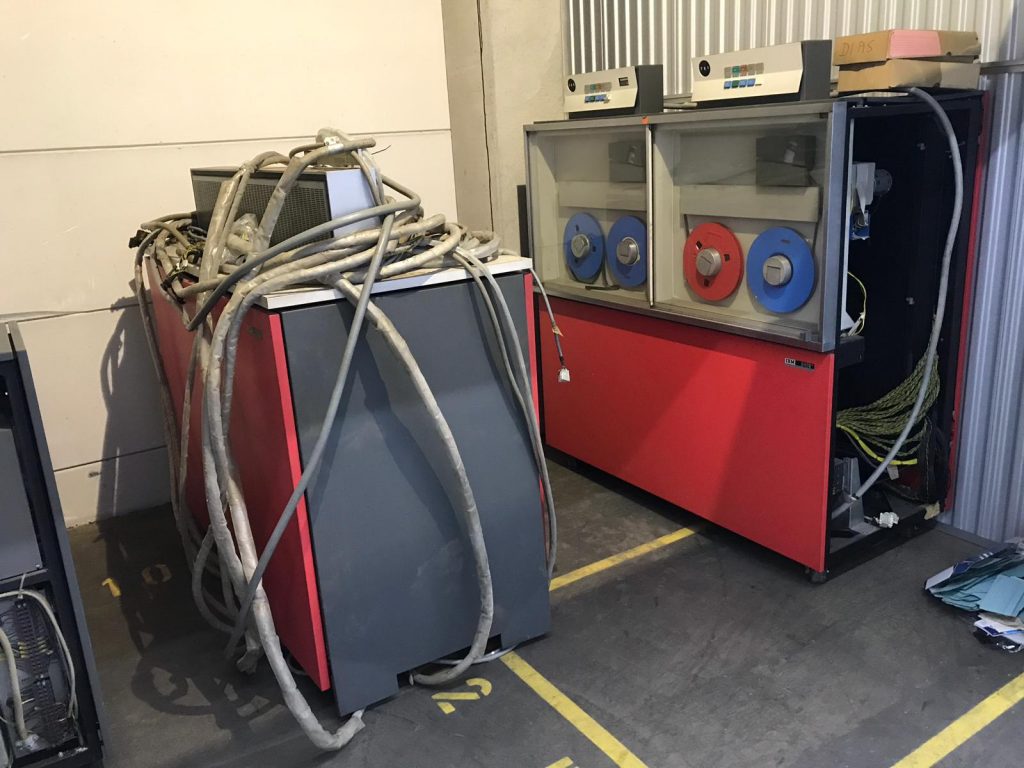
We then set off for our favourite German hardware store, Bauhaus, where we picked up the essentials, and then drove up to Fürth. Once we’d regained access to the building, we were greeted by what we’d left there on the last visit:
This was also Chris W’s first glimpse of the system, as per his tweet:
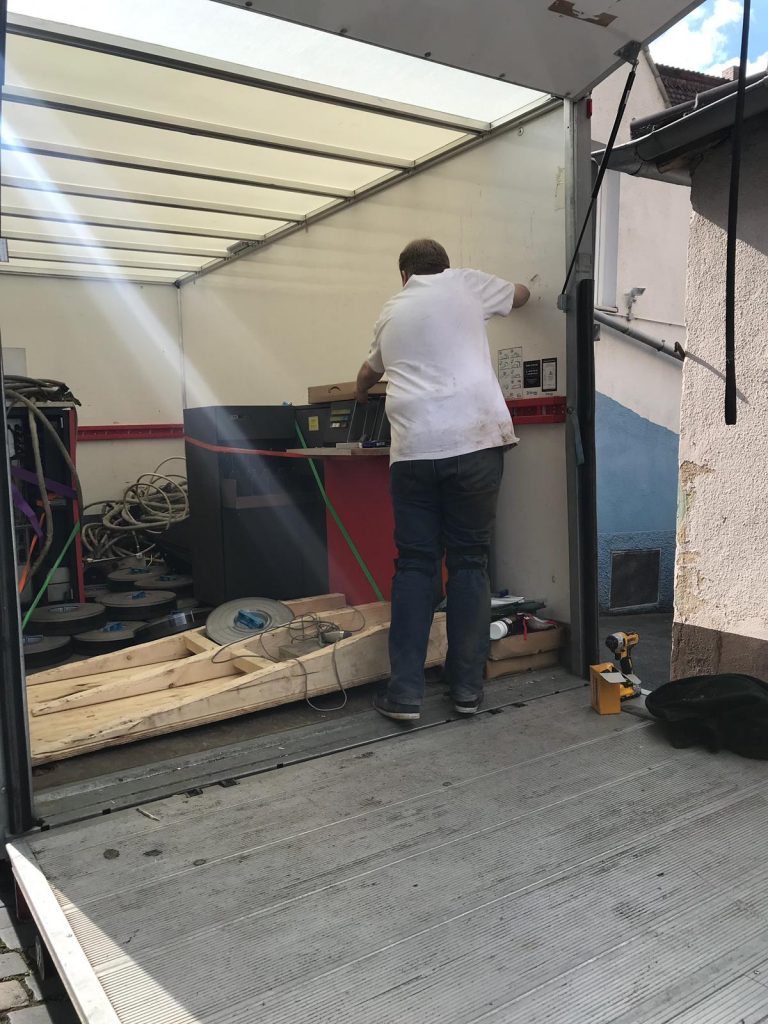
We didn’t waste much time in getting stuck in. We firstly removed the pallet containing all of the punched cards I rescued from the loft on the last visit and quickly wrapped them, primarily to keep them on the pallet safely but also to protect them against the risk of rain during loading/unloading.
Following this, we decided to collect the loose panels, power supplies, and machine cables and put them all on a pallet. This didn’t quite go to plan though as once we’d loaded them we realised that the pallet didn’t quite fit through the door!
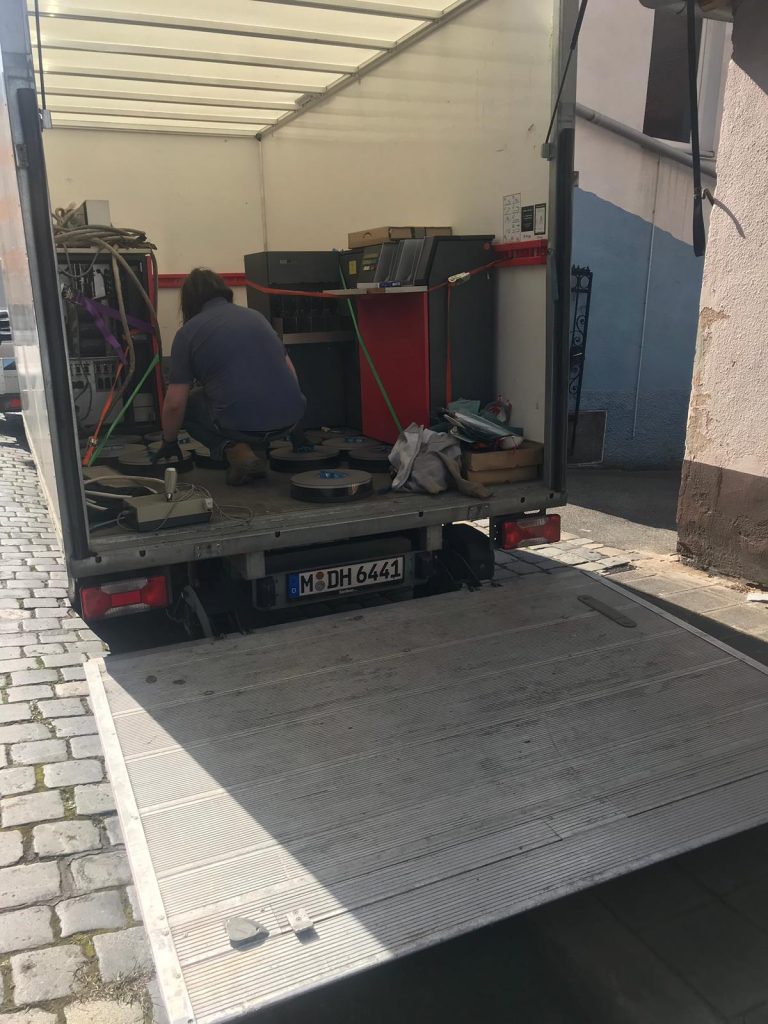
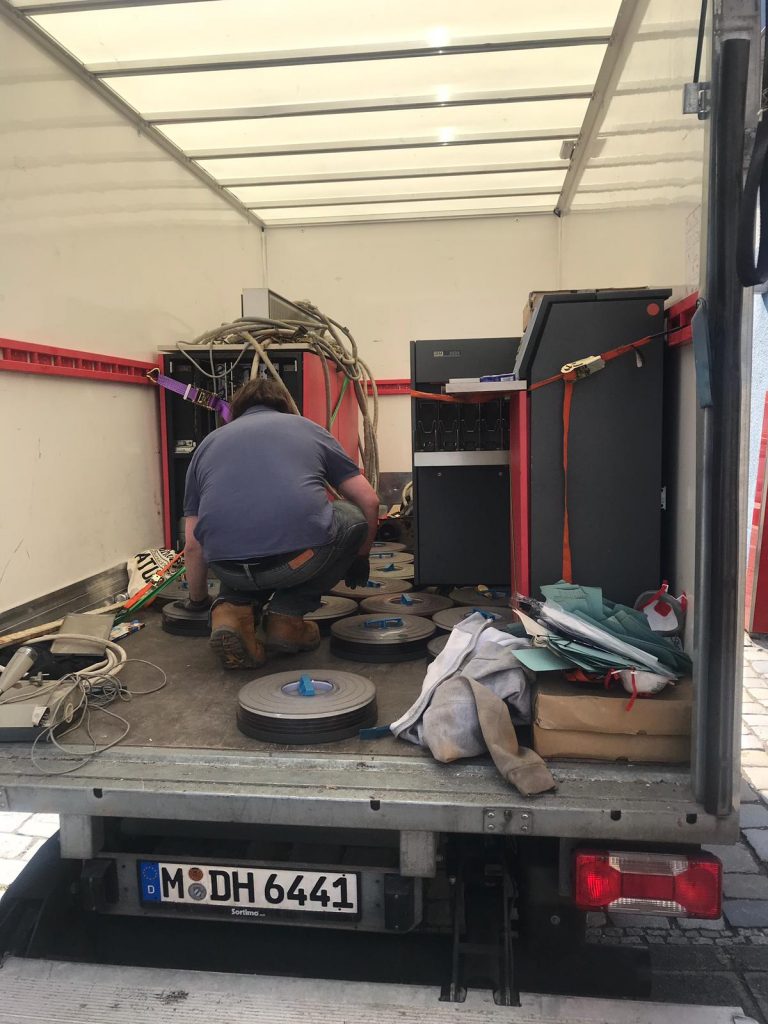
Still, we unloaded the pallet and stacked the stuff outside to sort out later. The next job was to deal with the plethora of disk packs we had scattered around the room from our hasty unloading last time. These packs aren’t particularly easy to transport as they have a prominent handle and thus they don’t stack very well. We obviously didn’t want to damage the cases as they protect the packs which are very likely to still be readable and anyway they are in and of themselves historical artefacts. So with that in mind, we came up with a lash up solution to solve the problem and keep everything safe:
Chris with disk packs
Loading disk packs
Adding tapes
Wrapping everything up!
We also acquired some spares including a card cage complete with backplane and some cards, along with a number of large and rather heavy (2x 80kg) power supplies. We loaded these on another pallet and wrapped them as well.
Wrapping a pallet
We then took one of the semi-empty machine frames we had acquired on the emergency rescue, and made use of the space inside it by filling it with small panels and cables. We then we wrapped the whole thing. We took the two pallets and one of the punched card readers upstairs where we’d reorganised the space a bit to squeeze them all in. This left us with more room downstairs to fill with more pallets.
We then headed back downstairs and re-packed the cables and spare panels onto a different pallet which actually fitted through the door and then put the pallets in the downstairs storage; they only JUST fitted, and with a bit of shuffling about we managed to shut the door.
With that done, we locked up and headed to check in to our hotel. Our hotel of choice this time was the Franconia City Hotel. We primarily booked this hotel because it reviewed extremely well and was very modestly priced whilst boasting an excellent location in the heart of Nuremberg. It also happened to be directly opposite a multi-story car park which was perfect for somewhere to dump the rental car. Having checked in the 3 rooms (including picking up Chris Blackburns keys for his later arrival), we asked the hotelier where a good nearby bar was. We wanted to stay in the local area as Günter Hiller, our friend from the Auction House, was due to meet us for dinner and a catch up. She said that the only bar nearby was an English pub. Oh great, we’ve flown all the way to Germany to visit an English pub; still could be worse! We trotted down to the pub. Luckily they did server German beer, so all was not lost!
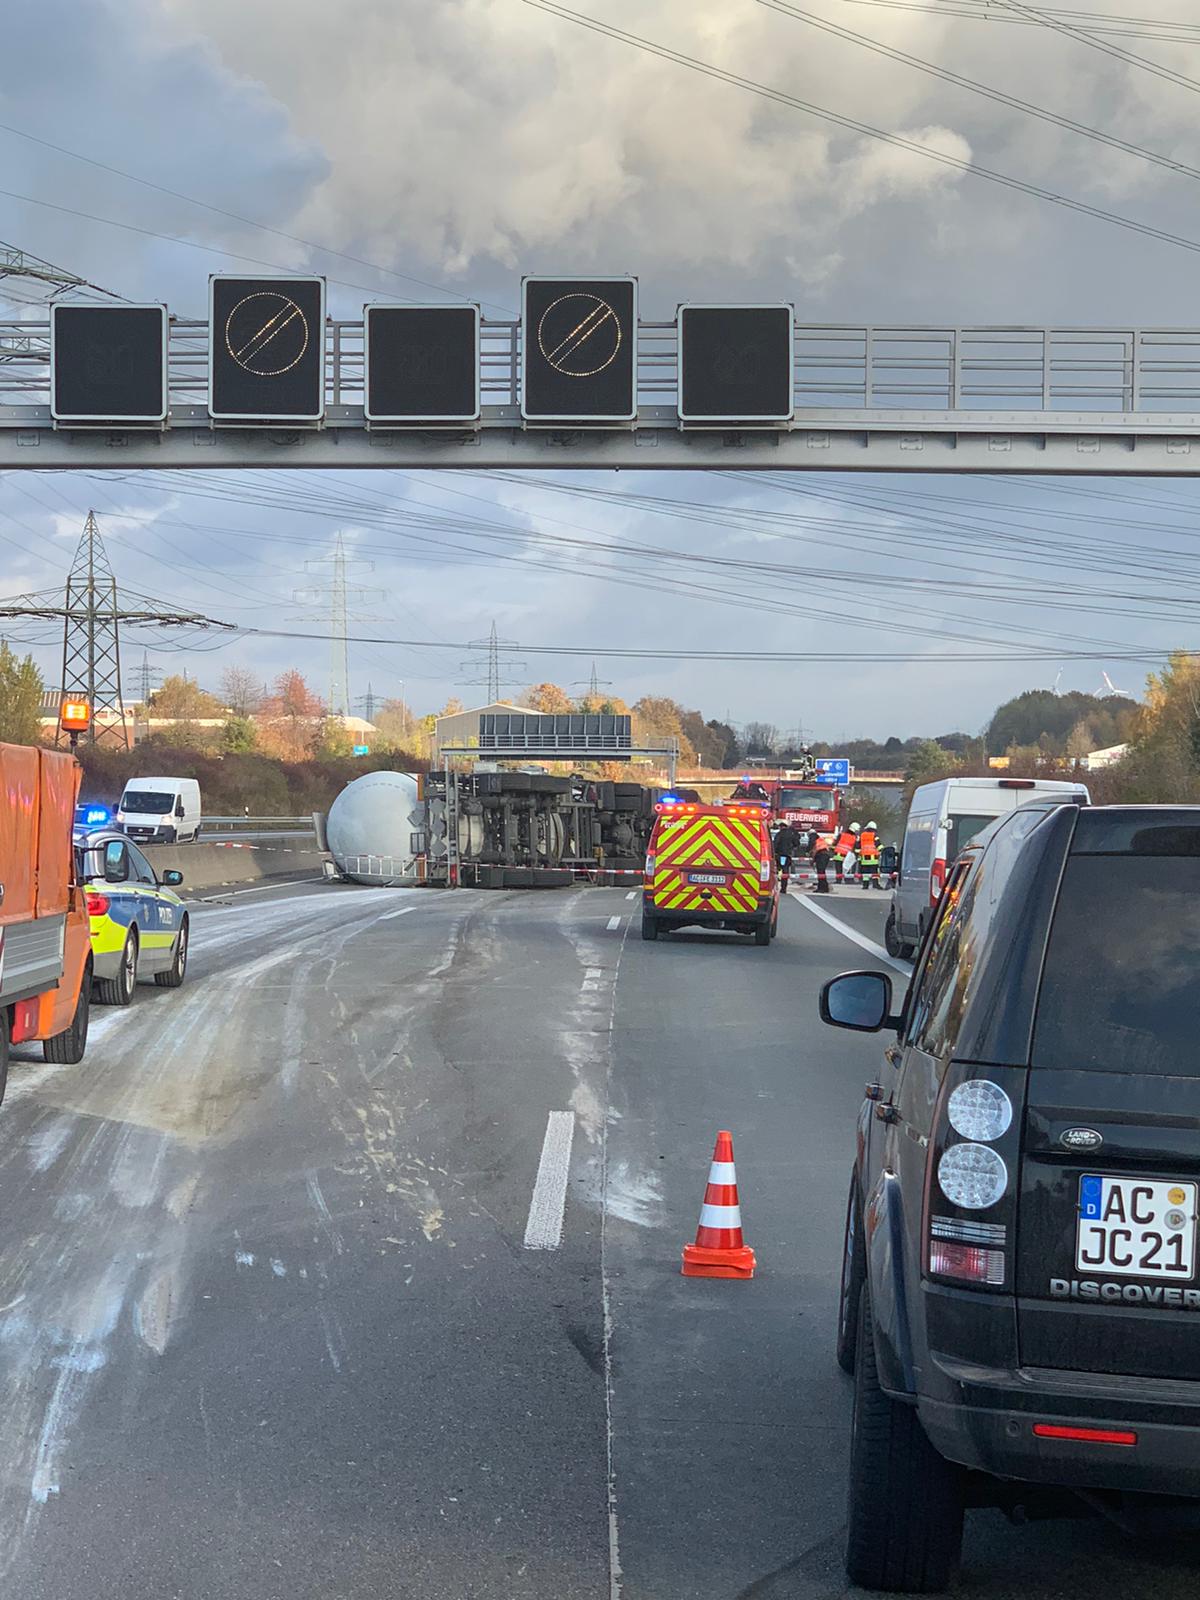
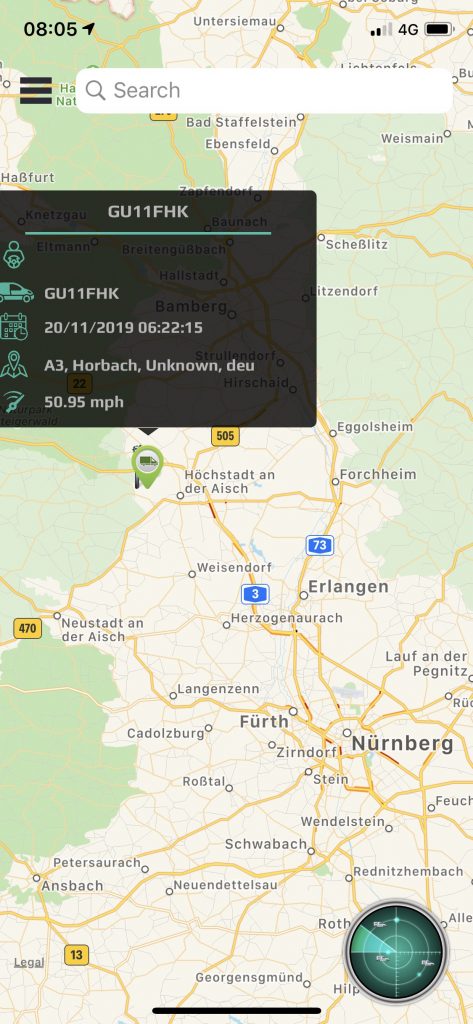
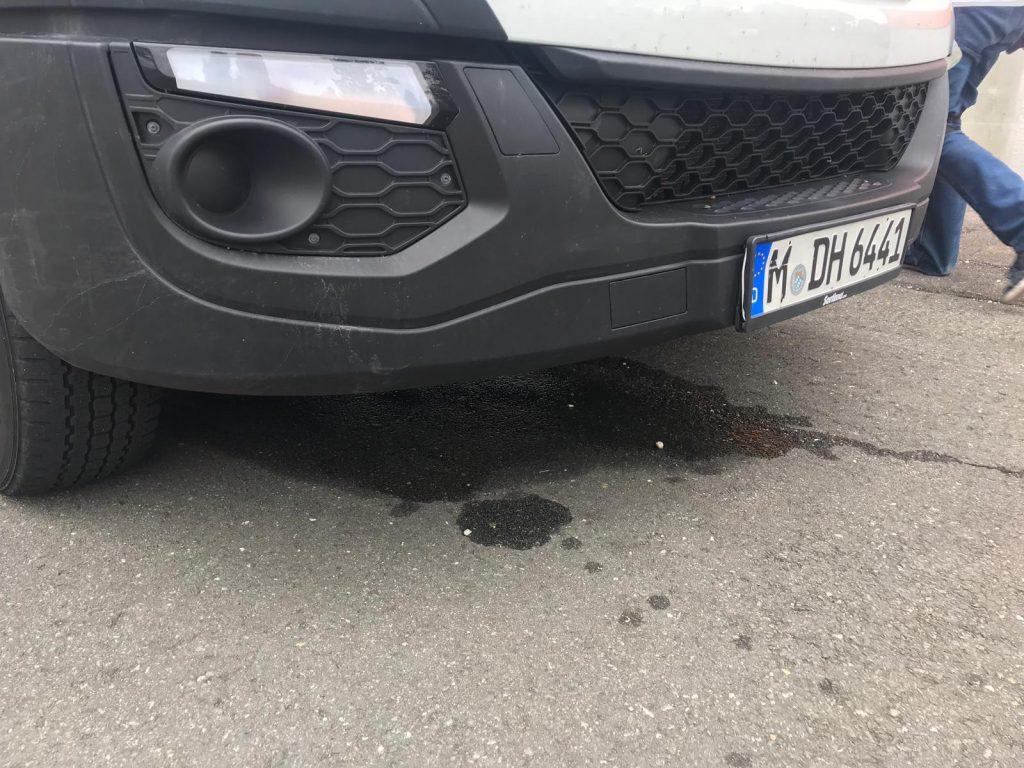
Shortly after, I noticed that I’d received an email from Rachel at Sunspeed to tell me that there had been a slight delay on the journey and the truck was held up on the autobahn at Eschweiler (near Aachen) due to a rather nasty accident:
Accident on the Autobahn
Luckily, nobody was hurt, and as we had live tracking of the truck through Movolytics provided by Sunspeed, we could see where the truck was. We figured that they’d be a few hours late, which wasn’t the end of the world as we had a whole day to play with.
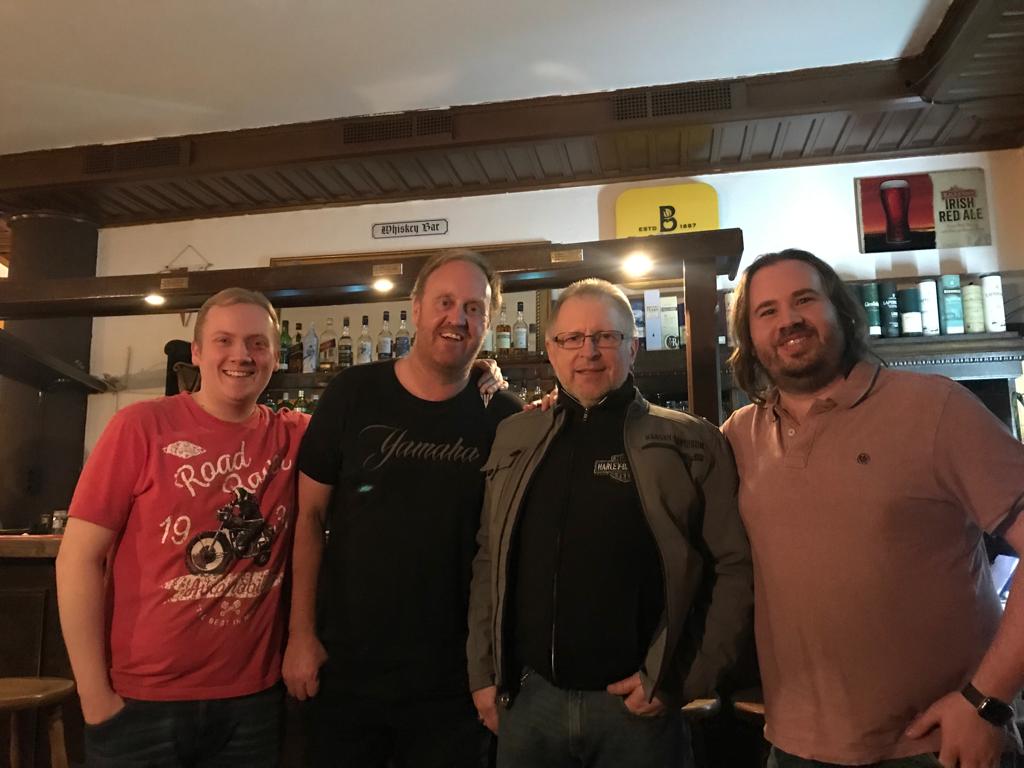
After Chris W. and I sank about 4 pints each, Chris Blackburn arrived and we ordered him a beer. Shortly thereafter, Günter arrived and we all had a good catch up:
Left to right: Adam Bradley, Chris Wilkie, Günter Hiller, and Chris Blackburn
We then headed out for dinner at a nearby restaurant. I’ve often described my love for Germanic cuisine on this blog and so I won’t continue to extol its virtues here, but needless to say we had an absolutely delicious meal, followed by more beers and then bed.
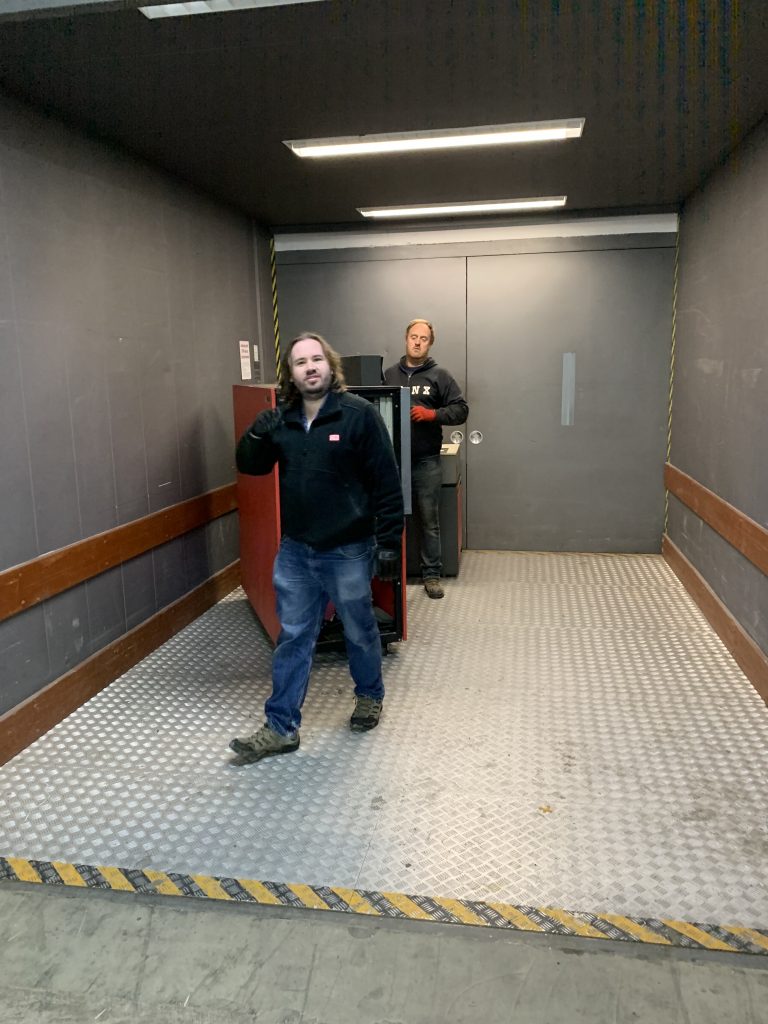
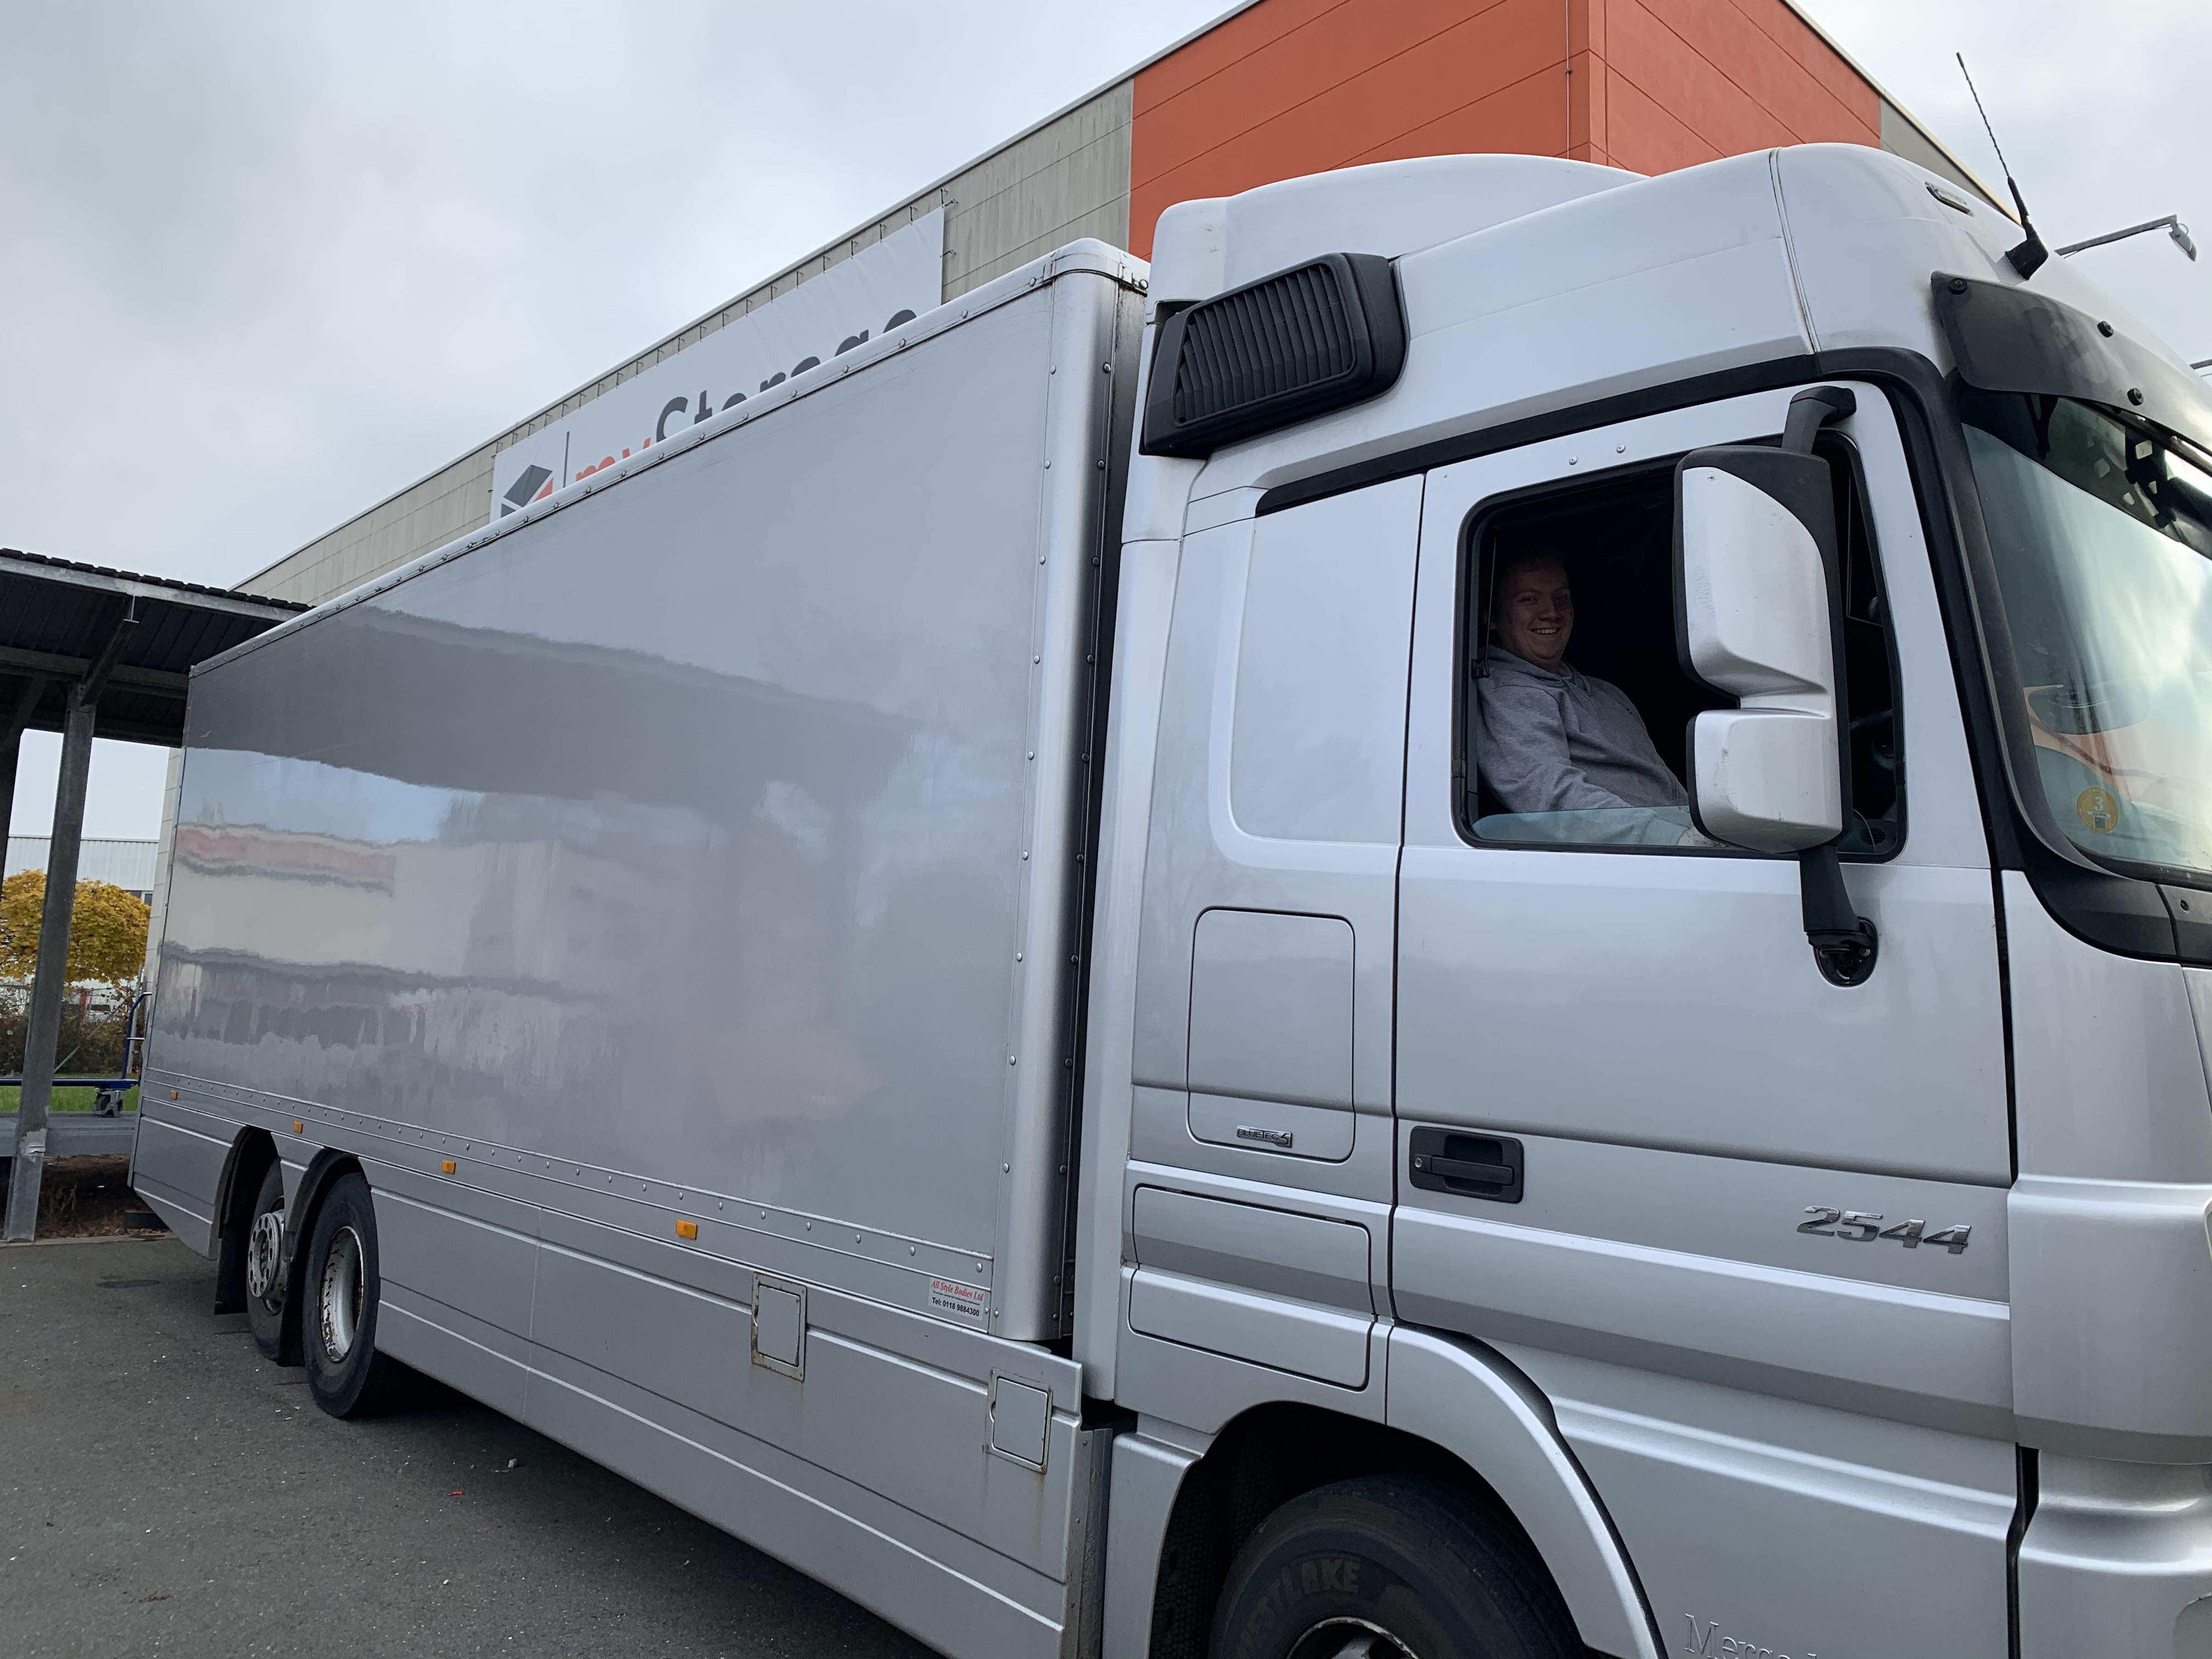
The following day, we got up bright and early and headed over to MyStorage for around 06:30. I was keen to get all of the equipment from the basement moved upstairs and have it ready for Sunspeed to load. This desire was compounded by the apparent delay from the day prior having a potential impact on the 16:00 delivery time penciled in for the next day. I wasn’t particularly keen on unloading this stuff in the dark when it arrived back in the UK, so we set to work getting it all up to the ground floor:
Tracking the truck
I got a bit excited when it was empty…
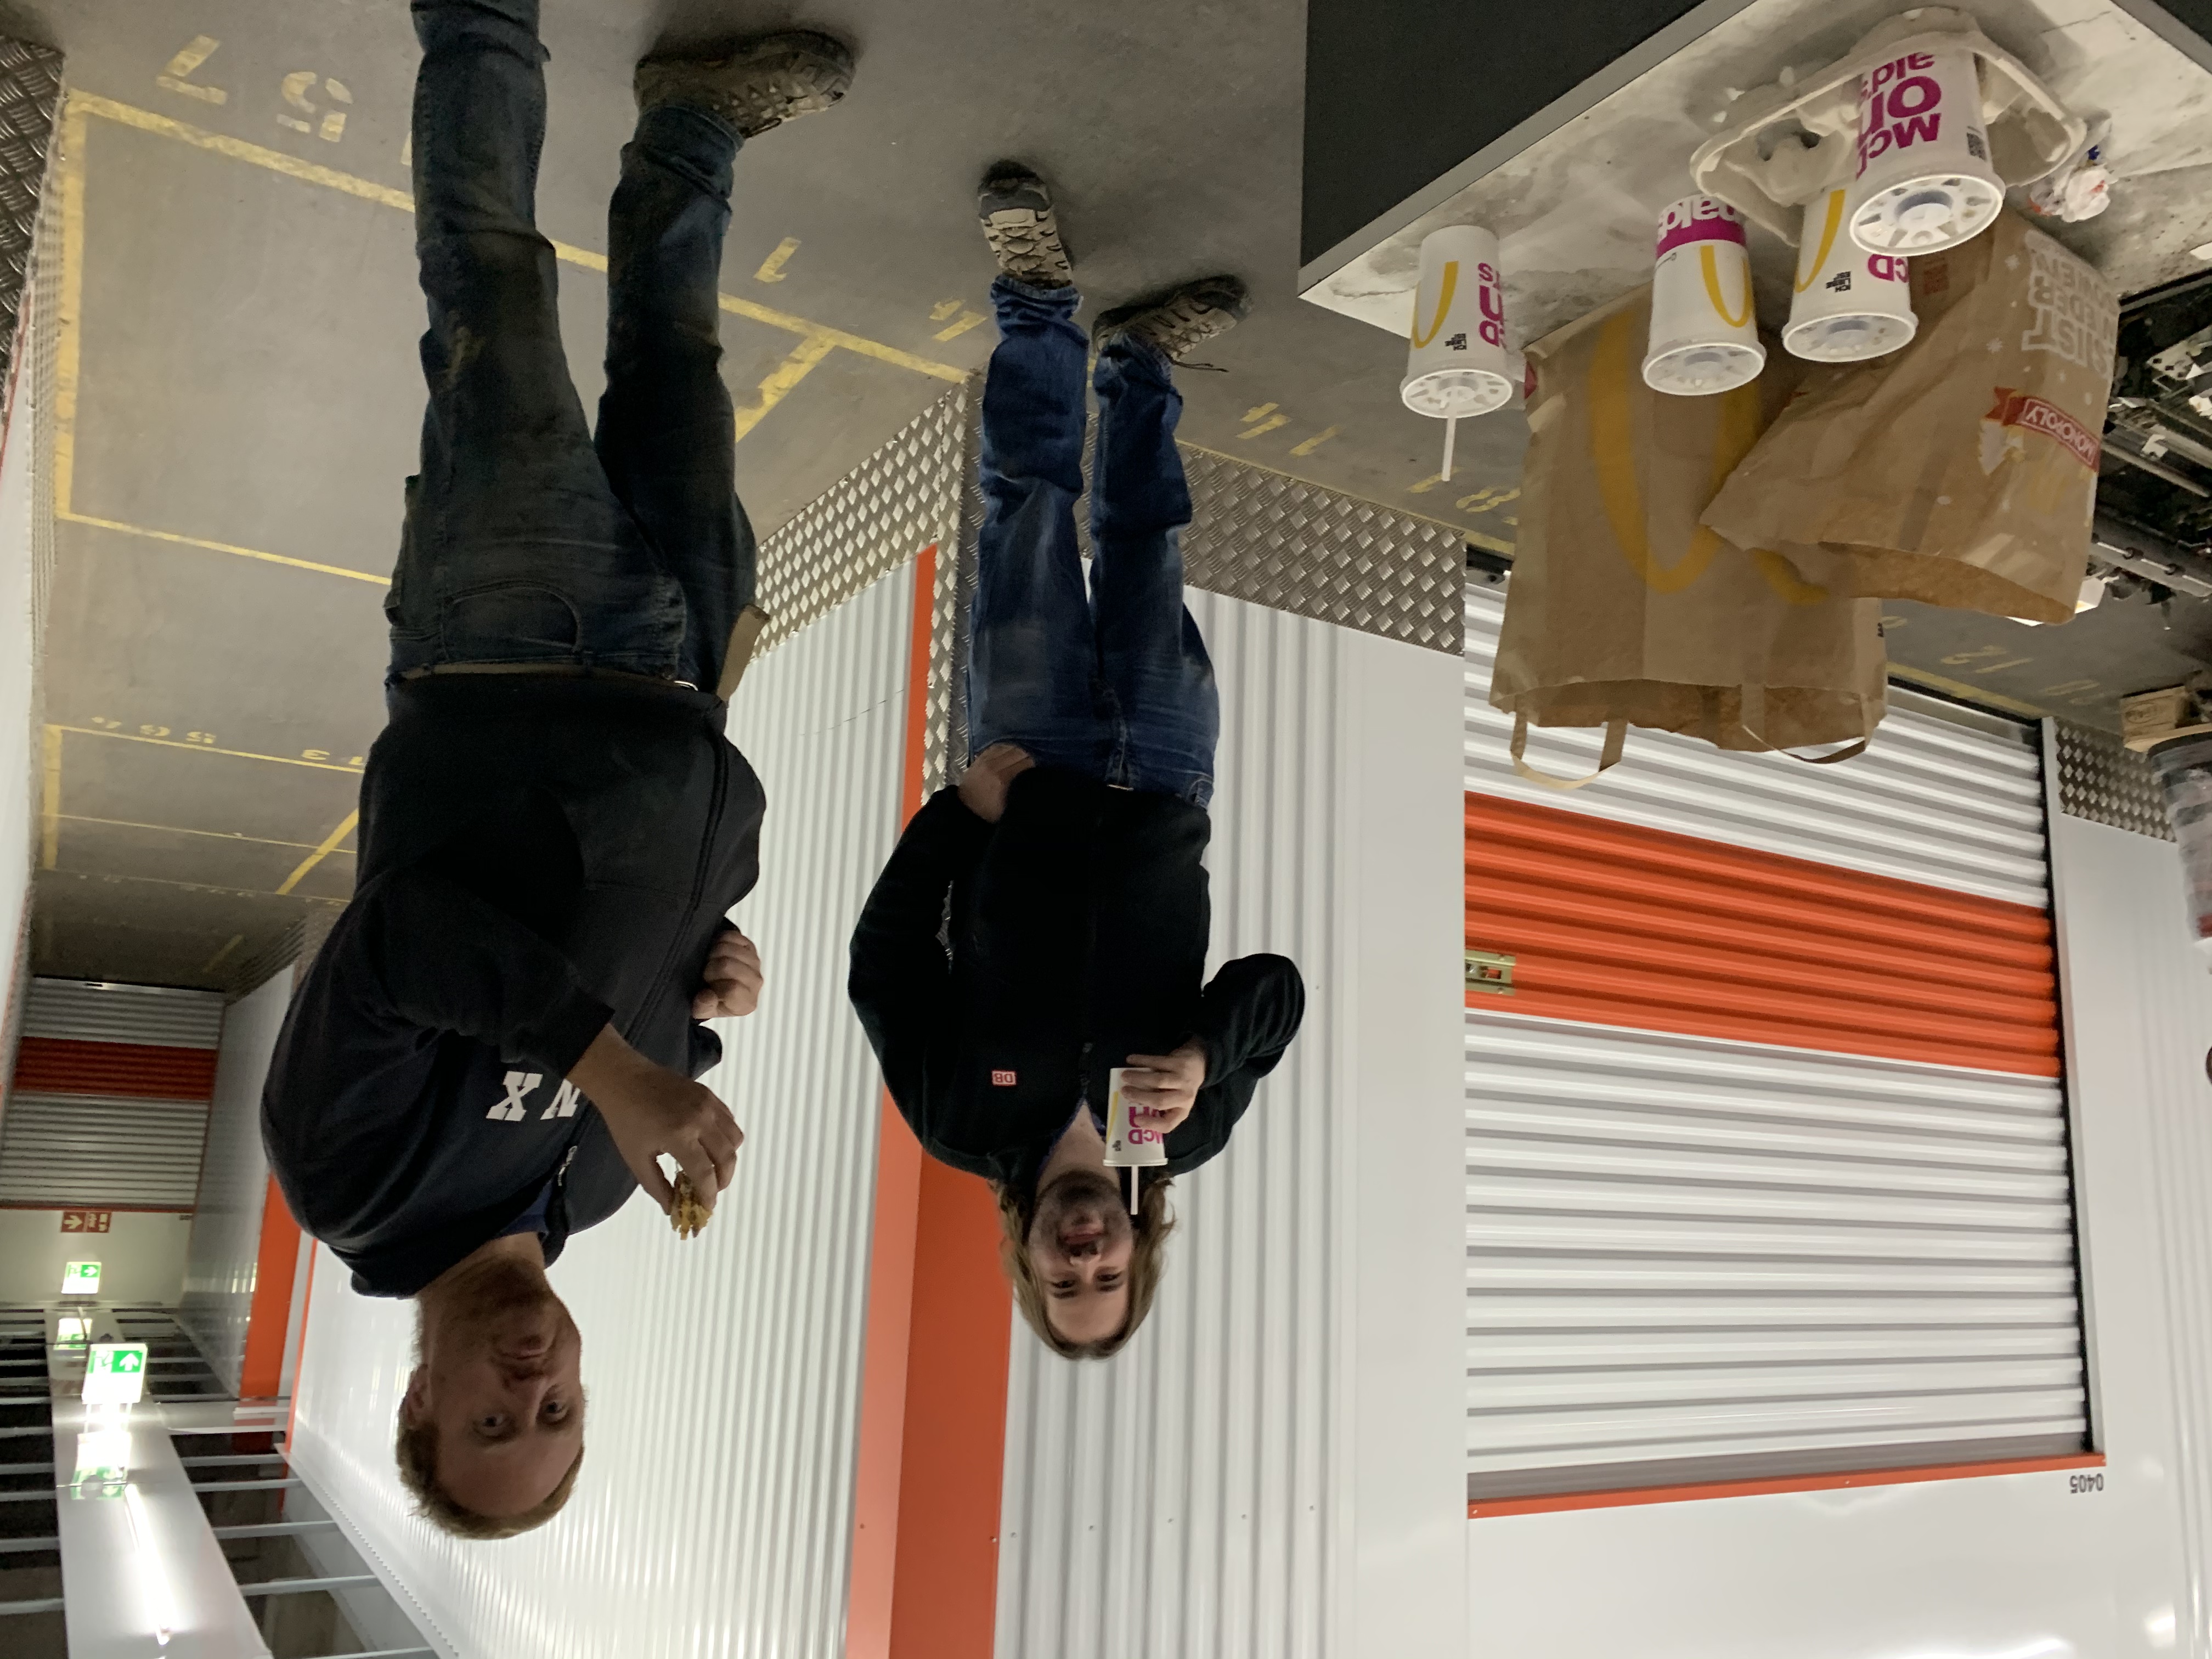
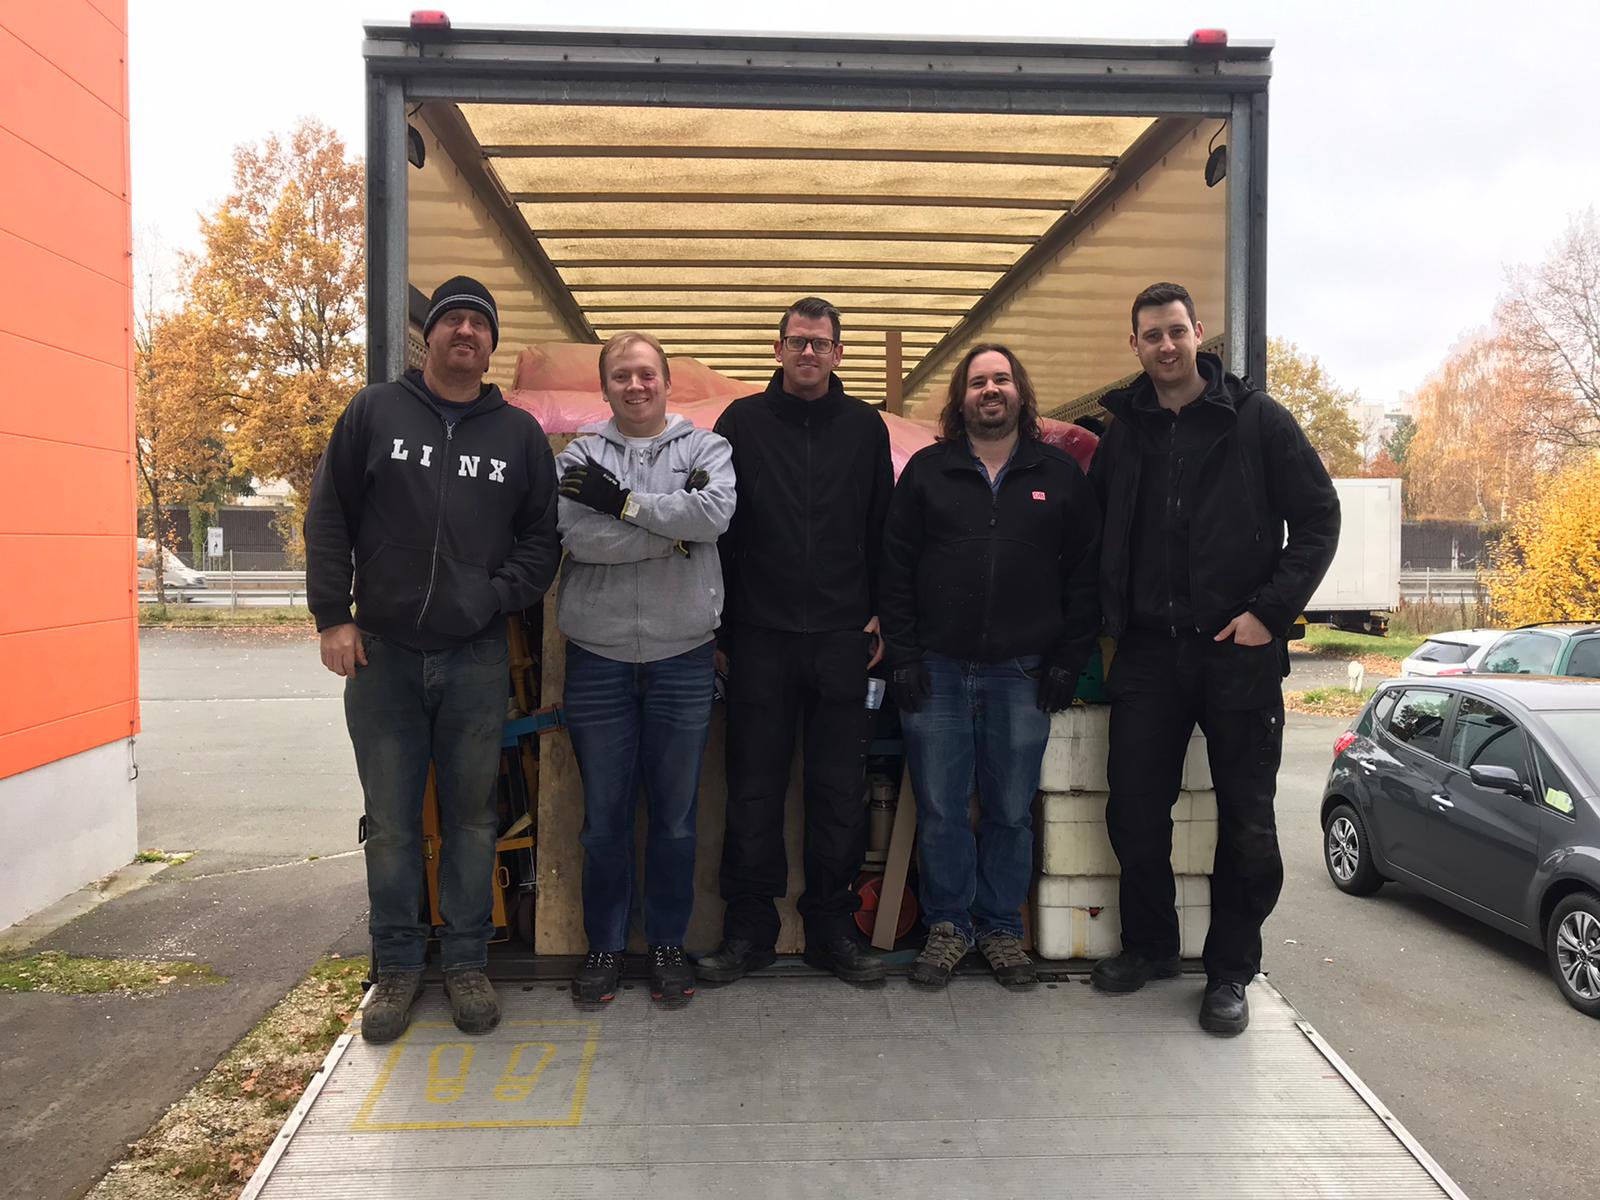
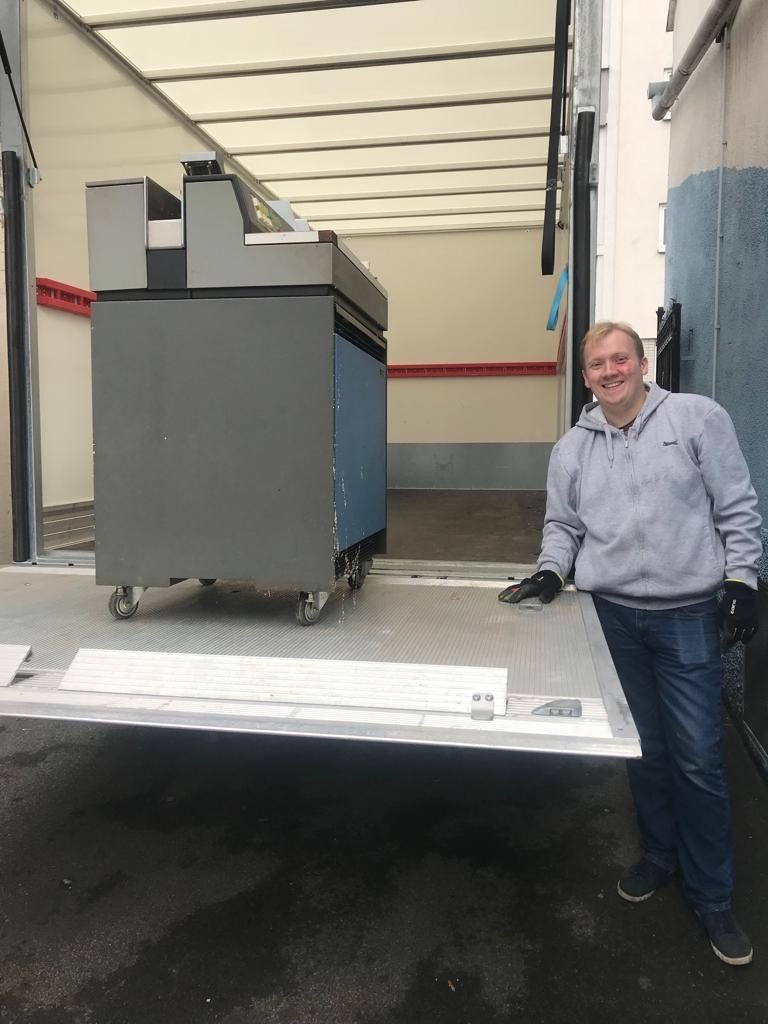
Now, due to the delay we thought the truck would arrive at around 11am rather than the previous estimate of 9am. We checked the tracker and saw that the truck was actually quite close. I was just about to head out to pick up a McDonalds breakfast for everyone when the truck pulled into the car park at 09:20! I met the chaps, Paul and Jamie from Sunspeed, and showed them to the loading bay. We were keen to get started loading, but we were all still rather hungry, so Chris W. headed off to pick up McDonalds for all of us whilst Jamie and Paul got started with the loading:
Boy had these chaps come prepared! We knew we’d hired the right professionals at this point. They had tonnes of bubble wrap and pallet wrap, along with these fantastic cardboard corner pieces for the machines. They also had this fantastic plastic sheeting to go down on the difficult and uneven surfaces which made life a lot easier. Their plan was to wrap every machine in bubble wrap, and then wrap it in pallet wrap to keep everything safe before strapping it into the truck. This was much more than we were expecting so we were throughly impressed!
Just then, Chris W. returned with McDonalds breakfast for everyone:
We all had a bite to eat as we were rather peckish, and then Jamie and Paul got on with the loading:
We did our best to help by wrapping some machines, but the 3 of us couldn’t keep up with the pace of the professionals; they would do two machines to our every one! Still, we had a good go, and soon enough the truck was getting quite full:
Adam with the precious Cargo
About this time, Günter arrived! Günter had been at an appointment in the morning, but had come along to help us load up and to see the IBM off to its new home.
Günter with Rampy McRampfaceLarking around
Now, when I’d originally been discussing the move with Dan, he’d said that they’d probably send their new truck over to give it a bit of a run-in, but at the last minute they had to change to one of their other fleet as they needed the newer truck for something else.
It turned out that this was rather a blessing in disguise as the newer truck was around 2ft shorter than the one they’d sent, and lets just say space was at a premium!
Already at this point, and not fully loaded yet!
By the time all was said and done, we were right at the end of the truck, so if they’d sent the shorter truck we might have had to get creative!
Paul and Jamie with the final loadThe loading team minus Günter, as he was once again being our photographer extraordinaire
After loading, we had a bit of a chat, and despite my best efforts at persuading them, I wasn’t allowed to drive the truck home. I did however get to sit in the cab, which just made me want to buy one (I mean, it would be useful and totally justifiable as a personal expense, right? RIGHT?)
After the truck departed, Chris Blackburn and I headed to reception to hand back the keys to the units and to close our account with MyStorage. FYI, if you ever need to store anything in Fürth, I can throughly recommend MyStorage; particularly as all of the staff speak fluent English, which is a lot more than we can say about our German!
Having sorted everything out, we headed back to the hotel to get our heads down for a few hours. We had about 3 hours of sleep, had a shower, and headed out to the bar and to dinner to celebrate; we made sure we didn’t go too hard on the beer though as we had to be up incredibly early again to catch our 07:15 flight back to Stansted.
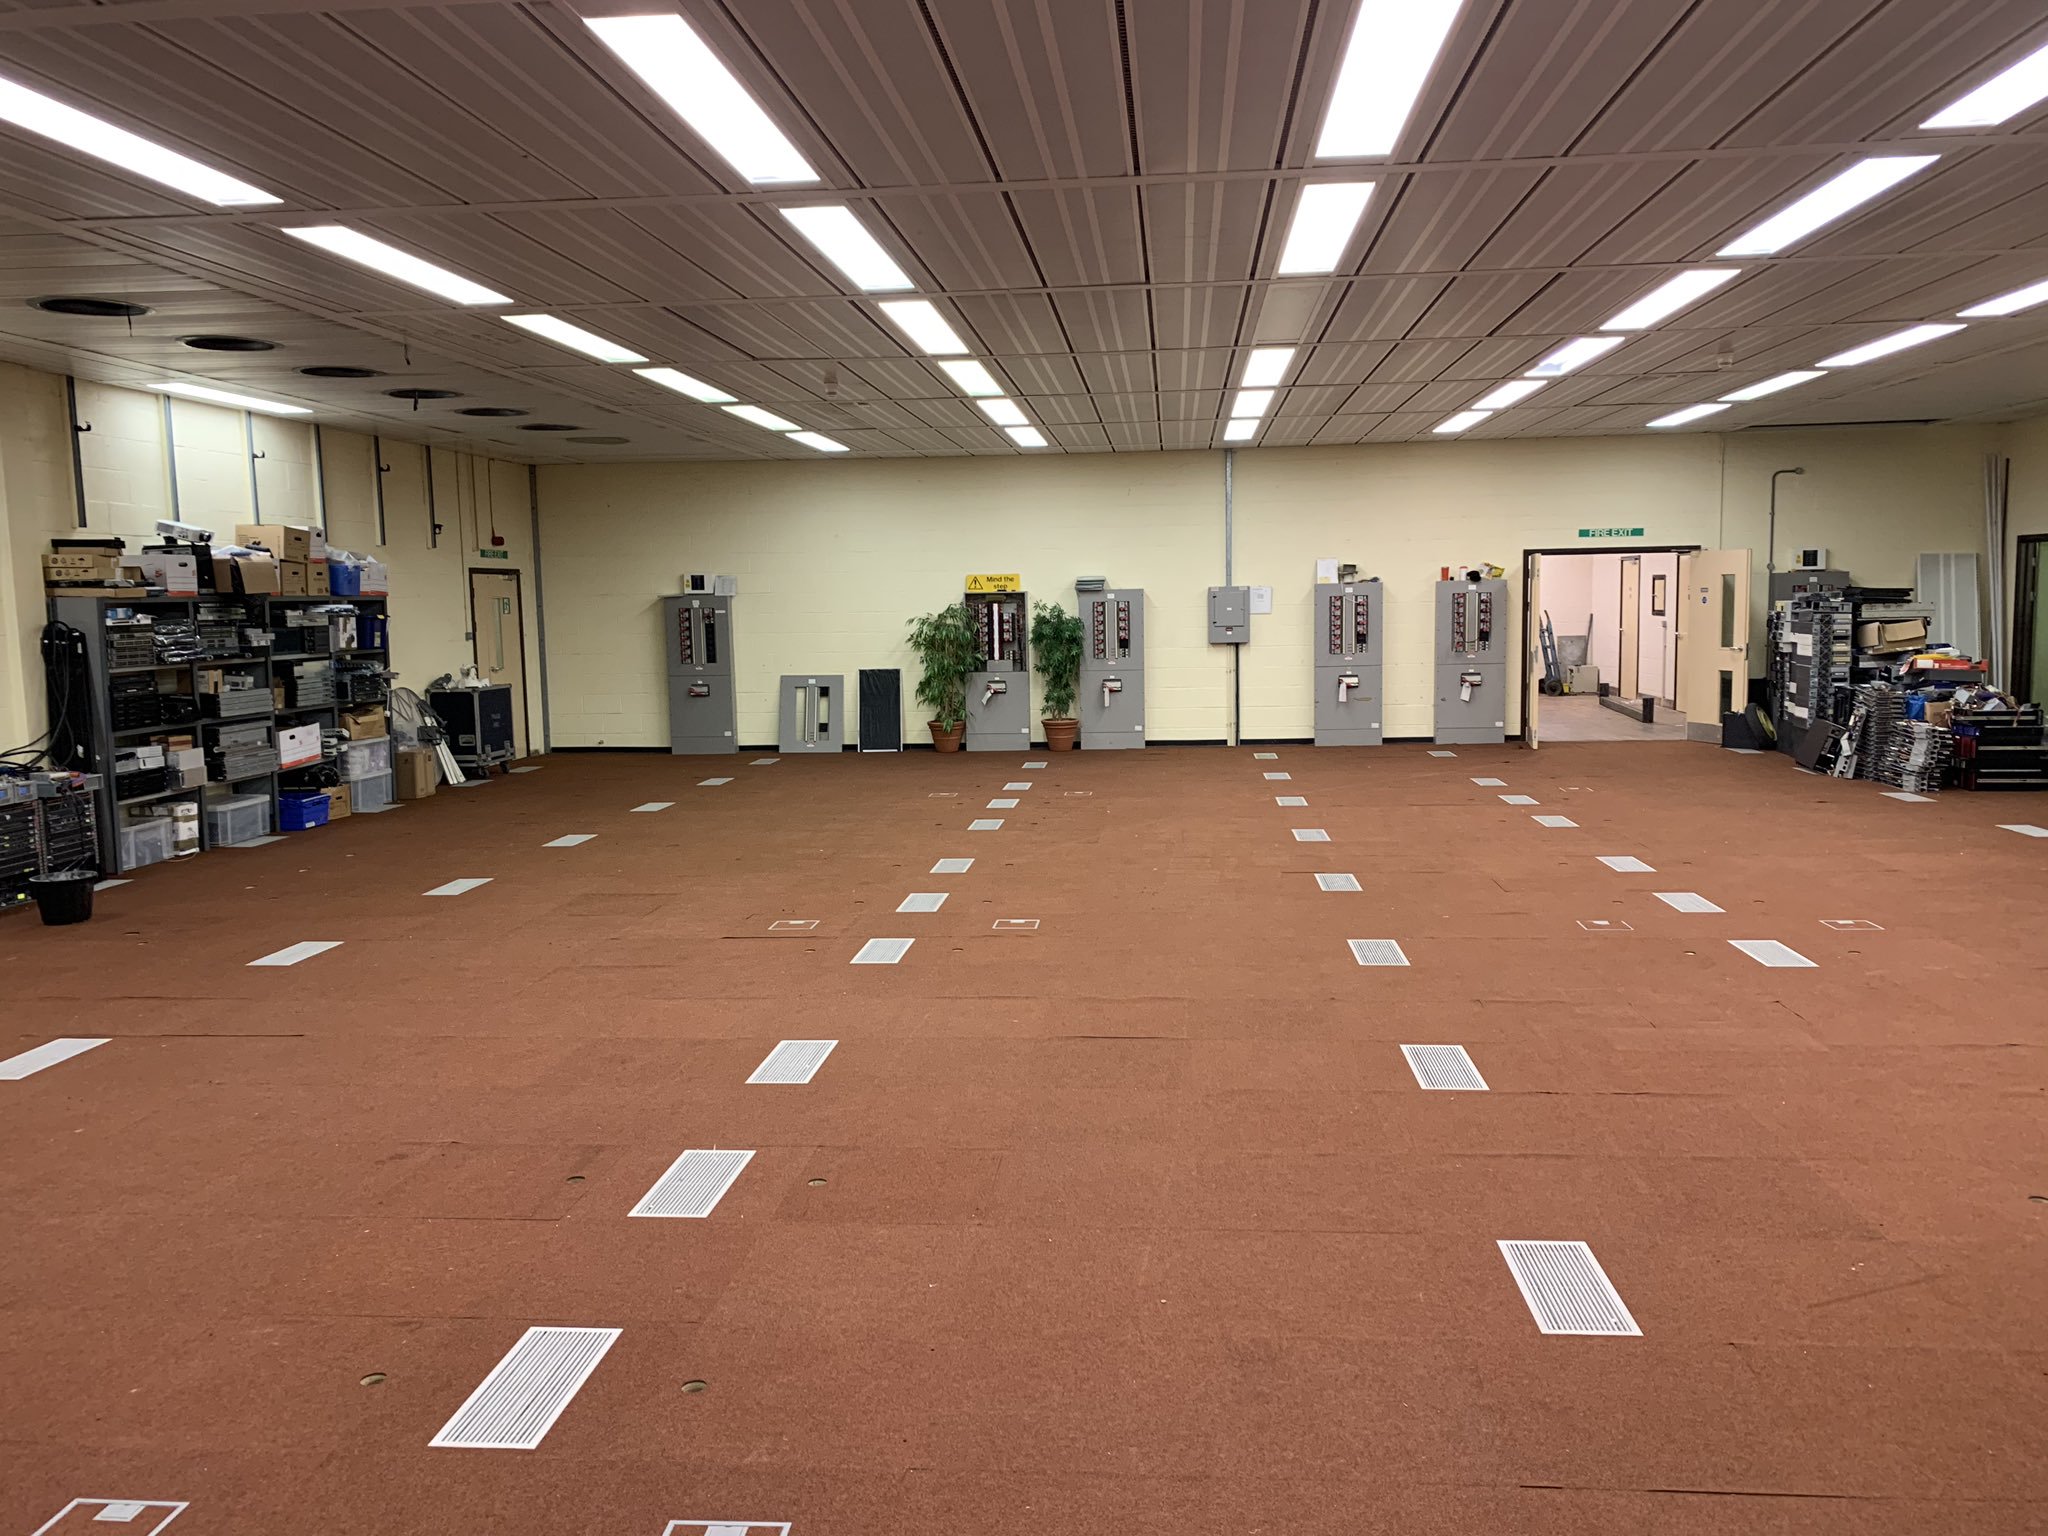
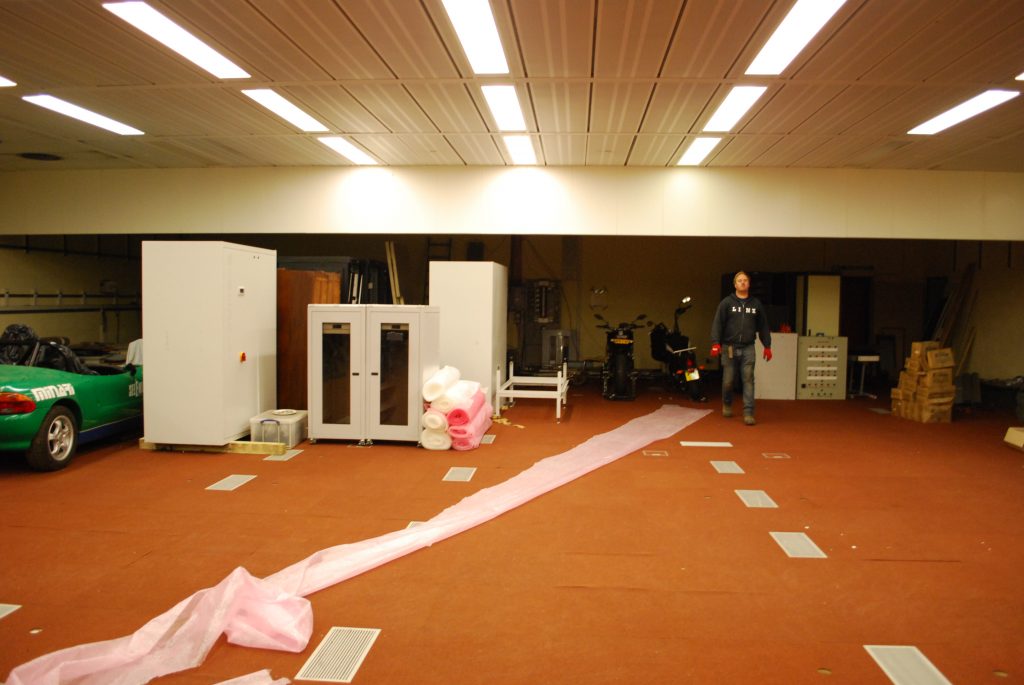
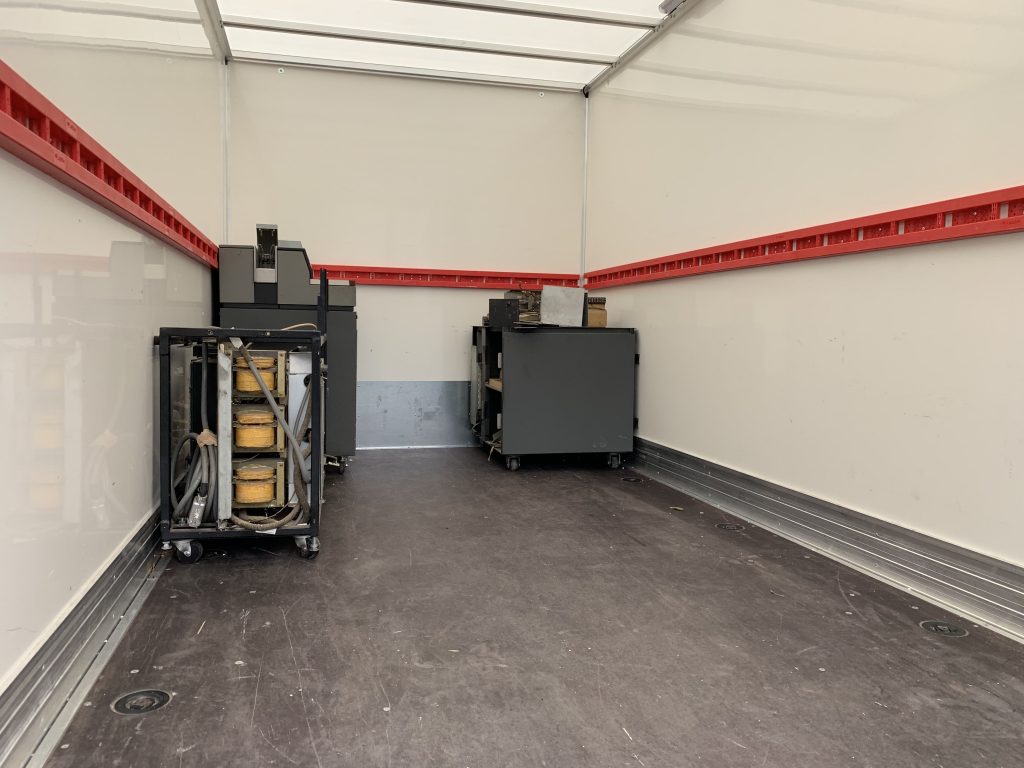
After our ridiculously early start, early morning flight, and a quick nap, I received notification that the truck was in the UK much earlier than thought! We presumed they’d arrive on site at 16:00, but at 13:00 they pulled in through the gates! Luckily Chris W. and one of his guys (and a very good friend of ours, Clinton Thomas), had spent the Monday before clearing plenty of space for us in the Machine hall:
Creslow Park Machine Hall, top end
So with the space clear we were fully prepared to receive the machine!
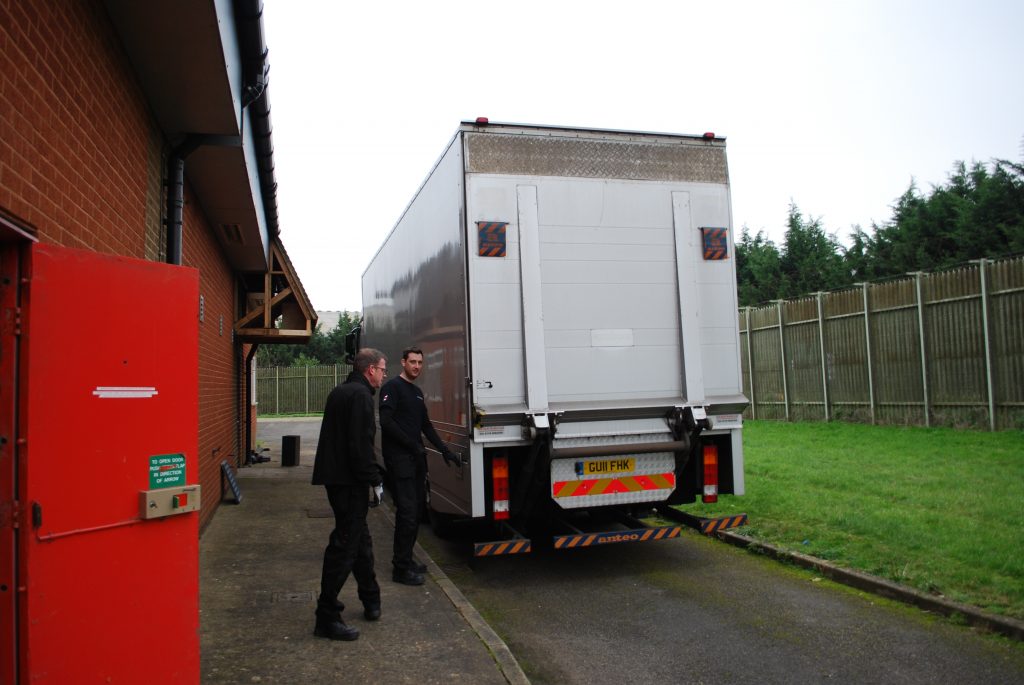
Some of the first items arriving!
The chaps from Sunspeed put down that fantastic plastic sheeting again to protect the wheels and provide a smooth surface across the door lip (I need to buy some of that!), and then we all got to work unloading.
Soon enough, the unloading was complete. All of this, with only one casualty. The keen eyed reader might notice the larger machine, the 370/125, sitting at a slight angle. Now, the first time we moved this we found a few ball bearings lying around afterwards, but we couldn’t figure out where they’d come from; it turns out, they’d come from one of the casters on this. Yes, a wheel fell off during unloading. No problem though, it moved easy enough on 3 wheels and no damage was done, and these wheels are many years old and have likely seen many rough moves; they’re on the service list and we’ll be replacing this caster ASAP.
Heres a time lapse video of the unloading:
and one of the unwrapping:
and heres a photo dump of the whole process as well:
At that point, we were pretty tired and so we called it a day. We’ll be heading back soon to start cleaning and cataloguing the machines to determine exactly what the specifications and state of them are. Needless to say, we’re all terribly excited to get our teeth stuck into the project!
We can’t thank everybody enough for all their help on this project. First and foremost, to our donors who made this move possible. We sincerely hope you all continue to enjoy reading the blog and sending us messages! To Sunspeed and all the team, for all their help and professionalism in moving the machine; without them this would have been a much more difficult undertaking. They did an absolutely sterling job. To Günter, for all of his amazing help from start to finish, and for his friendship; without him removing the machine from the building in the first place would have proved a much, much more difficult task. To Chris Wilkie of Creslow Park, not only for his help moving the machine but also for his enthusiasm and willing to host our machine at his fantastically interesting facility. And finally, to John Oates at The Register, Jenny List at Hackaday, everybody who shared the articles and blog on Slashdot, and everybody else in the media who’s put the story out there and driven traffic to our website. There are too many of you to list here, but we really do appreciate all of your help!
We’ll undoubtably have some updates for you soon, but for now I think I can safely say we’re all going to bed!
So it’s been a while since we’ve posted anything here, and we apologise for that. We’ve all been rather busy with our respective personal and professional lives and it’s not left much time for us to work on getting the machine back to the UK.
We’ve recently begun engaging with various transportation providers and we’re somewhat struggling to find anybody capable and willing to move the machine, but we will persevere! We’re determined to get the machine back before the October 31st Brexit deadline if at all possible, this is especially important as nobody knows what the importing costs will be post Brexit and we don’t want to end up paying thousands more in storage costs in the event of nobody knowing whats going on in a no-deal scenario.
If anybody has any suggestions for a good haulage company who can provide a full sized articulated truck with solid sides and tail lift (and many, many tie-down points) that could assist us with getting the machine back to the UK soon then we’re all ears!
We hope to provide you all with some exciting news on the project soon. Keep your eyes peeled!
All the best,
Adam and the rest of the IBM S360/20 restoration team.
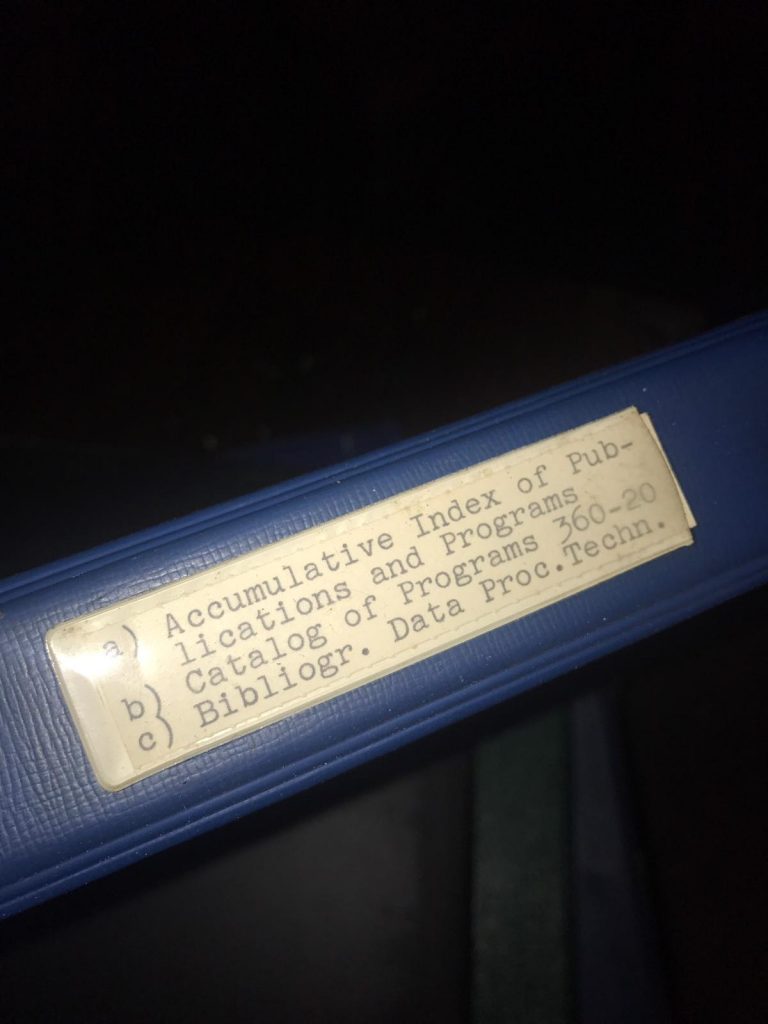
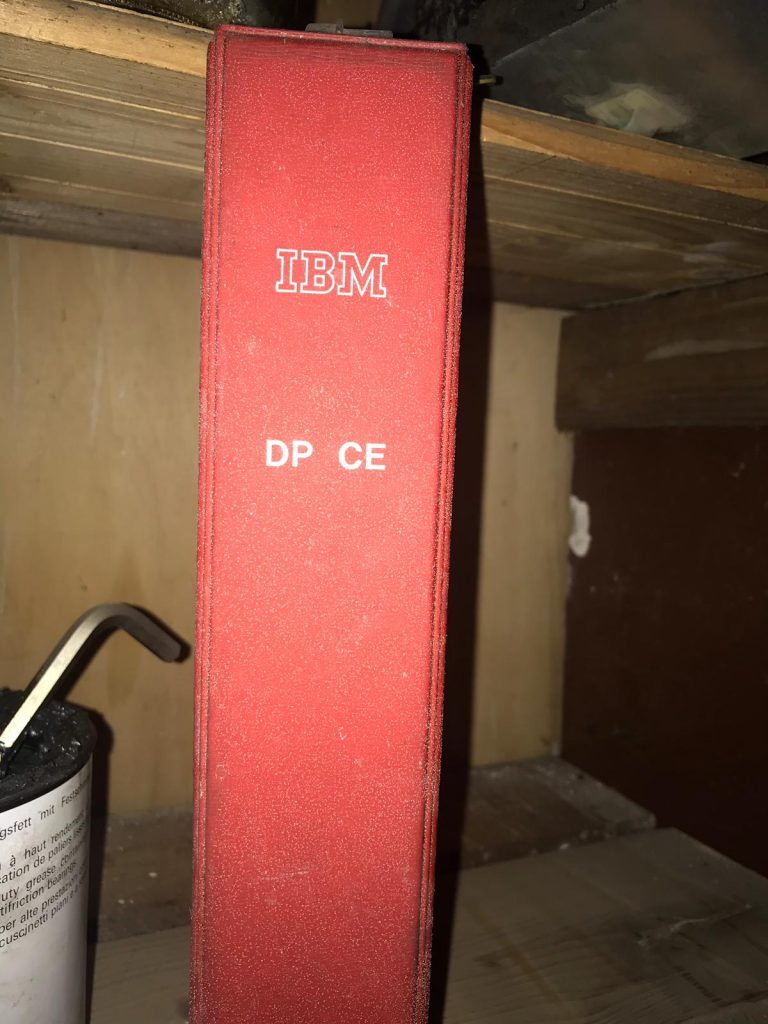
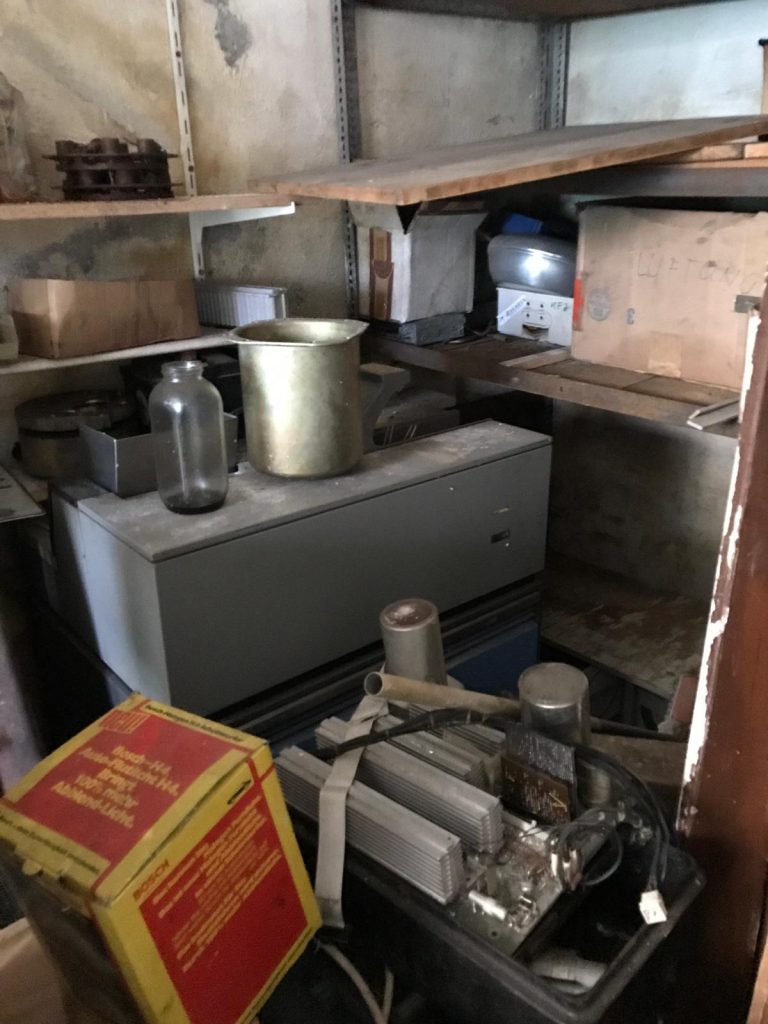
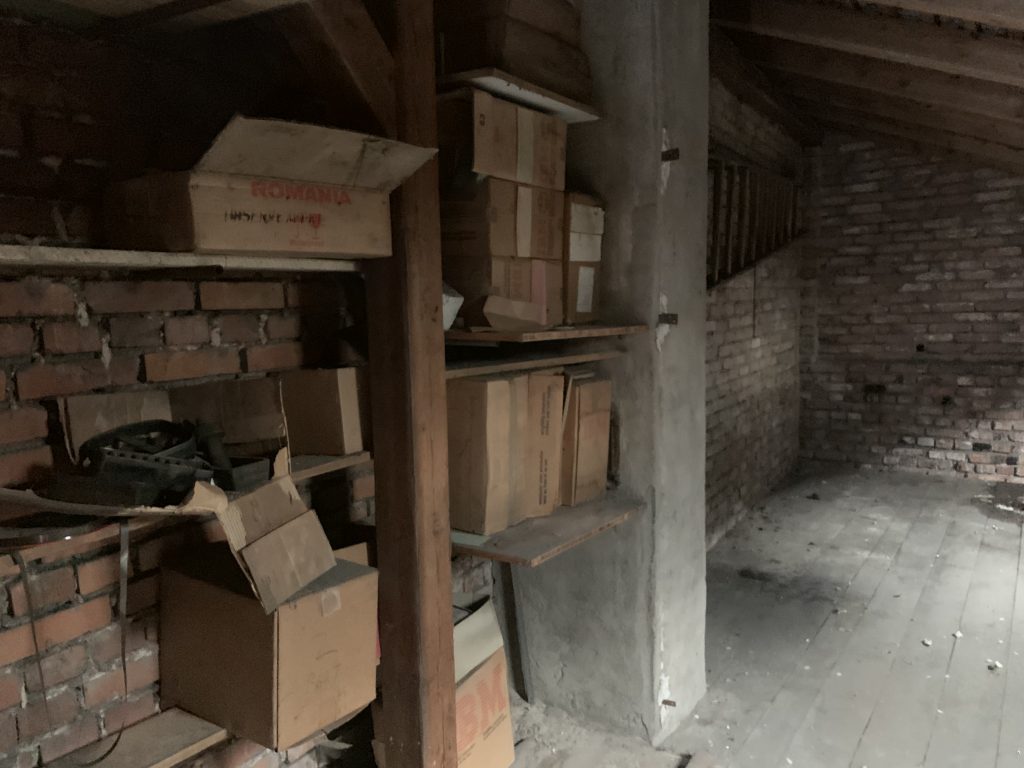
Yesterday Afternoon (21st of May 2019) I received a WhatsApp message from our German Auction house contact (come Photographer extraordinaire), Günter Hiller. It was a series of photographs, firstly of the roof of the machine room. It would seem over the weekend that the roof had leaked significantly right onto where the punched cards and the processor had been stored! It looks like we removed everything just in the absolute nick of time! Included in the photos were bits of IBM equipment, along with some engineering manuals. These had apparently been found in the room behind the room the computer was in, buried under a load of Porsche parts! This came as a surprise to everyone as they had previously been informed these rooms were empty. Further, in the attic space above the room, there were a lot of boxes labeled IBM!
Leaking roof!
Leaking roof!
More manuals found
More manuals found
The hidden IBM equipment
The box of recovered manauls
The hidden IBM equipment
The hidden IBM equipment
The hidden IBM equipment
The hidden IBM equipment
The hidden IBM equipment
Catching the leaking water
Now usually, this wouldn’t have been an issue, I could just go over and get them at the weekend right? Well firstly flights on the bank holiday weekend were abhorrently expensive, and secondly the wrecking crew was in gutting the building! Not ideal! I spoke to Günter, booked some flights (£40 return with a hold bag – not a bad price even if I did have to suffer RyanAir once again) for the following day (Wednesday the 22nd of May 2019), leaving in the morning and coming back at night. I booked another hire van and then prepared for the trip by throwing some ratchet straps in a case along with a couple of tools and some gloves.
Chris picked me up at 04:15AM on Wednesday morning and drove me to Standsted airport once more. I caught the 7:35 flight to Nuremberg touching down at 10:30 local time. A taxi took me to the van rental place (Sixt again…) where I was dreading what they would give me this time – happily I got a van with only 6000KM on it! Wonderful.
I had arranged to meet Günter at 12, but I was running slightly early so I arrived there at about 11:25. The wrecking crews van was blocking the driveway so I had to go and park the van at the shop down the road – surprisingly there was enough room in their on-street parking bays!
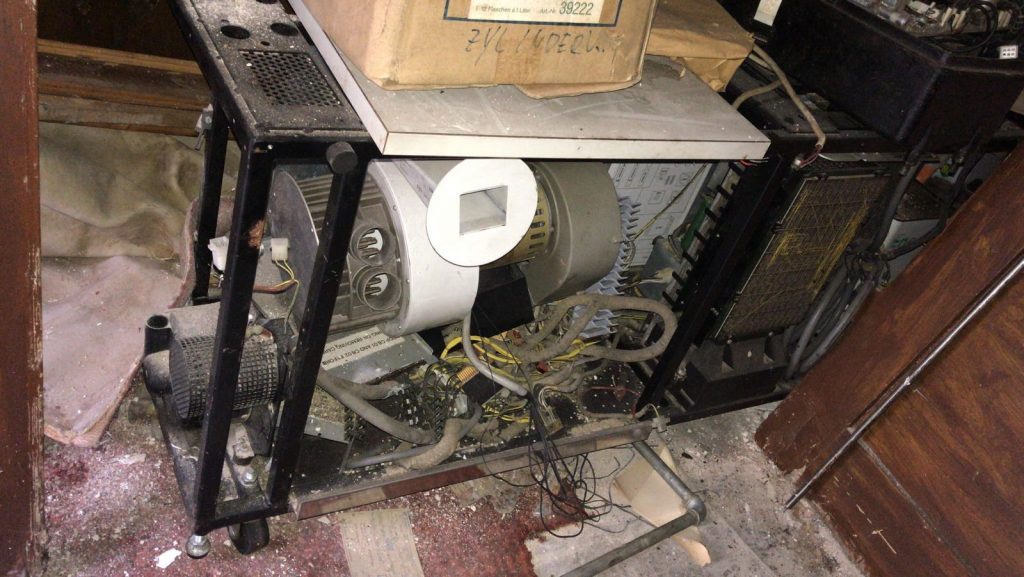
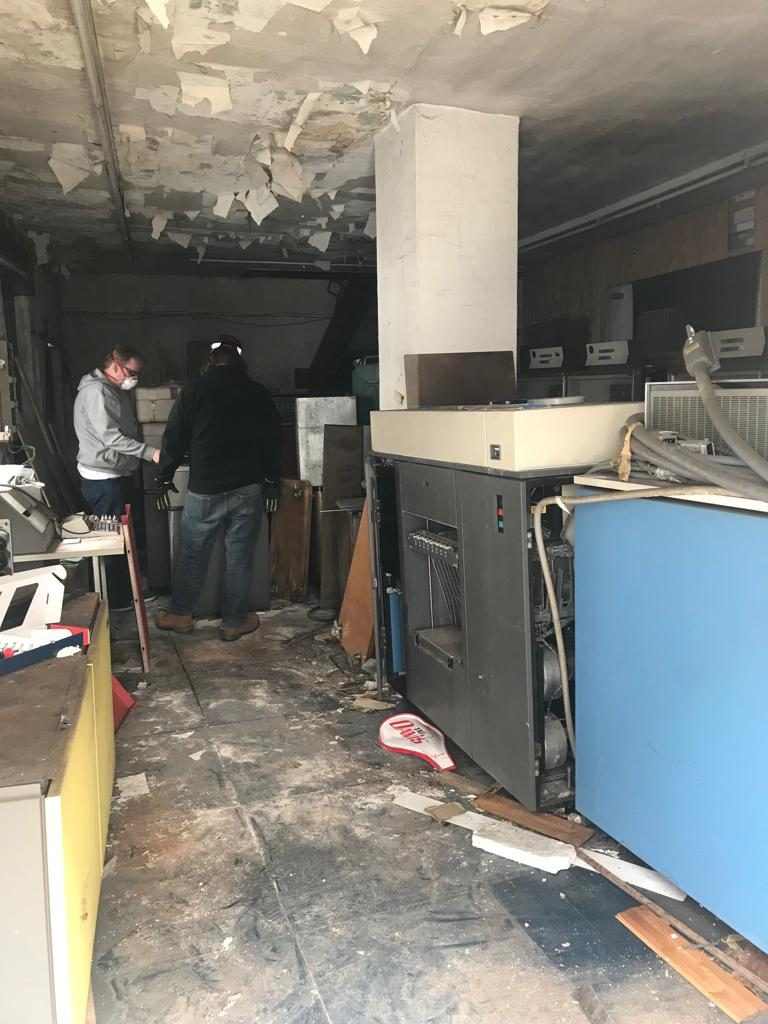
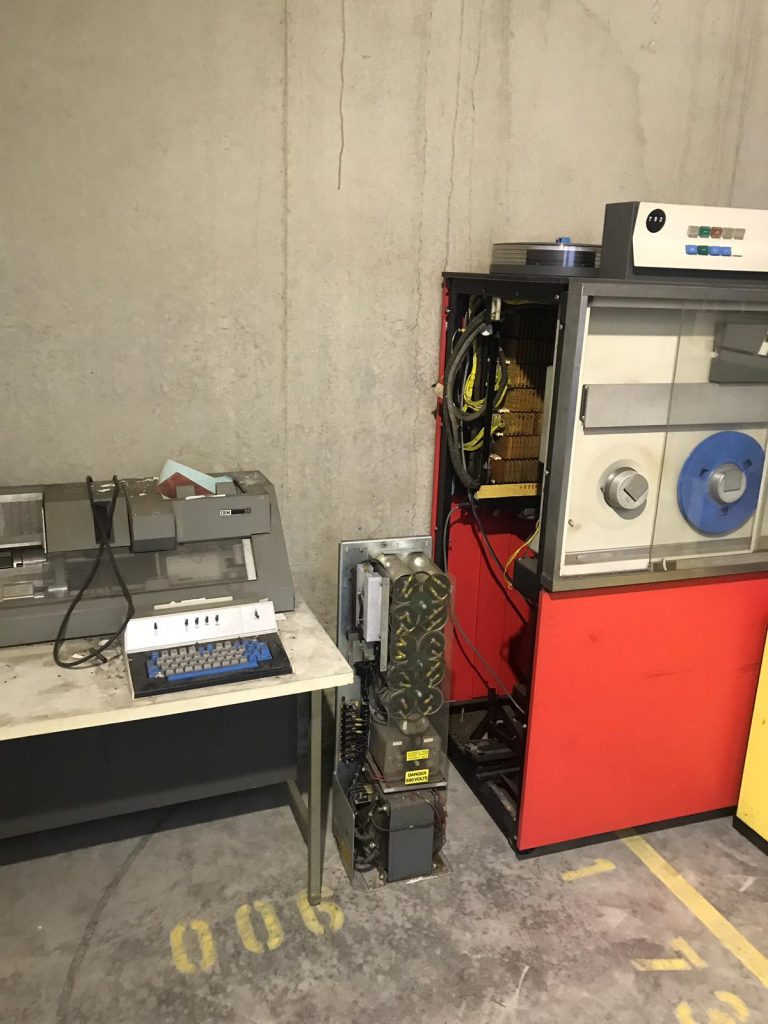
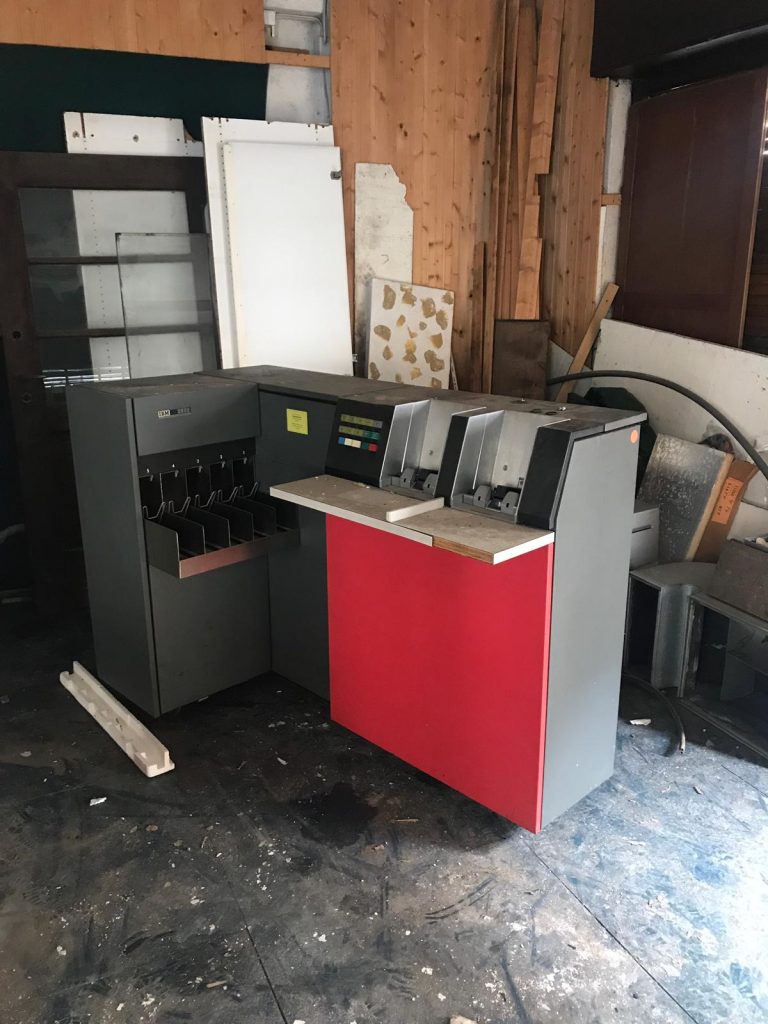
I walked back to the building and discovered that the crew had already removed some of the items – another 2501 punched card reader; in Blue this time and with English buttons, along with the remnants of a 5444 disk drive plus some other bits.
The removed equipment
The removed equipment
The removed equipment
The removed equipment with the wrecking crews van
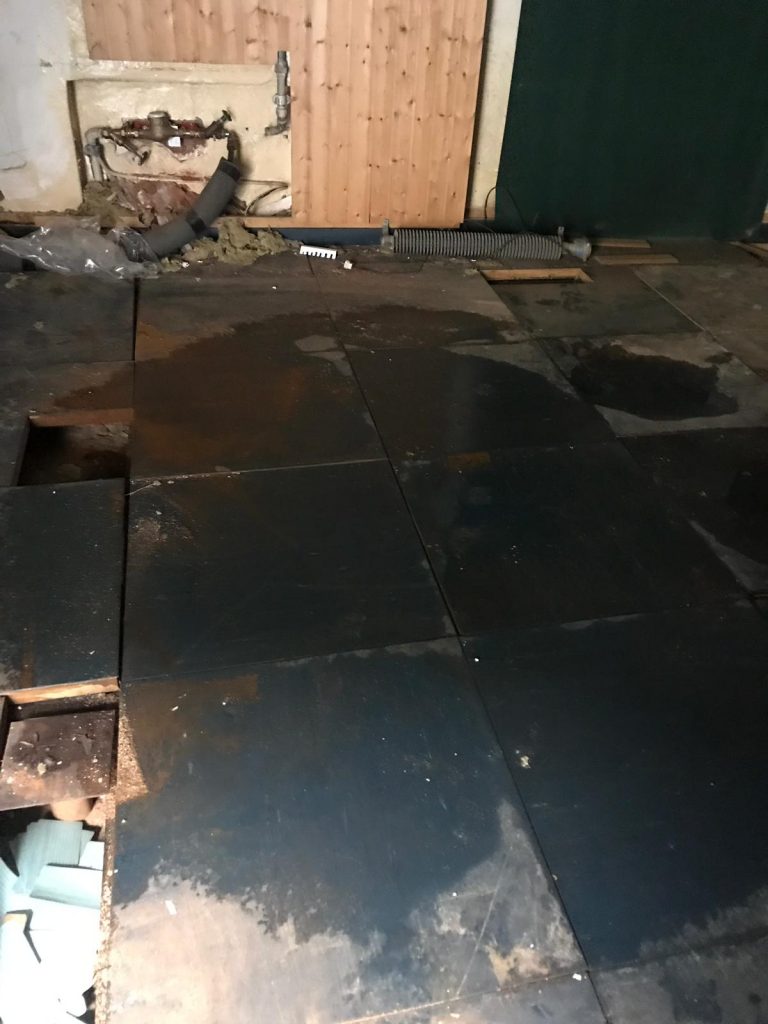
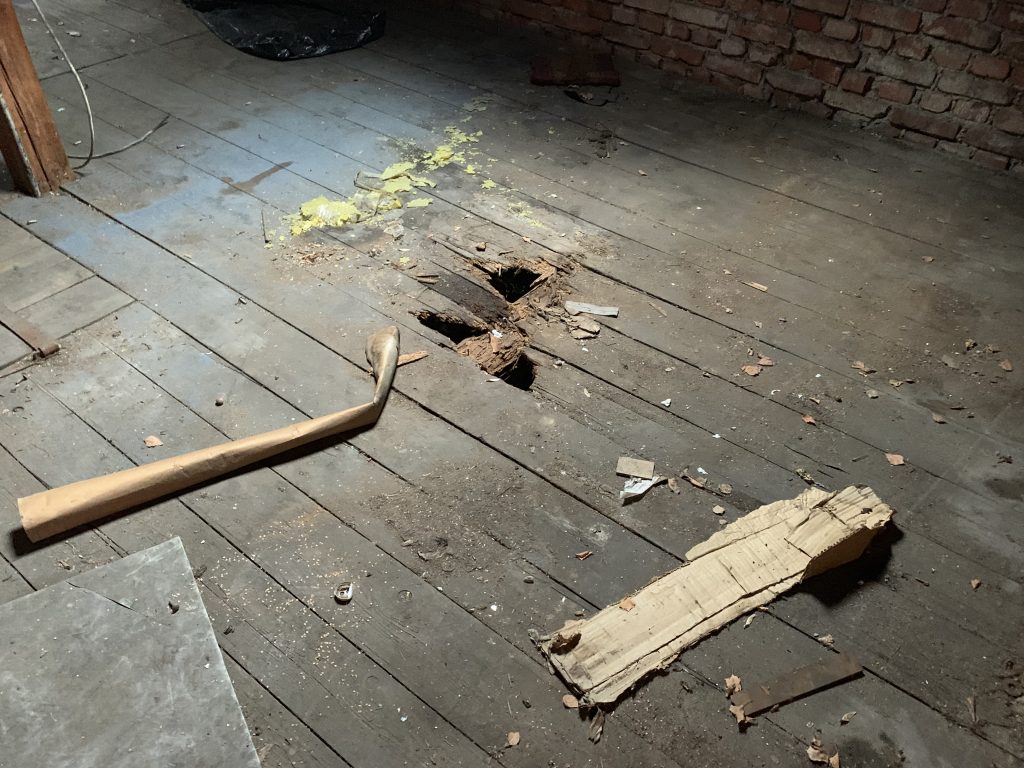
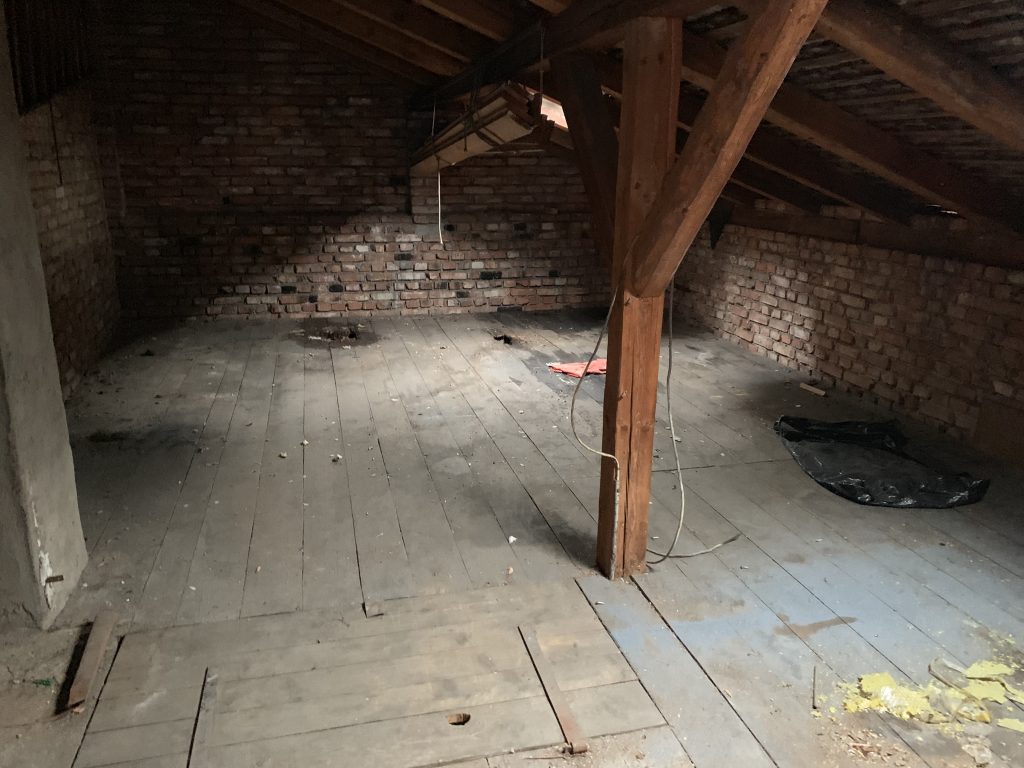
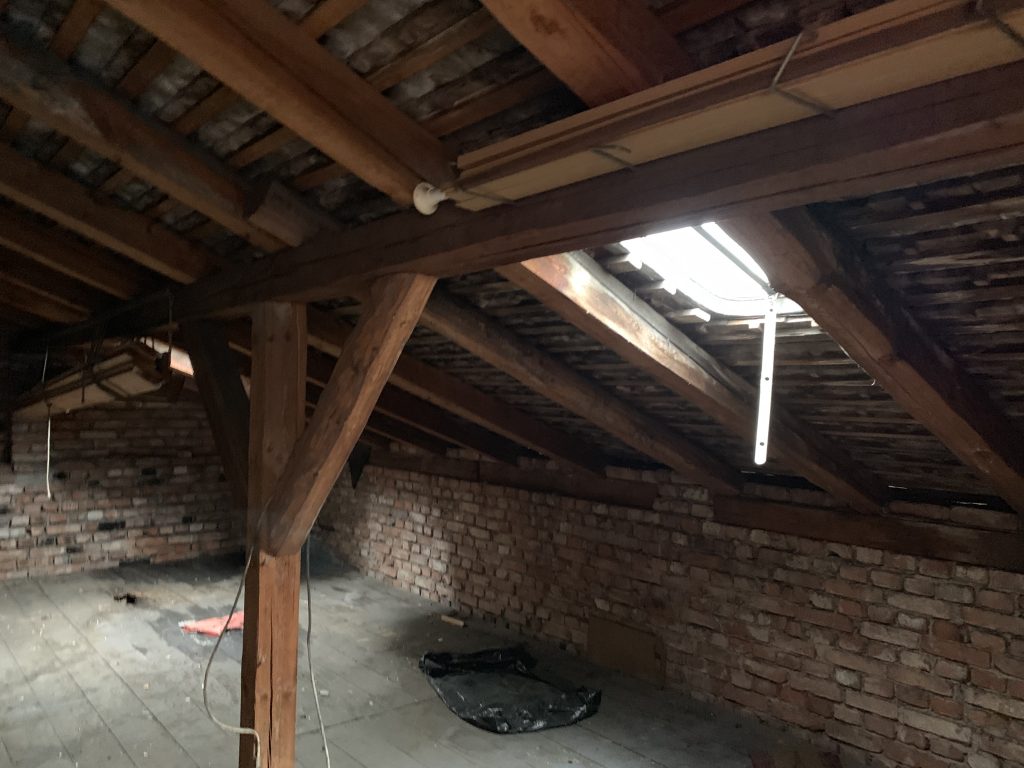
I then ventured up some concrete stairs and into the attic space. Despite the somewhat interesting floor, I discovered boxes upon boxes of brand new, unopened IBM punched cards! These things can be rather hard to come across so I’m glad we’ve got more. It was enough to pretty much fill a pallet 3 boxes high! In amongst these there was also some tapes – including 2 brand new IBM branded tapes still in their original packaging!
The shelving holding these boxes was, frankly, a terrifying lash up job. There were some homemade brackets bolted to the wall with bits of wood resting on them – nothing securing the wood to the brackets! This meant that pulling the boxes, whilst stood on a ladder, on a floor that had seen better days and had a couple of large holes in it, was rather risky. To compound the issue, right under the main shelf where you’d want to put a ladder, there was a door to the room below. Okay…. these boxes are rather heavy so we had quite a job to get them down from the shelves and then down the staircase, but Günter and I managed it together.
Holes in the floor
Holes in the floor
Holes in the floor
Stacks of Punched Cards
Stairs to the Attic
By this point the wrecking crew had packed in for the day and so I backed the van down the driveway and we loaded it up with the stuff. Günter retrieved the manuals from his car and put them in the cab of the van. We then secured everything and headed off to the storage place with Günter coming along in his car.
Backing the van down
Backing the van down
First item loaded!
Big stuff on board
Securing the load
Securing the load
Punched cards in!
Securing more stuff
Securing more stuff
Securing more stuff
Final shots of the main room
The back rooms
The back rooms
Final shots of the main room
The second attic
Locked up!
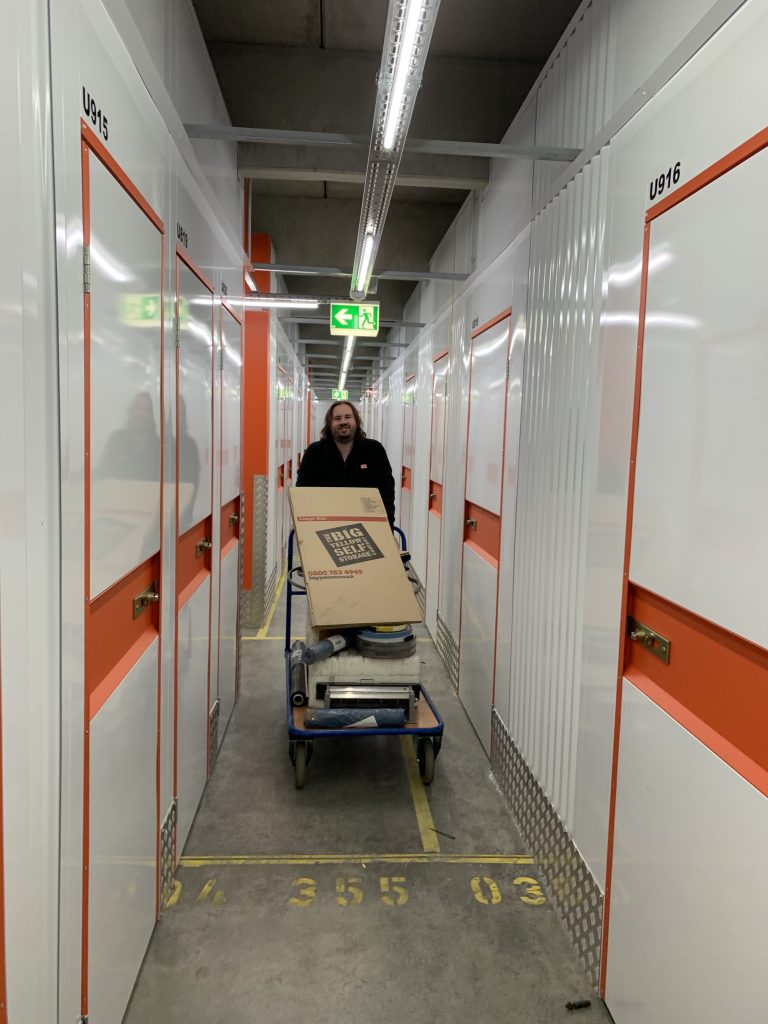
We took one of the spare pallets at the storage place and loaded all of the punched cards onto it. We then used a pallet truck to move it into the building – this made life considerably easier! We then unloaded the rest of the kit having done a bit of shuffling, said our goodbyes and locked up.
Making room!
Making room!
Making room!
Making room!
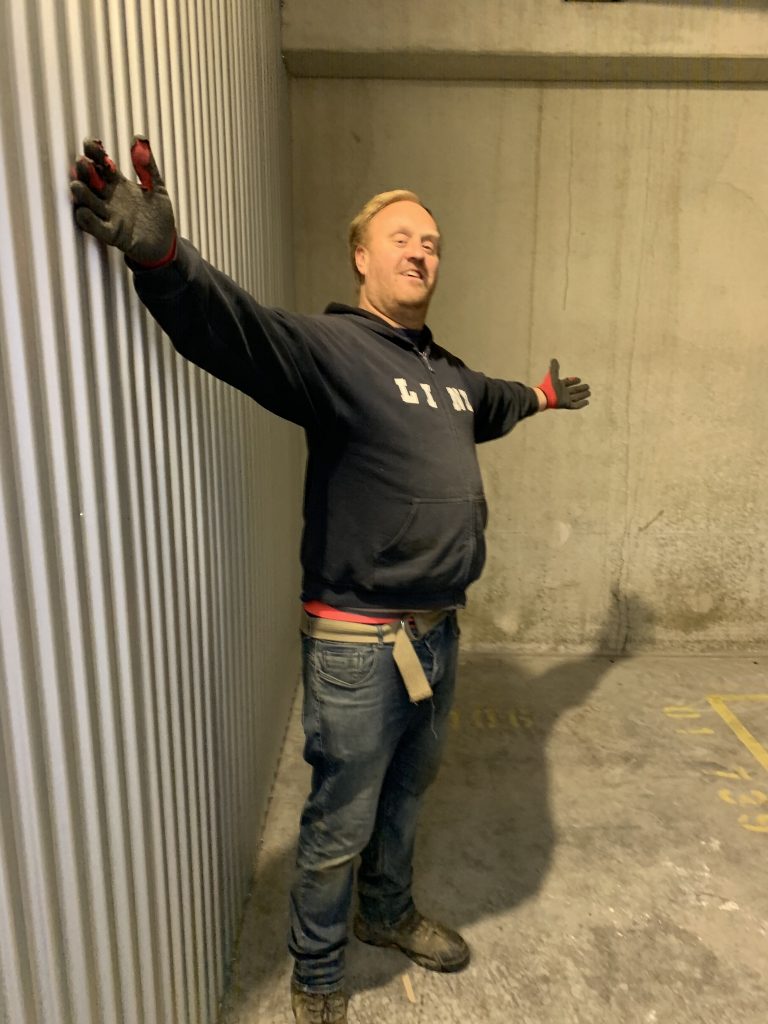
We filled the space!
We filled the space!
We filled the space!
We filled the space!
We filled the space!
We filled the space!
Locking up
Good thing we have a second unit!
Quite a bit of space in this one!
Perhaps we haven’t thanked Günter enough on this blog, not only did he take pretty much all of the fantastic photos from the move, but he’s also been absolutely instrumental in the successful removal of the computer; frequently adjusting his schedule and moving his appointments around to suit us. On top of this he often provided the extra bit of grunt we needed to get things moving and get them loaded. Without him our job would have been significantly more difficult. For all of this we are eternally grateful! Here is a photograph of the man himself:
So, after our last visit we were all ready to get going on the big move. We had already recovered all of the documentation back to the UK on the last visit and we had the ramp constructed which would enable reasonably smooth removal of the machine from the building.
Chris and I departed for London Stansted in the late afternoon of the Wednesday (15th of May) with cabin bags containing our clothes and 2x 20kg suitcases full of things we thought we might need (e.g. ratchet straps, cloths, lights, tools etc.). We got settled into our flight and soon enough we had touched down at Nuremberg. We briefly debated taking the U-Bahn and a tram to our AirBNB but soon decided against it as we didn’t much fancy lugging the suitcases up and down all of the stairs, and as such we grabbed a taxi. We were greeted at our AirBNB very warmly by Mark the host who showed us to our newly refurbished apartment and kindly provided us with a couple of local red beers – something that was much appreciated! We hit the hay knowing that the next day was going to be rather long and difficult!
We awoke at 6am the next day to get ready and by 7am we were out of the door headed to Sixt to collect the rental truck. We had hired a 3.5t Luton Box van with a Tail Lift – apparently to be a VW crafter or similar. The price was reasonable, and Sixt seemed to be the only local company who actually specified that their trucks would definitely come with a tail lift. We arrived, checked in and I was handed a key – I wasn’t shown to the truck or anything, just handed a key. We wandered outside and after a bit of wandering around managed to find the truck. We checked the operation of the tail lift, loaded our bags and hopped in. As soon as I started the engine I had a warning light for coolant and another for the headlight bulb being out. Great. I went back into the office and explained the issue. The woman came out and had a look herself, left, and then re-appeared with a Sixt branded watering can full of water to top up the coolant with. Wonderful. She opened the bonnet and attempted to pour the coolant into the brake fluid reservoir! After Chris pointed her in the correct direction she poured 4 Litres (!) of water into the reservoir. Oh this is going to be fun! She completely ignored the headlight issue.
Beggars can’t be choosers and we needed to get the IBM moved so we took the truck anyway. Luckily all we had to do was lots of short journeys so it would hopefully not be too bad. We headed off to Bauhaus to obtain more P3 rated dust masks and gloves for some people who were coming along to help us and grabbed a quick breakfast in the onsite Bäckerei.
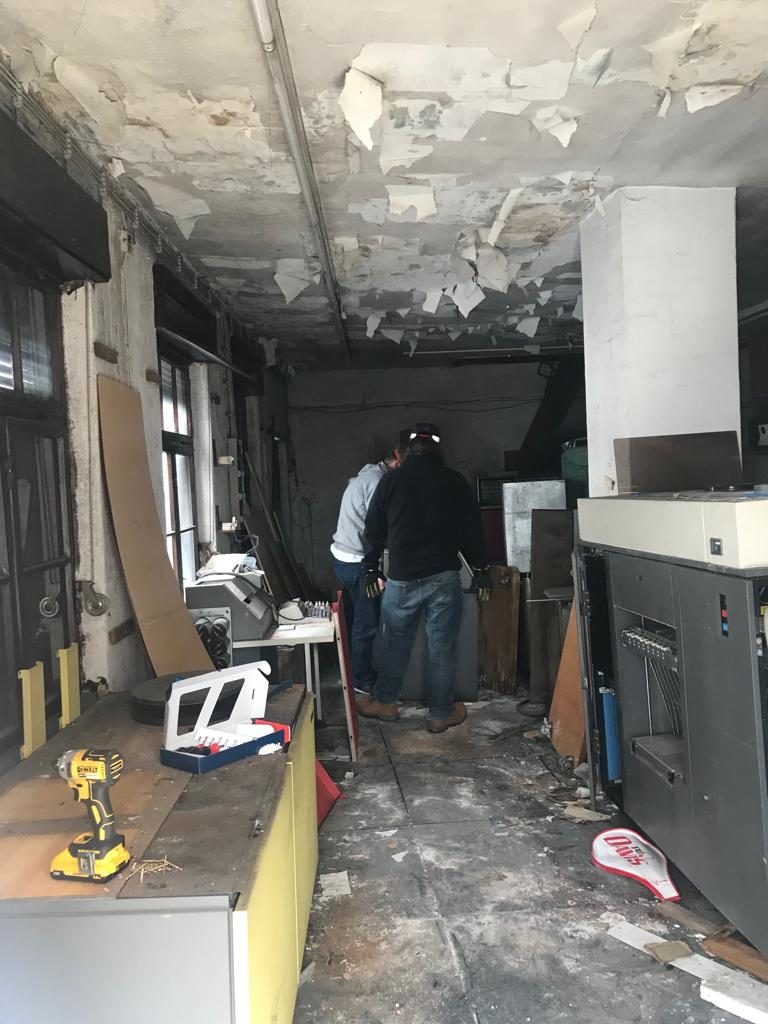
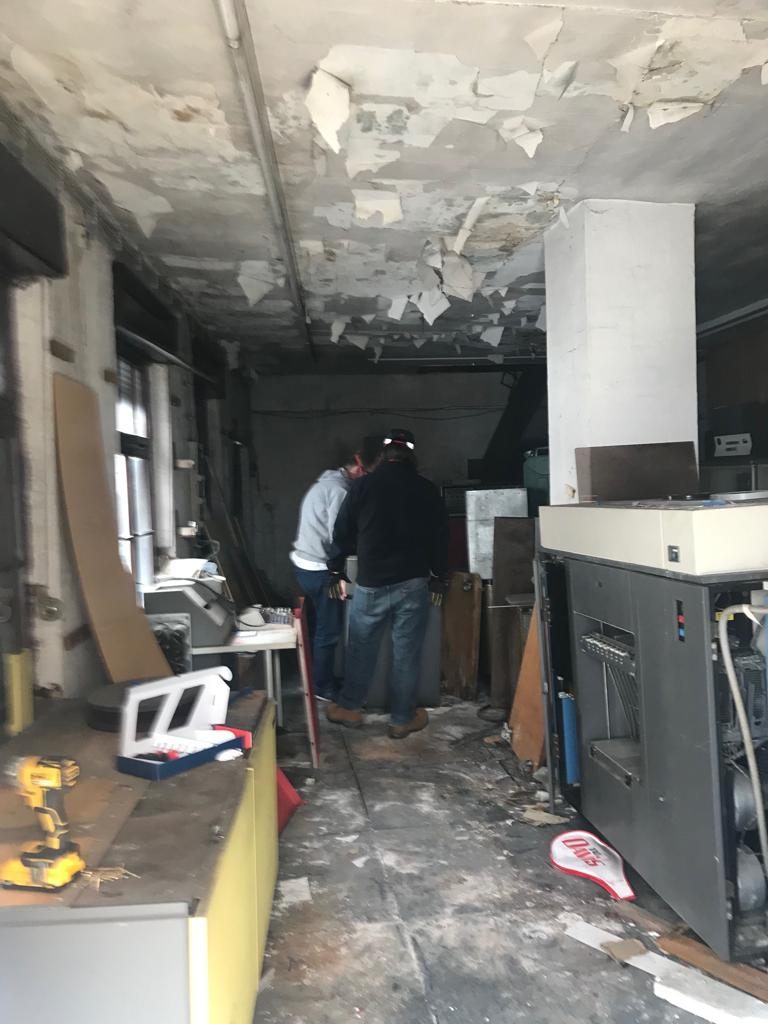
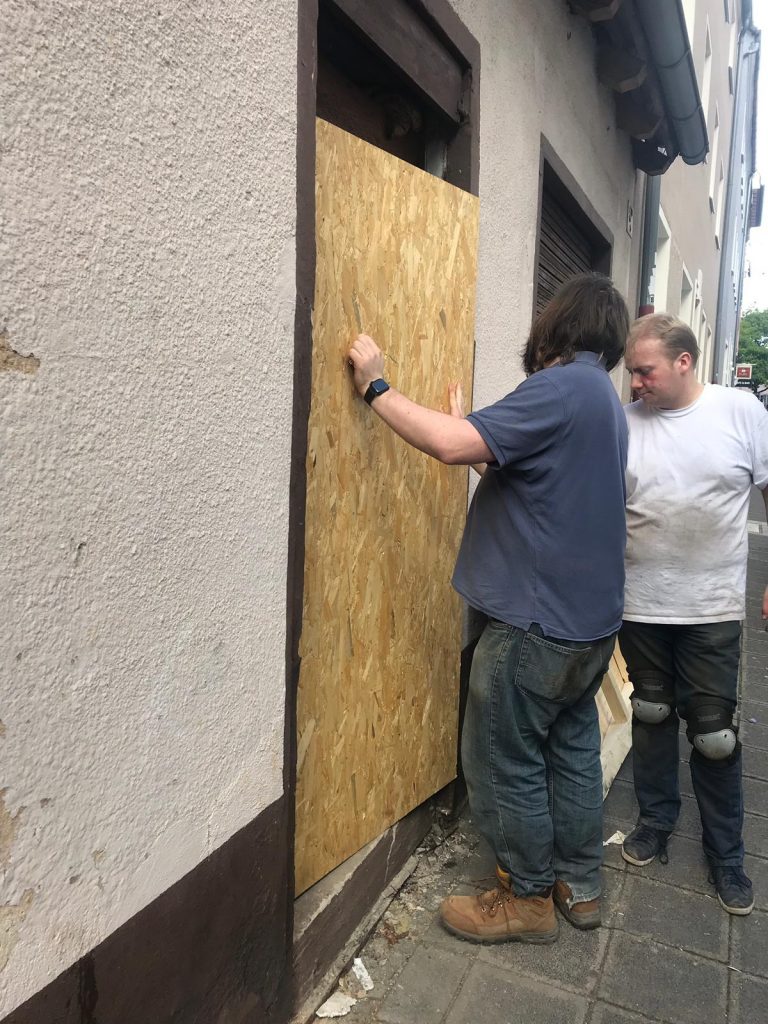
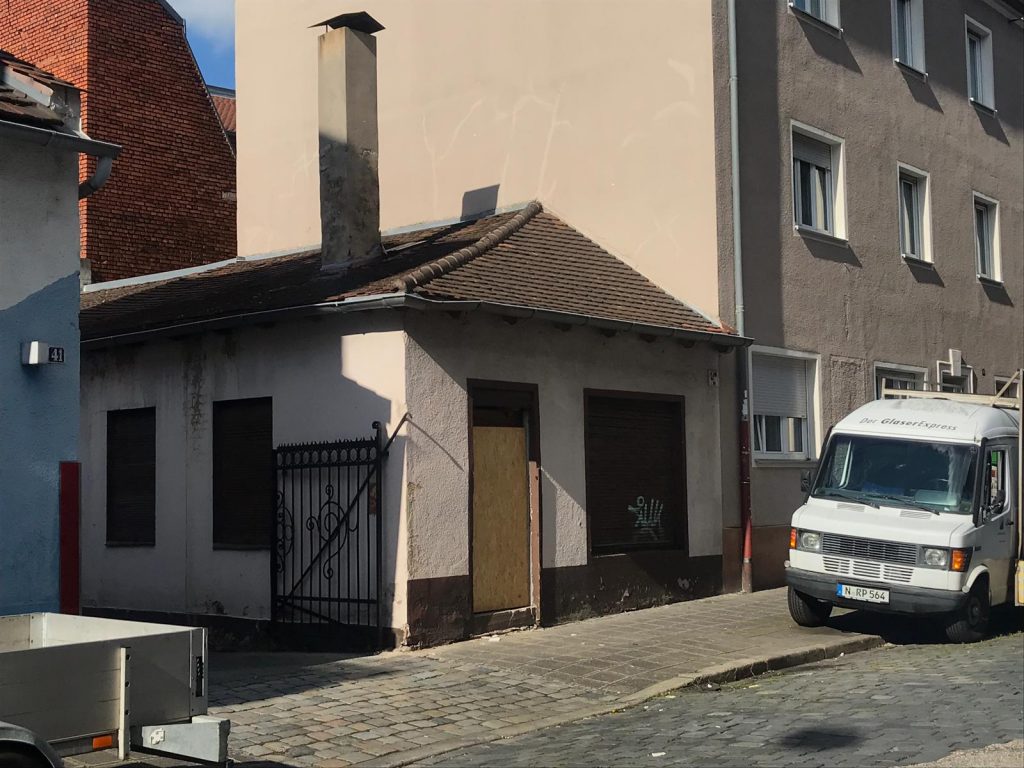
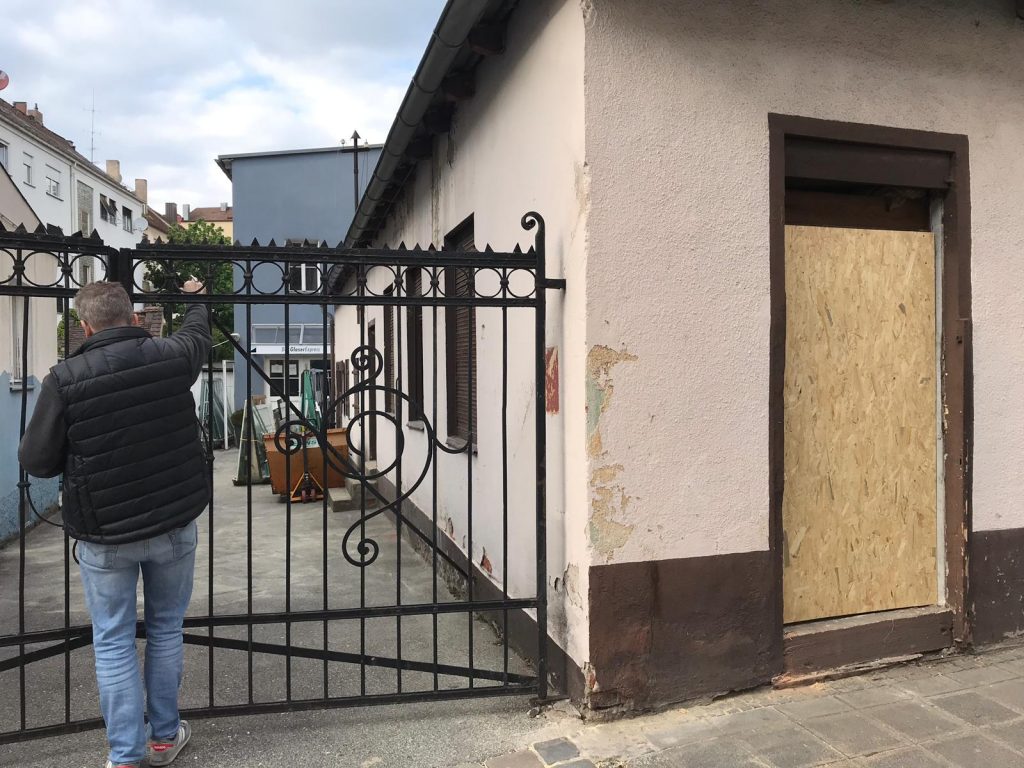
We departed Bauhaus and headed to the building where our Auction House contact and Photographer extraordinaire Günter was waiting for us. We had to wait for a few minutes around the corner whilst the glazier next door was sorting out their vans for the day. Once this was done we pulled up outside and re-gained entry to the building:
We dived straight in headfirst into getting things moved – we had no time to spare! I had some friends coming up from Switzerland to assist us with the move – Lawrence Wilkinson whom I know from the 2010 VCF at TNMoC, and his friend Jan Jaeger. Both of them are very knowledgeable about IBM’s and particularly 360’s so their insight into this project will no-doubt be of great value. They were planning to arrive around 10am.
Chris and I set to moving the smaller stuff to the front of the building ready to start loading the truck. The first up were the disk drives and the smaller punched card reader:
We also loaded the punched card library. We decided at this point that since A) We couldn’t easily move anything else, and B) We had reserved but hadn’t actually visited nor signed for the storage yet, it would be pertinent to take this small batch of items to the storage facility to sort everything out and get the lie of the land; as such Chris and I headed off to the storage place whilst Günter stayed behind and awaited Lawrence and Jan’s arrival.
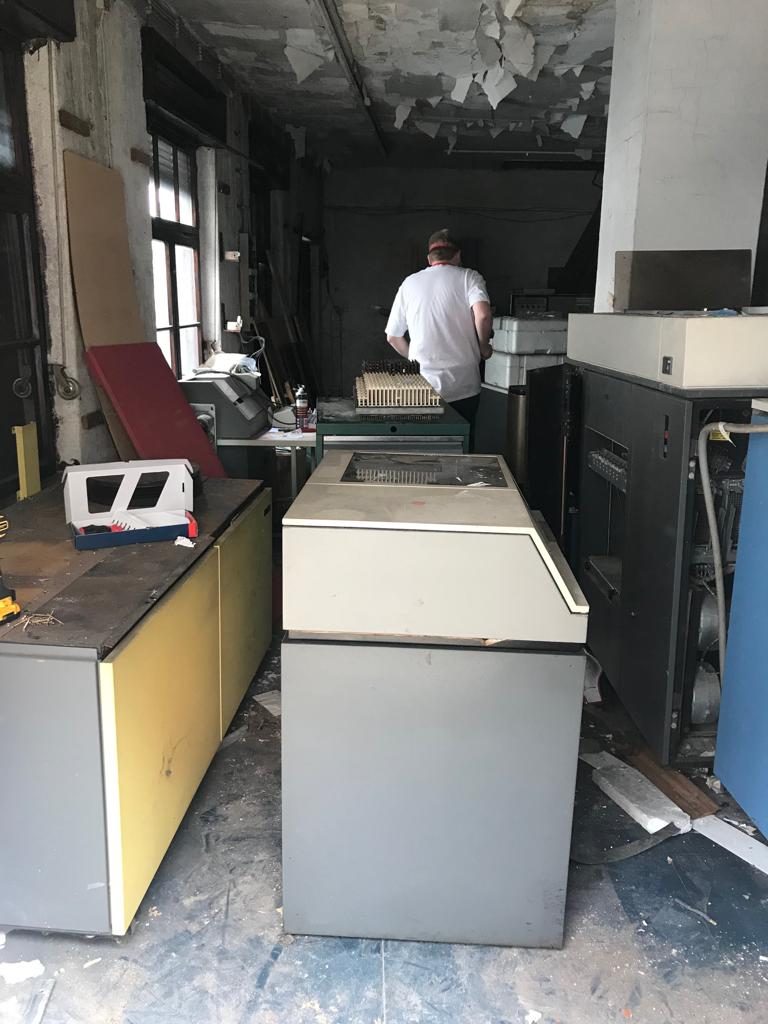
We got the storage sorted out, unloaded the stuff, and headed back to the building where Lawrence and Jan were awaiting our arrival. We had a look around and a discussion as to what to move next and decided on moving the second processor (the blue one) next as it was blocking our ability to move the tape drives or the 370. Rather annoyingly the printer and the processor were wedged fairly hard between the internal column and the wall so we had quite a job to wiggle them out.
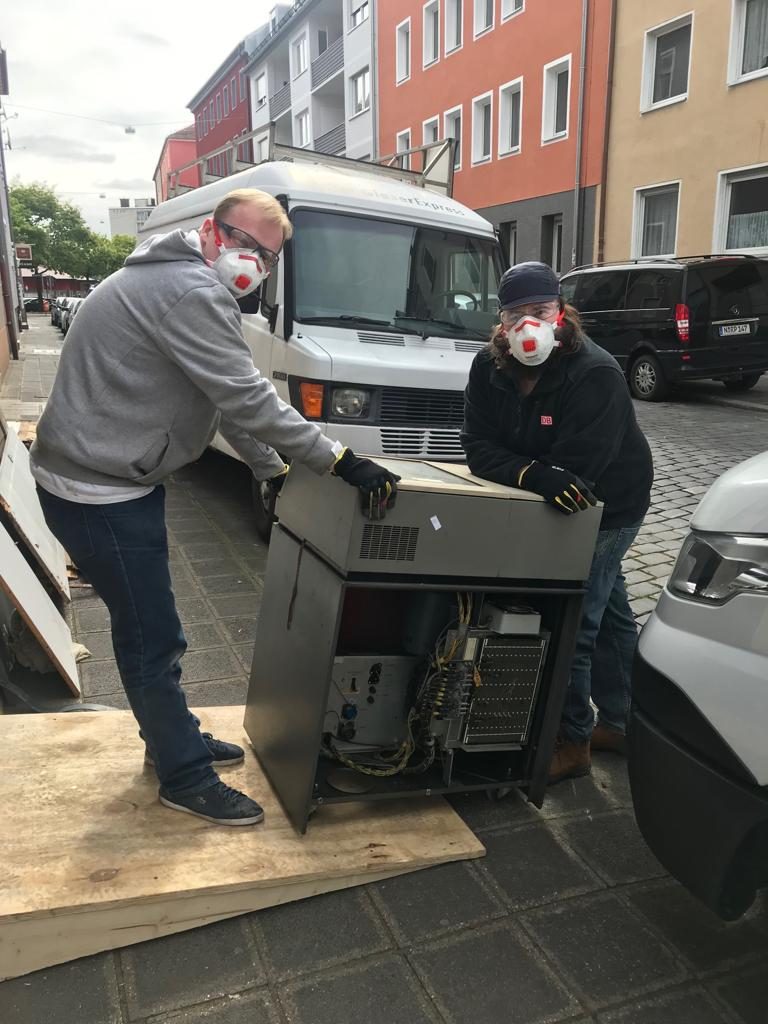
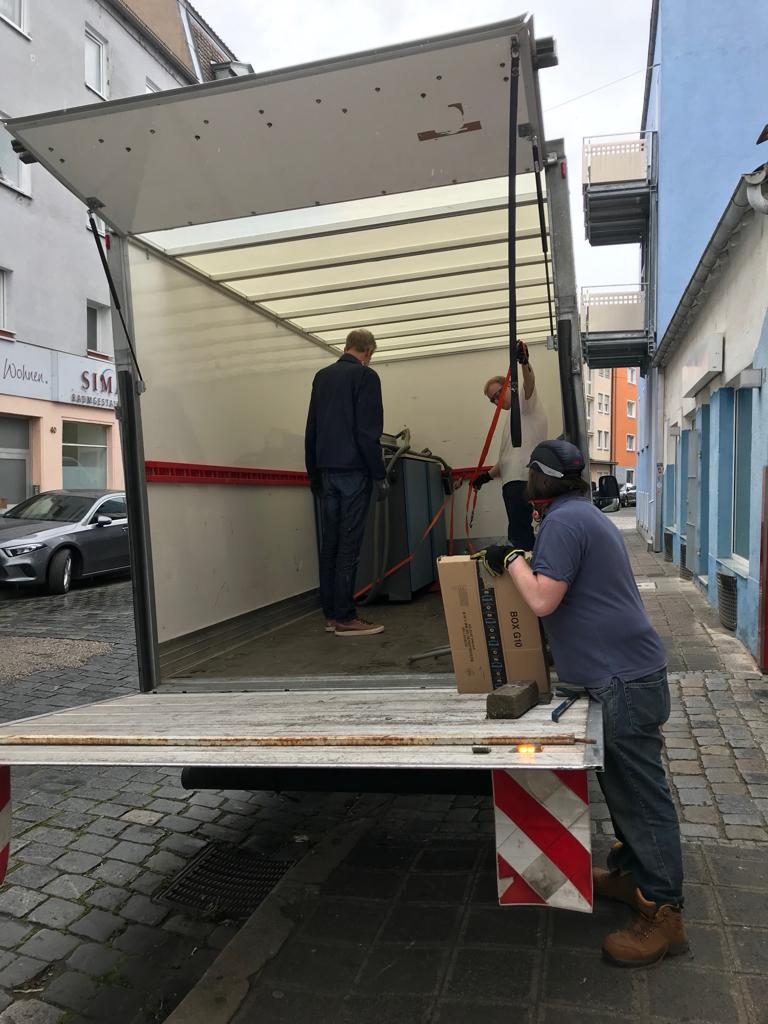
We managed to free the processor and started the careful process of removing it from the building. For those who don’t know, one of these processors weighs between 520kg and 600kg – all nicely concentrated on 4 wheels, one at each corner. We managed to manhandle it out of the building, down the ramp and onto the truck:
We got it strapped in and headed off to the storage unit, but not before filling Jan’s Audi with some disk packs and other bits. We got the machine and the other bits unloaded at the other end and into the storage:
We headed back to the building and loaded up with the 370 Processor, the Slave tape drive, and the large printer. Unfortunately at this point Lawrence and Jan had to head back to Switzerland as it’s a 4 hour drive for them to get home so we said our thanks and our goodbyes and they departed. Chris and I headed off to the storage and unloaded the items:
It was getting now quite late in the day so we headed back to the building knowing that our access through the Glazier next door ends at between 17:30 and 18:00 and we would likely have to make sure our truck wasn’t blocking their entrance so their vans could return by 17:30 at the latest.
Arriving back we decided to get one more load on the truck and head back to the AirBNB leaving the load in the truck. We loaded up the half of an IBM 370 card reader and the card punch machine, along with a bunch of random components like spare motors and power supplies. Here are some photos of the inside of the building after day 1:
We had arranged to go for dinner with Günter and Olga from the Auction House. Olga had been the original person who wrote the eBay listing and I had initially conversed with after winning the auction so it would be nice to put a name to a face.
We got back to the AirBNB, dumped our stuff, got changed and had a quick wash before heading into town to meet them. We had a nice meal and a couple of beers before heading back to the AirBNB and crashing.
The next morning we got up bright and early, got ready and headed to the Storage place to unload the stuff from the previous night. This took a little longer than we would have liked due to various traffic issues. Oh, did I mention that by this point we’ve had to put around 12 litres of water in the van cooling system?
After this we headed to Bauhaus to grab some more ratchet straps as it had become apparent the day before that we didn’t have enough. We also grabbed some food whilst we were there, and then we headed back to the building.
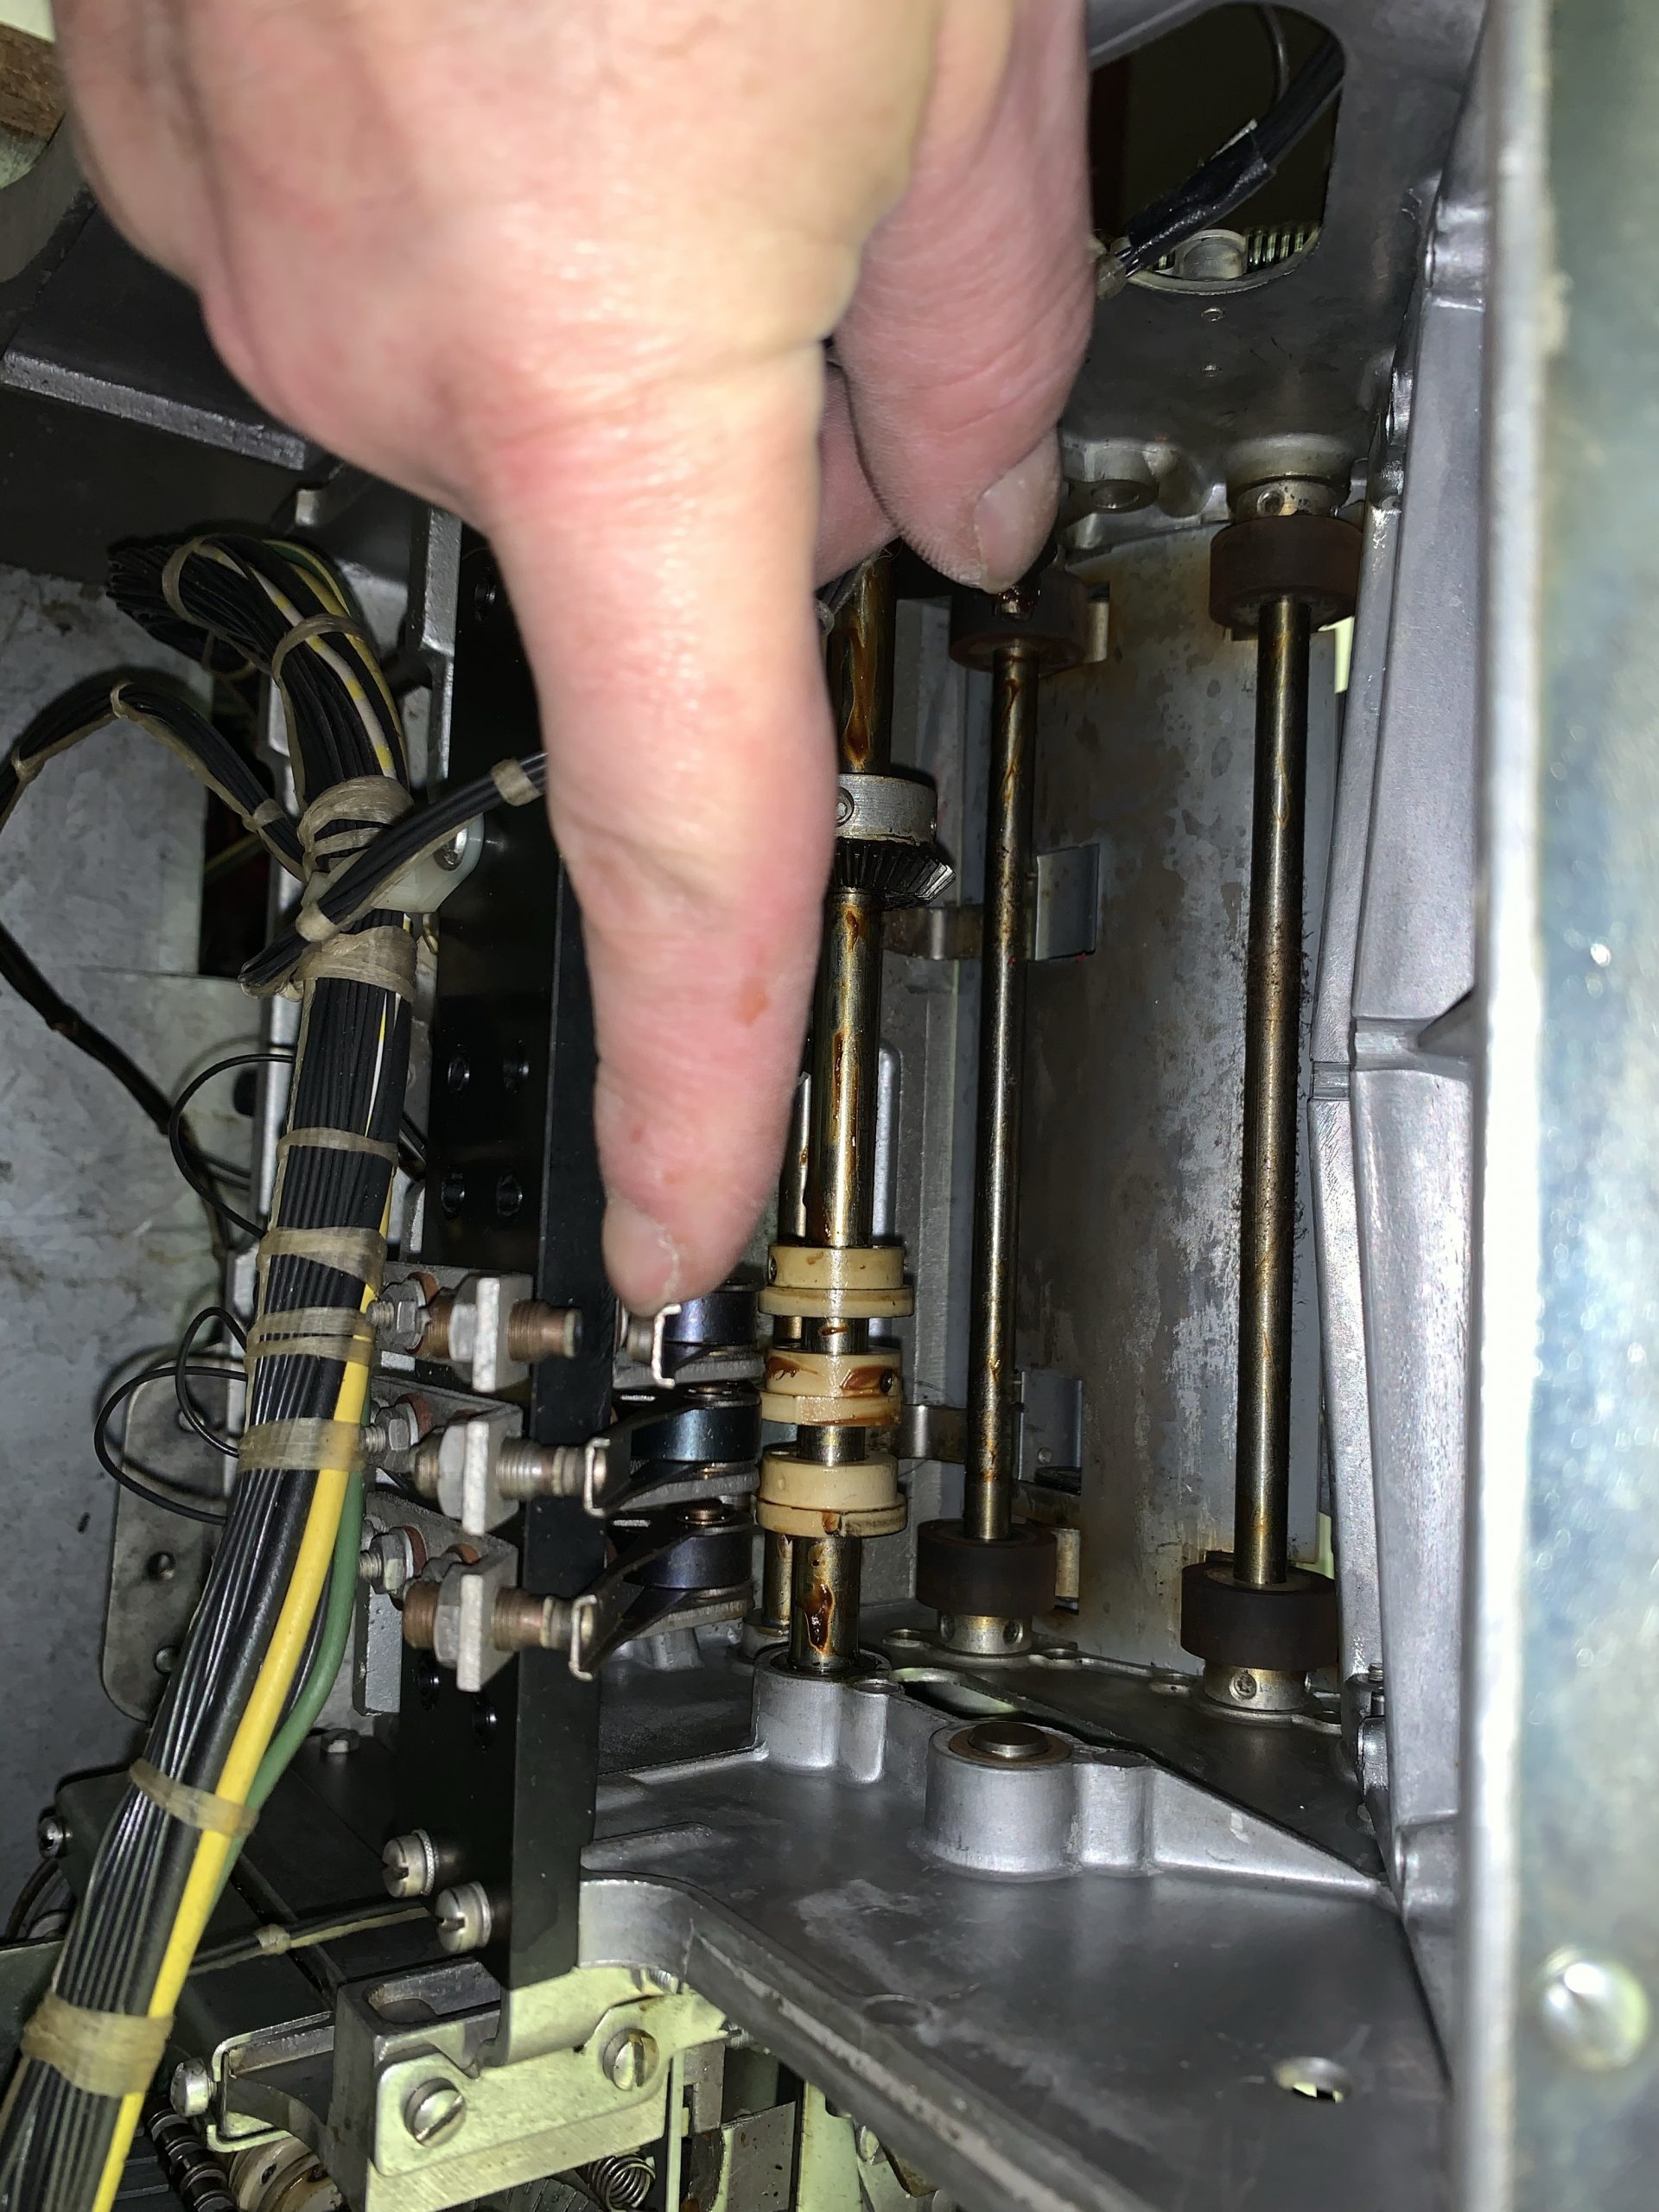
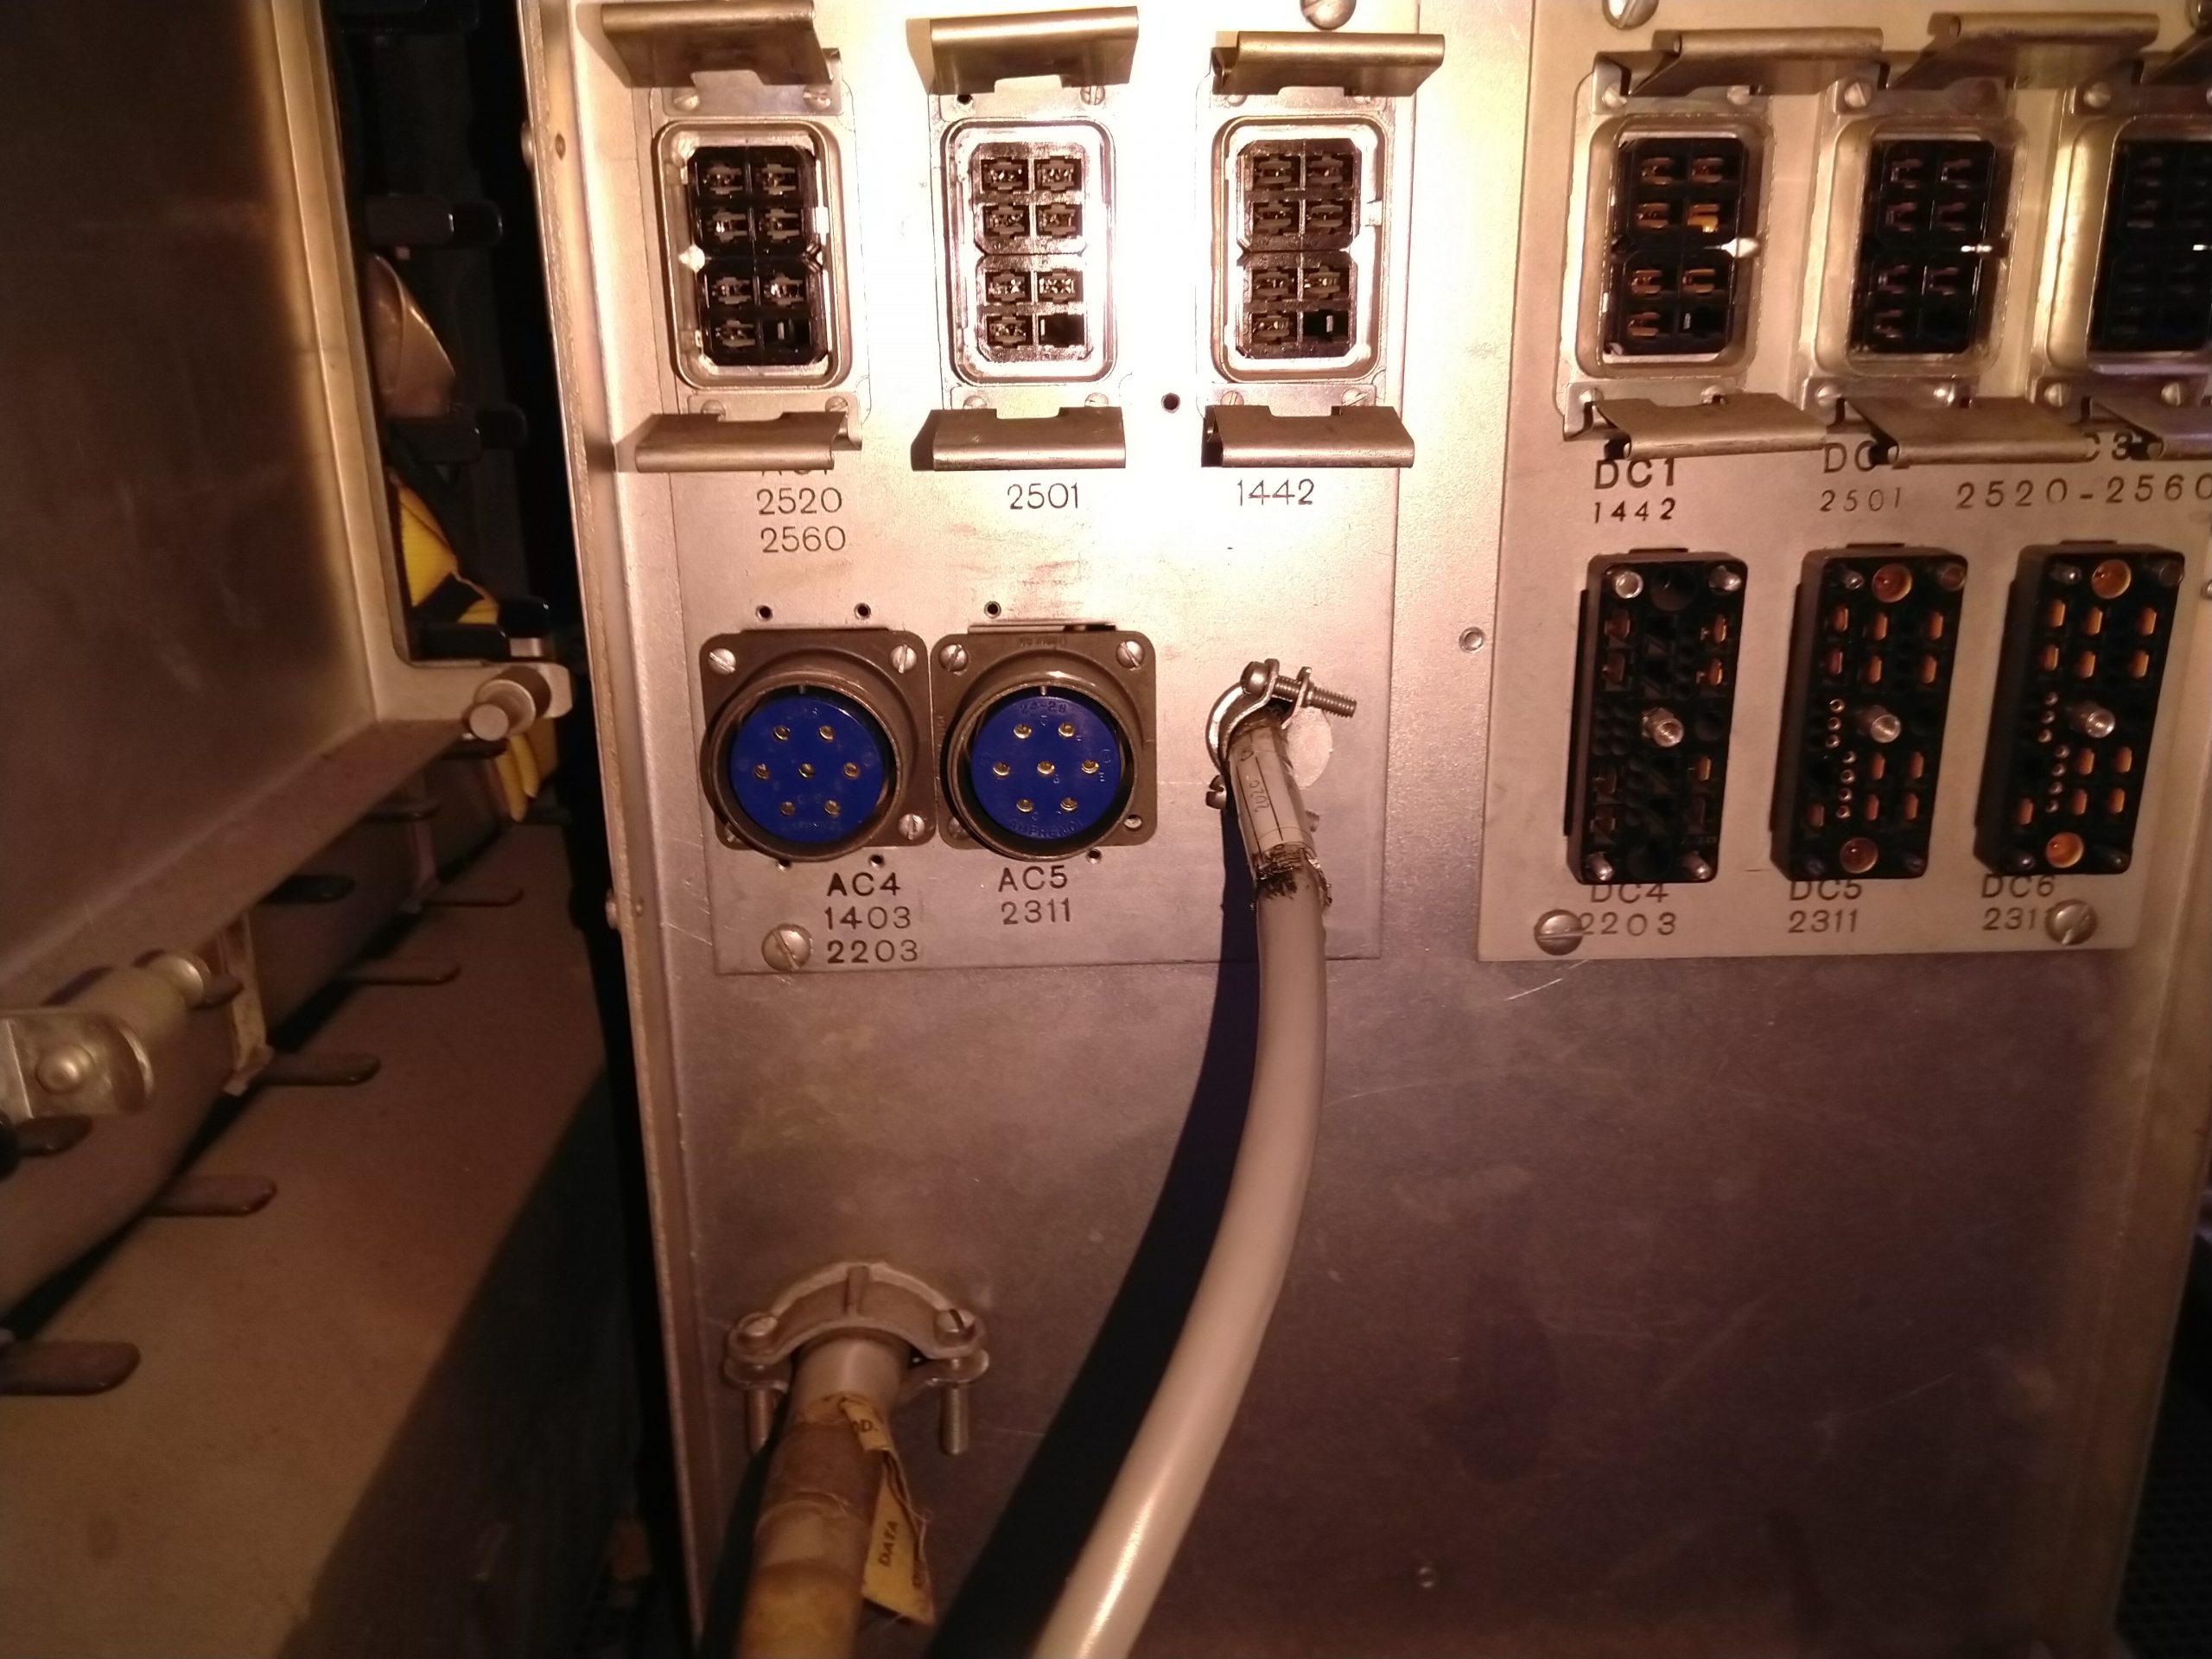
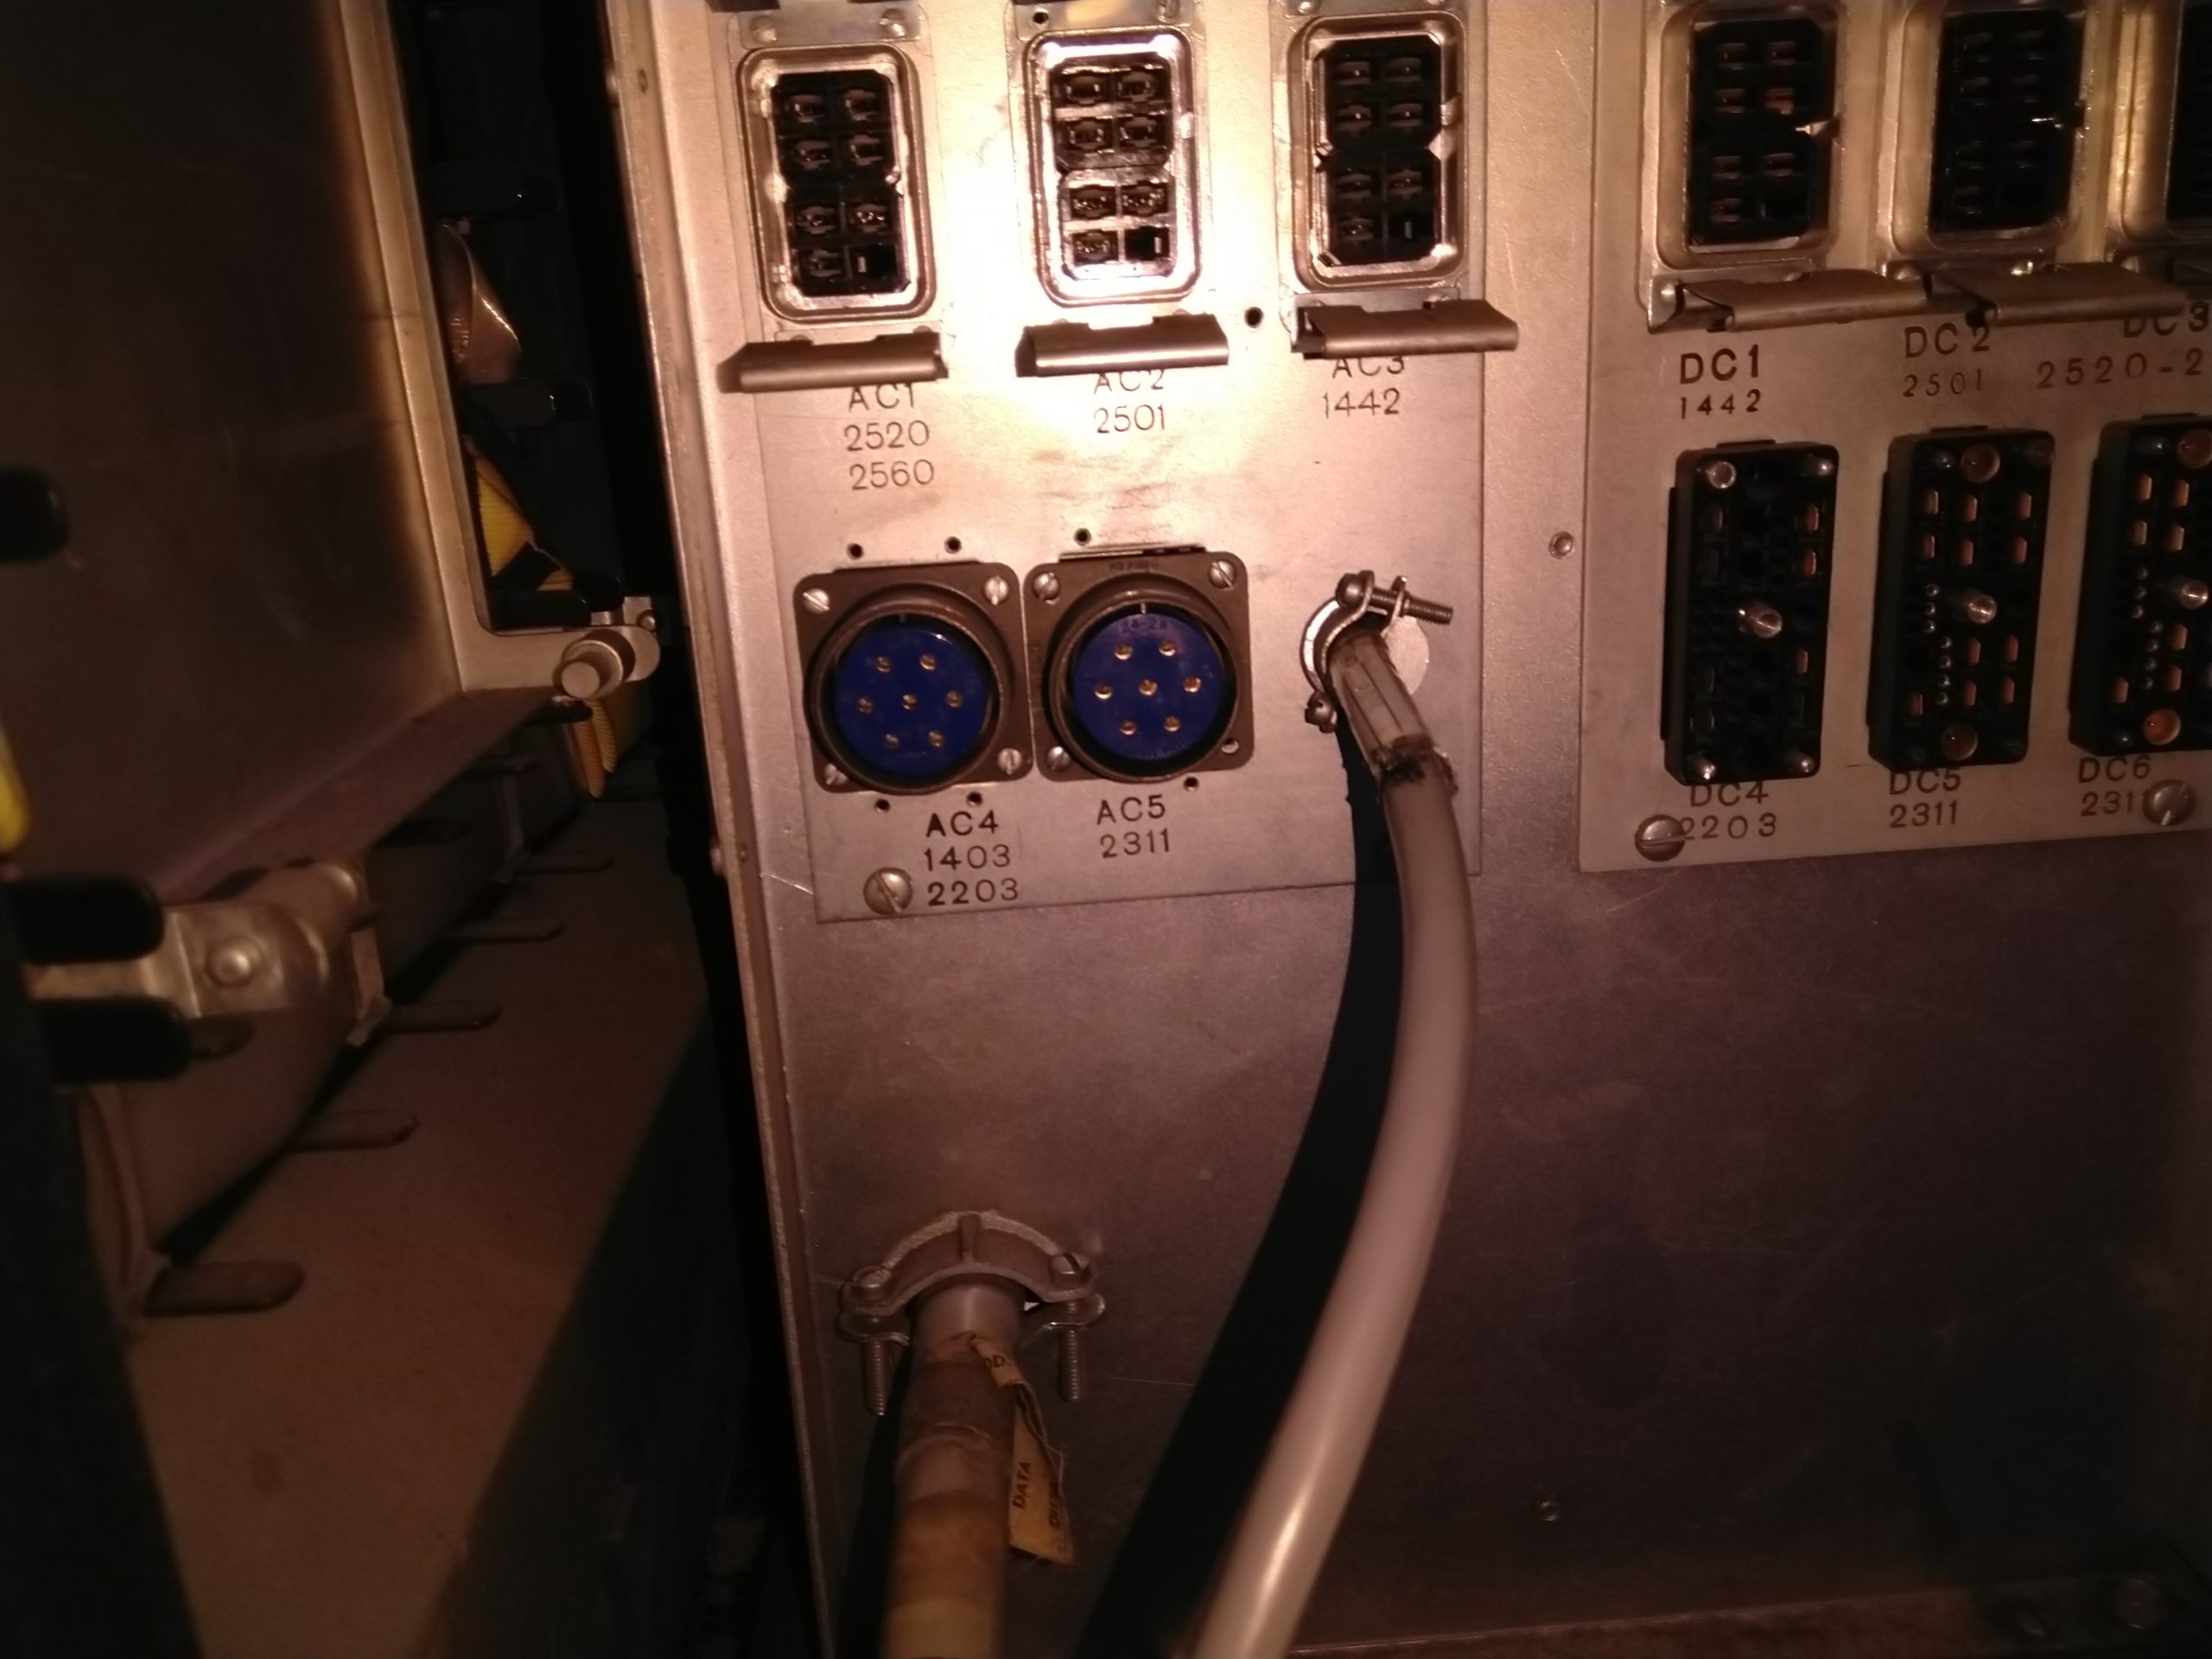
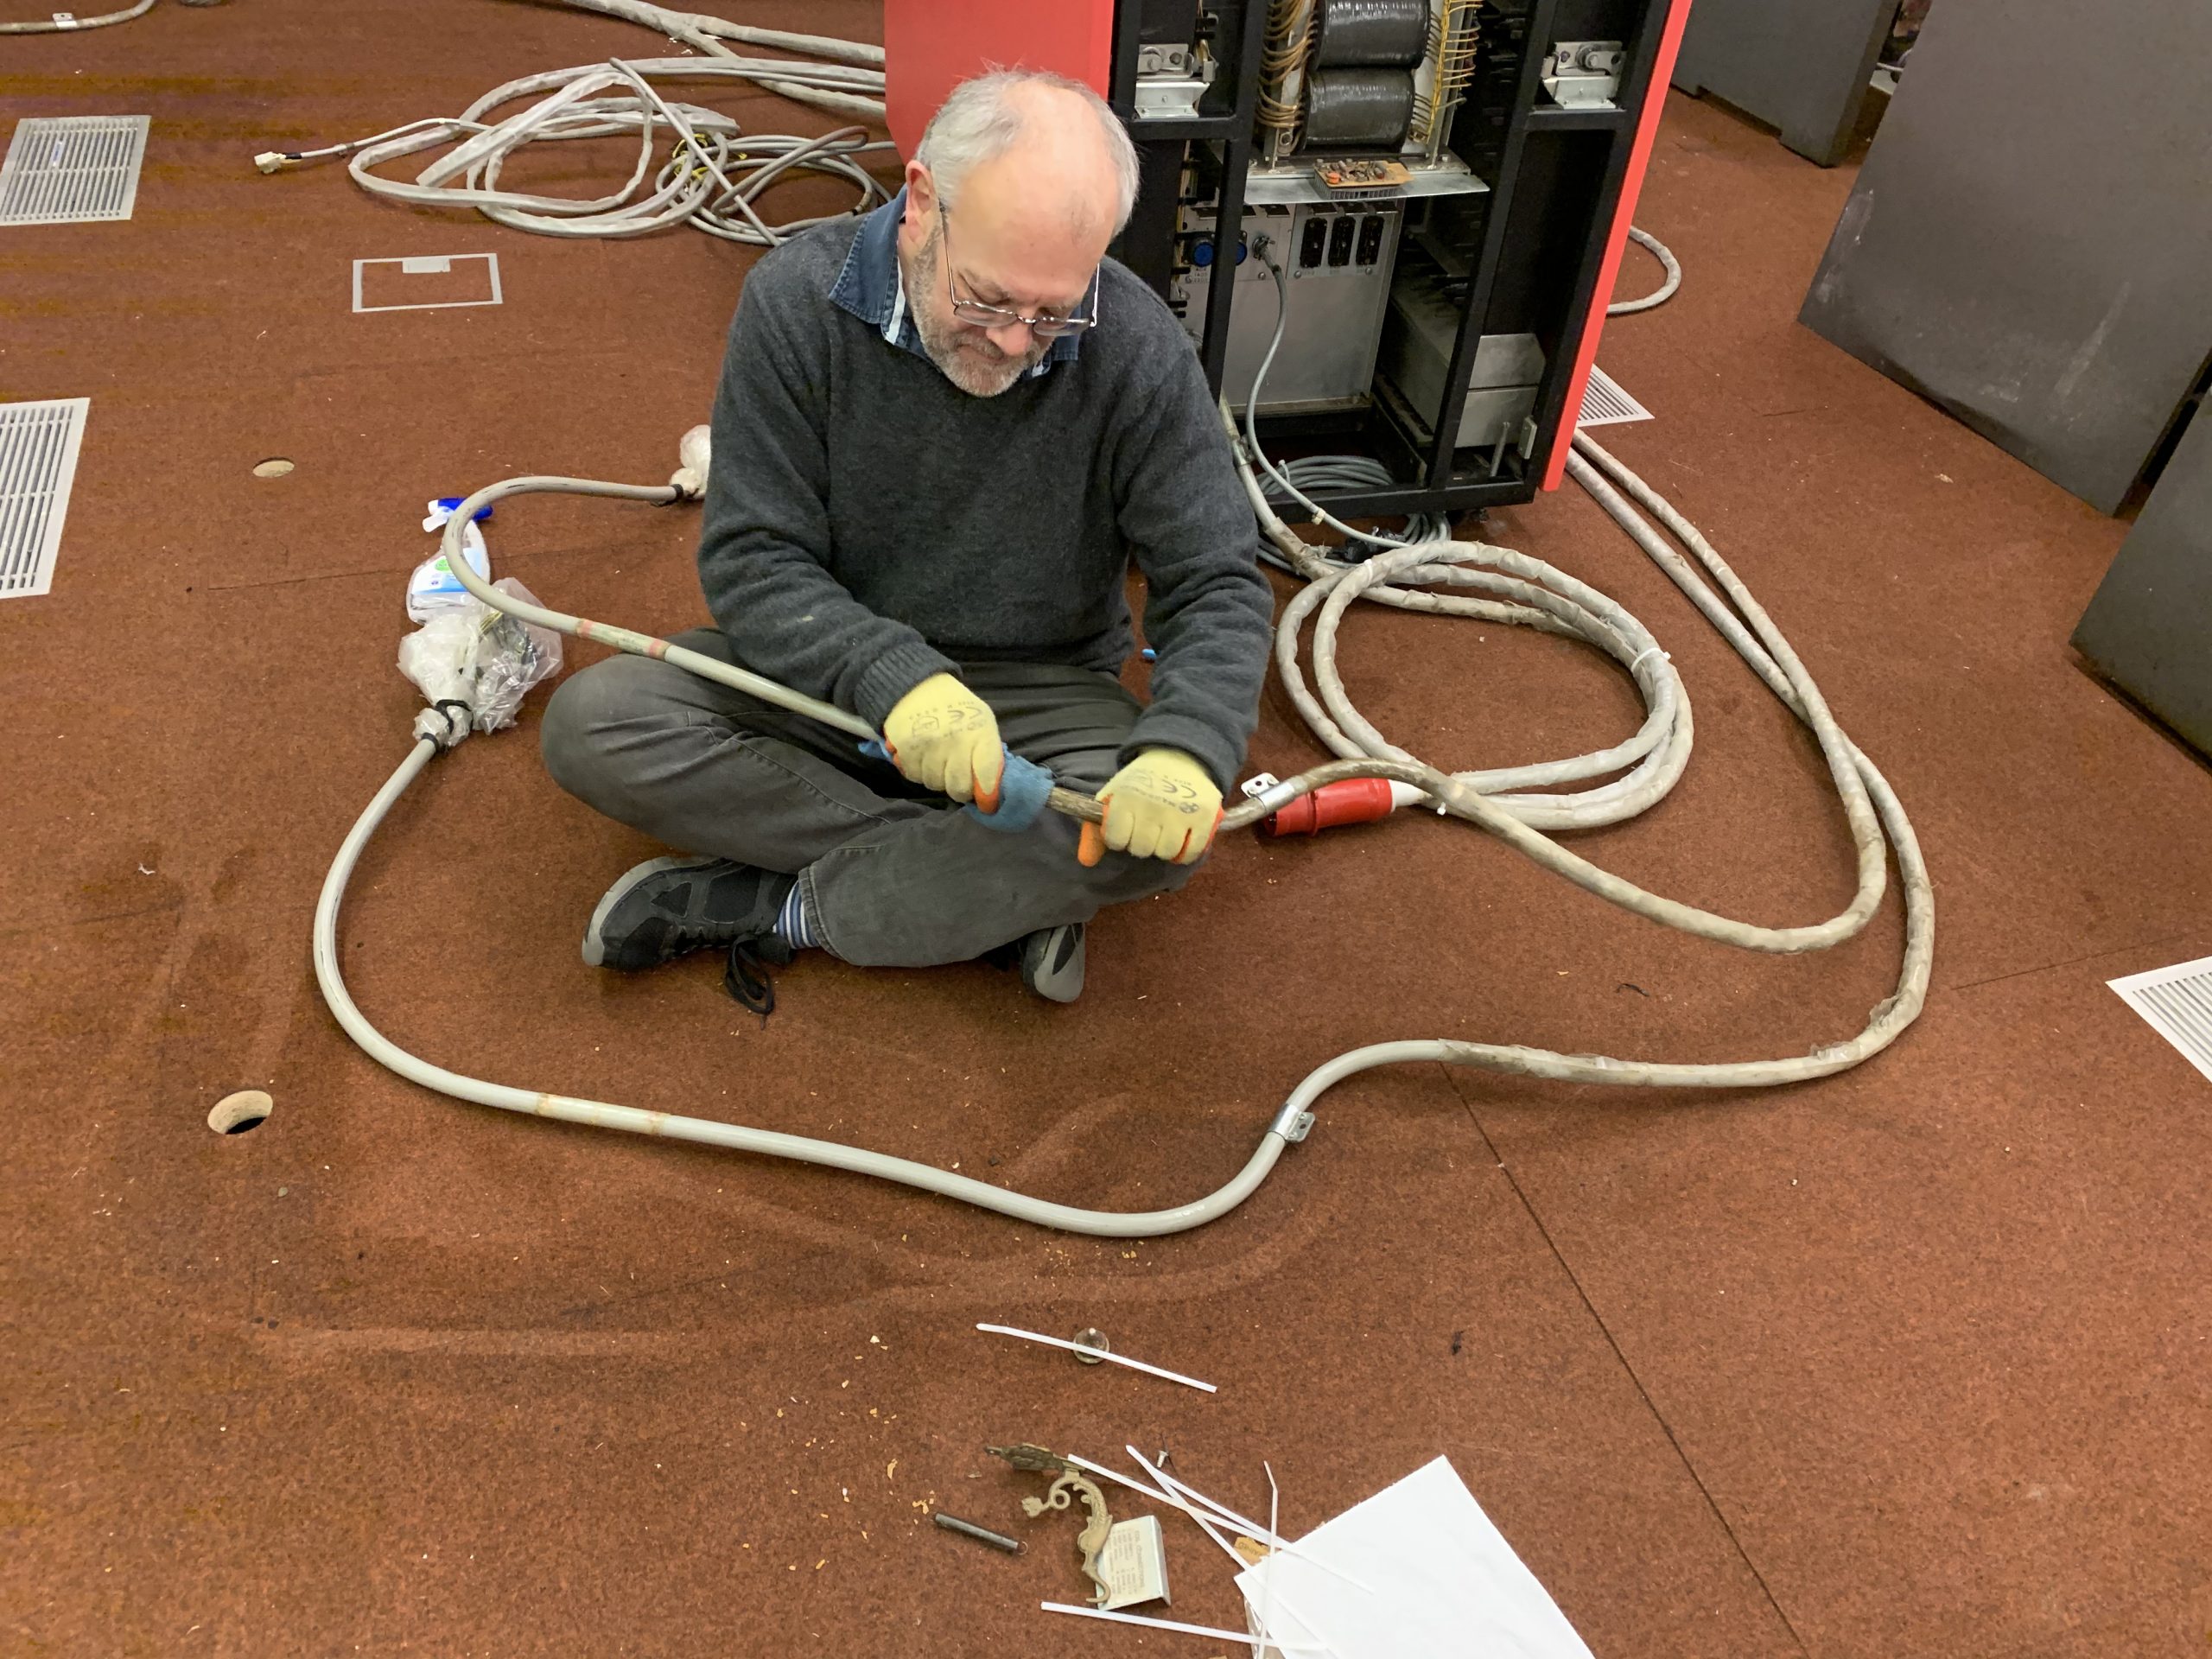
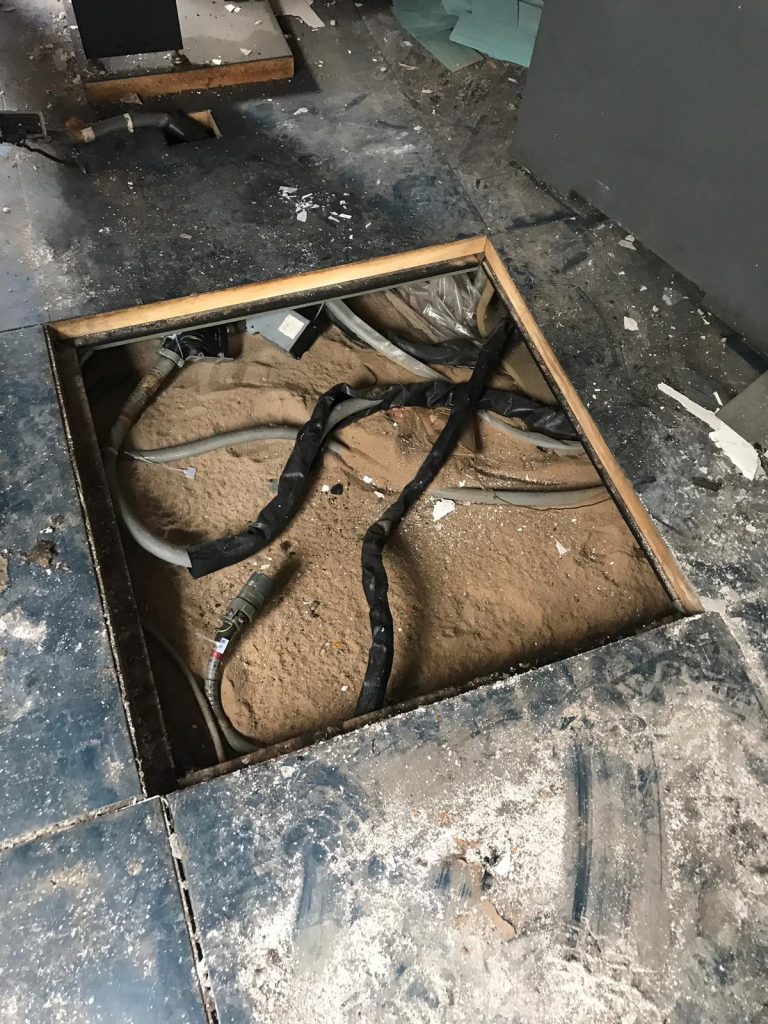
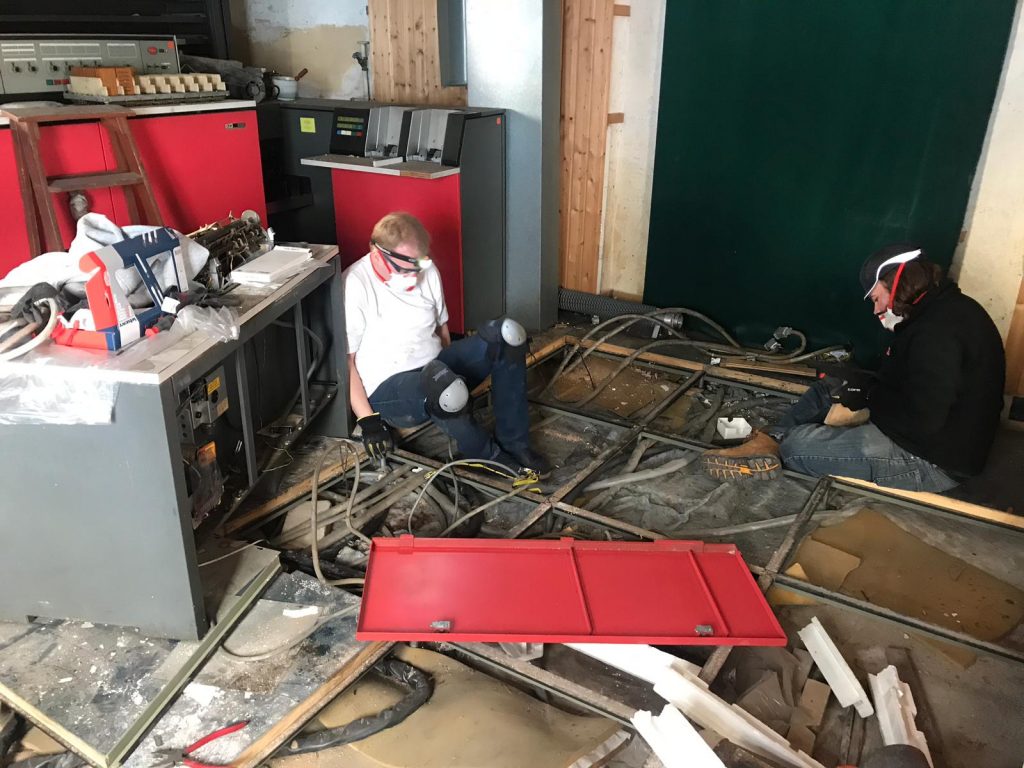
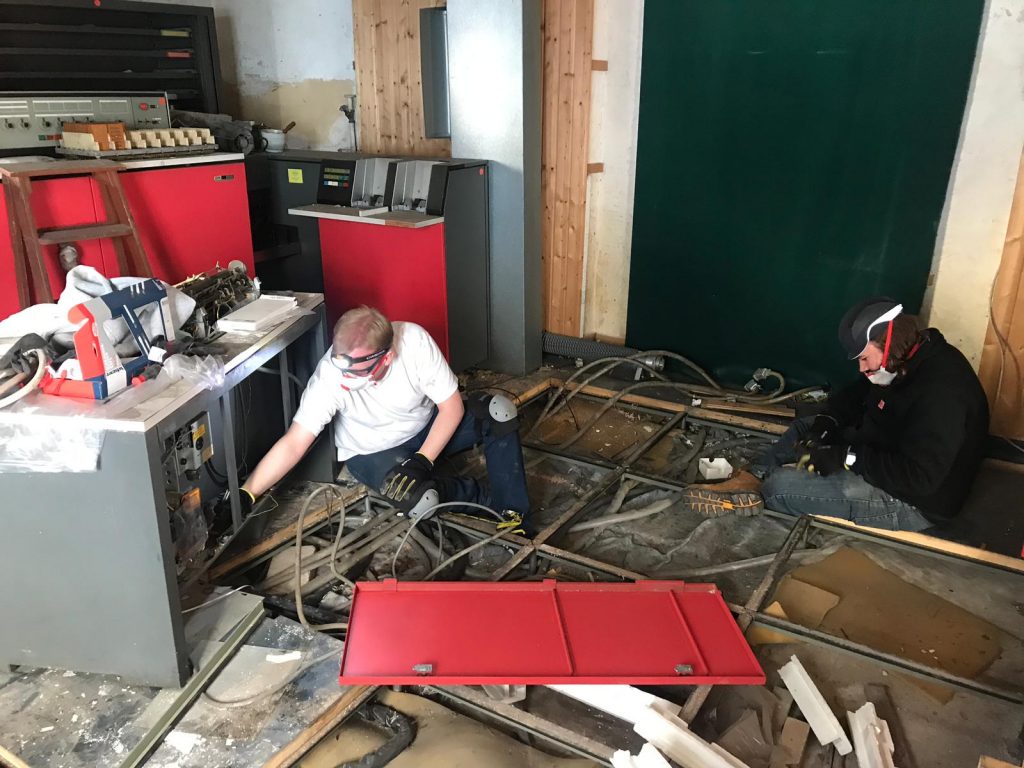
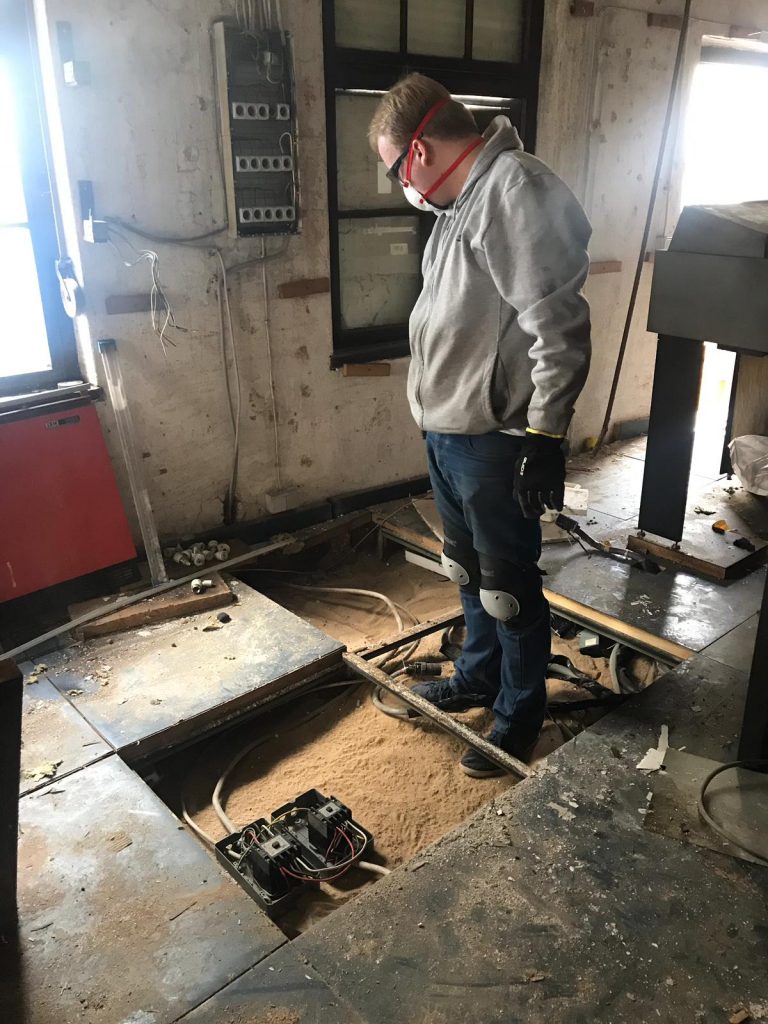
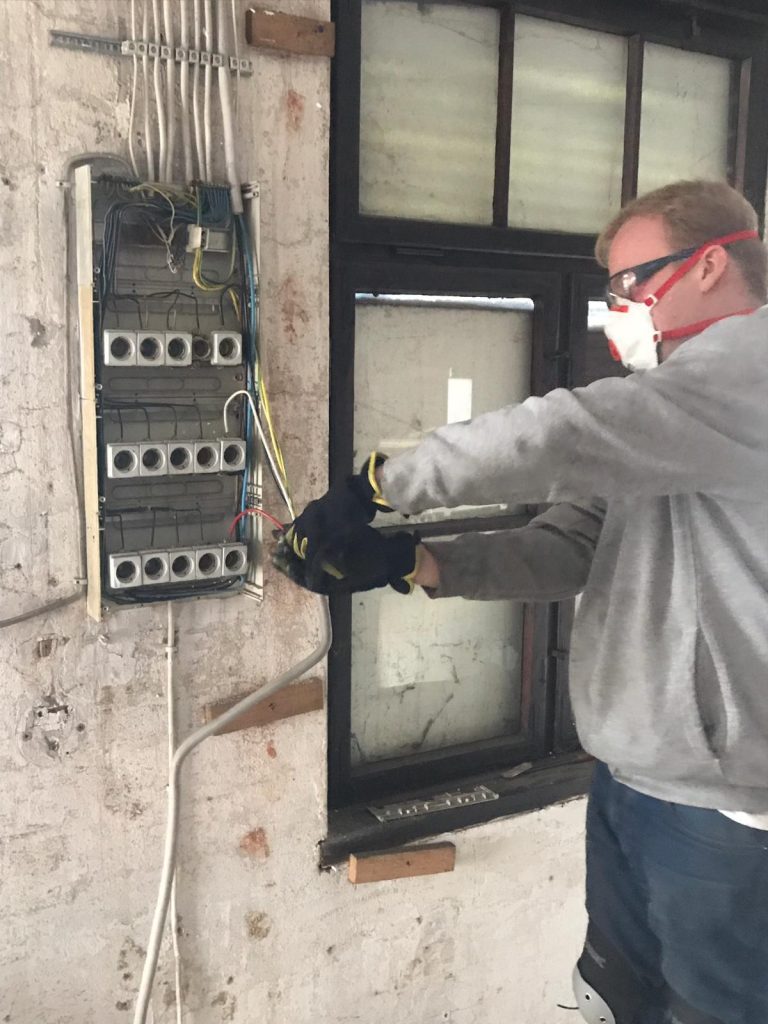
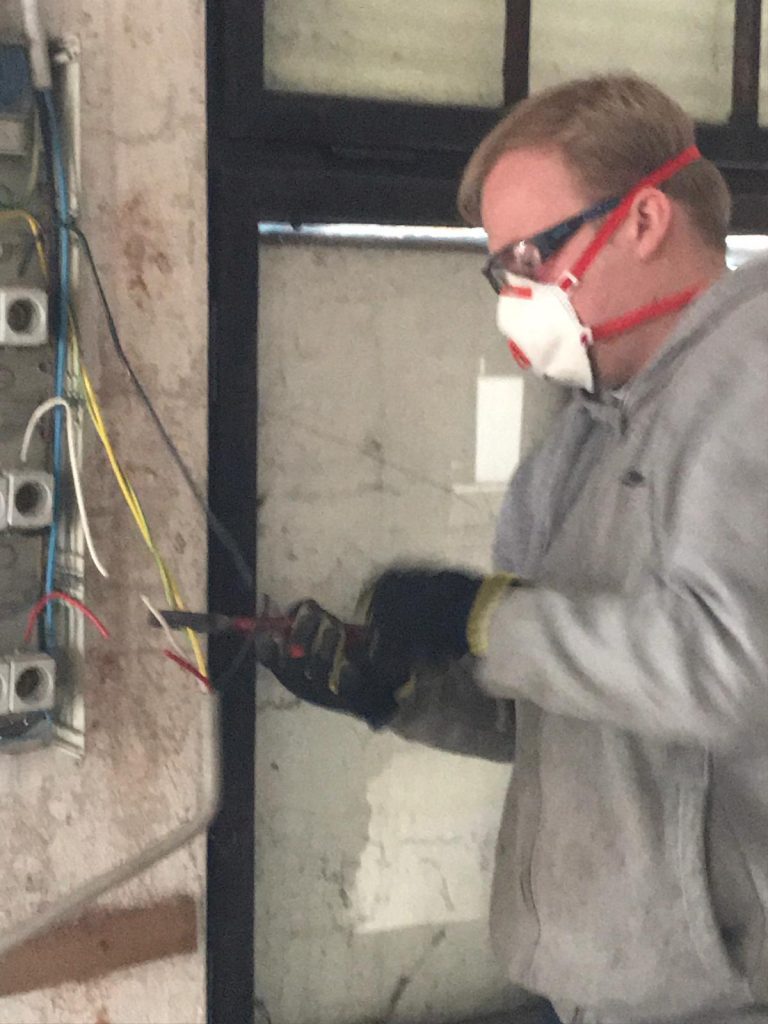
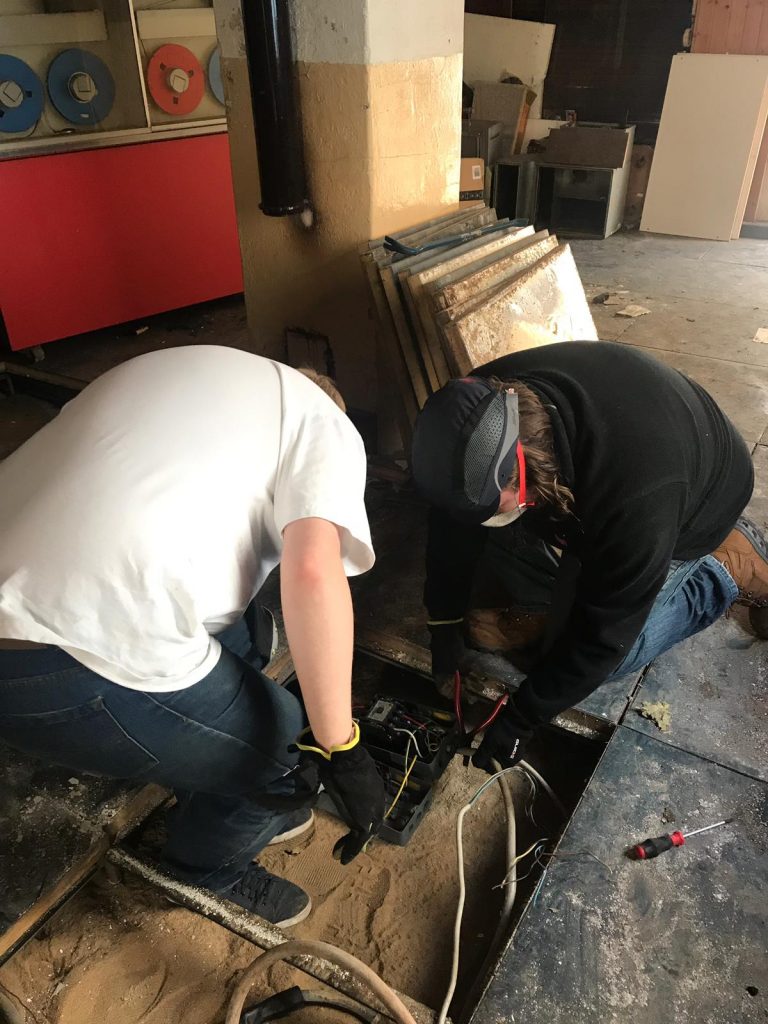
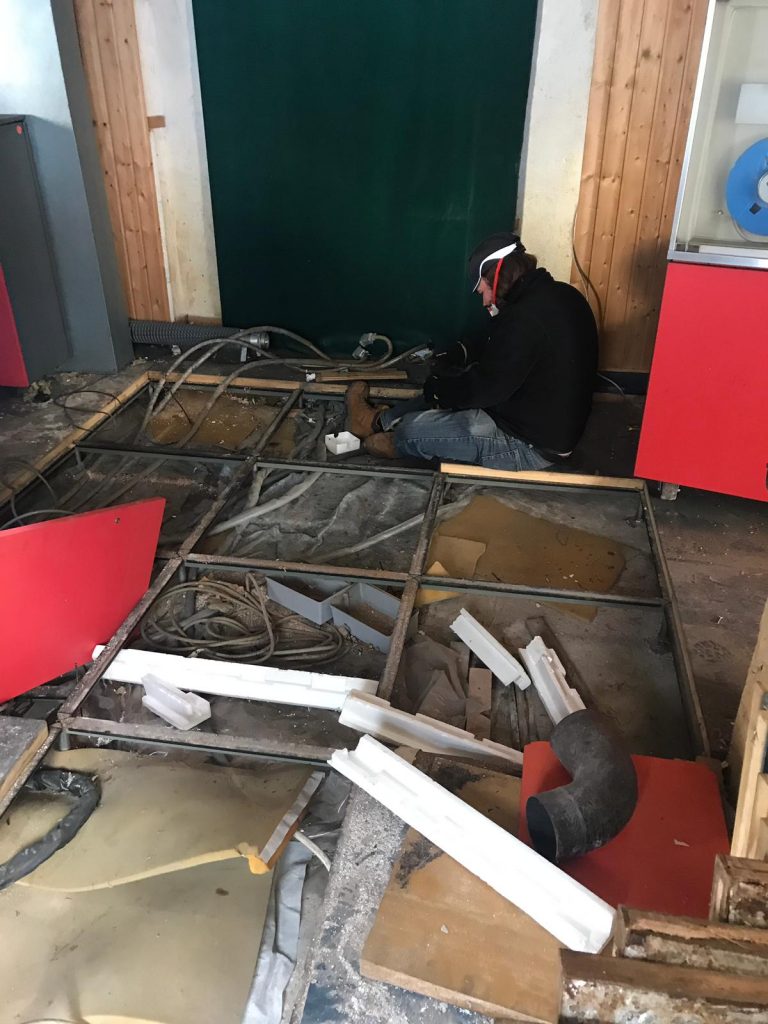
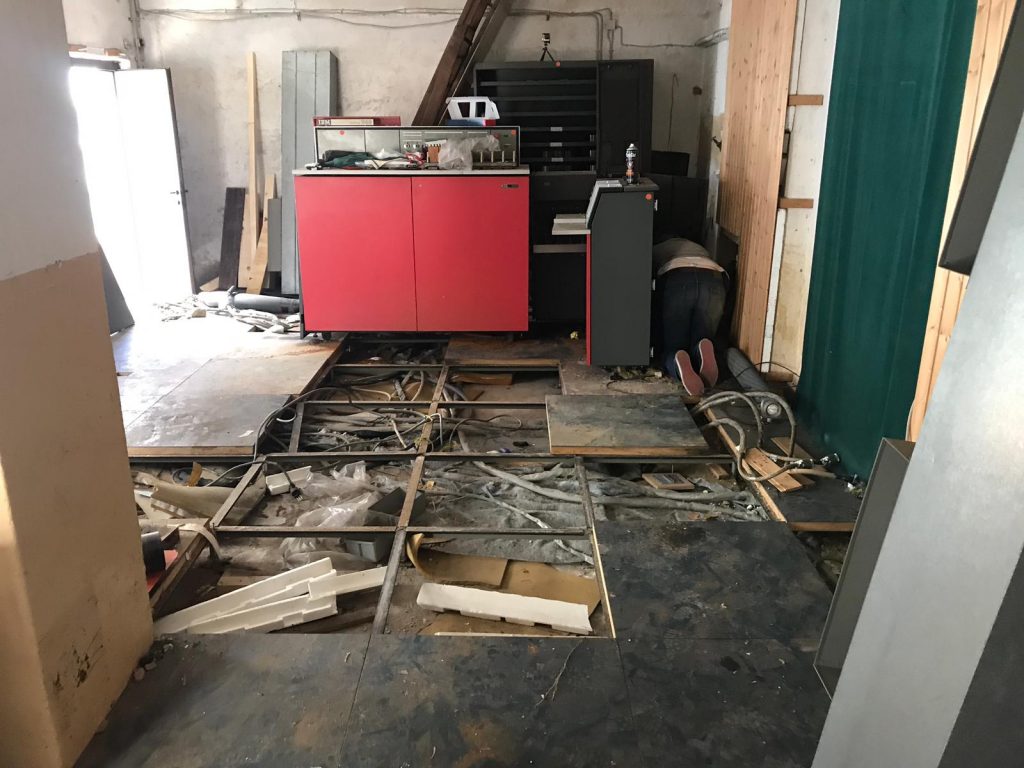
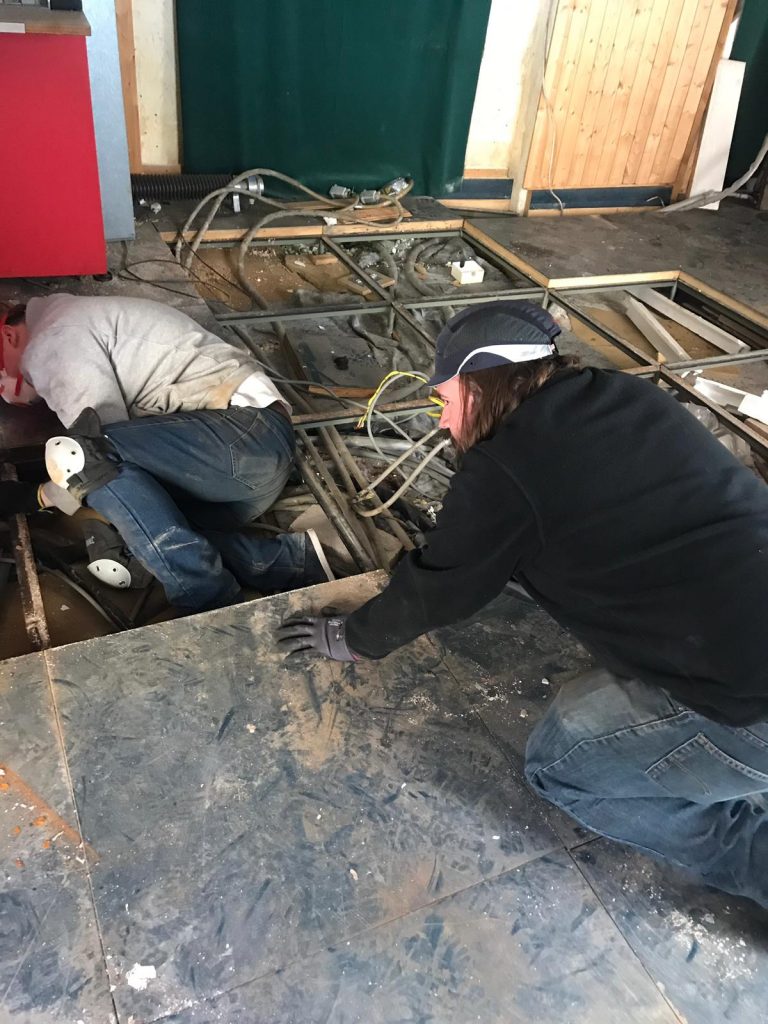
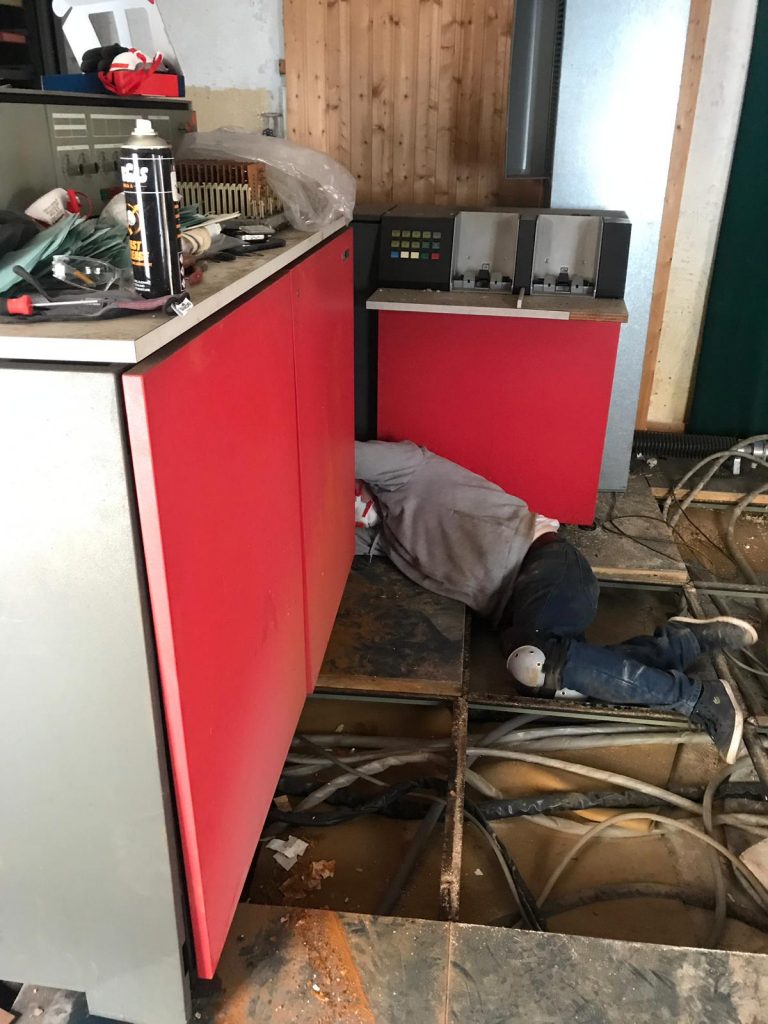
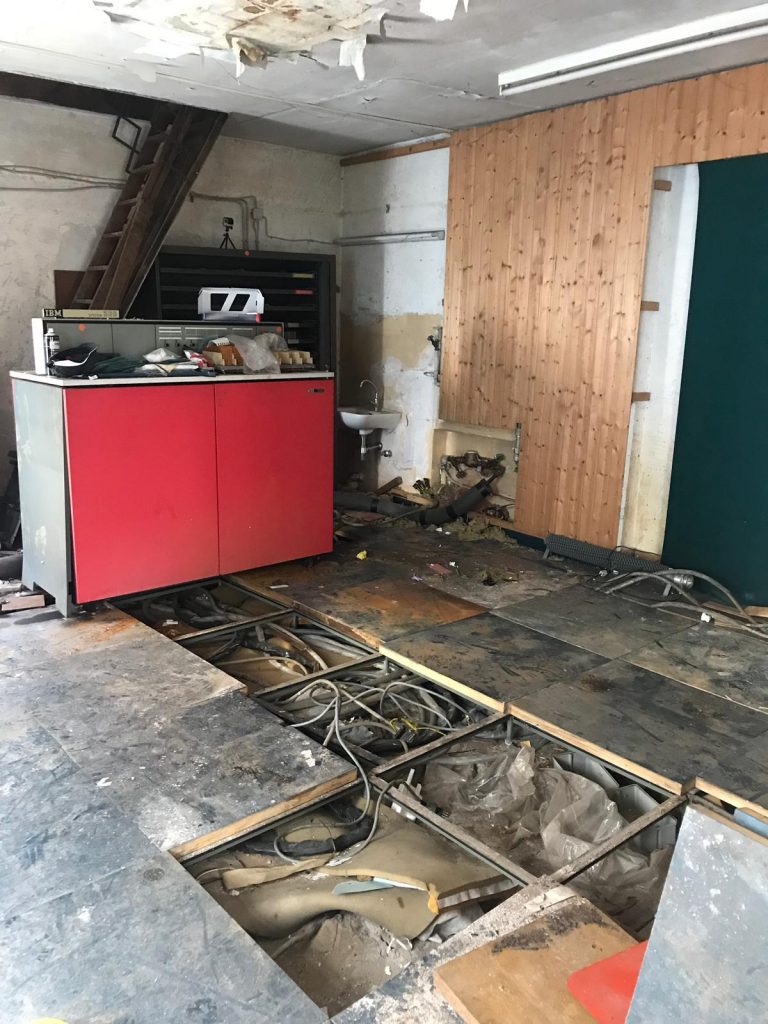
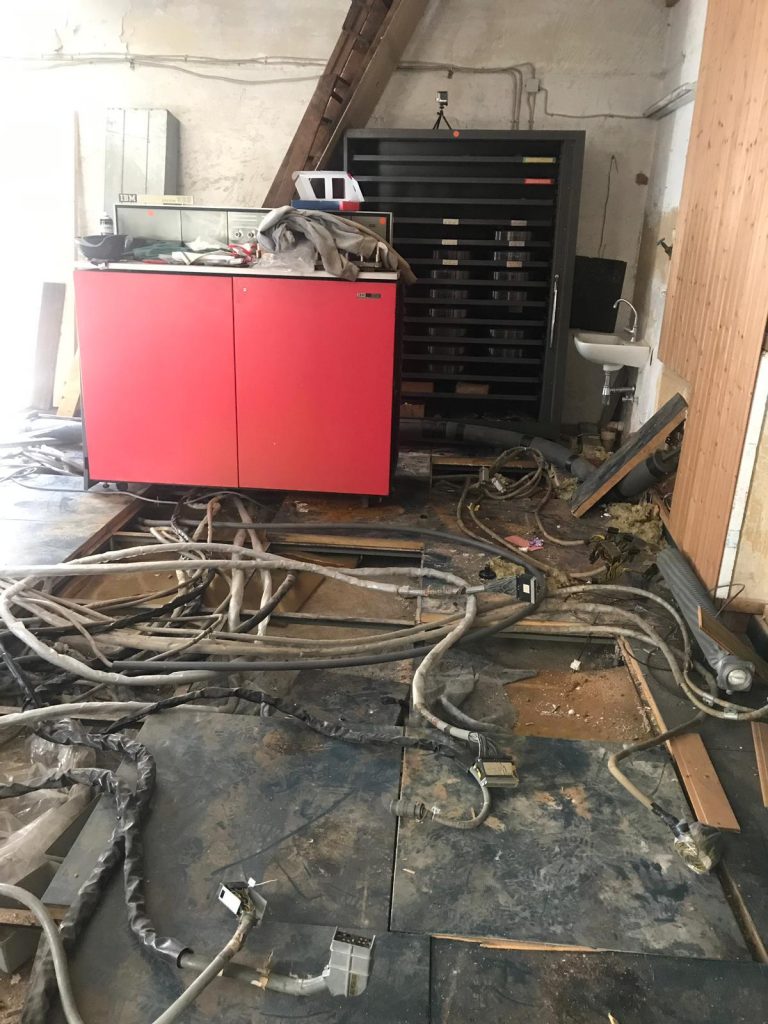
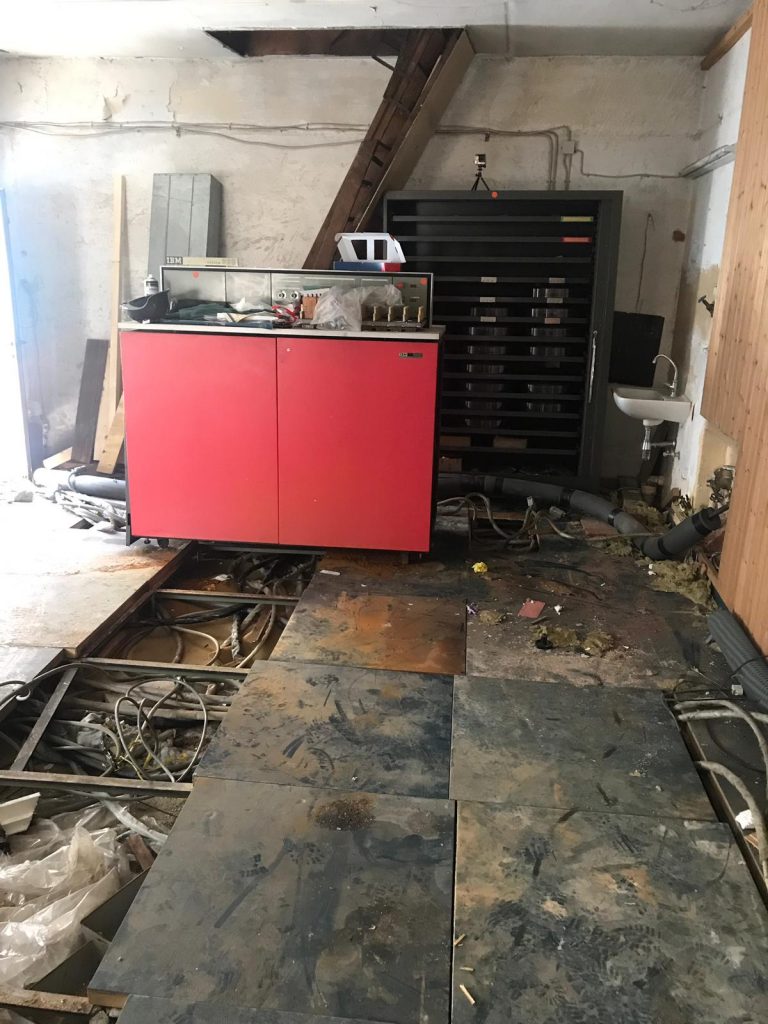
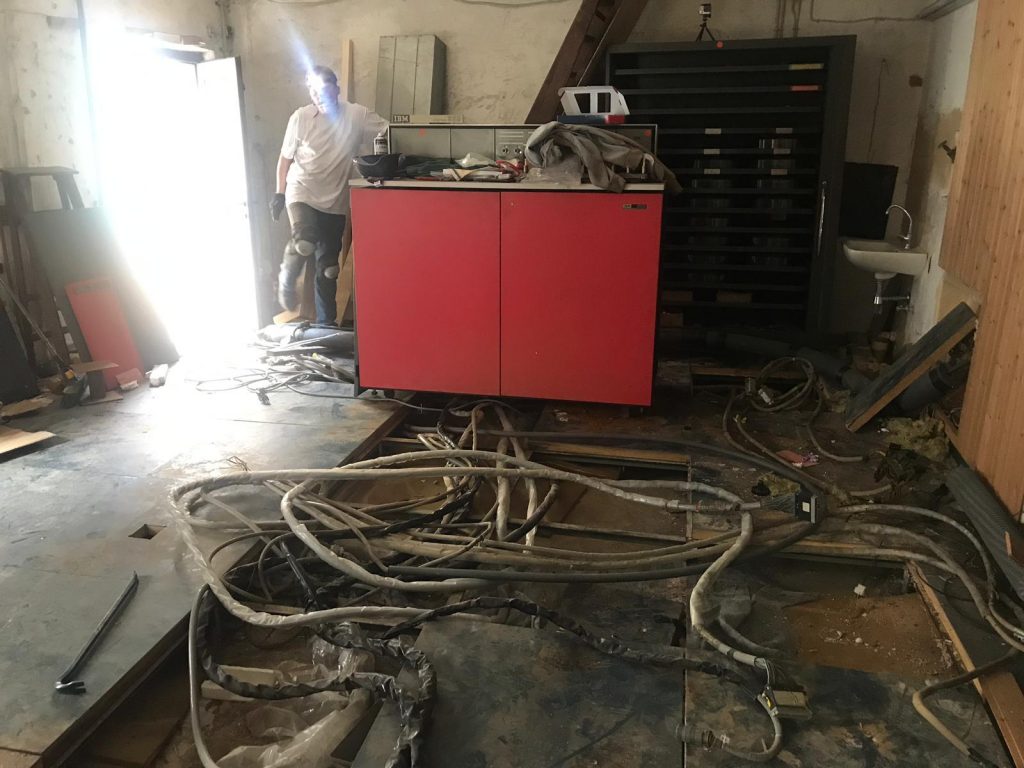
This day was going to be the fun day. Everything left was, in some way, wired into each other under the false floor. The cables have been under there for over 37 years. We didn’t think they were going to be very flexible (hint: they weren’t!).
Theres only one way to start a project like this, and that’s just to get stuck in, so that’s what we did. Firstly by starting to unwire the teleprinter station:
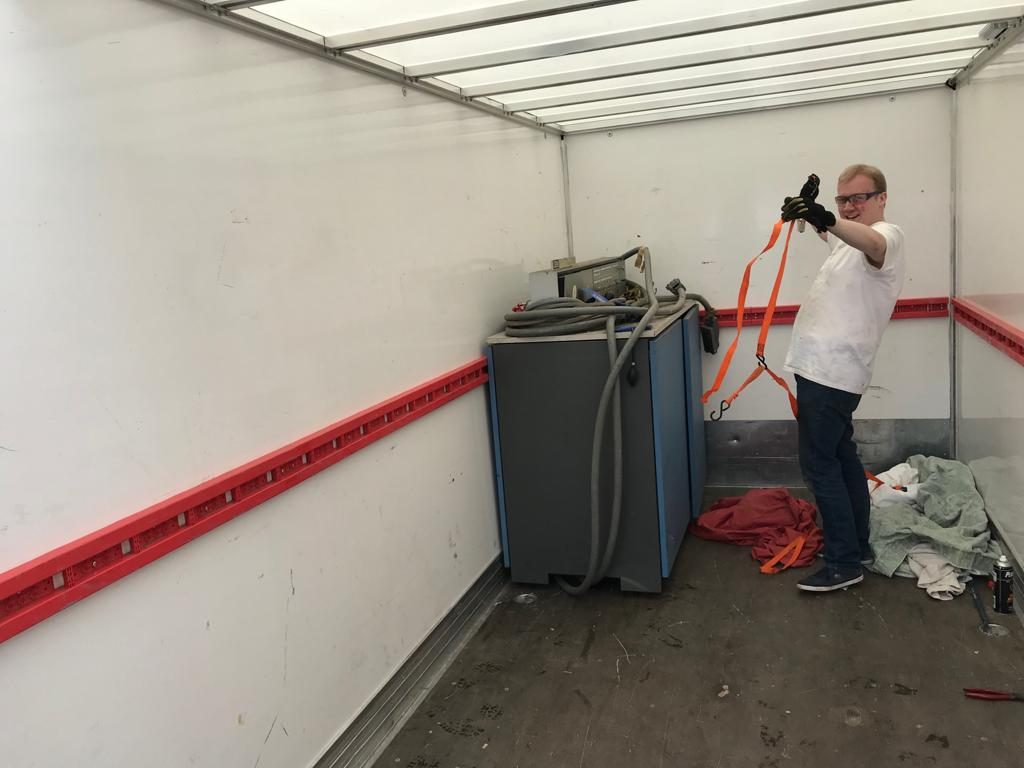
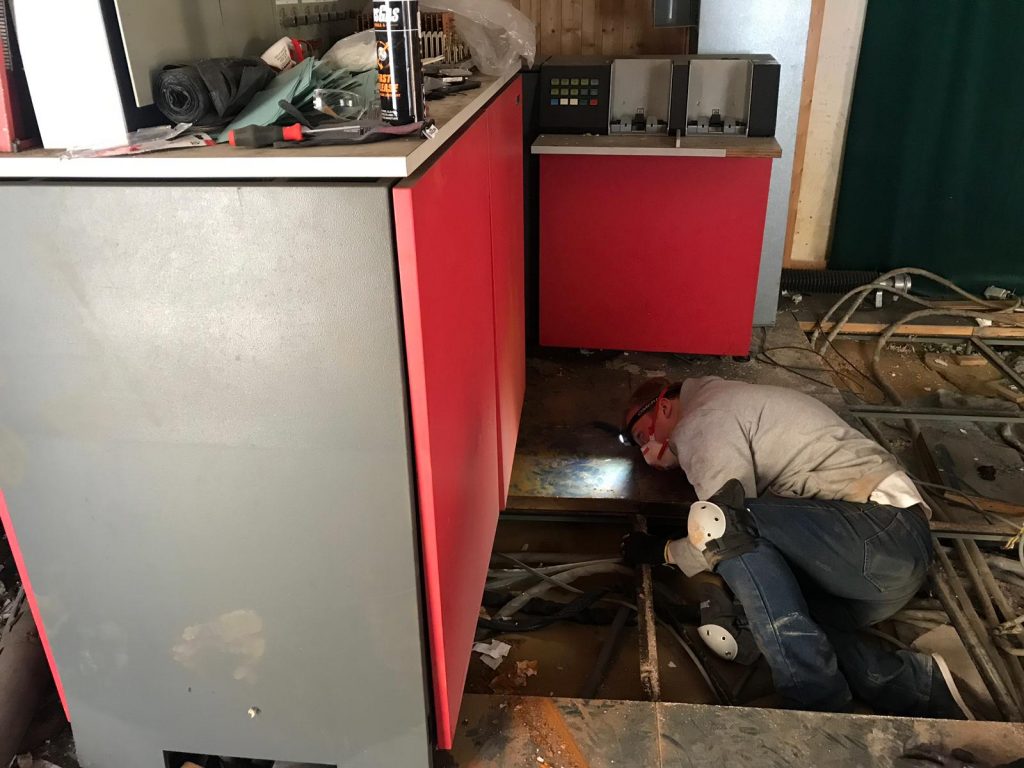
That being done, we started looking at how to remove the master tape drive. The power cable was the only thing stopping us being able to move this and so we had to trace the power cable all the way through the floor to figure out where it was going. This was easier said than done and involved pulling up most of the floor tiles:
Eventually we traced all of the cables and managed to get the tape drive disconnected. We then decided to get the tape drive on the truck, figuring it would be as heavy as the other one, or perhaps more but certainly not as much as the processor. Oh how wrong we were! We got it outside and onto the tail lift, but pushing the up button on the tail lift produced nothing but some groaning noises from the hydraulics. Crap. If we couldn’t get this thing into the truck we were in REAL trouble. We pushed the tape drive as close to the fulcrum of the lever as we could and I grabbed the bottom of the tail lift and using every ounce of strength I had pulled upwards. Despite some more groaning from the hydraulic pump we just about managed to nurse the tail lift up to the top. Phew! We got the tape drive into the truck and secured:
We then managed to get the teleprinter and the printer un-cabled and moved those out onto the truck as well:
We headed to the storage unit again, and upon arrival decided that we probably didn’t have enough space in our original storage unit, and as such we quickly rented another one. We set about unloading the items again:
And of course, the van lost all of it’s coolant again and required another couple of litres of water:
We headed back to the building again to begin un-cabling the last two big items, the Multifunction Card Machine and the Processor.
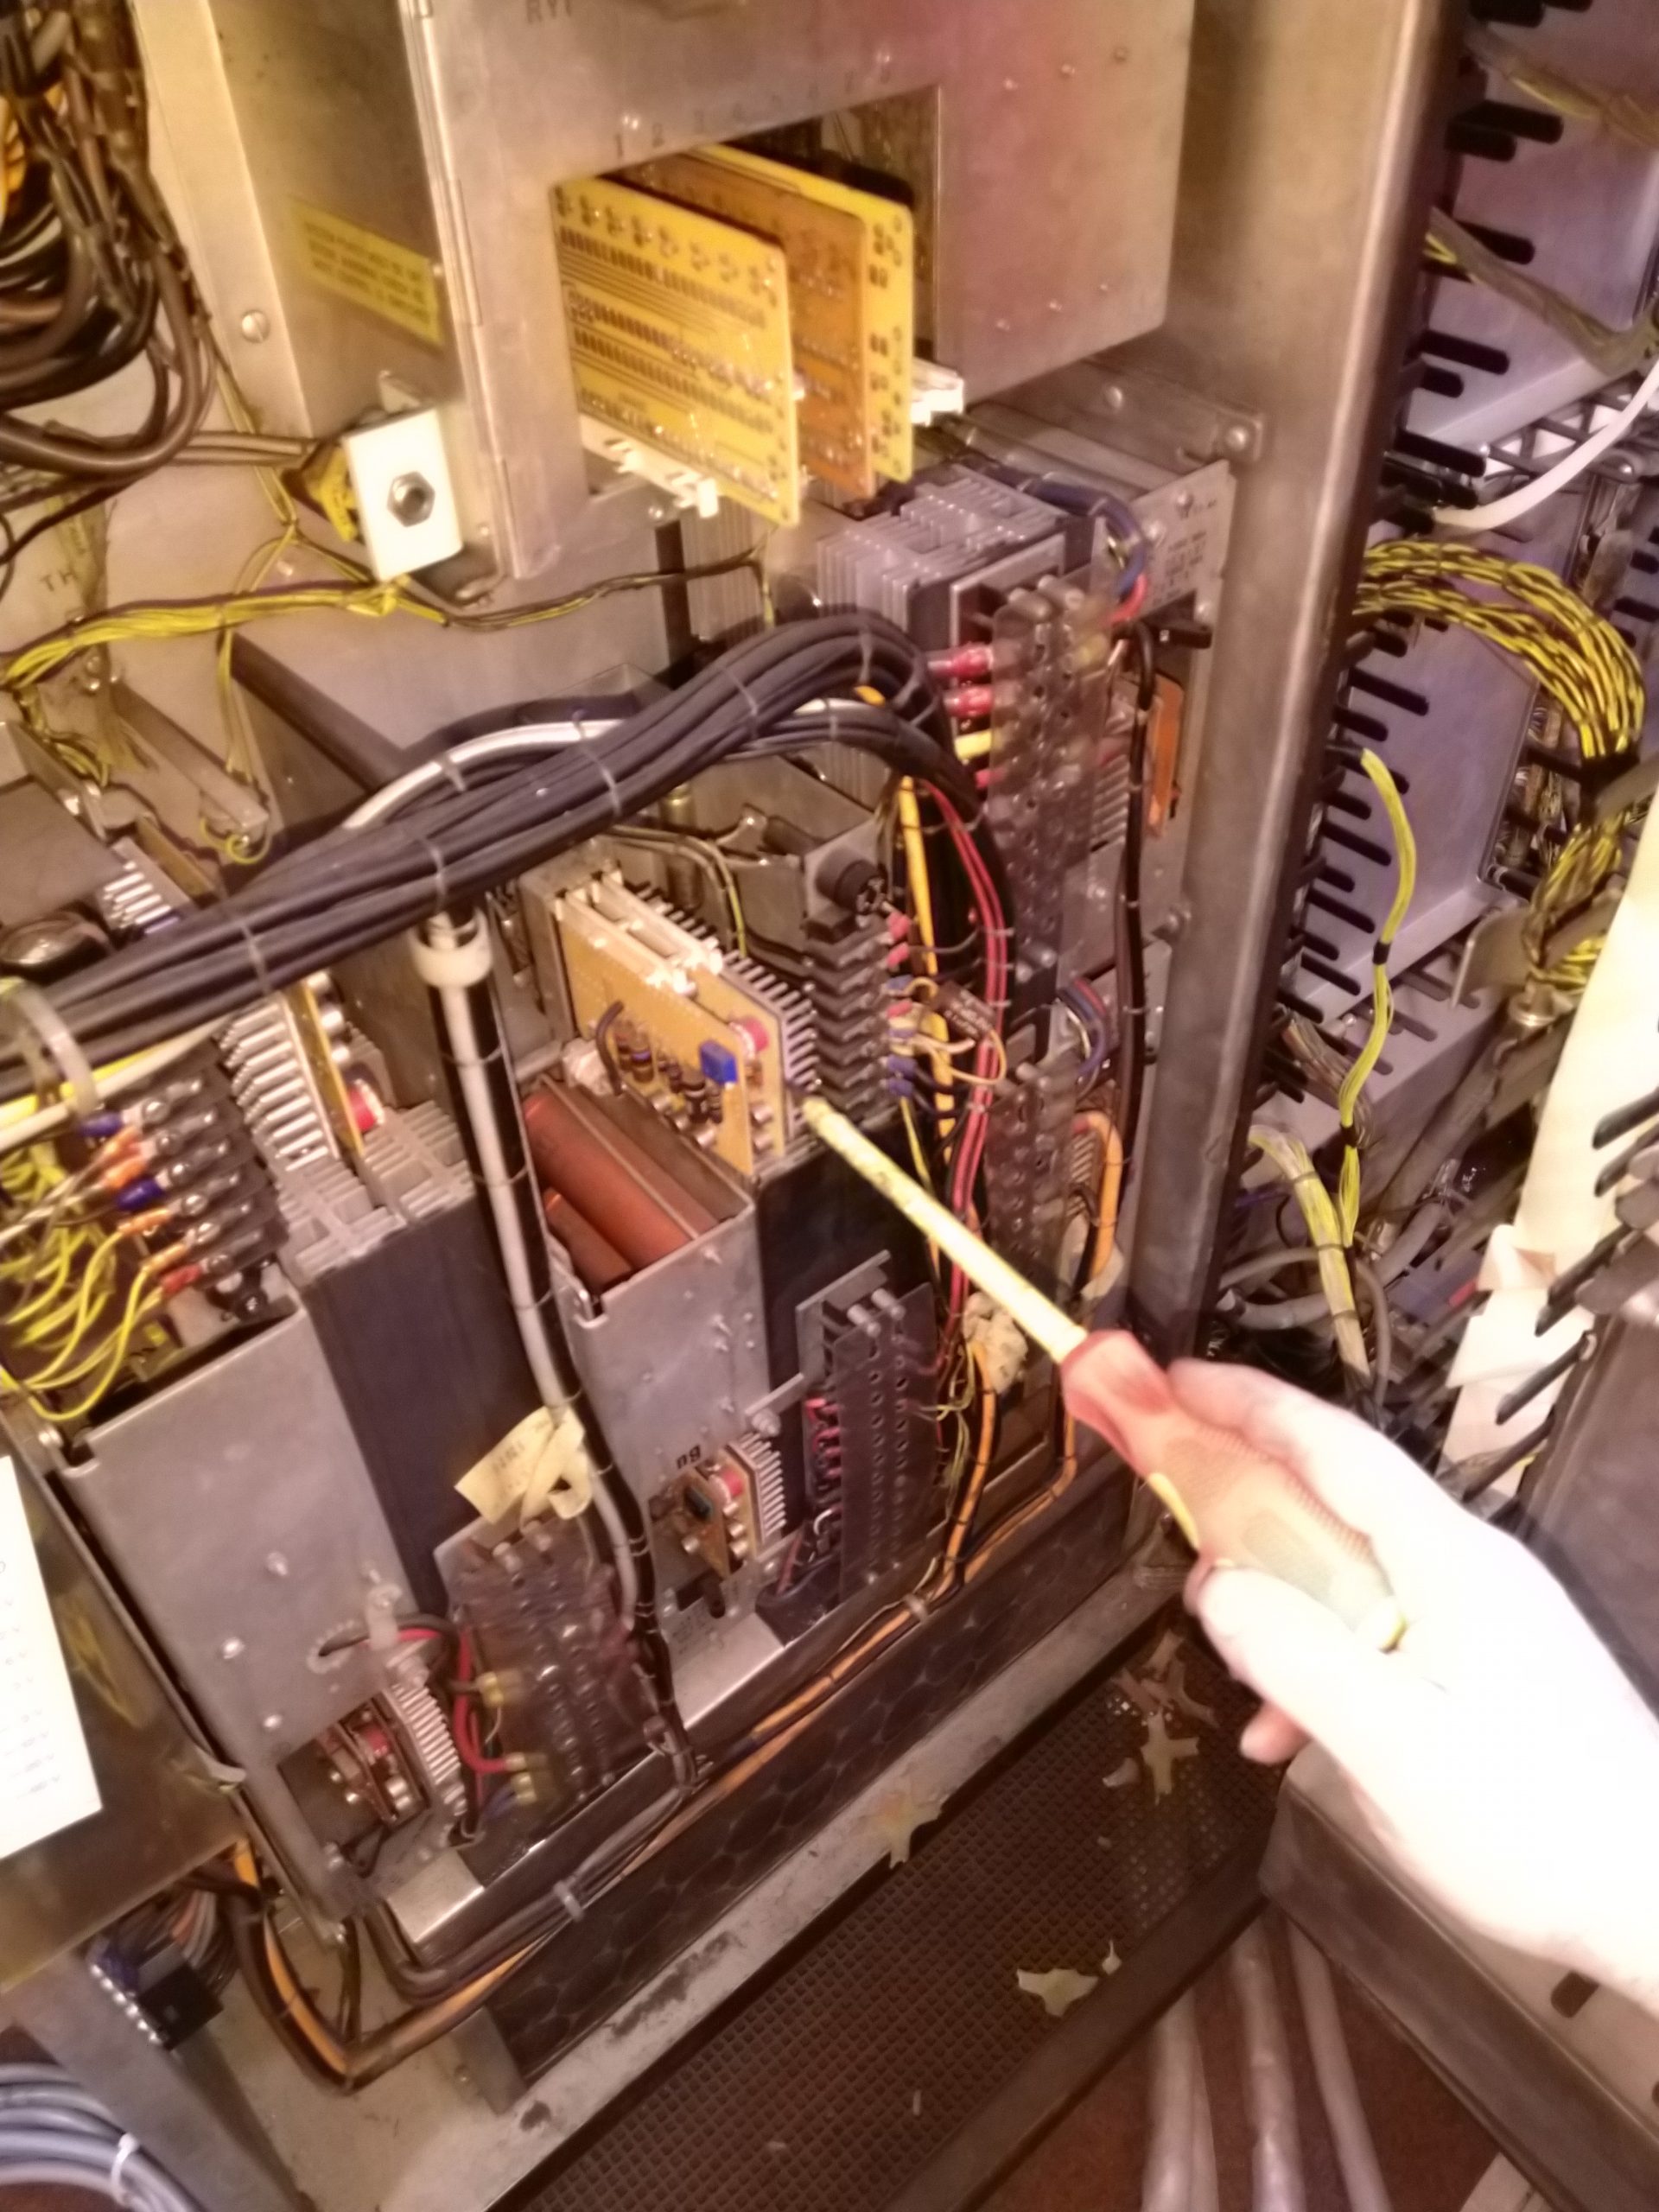
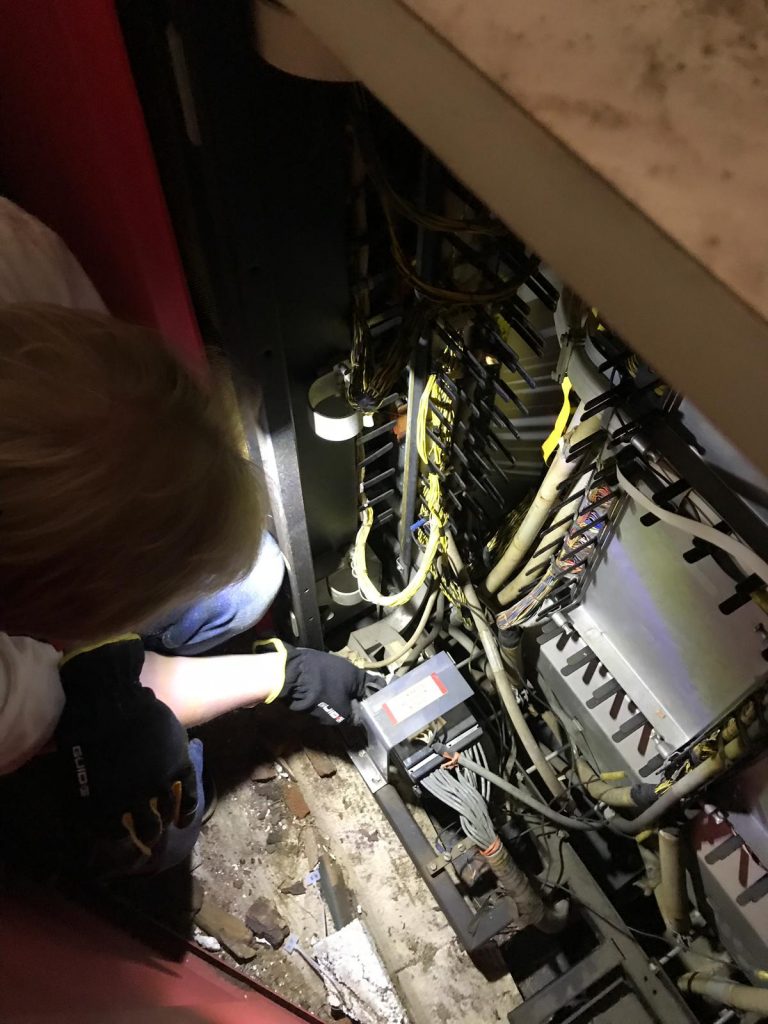
We decided to start trying to disconnect everything that wasn’t hard wired into the processor first, but this proved difficult due to access restrictions caused by the proximity of the MFCM, as such we took the decision to disconnect and move that first. This proved challenging due to the internal cable routing of this machine and the fact that the cables are connected using cards that are plugged directly into the backplane. These aren’t usually too bad if you’re careful, but these ran through the entire length of the machine through multiple obstacles that you can’t see or guide them through. We managed it after a lot of fiddling:
So, with that out of the way, next up was the processor. This took us several hours to sort out due to the complexity of the cabling, it’s difficult location under a low floor, and the age of the cables. We think we managed to extract everything without damaging it but only time will tell!
Luckily a couple of the chaps from the Glazier next door were willing to come and help us shift the processor so we managed to get it moved out with relative ease and onto the truck (the tail lift was fine with this one!) we also loaded up the other remaining items like disk packs and machine panels:
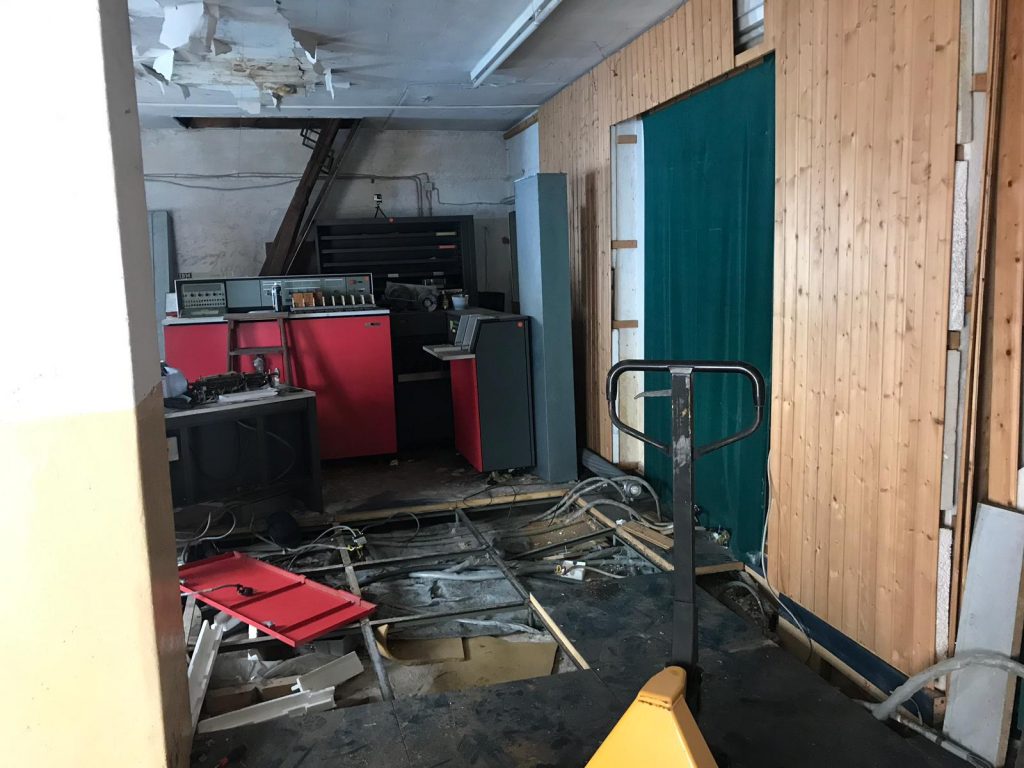
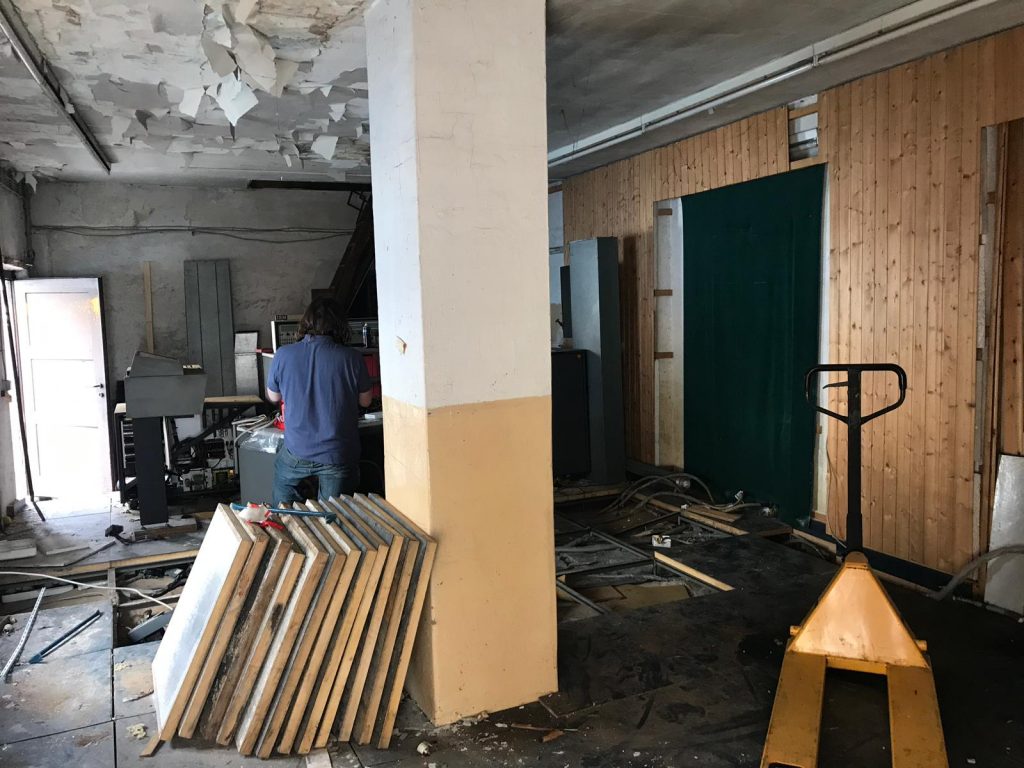
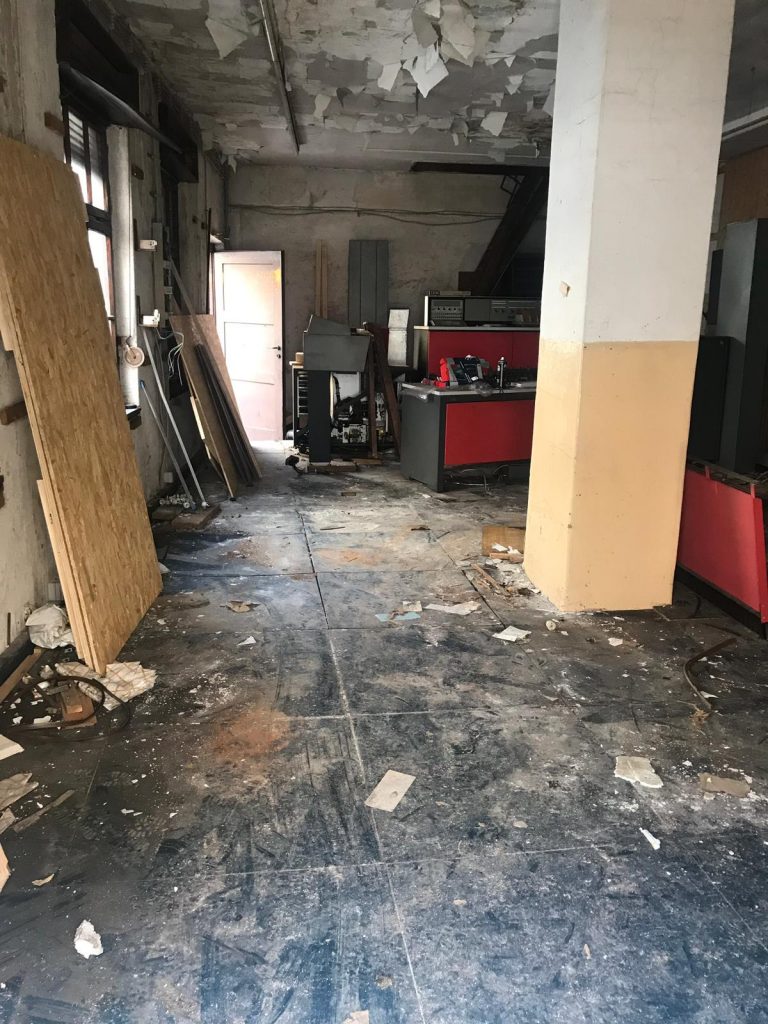
And heres a few pictures of the building after extraction:
After securing the building we headed to the storage place for the final unload, Günter helpfully came with us to give us a hand as we would have struggled with a lot of this stuff without some help!
We breathed a heavy sigh of relief and went back to the AirBNB for a shower before heading out for something to eat and a few drinks.
The next day (Saturday) our flight was quite late in the evening, so we rented a car and headed back to check out a few bits on the machine. Here are just a few more pictures:
Here are a couple of time lapse videos we made, we tried to time lapse the whole thing but unfortunately the GoPro ran out of battery:
We’re planning to head back in a few weeks to document the machine more throughly and hopefully figure out the specifications of exactly what it is we have. We’re currently in the planning stages of how to get it back to the UK from Nuremberg so if anybody reading this has any haulier friends who are coming back empty from Nuremberg please give us a shout!
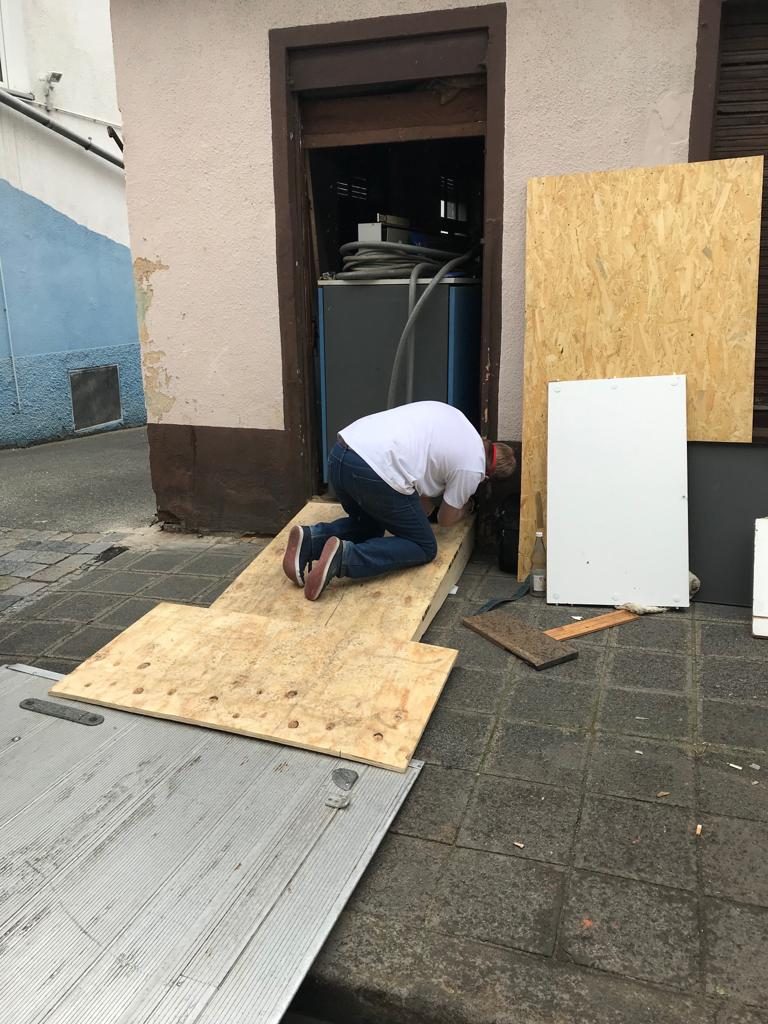
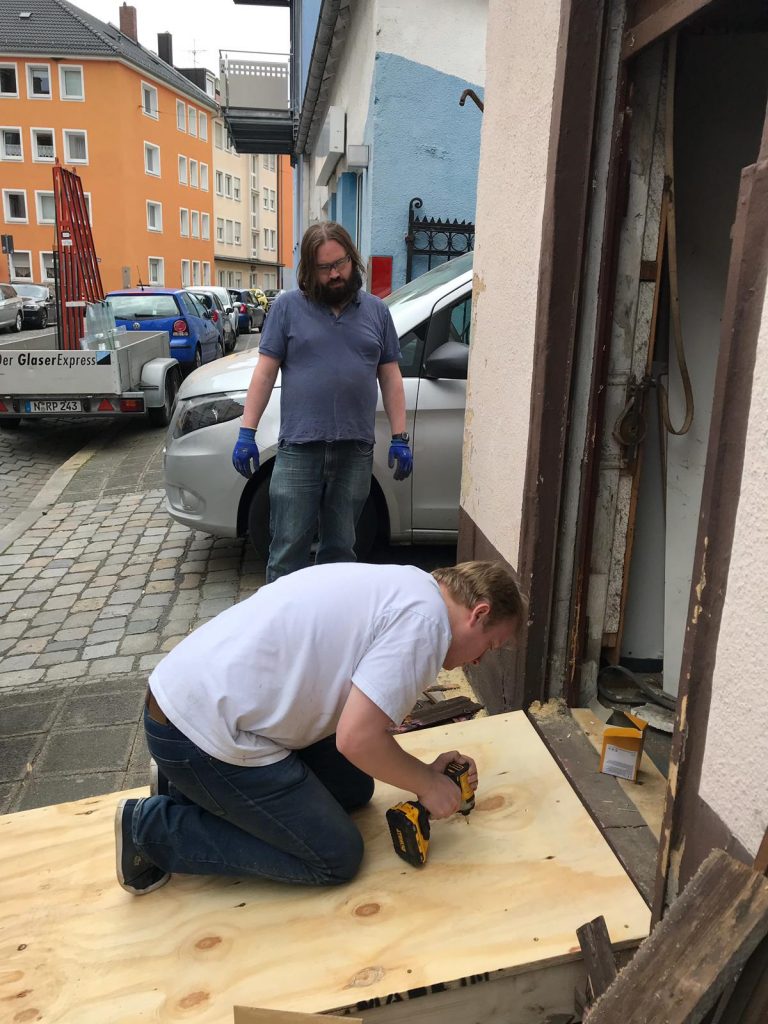
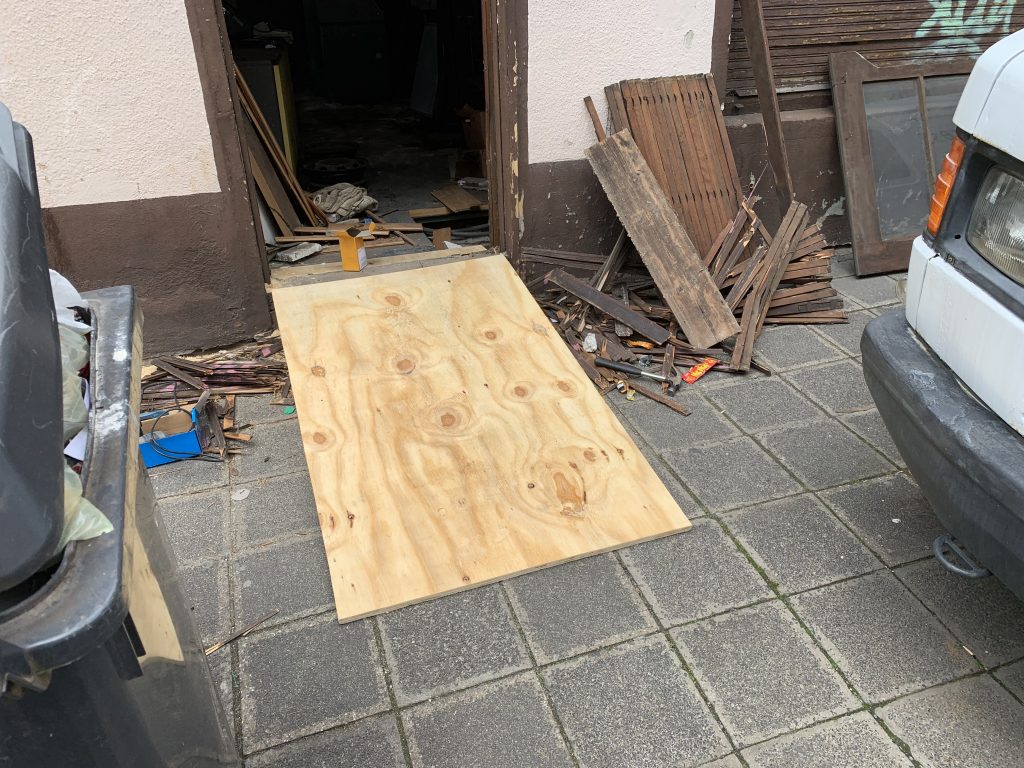
Following our last visit we had realised a number of things:
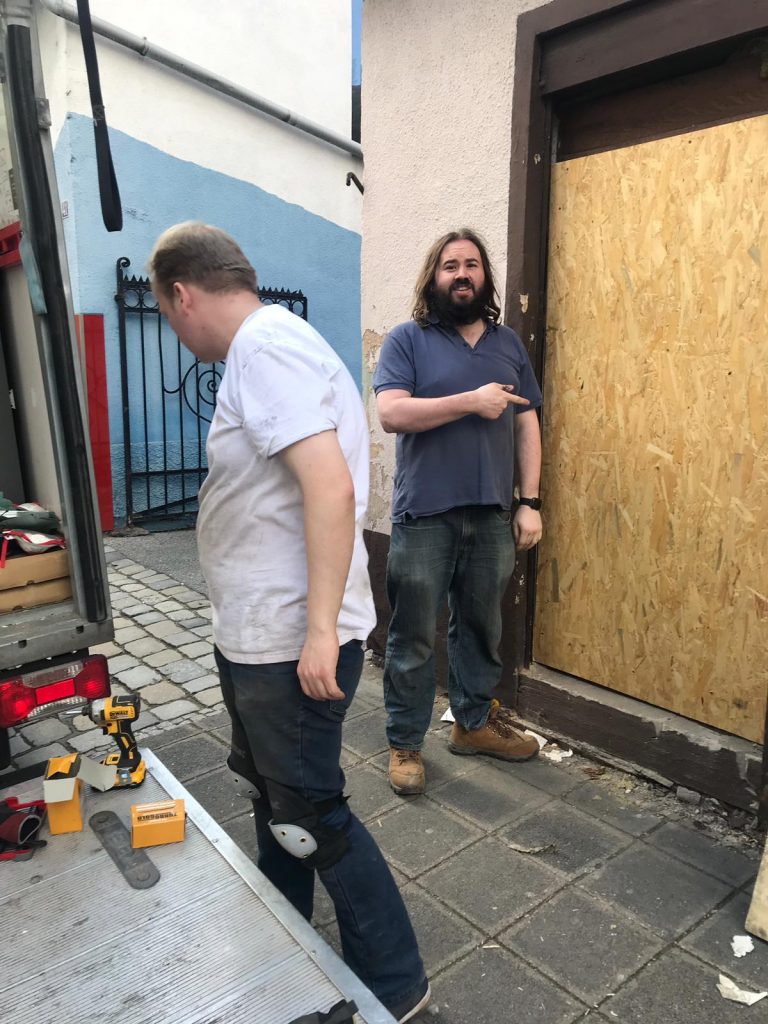
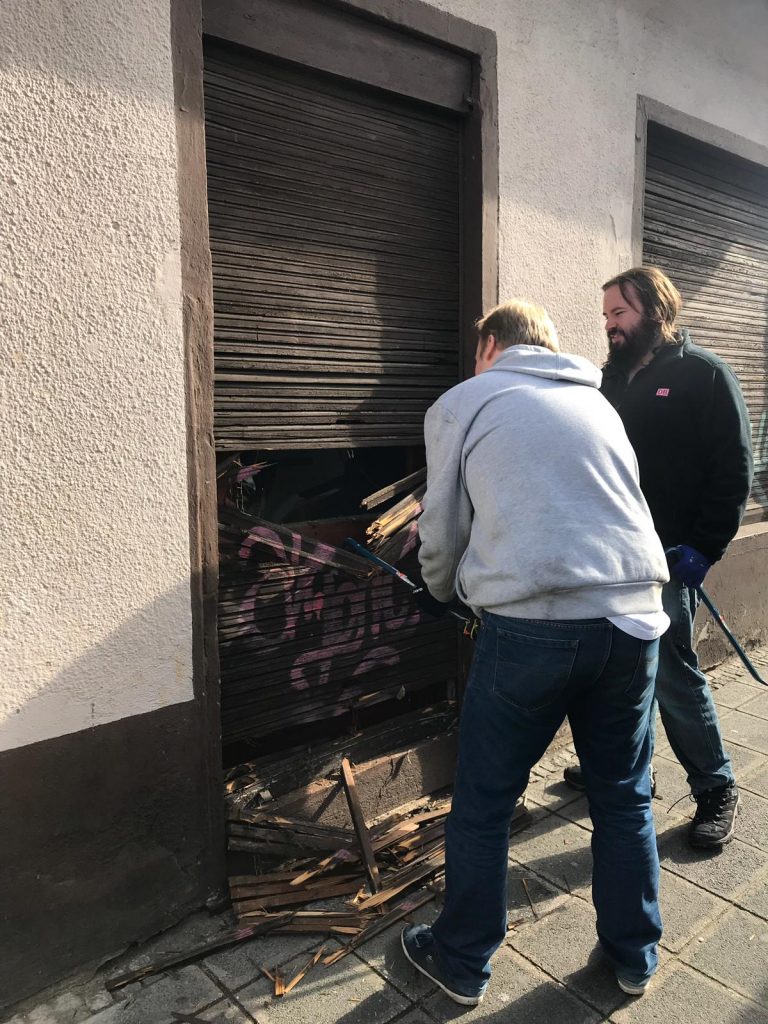
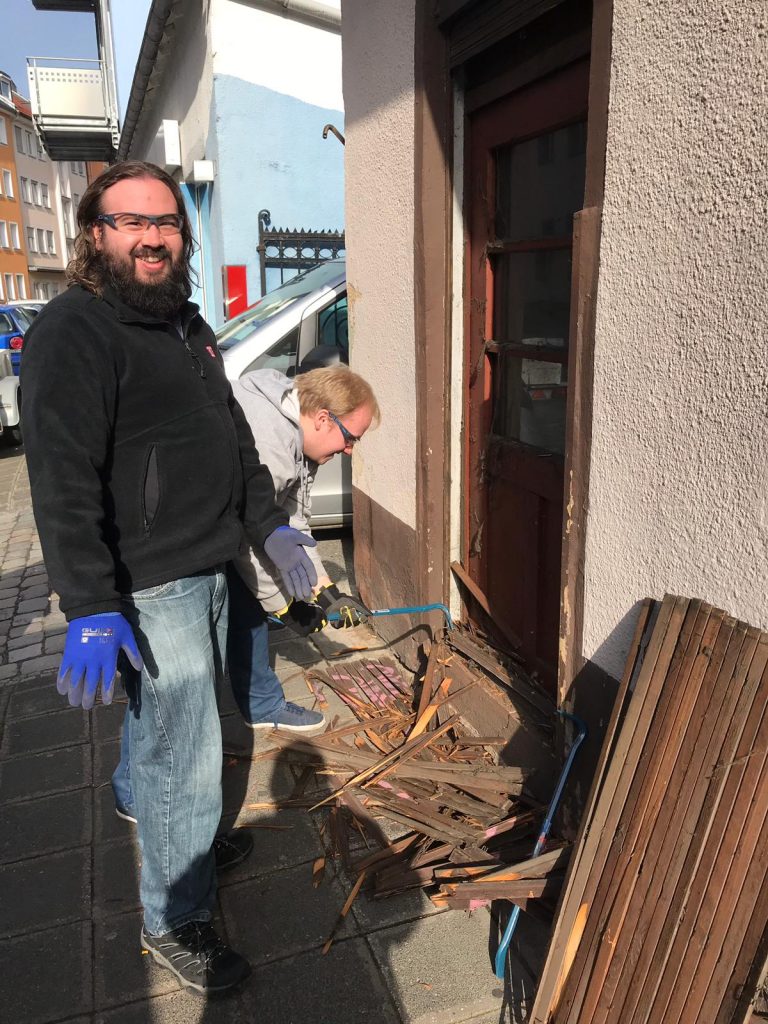
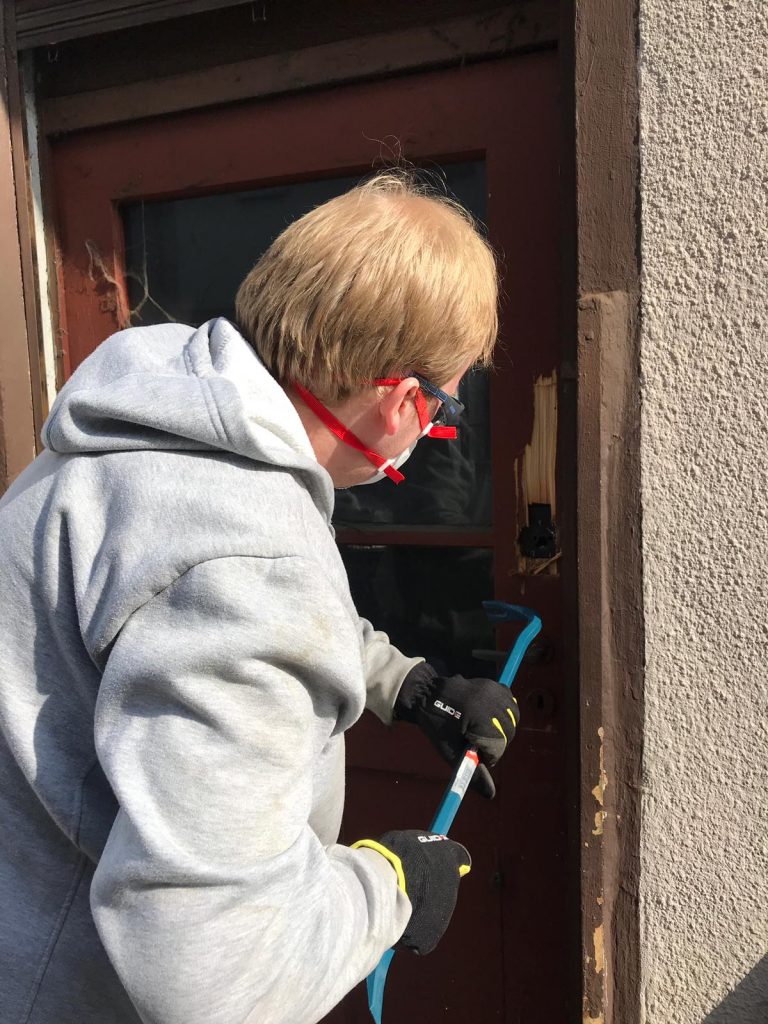
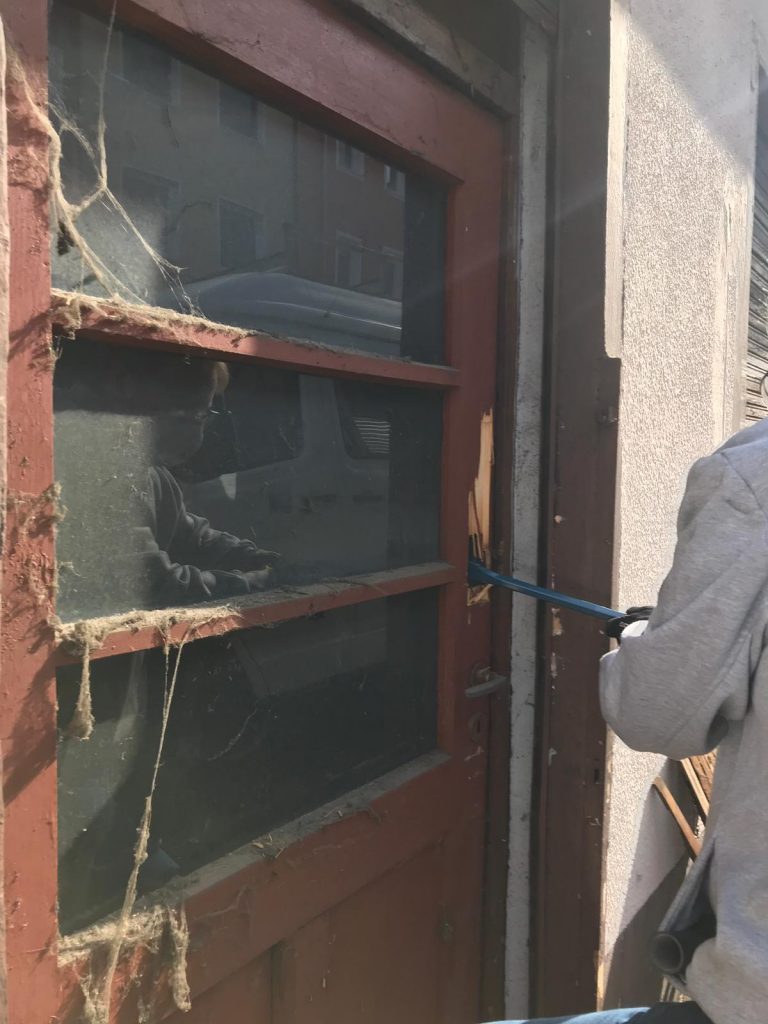
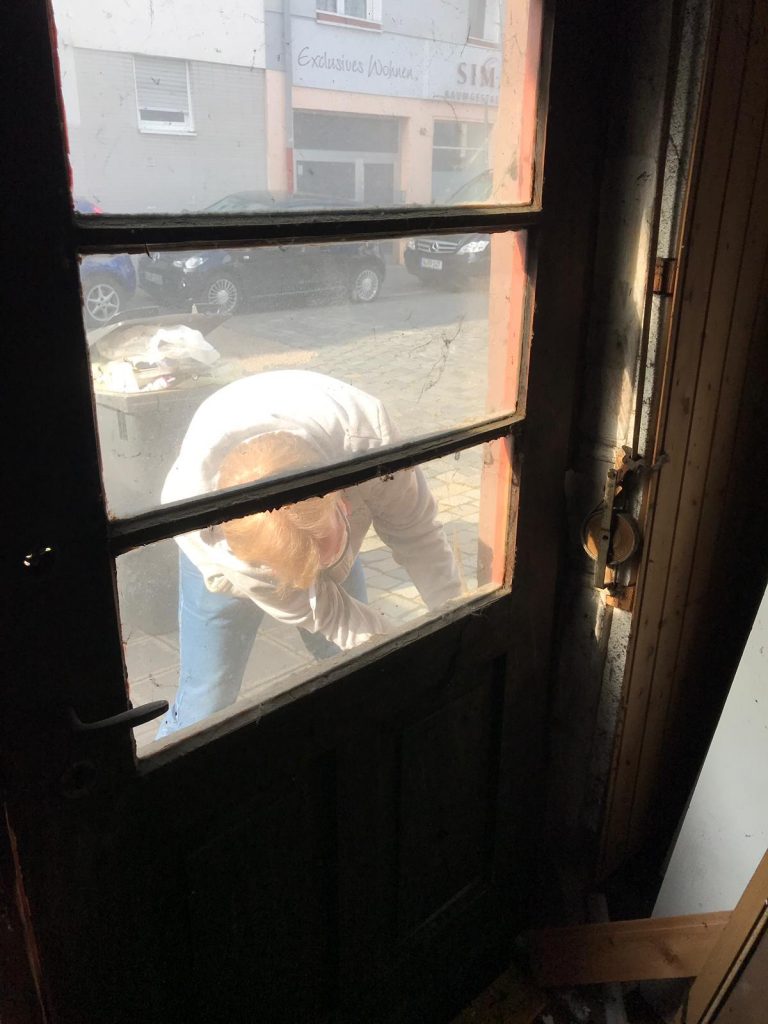
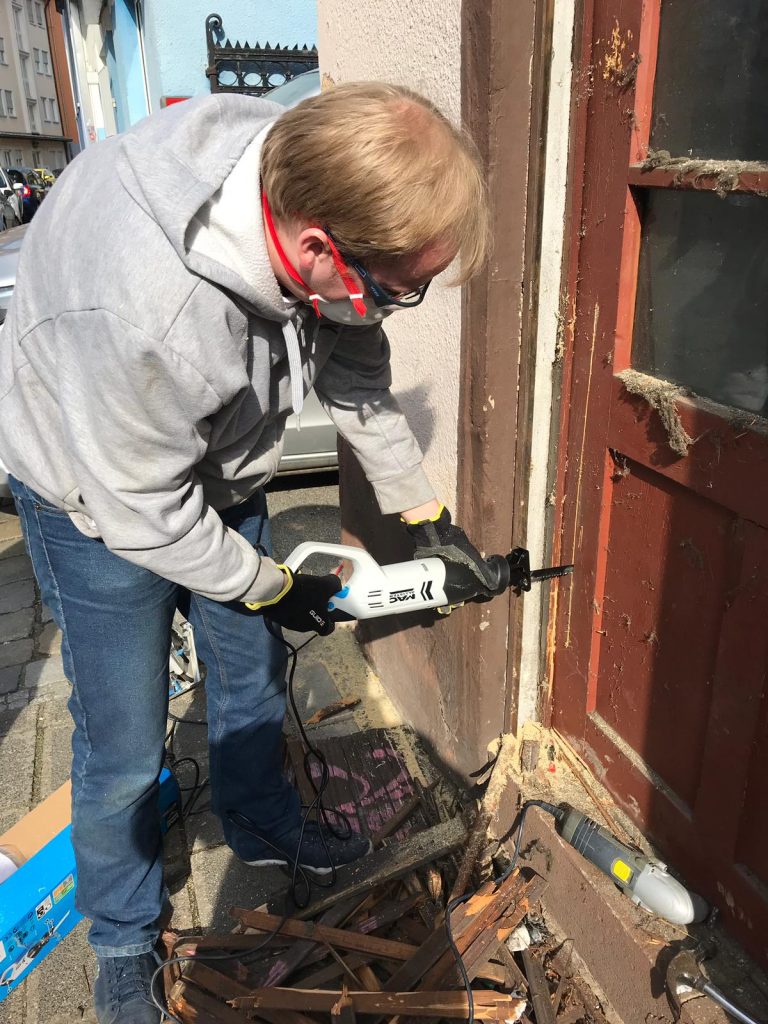
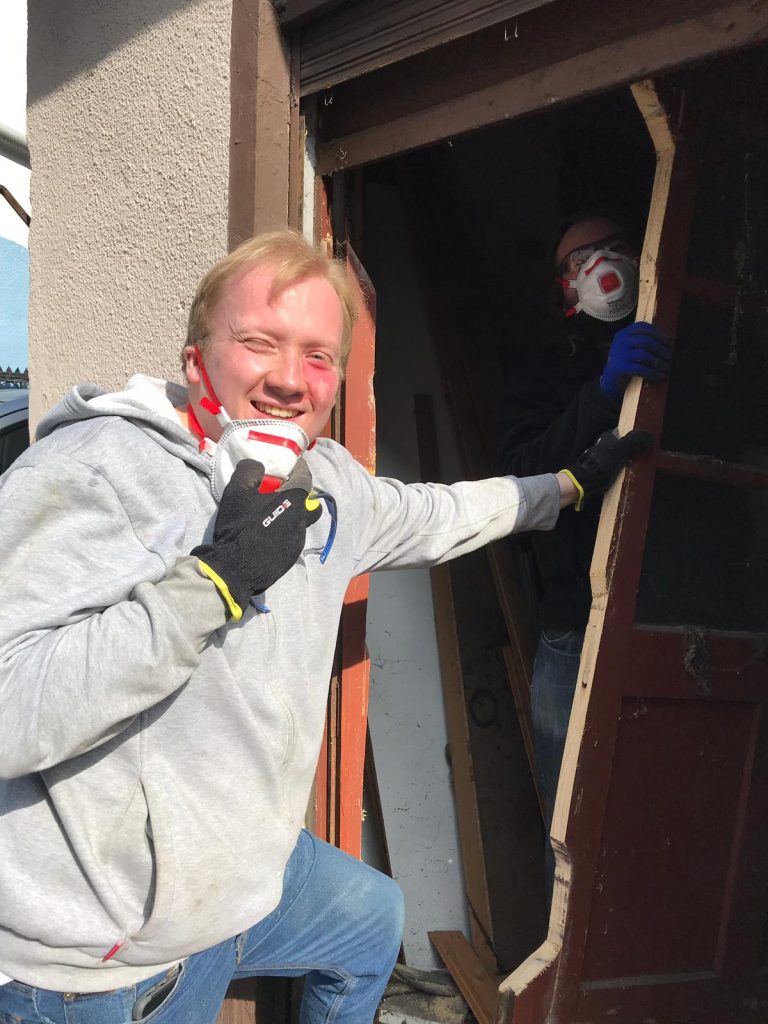
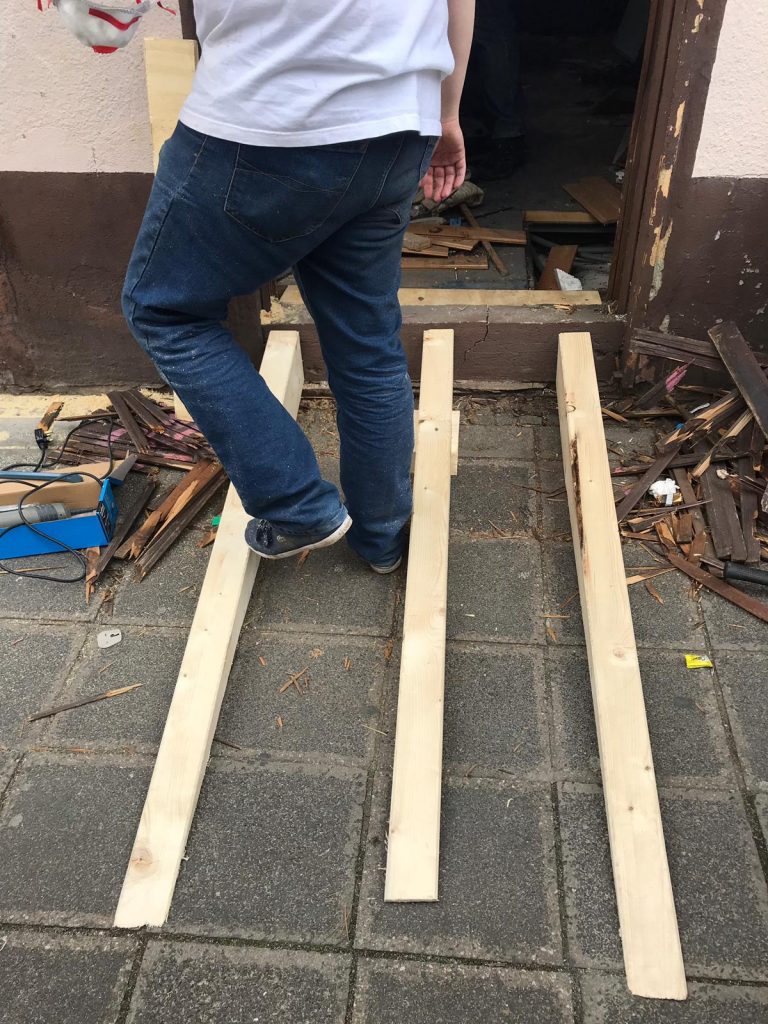
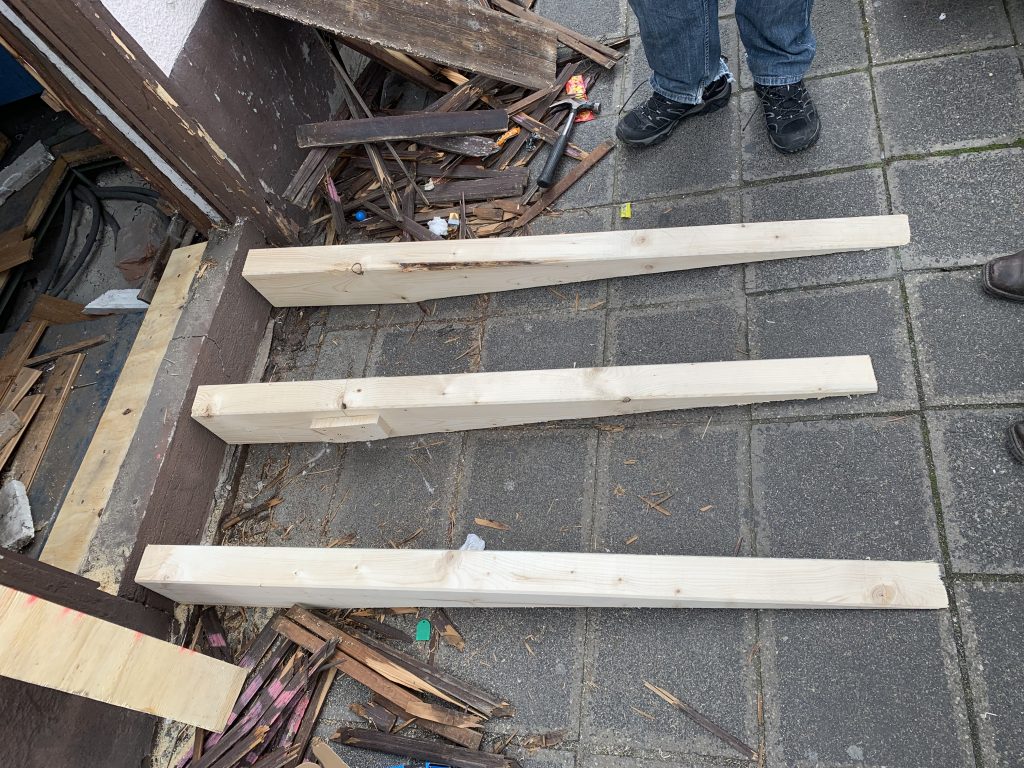
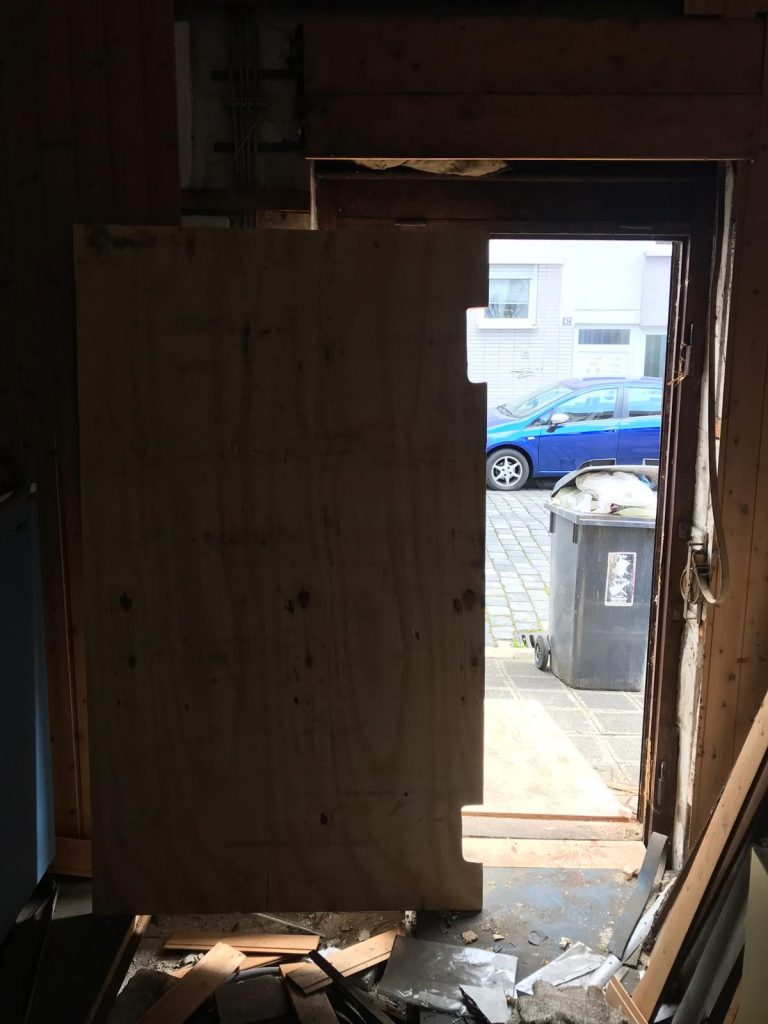
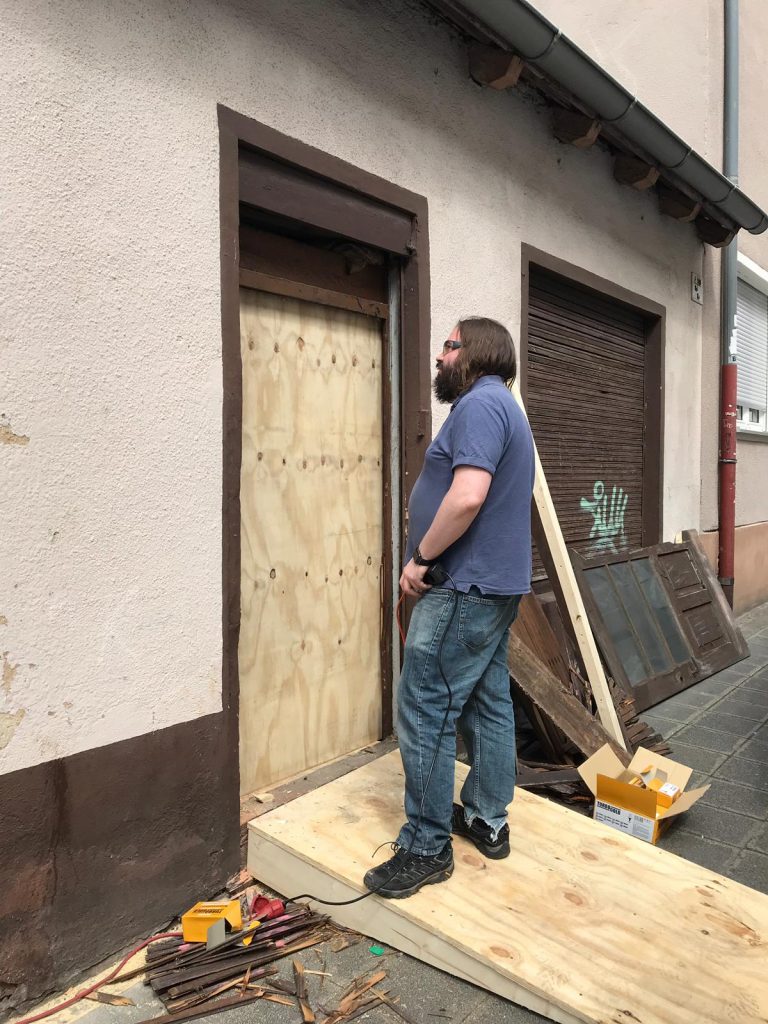
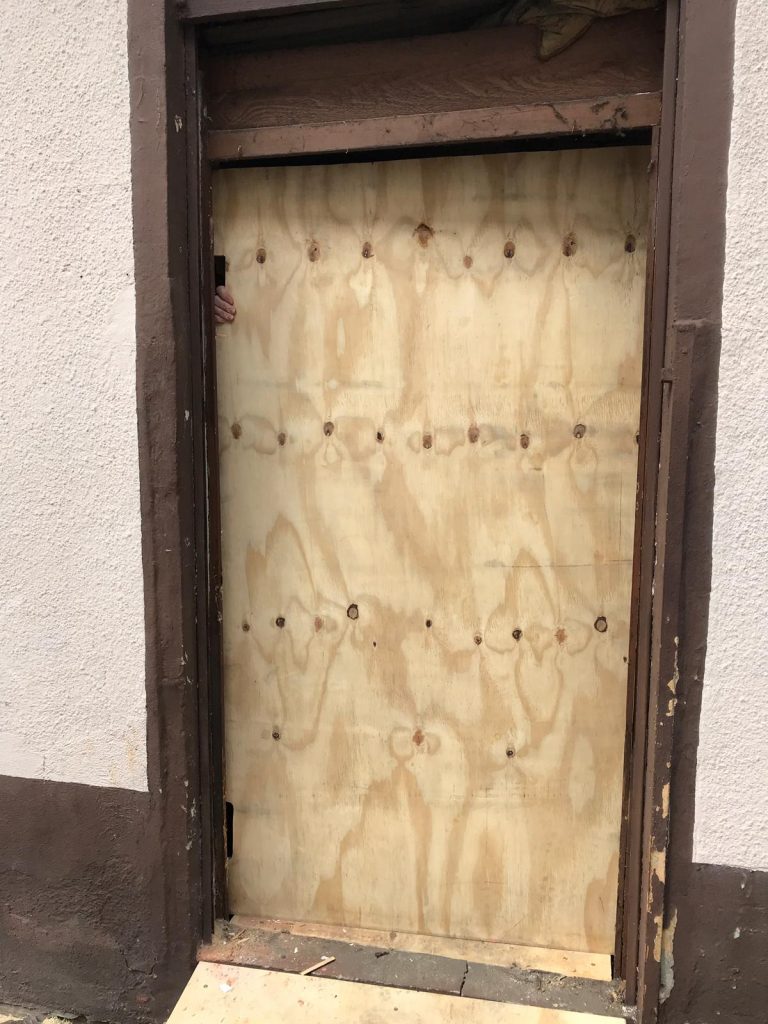
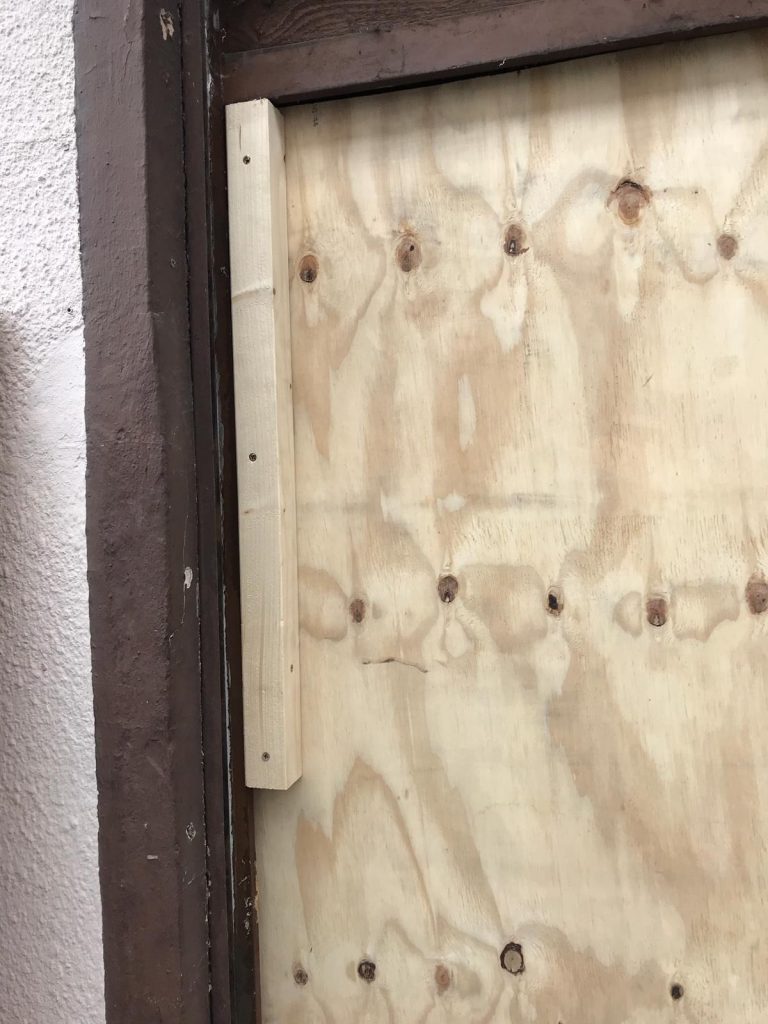
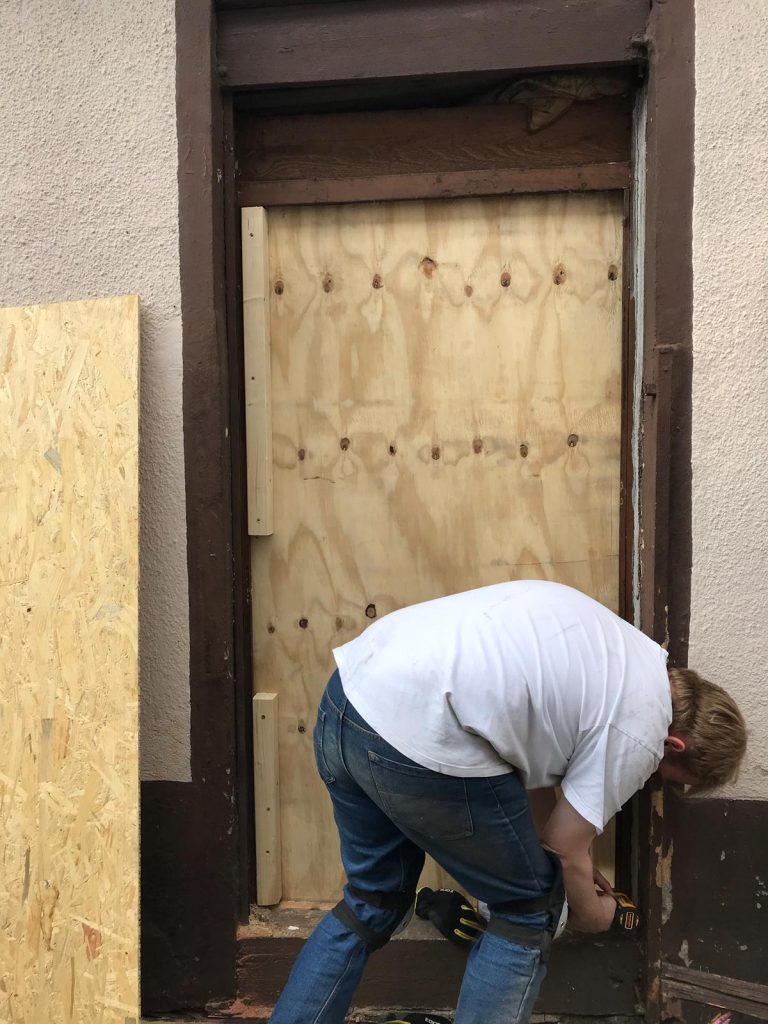
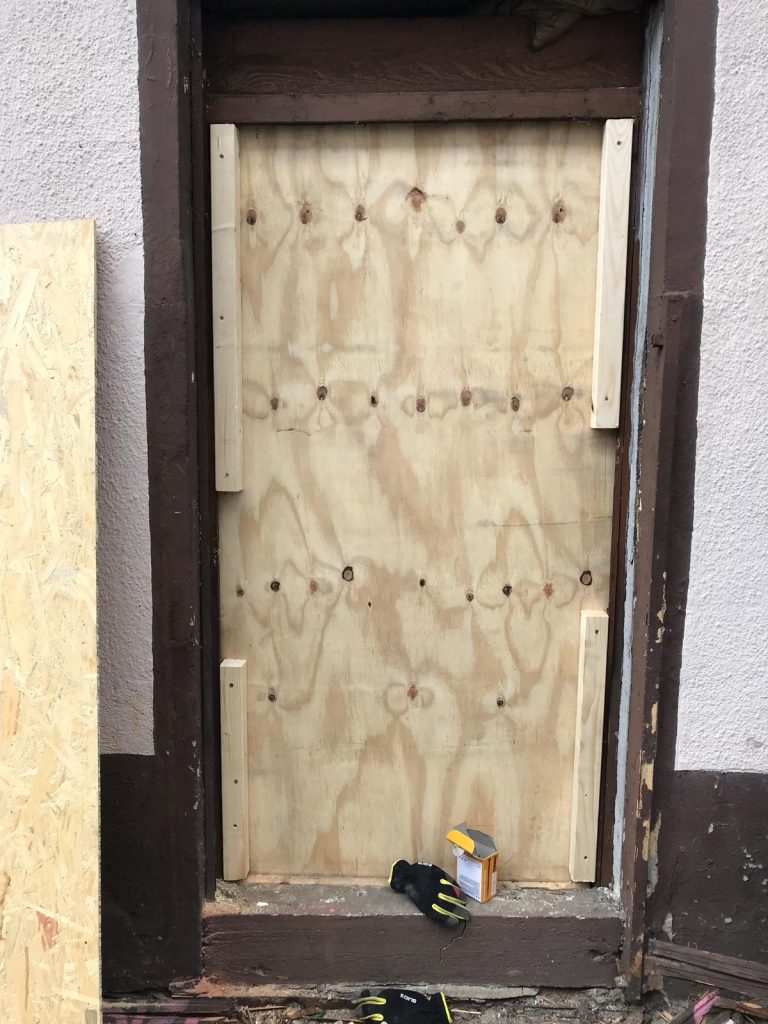
We needed to remove the front door
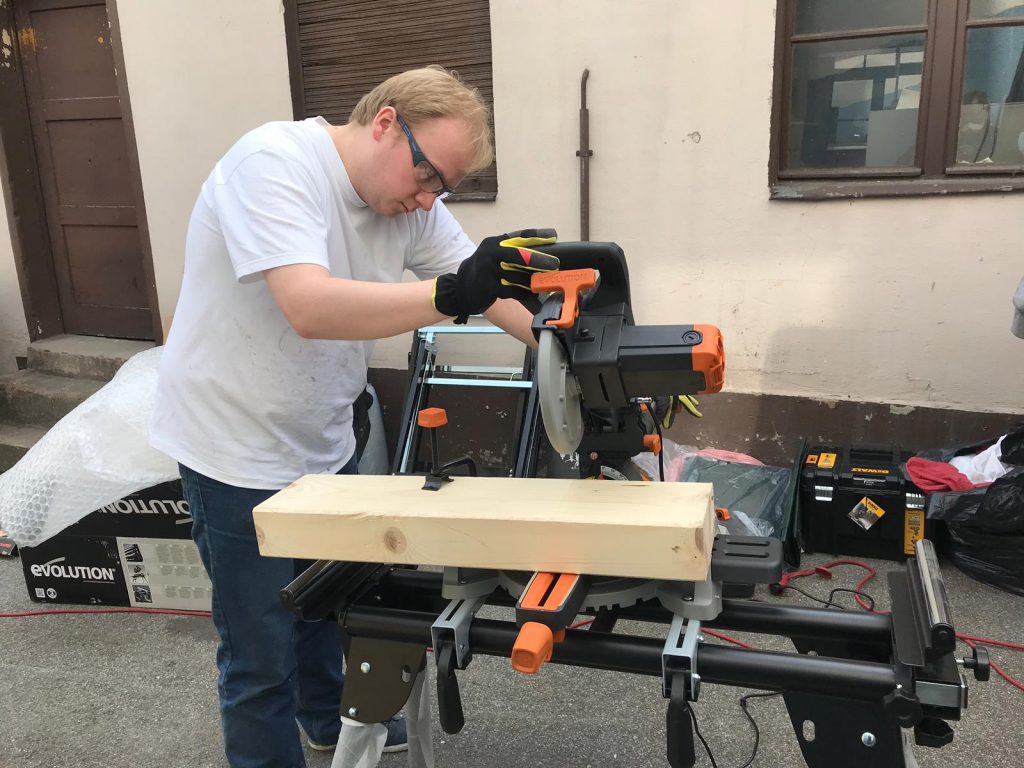
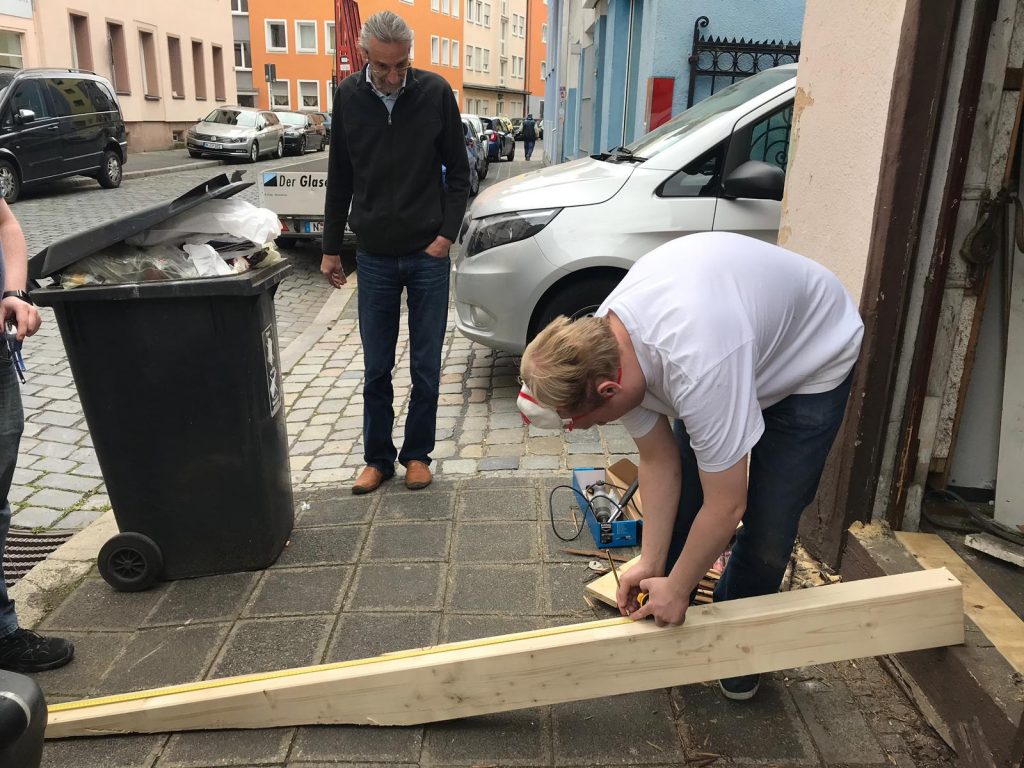
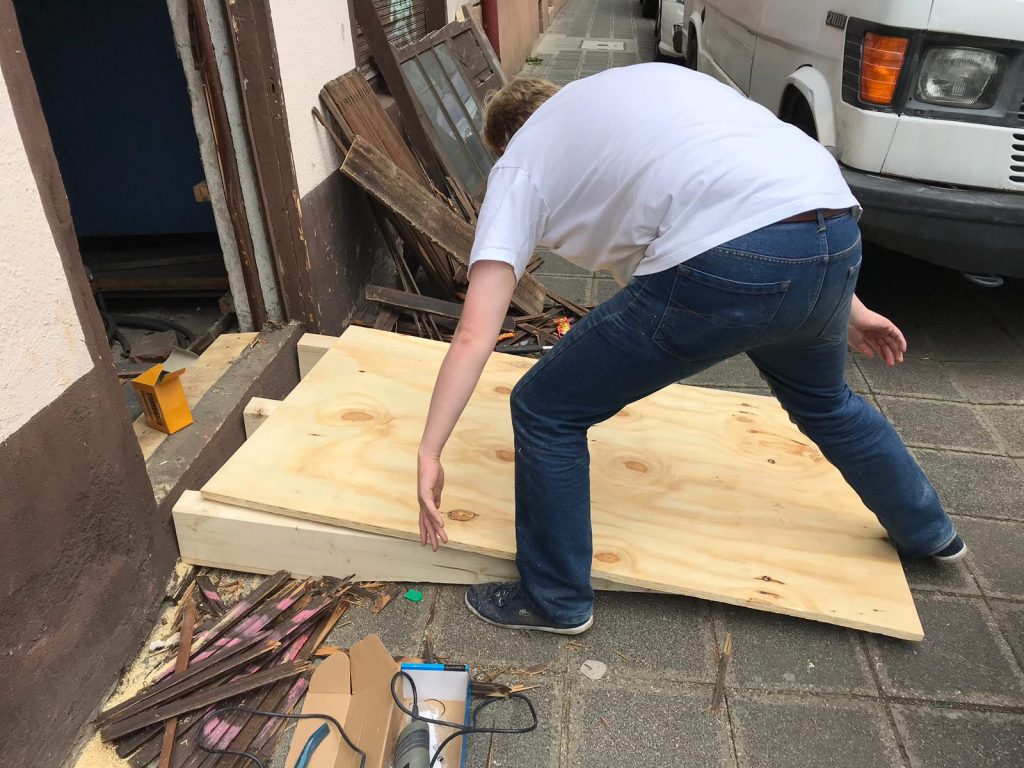
We needed to construct a ramp capable of taking the weight of the machine and peripherals
We needed to secure the building again
We needed to un-cable the machine and eventually recover the cables from under the floor
We decided the best way to tackle this was to fill a van with tools in the UK and drive to Nuremberg, stopping at our favourite shop (Bauhaus) on the way to acquire the wood which we would use to construct the ramp and secure the building.
As such, we set about trying to find a van to hire. On a bank holiday weekend. As a 24 year old. Driving to mainland Europe. Turns out that’s harder than we’d hoped! To compound the issue, Chris was potentially unable to come due to prior work commitments and as such it could have just been me (Adam) heading over by myself.
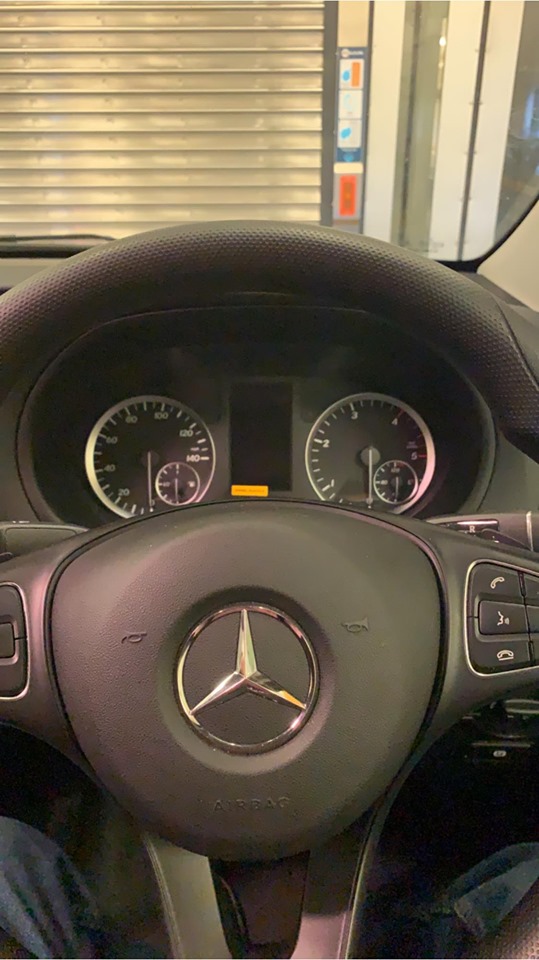
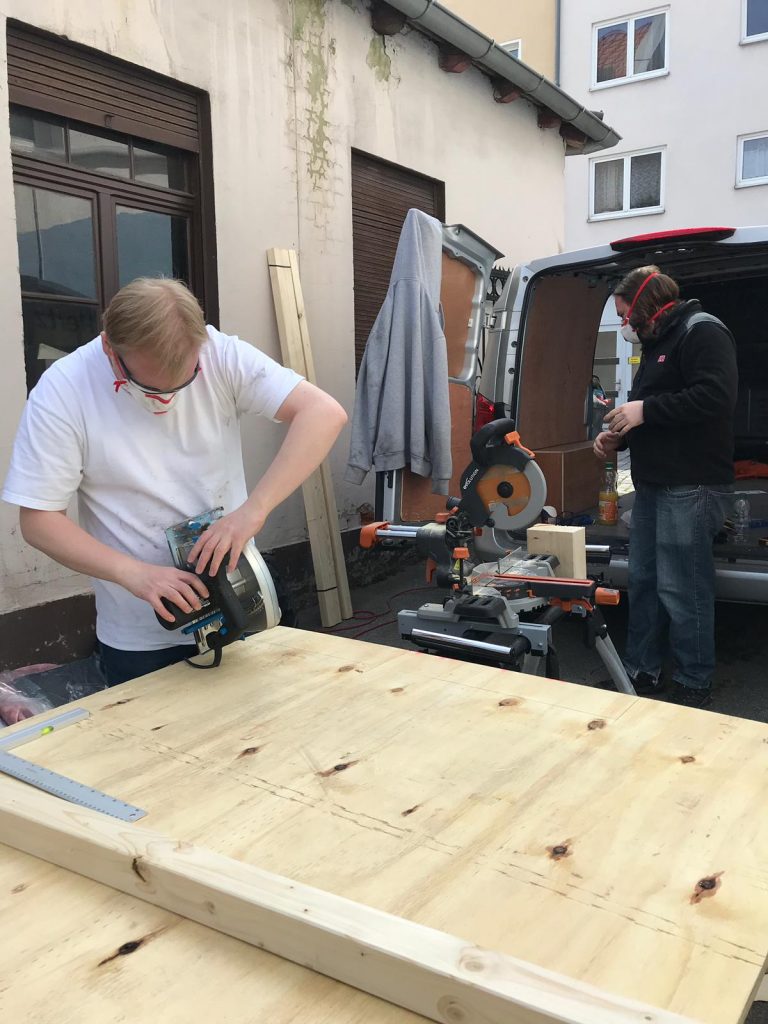
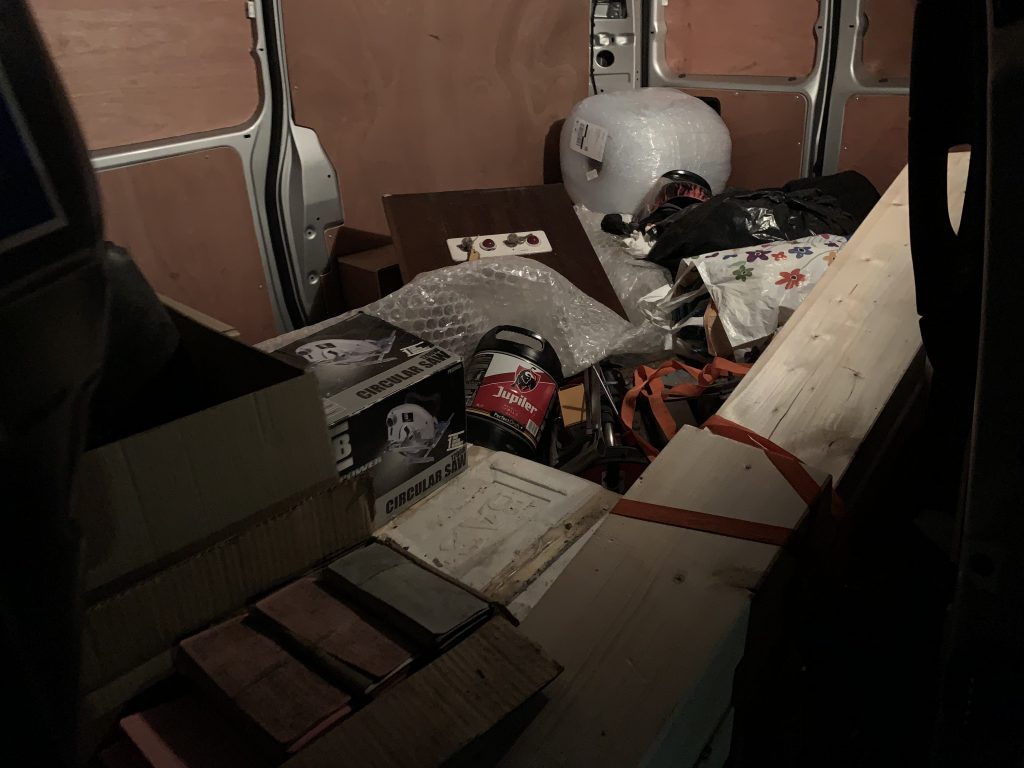
I tried every hire firm, they either wanted horrendous amounts of money or simply wouldn’t rent to me. The last one I checked was Hertz, thinking there was of course no way a national chain would do such a thing – oh how happily wrong I was! Hertz happily rented me a van (with a young driver surcharge) and provided the required European vehicle on hire form for a set fee of £77. No complaints! So, on the Saturday prior to our departure on the Monday we collected a Mercedes Vito 116 CDI from Hertz and proceeded to fill it with all the tools we thought we’d require. Everything from rip saws and head torches to a Mitre saw, circular saw, drills, impact drivers, reciprocal saws, you name it. Monday morning rolled around, I collected Chris at 3:30AM and we headed down to the Euro Tunnel. We cleared customs with no issue and managed to jump on an earlier train.
Packing the van
Just a few tools!
On the Chunnel
We drove from Calais to Nuremberg without much issue, just a bit of traffic around Brussels and Frankfurt – the usual choke points on this route. We stoped in Köln at the Bauhaus there to buy some wood. We thought the Bauhaus in Nuremberg was impressive – this place was enormous! It literally had a drive in shop! We drove the van in and, with some language difficulties, managed to eventually acquire the required wood. With our wallets around 370 Euros lighter (and a load of wood wedged in the van) we continued on our journey.
We arrived at our AirBNB at around 18:30 to a warm greeting from our host and a very pleasant apartment. Despite the fact that we were both running on fumes at this point we decided to head into town for Schnitzel and beer at our favourite restaurant in Nuremberg – Restaurant Oberkrainer. We stayed for a couple before collapsing into bed to rest for the following day.
We awoke fairly early on the Tuesday morning and drove to the local Bauhaus to pick up the things we’d forgotten – namely a set of set squares, some more masks, a knife, and a couple of other bits. We then headed to the location of the machine promptly for 9AM – the time we’d agreed to meet our Auction house contact and Photographer Extraordinaire, Günter Hiller. We arrived and didn’t spare a minute in getting started – the first thing we had to do was get access to the front door, the shutter was totally jammed so we took some crow bars to it:
With the shutter out of the way we could get access to the door. As I previously mentioned this door hadn’t been opened for well over 3, if not 4, decades! The key was long lost, and we couldn’t open it anyway due to the raised floor behind it. As such we took some tools to it:
Now the door was off we could get a good idea of what we were dealing with. The first thing we discovered is that the front step is concrete – that’s not coming out then! Theres a big gap between the false floor and the step. I quickly knocked up a bit of wood with some supports and used it to plug the gap. Next, we needed to look at the ramp. It is at this point I should say that neither Chris nor I are Carpenters. I find wood to be, at best, a frustrating medium to work with. I’ll weld and fabricate metal all day, but wood… well lets just say it’s not my favourite! Still, I’ll turn my hand to most things so we had a good go.
We knocked up a quick drawing of how the ramp should look and at what angle it should be. We then took to cutting our first support and testing it:
We made a couple of minor miscalculations, but nothing we couldn’t sort out. We then set to making another two supports identical to the first (Well, close to it!):
We added some connecting supports between the struts which I don’t have photos of, and then we added the top to the ramp:
We tested the ramp using the time honoured method. Chris and I jumped up and down on it for a bit and then just decided that it was probably alright. Nice.
The next job was to make the building secure again now we’d removed the door. This was accomplished using a 3 step method. Firstly, an internal board was cut and fitted around the fixed hinges, then screwed to the frame inside the building:
Then some supporting blocks were screwed into the board and the frame on the outside:
Then, finally, a piece of OSB was added over the top and screwed into the blocks, the frame, and the board behind:
Now the building was secure again, we could focus on trying to de-cable the machine. We had been semi-dreading this. This machine has been connected up for a long time and the cables are, at this point, around 54 years old. To make it even better, they’re wedged under a very low false floor. Fun.
Anyway, despite a number of seized connectors requiring plusgas to free up the threaded collars, we got most of what we could unplugged. We’ll have to remove some of the totally un-cabled machines first in order to lift the floor and trace the rest of the cables to their origin points to facilitate their safe removal. This is a job for the moving days. We ensured to tag as many of the cables and connectors as we could feasibly do so we have a reference as to where the cables went.
Once we’d done as much as we could we headed outside to clear up the mess from earlier. We also grabbed all of the manuals and uncatalogued disk packs as we could. Then we packed up.
Whilst browsing through the manuals, we made an incredible find. We thought these manuals were just operator manuals, but no! They’re Field Engineering manuals for the machine! These are almost literal gold dust. We brought them back to the UK with us and are currently looking for a Wide Format Scanner with which to scan them.
Having packed up and driven back to the AirBNB, Chris and I agreed that more Schnitzel and beer was required. Back to our favourite restaurant!
Unfortunately Chris had to catch a flight from Munich to London the next morning to make a couple of meetings whilst I was driving back alone. As such when the morning rolled around Chris headed off and I packed up to leave. The night before we’d just thrown the stuff in the van and it was in no state for an Autobahn trip, as such I emptied the van in the quiet German street on which we were staying and re-organised the contents ensuring to secure everything appropriately. I had brought back some of the wood with me, which would only fit in the van diagonally. I wasn’t keen on this so I spent 15 minutes sawing it in half, much to the general confusion and amusement of the passing locals.
At around 9:30 I departed Nuremberg for Calais (via Carrefour in Belgium). I stopped at the aforementioned Carrefour to stock up on Belgian beer and then drove the long slog to Calais. I got the 22:50 train back to the UK and then drove home (despite the M25 being shut and being redirected around the south-circular), arriving home around 2AM, having covered 681 miles in 13 hours and 48 minutes. The total round trip mileage was 1341.3 Miles. Not bad!
We’re headed back on Wednesday to make the big move. Stay tuned!
The collective thoughts of the interwebz
Manage Consent
To provide the best experiences, we use technologies like cookies to store and/or access device information. Consenting to these technologies will allow us to process data such as browsing behavior or unique IDs on this site. Not consenting or withdrawing consent, may adversely affect certain features and functions.
Functional
Always active
The technical storage or access is strictly necessary for the legitimate purpose of enabling the use of a specific service explicitly requested by the subscriber or user, or for the sole purpose of carrying out the transmission of a communication over an electronic communications network.
Preferences
The technical storage or access is necessary for the legitimate purpose of storing preferences that are not requested by the subscriber or user.
Statistics
The technical storage or access that is used exclusively for statistical purposes.The technical storage or access that is used exclusively for anonymous statistical purposes. Without a subpoena, voluntary compliance on the part of your Internet Service Provider, or additional records from a third party, information stored or retrieved for this purpose alone cannot usually be used to identify you.
Marketing
The technical storage or access is required to create user profiles to send advertising, or to track the user on a website or across several websites for similar marketing purposes.