Post Syndicated from original https://www.backblaze.com/blog/how-to-build-a-hard-drive-a-factory-tour/
I am a sucker for a factory tour. I marvel with wide-eyed wonder as I watch how pieces and parts get created, assembled, and tested into something you can recognize and use. Whether it’s making beer or cars—sign me up. So, when Seagate Technology offered me a chance to tour their hard drive prototyping facility in Longmont, Colorado, I was powerless to resist. After all, I’d get to see how they prototype the process for building hard drives before they scale to full production. As a bonus, I also got to see their reliability lab and to talk with them about how they perform fault analysis on failed drives, but I’ll save those topics for a future post. For now, put on your lab coat and follow me to Longmont, the tour is starting.
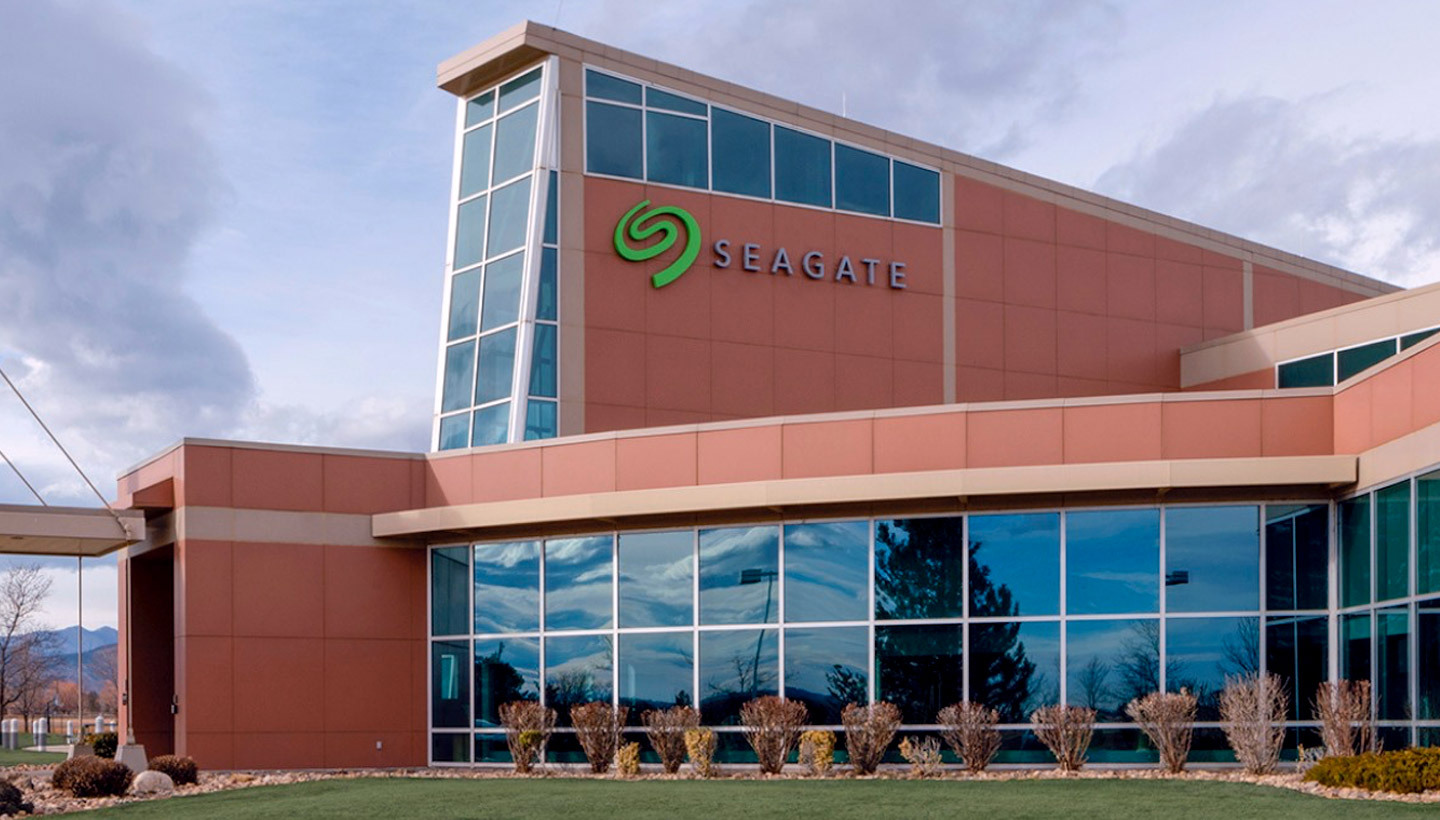
Welcome to Longmont
Over the past 40 years, Longmont, Colorado has been home to multiple hard drive manufacturers. This accounts for the hard drive-related talent that lives in this pastoral community where such skills might otherwise be hard to find. Longmont has also come a long way from the brick shipping days of MiniScribe in the 80s to today’s ultra-sophisticated factories like the Seagate facility I have been invited to tour.
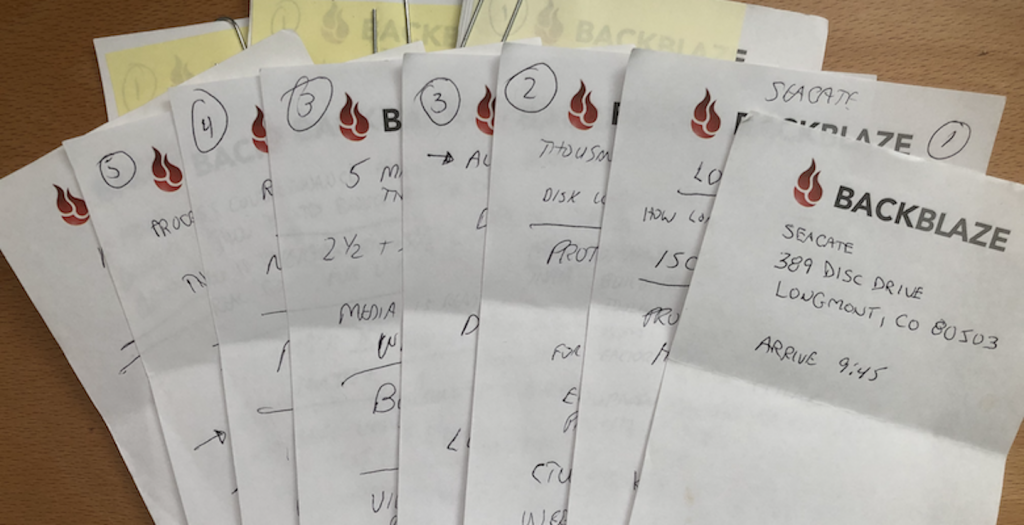
I arrive at the front desk with appointment confirmation in hand—you can’t just show up. I present appropriate credentials, electronically sign a non-disclosure agreement, get my picture taken, receive my badge—escort only—and wait for the host to arrive. I’m joined by my Backblaze colleague, Ariel, our senior director of supply chain, and a few minutes later our host arrives. Before we start, we get the rules: No pictures, in fact devices such as cell phones and tablets have to be put away. I’ll take notes, which I’ll do on my 3×5 Backblaze notepad.
The Prototyping Line
The primary functions of the prototyping line are to define, optimize, and standardize the build processes, tooling, and bill of materials needed for the mass production of hard drives by various Seagate manufacturing facilities around the globe. In addition, the prototyping line is sometimes used to test the design and assembly of new hard drive components.
- The casing.
- The platter (for storing data).
- The spindle (for spinning the platters).
- The head stack assembly comprised of:
- The read/write arm and heads (to read and write data).
- The actuator (for controlling the actions of the read/write arm).
- Circuit board(s) and related electronics.
The prototyping line is a single assembly line comprised of stations that perform the various functions needed to build a hard drive—actually, many different models of 3.5in hard drives. Individual stations decide whether or not to operate on the drive based on the routing assigned to the drive. A given station can be used all of the time to do the same thing, used all the time to do a variation of the task, or used some of the time. For example, installing a serial number is done for every drive; installing drive platters is done for every drive, but can vary by the number of platters to be installed; and installing a second actuator is only required for those drives with dual actuators.

A Seagate employee likened the process to a one-way salad bar: All salads being made pass through the same sequence of steps, but not every salad gets every ingredient. As you travel down the salad bar line, you will always get several common ingredients such as a tray, a plate, a fork, lettuce, and so on. And while you always get salad dressing, you may get a different one each time. Finally, there are some ingredients like garbanzo beans or broccoli that you will never get, but the person behind you making their own salad will.
Just like a salad bar line, the prototyping line is designed to be configured to handle a large number of permutations when building a hard drive. This flexibility is important as Seagate introduces new technologies which may require changes to stations or even new stations to be created and integrated into the line.
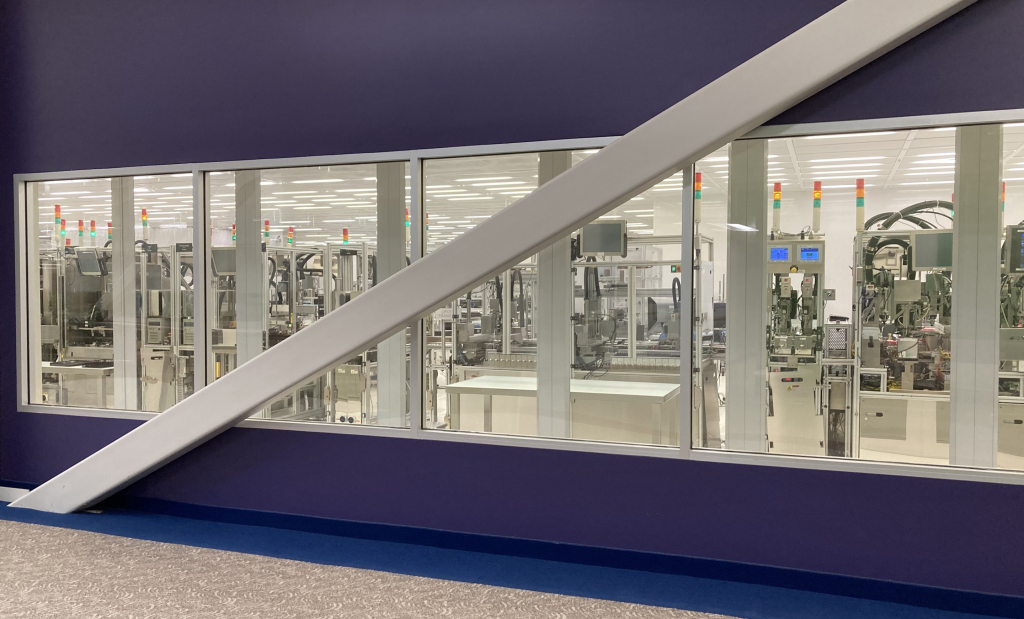
At first blush, assembling a hard drive is nothing more than a series of incremental steps accomplished in a precise order. But there are multiple layers at work here. At the first station, we can see the simple task of picking up a motor base assembly (aka a baseplate) from a storage bin and placing it correctly on the conveyor belt to the next station. We can see the station perform perhaps 20 visibly discrete operations to accomplish this task: Move the pickup arm to the left, open the pickup mechanism, lower the arm, close the pickup mechanism around the baseplate, and so on. Beyond what we can see, for each movement of the station, there are electro-mechanical components driving those observable operations, and many operations we don’t readily see. And beyond that, controlling the components, are layers of firmware, software, and machine code orchestrating the 20 or so simple movements we do see. As we slowly shuffle from window to window gawking at each station performing its specific task, a hard drive of amazing complexity emerges in front of our eyes.
Finally, the prototyping line is used from time-to-time to assist in and validate design and build decisions. For example, the assembly line could be used to inform on the specific torque used on a fastener to determine torque retention over thermal/altitude cycles. In another example, the prototyping line could be used to assess cleanliness and manufacturability as a function of the material selected for a particular component.
Facts About the Longmont Line
- The Longmont prototyping line is the longest Seagate assembly line. This is because the line needs to be able to assemble a variety of different drive models whereas a factory-based assembly line only needs to assemble one or two models at a time.
- The Longmont prototyping line assembles 3.5in hard drives. The prototyping line for their 2.5in drives is in their Minnesota facility.
- All of the stations on the line are designed by Seagate.
- All of the software used to control the stations is designed and built by Seagate.
- All of the stations in the cleanroom are modular and can be pulled from the line or moved to a different position in the assembly sequence if needed.
- On average, it takes about five minutes for a drive to make its way through the entire line.
- The floor is built upon a unique pier design to help minimize the transfer of vibrations from machine to machine and from people to machines.
Beyond the Line
As we reach the end of windows and the cleanroom, you might assume our tour is done. Au contraire, there’s another door. A badge swipe and we enter into a large room located just after the cleanroom. We are in the testing room. To understand what happens here, let’s take a step back in the process.
One of the primary functions of the prototyping line is to define the build process for use by factories around the world. Let’s say the line is prototyping the build of 500 drives of model XYZ. One of the last steps in the assembly process is to attach the process drive cover to enclose the drive components, and in our example, our model XYZ drives are filled with helium and sealed. Once the assembly process is complete, the drives are moved from the cleanroom to the testing room.
The most striking feature of the testing room is that it contains row after row of what appear to be little black boxes, stacked 40 to 50 high. Visually, each row looks like a giant wall of post office boxes.
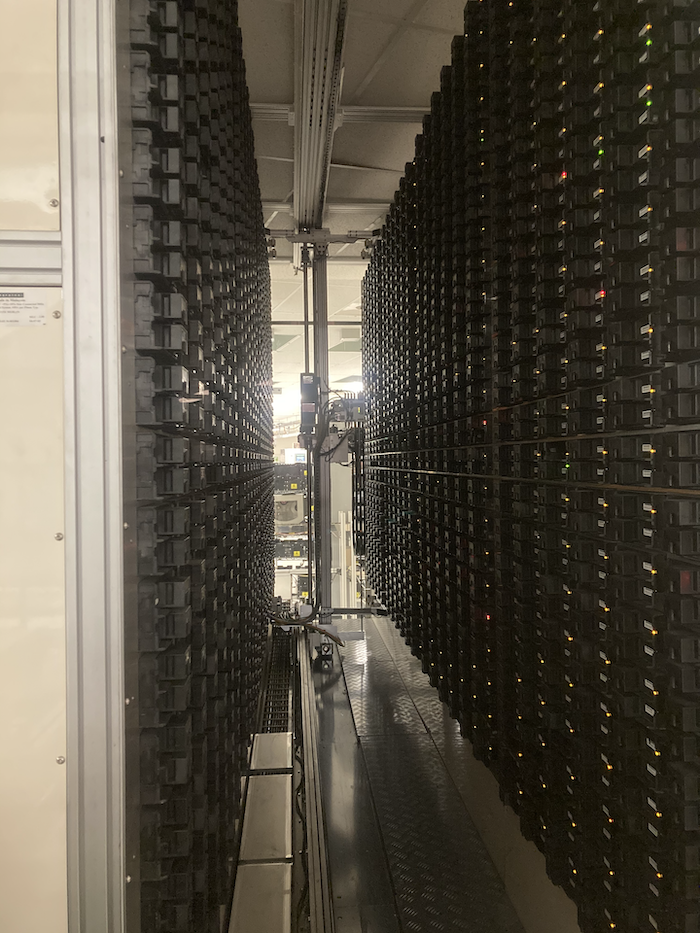
Each post office box is a testing unit and holds one 3.5in hard drive. Inside each box are connections for a given drive model which, once connected, can run predefined test scenarios to exercise the drive inside. Load the firmware, write some data, read some data, delete some data, repeat, all while the drives are monitored to see if they are performing as expected. Easy enough, but there’s more. Each testing box can also control the temperature inside. Based on the testing plan, the temperature and test duration are dialed-in by the testing operator and testing begins. Testing in this manner typically runs for a couple of weeks and thousands of drives can be tested during this time with different tests being done on different groups of drives.
Once this first round of testing is complete on our model XYZ drives, a review is done to determine if they qualify to move on—too many failures during testing and it’s back to the proverbial drawing board, or at least the prototyping stage. Assuming our model XYZ drives pass the muster, they move on. At that point, the final cover is installed over the top of the process cover and the drives which contain helium are leak tested. All drives are then returned to the post office boxes for a quick round of testing. If everything goes according to plan, then model XYZ is ready for production—well, maybe not. The entire process, from assembly to testing, is repeated multiple times with each round being compared to the previous rounds to ensure consistency.
What happens to all the drives that Longmont produces? Good question. If they fail during the assembly process, the process engineer in charge of the product, who is usually on the cleanroom floor during the assembly process, steps in. Many issues can be fixed on the spot and the assembly process continues, but for some failures a design issue is the culprit. In that case the assembly process is stopped, and the feedback is passed back to the designers so they can correct the flaw. The same is basically true for drives which fail the testing process, the design engineers are informed of the results and can review the analytics compiled from the testing boxes.
If a given cohort of drives is successfully assembled and passes their testing plan, they could be sent to specific customers as testing units, or used for firmware testing, or be sent to the reliability lab, or they could just be recycled. The hard drives produced on the Longmont prototyping line are not production units, that’s where the factories come in.
Mass Quantities
Once Seagate is satisfied that the prototyping line can consistently produce hard drives which meet their qualifications, it is time to roll out the line to its factories. More accurately, a given factory will convert one or more of its lines to build the new product (model). To do this, they incorporate the processes developed and tested on the Longmont prototyping line, including any physical, firmware, and software changes to the various stations in the factory which will assemble the new product. On rare occasions, new stations are introduced and others are removed, but a majority of the time the factory is updating existing equipment as noted. Depending on the amount of change to the factory line, it can take anywhere from a couple of days to a couple of weeks to get the line up and running to produce drives which meet the standards defined by the prototyping line we just toured in Longmont. To make sure those standards are met, each factory has thousands upon thousands of testing boxes to test each drive coming off the factory assembly line. Only after they pass the predefined testing protocol are they shipped to distribution centers and, eventually, customers.
Next Up: The Reliability Lab
That’s the end of the tour today, next time we’ll wander through the Seagate reliability lab also at Longmont to see what happens when you heat, drop, fling, vibrate, and otherwise torture a hard drive. Good times.
Author’s Note: I wish to thank Robert who made this tour happen in the first place, Kent, Gregory, Jason, and Jen who were instrumental in reviewing this material to make sure I had it right, and the other unnamed Seagate folks who helped along the way. Thank you all.
The post How to Build a Hard Drive: A Factory Tour appeared first on Backblaze Blog | Cloud Storage & Cloud Backup.