Tag Archives: Other Raspberry Pi Products

Four new products: IQaudio is now Raspberry Pi

Post Syndicated from Roger Thornton original https://www.raspberrypi.org/blog/iqaudio-is-now-raspberry-pi/

We’re delighted to round off 2020 by welcoming four of the most popular IQaudio products to the Raspberry Pi fold. DAC+, DAC Pro, DigiAMP+, and Codec Zero will all be available to buy via our network of Raspberry Pi Approved Resellers.

We’ve had a busy 2020 here at Raspberry Pi. From the High Quality Camera to 8GB Raspberry Pi 4 to Compute Module 4 and Raspberry Pi 400, this year’s products have been under development for several years, and bringing them to market required us to build new capabilities in the engineering team. Building capabilities, rather than money or engineer time, is the real rate-limiting step for introducing new Raspberry Pi products.

One market we’ve never explored is hi-fi audio; this is a world unto itself, with a very demanding customer base, and we’ve never felt we had the capabilities needed to offer something distinctive. Over time, third parties have stepped in with a variety of audio I/O devices, amplifiers, and other accessories.

IQaudio

Founded by Gordon and Sharon Garrity together with Andrew Rankin in 2015, IQaudio was one of the first companies to recognise the potential of Raspberry Pi as a platform for hi-fi audio. IQaudio products are widely used by hobbyists and businesses (in-store audio streaming being a particularly popular use case). So when the opportunity arose to acquire IQaudio’s brand and product line late last year, we jumped at it.

Today we’re relaunching four of the most popular IQaudio products, at new affordable price points, via our network of Raspberry Pi Approved Resellers.
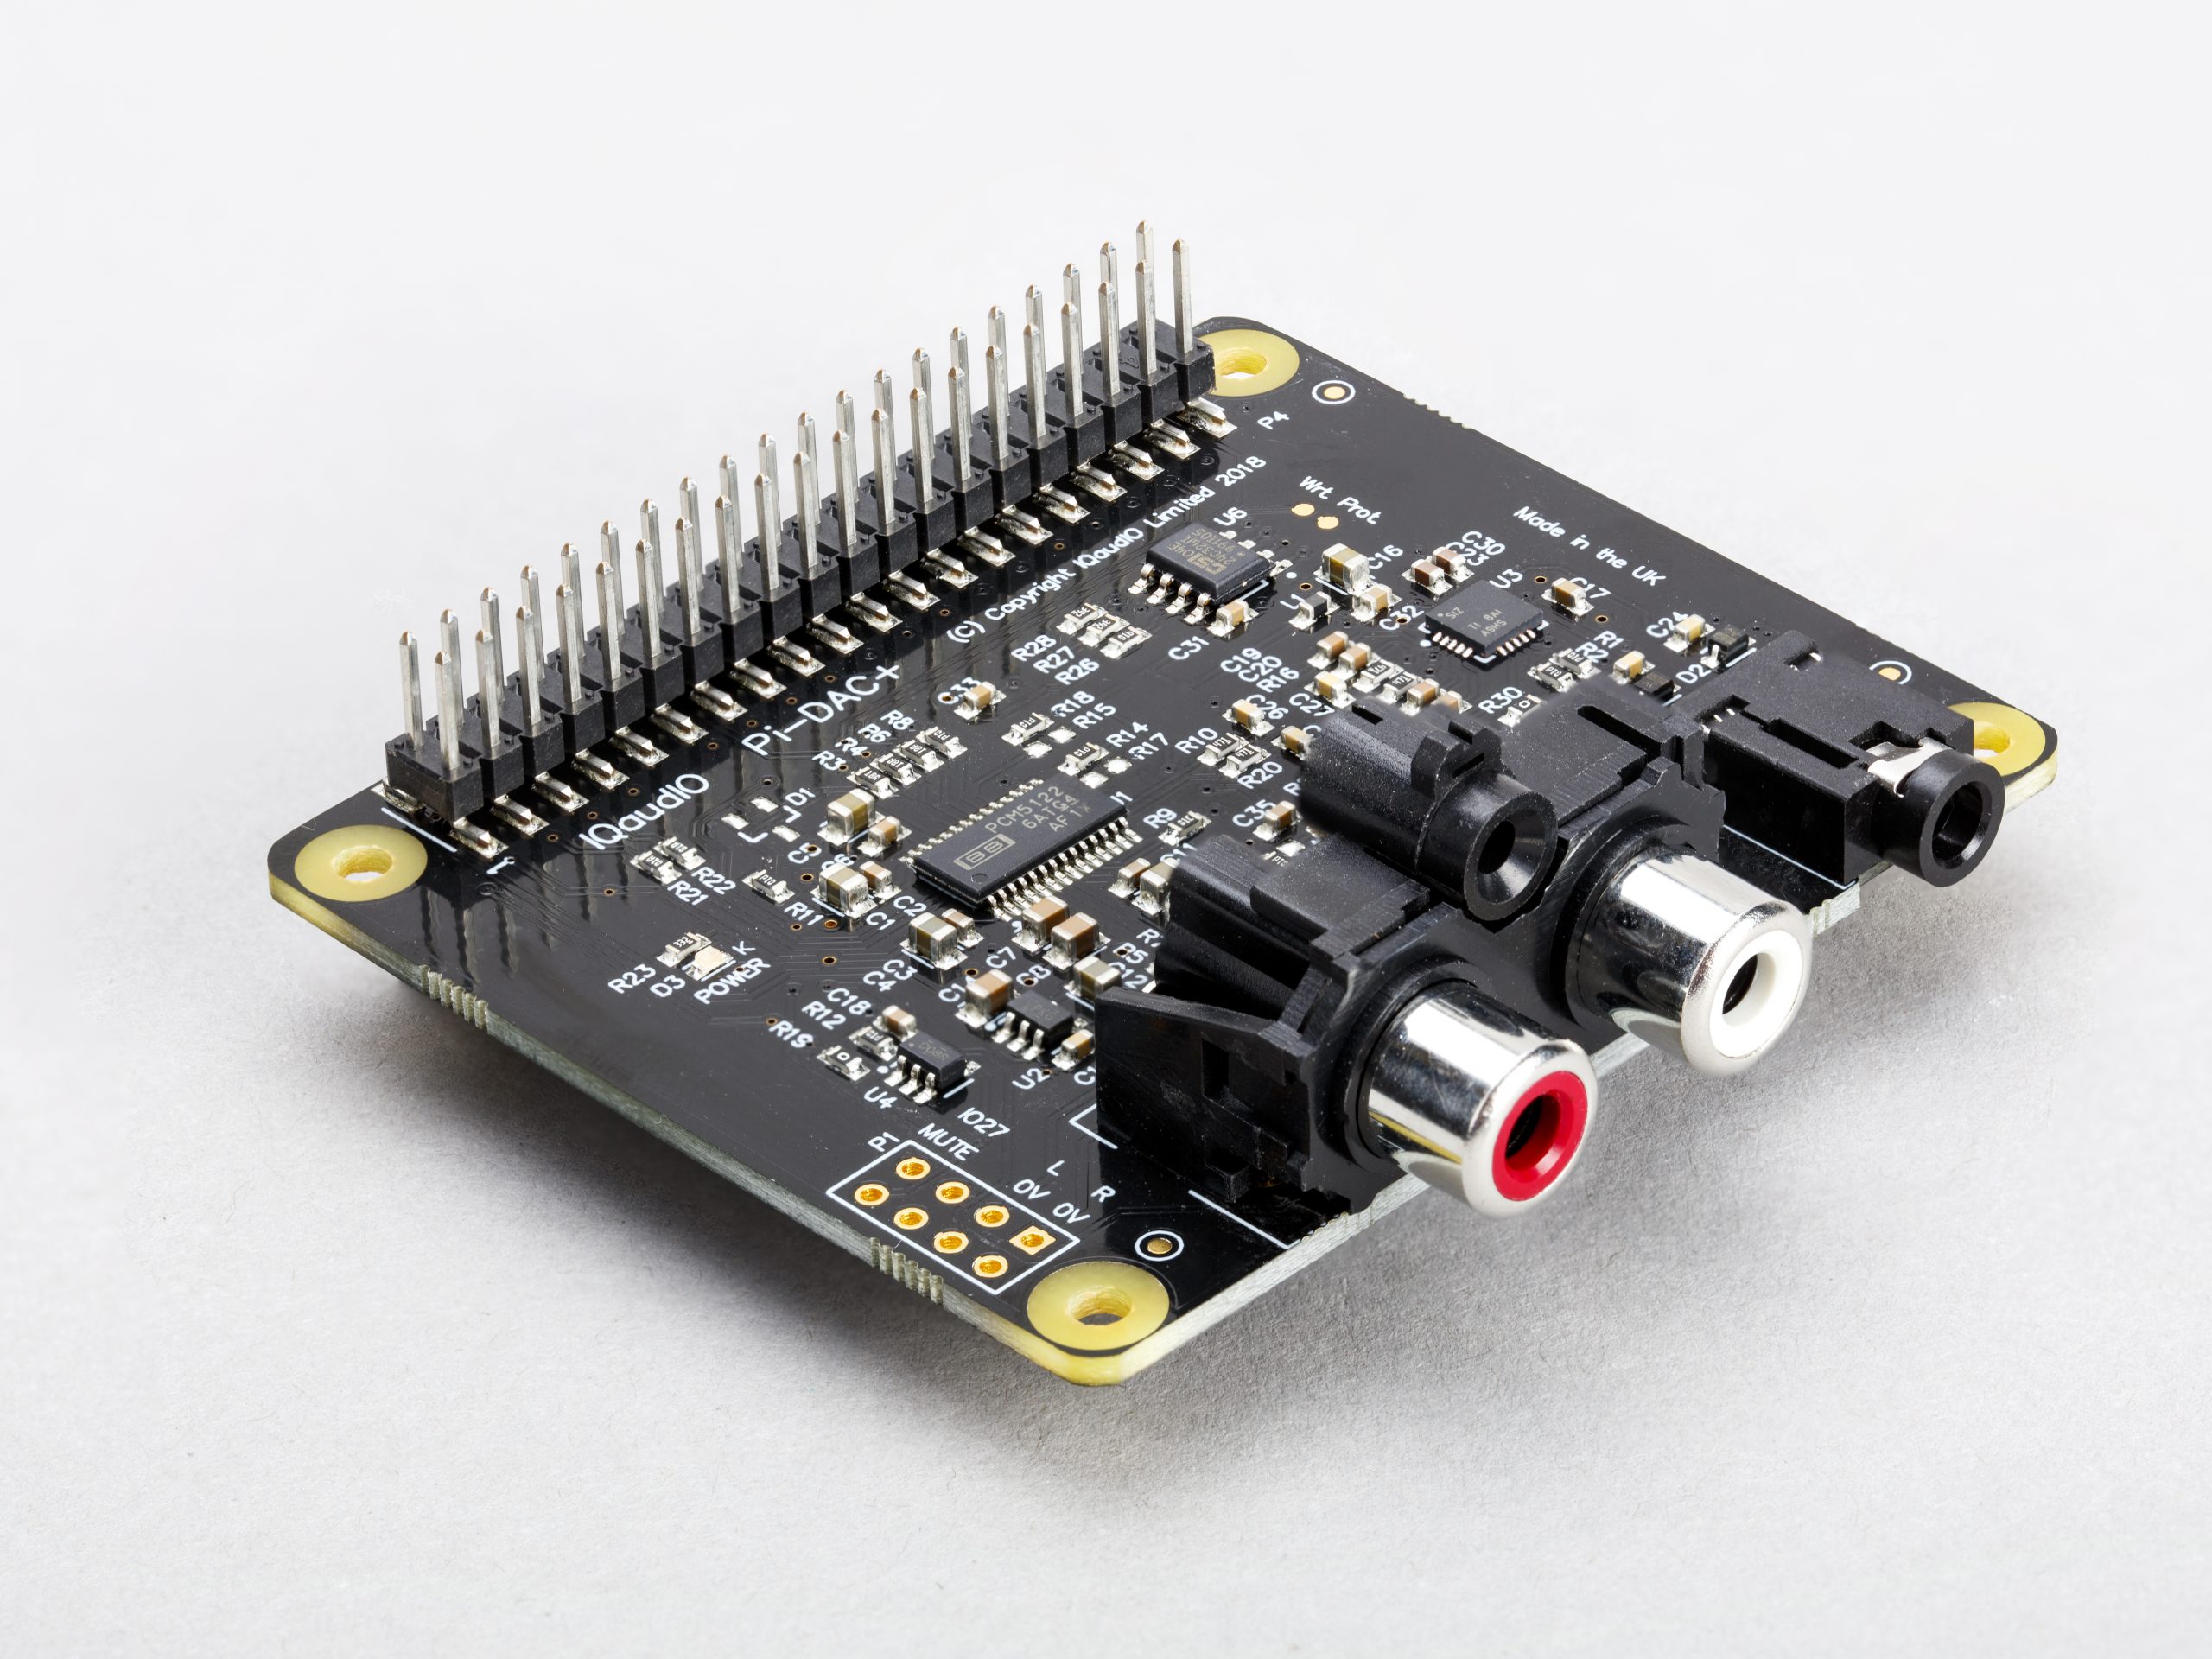
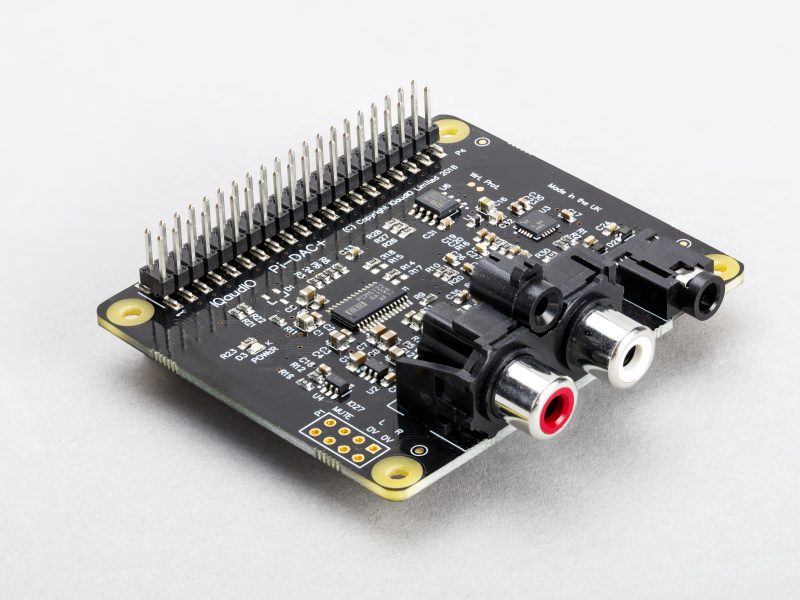
IQaudio DAC+

Priced at just $20, DAC+ is our lowest-cost audio output HAT, supporting 24‑bit 192kHz high-resolution digital audio. It uses a Texas Instruments PCM5122 DAC to deliver stereo analogue audio to a pair of phono connectors, and also provides a dedicated headphone amplifier.
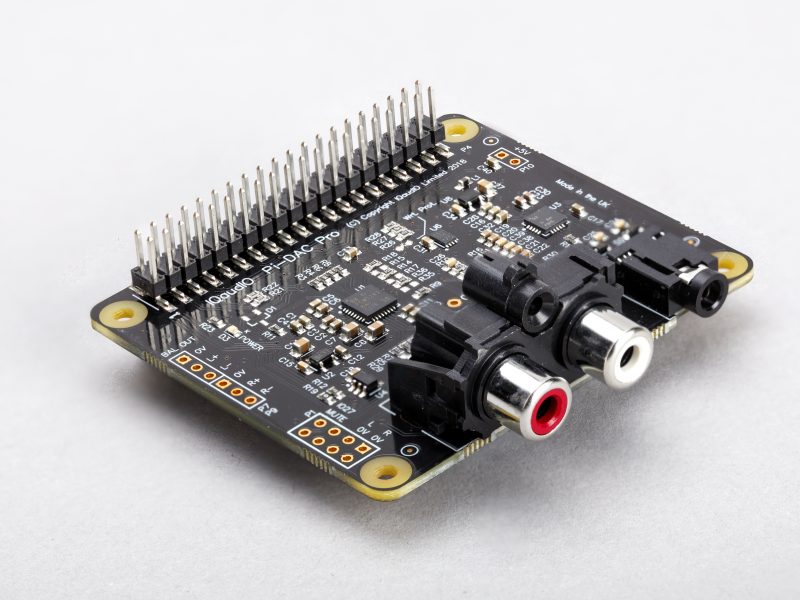
IQaudio DAC+ HAT

IQaudio DAC Pro

Priced at $25, DAC Pro is our highest-fidelity audio output HAT. It supports the same audio input formats and output connectors as DAC+, but uses a Texas Instruments PCM5242 DAC, providing an even higher signal-to-noise ratio.

IQaudio DAC Pro HAT

In combination with an optional daughter board (due for relaunch in the first quarter of 2021), DAC Pro can support balanced output from a pair of XLR connectors.
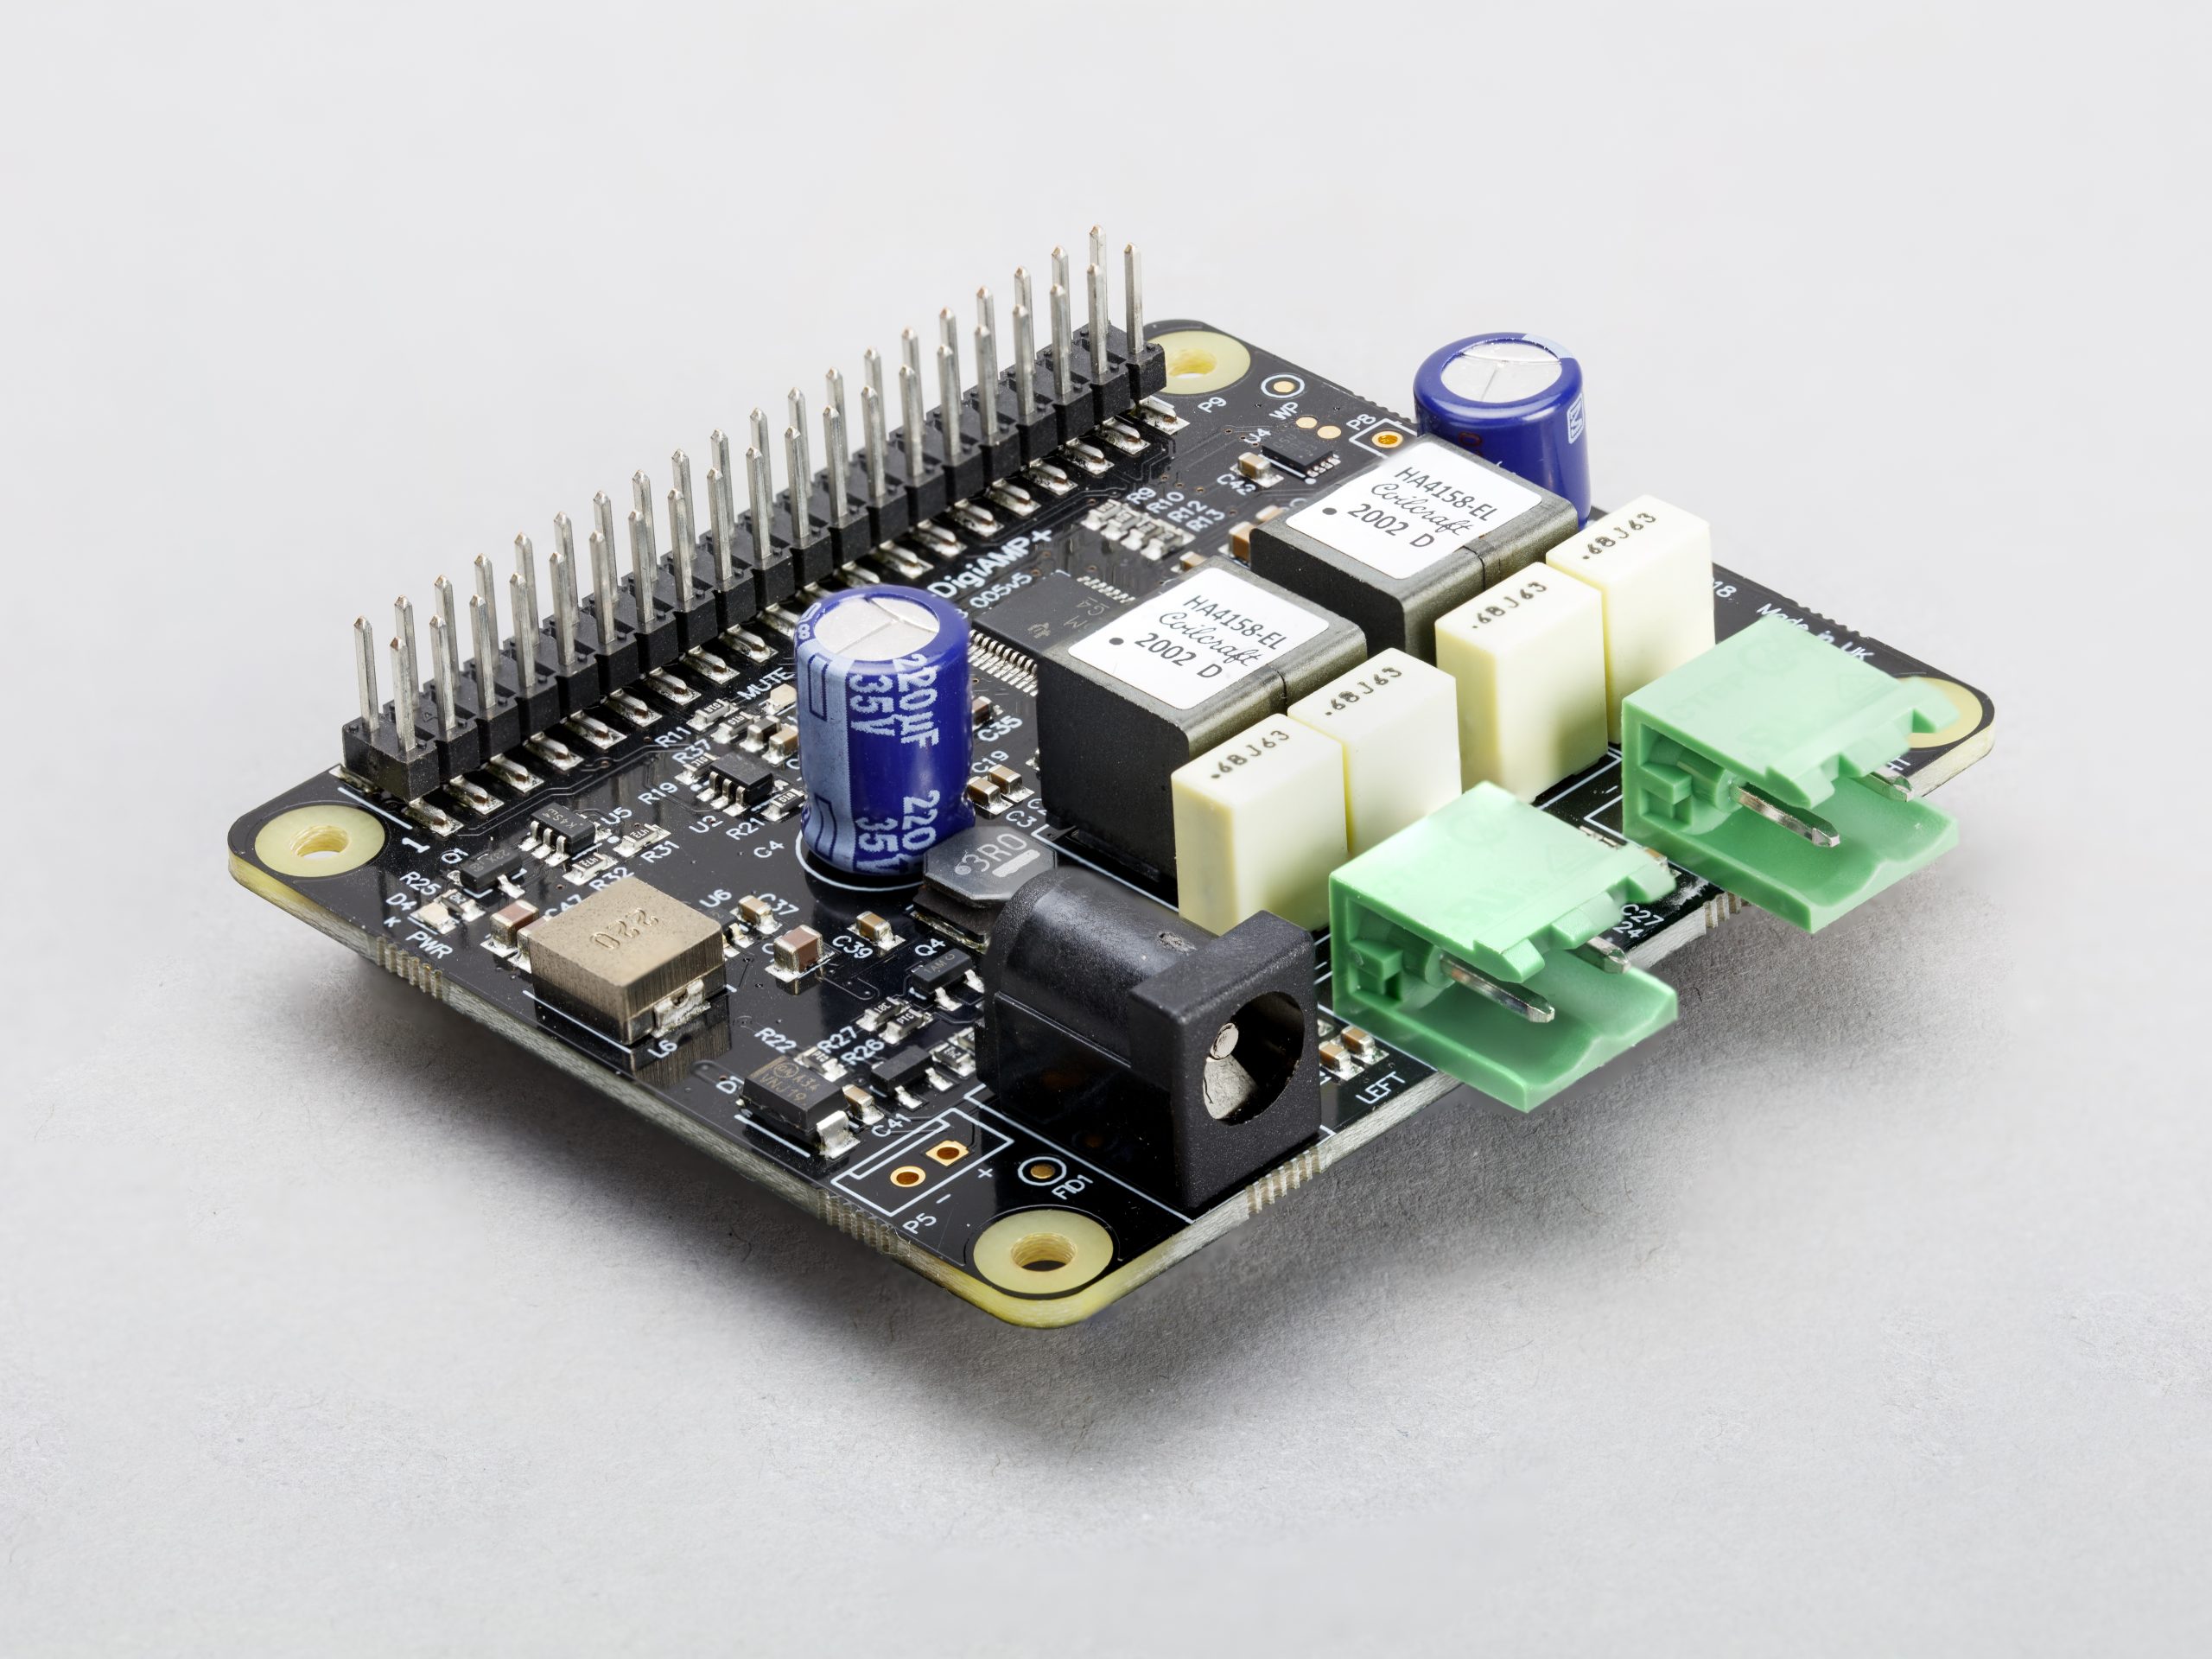
IQaudio DigiAMP+

Where DAC+ and DAC Pro are designed to be used with an external amplifier, DigiAMP+ integrates a Texas Instruments TAS5756M digital-input amplifier directly onto the HAT, allowing you to drive a pair of passive speakers at up to 35W per channel. Combined with a Raspberry Pi board, it’s a complete hi-fi that’s the size of a deck of cards.

IQaudio DigiAMP+ HAT

DigiAMP+ is priced at $30, and requires an external 12-21V 3A DC power supply, sold separately. XP Power’s VEC65US19, available here and here, is a suitable supply.

IQaudio Codec Zero

Codec Zero is a $20 audio I/O HAT, designed to fit within the Raspberry Pi Zero footprint. It is built around a Dialog Semiconductor DA7212 codec and supports a range of input and output devices, from the built-in MEMS microphone to external mono electret microphones and 1.2W, 8 ohm mono speakers.

IQaudio Codec Zero HAT

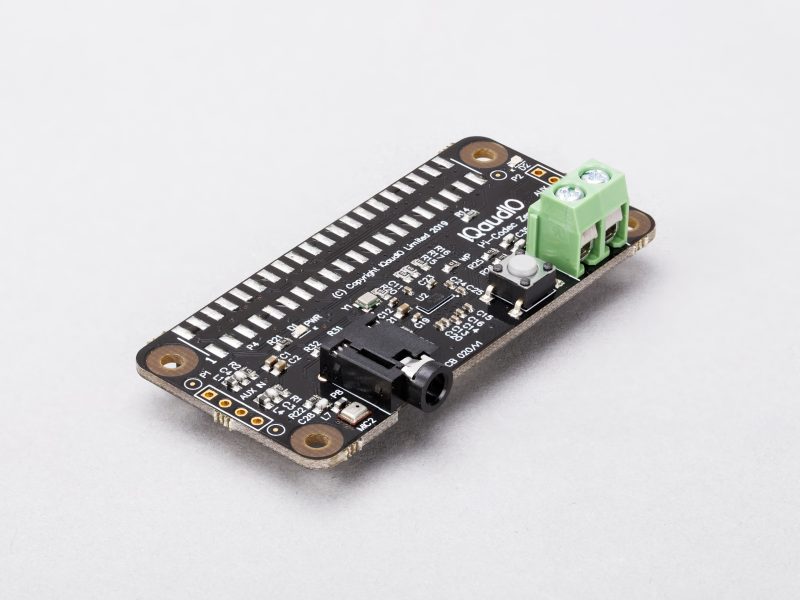
Unlike the other three products, which are in stock with our Approved Resellers now, Codec Zero will ship early in the New Year.

So there you have it. Four (nearly) new Raspberry Pi accessories, just in time for Christmas – hop over and buy yours now. This is the first time we’ve brought third-party products into our line-up like this; we’d like to thank the team at IQaudio for their help in making the transition.

The post Four new products: IQaudio is now Raspberry Pi appeared first on Raspberry Pi.

Designing the Raspberry Pi Case Fan

Post Syndicated from original https://www.raspberrypi.org/blog/designing-the-raspberry-pi-case-fan/

When I first investigated inserting a fan into the standard Raspberry Pi case there were two main requirements. The first was to keep the CPU cool in all usage scenarios. The second was to reduce or eliminate any changes to the current case and therefore avoid costly tool changes.

The case fan and heatsink

As I had no experience developing a fan, I did what all good engineers do and had a go anyway. We had already considered opening the space above the Ethernet connector to create a flow of air into the case. So, I developed my first prototype from a used Indian takeaway container (I cleaned it first), but the below card version was easier to recreate

The first prototype

Input port over the Ethernet connector
Air duct taped into the top of the case

The above duct is what remains from my first effort, the concept is relatively simple, draw air in over the Ethernet port, and then drive the air down onto the CPU. But it wasn’t good enough, running CPU-burn on all four cores required a fan which sounded like it was about to take off. So I spoke to a professional who did some computational fluid dynamics (CFD) analysis for us.

It’s a kind of magic

CFD analysis of a cross section of the case

CFD analysis takes a 3D description of the volume and calculates a simulation of fluid flow (the air) through the volume. The result shows where the air moves fastest (the green and red areas)

What this showed us is the position of the fan is important since the fastest moving bit of air is actually quite far from the centre of the processor, also:

Bulk analysis of the air flow through the case

The picture above shows how most of the moving air (green and red) is mainly spinning around inside the fan. This happens because there is a pressure difference between the input and output sides of the fan (the sucky end and the blowy end). Fans just don’t work well that way, they are most efficient when unrestricted. I needed to go back to the drawing board. My next experiment was to add holes into the case to understand how much the airflow could be changed.

Improving airflow

Holes
More holes!

After running the tests with additional holes in both the lid and the base I concluded the issue wasn’t really getting air unrestricted in and out of the case (although the holes did make a small difference) but the effect the air duct was having on restricting the flow into the fan itself. Back to the drawing board…

During a long run in the fens, I thought about the airflow over the Ethernet connector and through the narrow duct, wondering how we can open this up to reduce the constriction. I realised it might be possible to use the whole ‘connector end’ of the case as the inlet port.

The breakthrough

My first cardboard ‘bulkhead’

Suddenly, I had made a big difference… By drawing air from around the USB and Ethernet connectors the lid has been left un-modified but still achieves the cooling effect I was looking for. Next was to reduce the direction changes in the air flow and try to make the duct simpler.

The bulkhead

The cardboard bulkhead does exactly what you need to do and nothing more. It separates the two halves of the case, and directs the air down directly at the processor. Using this design and the heatsink, I was able to achieve a cooling capable of easily running the cpuburn application but with an even smaller (quieter) fan.

The next job is to develop a plastic clip to attach the fan into the lid. That’s where our friends at Kinneir Dufort came in. They designed the injection moulded polycarbonate that makes an accurate interface with the Raspberry Pi’s PCB. The ‘bulkhead’ clips neatly into the slots in the lid, almost like it was planned!

The Raspberry Pi Case Fan has been developed with an advanced user in mind. It allows them to use the Raspberry Pi at its limits whilst retaining the unique finished exterior of the Raspberry Pi Case.

For those who love a good graph, here are the temperature results during a quad-core compile of the Linux kernel, as demonstrated in Eben’s launch post on Monday.

Buy your Raspberry Pi 4 Case Fan today

Raspberry Pi Case Fan is available from our Raspberry Pi Approved Resellers. Simply head over to the Case Fan page and select your country from the drop-down menu.

The post Designing the Raspberry Pi Case Fan appeared first on Raspberry Pi.

New product: Raspberry Pi 4 Case Fan

Post Syndicated from original https://www.raspberrypi.org/blog/new-raspberry-pi-4-case-fan/

Today we’re launching a stocking-filler product to help you squeeze more performance out of your Raspberry Pi 4. The $5 Raspberry Pi 4 Case Fan clips inside the lid of the Official Case, and keeps your Raspberry Pi 4 cool even when running the heaviest workloads, at the most aggressive overclocks.

Raspberry Pi 4 power optimisation

Like all electronic products, Raspberry Pi generates waste heat as it works. Along with most fanless products – like most mobile phones – Raspberry Pi 4 was originally designed to operate in a “sprint-and-recover” mode: if run at maximum performance for an extended period it would heat up, and eventually throttle back to limit its temperature.

What’s in the box?

In practice, the power optimisation work that we’ve done over the last eighteen months has largely eliminated throttling for an uncased board, operating at the stock clock frequency of 1.5GHz, and in a typical ambient temperature.

Here’s a graph of temperature during a quad-core compile of the Linux kernel: you can see the temperature barely exceeds 70C.

Quad-core kernel compile without case

Turning your Raspberry Pi “up to eleven”

But maybe you want to put your Raspberry Pi in a case; or you’ve noticed that your Raspberry Pi will overclock to 1.8GHz or more; or you want to use it in a higher ambient temperature. All of these things can put us back in sprint-and-recover mode.

Here’s the same workload running on a board in a Raspberry Pi official case: now we hit the 80C throttle point and slow down, and the compile job takes (slightly) longer to complete.

Quad-core kernel compile in Raspberry Pi 4 Official Case

To run indefinitely at full speed under these conditions you’ll need either a passive cooling solution (like the excellent Flirc case), or an active one like the Raspberry Pi 4 Case Fan. It draws air in over the USB and Ethernet connectors, passes it over a small finned heatsink attached to the processor, and exhausts it through the SD card slot. Here’s our workload running with the case fan: now the board remains well below 70C, and as expected the compile job takes the same amount of time as on the uncased board.

Gordon Hollingworth will be here on Wednesday to talk about how he designed the Raspberry Pi 4 Case Fan ducting with the aid of a stack of Chinese takeout boxes and a glue gun. 

Get your Raspberry Pi 4 Case Fan today

As with all our products, the Raspberry Pi Case Fan is available from our Raspberry Pi Approved Resellers. Simply head over to the Case Fan page and select your country from the drop-down menu.

If your country isn’t on the list yet, don’t worry, we’re constantly working to add further countries and resellers to the list. Until then, check out some of our Approved Resellers that offer international shipping.

The post New product: Raspberry Pi 4 Case Fan appeared first on Raspberry Pi.