Post Syndicated from Ben Solomon original https://blog.cloudflare.com/grinch-bot/

This week, a group of US lawmakers introduced the Stopping Grinch Bots Act — new legislation that could stop holiday hoarders on the Internet. This inspired us to put a spin on a Dr. Seuss classic:
Each person on the Internet liked Christmas a lot
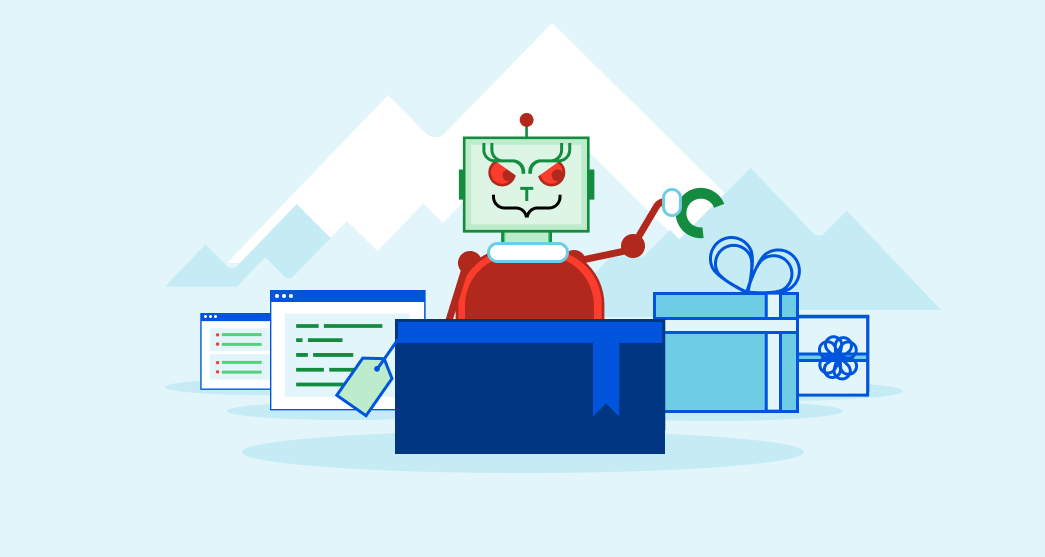
But the Grinch Bot, built by the scalper did not!
The Grinch Bot hated Christmas! The whole Christmas season!
Now, please don’t ask why. No one quite knows the reason.

Cloudflare stops billions of bad bots every day. As you might have guessed, we see all types of attacks, but none is more painful than a Grinch Bot attack. Join us as we take a closer look at this notorious holiday villain…
25 days seconds of Christmas
What is the Grinch Bot? Technically speaking, it’s just a program running on a computer, making automated requests that reach different websites. We’ve come to refer to these requests as “bots” on the Internet. Bots move quickly, leveraging the efficiency of computers to carry out tasks at scale. The Grinch Bot is a very special type that satisfies two conditions:
- It only pursues online inventory, attempting to purchase items before humans can complete their orders.
- It only operates during the holiday season.
Now, attackers use bots to perform these tasks all year long. But in these winter months, we like to use the term “Grinch Bot” as seasonal terminology.
The Grinch Bot strikes first around Black Friday. It knows that the best discounts come around Thanksgiving, and it loves to get a good deal. Exclusive items are always the first to go, so attackers use the Grinch Bot to cut every (virtual) line and checkpoint. Cloudflare detected nearly 1.5 trillion bot requests on Black Friday. That’s about half of all our traffic; but more on this in a bit.
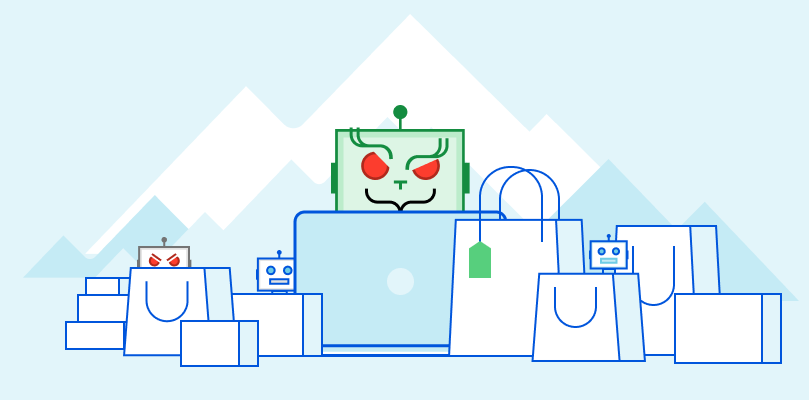
The Grinch Bot strikes again on Cyber Monday. As shoppers find gifts for their loved ones, bots are ten steps ahead — selecting “add to cart” automatically. Many bots have payment details ready (perhaps even stolen from your account!).
The Grinch Bot will buy 500 pairs of Lululemon joggers before you even get one. And it’ll do so in seconds.
Nearly 44% of traffic comes from bad bots
The Grinch Bot has friends working throughout the year, putting pressure on security teams and moving undetected. 43.8% of Internet traffic comes from these bots. When the holidays arrive, the Grinch Bot can ask its friends how to attack the largest sites. They have already been testing tactics for months.

In response, many sites block individual IP addresses, groups of devices, or even entire countries. Other sites use Rate Limiting to reduce traffic volume. At Cloudflare, we’ve advocated not only for Rate Limiting, but also for a more sophisticated approach known as Bot Management, which dynamically identifies threats as they appear. Here’s a look at bot traffic before the holidays (1H 2021):

When we looked at bot traffic on Black Friday, we found that it had surged to nearly 50%. Cloudflare Radar showed data close to 55% (if you want to include the good bots as well). Businesses tell us this is the most vulnerable time of the year for their sites.
Over 300 billion bots…
Bots are highly effective at scale. While humans can purchase one or two items within a few minutes, bots can purchase far more inventory with little effort.
During the year, Cloudflare observed over 300 billion bots try to “add to cart.” How did we find this? We ran our bot detection engines on every endpoint that contains the word “cart.” Keep in mind, most bots are stopped before they can even view item details. There are trillions of inventory hoarding bots that were caught earlier in their efforts by our Bot Management and security solutions.
Even worse, some bots want to steal your holiday funds. They skip the ecommerce sites and head right for your bank, where they test stolen credentials and try to break into your account. 71% of login traffic comes from bots:

Bots operate at such an immense scale that they occasionally succeed. When this happens, they can break into accounts, retrieve your credit card information, and begin a holiday shopping spree.
Deck the halls with JS Challenges
We hate CAPTCHAs almost as much as we hate the Grinch Bot, so we built JS challenges as a lightweight, non-interactive alternative:
Not surprisingly, we issue more JS Challenges when more bots reach our network. These challenges are traditionally a middle ground between taking no action and completely blocking requests. They offer a chance for suspicious looking requests to prove their legitimacy. Cloudflare issued over 35 billion JS Challenges over the shopping weekend.
Even more impressive, however, is the number of threats blocked around this time. On Black Friday, Cloudflare blocked over 150 billion threats:
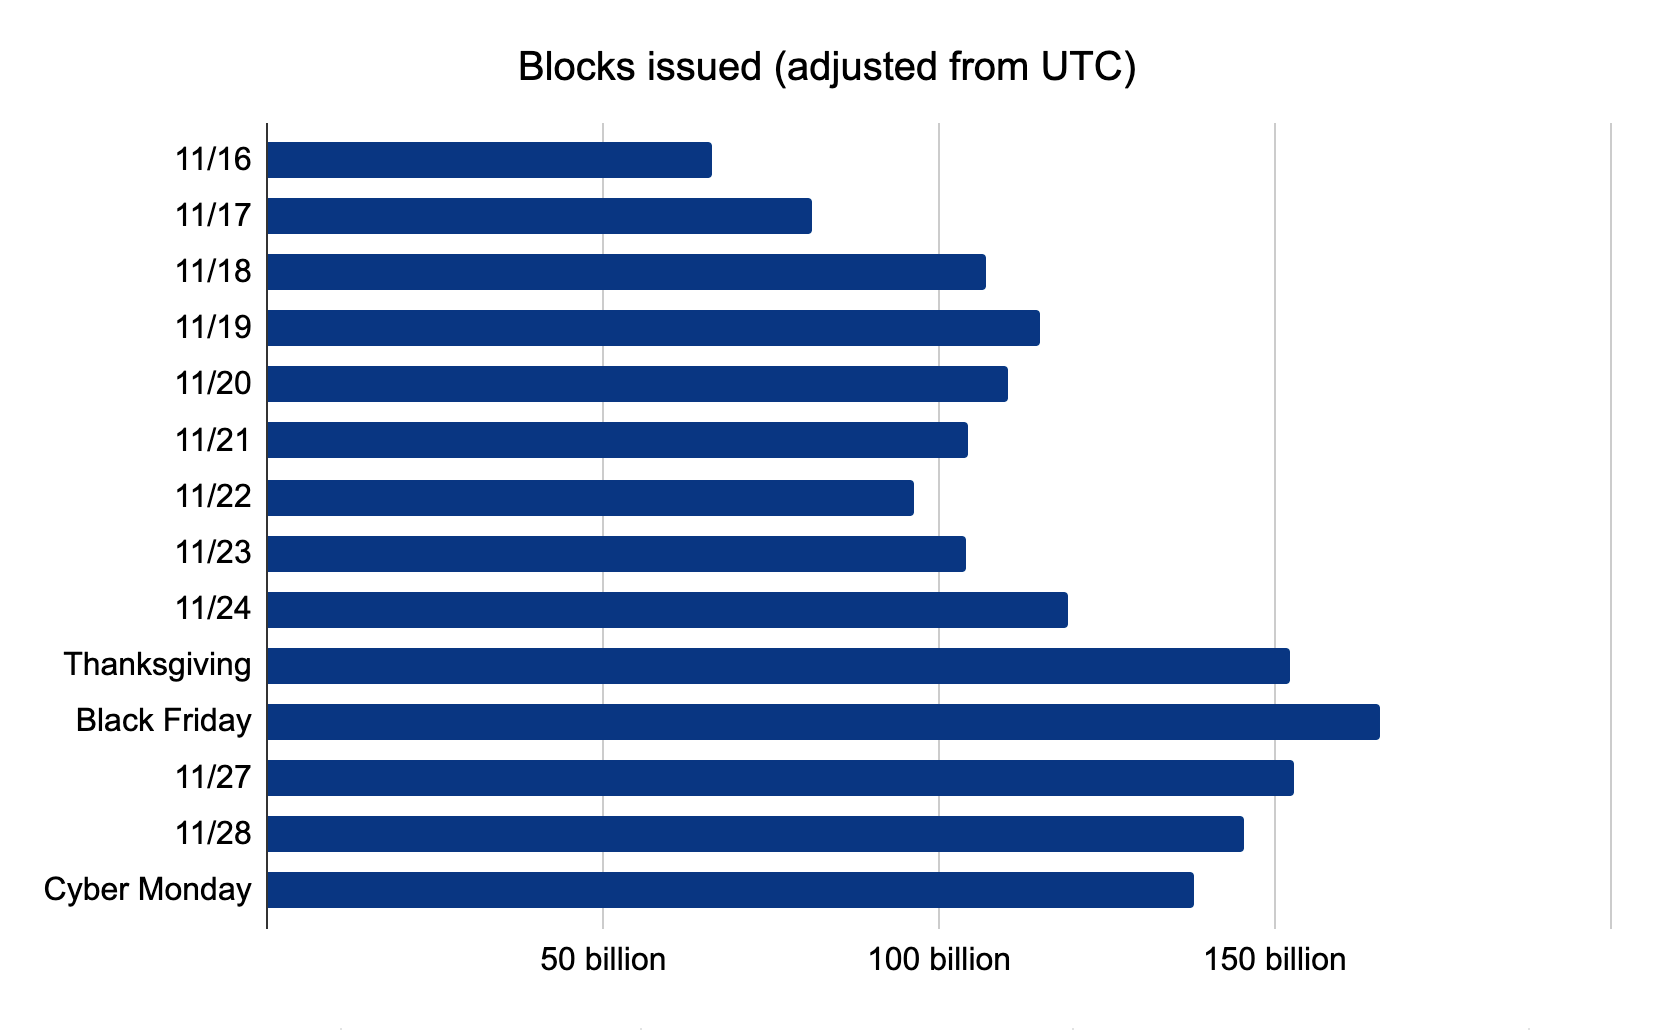
While we expected the Grinch Bot to make its move on Friday, we did not expect it to recede as it did on Cyber Monday. Bot traffic decreased as the shopping weekend continued. We like to think the Grinch Bot spent its time furiously trying to avoid blocks and JS Challenges, but eventually gave up.
Saving the Internet (and Christmas)
While large retailers can afford to purchase bot solutions, not every site is so fortunate. We decided to fix that.
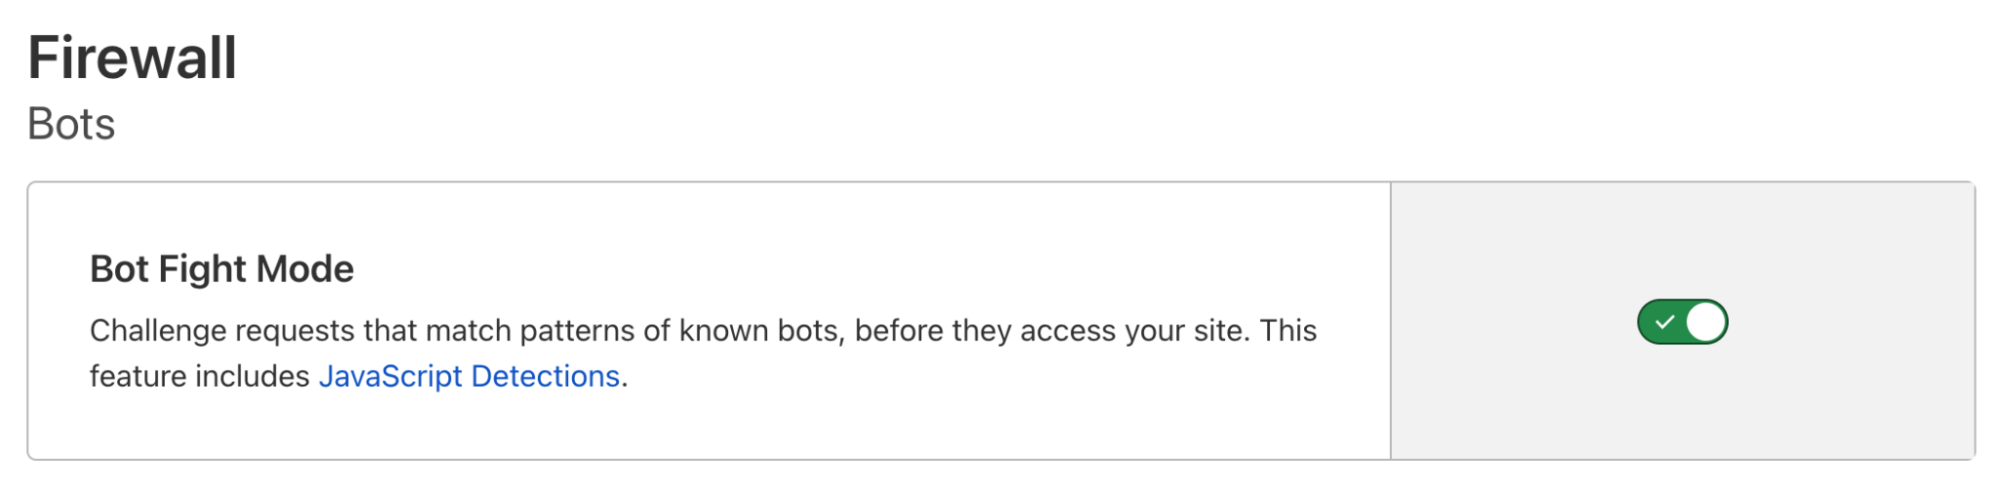
Cloudflare’s Bot Fight Mode is a completely free tool that stops bots. You can activate it with one click, drawing on our advanced detection engines to protect your site. It’s easy:
And Bot Fight Mode doesn’t just stop bots — it makes them pay. We unleash a tarpit challenge that preoccupies each bot with nonsense puzzles, ultimately handing bot operators a special gift: a massive server bill. We even plant trees to offset the carbon emissions of these expensive challenges. In fact, with so many bots stopped in the snow, there’s really just one thing left to say…
Every person on the Internet, the tall and the small,
Called out with joy that their shopping didn’t stall!
He hadn’t stopped Christmas from coming! It came!
Somehow or other, it came just the same!
And the Grinch Bot, with his grinch feet ice-cold in the snow,
Stood puzzling and puzzling. “How could it be so?”