Post Syndicated from Abe Carryl original https://blog.cloudflare.com/ridiculously-easy-to-use-tunnels/

A little over a decade ago, Cloudflare launched at TechCrunch Disrupt. At the time, we talked about three core principles that differentiated Cloudflare from traditional security vendors: be more secure, more performant, and ridiculously easy to use. Ease of use is at the heart of every decision we make, and this is no different for Cloudflare Tunnel.
That’s why we’re thrilled to announce today that creating tunnels, which previously required up to 14 commands in the terminal, can now be accomplished in just three simple steps directly from the Zero Trust dashboard.
If you’ve heard enough, jump over to sign-up/teams to unplug your VPN and start building your private network with Cloudflare. If you’re interested in learning more about our motivations for this release and what we’re building next, keep scrolling.
Our connector
Cloudflare Tunnel is the easiest way to connect your infrastructure to Cloudflare, whether that be a local HTTP server, web services served by a Kubernetes cluster, or a private network segment. This connectivity is made possible through our lightweight, open-source connector, cloudflared. Our connector offers high-availability by design, creating four long-lived connections to two distinct data centers within Cloudflare’s network. This means that whether an individual connection, server, or data center goes down, your network remains up. Users can also maintain redundancy within their own environment by deploying multiple instances of the connector in the event a single host goes down for one reason or another.
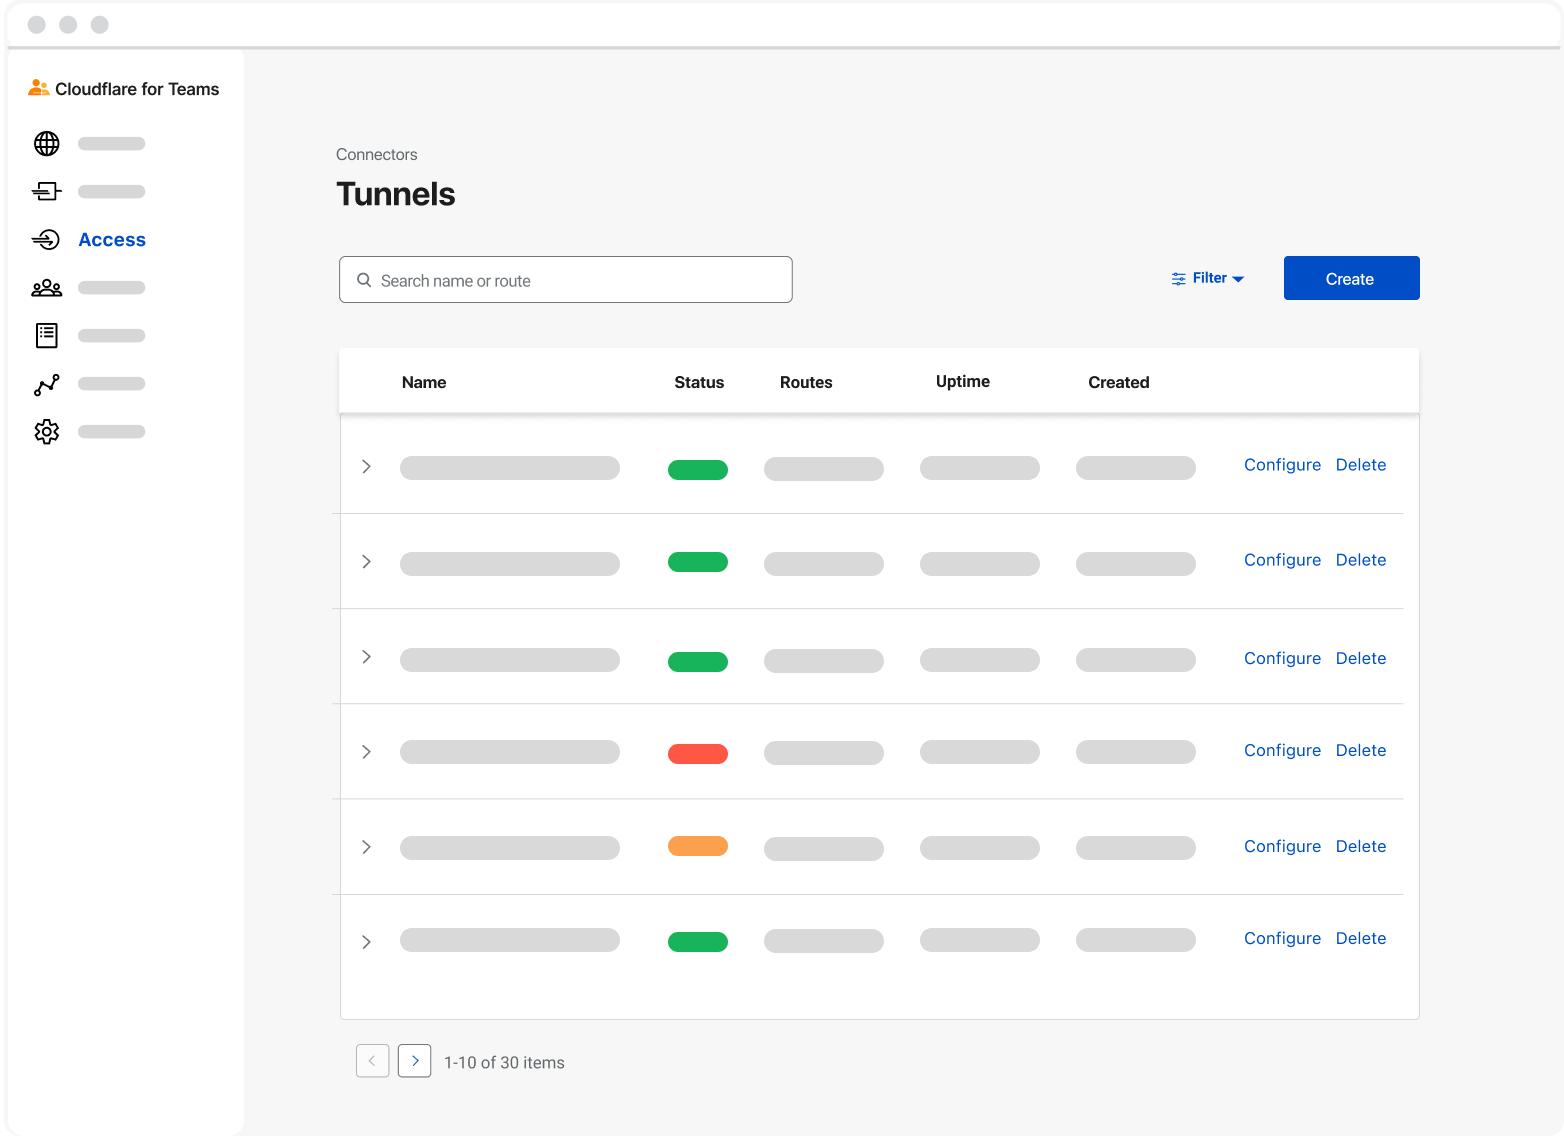
Historically, the best way to deploy our connector has been through the cloudflared CLI. Today, we’re thrilled to announce that we have launched a new solution to remotely create, deploy, and manage tunnels and their configuration directly from the Zero Trust dashboard. This new solution allows our customers to provide their workforce with Zero Trust network access in 15 minutes or less.
CLI? GUI? Why not both
Command line interfaces are exceptional at what they do. They allow users to pass commands at their console or terminal and interact directly with the operating system. This precision grants users exact control over the interactions they may have with a given program or service where this exactitude is required.
However, they also have a higher learning curve and can be less intuitive for new users. This means users need to carefully research the tools they wish to use prior to trying them out. Many users don’t have the luxury to perform this level of research, only to test a program and find it’s not a great fit for their problem.
Conversely, GUIs, like our Zero Trust dashboard, have the flexibility to teach by doing. Little to no program knowledge is required to get started. Users can be intuitively led to their desired results and only need to research how and why they completed certain steps after they know this solution fits their problem.
When we first released Cloudflare Tunnel, it had less than ten distinct commands to get started. We now have far more than this, as well as a myriad of new use cases to invoke them. This has made what used to be an easy-to-navigate CLI library into something more cumbersome for users just discovering our product.
Simple typos led to immense frustration for some users. Imagine, for example, a user needs to advertise IP routes for their private network tunnel. It can be burdensome to remember cloudflared tunnel route ip add <IP/CIDR>. Through the Zero Trust dashboard, you can forget all about the semantics of the CLI library. All you need to know is the name of your tunnel and the network range you wish to connect through Cloudflare. Simply enter my-private-net (or whatever you want to call it), copy the installation script, and input your network range. It’s that simple. If you accidentally type an invalid IP or CIDR block, the dashboard will provide an actionable, human-readable error and get you on track.
Whether you prefer the CLI or GUI, they ultimately achieve the same outcome through different means. Each has merit and ideally users get the best of both worlds in one solution.
Eliminating points of friction
Tunnels have typically required a locally managed configuration file to route requests to their appropriate destinations. This configuration file was never created by default, but was required for almost every use case. This meant that users needed to use the command line to create and populate their configuration file using examples from developer documentation. As functionality has been added into cloudflared, configuration files have become unwieldy to manage. Understanding the parameters and values to include as well as where to include them has become a burden for users. These issues were often difficult to catch with the naked eye and painful to troubleshoot for users.
We also wanted to improve the concept of tunnel permissions with our latest release. Previously, users were required to manage two distinct tokens: The cert.pem and the Tunnel_UUID.json file. In short, cert.pem, issued during the cloudflared tunnel login command, granted the ability to create, delete, and list tunnels for their Cloudflare account through the CLI. Tunnel_UUID.json, issued during the cloudflared tunnel create <NAME> command, granted the ability to run a specified tunnel. However, since tunnels can now be created directly from your Cloudflare account in the Zero Trust dashboard, there is no longer a requirement to authenticate your origin prior to creating a tunnel. This action is already performed during the initial Cloudflare login event.
With today’s release, users no longer need to manage configuration files or tokens locally. Instead, Cloudflare will manage this for you based on the inputs you provide in the Zero Trust dashboard. If users typo a hostname or service, they’ll know well before attempting to run their tunnel, saving time and hassle. We’ll also manage your tokens for you, and if you need to refresh your tokens at some point in the future, we’ll rotate the token on your behalf as well.
Client or clientless Zero Trust
We commonly refer to Cloudflare Tunnel as an “on-ramp” to our Zero Trust platform. Once connected, you can seamlessly pair it with WARP, Gateway, or Access to protect your resources with Zero Trust security policies, so that each request is validated against your organization’s device and identity based rules.
Clientless Zero Trust
Users can achieve a clientless Zero Trust deployment by pairing Cloudflare Tunnel with Access. In this model, users will follow the flow laid out in the Zero Trust dashboard. First, users name their tunnel. Next, users will be provided a single installation script tailored to the origin’s operating system and system architecture. Finally, they’ll create either public hostnames or private network routes for their tunnel. As outlined earlier, this step eliminates the need for a configuration file. Public hostname values will now replace ingress rules for remotely managed tunnels. Simply add the public hostname through which you’d like to access your private resource. Then, map the hostname value to a service behind your origin server. Finally, create a Cloudflare Access policy to ensure only those users who meet your requirements are able to access this resource.
Client-based Zero Trust
Alternatively, users can pair Cloudflare Tunnel with WARP and Gateway if they prefer a client-based approach to Zero Trust. Here, they’ll follow the same flow outlined above but instead of creating a public hostname, they’ll add a private network. This step replaces the cloudflared tunnel route ip add <IP/CIDR> step from the CLI library. Then, users can navigate to the Cloudflare Gateway section of the Zero Trust dashboard and create two rules to test private network connectivity and get started.
- Name: Allow <current user> for <IP/CIDR>
Policy: Destination IP in <IP/CIDR> AND User Email is <Current User Email>
Action: Allow - Name: Default deny for <IP/CIDR>
Policy: Destination IP in <IP/CIDR>
Action: Block
It’s important to note, with either approach, most use cases will only require a single tunnel. A tunnel can advertise both public hostnames and private networks without conflicts. This helps make orchestration simple. In fact, we suggest starting with the least number of tunnels possible and using replicas to handle redundancy rather than additional tunnels. This, of course, is dependent on each user’s environment, but generally it’s smart to start with a single tunnel and create more only when there is a need to keep networks or services logically separated.
What’s next
Since we launched Cloudflare Tunnel, hundreds of thousands of tunnels have been created. That’s many tunnels that need to be migrated over to our new orchestration method. We want to make this process frictionless. That’s why we’re currently building out tooling to seamlessly migrate locally managed configurations to Cloudflare managed configurations. This will be available in a few weeks.
At launch, we also will not support global configuration options listed in our developer documentation. These parameters require case-by-case support, and we’ll be adding these commands incrementally over time. Most notably, this means the best way to adjust your cloudflared logging levels will still be by modifying the Cloudflare Tunnel service start command and appending the --loglevel flag into your service run command. This will become a priority after releasing the migration wizard.
As you can see, we have exciting plans for the future of remote tunnel management and will continue investing in this as we move forward. Check it out today and deploy your first Cloudflare Tunnel from the dashboard in three simple steps.