Post Syndicated from Dhiraj Thakur original https://aws.amazon.com/blogs/big-data/create-single-output-files-for-recipe-jobs-using-aws-glue-databrew/
AWS Glue DataBrew offers over 350 pre-built transformations to automate data preparation tasks (such as filtering anomalies, standardizing formats, and correcting invalid values) that would otherwise require days or weeks writing hand-coded transformations.
You can now choose single or multiple output files instead of autogenerated files for your DataBrew recipe jobs. You can generate a single output file when the output is small or downstream systems need to consume it more easily, such as visualization tools. Alternatively, you can specify your desired number of output files when configuring a recipe job. This gives you the flexibility to manage recipe job output for visualization, data analysis, and reporting, while helping prevent you from generating too many files. In some cases, you may also want to customize the output file partitions for efficient storage and transfer.
In this post, we walk you through how to connect and transform data from an Amazon Simple Storage Service (Amazon S3) data lake and configure the output as a single file via the DataBrew console.
Solution overview
The following diagram illustrates our solution architecture.

DataBrew queries sales order data from the S3 data lake and performs data transformation. Then the DataBrew job writes the final output back to the data lake in a single file.
To implement the solution, you complete the following high-level steps:
- Create a dataset.
- Create a DataBrew project using the dataset.
- Build a transformation recipe.
- Create and run a DataBrew recipe job on the full data.
Prerequisites
To complete this solution, you should have an AWS account and the appropriate permissions to create the resources required as part of the solution.
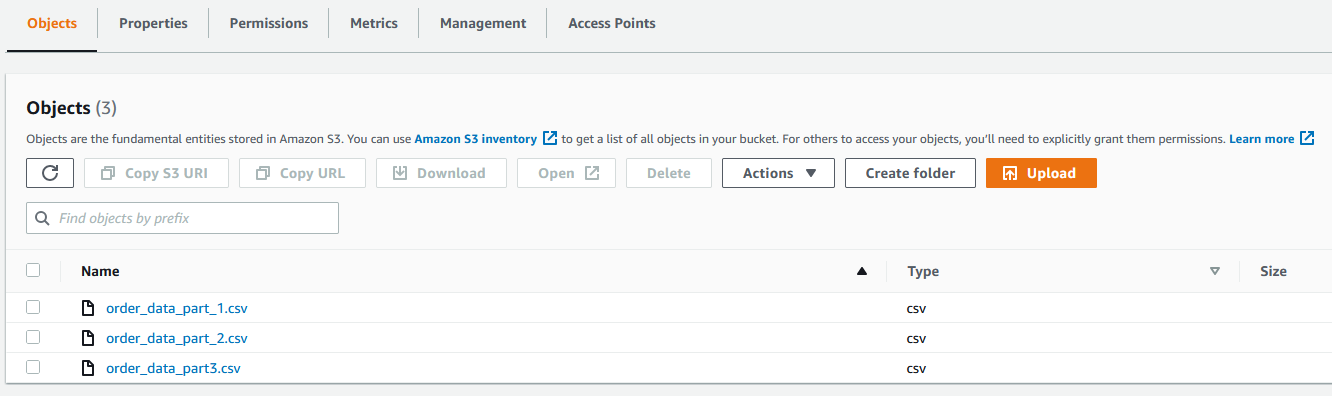
You also need a dataset in Amazon S3. For our use case, we use a mock dataset. You can download the data files from GitHub. On the Amazon S3 console, upload all three CSV files to an S3 bucket.
Create a dataset
To create your dataset in DataBrew, complete the following steps:
- On the Datasets page of the DataBrew console, choose Connect new dataset.

- For Dataset name, enter a name (for example,
order). - Enter the S3 bucket path where you uploaded the data files as part of the prerequisite steps.
- Choose Select the entire folder.

- For File type¸ select CSV and choose Comma (,) for CSV delimiter.
- For Column header values, select Treat first row as header.
- Choose Create dataset.


Create a DataBrew project using the dataset
To create your DataBrew project, complete the following steps:
- On the DataBrew console, on the Projects page, choose Create project.

- For Project Name, enter
valid-order. - For Attached recipe, choose Create new recipe.
The recipe name is populated automatically (valid-order-recipe).

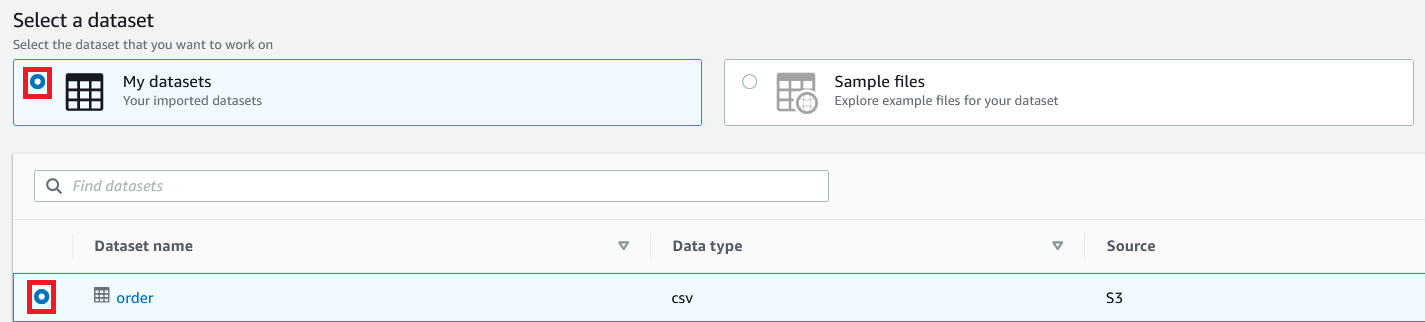
- For Select a dataset, select My datasets.
- Select the
orderdataset.

- For Role name, choose the AWS Identity and Access Management (IAM) role to be used with DataBrew.
- Choose Create project.


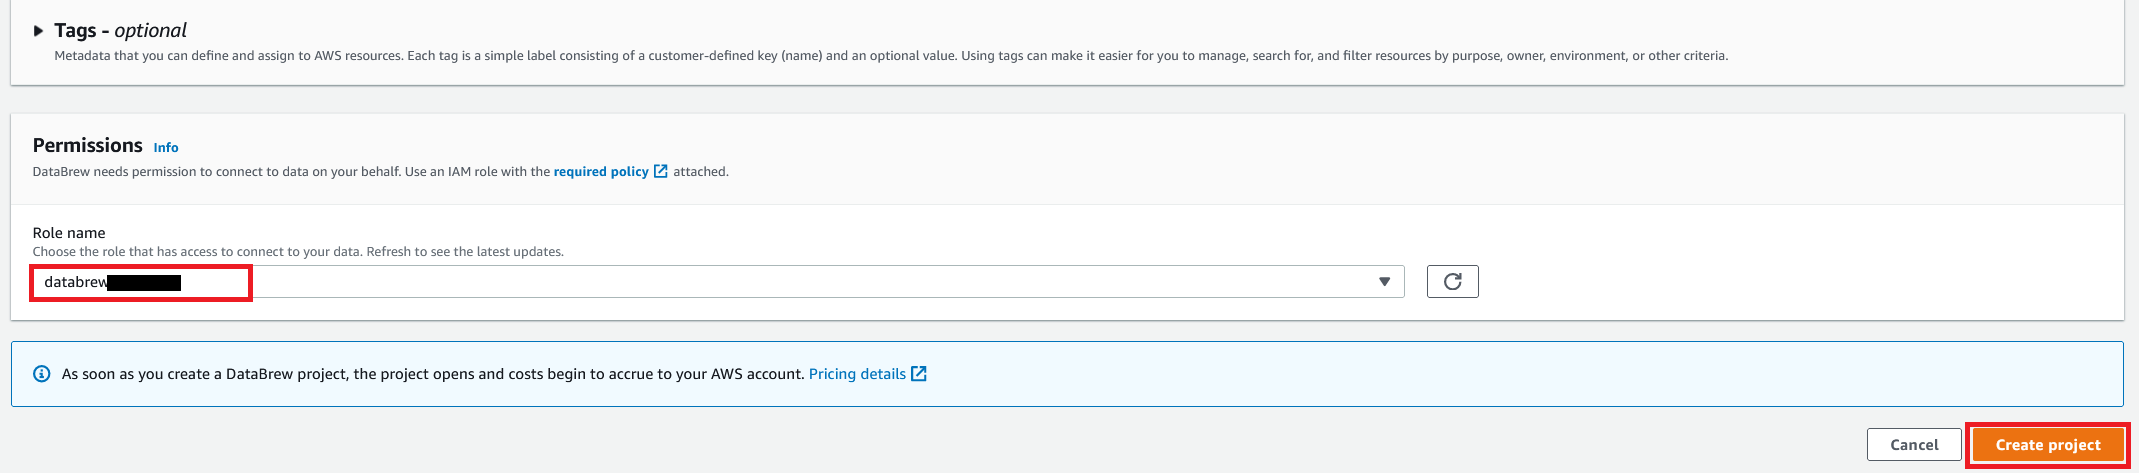
You can see a success message along with our Amazon S3 order table with 500 rows.
After the project is opened, a DataBrew interactive session is created. DataBrew retrieves sample data based on your sampling configuration selection.
Build a transformation recipe
In a DataBrew interactive session, you can cleanse and normalize your data using over 350 pre-built transformations. In this post, we use DataBrew to perform a few transforms and filter only valid orders with order amounts greater than $0.
To do this, you perform the following steps:
- Choose Column and choose Delete.

- For Source columns, choose the columns
order_id, timestamp, andtransaction_date. - Choose Apply.

- We filter the rows based on an
amountvalue greater than $0 and add the condition as a recipe step.

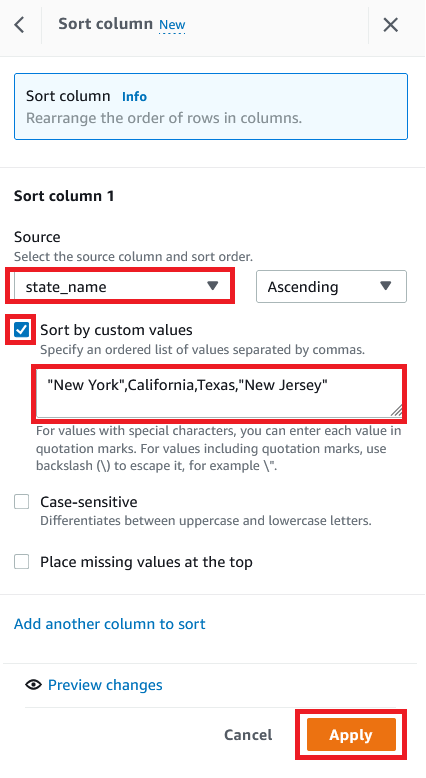
- To create a custom sort based on state, choose SORT and choose Ascending.

- For Source, choose the column
state_name. - Select Sort by custom values.
- Enter a list of state names separated by commas.
- Choose Apply.


The following screenshot shows the full recipe that we applied to our dataset.

Create and run a DataBrew recipe job on the full data
Now that we have built the recipe, we can create and run a DataBrew recipe job.
- On the project details page, choose Create job.
- For Job name, enter
valid-order.

- For Output to, choose Amazon S3.
- Enter the S3 path to store the output file.
- Choose Settings.


For File output options, you have multiple options:
-
- Autogenerate files – This is the default file output setting, which generates multiple files and usually results in the fastest job runtime
- Single file output – This option generates a single output file
- Multiple file output – With this option, you specify the maximum number of files you want to split your data into
- For this post, select Single file output.
- Choose Save.

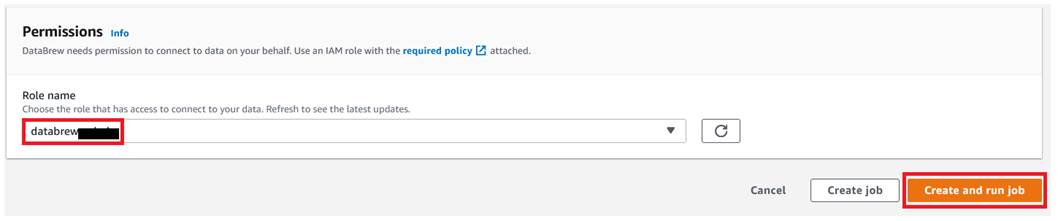
- For Role name, choose the IAM role to be used with DataBrew.
- Choose Create and run job.

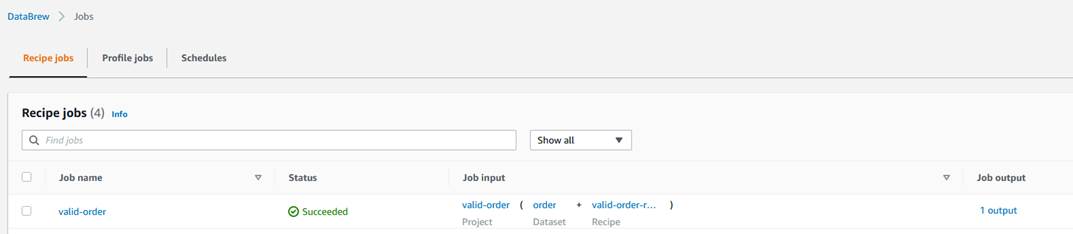
- Navigate to the Jobs page and wait for the
product-wise-sales-jobjob to complete.

- Navigate to output S3 bucket to confirm that a single output file is stored there.


Clean up
To avoid incurring future charges, delete all the resources created during this walkthrough:
- Delete the recipe job
valid-order. - Empty the job output stored in your S3 bucket and delete the bucket.
- Delete the IAM roles created as part of your projects and jobs.
- Delete the project
valid-orderand its associated recipevalid-order-recipe. - Delete the DataBrew datasets.
Conclusion
In this post, we showed how to connect and transform data from an S3 data lake and create a DataBrew dataset. We also demonstrated how we can bring data from our data lake into DataBrew, seamlessly apply transformations, and write the prepared data back to the data lake in a single output file.
To learn more, refer to Creating and working with AWS Glue DataBrew recipe jobs.
About the Author
 Dhiraj Thakur is a Solutions Architect with Amazon Web Services. He works with AWS customers and partners to provide guidance on enterprise cloud adoption, migration, and strategy. He is passionate about technology and enjoys building and experimenting in the analytics and AI/ML space.