At Code Club, we believe learning to code should be as fun as it is empowering — what better way to start than making your own game?
Whether it’s about pixelated pirates, racing robots, or a time-travelling llama, creating a game is one of the most exciting ways to explore coding. We’ve seen young people go from “I like Minecraft” to “I’ve built a space adventure with hedgehogs” in no time at all.
Why games?
Games are more than just fun. They’re also a brilliant gateway into problem solving, creativity, and computational thinking. When you create your own game, you learn how to:
Use logic and sequences to control what happens
Trigger events and interactions through code
Build characters, stories, and rules — and see them come to life
And perhaps most importantly, you get instant feedback. If your code doesn’t quite work, you’ll know right away, and you’ll have the chance to fix it, test it, and improve it.
Three fun game projects to try today
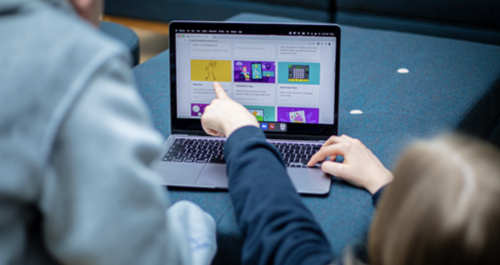
We’ve created a free library of step-by-step game projects that work in a browser, that require no previous experience, and that let imagination lead the way.
Here are three brilliant beginner-friendly projects to try at Code Club or at home:
Make: A fast-paced game where the player must dodge incoming objects
Try: Changing the game to set it in space, underwater, or inside a volcano
What does the community think?
Games are a great starting point because they’re naturally motivating: young people see what they’ve made work, and that’s incredibly empowering.
“I started with ‘Catch the dot’. I changed the sprite to a spaceship and then added power-ups and space cats. Now I’m making my own levels!” – Lila, 11, Creator
“When my son made his first Scratch game, it was the first time he explained what a loop was to me. Games build confidence.” – Laura, parent and Code Club Mentor
Build, remix, and level up
Once you’ve finished a project, the real fun begins. With just a few changes, creators can build their own levels or make the game more challenging, design custom characters and backdrops, or invent brand new rules and mechanics.
And if they want to share ideas and collaborate with others, joining a Code Club is the perfect next step.
Ready to get started?
You can find all the projects mentioned here — and many more — on the Code Club projects site. They’re free to use and designed to help creators grow in confidence as they learn to code.
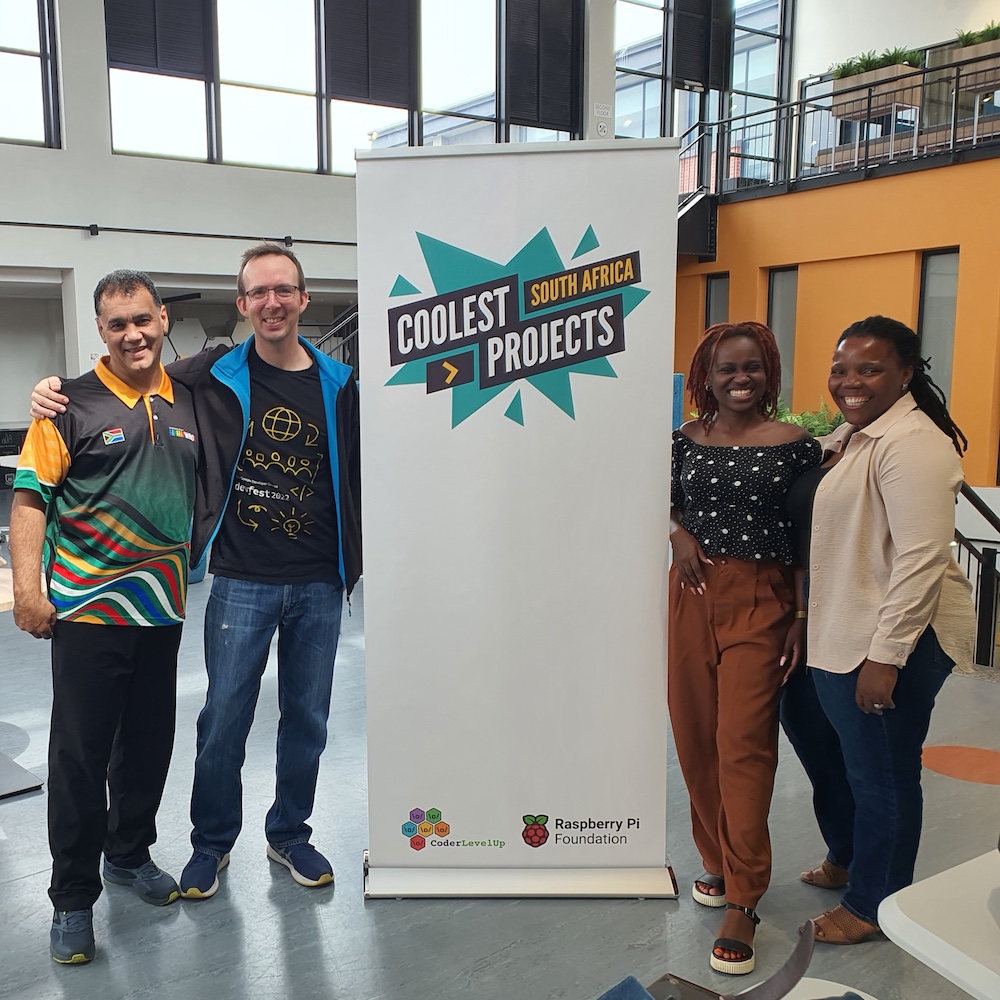
Afandi Indiatsi, our Programme Coordinator in Africa, recently attended Coolest Projects South Africa 2024. Read on to hear her highlights.
What happens when creativity, enthusiasm, fun, and innovation come together? You get Coolest Projects South Africa 2024 — a vibrant showcase of students from all walks of life displaying their talent and shaping the future of technology.
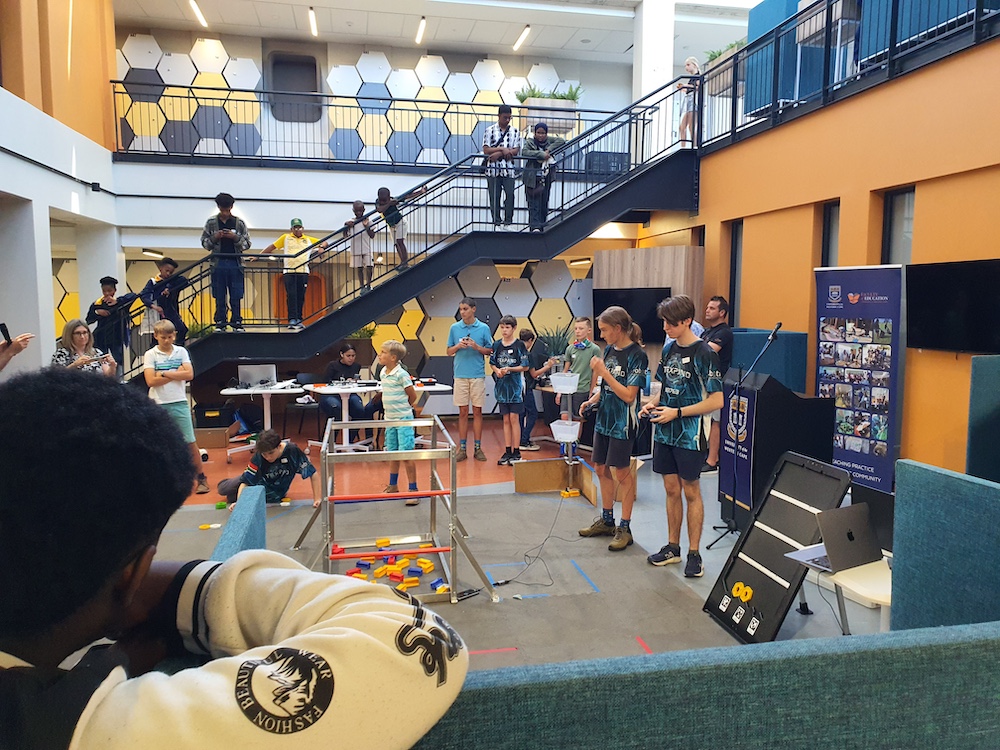
Dozens of projects exhibited at the event in Cape Town
Hosted by our partner, Coder Level Up, Coolest Projects South Africa brought together creators, mentors, educators, and industry leaders to celebrate the creativity and ingenuity of young tech enthusiasts from across the country.
With nearly 200 projects submitted and dozens showcased, the event highlighted the impressive talent and potential of South Africa’s next generation of innovators.
Taking place at the University of Western Cape’s Department of Education in Cape Town, the event was a hub of excitement. Right from the start the venue was buzzing with activity, with the South African World Robot Olympiad (WRO) team kicking things off with a fantastic demonstration of their robotic inventions. Their creations came alive to cheers and applause as they performed flawlessly, leaving attendees in awe — what an inspiration they were!
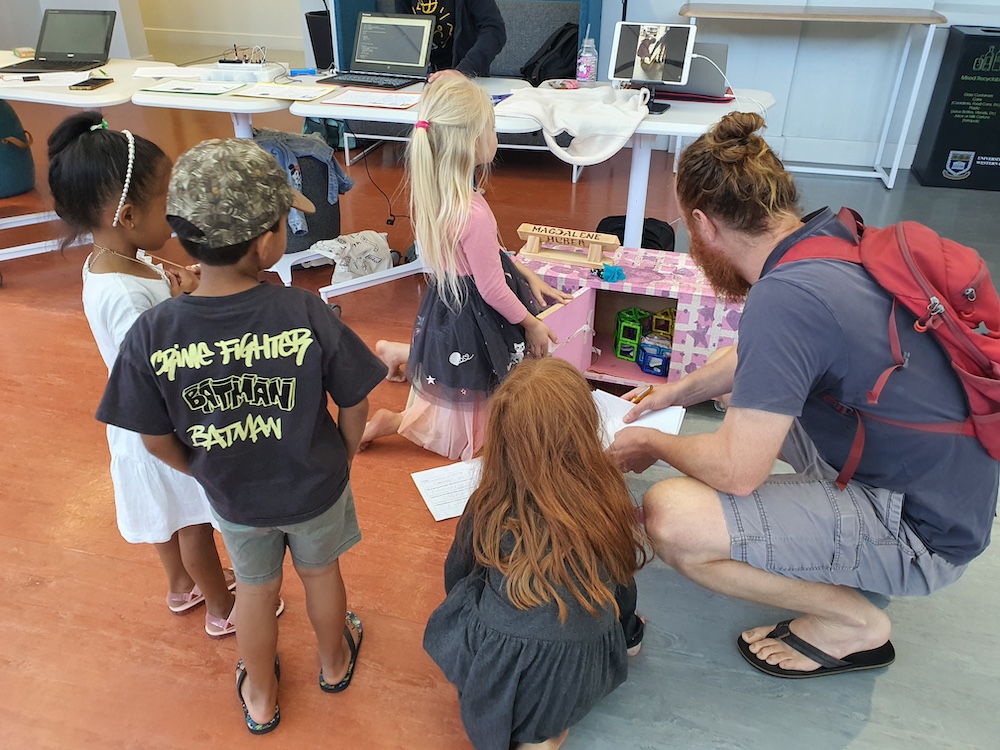
Standout projects ranged from garbage collection to chocolate
The participants then presented their projects, each of which was ingenious in its own way. From hardware and visual programming to game development and website creation, there was a wealth of ideas on display — and a demonstration of the boundless potential of young minds when given the right tools and guidance. Adding to the inclusive spirit of the event, participants from Durban and East London joined remotely, their energy resonating through Zoom.
One standout project was a garbage collection robot created by an all-girls team from Nguzo Saba School. Using a LEGO kit, these creators transformed their idea into a functional invention. What made their project exceptional was their ability to improvise and enhance the kit to achieve their desired functionality. This was a true testament to their creativity, resilience, and problem-solving skills.
Another memorable presentation came from Emma, who used Scratch to tell the story of the history of chocolate. Her engaging narrative spanned the journey of chocolate from the Olmec civilisation in Latin America to today’s chocolate museums. Emma’s research was extensive, and she captivated the judges not only with her presentation but also with chocolate samples for everyone to enjoy — a sweet touch that left a lasting impression!
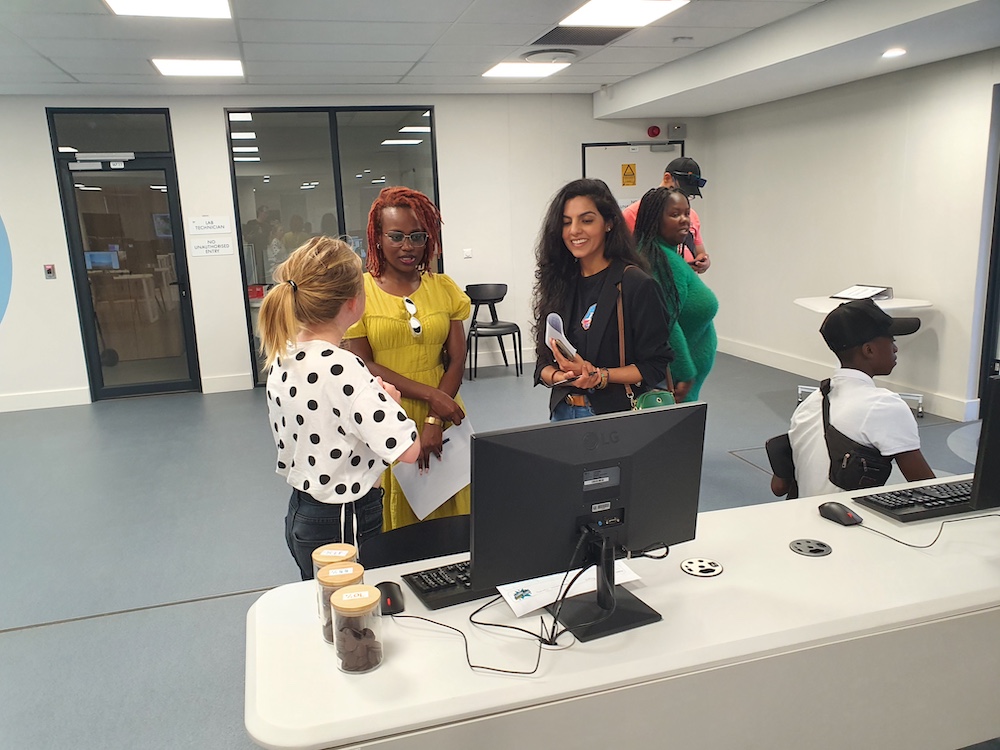
How Coolest Projects harnesses the power of education, creativity, and mentorship
A recurring theme throughout the event was the importance of mentorship. Many of the young people shared that they had sought guidance from mentors, teachers, and family members while developing their projects. This collaborative spirit underscored the role of supportive communities in fostering innovation and creativity among young creators.
Coolest Projects South Africa 2024 was more than a showcase of talent. It was a reminder of the transformative power of education, mentorship, and creativity. Every project had a story of passion and perseverance, and every creator left inspired to dream bigger.
As we reflect on this event — and the many other Coolest Projects events that took place around the world this past year — we are reminded that the future of technology is in capable, imaginative hands.
Get involved with Coolest Projects in 2025
Coolest Projects will be back and bigger than ever before in 2025.
The Coolest Projects online showcase is open globally to any young person up to age 18. Registration opens 14 January, and we’ll host a celebratory livestream on 25 June.
Thanks to an incredible network of partners, Coolest Projects events will also be hosted in person in many countries around the world. Go to the Coolest Projects website for more event dates and details.
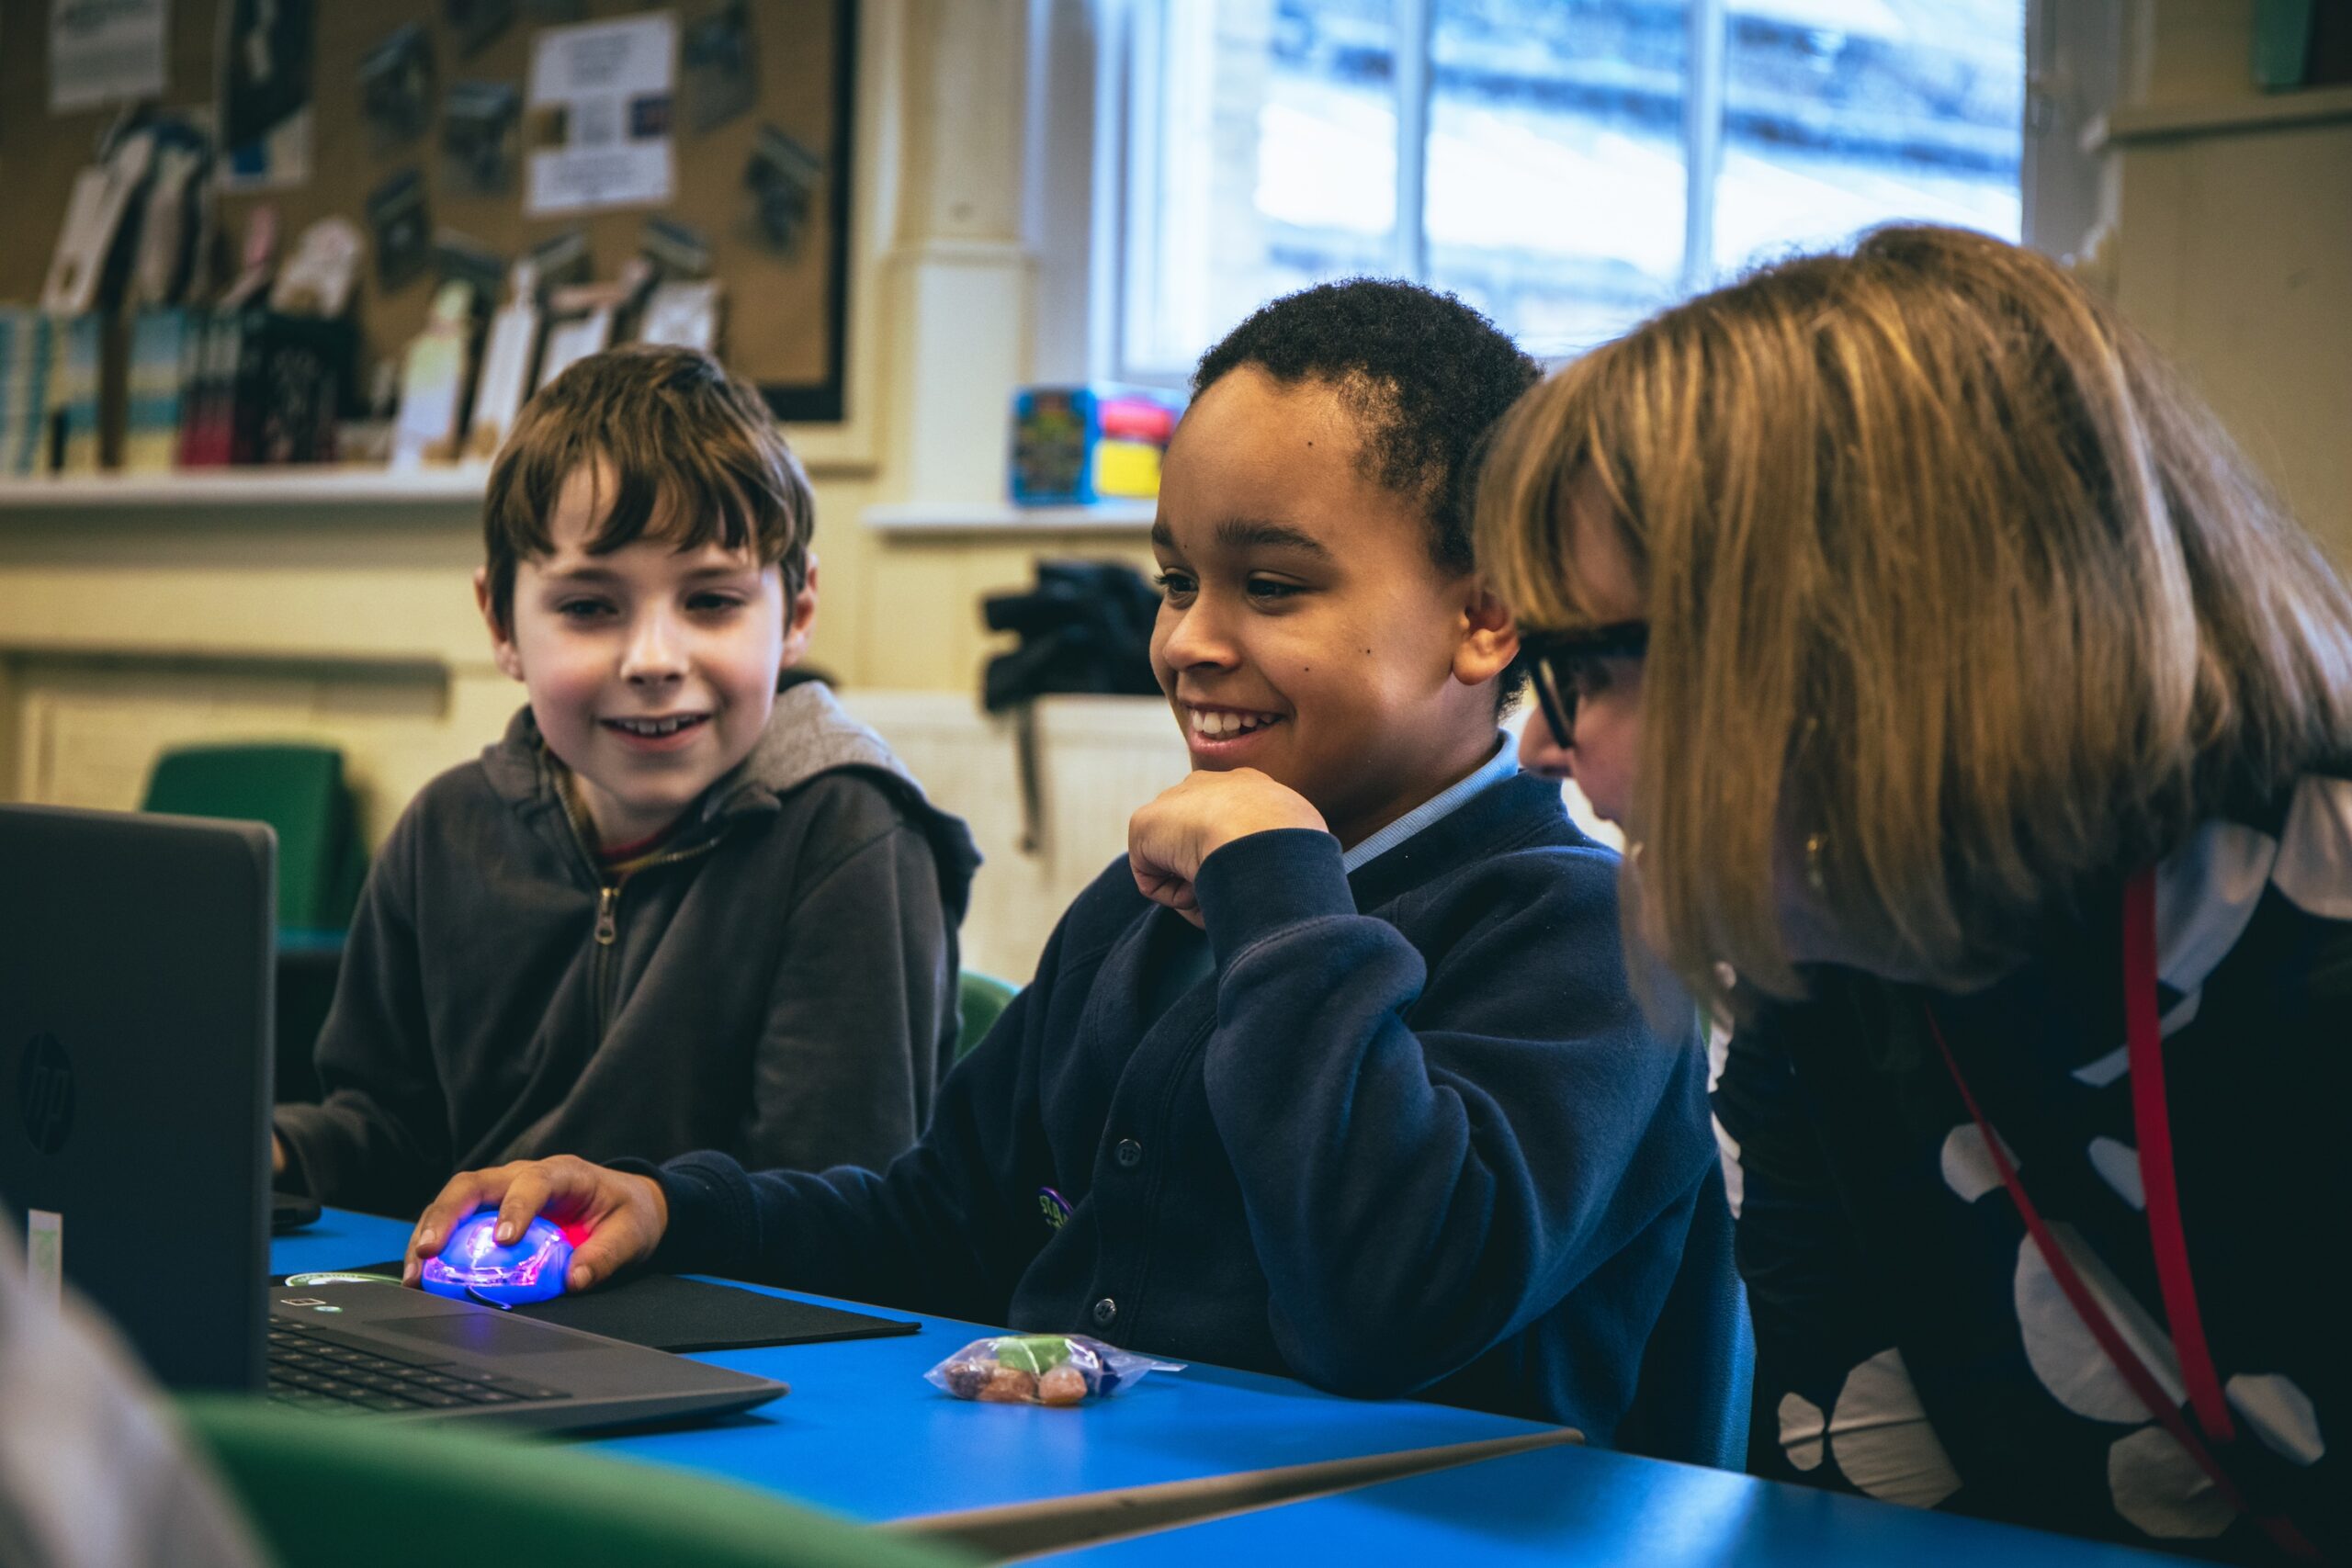
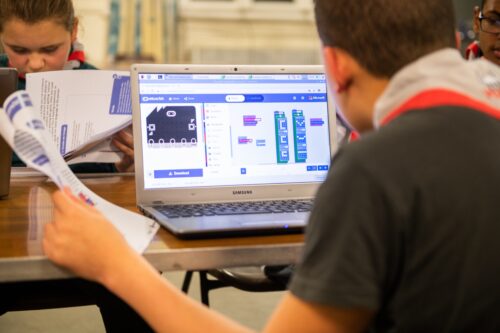
From crafting interactive stories to designing captivating games, the Raspberry Pi Foundation’s coding projects offer a hands-on approach to learning, igniting creativity and developing the skills young people need, like perseverance and problem-solving. In this blog, I explore two of my favourite projects that young coders will love.
Our projects are free and open to all. They are easy-to-follow, step-by-step guides that young people use to make their own games, animations, and websites using coding languages such as Scratch, HTML/CSS, and Python. The projects introduce coding concepts one by one and allow young people to build their knowledge progressively. As such, educators and volunteers running clubs don’t need to be experienced coders, and many volunteers in our community enjoy learning alongside their club members.
The power of remixing
One of the brilliant things about our projects is how easy it is to adapt them. This is called remixing, and it gives the learner the opportunity to create and modify a brand-new project that is personal to them.
“Remixing allows beginners to tinker with a pre-existing project and make increasingly complex modifications”
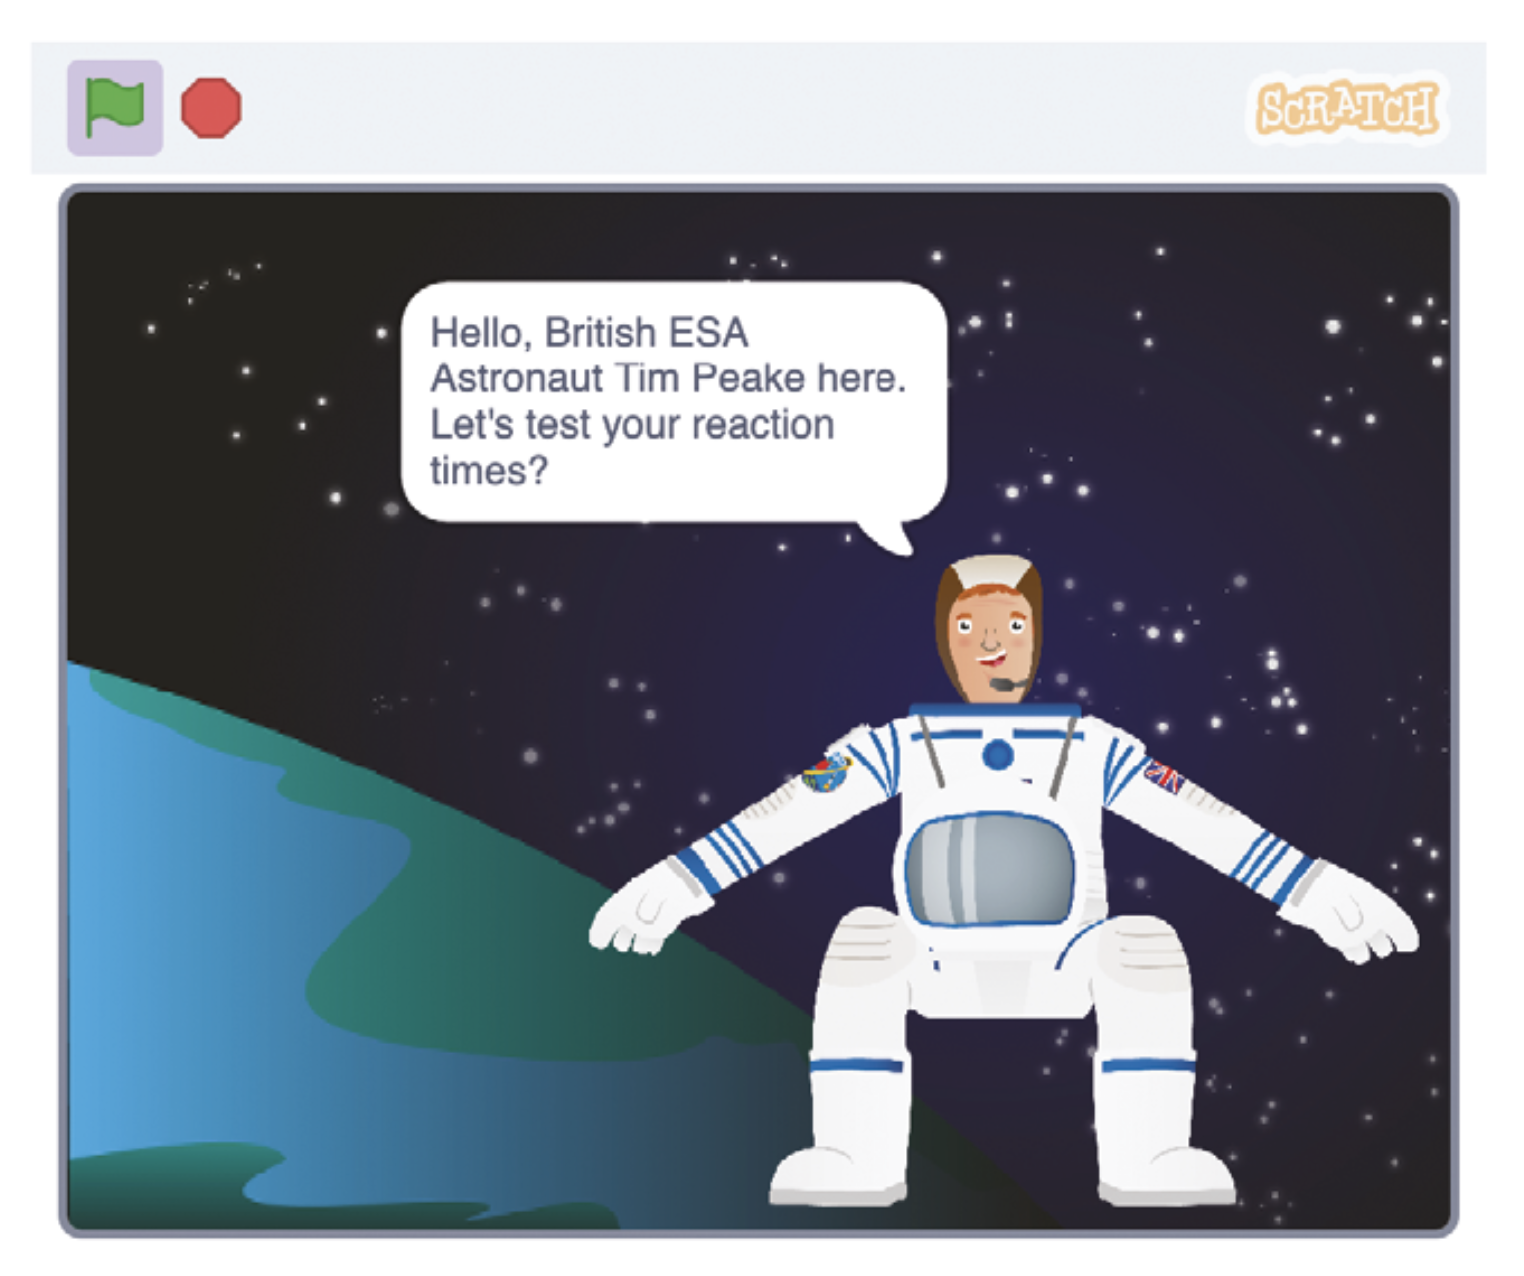
Do you have the reaction speeds of an astronaut?
My favourite project brings space into the classroom. Space is such an intriguing and mysterious thing, but aspects like the extremely high speeds that satellites and the International Space Station (ISS) travel at are difficult concepts for young people to understand.
The Astronaut Reaction Time Game in Scratch introduces young people to the fact that things happen very quickly at the speed the ISS travels. It includes links to maths and science (speed, distance, time, velocity, units, calculations, operators) and, for older learners, prompts discussions on computational abstractions and problem-solving.
The project tests reaction speeds, something that real astronauts have to do as part of their training. NASA has found that reaction speeds are slower on the ISS than on Earth, possibly as a result of the stress of zero gravity. It’s also a fun activity young people can share and play with their friends. Sharing is a key part of the club environment, and this project is ideal for generating a little bit of competition.
As with all projects, a scaffolded approach is taken, with challenges set for learners so that they can complete part of the project independently. If someone is stuck, they can get a hint in the form of an explanation or sentence, which then turns into the code blocks they need to solve the problems, finally giving them the solution if they really need it.
Remix: Exploring speed on planet Earth
Club volunteers can also introduce their learners to some of our physical computing projects, or they could design their own race track that measures the speed of a vehicle. They could even develop a program on a microcontroller like a Pico or micro:bit to measure the speed of young athletes on a running track. If learners are inspired to do more space-themed projects, we have that covered in our project collection.
Unleashing the creativity of coding through colour
My other go-to project is Colourful Creations. Coding is an excellent vehicle for self-expression, and this project showcases the ways programming can be used to create digital art. It uses the turtle library, which is an excellent tool for creating designs and patterns.
The name “turtle” stems from the Logo programming language created in the 1960s. Logo is mainly known for drawing lines, shapes and patterns on the screen and using a “turtle” on the floor to draw them on paper. The turtle library is, therefore, a selection of functions that can be used for drawing.
Part of the project’s appeal is that learners are given a blank canvas to which they can apply any theme. There are limited instructions, leaving lots of space for creativity. Whether it be climate change, a period in history, or some other topic, learners can work on their own poster or in pairs to create something bigger.
Remix: From project to presentation
The possibilities for remixing are almost endless, as learners can add more screens and turn their project into a mini presentation or unleash their artistic side and go wild with colours. The learning in this project leads perfectly to more complex turtle drawing projects like Robo-Trumps, providing a solid foundation in creative computing for you to build on later.
We want you to create your own versions of these projects. You could organise a themed day, which can give learners more freedom, or link with other projects such as Astro Pi. Try remixing the projects to start with, then building up to develop new and exciting projects based on the skills that have been learnt. Happy coding!
A version of this article also appears in Hello World issue 24.
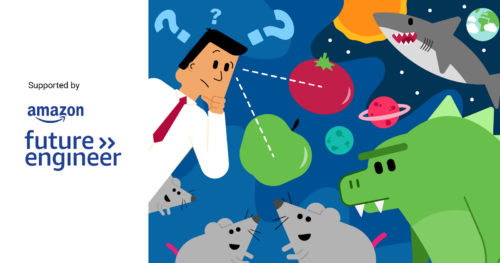
We’re pleased to share a new collection of Code Club projects designed to introduce creators to the fascinating world of artificial intelligence (AI) and machine learning (ML). These projects bring the latest technology to your Code Club in fun and inspiring ways, making AI and ML engaging and accessible for young people. We’d like to thank Amazon Future Engineer for supporting the development of this collection.
The value of learning about AI and ML
By engaging with AI and ML at a young age, creators gain a clearer understanding of the capabilities and limitations of these technologies, helping them to challenge misconceptions. This early exposure also builds foundational skills that are increasingly important in various fields, preparing creators for future educational and career opportunities. Additionally, as AI and ML become more integrated into educational standards, having a strong base in these concepts will make it easier for creators to grasp more advanced topics later on.
What’s included in this collection
We’re excited to offer a range of AI and ML projects that feature both video tutorials and step-by-step written guides. The video tutorials are designed to guide creators through each activity at their own pace and are captioned to improve accessibility. The step-by-step written guides support creators who prefer learning through reading.
The projects are crafted to be flexible and engaging. The main part of each project can be completed in just a few minutes, leaving lots of time for customisation and exploration. This setup allows for short, enjoyable sessions that can easily be incorporated into Code Club activities.
The collection is organised into two distinct paths, each offering a unique approach to learning about AI and ML:
Machine learning with Scratch introduces foundational concepts of ML through creative and interactive projects. Creators will train models to recognise patterns and make predictions, and explore how these models can be improved with additional data.
The AI Toolkit introduces various AI applications and technologies through hands-on projects using different platforms and tools. Creators will work with voice recognition, facial recognition, and other AI technologies, gaining a broad understanding of how AI can be applied in different contexts.
Inclusivity is a key aspect of this collection. The projects cater to various skill levels and are offered alongside an unplugged activity, ensuring that everyone can participate, regardless of available resources. Creators will also have the opportunity to stretch themselves — they can explore advanced technologies like Adobe Firefly and practical tools for managing Ollama and Stable Diffusion models on Raspberry Pi computers.
Project examples
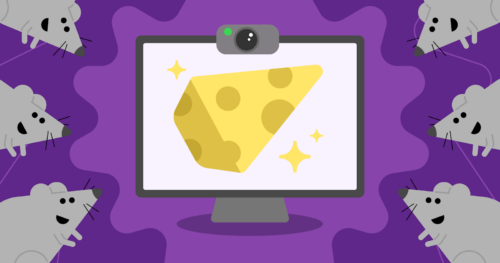
One of the highlights of our new collection is Chomp the cheese, which uses Scratch Lab’s experimental face recognition technology to create a game students can play with their mouth! This project offers a playful introduction to facial recognition while keeping the experience interactive and fun.
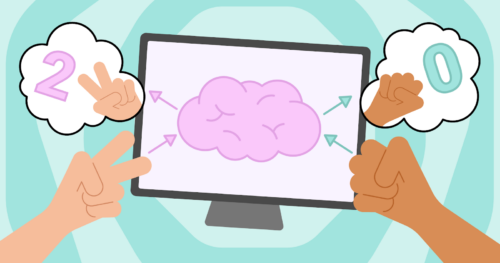
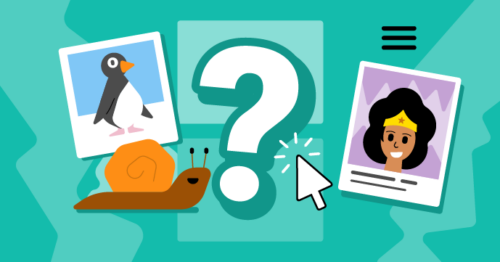
In Teach a machine, creators train a computer to recognise different objects such as fingers or food items. This project introduces classification in a straightforward way using the Teachable Machine platform, making the concept easy to grasp.
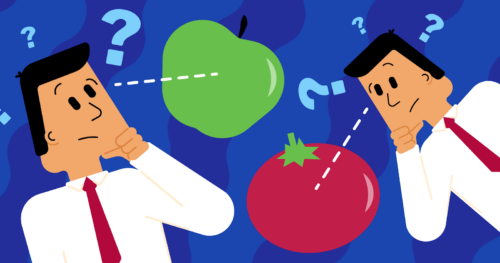
Apple vs tomato also uses Teachable Machine, but this time creators are challenged to train a model to differentiate between apples and tomatoes. Initially, the model exhibits bias due to limited data, prompting discussions on the importance of data diversity and ethical AI practices.
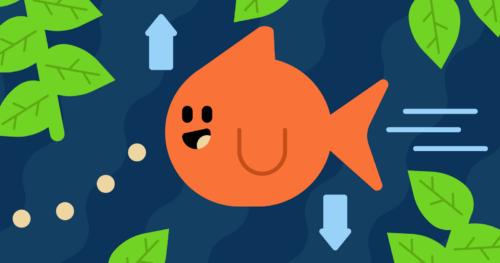
Dance detector allows creators to use accelerometer data from a micro:bit to train a model to recognise dance moves like Floss or Disco. This project combines physical computing with AI, helping creators explore movement recognition technology they may have experienced in familiar contexts such as video games.
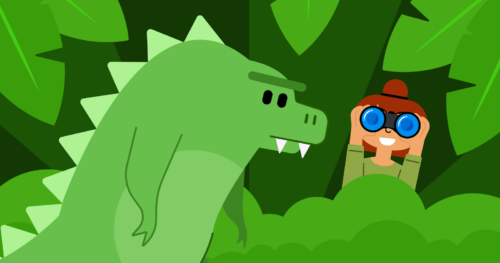
Dinosaur decision tree is an unplugged activity where creators use a paper-based branching chart to classify different types of dinosaurs. This hands-on project introduces the concept of decision-making structures, where each branch of the chart represents a choice or question leading to a different outcome. By constructing their own decision tree, creators gain a tactile understanding of how these models are used in ML to analyse data and make predictions.
These AI projects are designed to support young people to get hands-on with AI technologies in Code Clubs and other non-formal learning environments. Creators can also enter one of their projects into Coolest Projects by taking a short video showing their project and any code used to make it. Their creation will then be showcased in the online gallery for people all over the world to see.
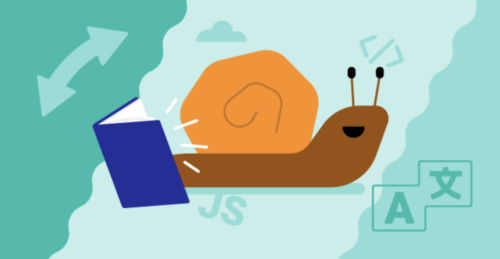
Modern web design has turned websites from static and boring walls of information into ways of providing fun and engaging experiences to the user. Our new ‘More web’ project path shows young creators how to add interaction and animation to a webpage through JavaScript code.
Why learn JavaScript?
As of 2024, JavaScript is the most popular programming language in the world. And it’s easy to see why when you look at its versatility and how it can be used to create dynamic and interactive content on websites. JavaScript lets you handle events and manipulate HTML and CSS so that you can build everything from simple animations, to forms that can be checked for missing or nonsensical answers. If you’ve ever seen a webpage continuously load more content when you reach the end, that’s JavaScript.
The six new projects in the ‘More web’ path move learners beyond the basics of HTML and CSS encountered in our ‘Introduction to web’ path. Youn people will explore what JavaScript makes possible in web developmnent, with plenty of support along the way.
By the end of the ‘More web’ path, learners will have covered the following key programming concepts:
HTML and CSS
JavaScript
Navbars, grid layouts, hero images and image sliders
Form design and handling user input
Accessibility and responsive design
Sizing elements relative to the viewport or container
Creating parallax scrolling effects using background-attachment
Fixing the position of elements and using z-index to layer elements
Local and global variables, and constants
Selection (if, else if, and else)
Repetition (for loops)
Using Console log
Concatenation using template literals
Event listeners
Use of the intersection observer API to animate elements and lazy-load images
Use of the localStorage object to retain user preferences
Writing and calling functions to take advantage of the Document Object Model (DOM)
Use setTimeout() to create time delays
Work with Date() functions
We’ve designed the path to be completed in six one-hour sessions, with one hour per project. However, learners can work at their own speed and the project instructions invite them to take additional time to upgrade their projects if they wish.
Built for our Code Editor and with support in mind
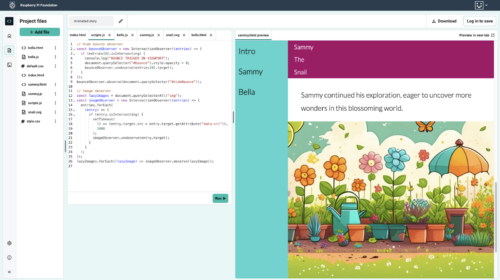
All six projects use our Code Editor, which has been tailored specifically to young people’s needs. This integrated development environment (IDE) helps make learning text-based programming simple, safe, and accessible. The projects include starter code, handy code snippets, and images to help young people build their websites.
The path also follows our Digital Making Framework, with its deliberate format of six projects that become less structured as learners progress. The Explore projects at the start of the path are where the initial learning takes place. Learners then develop their new skills by putting them into practice in the Design and Invent projects, which encourage them to use their imagination and make projects that matter to them.
Meet the projects: Welcome to Antarctica (Explore project 1)
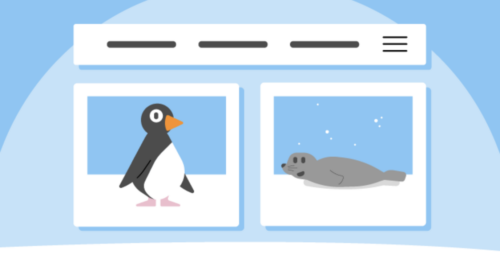
Learners use HTML and CSS to design a website that lets people discover a place they may never get a chance to visit — Antarctica. They discover how to create a navigation bar (or navbar), set accessible colours and fonts, and add a responsive grid layout to hold beautiful images and interesting facts about this fascinating continent.
Comic character (Explore project 2)
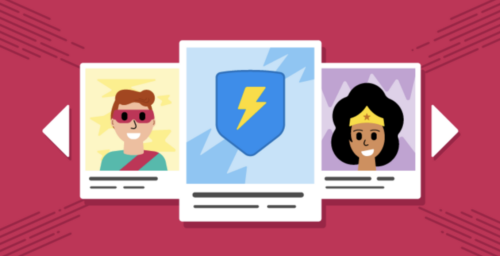
In the second Explore project, young people build an interactive website where the user can design a superhero character. Learners use JavaScript to let the user change the text on their website, show and hide elements, and create a hero image slider. They also learn how to let the user set the colour theme for the site and keep their preferences, even if they reload the page.
Animated story (Explore project 3)
Young people create an interactive story with animated text and characters that are triggered when the user scrolls. They will learn how to design for accessibility and improve browser performance by only loading images when they’re needed.
Pick your favourite (Design project 1)
This is where learners can practise their skills and bring in their own interests to make a fan website, which lets a user make choices that change the webpage content.
Quiz time (Design project 2)
The final Design project invites young people to build a personalised web app that lets users test what they know about a topic. Learners choose a topic for their quiz, create and animate their questions, and then show the user their final score. They could make a quiz about history, nature, world records, science, sports, fashion, TV, movies… or anything else they’re an expert in!
Share your world (Invent project)
In this final project, young people bring everything they’ve learnt together and use their new coding powers and modern design skills to create an interactive website to share a part of their world with others. They could provide information about their culture, interests, hobbies or expertise, share fun facts, create quizzes, or write reviews. Learners consider what makes a website useful and informative, as well as fun and accessible.
Next steps in web design
Encourage your young learners to take their next steps in web design, learn JavaScript, and try out this new path of coding projects to create interactive websites that excite and engage users.
Young people can also enter one of their Design or Invent projects into the Web category of the yearly Coolest Projects showcase by taking a short video showing the project and the code used to make it. Their creation will become part of the Coolest Projects online gallery for people all over the world to see!
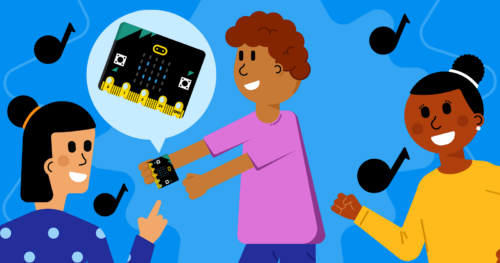
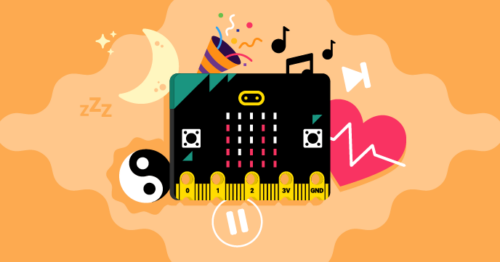
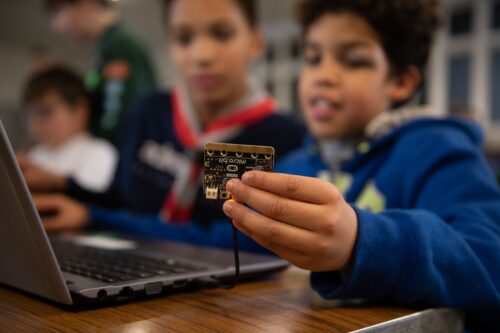
Young people can now learn to code and create with our brand-new path of micro:bit coding projects. The ‘Intro to micro:bit’ path is free and kids can follow it to code projects that focus on wellbeing, including topics like mental health, relaxation, and exercise.
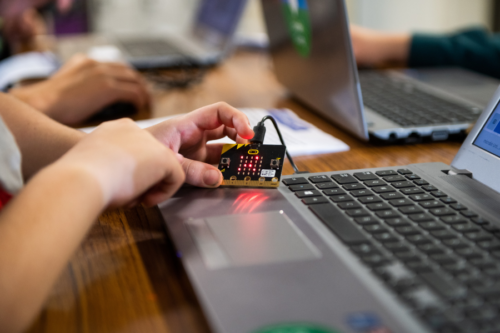
As you might know, a micro:bit (pronounced “microbit”) is a small, programmable device designed for education. You can program it using any computer. It’s easy to use and learn with, and suitable for beginners, especially young people in and out of school.
The theme of the new project path: Wellbeing
Our aim for this new micro:bit project path is to help young people explore how they can create their own tech tools that help them look after themselves and others. By designing the micro:bit coding projects around wellbeing, we want to not only help kids develop programming and digital literacy skills, but also promote open conversations about the important topic of mental health.
Credit: David Bird
The six micro:bit coding projects in our new path all cover different aspects of wellbeing in a fun, creative way:
Good sleep patterns
Relaxation
Self-confidence
Happiness
Health
Entertainment
We hope that following the path and making projects helps encourage learners to ask questions, share their experiences, and feel like they can ask parents, teachers, or mentors for support, and help support their friends and peers.
What is in the ‘Intro to micro:bit’ project path?
The ‘Intro to micro:bit’ path is designed according to our Digital Making Framework. Its aim is to encourage young people to become independent coders and tech creators as they progress along the projects in a path by gently removing scaffolding.
Our project paths begin with three Explore projects, in which learners are guided through tasks that introduce them to new coding skills.
Next, learners complete two Design projects. Here, they are encouraged to practise their skills and bring in their own interests to personalise their coding creations.
Finally, learners complete one Invent project. This is where they put everything that they have learned together and create something unique that matters to them.
The structure of the path means that learners are led through the development process of a coding project and learn how to turn their ideas into reality. The path structure also supports them with fixing programming errors (debugging), showing them that errors are a normal part of computer programming and just temporary setbacks that they can overcome.
Credit: David Bird
Because community is important for learning, the path also offers young people the chance to share the projects they make with peers around the world.
What coding skills and knowledge will young people learn?
The Explore projects at the start of the path are where the initial learning takes place. Learners then develop their new skills and knowledge by putting them into practice in the Design and Invent projects, where they add in their own ideas and creativity.
The key programming concepts covered in this path are:
Variables
Using selection (if, else if, and else)
Using repetition (for loops)
Using randomisation
Using functions
Credit: David Bird
There are two versions of the micro:bit (V1 and V2) and learners can use either version to create the micro:bit coding projects in the path, using the micro:bit’s input and output features:
Input features:
Buttons
Accelerometer
Sound sensor/microphone (micro:bit V2 only)
Capacitive touch sensor
Light sensor
Output features:
LED display
Speaker
Headphones connected via GPIO (micro:bit V1 only)
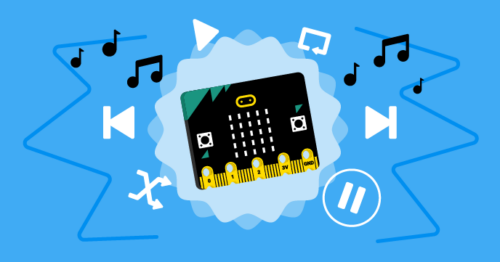
Explore project 1: Music player
In this Explore project, kids create a music player on the micro:bit to explore how listening to music can improve their mood. While creating their music player, young people get to choose melodies that they enjoy or that make them feel more relaxed. They also add a range of functions such as pausing, skipping, and shuffling tracks.
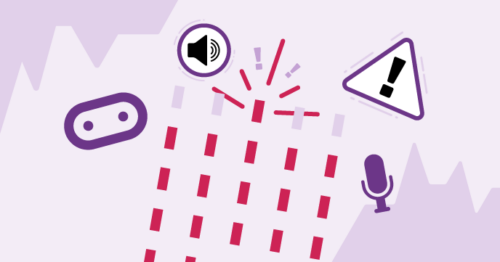
Explore project 2: Sound level meter
Noise levels can affect people’s well-being, so in this project, kids create a program to use the micro:bit to display how noisy their environment is. They will also learn how to save the noise data the micro:bit measures so they can identify the noisiest times in their day.
Explore project 3: Sleep tracker
Sleep is an important factor that contributes towards well-being. With this third Explore project, kids create a program to track their sleep movements using the micro:bit. This teaches them about variables and about using the micro:bit’s accelerometer, and its LEDs to display data.
Design project 1: How’s your day?
The first Design project of the path gets young people to build a mood checker program using the question ‘How’s your day?’. Kids get creative design control over the mood checker’s outputs according to the user’s replies, including displaying an animation or positive messages, or playing music. Kids can also make use of sensors to measure the various factors in the environment that could be affecting the user’s mood.
In this project, young people apply all of the coding skills and knowledge covered in the Explore projects, including selection, repetition, variables, functions, and randomisation.
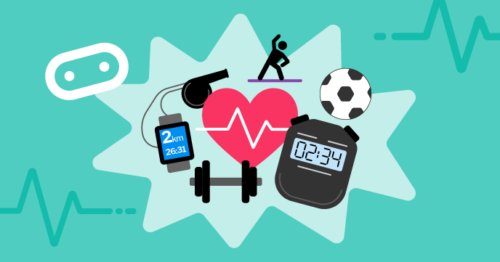
Design project 2: Active assistant
In the second Design project, young people create an assistant that helps them get active.The project provides examples, a structure, and brief summaries of what kids have learned to do on the path so far to inspire and motivate them. This mean young people can work independently to produce their own outcomes and the functionality of their assistant is up to each young tech creator.
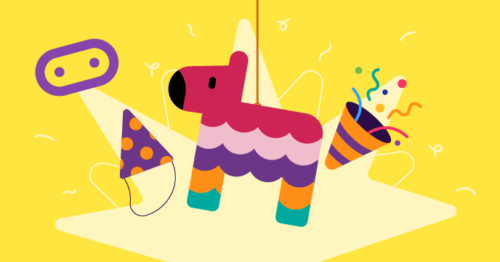
Invent project: Party game
The final project, Party game, encourages learners to independently replicate their favourite party game for entertainment and relaxation. Learners will combine all of the knowledge and skills they’ve gained throughout the path to make something of their own around the theme of well-being. This is a chance for them to unleash their creativity and reflect on real-life games they enjoy. The outcome will be unique, and fun for them to share with their friends and family.
Key questions answered
Who is this path for?
We have written these micro:bit coding projects with young people around the age of 6 to 13 in mind. Building the projects on the path does not require any previous coding experience, although complete beginners may want to try our free ‘Intro to Scratch’ path first.
What software do learners need to code these projects?
A web browser on a computer. In every project, starter code is provided in the MakeCode online code editor. Learners can either download their project code to a physical micro:bit (recommended) or use the micro:bit simulator in MakeCode.
Credit: David Bird
Young people who live where there isn’t constant internet connectivity can also download the offline version of the MakeCode editor. There are also free micro:bit coding apps for smartphones and tablets.
How long will the path take to complete?
We’ve designed the ‘Intro to micro:bit’ path to be completed in six one-hour sessions, with one hour per project. However, the project instructions invite learners to take additional time to upgrade their projects if they wish.
What can learners do next?
Take part in Coolest Projects
At the end of the micro:bit path, learners are encouraged to register a project they’re making with their new coding skills for Coolest Projects, our annual online technology showcase for young people around the world.
Taking part is free, and beginners as well as more experienced young tech creators are invited. This is their opportunity to share their ingenuity in an online gallery for the world and the Coolest Projects community to celebrate.
To provide the best experiences, we use technologies like cookies to store and/or access device information. Consenting to these technologies will allow us to process data such as browsing behavior or unique IDs on this site. Not consenting or withdrawing consent, may adversely affect certain features and functions.
Functional
Always active
The technical storage or access is strictly necessary for the legitimate purpose of enabling the use of a specific service explicitly requested by the subscriber or user, or for the sole purpose of carrying out the transmission of a communication over an electronic communications network.
Preferences
The technical storage or access is necessary for the legitimate purpose of storing preferences that are not requested by the subscriber or user.
Statistics
The technical storage or access that is used exclusively for statistical purposes.The technical storage or access that is used exclusively for anonymous statistical purposes. Without a subpoena, voluntary compliance on the part of your Internet Service Provider, or additional records from a third party, information stored or retrieved for this purpose alone cannot usually be used to identify you.
Marketing
The technical storage or access is required to create user profiles to send advertising, or to track the user on a website or across several websites for similar marketing purposes.