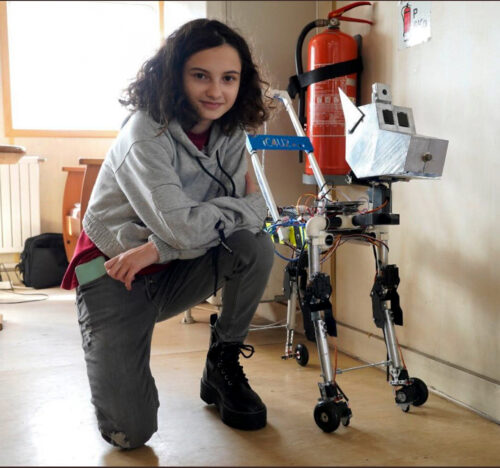
Post Syndicated from Pete Bell original https://www.raspberrypi.org/blog/artificial-intelligence-projects-for-kids/
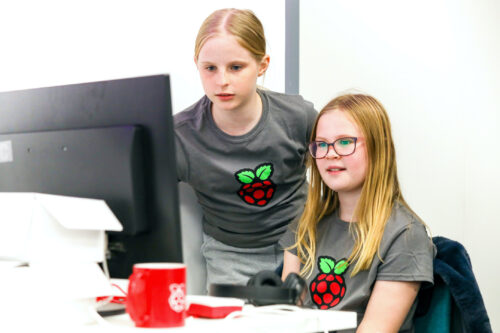
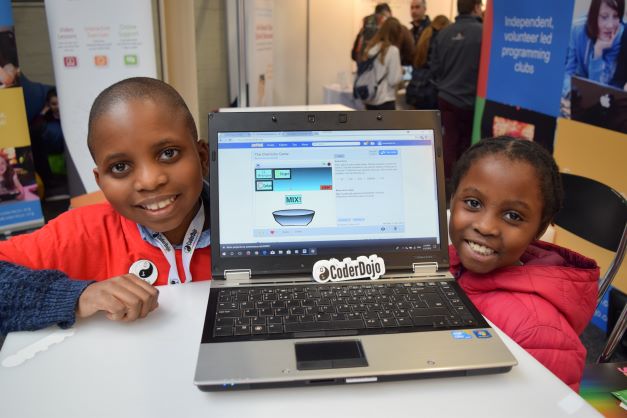
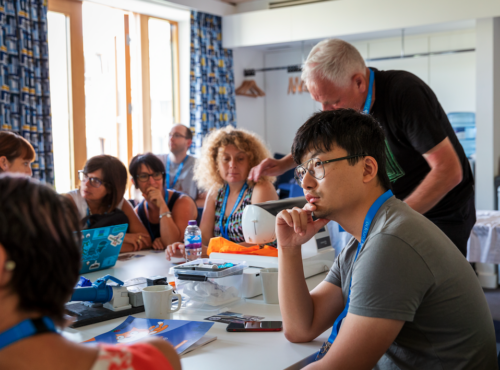
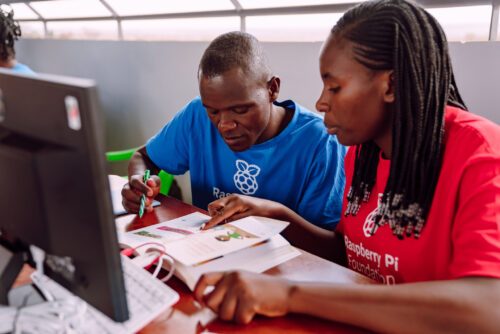
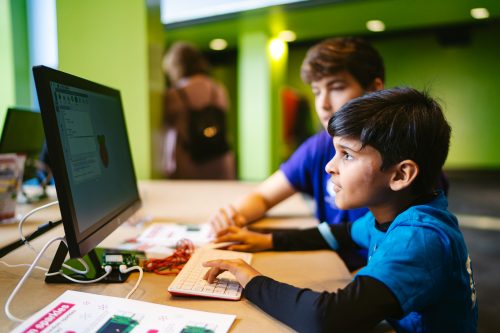
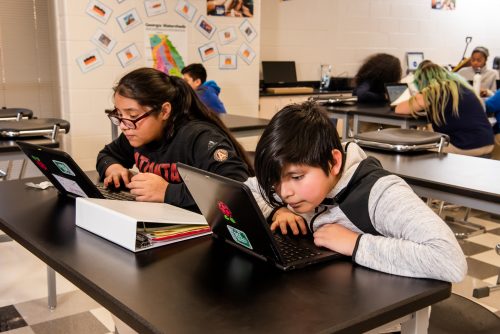
We’re pleased to share a new collection of Code Club projects designed to introduce creators to the fascinating world of artificial intelligence (AI) and machine learning (ML). These projects bring the latest technology to your Code Club in fun and inspiring ways, making AI and ML engaging and accessible for young people. We’d like to thank Amazon Future Engineer for supporting the development of this collection.

The value of learning about AI and ML
By engaging with AI and ML at a young age, creators gain a clearer understanding of the capabilities and limitations of these technologies, helping them to challenge misconceptions. This early exposure also builds foundational skills that are increasingly important in various fields, preparing creators for future educational and career opportunities. Additionally, as AI and ML become more integrated into educational standards, having a strong base in these concepts will make it easier for creators to grasp more advanced topics later on.
What’s included in this collection
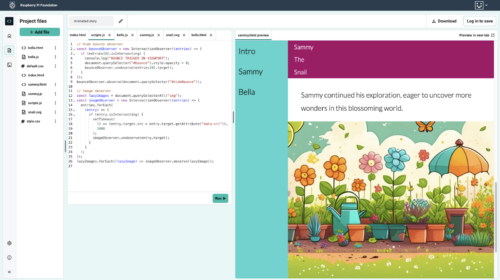
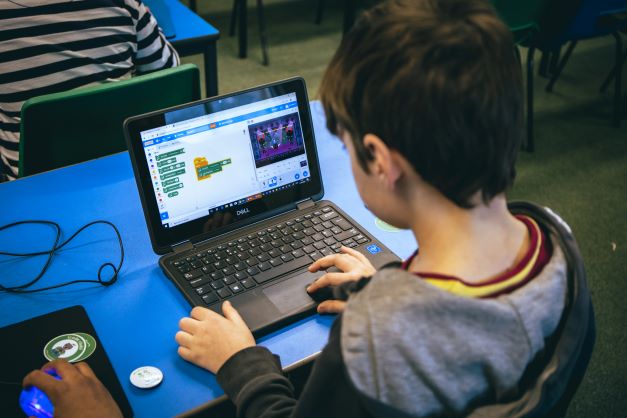
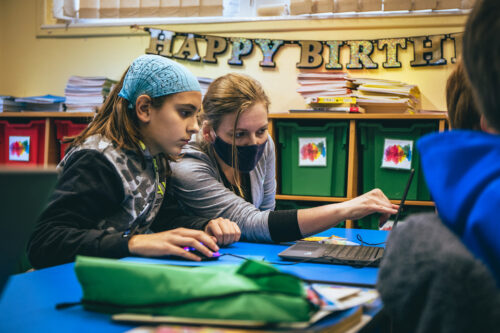
We’re excited to offer a range of AI and ML projects that feature both video tutorials and step-by-step written guides. The video tutorials are designed to guide creators through each activity at their own pace and are captioned to improve accessibility. The step-by-step written guides support creators who prefer learning through reading.
The projects are crafted to be flexible and engaging. The main part of each project can be completed in just a few minutes, leaving lots of time for customisation and exploration. This setup allows for short, enjoyable sessions that can easily be incorporated into Code Club activities.
The collection is organised into two distinct paths, each offering a unique approach to learning about AI and ML:
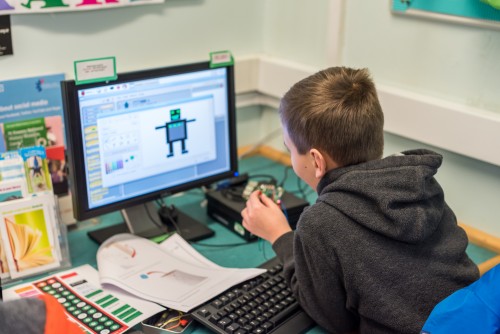
Machine learning with Scratch introduces foundational concepts of ML through creative and interactive projects. Creators will train models to recognise patterns and make predictions, and explore how these models can be improved with additional data.
The AI Toolkit introduces various AI applications and technologies through hands-on projects using different platforms and tools. Creators will work with voice recognition, facial recognition, and other AI technologies, gaining a broad understanding of how AI can be applied in different contexts.
Inclusivity is a key aspect of this collection. The projects cater to various skill levels and are offered alongside an unplugged activity, ensuring that everyone can participate, regardless of available resources. Creators will also have the opportunity to stretch themselves — they can explore advanced technologies like Adobe Firefly and practical tools for managing Ollama and Stable Diffusion models on Raspberry Pi computers.
Project examples
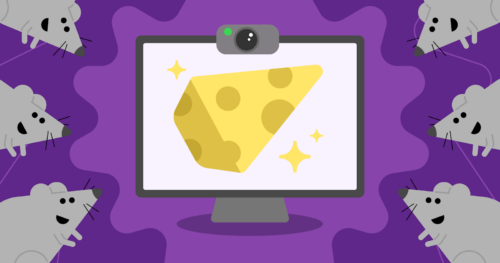
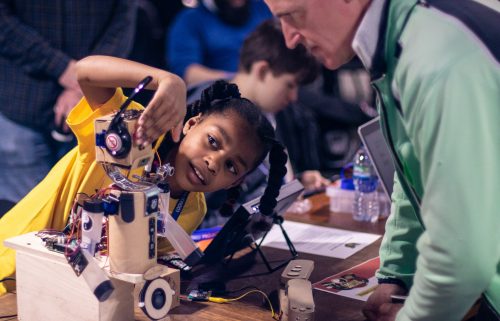
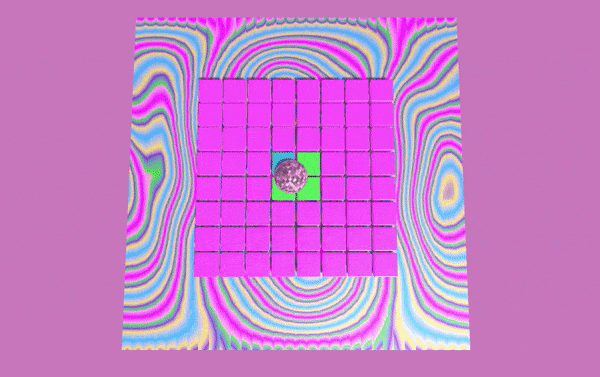
One of the highlights of our new collection is Chomp the cheese, which uses Scratch Lab’s experimental face recognition technology to create a game students can play with their mouth! This project offers a playful introduction to facial recognition while keeping the experience interactive and fun.
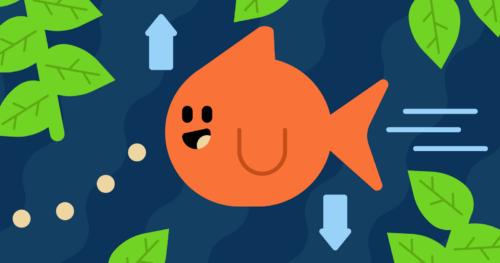
Fish food uses Machine Learning for Kids, with creators training a model to control a fish using voice commands.

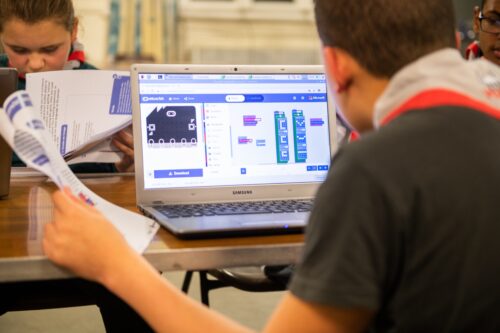
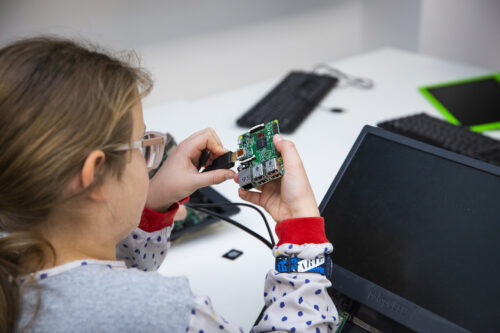
In Teach a machine, creators train a computer to recognise different objects such as fingers or food items. This project introduces classification in a straightforward way using the Teachable Machine platform, making the concept easy to grasp.

Apple vs tomato also uses Teachable Machine, but this time creators are challenged to train a model to differentiate between apples and tomatoes. Initially, the model exhibits bias due to limited data, prompting discussions on the importance of data diversity and ethical AI practices.
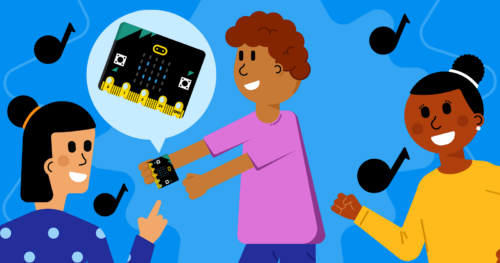
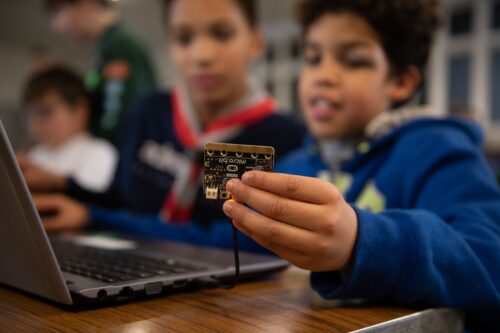
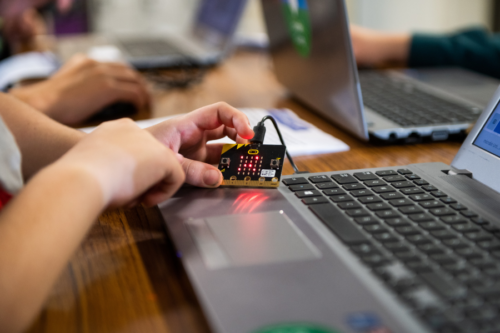
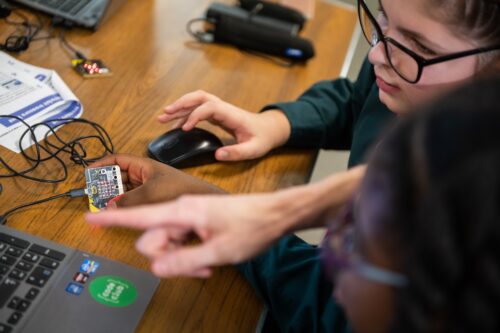
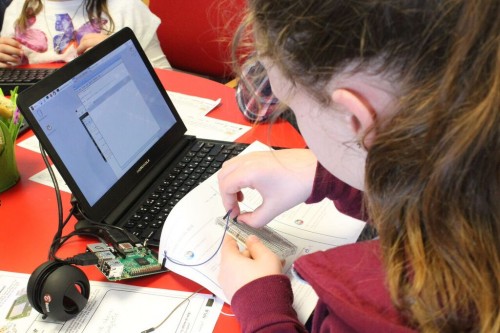
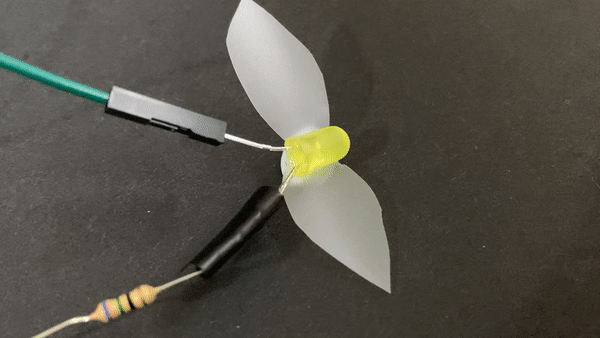
Dance detector allows creators to use accelerometer data from a micro:bit to train a model to recognise dance moves like Floss or Disco. This project combines physical computing with AI, helping creators explore movement recognition technology they may have experienced in familiar contexts such as video games.
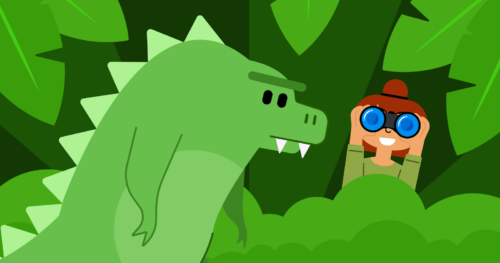
Dinosaur decision tree is an unplugged activity where creators use a paper-based branching chart to classify different types of dinosaurs. This hands-on project introduces the concept of decision-making structures, where each branch of the chart represents a choice or question leading to a different outcome. By constructing their own decision tree, creators gain a tactile understanding of how these models are used in ML to analyse data and make predictions.
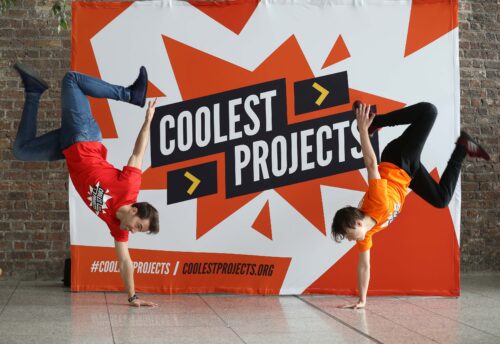
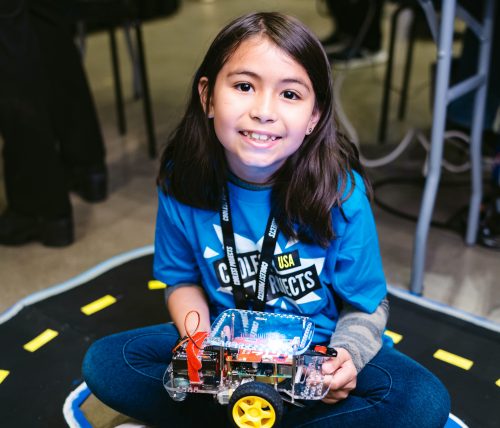
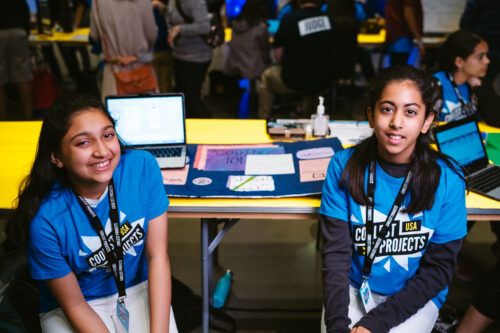
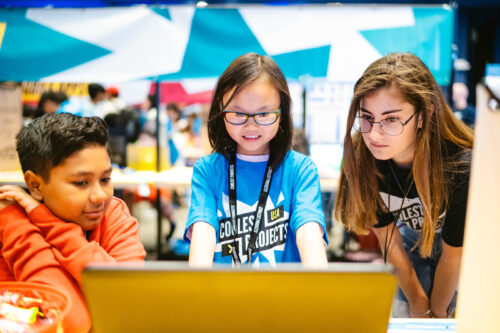
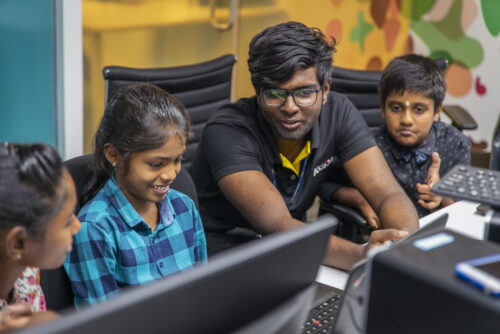
These AI projects are designed to support young people to get hands-on with AI technologies in Code Clubs and other non-formal learning environments. Creators can also enter one of their projects into Coolest Projects by taking a short video showing their project and any code used to make it. Their creation will then be showcased in the online gallery for people all over the world to see.
The post Introducing new artificial intelligence and machine learning projects for Code Clubs appeared first on Raspberry Pi Foundation.