Post Syndicated from Yo'av Moshe original https://blog.cloudflare.com/building-using-managed-components-webcm/

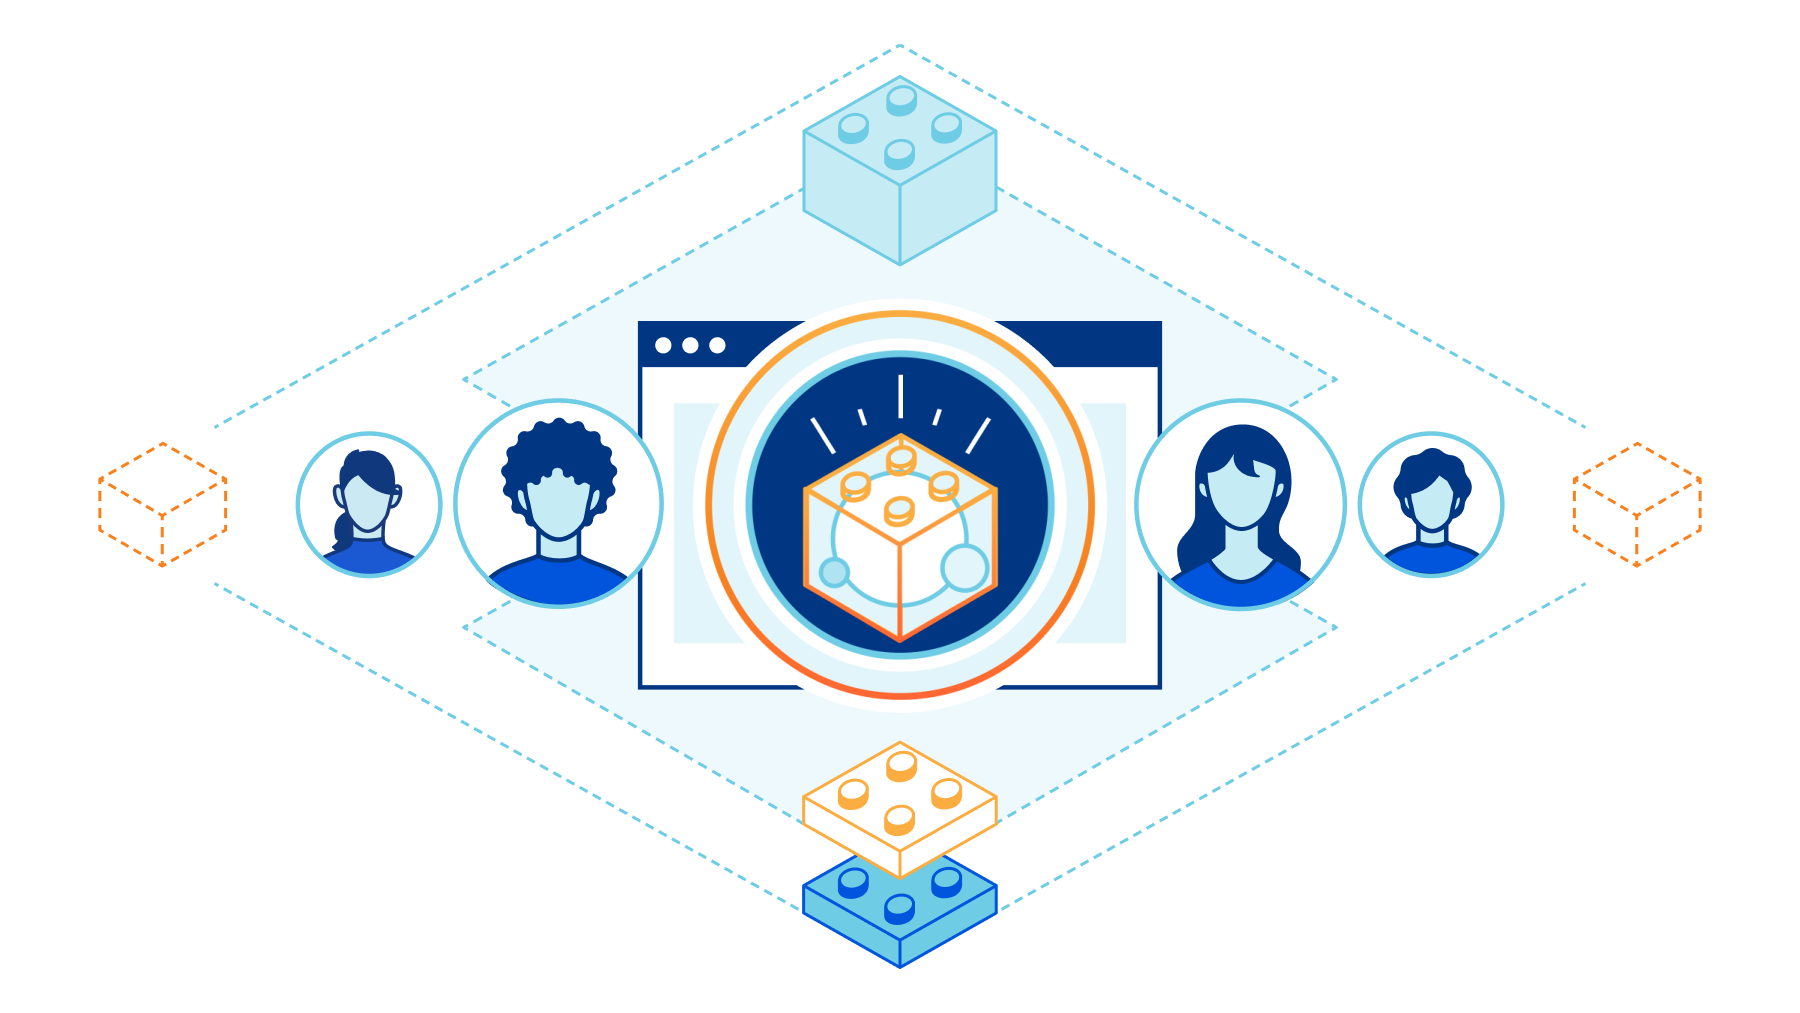
Managed Components are here to shake up the way third-party tools integrate with websites. Two months ago we announced that we’re open sourcing parts of the most innovative technologies behind Cloudflare Zaraz, making them accessible and usable to everyone online. Since then, we’ve been working hard to make sure that the code is well documented and all pieces are fun and easy to use. In this article, I want to show you how Managed Components can be useful for you right now, if you manage a website or if you’re building third-party tools. But before we dive in, let’s talk about the past.
Third-party scripts are a threat to your website
For decades, if you wanted to add an analytics tool to your site, a chat widget, a conversion pixel or any other kind of tool – you needed to include an external script. That usually meant adding some code like this to your website:
<script src=”https://example.com/script.js”></script>
If you think about it – it’s a pretty terrible idea. Not only that you’re now asking the browser to connect to another server, fetch and execute more JavaScript code – you’re also completely giving up the control on your website. How much do you really trust this script? And how much do you trust that the script’s server wasn’t hacked, or will never get hacked in the future? In the previous blog post we showed how including one script usually results in more network calls, hogging the browser and slowing everything down. But the worst thing about these scripts is that they are completely unrestricted: JavaScript code running in the browser can hijack users, steal their credentials or credit card information, use their devices to mine cryptocurrencies, manipulate your website, leak PII, and more. Since the code in those scripts is usually minified, it’s practically impossible for you to read it and figure out what it’s doing.
Managed Components change all that. Like apps on your phone, they’re built around a permissions system. You decide if you allow a component to connect to a remote server, if you allow it to use cookies, to run code, to inject a widget to pages and more. Unlike the world of minified external scripts, it is a framework that promotes transparency. Website owners can toggle permissions on and off, and if a Managed Component wasn’t granted a permission, it will not have access to the relevant API.
But Managed Components do more than wrapping the current system with permissions – they also provide functionality that was never available before: making server-side connections, caching information, using a key-value store, manipulating responses before they are handed to the browser and more. The core of this functionality comes from the ability to execute code outside the browser. Freeing the browser from running code that was previously executed in the browser, means that your website can become approximately 40% faster. It also results in a smaller attack surface in case your tool’s vendor gets hacked.
All of this is possible thanks to the new Managed Components API. We designed it together with vendors, to make sure you can use them to write any tool, while keeping performance, security and privacy a top priority. At its core, a Managed Component is just a JavaScript module, and so every JavaScript developer should feel right at home when building one. Check out the two examples in our previous blog post to see how they actually look like, or see some Managed Components we already open sourced on GitHub.
WebCM is the open source Component Manager
When tools are loaded with a <script> tag, their code is executed by the browser. Since Managed Components don’t run in the browser, their code needs to be executed somewhere else. This is the Component Manager. We designed the APIs around Managed Components deliberately to not be tied to a specific Component Manager, and in fact, there are already two in the world: Cloudflare Zaraz, and WebCM.
WebCM, Web-based Component Manager, is our open source reference implementation of a Component Manager. If you run a website, you can use WebCM today to run Managed Components on your website, even if you’re not a Cloudflare user. If you want to create a Managed Component, you can use it like an SDK.
Over the last few months, we’ve been helping vendors to write their own Managed Components, and we will continue to do so. We open sourced WebCM to ensure that Managed Components are a technology of the Web as a whole. Everyone should be able to use WebCM to load and create Managed Components. Let’s see how to use it!
Getting started with WebCM in 5 minutes
Getting started with WebCM is easier than you think. Because WebCM works like a proxy, you can use it regardless of how your website is built. In a new folder, create a simple HTML file and call it index.html:
<!DOCTYPE html>
<html lang=”en”>
  <head>
	<meta charset="UTF-8">
	<title>My Website</title>
  </head>
  <body>
    	<h1>WebCM test website</h1>
  </body>
</html>
Let’s serve this file by launching an HTTP serve in the same folder:
You can use Node.js:
npx http-server -p 8000
You can use Python:
python3 -m http.server
Or anything else that would serve our HTML file on http://localhost:8000/index.html.
Next, create a configuration file for WebCM. In a new directory, create a file called webcm.config.ts.
export default {
  components: [
    {
      name: 'demo',
      permissions: [
        'access_client_kv',
        'provide_server_functionality',
        'provide_widget',
        'serve_static_files',
        'client_network_requests',
      ],
    },
  ],
  target: 'http://127.0.0.1:8000',
  hostname: 'localhost',
  trackPath: '/webcm/track',
  ecommerceEventsPath: '/webcm/ecommerce',
  clientEventsPath: '/webcm/system',
  port: 8080
}
Let’s go over this configuration file:
componentsis an array that lists all the Managed Components you want to load. For now, we will load the demo component. Note that all we needed was to specify “demo”, and WebCM will go and get it from NPM for us. Other Managed Components are available on NPM too, and you can install components from other sources too. For each component, we’re defining whatpermissionswe are giving it. You can read more about the permissions in the specifications. If we try to add the component without granting it its required permissions, WebCM will alert us.targetis where our origin HTTP server runs. In the previous step, we set it to run on port 8000.portis the port under which WebCM will serve our website.hostnameis the host WebCM will bind to.trackPath,clientEventsPath,ecommerceEventsPathare paths that WebCM will use to send events from the browser to its backend. We can leave these paths as they are for now, and will see how they’re used later.
! Note: Node version 17 or higher is needed for the next section
While keeping your HTTP server running, and in the same directory as webcm.config.ts, run npx webcm. Node will fetch WebCM and start it for you, and WebCM will read the configuration. First, it will fetch the required components to a components folder. When done, it will start another server that proxies your origin.
If you open http://localhost:8080/index.html in your browser now, you’d see the same page you saw at http://localhost:8000/index.html. While the pages might look similar, the one running on port 8080 has our demo Managed Component running. Moving your mouse and clicking around the page should result in messages being printed in your WebCM terminal, showing that the component was loaded and that it is receiving data. You will also notice that the page now displays a simple weather widget – this a Managed Component Widget that got appended to your page. The weather information was fetched without the browser needing to contact any additional server, and WebCM can cache that information to make sure it is served fast. Lastly, if you go to http://localhost:8080/webcm/demo/cheese, you’ll see that the component is serving a static image of a cheese. This is an example of how Managed Components can expose new endpoints on your servers, if you allow them.
The Demo Component, like its name suggests, is just a demo. We use it to showcase and test the Managed Components APIs. What if we want to add a real Managed Component to our site? Google Analytics is used by more than half of the websites on the internet, so let’s see how we edit our webcm.config.ts file to load it.
export default {
  components: [
    {
      name: 'demo',
      permissions: [
        'access_client_kv',
        'provide_server_functionality',
        'provide_widget',
        'serve_static_files',
        'client_network_requests',
      ],
    },
    {
      name: 'google-analytics',
      settings: { 'tid': 'UA-XXXXXX' },
      permissions: [
        'access_client_kv',
      ],
    },
  ],
  target: 'http://127.0.0.1:8000',
  hostname: 'localhost',
  trackPath: '/webcm/track',
  ecommerceEventsPath: '/webcm/ecommerce',
  clientEventsPath: '/webcm/system',
  port: 8080
}
In the above example, we just replaced our demo component with the Google Analytics Managed Component. Note that this component requires much fewer permissions to run – that’s because it is running 100% server-side. Remember to replace UA-XXXXXX with your real Google Universal Analytics (version 3) account identifier.
Re-running `npx webcm` will now fetch the google-analytics Managed Component and run it, with the settings you provided. If you go now to your proxied website, you won’t see anything changed. But if you go to your Google Analytics dashboard, you will start seeing page views appearing on the Real Time view. WebCM loaded the component and is sending information server-side to Google Analytics.
There are many other components you can play around with, and we’re adding more all the time. Check out the Managed Components organization on NPM or on GitHub to see the full list.
Build your own Managed Component
Managed Components isn’t a closed library of tools you can use. As mentioned before – we are gradually open sourcing more tools from our library on GitHub. If you think our components are doing something weird – please let us know with an issue, or even make a PR. Managed Components are for the benefit of everyone. Over the past few months, the Cloudflare Zaraz community on Discord and on the Cloudflare Community Forum was extremely helpful in actively reporting issues, and so we’re excited to give them the option to take one step closer to the internals behind Cloudflare Zaraz.
While improving existing Managed Components is great, the thing we’re most thrilled about is that you can now build your own Managed Components too. If you’re a third-party tool vendor – this is a way for you to create a version of your tool that is safe and performant, so customers can discover and adopt your tool easily. If you’re a website developer, you might want to tinker with Managed Components to see what kind of things you can easily move away from the browser, for performance gains.
Let’s see how easy it is to create a Managed Component that listens to every page view on our website. Run npm init managed-component in the components directory that WebCM created, and create-managed-component will take you through the process of scaffolding your component files. To start with, our component will not use any special permissions, so you can select none.
Once we’re done with the wizard, we can open our src/index.ts file. By default, our component will add a listener to all page views:
import { ComponentSettings, Manager } from '@managed-components/types'

export default async function (manager: Manager, settings: ComponentSettings) {
  manager.addEventListener('pageview', event => {
    // do the things
  })
}
Let’s edit the comment line so that we can see whenever a page view happens. Note we also prefixed settings with a _ because we’re not using it now:
import { ComponentSettings, Manager } from '@managed-components/types'

export default async function (manager: Manager, _settings: ComponentSettings) {
  manager.addEventListener('pageview', event => {
    console.log(`New pageview at ${event.client.url}`)
  })
}
With these changes, the component will print the current URL whenever a page is viewed on the website. Before trying it out, we need to build our component. In the folder of your component run npm i && npm run build. Then, use the namespace of your component to add it to your webcm.config.ts file and restart WebCM:
export default {
  components: [
    {
      name: 'demo',
      permissions: [
        'access_client_kv',
        'provide_server_functionality',
        'provide_widget',
        'serve_static_files',
        'client_network_requests',
      ],
    },
    {
      name: 'google-analytics',
      settings: { 'tid': 'UA-123456' },
      permissions: [
        'access_client_kv',
      ],
    },
    {
      name: 'your-component-namespace',
      settings: {},
      permissions: [],
    },
  ],
  target: 'http://127.0.0.1:8000',
  hostname: 'localhost',
  trackPath: '/webcm/track',
  ecommerceEventsPath: '/webcm/ecommerce',
  clientEventsPath: '/webcm/system',
  port: 8080
}
This is a very simple component, but it shows how easy it is to build functionality that was previously only available in the browser. You can easily extend your component: use fetch next to the console.log statement and send information to your own analytics warehouse whenever a pageview happens on your site. Read about all the other Managed Components APIs to create widgets, listen to clicks, store cookies, use cache, and much more. These APIs allow you to build richer tools than it was ever possible before.
Your tool is better as a Managed Component
When we started working on Managed Components, many people were asking what would be the motivation of a tool vendor to build a Managed Component. During these last few months, we’ve learned that vendors are often excited about Managed Components for the same reasons we are – it provides a safe way to use their tools, and a streamlined way to integrate their tools in websites. Customers care deeply for these things, so having a Managed Component means that customers are more likely to try out your technology. Vendors will also get huge discoverability benefits, as their tools could be featured in the Cloudflare Zaraz dashboard, exposing them to tens of thousands of Zaraz-enabled websites. We are getting a lot of interest from major vendors in building a Managed Component, and we’re doing our best in actively supporting them in the process. If your company is interested in having a Managed Component, contact us.
We strongly believe that Managed Components can change the way third-party tools are used online. This is only the beginning of making them faster, secure and private. Together with users, and vendors, we will work on constantly improving the capabilities of Managed Components as a community, for the benefit of every user of the World Wide Web. To get started with building your Managed Component, head to managedcomponents.dev and start building. Our team is available to help you at [email protected].