Post Syndicated from Ben Everard original https://www.raspberrypi.org/blog/add-57600-pixels-to-your-raspberry-pi-pico/
In the latest issue of HackSpace magazine, Ben Everard tests whether a bit of kit from Spotpear can turn Raspberry Pi Pico into a games machine.
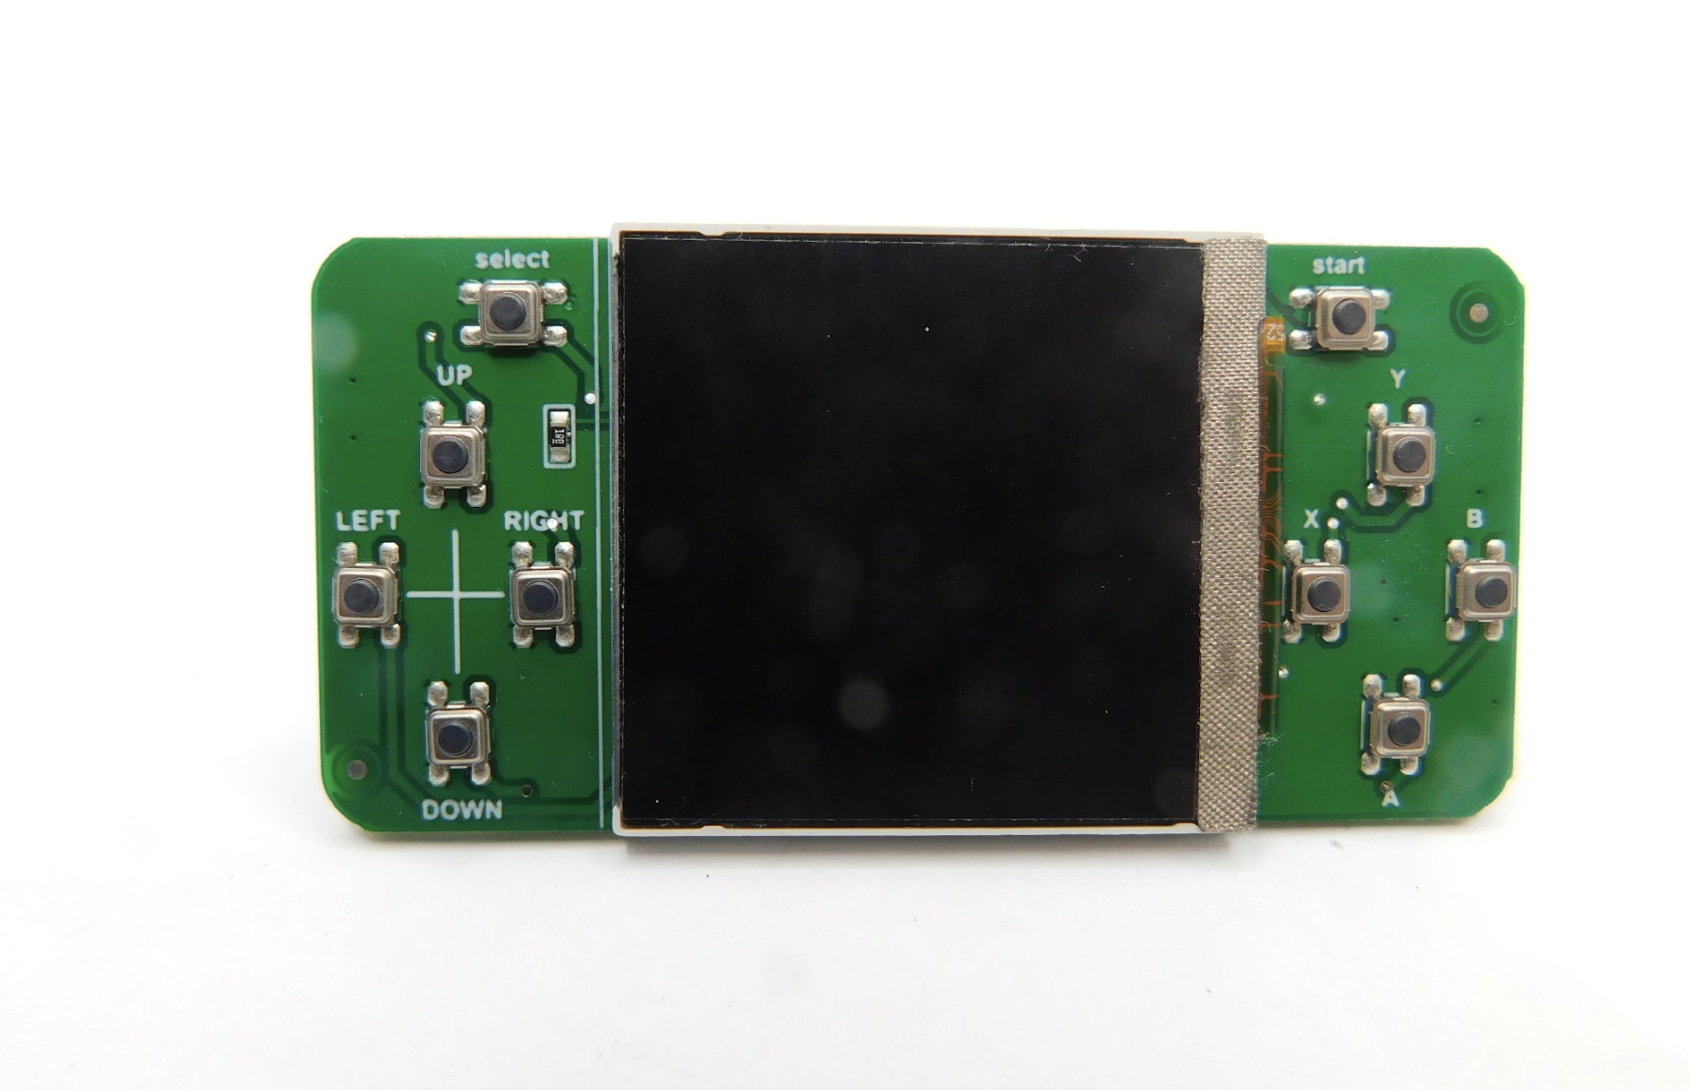
The snappily named Raspberry Pi Pico display 1.54-inch LCD by Spotpear ($11.89) brings in a 240×240 pixel IPS screen and ten buttons in a joypad-like arrangement. There’s four for direction, four for action, a select, and a start. At least, they’re labelled like this. You can use them for anything you like.
To help you get started, there’s a short manual, which includes example code for MicroPython and C.
This example code is easy enough to use, but it is a little messy. The mechanism for controlling the hardware isn’t separated into its own module, so you’re left with either the task of building the library yourself or having slightly untidy code. Not the biggest inconvenience, but compared to how neatly some maker hardware companies manage their code, we found ourselves off to a disappointing start.
There are also some sample UF2 files included along with the C example code, but these appear to have been built for different hardware and work either partially or not at all. The actual example code did compile and work properly.
Impressive quality
When we ran the example code, we were impressed with the quality of the screen. With 240×240 pixels in just 1.54 inches, there’s a high pixel density that can give crisp graphics. Obviously, high pixel densities are a double-edged sword. While they can look great, it does mean higher RAM use, more time transferring data, and more data to process.
Fortunately, Pico is well-suited to the task of driving screens. Each pixel can take 16 bits of colour data, so a full-frame buffer is just 115,200 bytes. The display data is transferred by SPI, and Pico has a maximum SPI frequency of half the clock speed. For MicroPython, that means 62.5MHz. The actual data transfer rate is a little less than this because of overhead of the protocol, but we were able to drive full-frame refreshes at over 40 fps, which is plenty for smooth animations.
Obviously, if you’re looking to do animations, sending the data is only half the story. You also need to calculate the frame before it’s displayed. If you’re using MicroPython, you are quite limited by the amount of processing you can do and still keep a high frame rate (though you could use the second core to offload some of the processing). With C, you’ve got much more scope, especially as you could potentially offload the data transfer using direct memory access (DMA).
Battery-sucking light
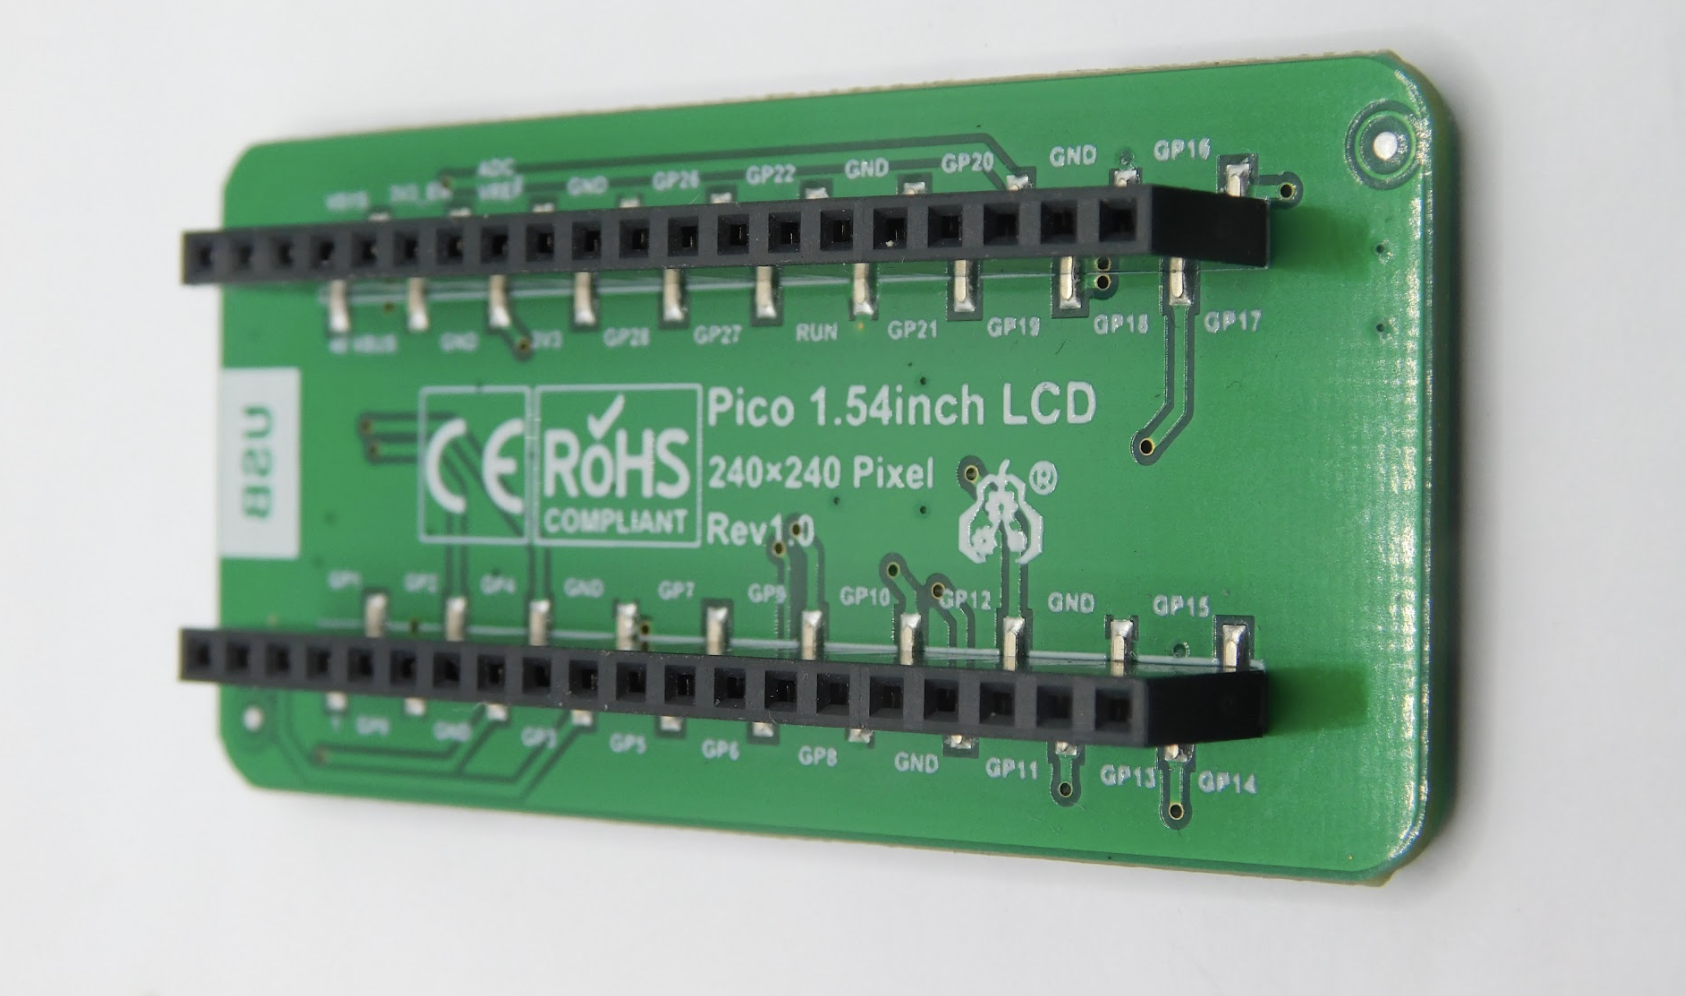
The one disappointing thing about the screen is that there’s no control over the backlight. According to the documentation, it should be attached to pin 13, but it isn’t. You can’t turn it on or off – it’s just permanently on, and quite bright. That’s a deal-breaker for anything running off battery power, as it will suck up a lot of power. However, if you want a display permanently on, this might be perfectly acceptable.
While we were quite impressed by the screen, we can’t say the same for the other part of the hardware – the buttons. They’re small, stiff, and have very little movement. The end result is a button that is hard to press, and hard to know if you’ve pressed it. They’re the sort of buttons that are commonly used as reset buttons as they’re hard to accidentally press.
We had hoped that this screen would make a good base for a games console, but unfortunately these buttons would just make for a frustrating experience. They might be OK for a menu-driven user interface, but that’s about it.
Another minor annoyance in this is the lack of any mounting holes. This makes it hard to embed into a project as the user interface.
We wanted to like this project. It’s got a good, high-res screen and a nice layout of buttons. However, the choice of components makes it hard to see how we’ll use this in our projects. We’re considering removing the surface-mount buttons and soldering wires onto them to make a more useful device, but if you’re going to go to that level of surgery, it’s probably better to start with a plain screen and work your way up from there.
Verdict
5/10
Good screen, but awful buttons
Price: $11.89
HackSpace magazine issue 46 out NOW!
Each month, HackSpace magazine brings you the best projects, tips, tricks and tutorials from the makersphere. You can get it from the Raspberry Pi Press online store or your local newsagents.
As always, every issue is free to download from the HackSpace magazine website.
The post Add 57,600 pixels to your Raspberry Pi Pico appeared first on Raspberry Pi.