Post Syndicated from Talia Nassi original https://aws.amazon.com/blogs/compute/token-based-authentication-for-ios-applications-with-amazon-sns/
This post is co-written by Karen Hong, Software Development Engineer, AWS Messaging.
To use Amazon SNS to send mobile push notifications, you must provide a set of credentials for connecting to the supported push notification service (see prerequisites for push). For the Apple Push Notification service (APNs), SNS now supports using token-based authentication (.p8), in addition to the existing certificate-based method.
You can now use a .p8 file to create or update a platform application resource through the SNS console or programmatically. You can publish messages (directly or from a topic) to platform application endpoints configured for token-based authentication.
In this tutorial, you set up an example iOS application. You retrieve information from your Apple developer account and learn how to register a new signing key. Next, you use the SNS console to set up a platform application and a platform endpoint. Finally, you test the setup and watch a push notification arrive on your device.
Advantages of token-based authentication
Token-based authentication has several benefits compared to using certificates. The first is that you can use the same signing key from multiple provider servers (iOS,VoIP, and MacOS), and you can use one signing key to distribute notifications for all of your company’s application environments (sandbox, production). In contrast, a certificate is only associated with a particular subset of these channels.
A pain point for customers using certificate-based authentication is the need to renew certificates annually, an inconvenient procedure which can lead to production issues when forgotten. Your signing key for token-based authentication, on the other hand, does not expire.
Token-based authentication improves the security of your certificates. Unlike certificate-based authentication, the credential does not transfer. Hence, it is less likely to be compromised. You establish trust through encrypted tokens that are frequently regenerated. SNS manages the creation and management of these tokens.
You configure APNs platform applications for use with both .p8 and .p12 certificates, but only 1 authentication method is active at any given time.
Setting up your iOS application
To use token-based authentication, you must set up your application.
Prerequisites: An Apple developer account
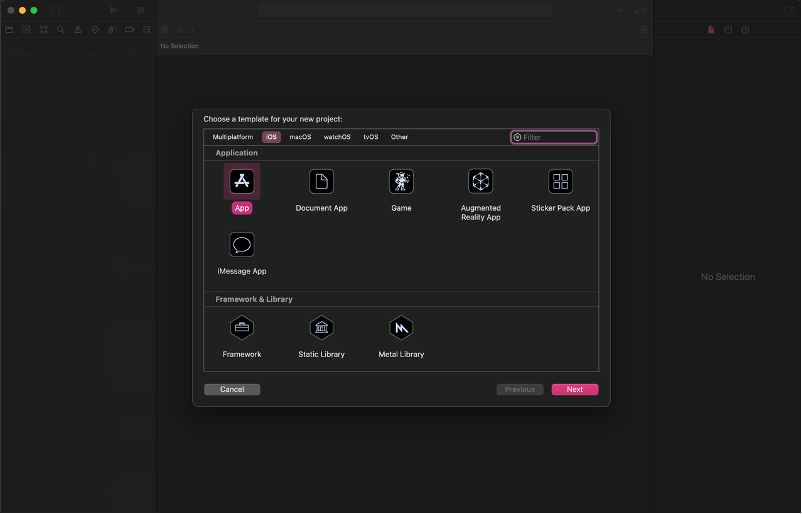
- Create a new XCode project. Select iOS as the platform and use the App template.

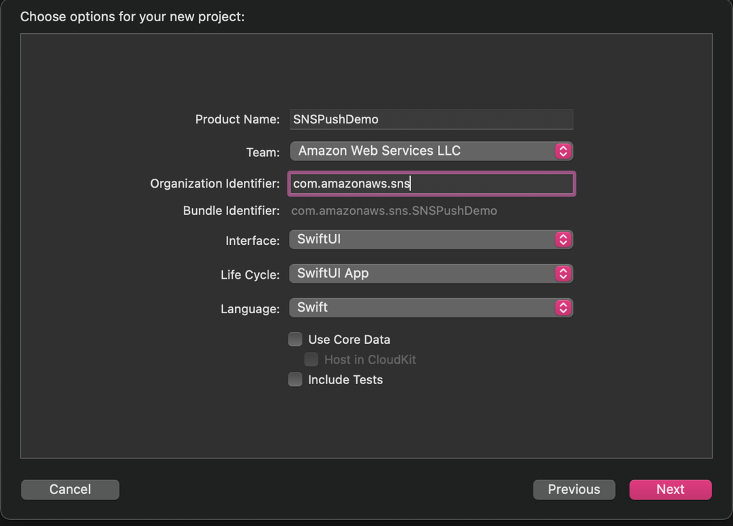
- Select your Apple Developer Account team and your organization identifier.

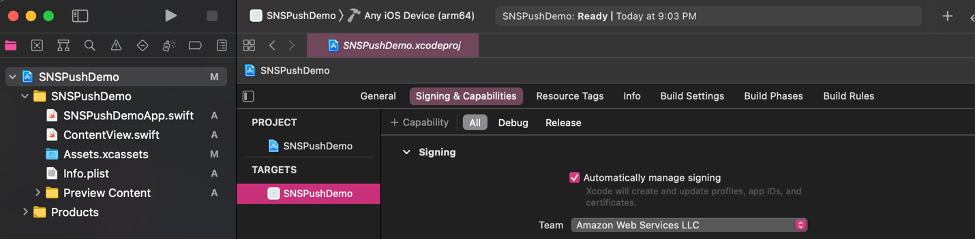
- Go to Signing & Capabilities and select + Capability. This step creates resources on your Apple Developer Account.

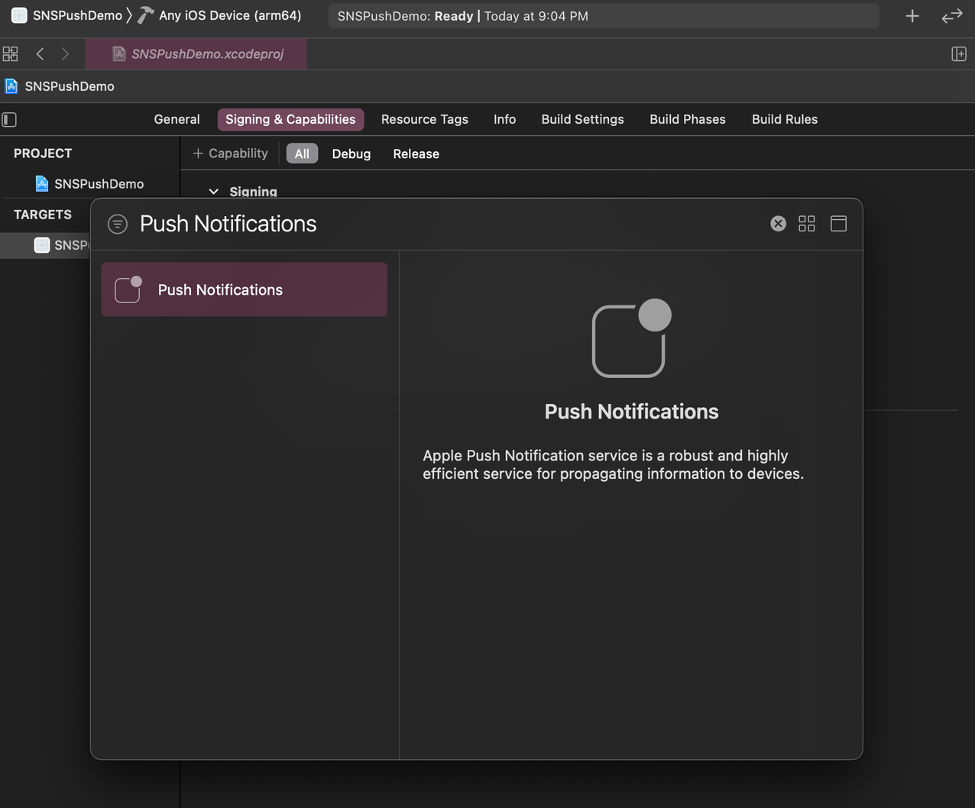
- Add the Push Notification Capability.

- In
SNSPushDemoApp.swift, add the following code to print the device token and receive push notifications.import SwiftUI @main struct SNSPushDemoApp: App { @UIApplicationDelegateAdaptor private var appDelegate: AppDelegate var body: some Scene { WindowGroup { ContentView() } } } class AppDelegate: NSObject, UIApplicationDelegate, UNUserNotificationCenterDelegate { func application(_ application: UIApplication, didFinishLaunchingWithOptions launchOptions: [UIApplication.LaunchOptionsKey : Any]? = nil) -> Bool { UNUserNotificationCenter.current().delegate = self return true } func application(_ application: UIApplication, didRegisterForRemoteNotificationsWithDeviceToken deviceToken: Data) { let tokenParts = deviceToken.map { data in String(format: "%02.2hhx", data) } let token = tokenParts.joined() print("Device Token: \(token)") }; func application(_ application: UIApplication, didFailToRegisterForRemoteNotificationsWithError error: Error) { print(error.localizedDescription) } func userNotificationCenter(_ center: UNUserNotificationCenter, willPresent notification: UNNotification, withCompletionHandler completionHandler: @escaping (UNNotificationPresentationOptions) -> Void) { completionHandler([.banner, .badge, .sound]) } } - In
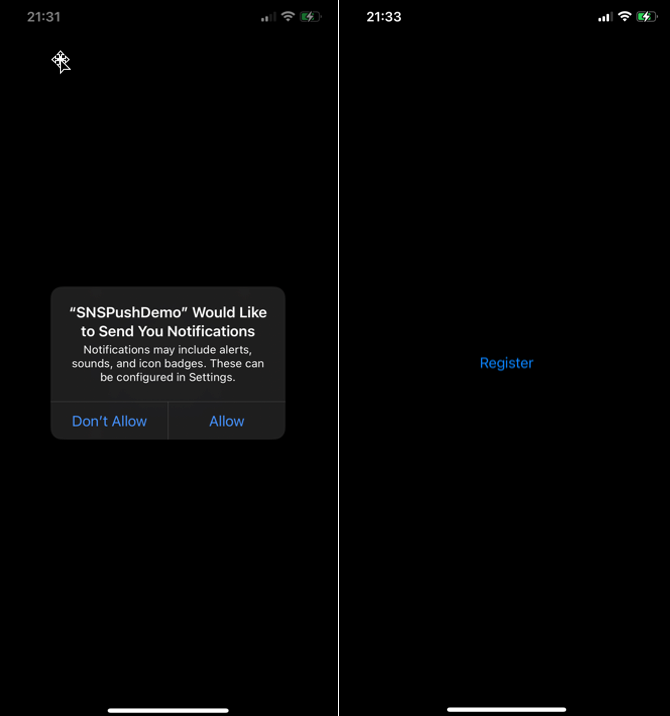
ContentView.swift, add the code to request authorization for push notifications and register for notifications.import SwiftUI struct ContentView: View { init() { requestPushAuthorization(); } var body: some View { Button("Register") { registerForNotifications(); } } } struct ContentView_Previews: PreviewProvider { static var previews: some View { ContentView() } } func requestPushAuthorization() { UNUserNotificationCenter.current().requestAuthorization(options: [.alert, .badge, .sound]) { success, error in if success { print("Push notifications allowed") } else if let error = error { print(error.localizedDescription) } } } func registerForNotifications() { UIApplication.shared.registerForRemoteNotifications() } - Build and run the app on an iPhone. The push notification feature does not work with a simulator.
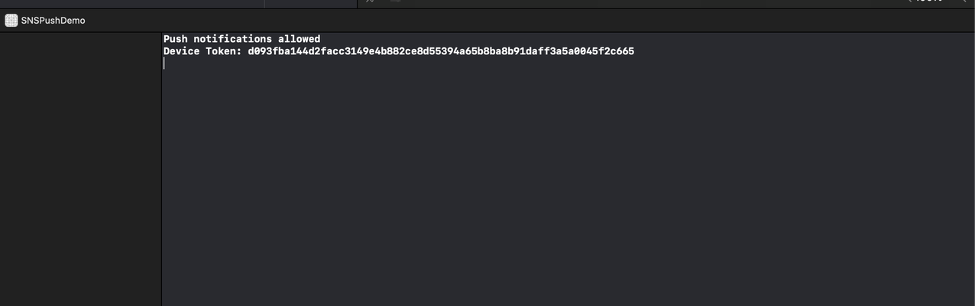
- On your phone, select allow notifications when the prompt appears. The debugger prints out “Push notifications allowed” if it is successful.

- On your phone, choose the Register button. The debugger prints out the device token.

- You have set up an iOS application that can receive push notifications and prints the device token. We can now use this app to test sending push notifications with SNS configured for token-based authentication.
Retrieving your Apple resources
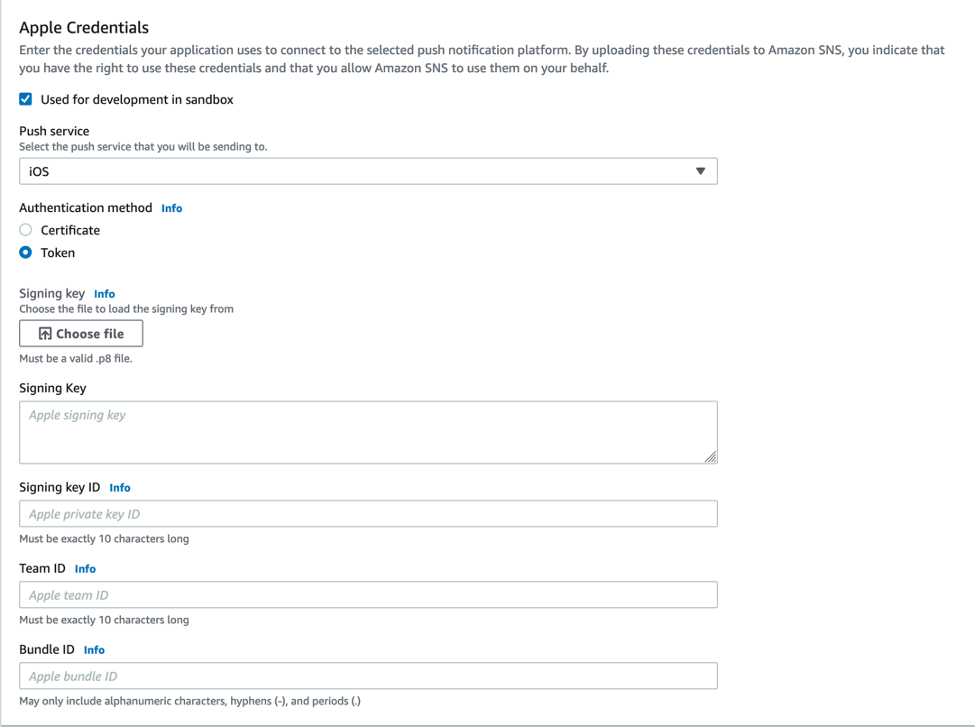
After setting up your application, you retrieve your Apple resources from your Apple developer account. There are four pieces of information you need from your Apple Developer Account: Bundle ID, Team ID, Signing Key, and Signing Key ID.
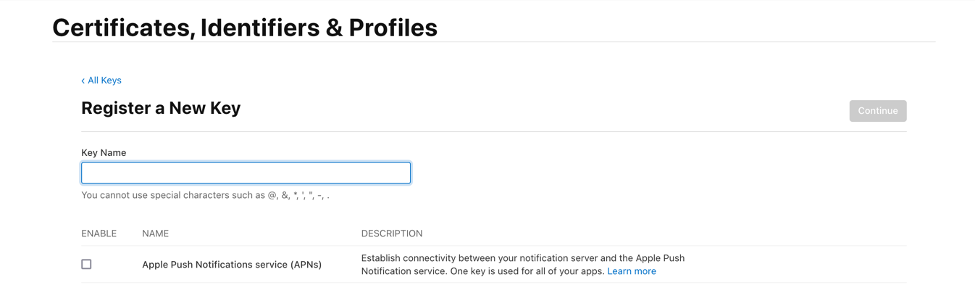
The signing key and signing key ID are credentials that you manage through your Apple Developer Account. You can register a new key by selecting the Keys tab under the Certificates, Identifiers & Profiles menu. Your Apple developer account provides the signing key in the form of a text file with a .p8 extension.
Find the team ID under Membership Details. The bundle ID is the unique identifier that you set up when creating your application. Find this value in the Identifiers section under the Certificates, Identifiers & Profiles menu.
Amazon SNS uses a token constructed from the team ID, signing key, and signing key ID to authenticate with APNs for every push notification that you send. Amazon SNS manages tokens on your behalf and renews them when necessary (within an hour). The request header includes the bundle ID and helps identify where the notification goes.
Creating a new platform application using APNs token-based authentication
Prerequisites
In order to implement APNs token-based authentication, you must have:
- An Apple Developer Account
- A mobile application
To create a new platform application:
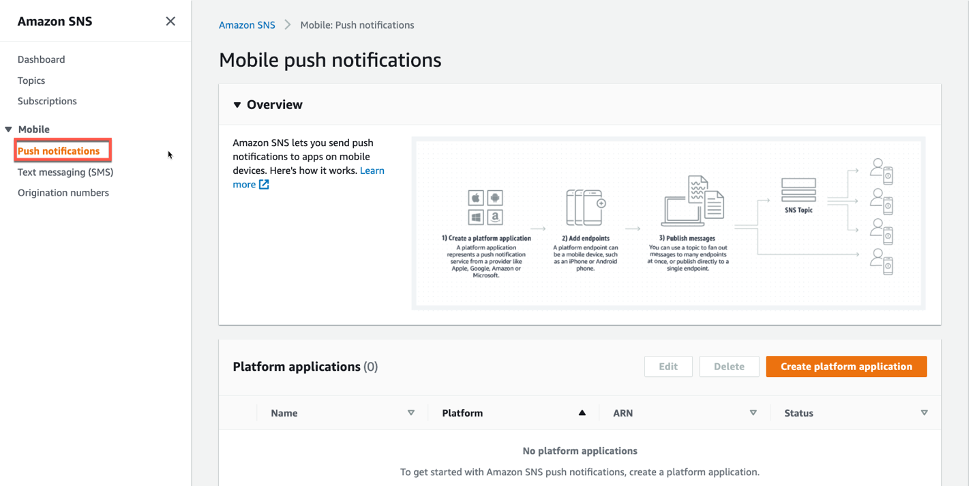
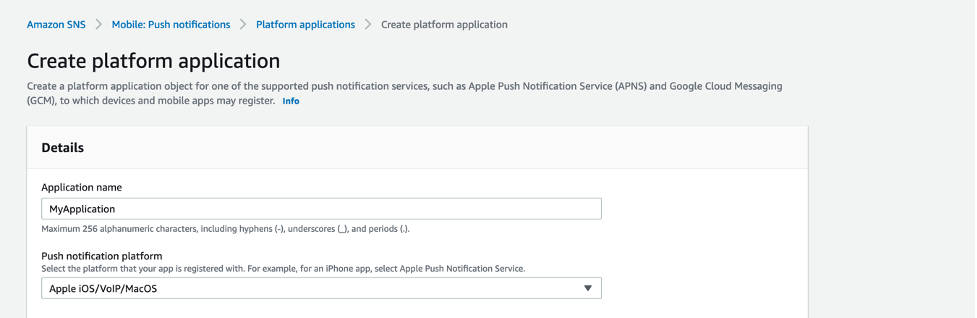
- Navigate to the Amazon SNS console and choose Push notifications. Then choose Create platform application.

- Enter a name for your application. In the Push notification platform dropdown, choose Apple iOS/VoIP/Mac.

- For the Push service, choose iOS, and for the Authentication method, choose Token. Select the check box labeled Used for development in sandbox. Then, input the fields from your Apple Developer Account.

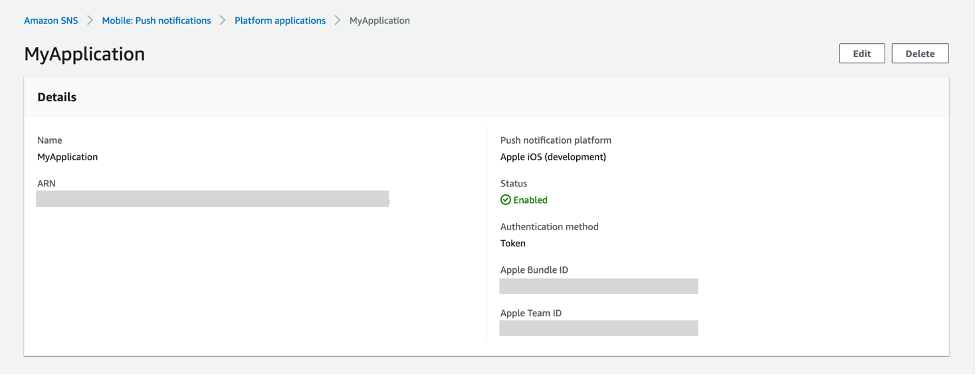
- You have successfully created a platform application using APNs token-based authentication.

Creating a new platform endpoint using APNs token-based authentication
A platform application stores credentials, sending configuration, and other settings but does not contain an exact sending destination. Create a platform endpoint resource to store the information to allow SNS to target push notifications to the proper application on the correct mobile device.
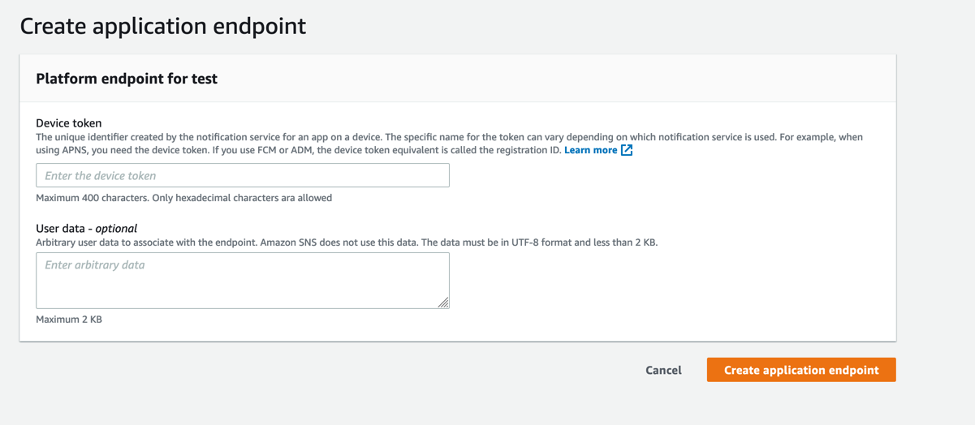
Any iOS application that is capable of receiving push notifications must register with APNs. Upon successful registration, APNs returns a device token that uniquely identifies an instance of an app. SNS needs this device token in order to send to that app. Each platform endpoint belongs to a specific platform application and uses the credentials and settings set in the platform application to complete the sending.
In this tutorial, you create the platform endpoint manually through the SNS console. In a real system, upon receiving the device token, you programmatically call SNS from your application server to create or update your platform endpoints.
These are the steps to create a new platform endpoint:
- From the details page of the platform application in the SNS console, choose Create application endpoint.

- From the iOS app that you set up previously, find the device token in the application logs. Enter the device token and choose Create application endpoint.

- You have successfully created a platform application endpoint.


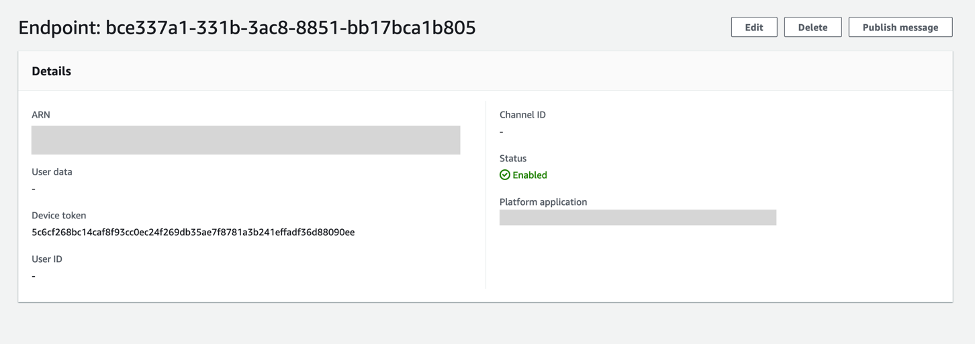
Testing a push notification from your device
In this section, you test a push notification from your device.
- From the details page of the application endpoint you just created, (this is the page you end up at immediately after creating the endpoint), choose Publish message.
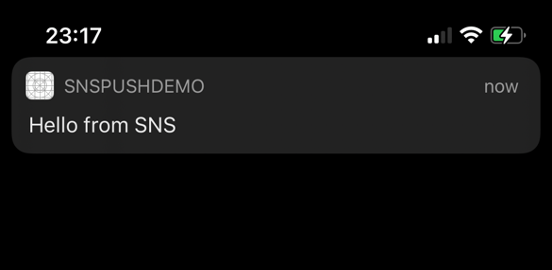
- Enter a message to send and choose Publish message.

- The notification arrives on your iOS app.


Conclusion
Developers sending mobile push notifications can now use a .p8 key to authenticate an Apple device endpoint. Token-based authentication is more secure, and reduces operational burden of renewing the certificates every year. In this post, you learn how to set up your iOS application for mobile push using token-based authentication, by creating and configuring a new platform endpoint in the Amazon SNS console.
To learn more about APNs token-based authentication with Amazon SNS, visit the Amazon SNS Developer Guide. For more serverless content, visit Serverless Land.