Post Syndicated from Navnit Shukla original https://aws.amazon.com/blogs/big-data/extract-servicenow-data-using-aws-glue-studio-in-an-amazon-s3-data-lake-and-analyze-using-amazon-athena/
Many different cloud-based software as a service (SaaS) offerings are available in AWS. ServiceNow is one of the common cloud-based workflow automation platforms widely used by AWS customers. In the past few years, we saw a lot of customers who wanted to extract and integrate data from IT service management (ITSM) tools like ServiceNow for various use cases:
- Generate insight from data – When you combine ServiceNow data with data from other services like CRM (such as Salesforce) or Martech data (such as Amazon Pinpoint) to generate better insights (e.g., building complete customer 360 view).
- Archive data for future business or regulatory requirements – You can archive the data in raw form in your data lake to work on future use cases or just keep it to satisfy regulatory requirements such as auditing.
- Improve performance by decoupling reporting or machine learning use cases from ITSM – When you move your ITSM reporting from ServiceNow to an Amazon Simple Storage Service (Amazon S3) data lake, there is no performance impact on your ServiceNow instance.
- Data democratization – You can extract the data and put it into a data lake so it can be available to other business users and units to explore and use.
Many customers have been building modern data architectures on AWS, which includes building data lakes on Amazon S3 and using broad and deep AWS analytics and an AI/ML services to extract meaningful information from data by combining data from different data sources.
In this post, we provide a step-by-step guide to bring data from ServiceNow to an S3 data lake using AWS Glue Studio and analyze the data with Amazon Athena.
Solution overview
In this solution, ServiceNow data is being extracted through AWS Glue using a Marketplace connector. AWS Glue provides built-in support for the most commonly used data stores (such as Amazon Redshift, Amazon Aurora, Microsoft SQL Server, MySQL, MongoDB, and PostgreSQL) using JDBC connections. AWS Glue also allows you to use custom JDBC drivers in your extract, transform, and load (ETL) jobs. For data stores that are not natively supported, such as SaaS applications, you can use connectors and stored in Amazon S3. The data is cataloged in the AWS Glue Data Catalog, and we use Athena to query the data.
AWS Glue is a serverless data integration service that makes it easy to discover, prepare, and combine data for analytics, machine learning (ML), and application development. AWS Glue provides all the capabilities needed for data integration so you can start analyzing your data and put it to use in minutes instead of months.
Amazon Athena is an interactive query service that makes it easy to analyze data in Amazon S3 using standard SQL. Athena is serverless, so there is no infrastructure to manage, and you pay only for the queries that you run.
ServiceNow is a cloud-based software platform for ITSM that helps to automate IT business management. It’s designed based on ITIL guidelines to provide service orientation for tasks, activities, and processes.
The following diagram illustrates our solution architecture.

To implement the solution, we complete the following high-level steps:
- Subscribe to the AWS Glue Connector Marketplace for ServiceNow from AWS Marketplace.
- Create a connection in AWS Glue Studio.
- Create an AWS Identity and Access Management (IAM) role for AWS Glue.
- Configure and run an AWS Glue job that uses the connection.
- Run the query against the data lake (Amazon S3) using Athena.
Prerequisites
For this walkthrough, you should have the following:
- An AWS account.
- A ServiceNow account. To follow along with this post, you can sign up for a developer account, which is pre-populated with sample records in many of the ServiceNow objects.
- ServiceNow connection properties credentials stored in AWS Secrets Manager. On the Secrets Manager console, create a new secret (select Other type of secrets) with a key-value pair for each property, for example:
- Username – ServiceNow Instance account user name (for example,
admin) - Password – ServiceNow Instance account password
- Instance – ServiceNow instance name without
httpsand.service-now.com
- Username – ServiceNow Instance account user name (for example,
Copy the secret name to use when configuring the connection in AWS Glue Studio.

Subscribe to the AWS Glue Marketplace Connector for ServiceNow
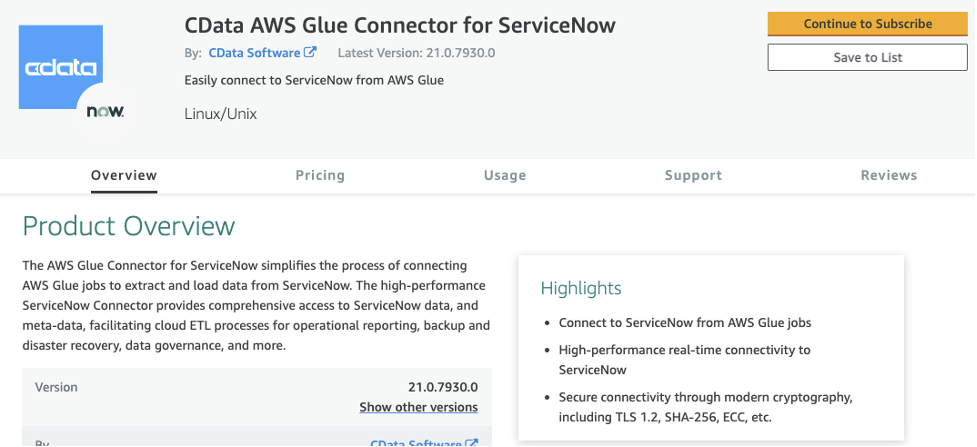
To connect, we use the AWS Glue Marketplace Connector for ServiceNow. You need to subscribe to the connector from AWS Marketplace.
The AWS Glue Marketplace Connector for ServiceNow is provided by third-party independent software vendor (ISV) listed on AWS Marketplace. Associated subscription fees and AWS usage fees apply once subscribed.
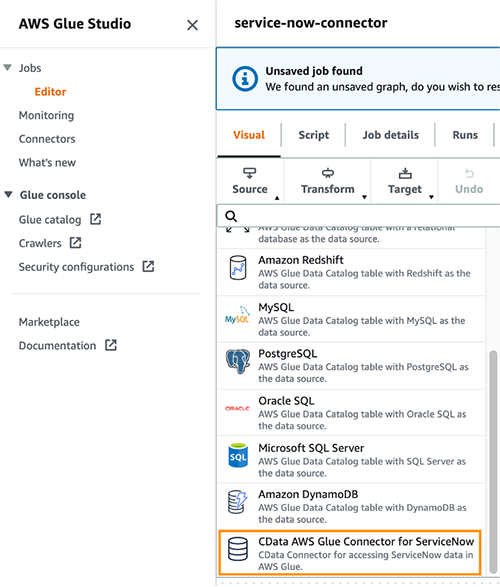
To use the connector in AWS Glue, you need to activate the subscribed connector in AWS Glue Studio. The activation process creates a connector object and connection in your AWS account.
- On the AWS Glue console, choose AWS Glue Studio.
- Choose Connectors.
- Choose Marketplace.
- Search for the CData AWS Glue Connector for ServiceNow.

After you subscribe to the connector, a new config tab appears on the AWS Marketplace connector page.
- Review the pricing and other relevant information.
- Choose Continue to Subscribe.
- Choose Accept Terms.
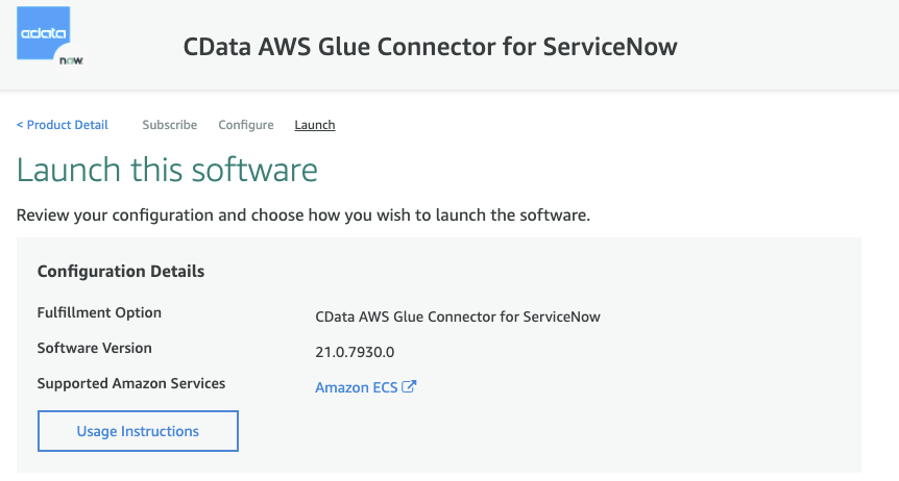
After you subscribe to the connector, the next steps are to configure it.
- Retain the default selections for Delivery Method and Software Version to use the latest connector software version.
- Choose Continue to Launch.

- Choose Usage Instructions.
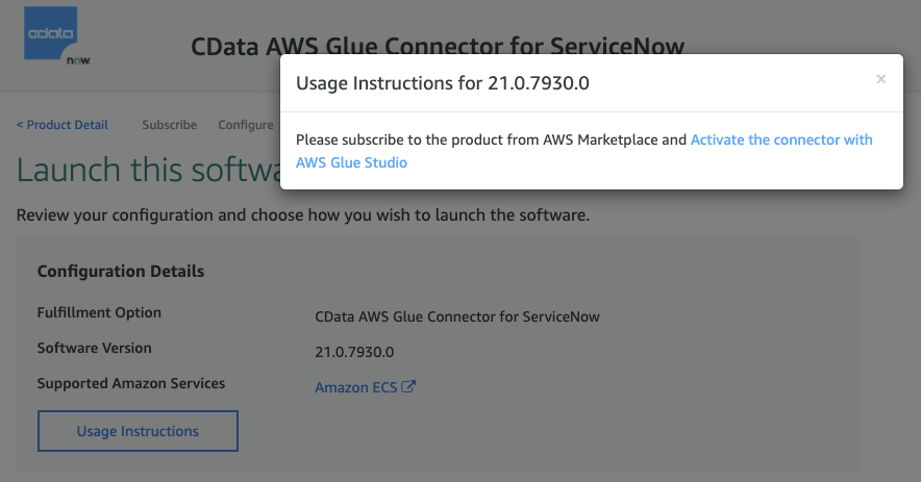
A pop-up appears with a hyperlink to activate the connector with AWS Glue Studio.
- Choose this link to start configuring the connection to your ServiceNow account in AWS Glue Studio.
Create a connection in AWS Glue Studio
Create a connection in AWS Glue Studio with the following steps:
- For Name, enter a unique name for your ServiceNow connection.
- For Connection credential type, choose username_password.
- For AWS Secret, choose the Secrets Manager secret you created as a prerequisite.
Don’t provide any additional details in the optional Credentials section because it retrieves the value from Secrets Manager.

- Choose Create connection and activate connector to finish creating the connection.
You should now be able to view the ServiceNow connector you subscribed to and its associated connection.

Create an IAM role for AWS Glue
The next step is to create an IAM role with the necessary permissions for the AWS Glue job. The name of the role must start with the string AWSGlueServiceRole for AWS Glue Studio to use it correctly. You need to grant your IAM role permissions that AWS Glue can assume when calling other services on your behalf. For more information, see Create an IAM Role for AWS Glue.
Attach the following AWS managed policies to the role:
- AmazonEC2ContainerRegistryReadOnly for accessing connectors purchased from AWS Marketplace.
- AWSGlueServiceRole for accessing related services such as Amazon Elastic Compute Cloud (Amazon EC2), Amazon S3, and Amazon CloudWatch Logs.
- If you’re accessing data found in Amazon S3, you need to add access to read and write to Amazon S3. Create and attach a policy with write access to the S3 bucket. For instructions, see Amazon S3: Allows read and write access to objects in an S3 Bucket.
- Lastly, if you’re using Secrets Manager to store confidential connection properties, you need to add an inline policy similar to the following, granting access to the specific secrets needed for the AWS Glue job:
For more information about permissions, see Review IAM permissions needed for the AWS Glue Studio user.
Configure and run the AWS Glue job
After you configure your connection, you can create and run an AWS Glue job.
Create a job that uses the connection
To create a job, complete the following steps:
- In AWS Glue Studio, choose Connectors.
- Select the connection you created.
- Choose Create job.

The visual job editor appears. A new source node, derived from the connection, is displayed on the job graph. In the node details panel on the right, the Data source properties tab is selected for user input.
Configure the source node properties
You can configure the access options for your connection to the data source on the Data source properties tab. For this post, we provide a simple walkthrough. Refer to the AWS Glue Studio User Guide for more information.
- On the Source menu, choose CData AWS Glue Connector for ServiceNow.
- On the Data source properties – Connector tab, make sure the source node for your connector is selected.
The Connection field is populated automatically with the name of the connection associated with the marketplace connector.
- Enter either a source table name or a query to use to retrieve data from the data source. For this post, we enter the table name incident.

- On the Transform menu, choose Apply Mapping.
- In a Node Property Tab, Select Node Parents CData AWS Glue Connector for ServiceNow.
- As we are connecting to an external data source; when you first look into Transform and Output schema tab; you won’t find the schema extracted from the source.
- In order for you to retrieve schema, Go to Data Preview tab, click on Start data preview session and select the IAM role you have created for this job.
- Once the Data preview is done, go to Data Source section and click on Use datapreview schema.
- Go to Transform and Check all the columns where Data Type showing as NULL.

- On the Target menu, choose Amazon S3.
- On the Data target properties – S3 tab, for Format, choose Parquet.
- For Compression Type, choose GZIP.
- For S3 Target Location, enter the Amazon S3 location to store the data.
- For Data Catalog update options, select Create a table in the Data Catalog and on subsequent runs, keep existing schema and add new partitions.
- For Database, enter
sampledb. - For Table name, enter
incident.

Edit, save, and run the job
Edit the job by adding and editing the nodes in the job graph. See Editing ETL jobs in AWS Glue Studio for more information.
After you edit the job, enter the job properties.
- Choose the Job details tab above the visual graph editor.
- For Name, enter a job name.
- For IAM Role, choose an IAM role with the necessary permissions, as described previously.
- For Type, choose Spark.
- For Glue version, choose Glue 3.0 – Supports spark 3.1, Scala 2, Python 3.
- For Language, choose Python 3.
- Worker type : G.1X
- Requested number of workers: 2
- Number of retries: 1
- Job timeout (minutes): 3
- Use the default values for the other parameters.
For more information about job parameters, see Defining Job Properties for Spark Jobs.

12. After you save the job, choose Run to run the job.
Note – Running the Glue Job incur cost. You can learn more about AWS Glue Pricing here.
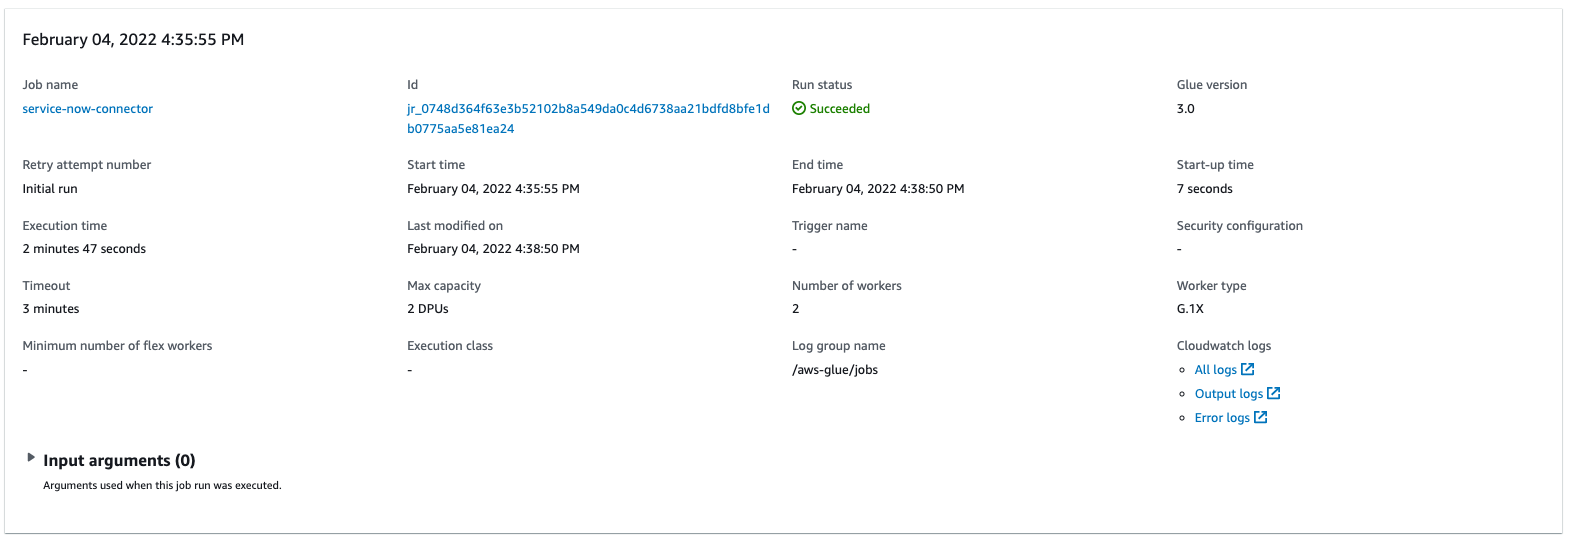
To view the generated script for the job, choose the Script tab at the top of the visual editor. The Job runs tab shows the job run history for the job. For more information about job run details, see View information for recent job runs.
Query against the data lake using Athena
After the job is complete, you can query the data in Athena.
- On the Athena console, choose the
sampledbdatabase.
You can view the newly created table called incident.
- Choose the options icon (three vertical dots) and choose Preview table to view the data.
Now let’s perform some analyses.
- Find all the incident tickets that are escalated by running the following query:

- Find ticket count with priority:

Conclusion
In this post, we demonstrated how you can use an AWS Glue Studio connector to connect from ServiceNow and bring data into your data lake for further use cases.
AWS Glue provides built-in support for the most commonly used data stores (such as Amazon Redshift, Amazon Aurora, Microsoft SQL Server, MySQL, MongoDB, and PostgreSQL) using JDBC connections. AWS Glue also allows you to use custom JDBC drivers in your extract, transform, and load (ETL) jobs. For data stores that are not natively supported, such as SaaS applications, you can use connectors.
To learn more, refer to the AWS Glue Studio Connector, AWS Glue Studio User Guide and Athena User Guide.
About the Authors
 Navnit Shukla is AWS Specialist Solution Architect in Analytics. He is passionate about helping customers uncover insights from their data. He builds solutions to help organizations make data-driven decisions.
 Srikanth Sopirala is a Principal Solutions Architect at AWS. He is a seasoned leader with over 20 years of experience, who is passionate about helping customers build scalable data and analytic solutions to gain timely insights and make critical business decisions. In his spare time, he enjoys reading, spending time with his family, and road biking.
 Naresh Gautam is a Principal Solutions Architect at AWS. His role is helping customers architect highly available, high-performance, and cost-effective data analytics solutions to empower customers with data-driven decision-making. In his free time, he enjoys meditation and cooking.