Post Syndicated from Ashley Whittaker original https://www.raspberrypi.org/blog/game-boy-raspberry-pi-insides-dmgplus/
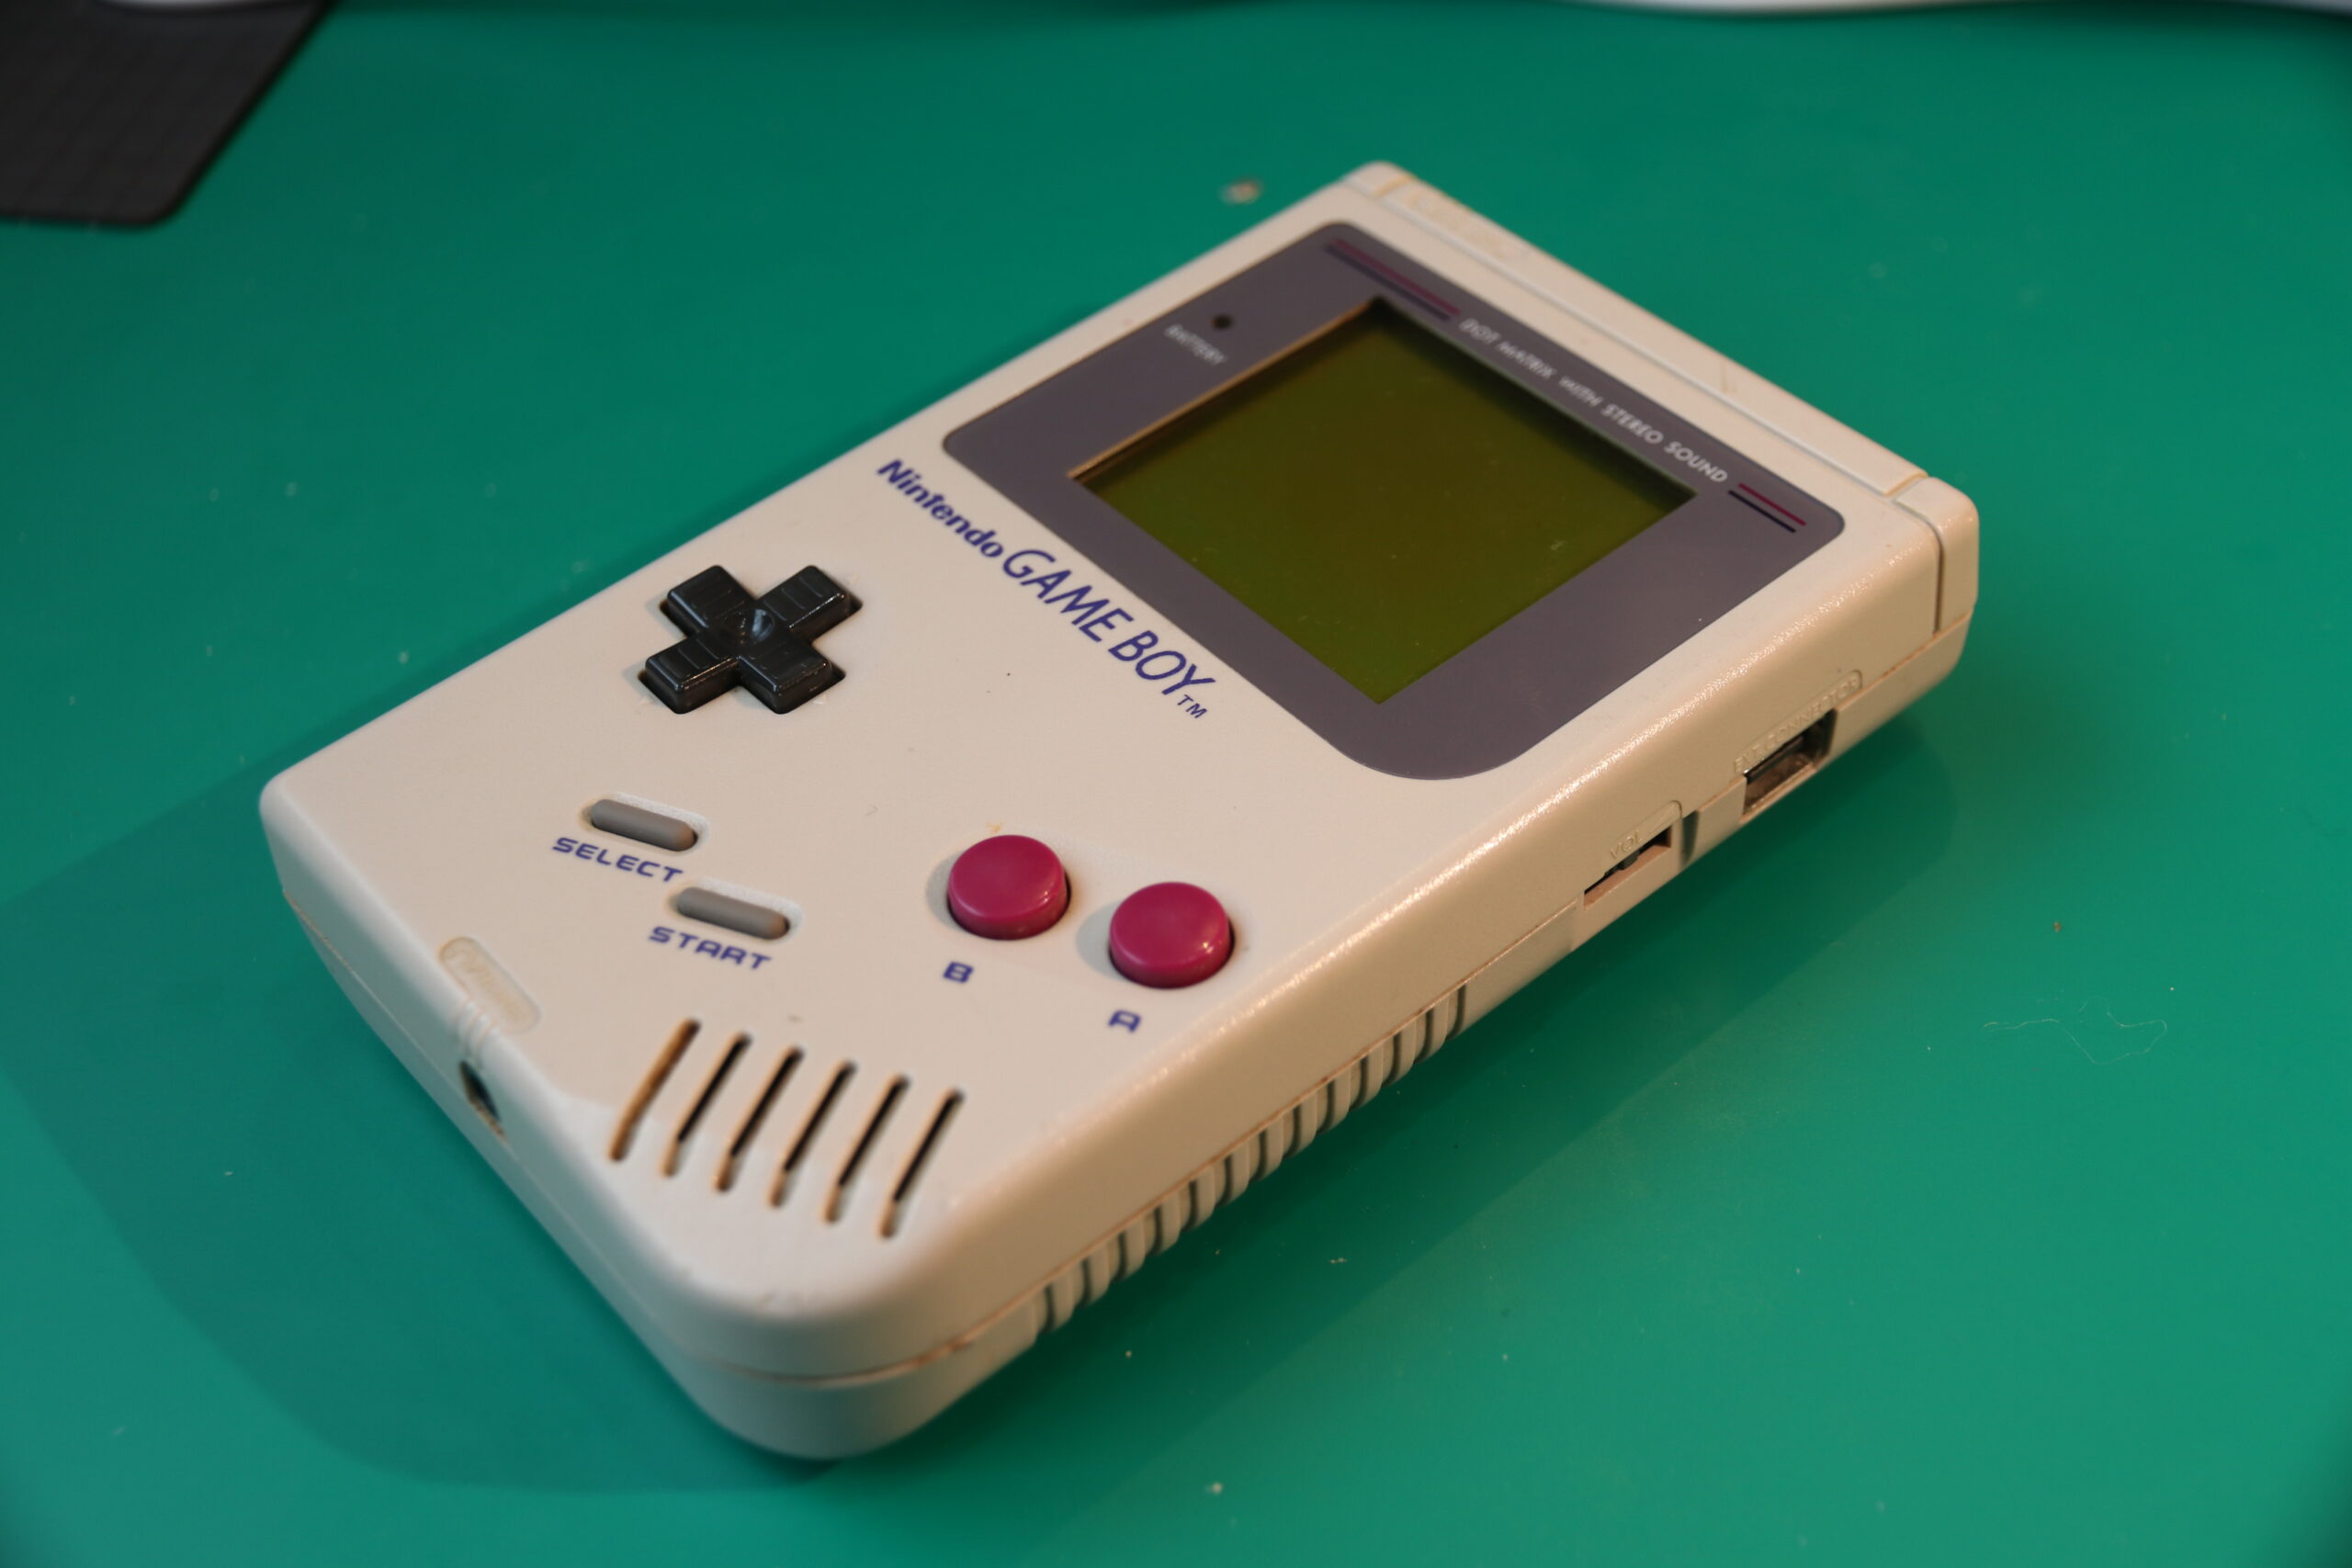
In the latest issue of The MagPi Magazine, Jeroen Domburg showcases his refurbed Nintendo Game Boy.
The Nintendo Game Boy – the iconic handheld video game console launched in 1989 – is no stranger to the pages of The MagPi. We’ve seen makers either stuff a Raspberry Pi computer into an original case or buy off-the-shelf projects, such as the superb RetroFlag GPi, and create their own from scratch. It’s great to see the device kept alive.
But just as we thought we’d seen it all, along came Jeroen Domburg, aka Sprite_tm. Like us, he’d seen a reasonable number of people modifying Game Boy cases to create portable RetroPie machines. “But because they wanted the thing to emulate as many consoles as possible, they usually went all-out with the modifications: high-resolution screen, Li-ion battery, HDMI and USB, multiple front buttons, shoulder buttons, the works,” he says.
“Obviously this would work really well, but it went against the original Game Boy looks. The projects could look like a weird mutation and it made me think, what if I went the other way? What if instead of sacrificing the original looks for playability, I sacrificed playability for the original looks?” Welcome then, DMGPlus: a handheld that looks familiar but has its internals replaced by something more powerful.
Pressing the right buttons
That something includes a Raspberry Pi Zero computer and a replacement motherboard containing a lower power, high performance ICE40 field-programmable gate array (FPGA). These are fixed either side of a new, printed circuit board, replacing the CPU, GPU, and memory.
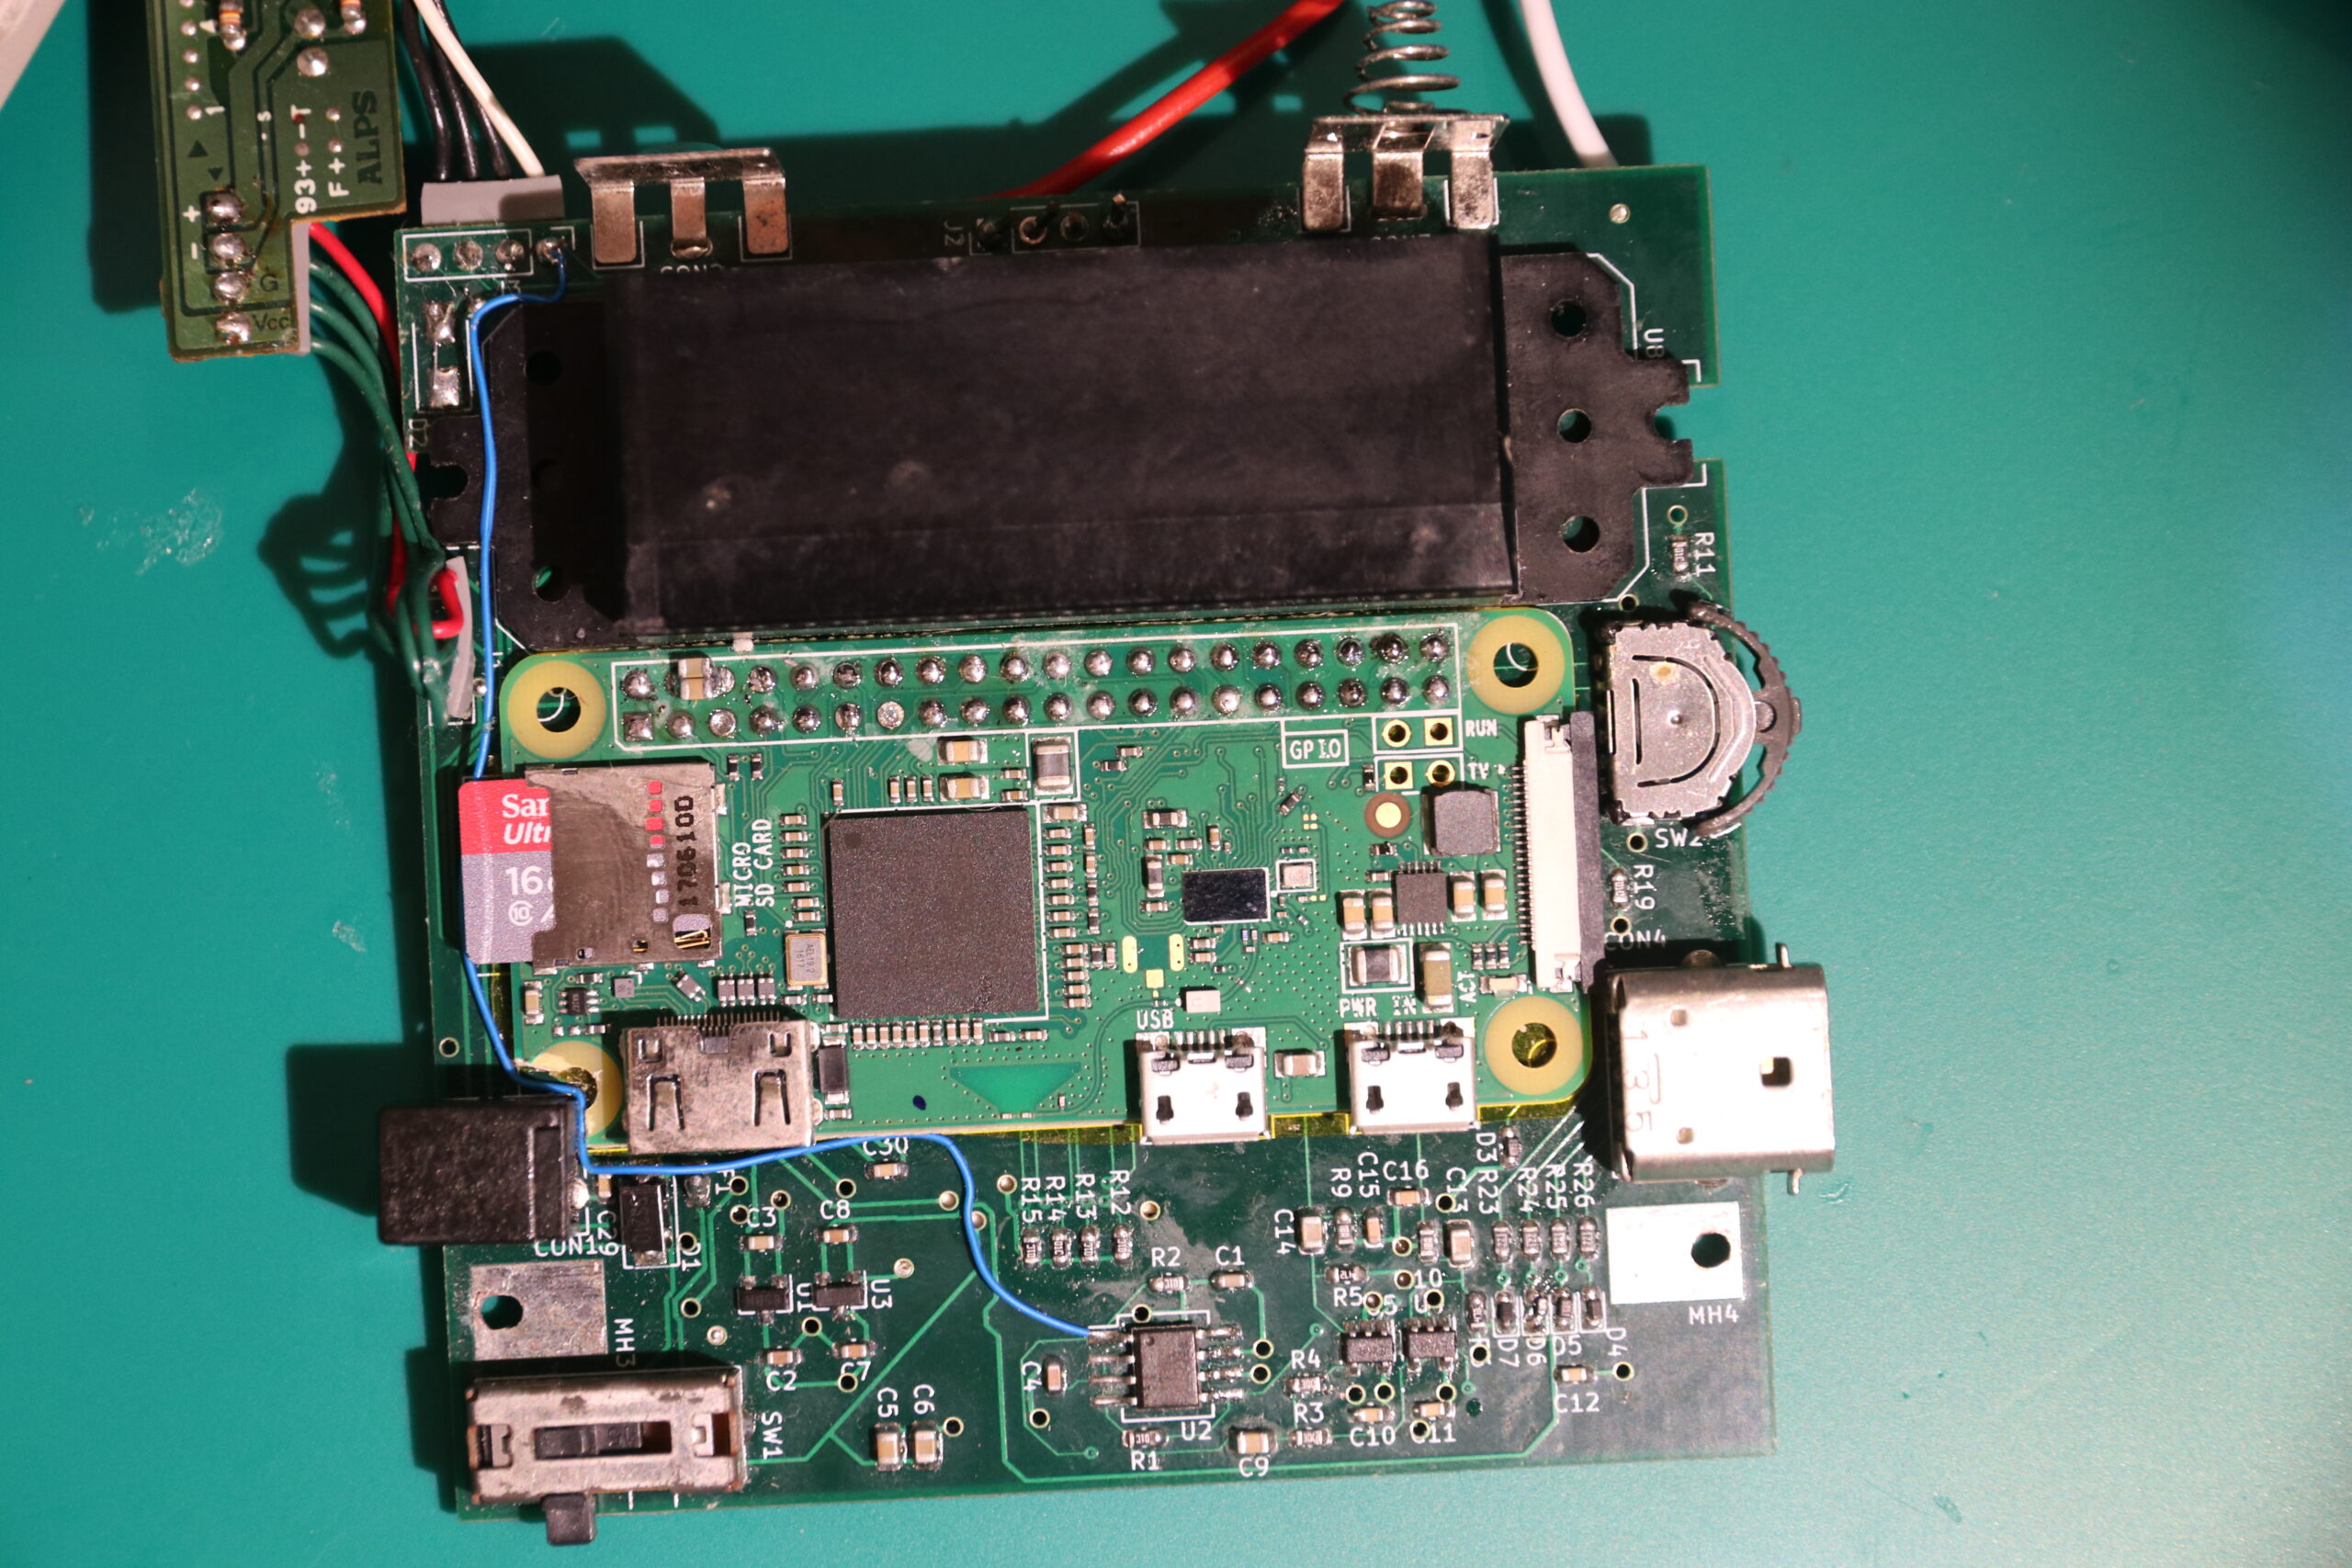
Jeroen has retained the buttons, cartridge port, speaker, and link port, with everything capable of being run from four AA batteries, just like the original. “I did change the LCD a little bit by driving it in a smart way so that it can display 16 greys instead of the original four,” he enthuses.
And the upshot of that? “It ends up substantially increasing the number of games the Game Boy can play,” he continues. “Because of emulation, all of a sudden you can have access to games that originally ran on other consoles, some of which have specs way better than the original Game Boy.”
Work hard, play hard
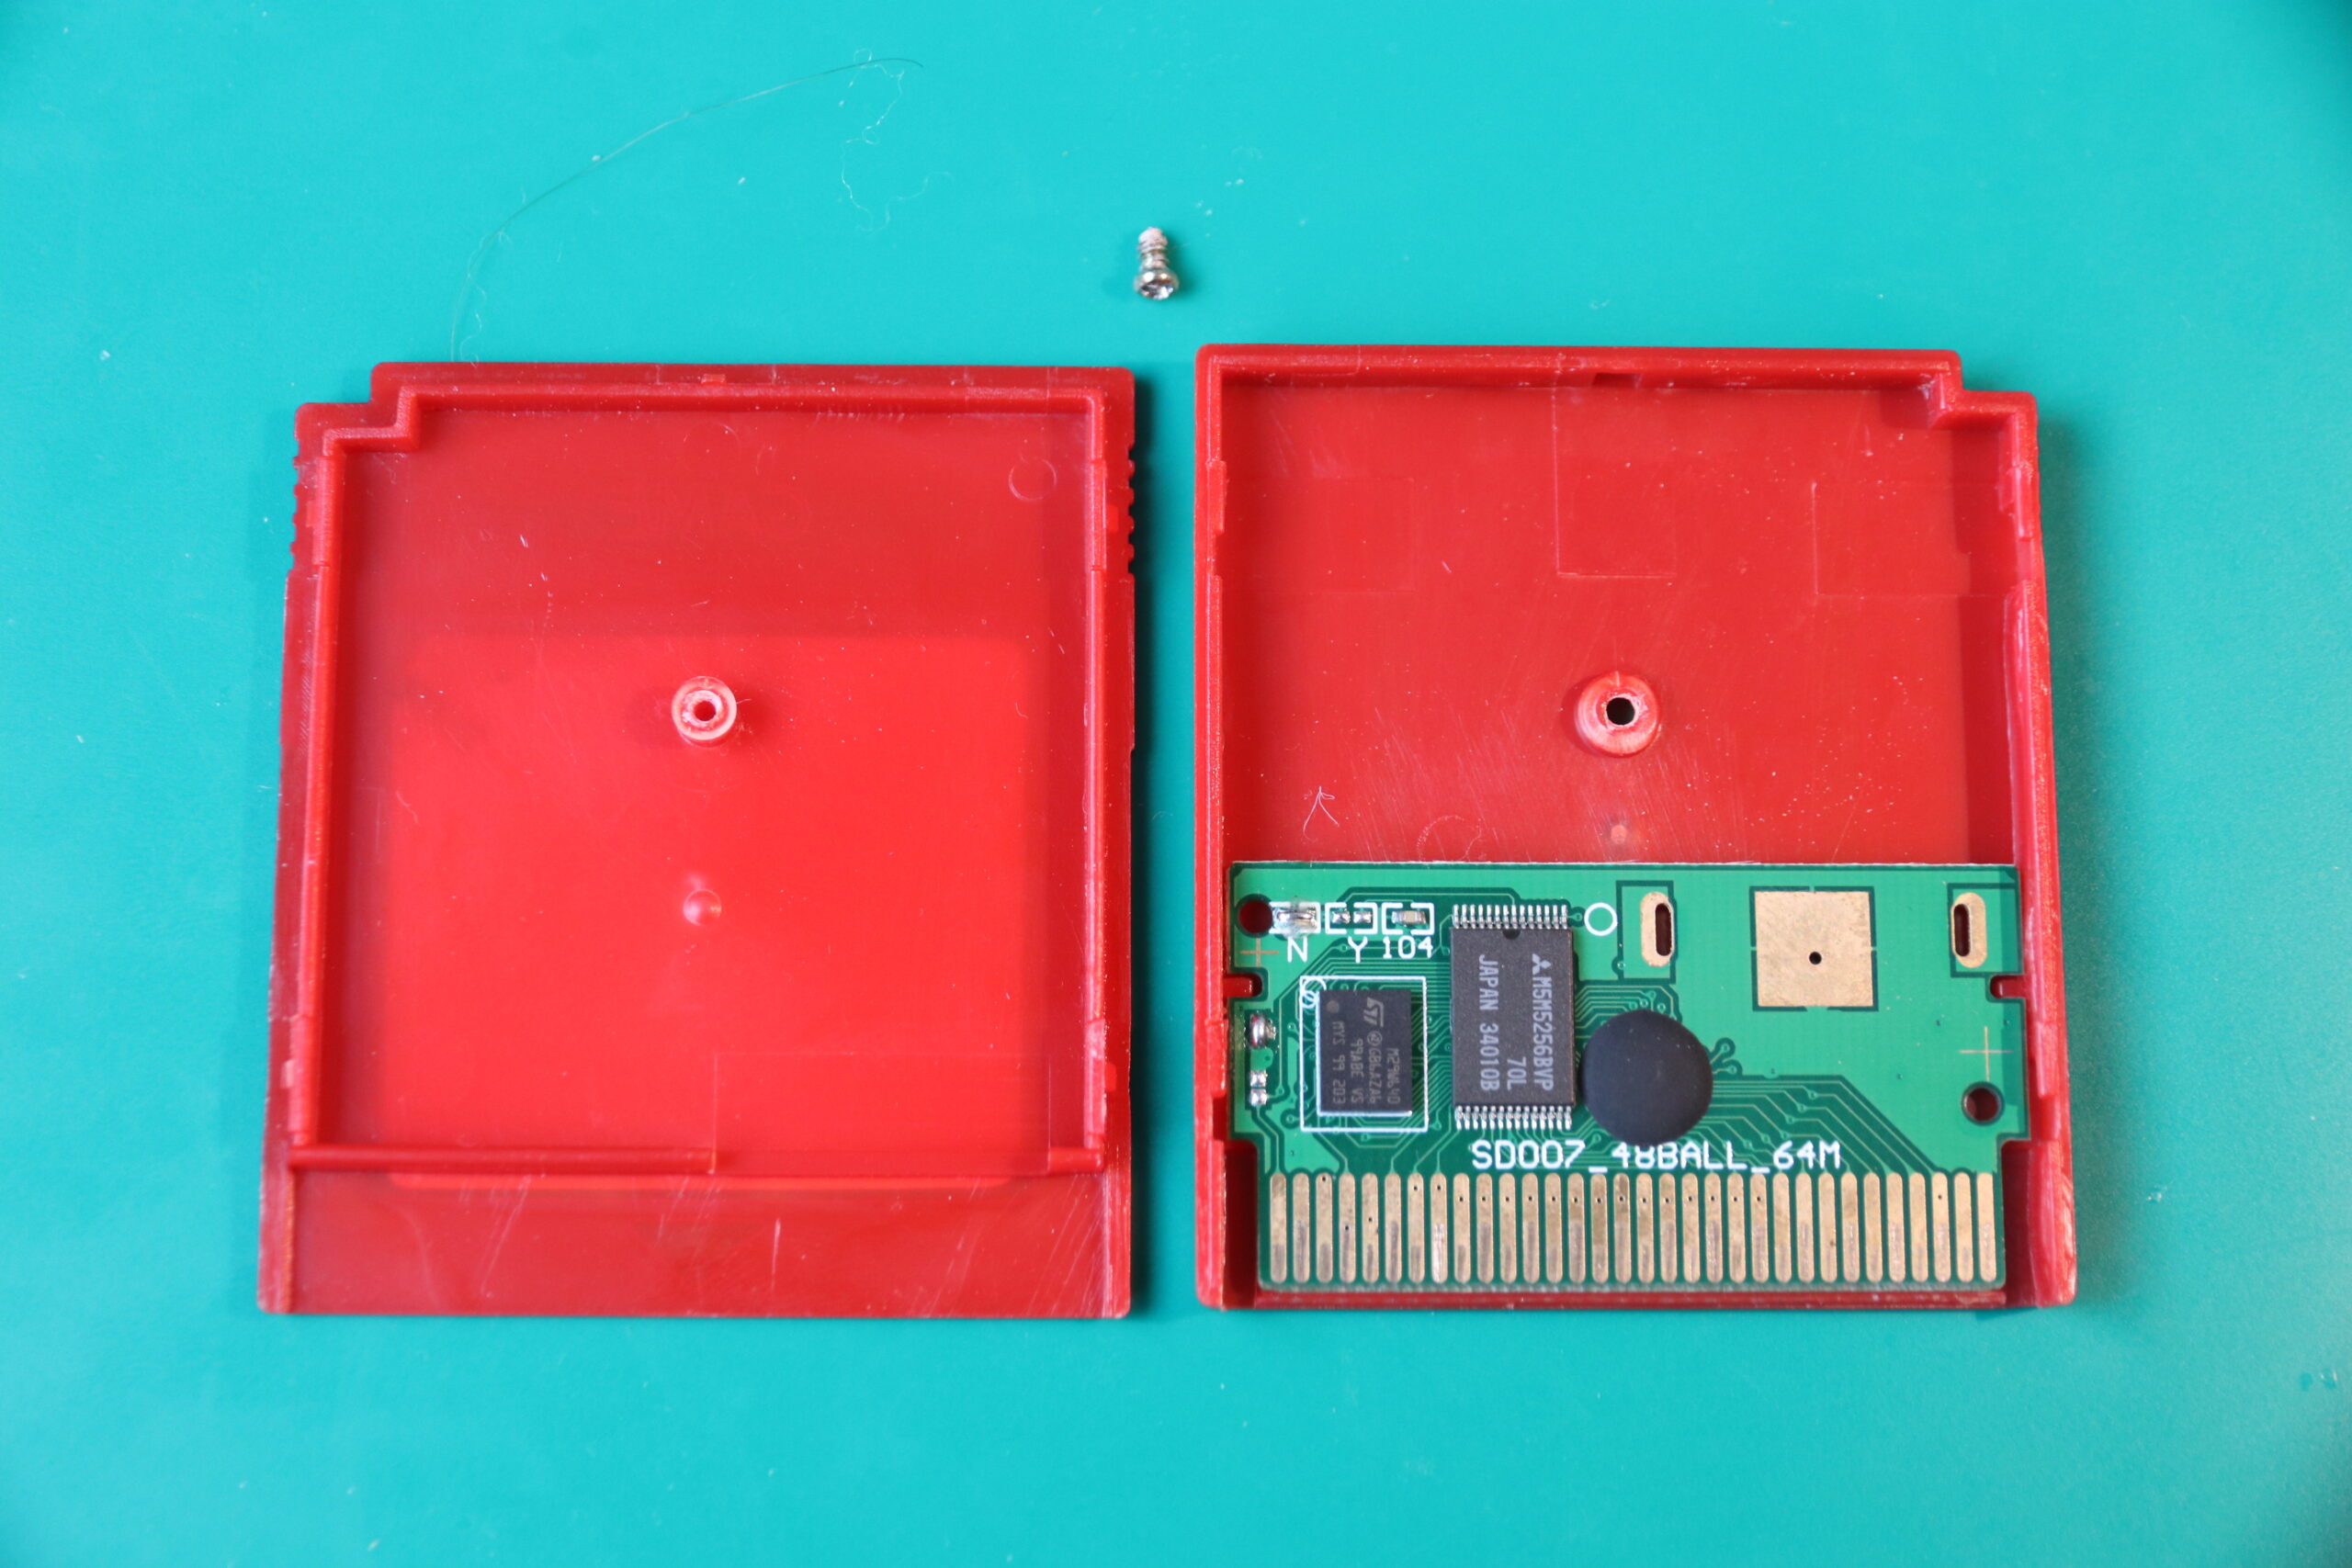
Making the build extra-special is its use of original carts, emulating the Game Boy experience so closely it’s difficult to tell if anything has changed. It uses the emulator Gnuboy and when Jeroen uses his own reproduction carts containing games not originally made for the Game Boy, Raspberry Pi Zero kicks in and runs the title natively.
“Getting Raspberry Pi Zero to boot as fast as possible was tricky because it needed some rethinking of the boot process, as well as a kernel recompile to make it load within the time it took the Game Boy startup screen to finish,” Jeroen explains. “My hardware also takes a longer path: Raspberry Pi has to talk through the SPI port to the FPGA, which then needs to control the cartridge. Doing this for every byte that the game needs would be very slow, so the emulator uses caching.”
Raspberry Pi Zero seemed the perfect choice. Aside from being able to fit in the case, Jeroen said he knew he could get the video interface to do what he wanted. “Raspberry Pi has proper DPI support, outputting video over the GPIO pins so I could make the Game Boy LCD show up as just another frame buffer device,” he says. “That was important because I didn’t want to hack the video output system of every emulator or game I wanted to run it.”
The result is a stunning handheld console, but not one for the faint-hearted. “The big challenge was the need for custom hardware, custom software, custom gateware, and so on and it took a fair bit of time and effort to develop,” he says. “If you’re looking to replicate it, be prepared to put some work into tweaking and fixing things.”
Get The MagPi #109 NOW!
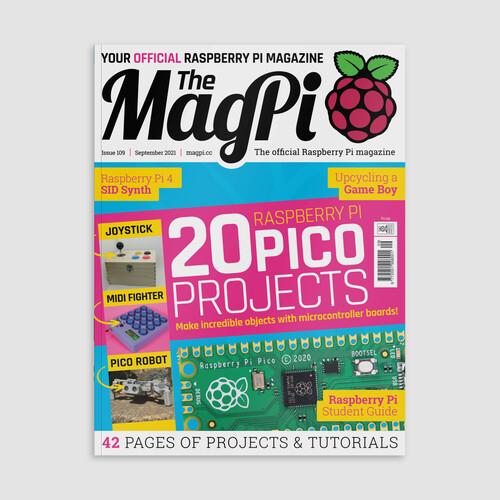
You can grab the brand-new issue right now from the Raspberry Pi Press store, or via our app on Android or iOS. You can also pick it up from supermarkets and newsagents. There’s also a free PDF you can download.
The post Game Boy + Raspberry Pi insides = ‘DMGPlus’ appeared first on Raspberry Pi.