Post Syndicated from Ashley Whittaker original https://www.raspberrypi.org/blog/recycle-your-old-raspberry-pi-boards-with-okdo/
Ever wondered what to do with Raspberry Pi boards you haven’t used in a while? Do you tend to upgrade your projects to newer models, leaving previous ones languishing at the back of a drawer? There are a lot of venerable Raspberry Pis out there doing useful stuff just as well as ever, and we take great care to make sure new versions of Raspberry Pi OS continue to run on these models, but we’re realists: we understand that ending up with older boards lying around doing nothing is a thing. Rather than leave them to gather dust, you now have a sustainable way to get your unused tech back in the hands of makers who’ll put it to work.
OKdo has partnered with Sony to launch the first official Raspberry Pi recycling initiative. OKdo Renew gives you rewards in return for your preloved boards.
Which boards can I recycle?
If you have any of these boards sitting around unused, you can recycle them:
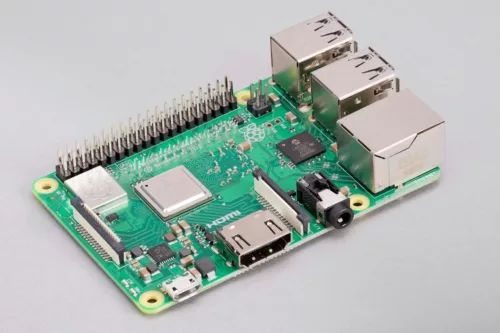
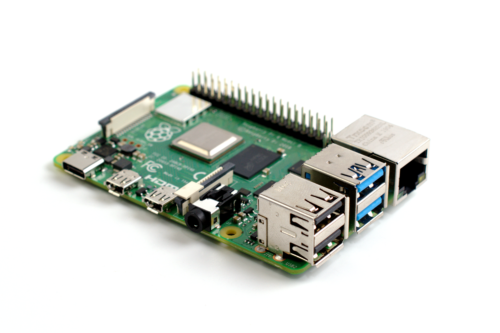
- Raspberry Pi 3 Model B
- Raspberry Pi 3 Model B+
- Raspberry Pi 4

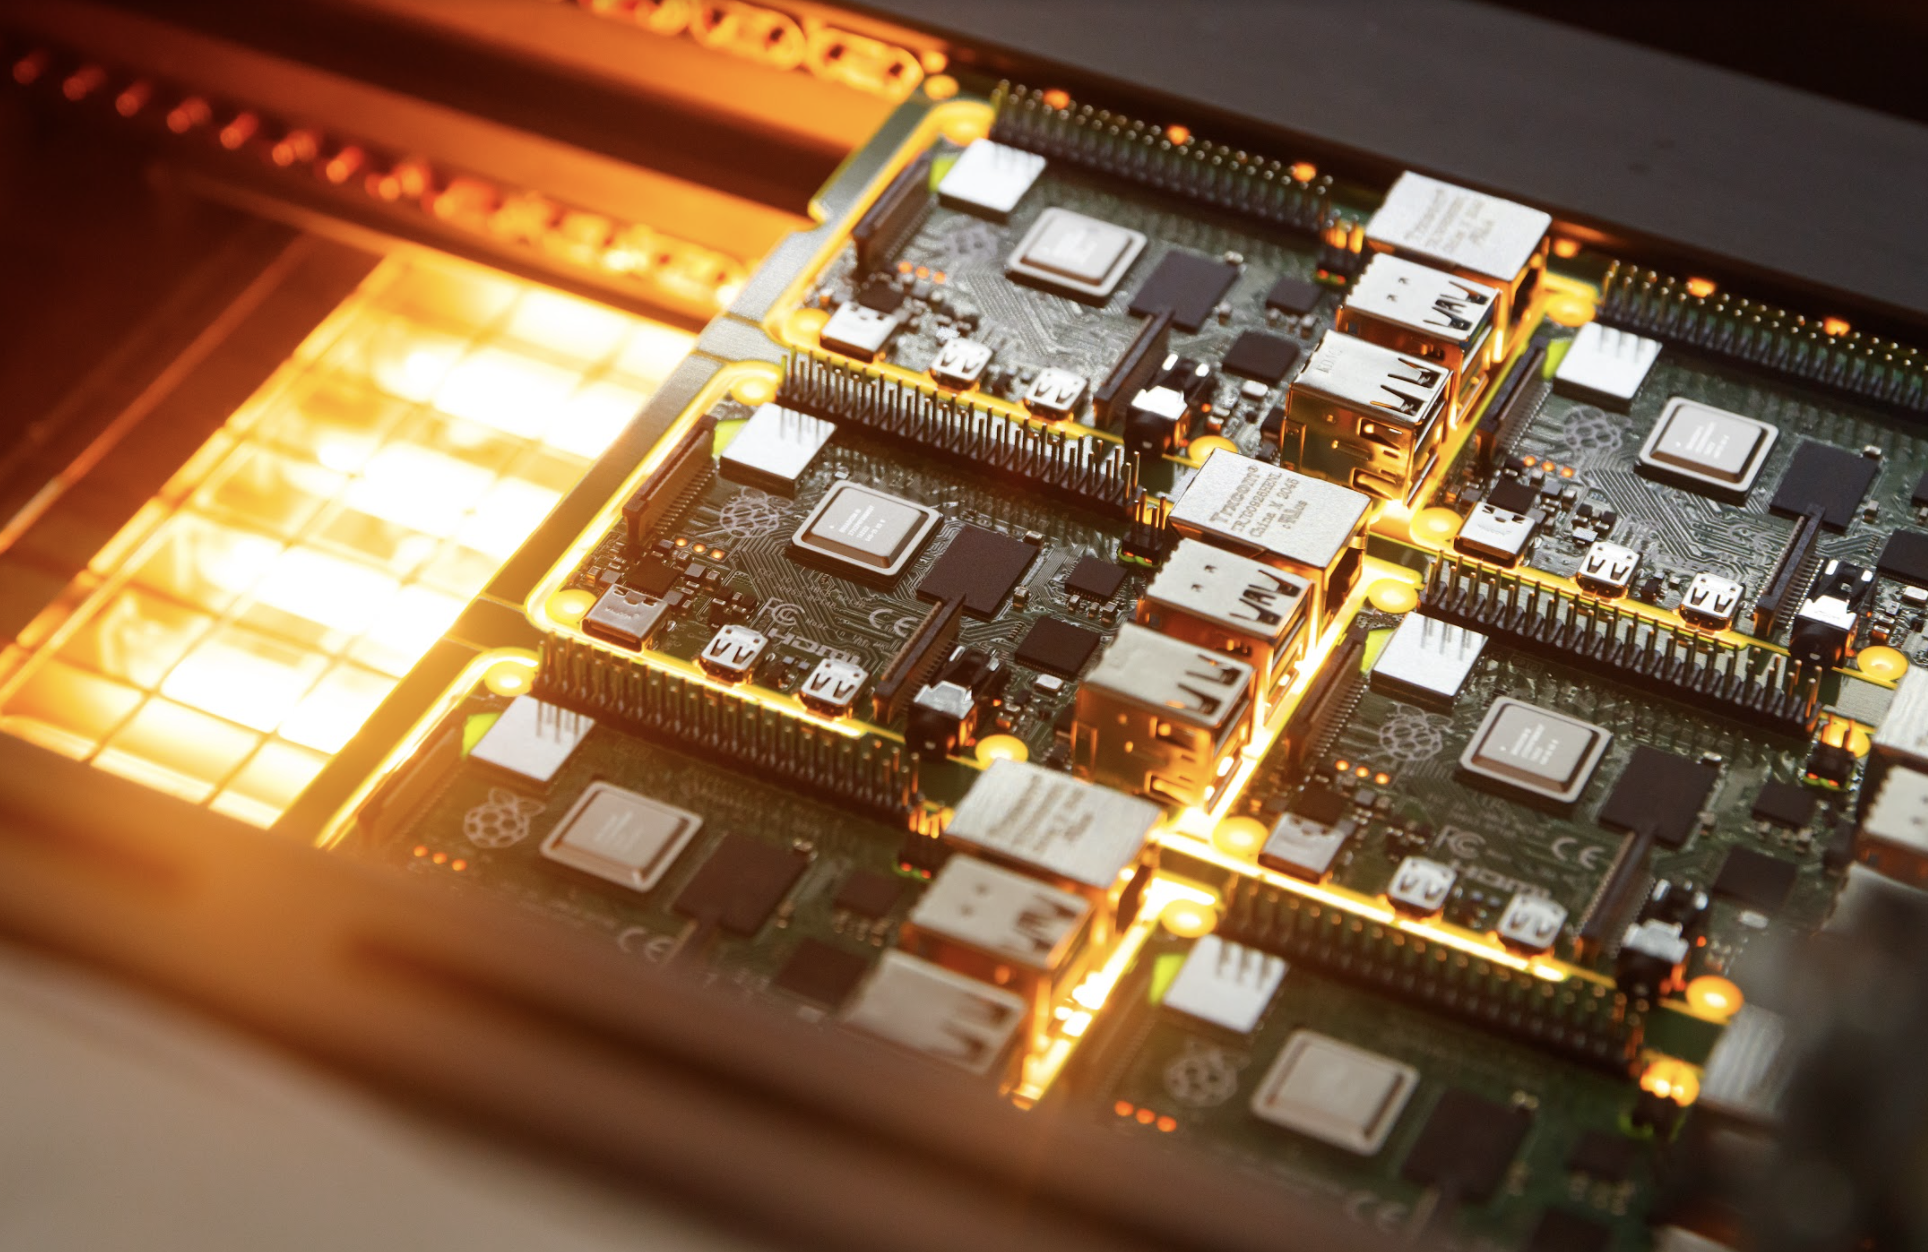
Our Raspberry Pi boards are manufactured at the Sony Technology Centre in Wales, and that’s where OKdo returns all the hardware you donate. When it gets there, it’ll be tested, reconditioned, and repackaged, ready to be sold to its new home. OKdo will be offering the refurbished boards at a lower price than new boards, and they all come with a twelve-month warranty.
How do I send my preloved Raspberry Pi boards to Sony?
If you have one of the boards listed above and it’s still in working order, you can register to renew your Raspberry Pi. Print the prepaid label so you can return you board for free! Then package up your board to avoid damage, being careful not to exceed the dimensions listed here.
Make sure you remove your memory card before posting your board. Sony can’t return them and we don’t want you to lose any important stuff you’ve got stored.
What’s my reward?
In return for recycling your board, you will get a £10 voucher to use towards your next OKdo purchase. You could upgrade to a faster board than the one you recycled, or pick up a new accessory.
The post Recycle your old Raspberry Pi boards with OKdo appeared first on Raspberry Pi.