Post Syndicated from Fatima Ahmed original https://aws.amazon.com/blogs/security/how-to-configure-rotation-windows-for-secrets-stored-in-aws-secrets-manager/
November 21, 2022: We updated this post to reflect the fact that AWS Secrets Manager now supports rotating secrets as often as every four hours.
AWS Secrets Manager helps you manage, retrieve, and rotate database credentials, API keys, and other secrets throughout their lifecycles. You can specify a rotation window for your secrets, allowing you to rotate secrets during non-critical business hours or scheduled maintenance windows for your application. Secrets Manager now supports rotation of secrets as often as every four hours, on a predefined schedule you can configure to conform to your existing maintenance windows. Previously, you could only specify the rotation interval in days. AWS Secrets Manager would then rotate the secret within the last 24 hours of the scheduled rotation interval. You can rotate your secrets using an AWS Lambda rotation function provided by AWS, or create a custom Lambda rotation function.
With this release, you can now use Secrets Manager to automate the rotation of credentials and access tokens that must be refreshed more than once per day. This enables greater flexibility for common developer workflows through a single managed service. Additionally, you can continue to use integrations with AWS Config and AWS CloudTrail to manage and monitor your secret rotation configurations in accordance with your organization’s security and compliance requirements. Support for secrets rotation as often as every four hours is provided at no additional cost.
Why might you want to rotate secrets more than once a day? Rotating secrets more frequently can provide a number of benefits, including: discouraging the use of hard-coded credentials in your applications, reducing the scope of impact of a stolen credential, or helping you meet organizational requirements around secret rotation.
Hard-coding application secrets is not recommended, because it can increase the risk of credentials being written in logs, or accidentally exposed in code repositories. Using short-lived secrets limits your ability to hard-code credentials in your application. Short-lived secrets are rotated on a frequent basis: for example, every four hours – meaning even a hard-coded credential can only be used for a short period of time before it needs to be refreshed. This also means that if a credential is compromised, the impact is much smaller — the secret is only valid for a short period of time before the secret is rotated.
Secrets Manager supports familiar cron and rate expressions to specify rotation frequency and rotation windows. In this blog post, we will demonstrate how you can configure a secret to be rotated every four hours, how to specify a custom rotation window for your secret using a cron expression, and how you can set up a custom rotation window for existing secrets. This post describes the following processes:
- Create a new secret and configure it to rotate every four hours using the schedule expression builder
- Set up rotation window by directly specifying a cron expression
- Enabling a custom rotation window for an existing secret
Use case 1: Create a new secret and configure it to rotate every four hours using the schedule expression builder
Let’s assume that your organization has a requirement to rotate GitHub credentials every four hours. To meet this requirement, we will create a new secret in Secrets Manager to store the GitHub credentials, and use the schedule expression builder to configure rotation of the secret at a four-hour interval.
The schedule expression builder enables you to configure your rotation window to help you meet your organization’s specific requirements, without requiring knowledge of cron expressions. AWS Secrets Manager also supports directly entering a cron expression to configure the rotation window, which we will demonstrate later in this post.
To create a new secret and configure a four-hour secret rotation schedule
- Sign in to the AWS Management Console, and navigate to the Secrets Manager service.
- Choose Store a new secret.

Figure 1: Store a secret in AWS Secrets Manager
- In the Secret type section, choose Other type of secret.

Figure 2: Choose a secret type in Secrets Manager
- In the Key/value pairs section, enter the GitHub credentials that you wish to store.
- Select your preferred encryption key to protect the secret, and then choose Next. In this example, we are using an AWS managed key.
Note: Find more information to help you decide what encryption key is right for you.
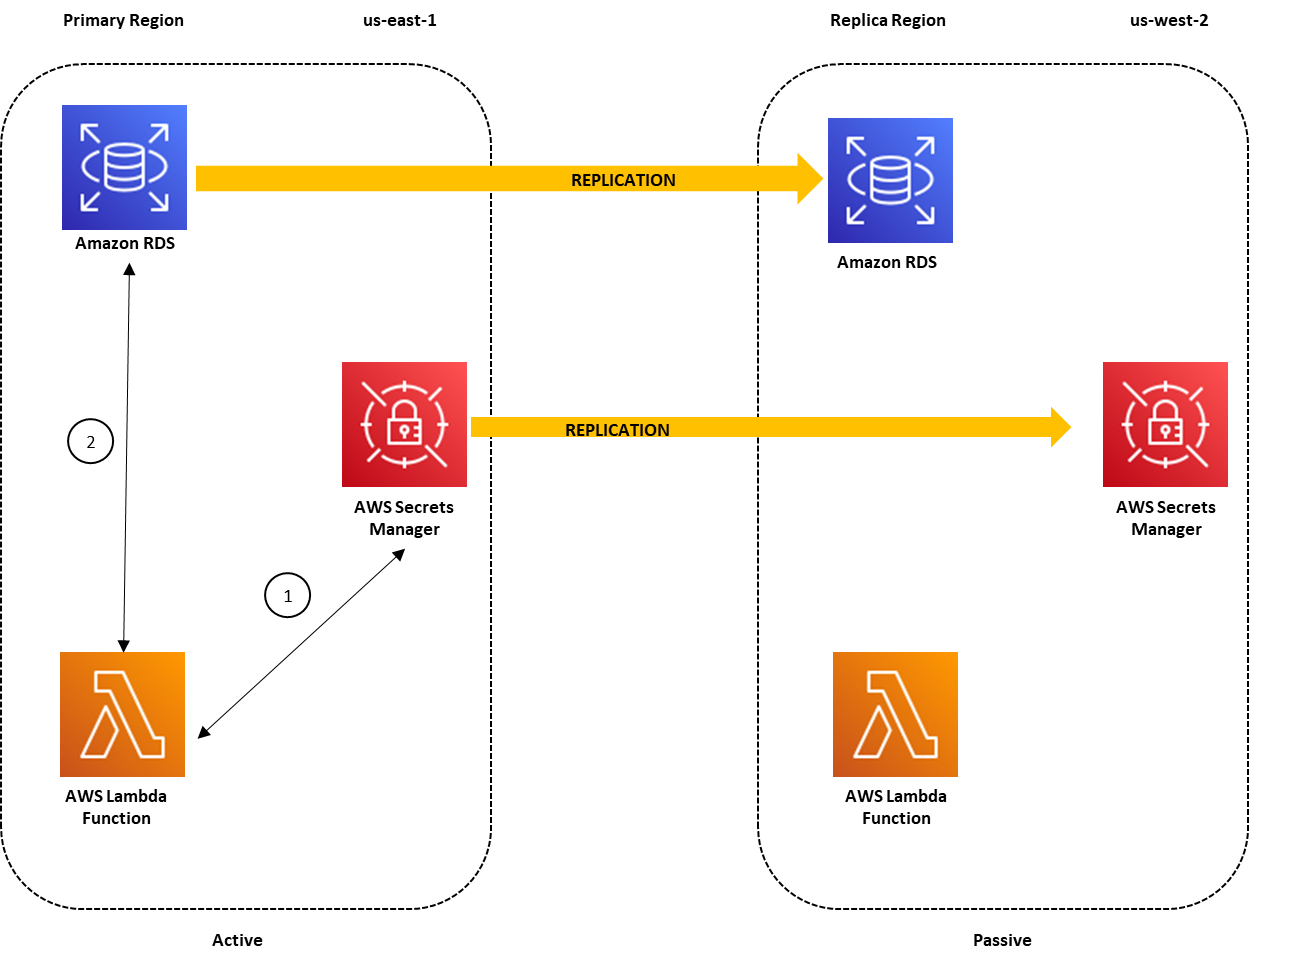
- Enter a secret name of your choice in the Secret name field. You can optionally provide a Description of the secret, create tags, and add resource permissions to the secret. If desired, you can also replicate the secret to another region to help you meet your organization’s disaster recovery requirements by following the procedure in this blog post.
- Choose Next.
Figure 3:Create a secret to store your Git credentials
- Turn on Automatic rotation to enable rotation for the secret.
- Under Rotation schedule, choose Schedule expression builder.
- For Time unit, choose Hours, then enter a value of 4.
- Leave the Window duration field blank as the secret is to be rotated every 4 hours.
- For this example, keep the Rotate immediately when the secret is stored check box selected to rotate the secret immediately after creation

Figure 4: Enable automatic rotation using the schedule expression builder
- Under Rotation function, choose your Lambda rotation function from the drop down menu.
- Choose Next.
- On the Secret review page, you are provided with an overview of the secret. Review the secret and scroll down to the Rotation schedule section.
- Confirm the Rotation schedule and Next rotation date meet your requirements.

Figure 5: Rotation schedule with a summary of the configured custom rotation window
- Choose Store secret.
- To view the Rotation configuration for the secret, select the secret you created.
- On the Secrets details page, scroll down to the Rotation configuration section. The Rotation status is Enabled and the Rotation schedule is rate(4 hours). The name of your Lambda function being used for rotation is displayed.
Figure 6: Rotation configuration of your secret


You have now successfully stored a secret using the interactive schedule expression builder. This option provides a simple mechanism to configure rotation windows, and does not require expertise with cron expressions.
In the next example, we will be using the schedule expression option to directly enter a cron expression, to achieve a more complex rotation interval.
Use case 2: Set up a custom rotation window using a cron expression
The procedures described in the next two sections of this blog post require that you complete the following prerequisites:
- Configure an Amazon Relational Database Service (Amazon RDS) DB instance, including creating a database user.
- Sign in to the AWS Management Console using a role that has SecretsManagerReadWrite permission.
- Configure the Lambda function to connect with the Amazon RDS database and Secrets Manager by following the procedure in this blog post.
Configuring complicated rotation windows for secrets may be more effective using the schedule expression option, rather than the schedule expression builder. The schedule expression option allows you to directly enter a cron expression using a string of six inputs. Directly entering cron expressions provides more flexibility when defining a rotation schedule that is more complex.
Let’s suppose you have another secret in your organization which does not need to be rotated as frequently as others. Consequently, you’ve been asked to set up rotation for every last Sunday of the quarter and during the off-peak hours of 1:00 AM to 4:00 AM UTC to avoid application downtime. Due to the complex nature of the requirements, you will need to use the schedule expression option to write a cron job to achieve your use case.
Cron expressions consist of the following 6 required fields which are separated by a white space; Minutes, Hours, Day of month, Month, Day of week, and Year. Each required field has the following values using the syntax cron(fields).
| Fields | Values | Wildcards |
| Minutes | Must be 0 | None |
| Hours | 0-23 | / |
| Day-of-month | 1 – 31 | , – * ? / L |
| Month | 1-12 or JAN-DEC | , – * / |
| Day-of-week | 1-7 or SUN-SAT | , – * ? L # |
| Year | * | accepts * only |
Table 1: Secrets Manager supported cron expression fields and corresponding values
| Wildcard | Description |
| , | The , (comma) wildcard includes additional values. In the Month field, JAN,FEB,MAR would include January, February, and March. |
| – | The – (dash) wildcard specifies ranges. In the Day field, 1-15 would include days 1 through 15 of the specified month. |
| * | The * (asterisk) wildcard includes all values in the field. In the Month field, * would include every month. |
| / | The / (forward slash) wildcard specifies increments In the Month field, you could enter 1/3 to specify every 3rd month, starting from January. So 1/3 specifies the January, April, July, Oct. |
| ? | The ? (question mark) wildcard specifies one or another. In the day-of-month field you could enter 7 and then enter ? in the day-of-week field since the 7th of a month could be any day of a given week. |
| L | The L wildcard in the Day-of-month or Day-of-week fields specifies the last day of the month or week. For example, in the week Sun-Sat, you can state 5L to specify the last Thursday in the month. |
| # | The # wildcard in the Day-of-week field specifies a certain instance of the specified day of the week within a month. For example, 3#2 would be the second Tuesday of the month: the 3 refers to Tuesday because it is the third day of each week, and the 2 refers to the second day of that type within the month. |
Table 2: Description of supported wilds cards for cron expression
As the use case is to setup a custom rotation window for the last Sunday of the quarter from 1:00 AM to 4:00 AM UTC, you’ll need to carry out the following steps:
To deploy the solution
- To store a new secret in Secrets Manager repeat steps 1-6 above.
- Once you’re on the Secret Rotation section of the Store a new secret screen, click on Automatic rotation to enable rotation for the secret.
- Under Rotation schedule, choose Schedule expression.
- In the Schedule expression field box, enter cron(0 1 ? 3/3 1L *).
Fields Values Explanation Minutes 0 The use case does not have a specific minute requirement Hours 1 Ensures the rotation window starts from 1am UTC Day-of-month ? The use case does not require rotation to occur on a specific date in the month Month 3/3 Sets rotation to occur on the last month in a quarter Day-of-week 1L Ensures rotation occurs on the last Sunday of the month Year * Allows the rotation window pattern to be repeated yearly Table 3: Using cron expressions to achieve your rotation requirements
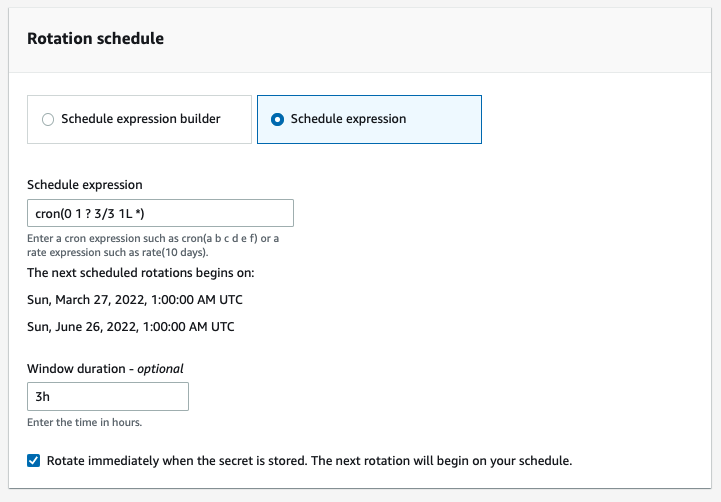
Figure 7: Enable automatic rotation using the schedule expression
- On the Rotation function section choose your Lambda rotation function from the drop down menu.
- Choose Next.
- On the Secret review page, review the secret and scroll down to the Rotation schedule section. Confirm the Rotation schedule and Next rotation date meets your requirements.
Figure 8: Rotation schedule with a summary of your custom rotation window
- Choose Store.
- To view the Rotation configuration for this secret, select it from the Secrets page.
- On the Secrets details page, scroll down to the Rotation configuration section. The Rotation status is Enabled, the Rotation schedule is cron(0 1 ? 3/3 1L *) and the name of your Lambda function being used for your custom rotation is displayed.
Figure 9: Rotation configuration section with a rotation status of Enabled


Use case 3: Enabling a custom rotation window for an existing secret
If you already use AWS Secrets Manager as a way to store and rotate secrets for your Organization, you might want to take advantage of custom scheduled rotation on existing secrets. For this use case, to meet your business needs the secret must be rotated bi-weekly, every Saturday from 12am to 5am.
To deploy the solution
- On the Secrets page of the Secrets Manager console, chose the existing secret you want to configure rotation for.
- Scroll down to the Rotation configuration section of the Secret details page, choose Edit rotation.
Figure 10: Rotation configuration section with a rotation status of Disabled
- On the Edit rotation configuration pop-up window, turn on Automatic rotation to enable rotation for the secret.
- Under Rotation Schedule choose Schedule expression builder, optionally you can use the Schedule expression to create the custom rotation window.
- For the Time Unit choose Weeks, then enter a value of 2.
- For the Day of week choose Saturday from the drop-down menu.
- In the Start time field type 00. This ensures rotation does not start until 00:00 AM UTC.
- In the Window duration field type 5h. This provides Secrets Manager with a 5hr period to rotate the secret.
- For this example, keep the check box marked to rotate the secret immediately.
Figure 11: Edit rotation configuration pop-up window
- Under Rotation function, choose the Lambda function which will be used to rotate the secret.
- Choose Save.
- On the Secrets details page, scroll down to the Rotation configuration section. The Rotation status is Enabled, the Rotation schedule is cron(0 00 ? * 7#2,7#4 *) and the name of the custom rotation Lambda function is visible.
Figure 12:Rotation configuration section with a rotation status of Enabled


Summary
Regular rotation of secrets is a Secrets Manager best practice that helps you to meet compliance requirements, for example for PCI DSS, which mandates the rotation of application secrets every 90 days, and to improve your security posture for databases and credentials. The ability to rotate secrets as often as every four hours helps you rotate secrets more frequently, and the rotation window feature helps you adhere to rotation best practices while still having the flexibility to choose a rotation window that suits your organizational needs. This allows you to use AWS Secrets Manager as a centralized location to store, retrieve, and rotate your secrets regardless of their lifespan, providing a uniform approach for secrets management. At the same time, the custom rotation window feature alleviates the need for applications to continuously refresh secret caches and manage retries for secrets that were rotated, as rotation will occur during your specified window when the application usage is low.
In this blog post, we showed you how to create a secret and configure the secret to be rotated every four hours using the schedule expression builder. The use case examples show how each feature can be used to achieve different rotation requirements within an organization, including using the schedule expression builder option to create your cron expression, as well as using the schedule expression feature to help meet more specific rotation requirements.
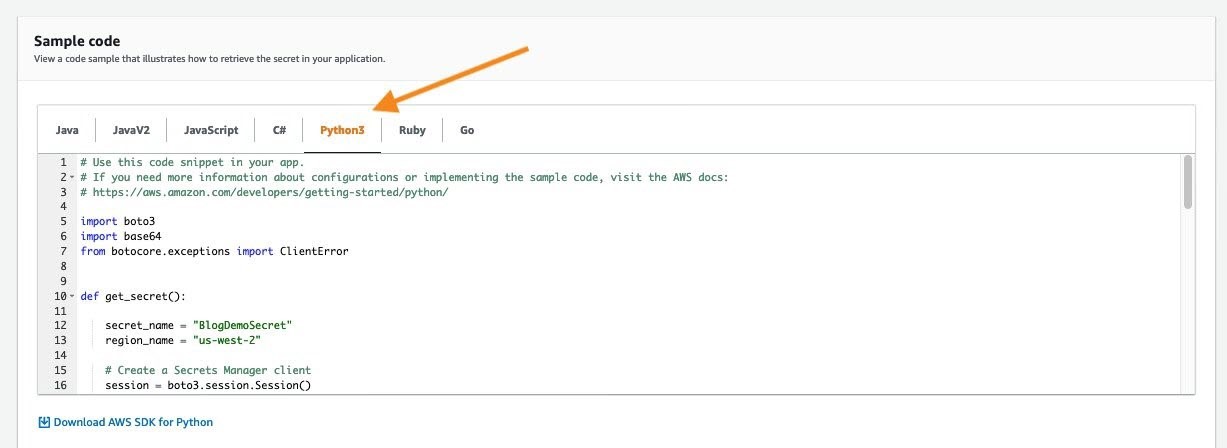
You can start using this feature through the AWS Secrets Manager console, AWS Command Line Interface (AWS CLI), AWS SDK, or AWS CloudFormation. To learn more about this feature, see the AWS Secrets Manager documentation. If you have feedback about this blog post, submit comments in the Comments section below. If you have questions about this blog post, start a new thread on AWS Secrets Manager re:Post or contact AWS Support.
Want more AWS Security news? Follow us on Twitter.