Tag Archives: element14

Super 8 camera goes digital with Raspberry Pi

Post Syndicated from Ashley Whittaker original https://www.raspberrypi.org/blog/super-8-camera-goes-digital-with-raspberry-pi/

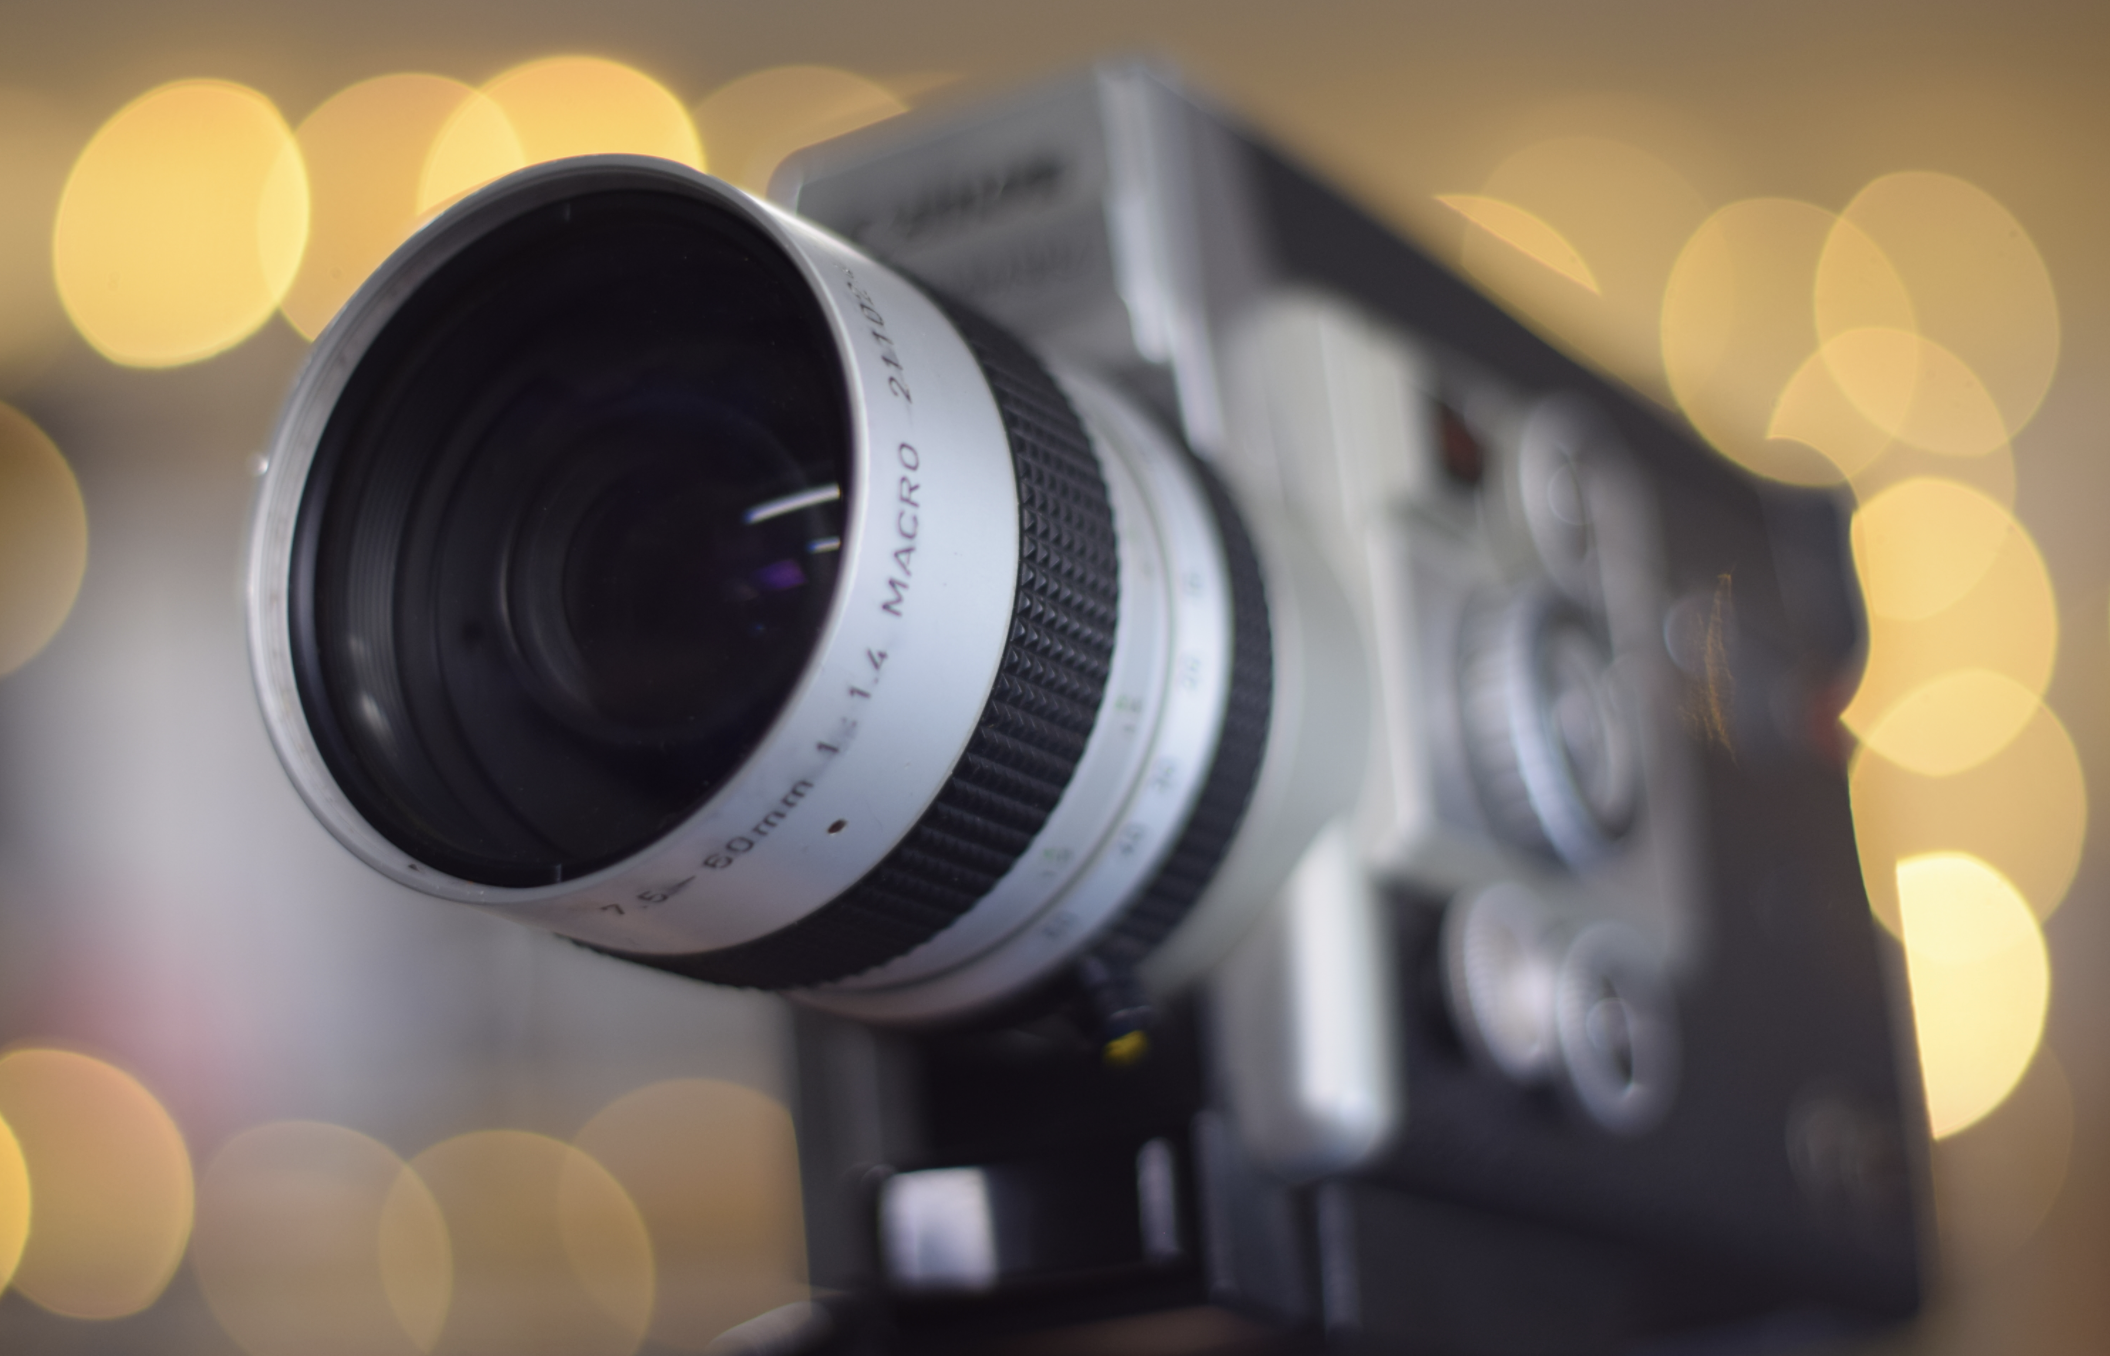
Clem from element14 found a discarded Super 8 camera and wanted to channel his inner filmmaking hipster, but he didn’t want to spend tons of money on analogue film, so he digitised the camera with Raspberry Pi.

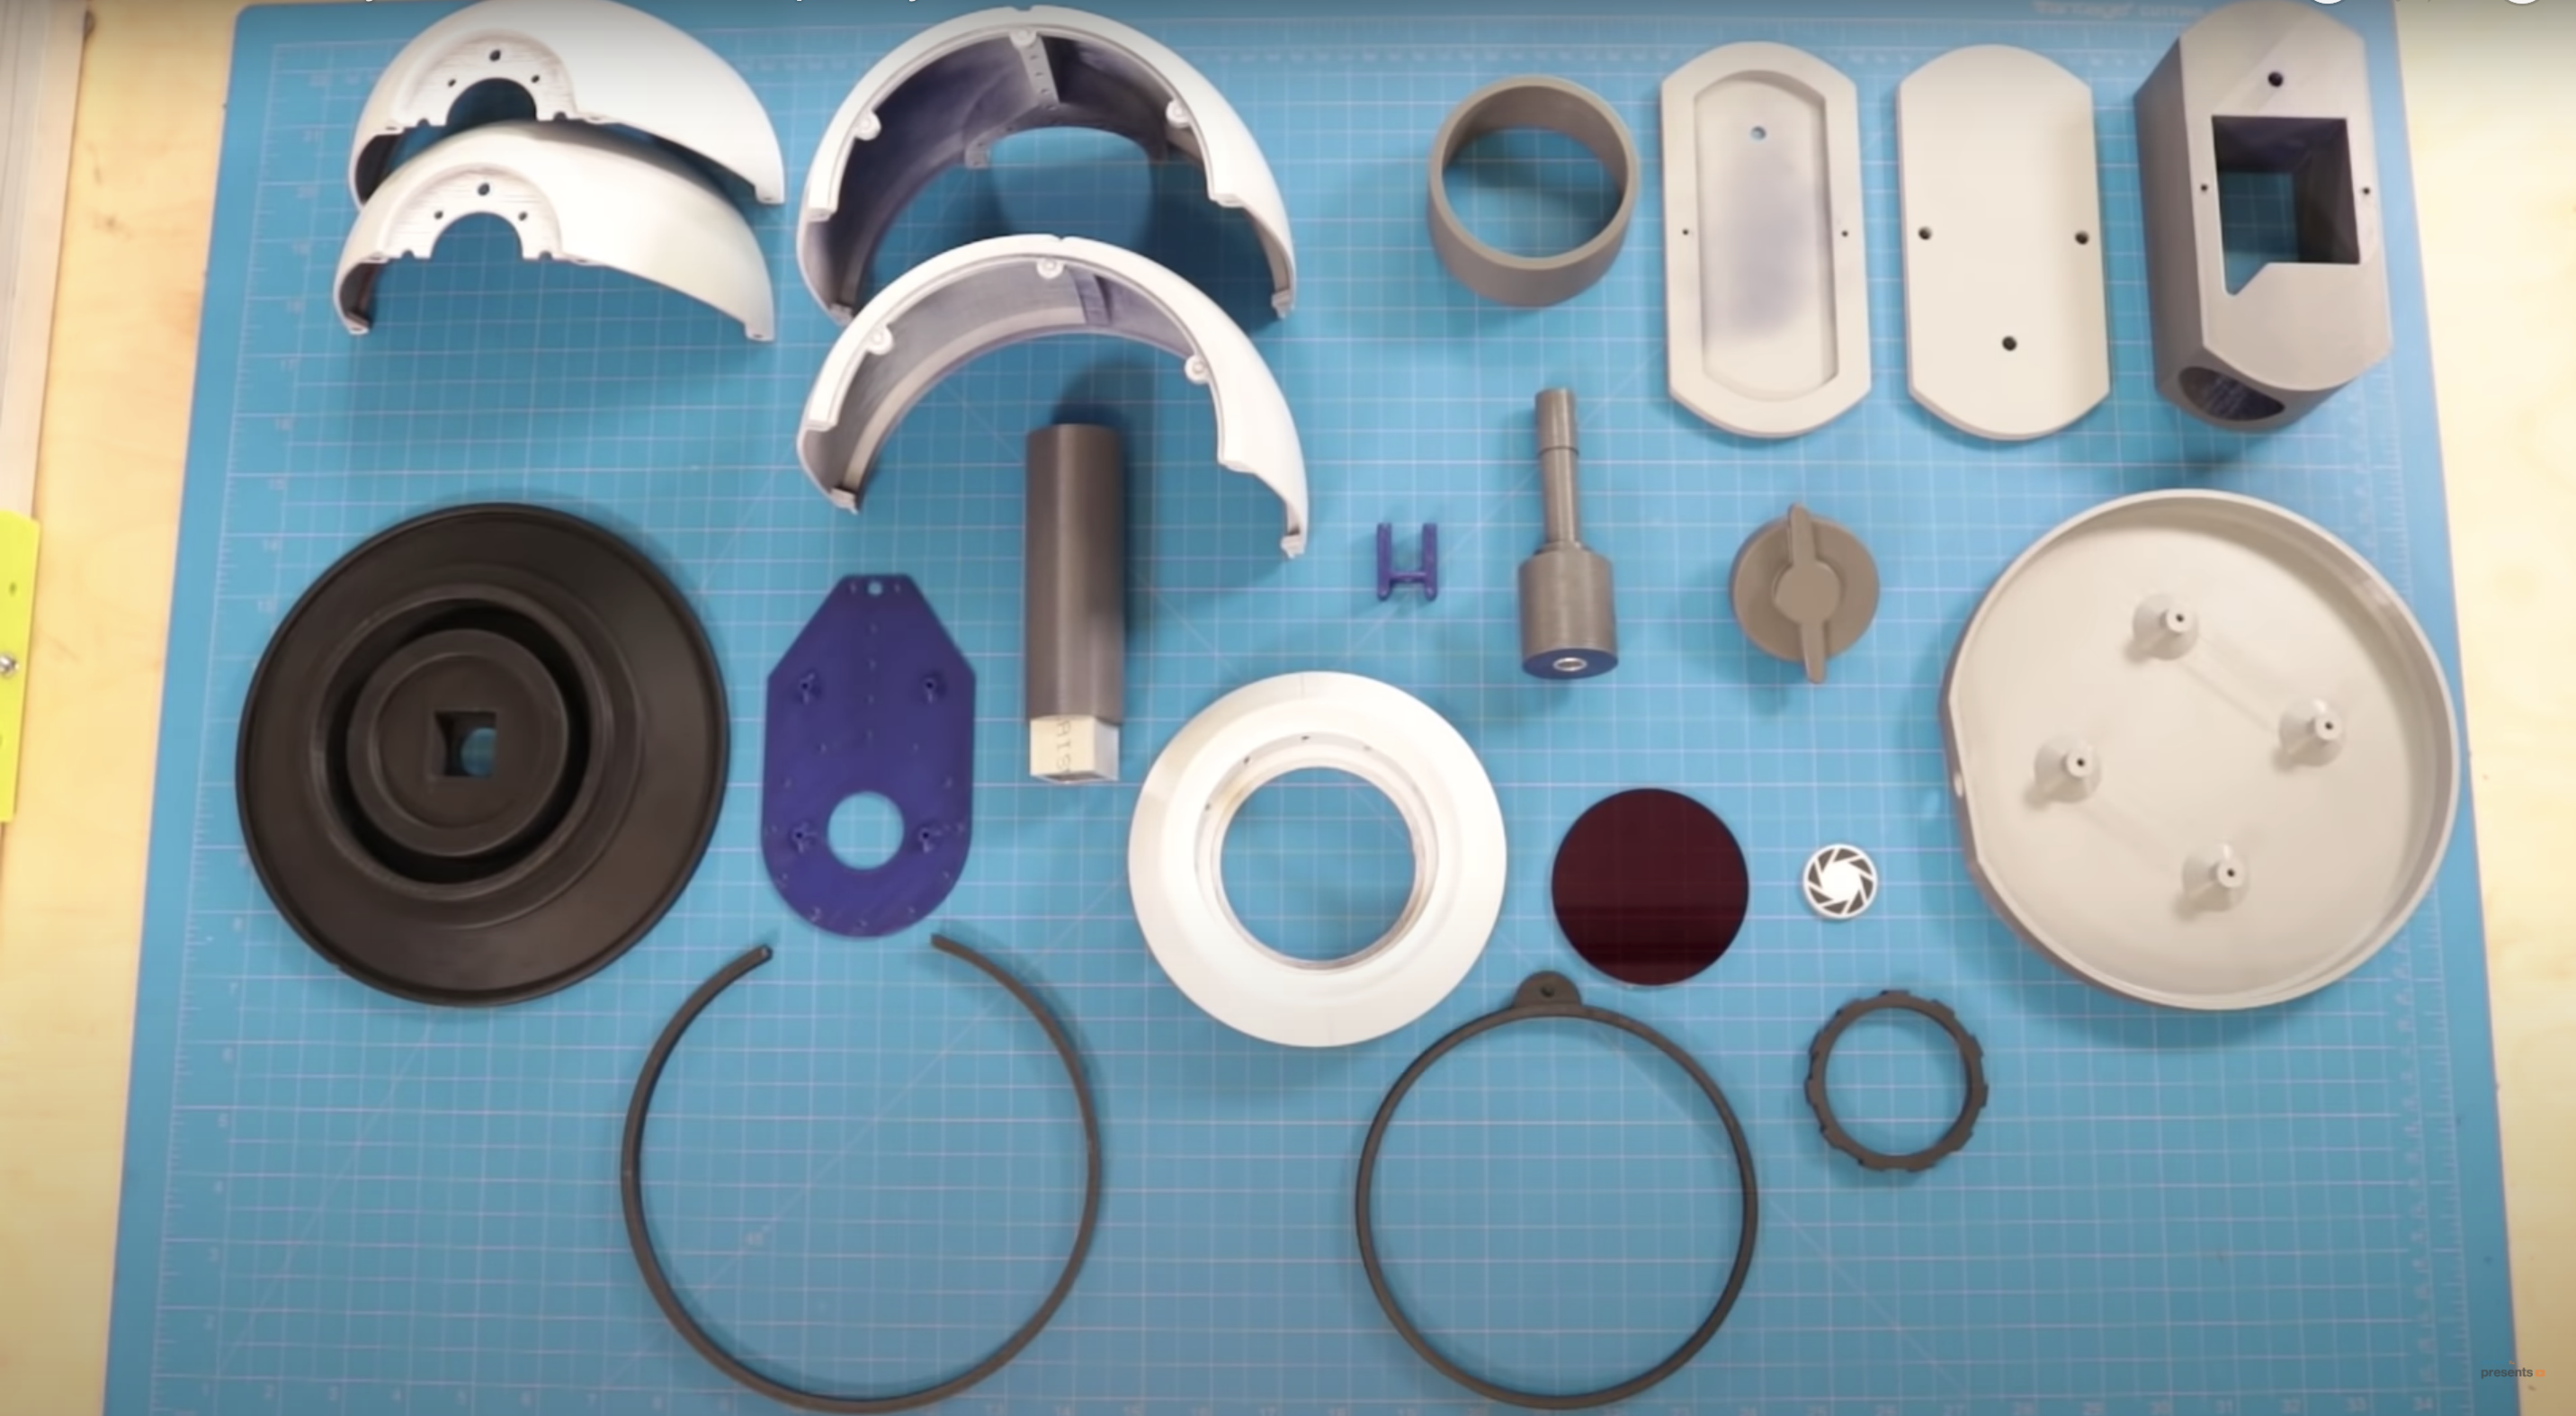
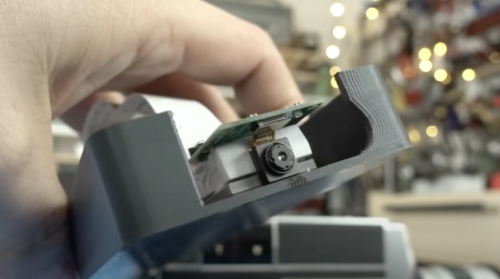
Clem recreated an original Super 8 cartridge and packed it with tiny hardware to do the job of the 8mm analogue film digitally. Doing it this way also means you can just drop the new cartridge into any Super 8 camera and use it as a digital device. It also means you don’t need to cut up any part of your gorgeous retro device in the process.

super 8 camera
Ain’t she a beauty?

Hardware

  • 3D-printed Super 8 cartridge

You can download the files for the 3D-printed case and buttons from the original project post.

Tight spaces, lens alignment and controls

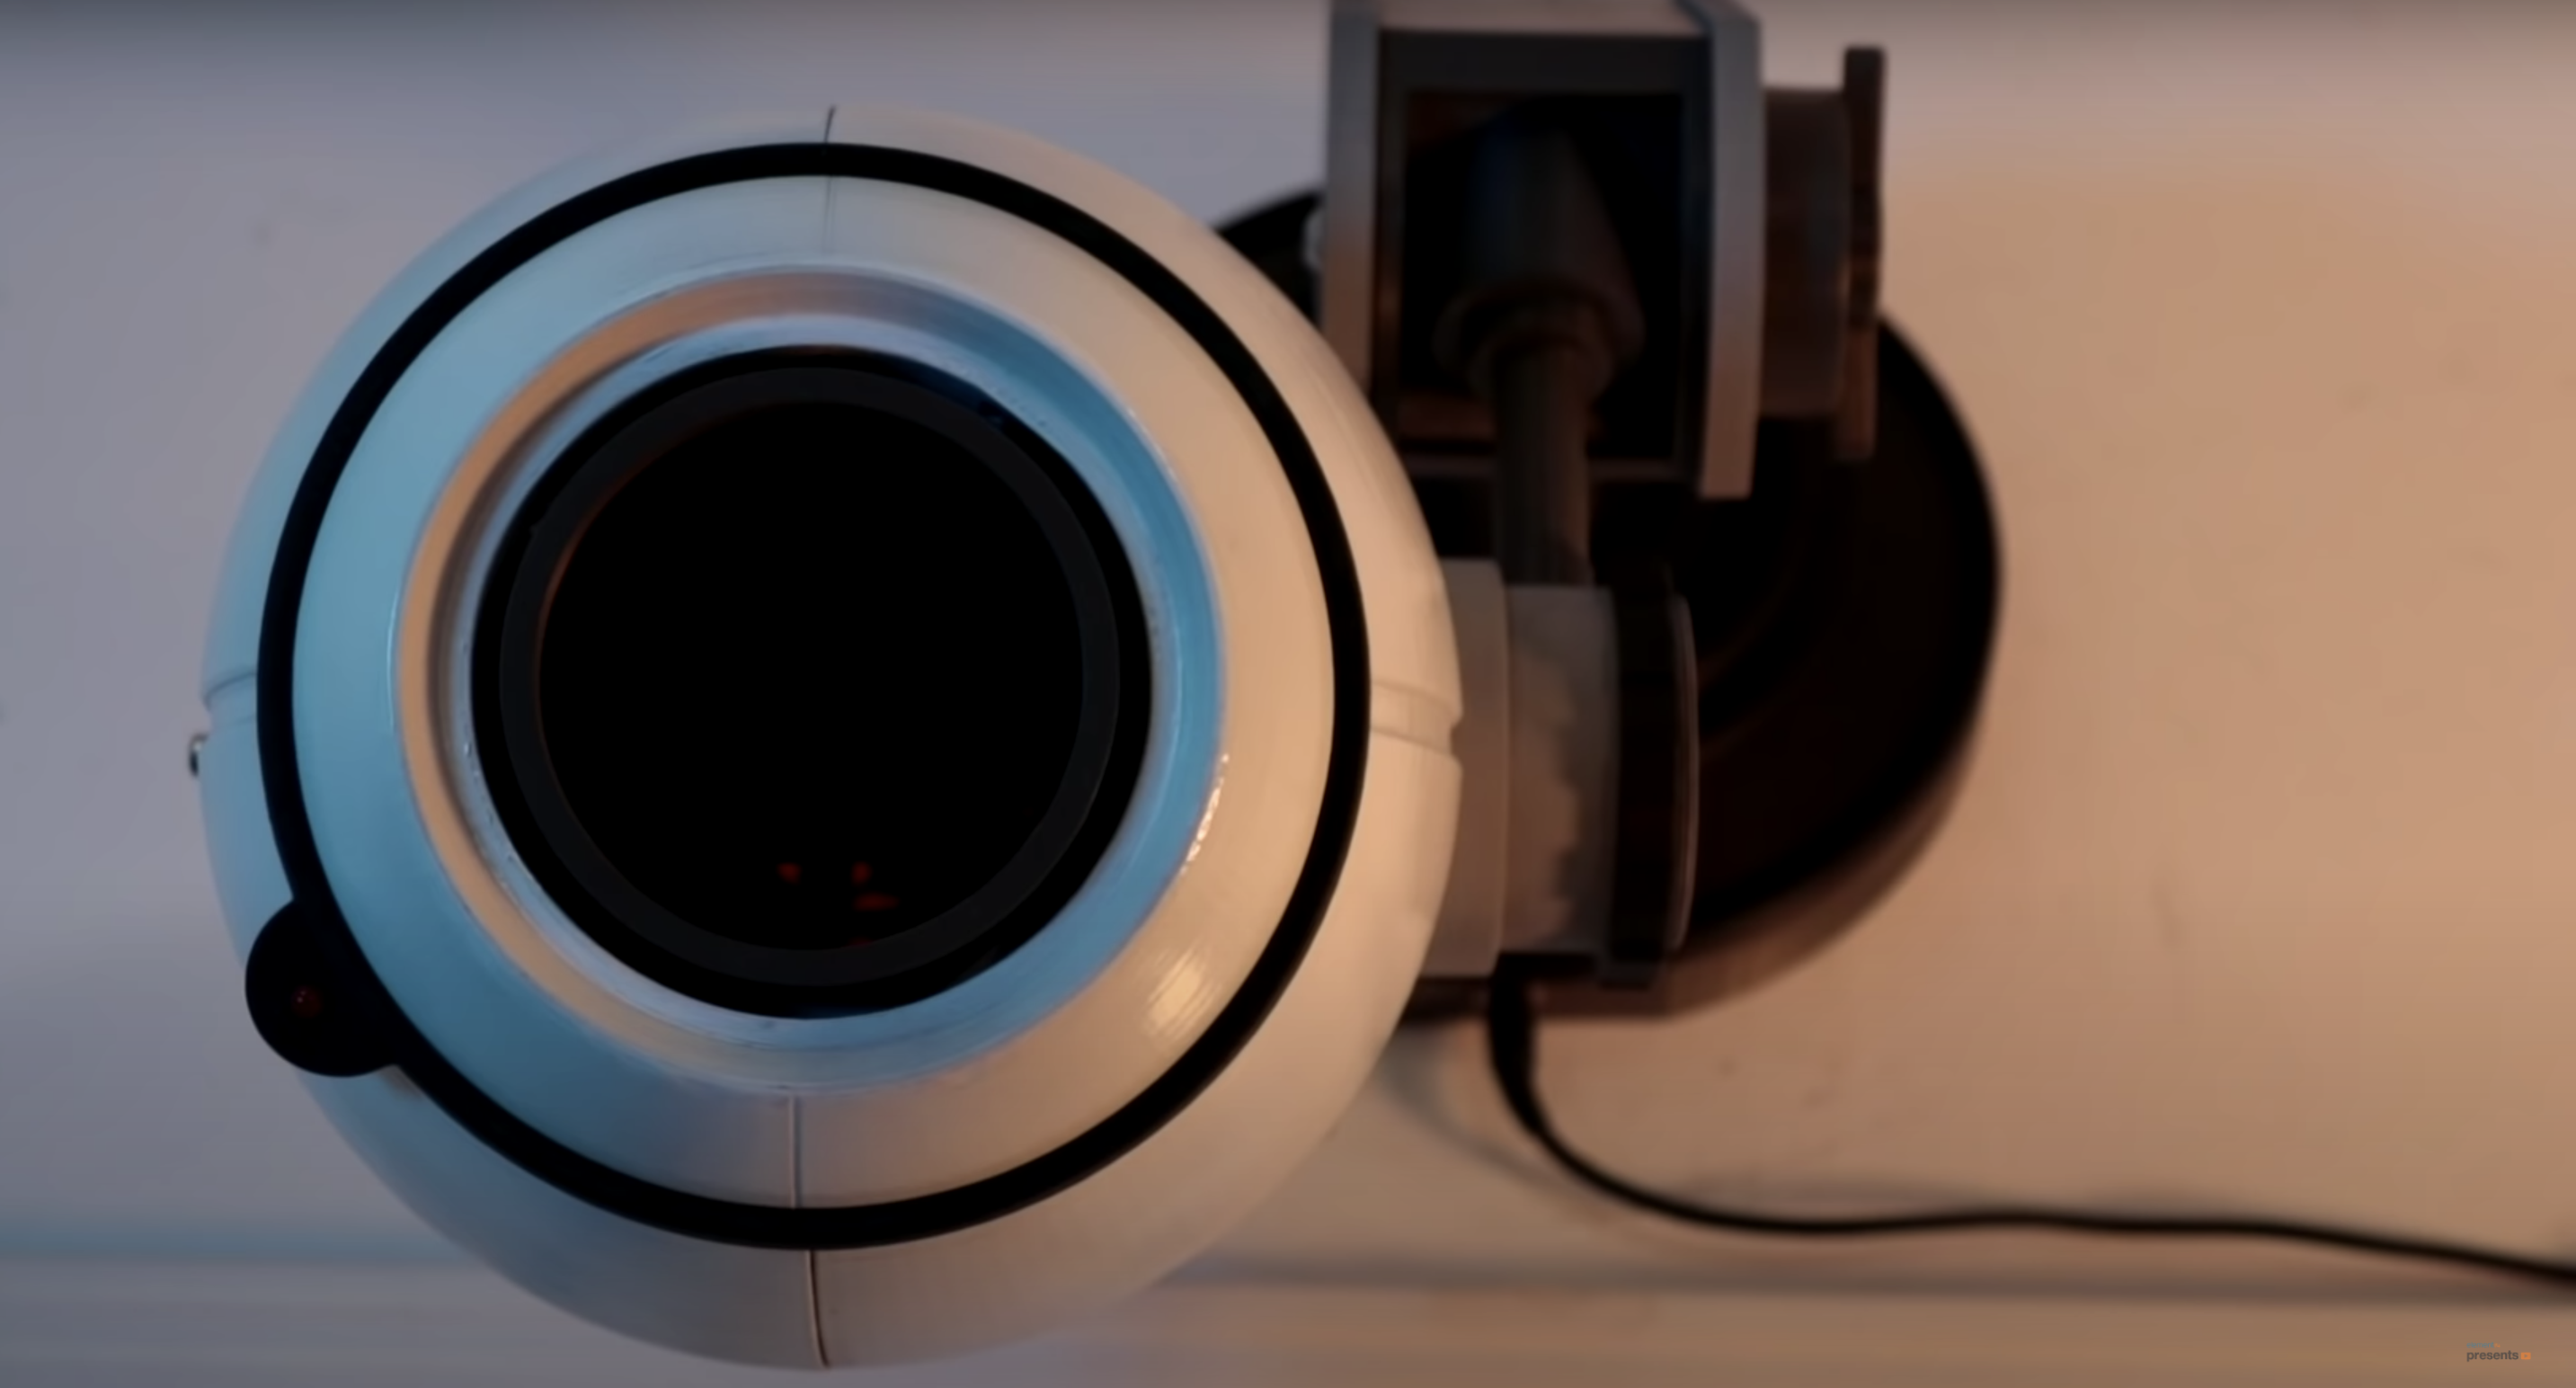
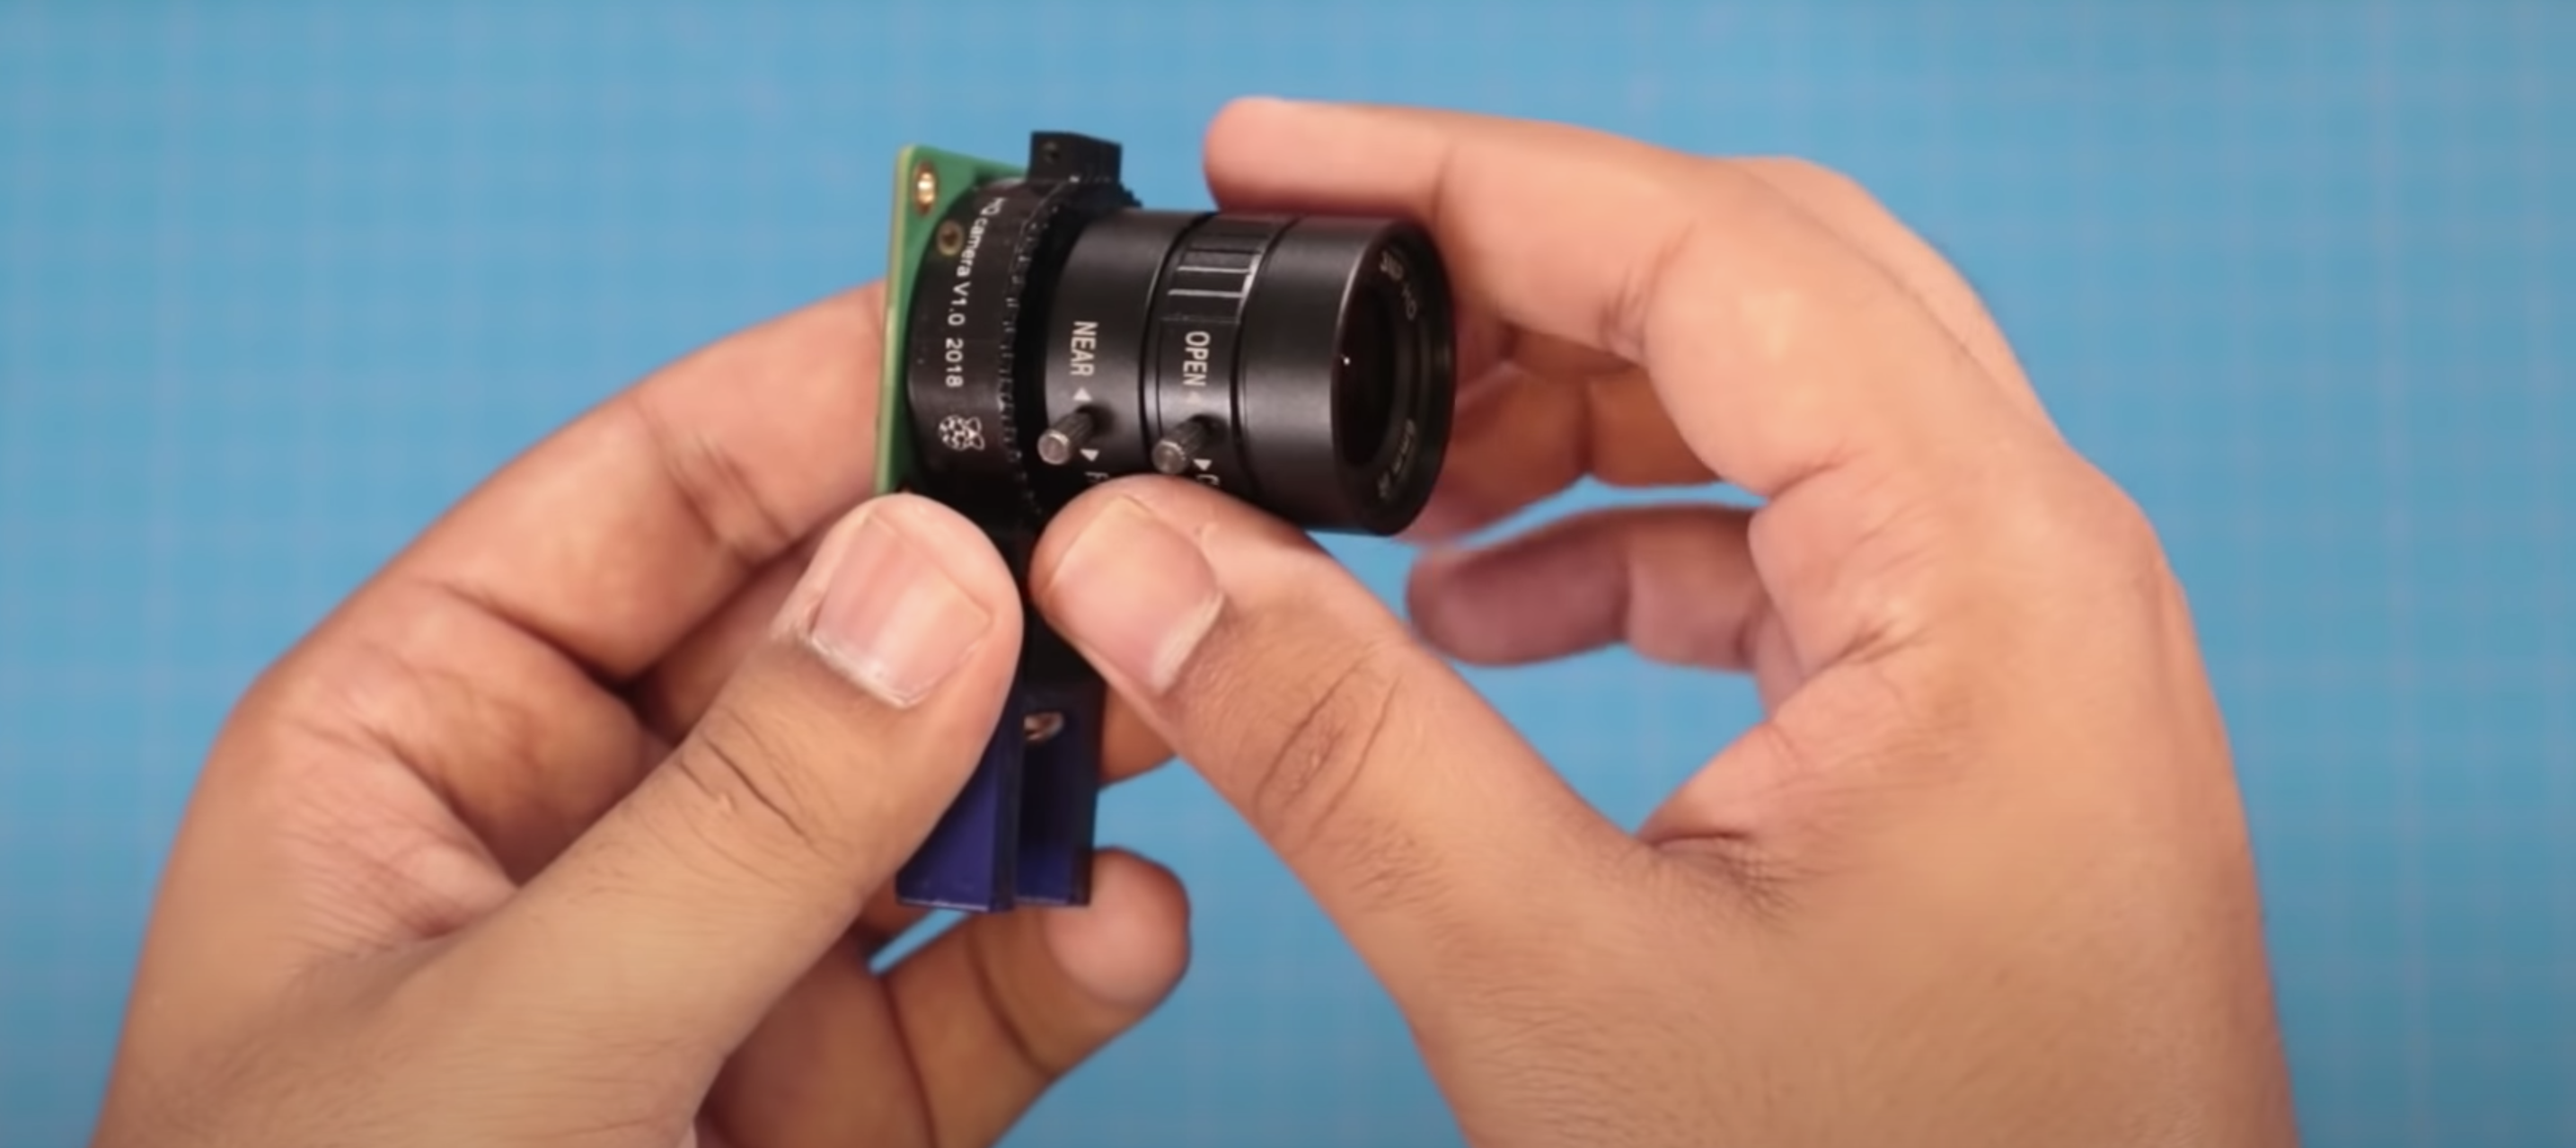
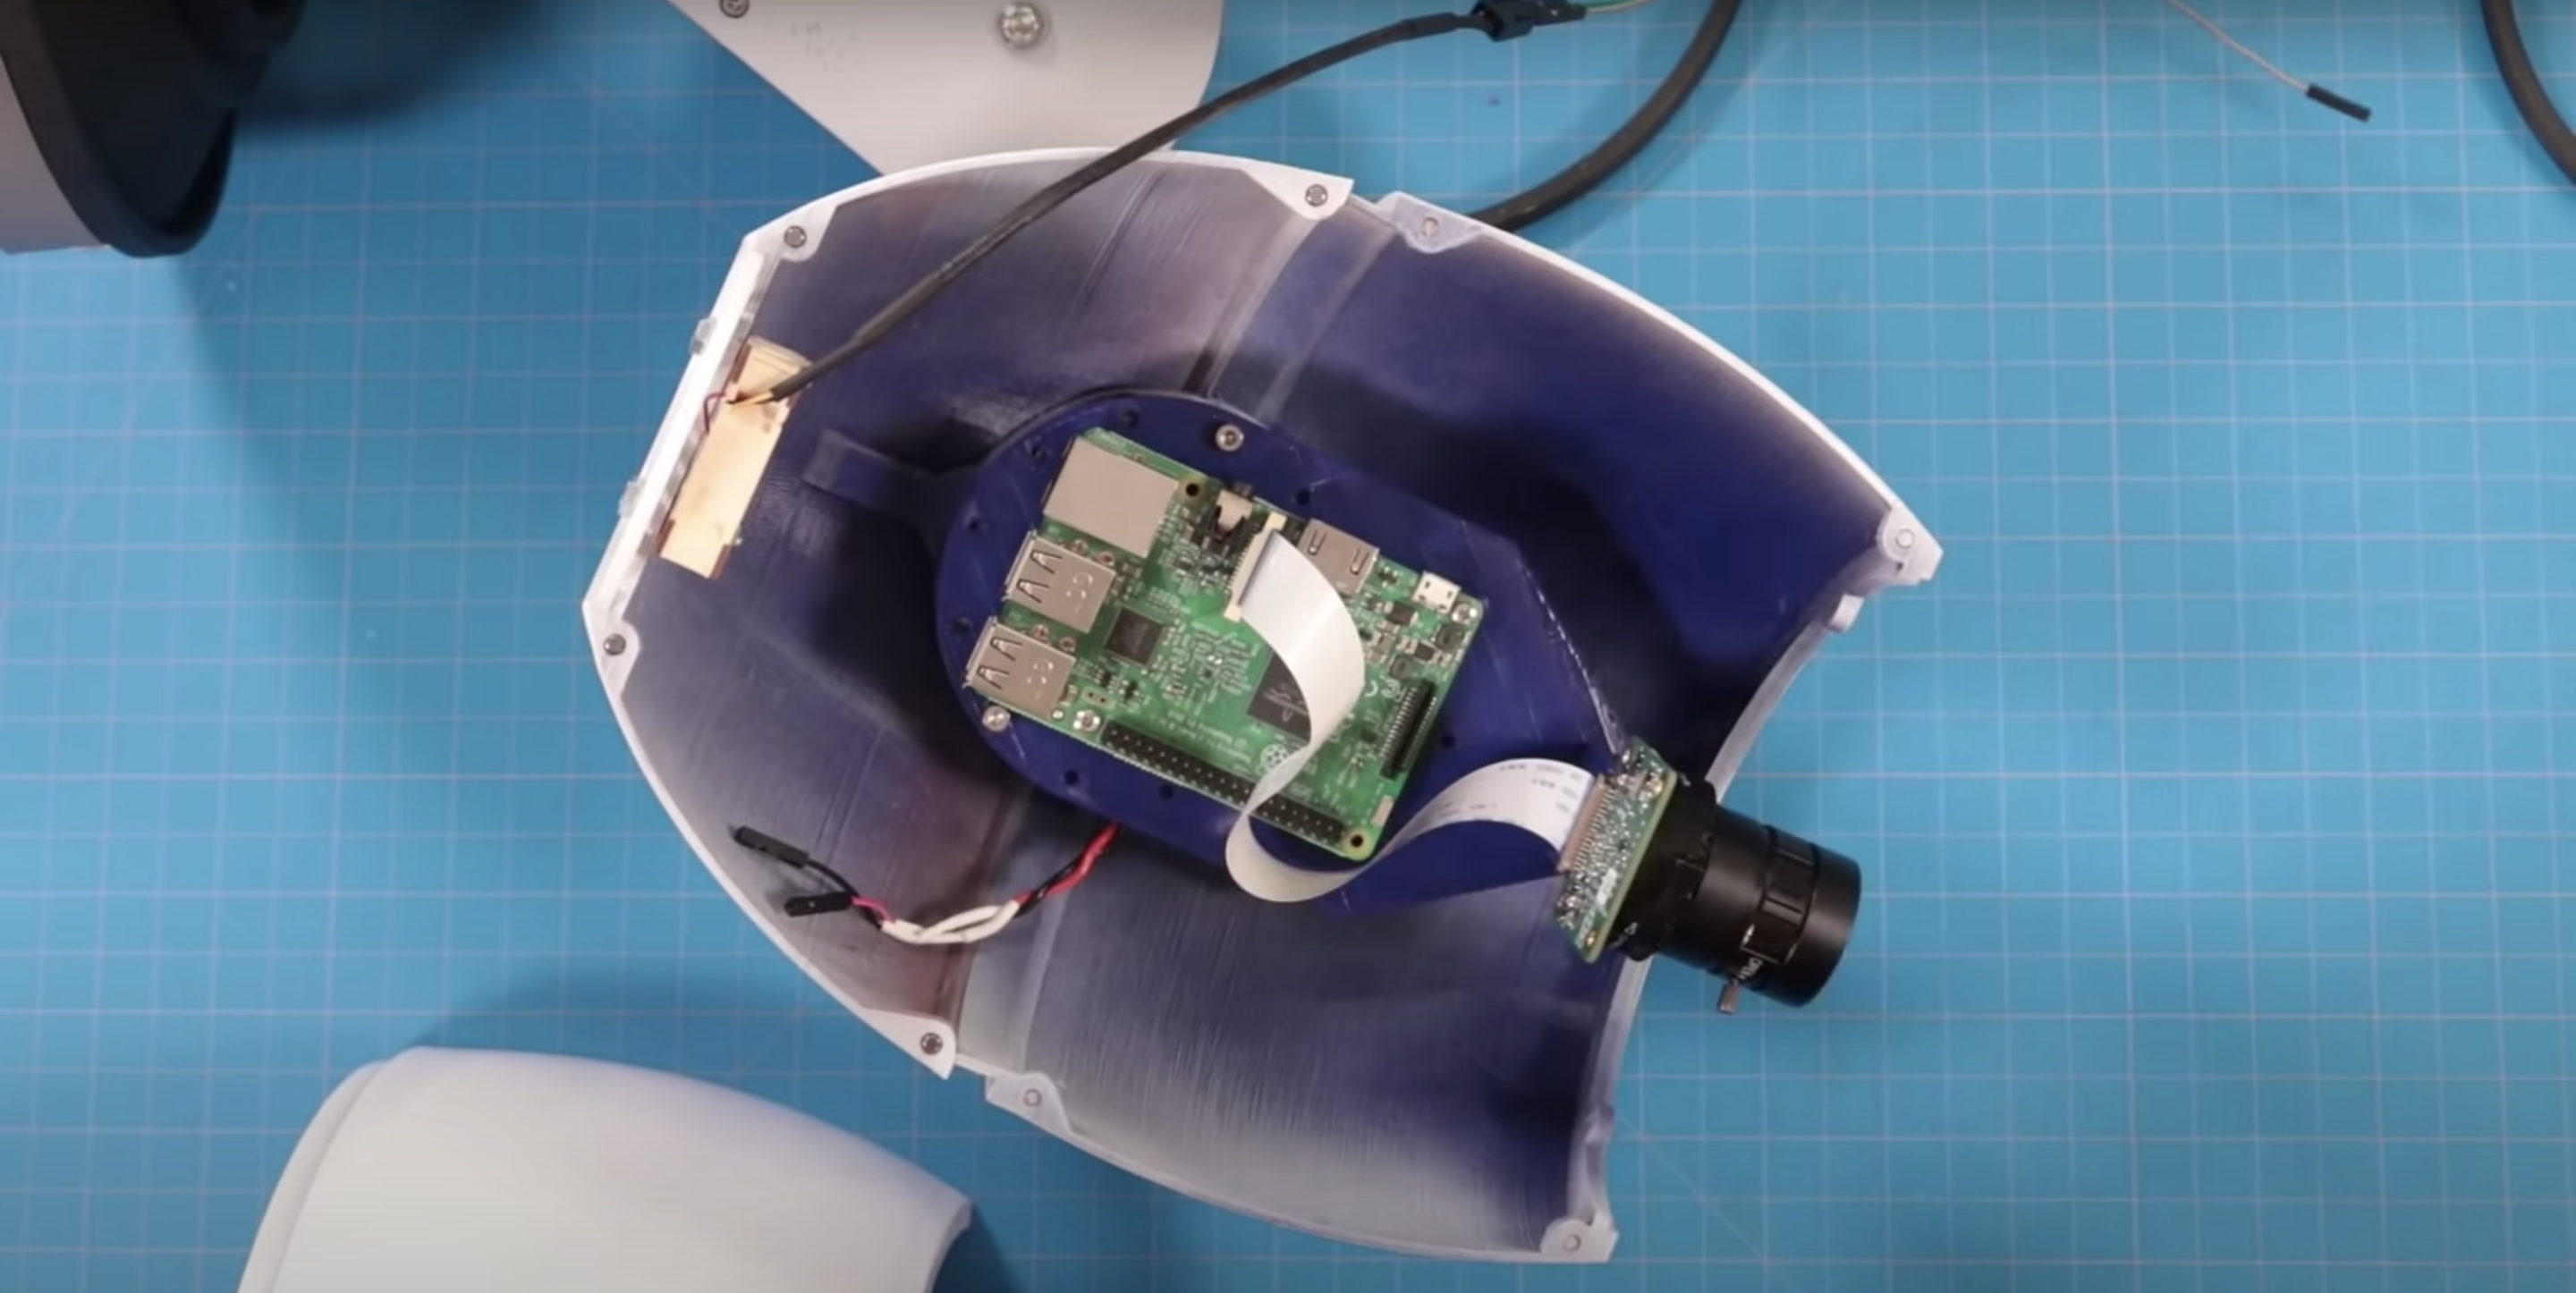
Getting the Raspberry Pi camera lens lined up perfectly with the original lens was the hardest part of this build. But using our tiny camera meant that the lens could be placed at exactly the right angle, because it doesn’t have to be fixed to the PCB.

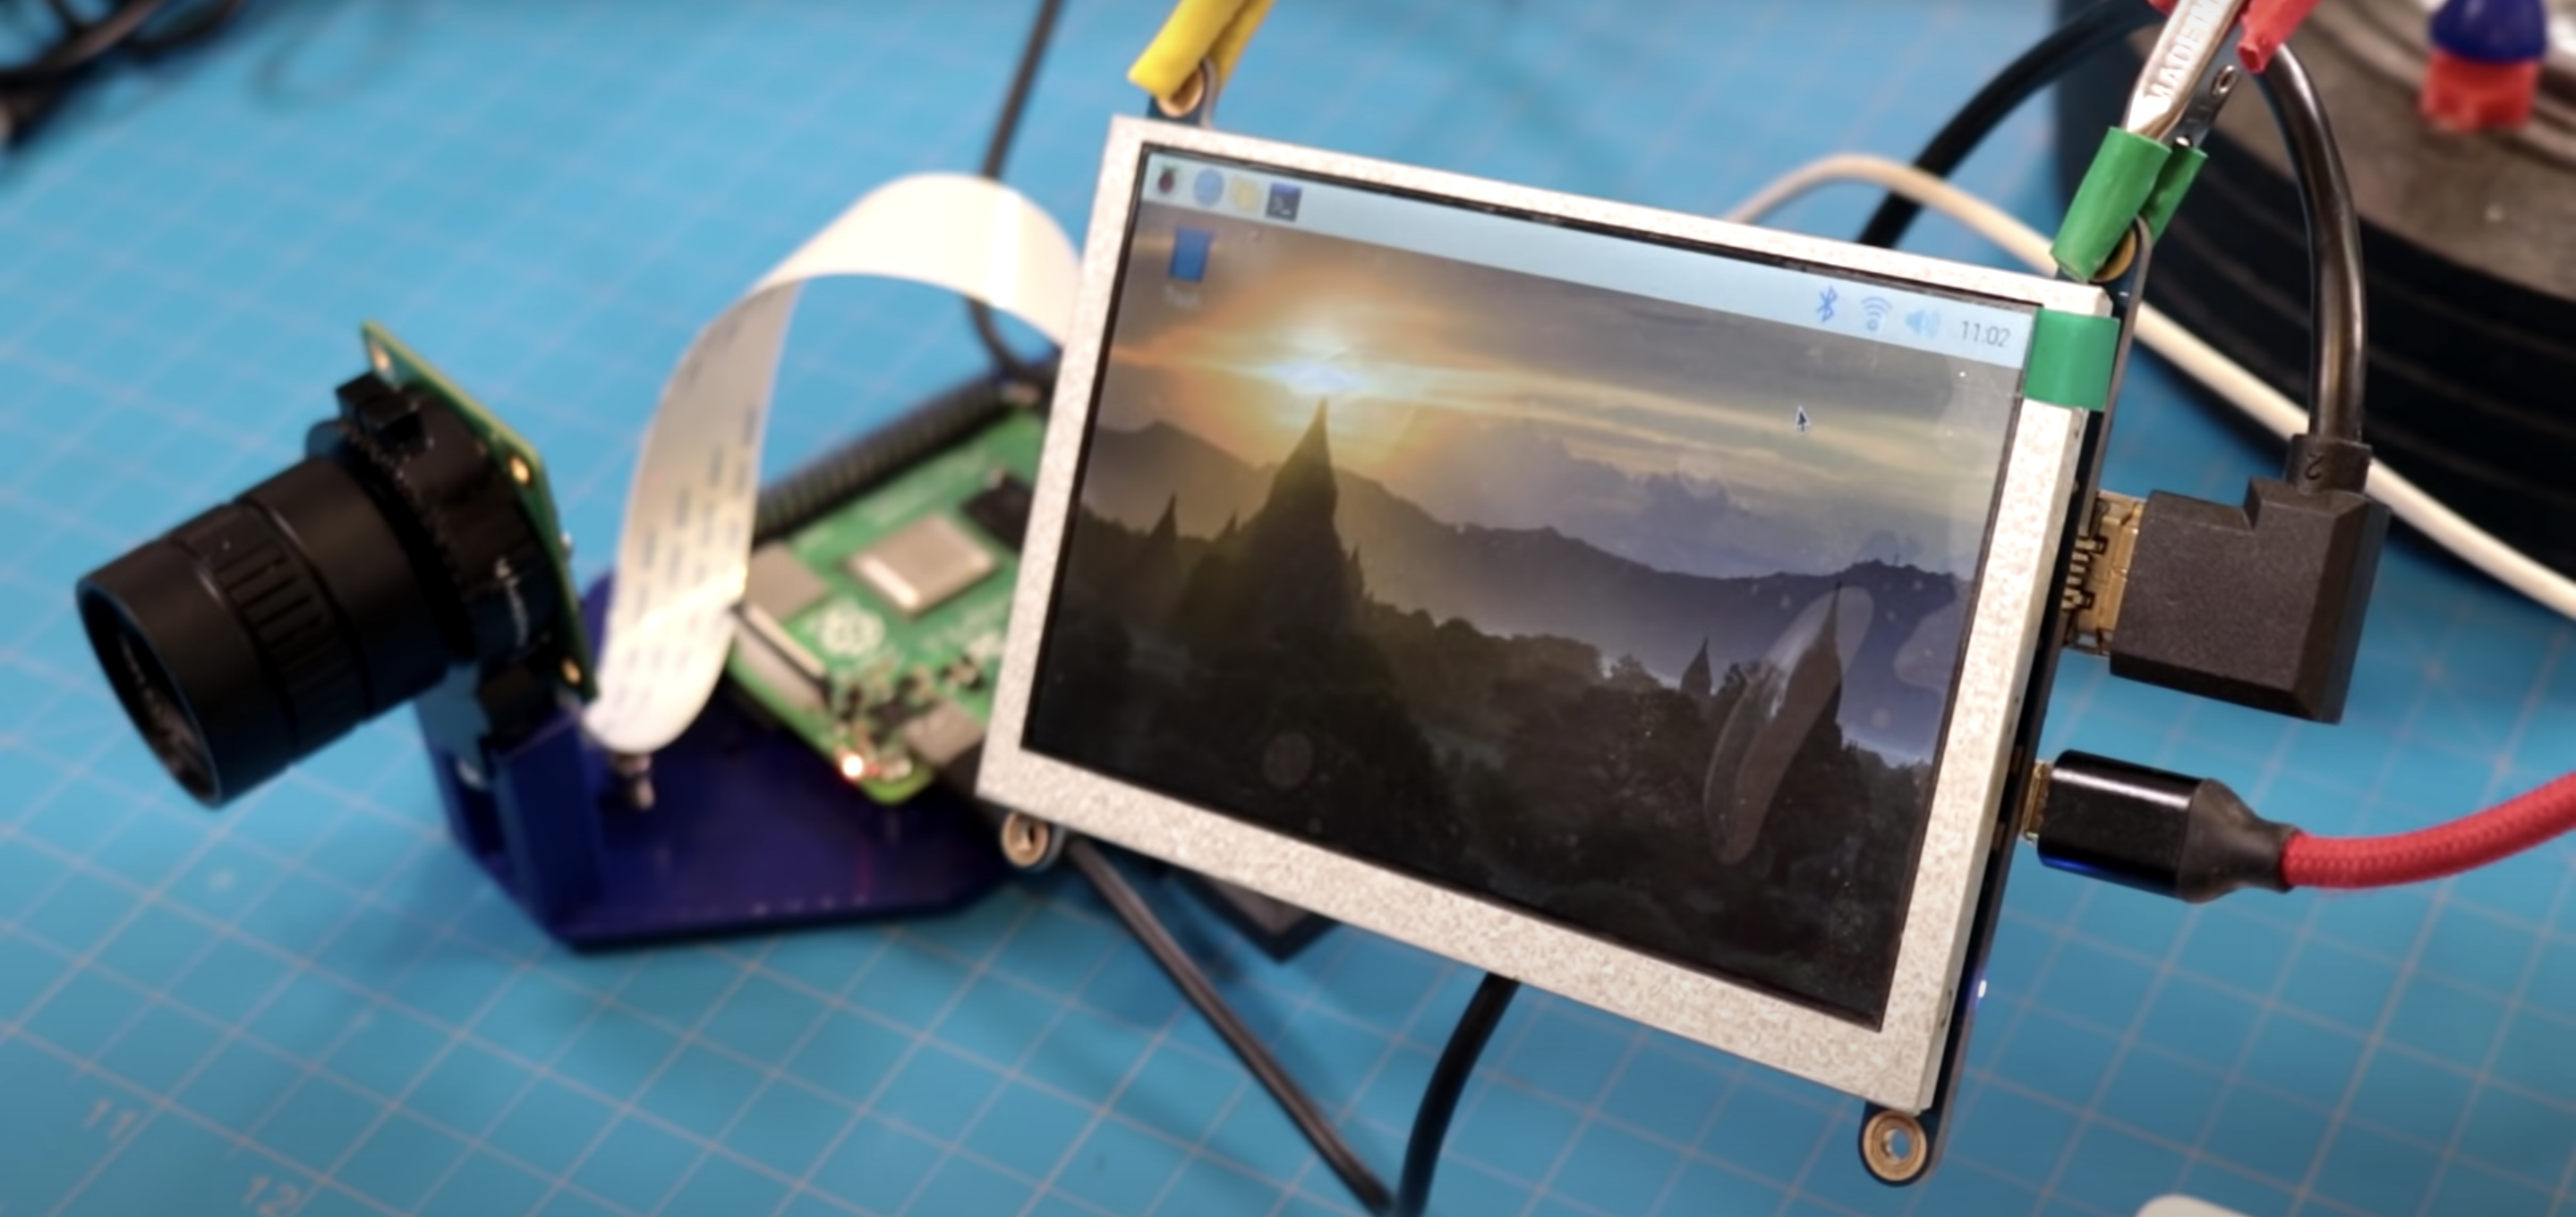
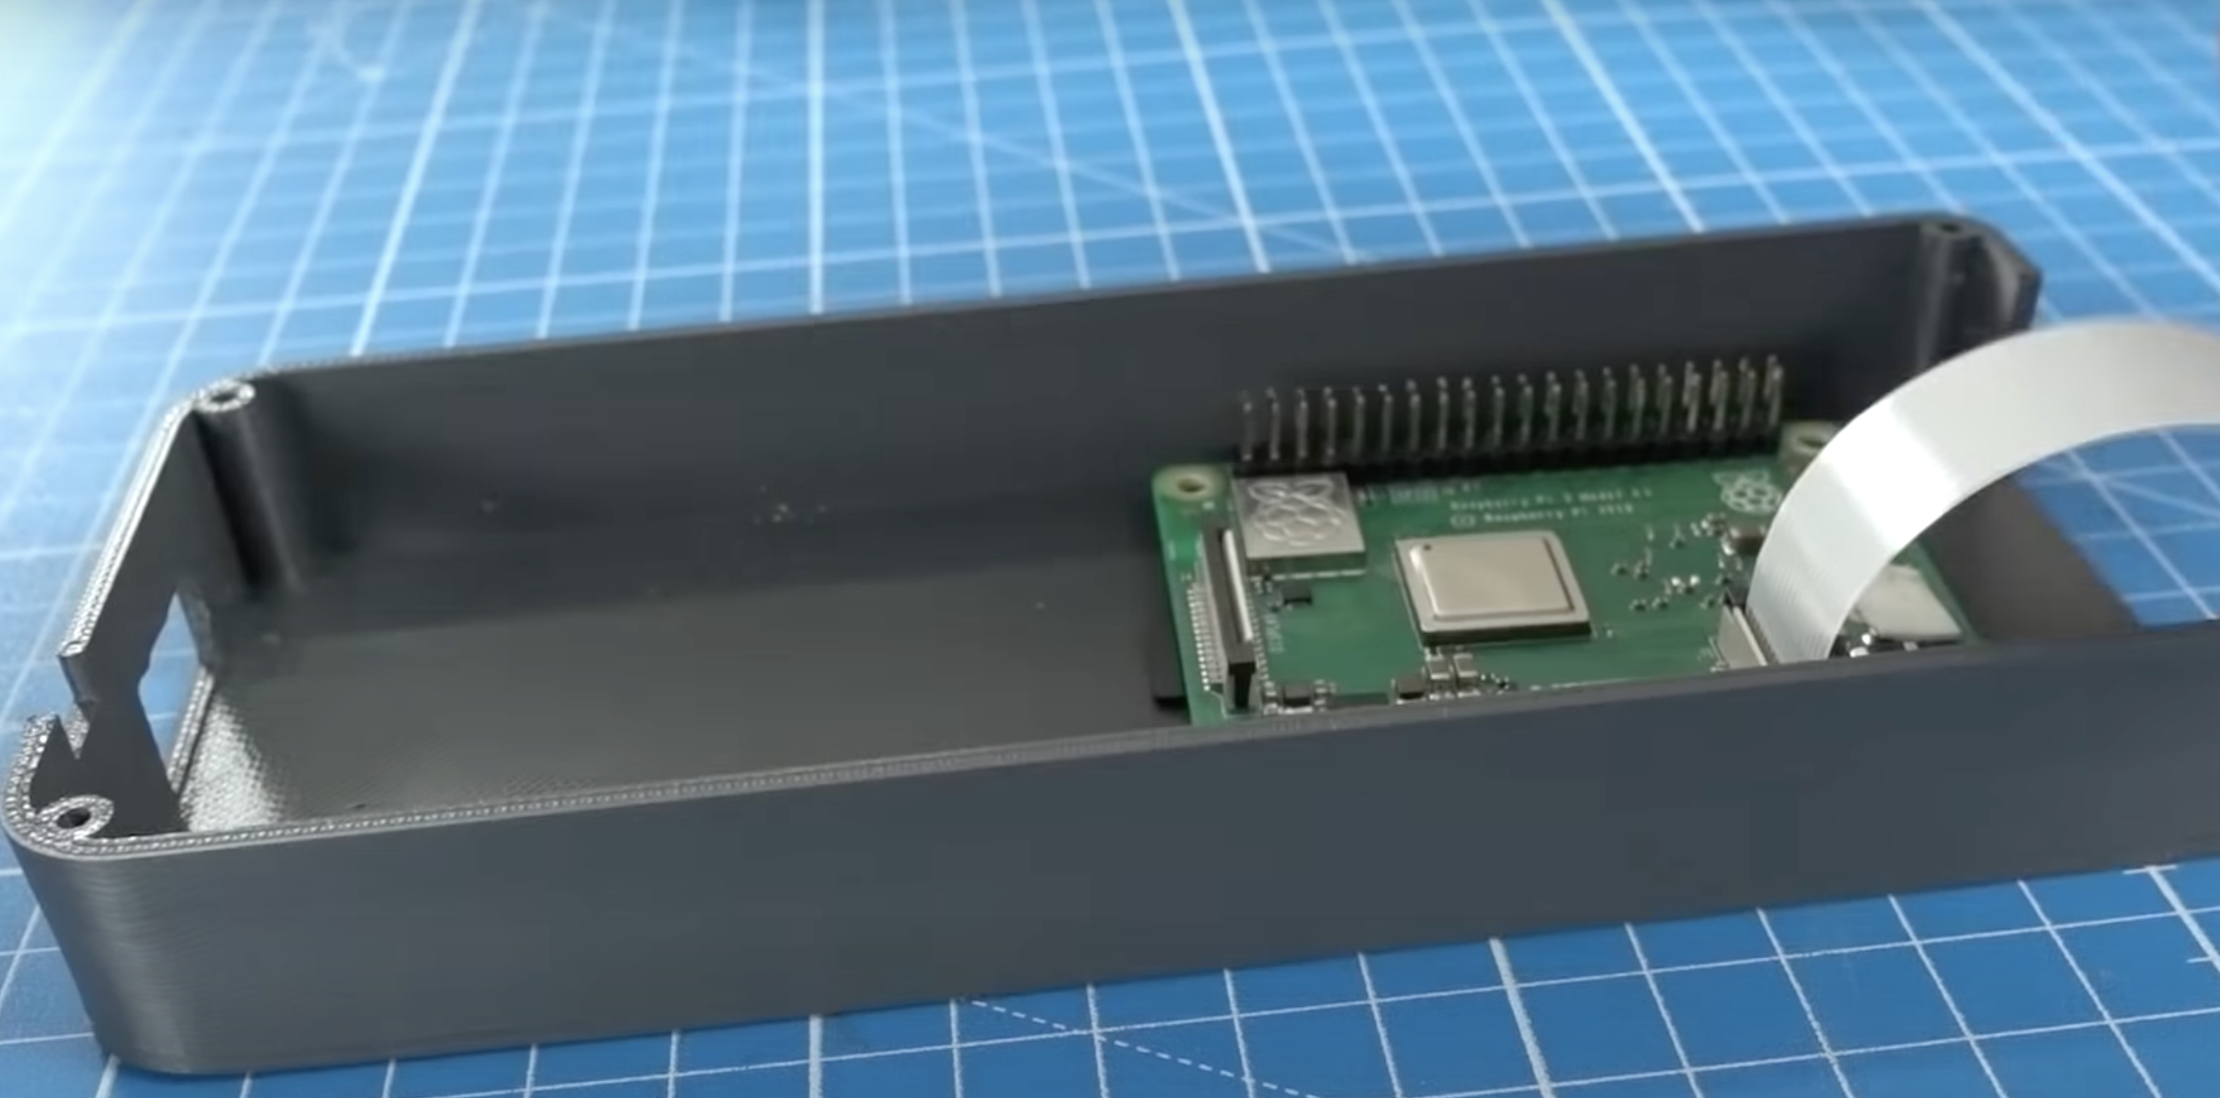
Super 8 cartridges are pretty small, so the super compact Raspberry Pi 3A+ was just the right size for this project, especially as Clem needed wireless connectivity. He had to get the power supply, Raspberry Pi brain, camera, and all the wires into a tight space.

super 8 camera project
Raspberry Pi 3A+ is small but it still takes up half the space in the tiny Super 8 cartridge

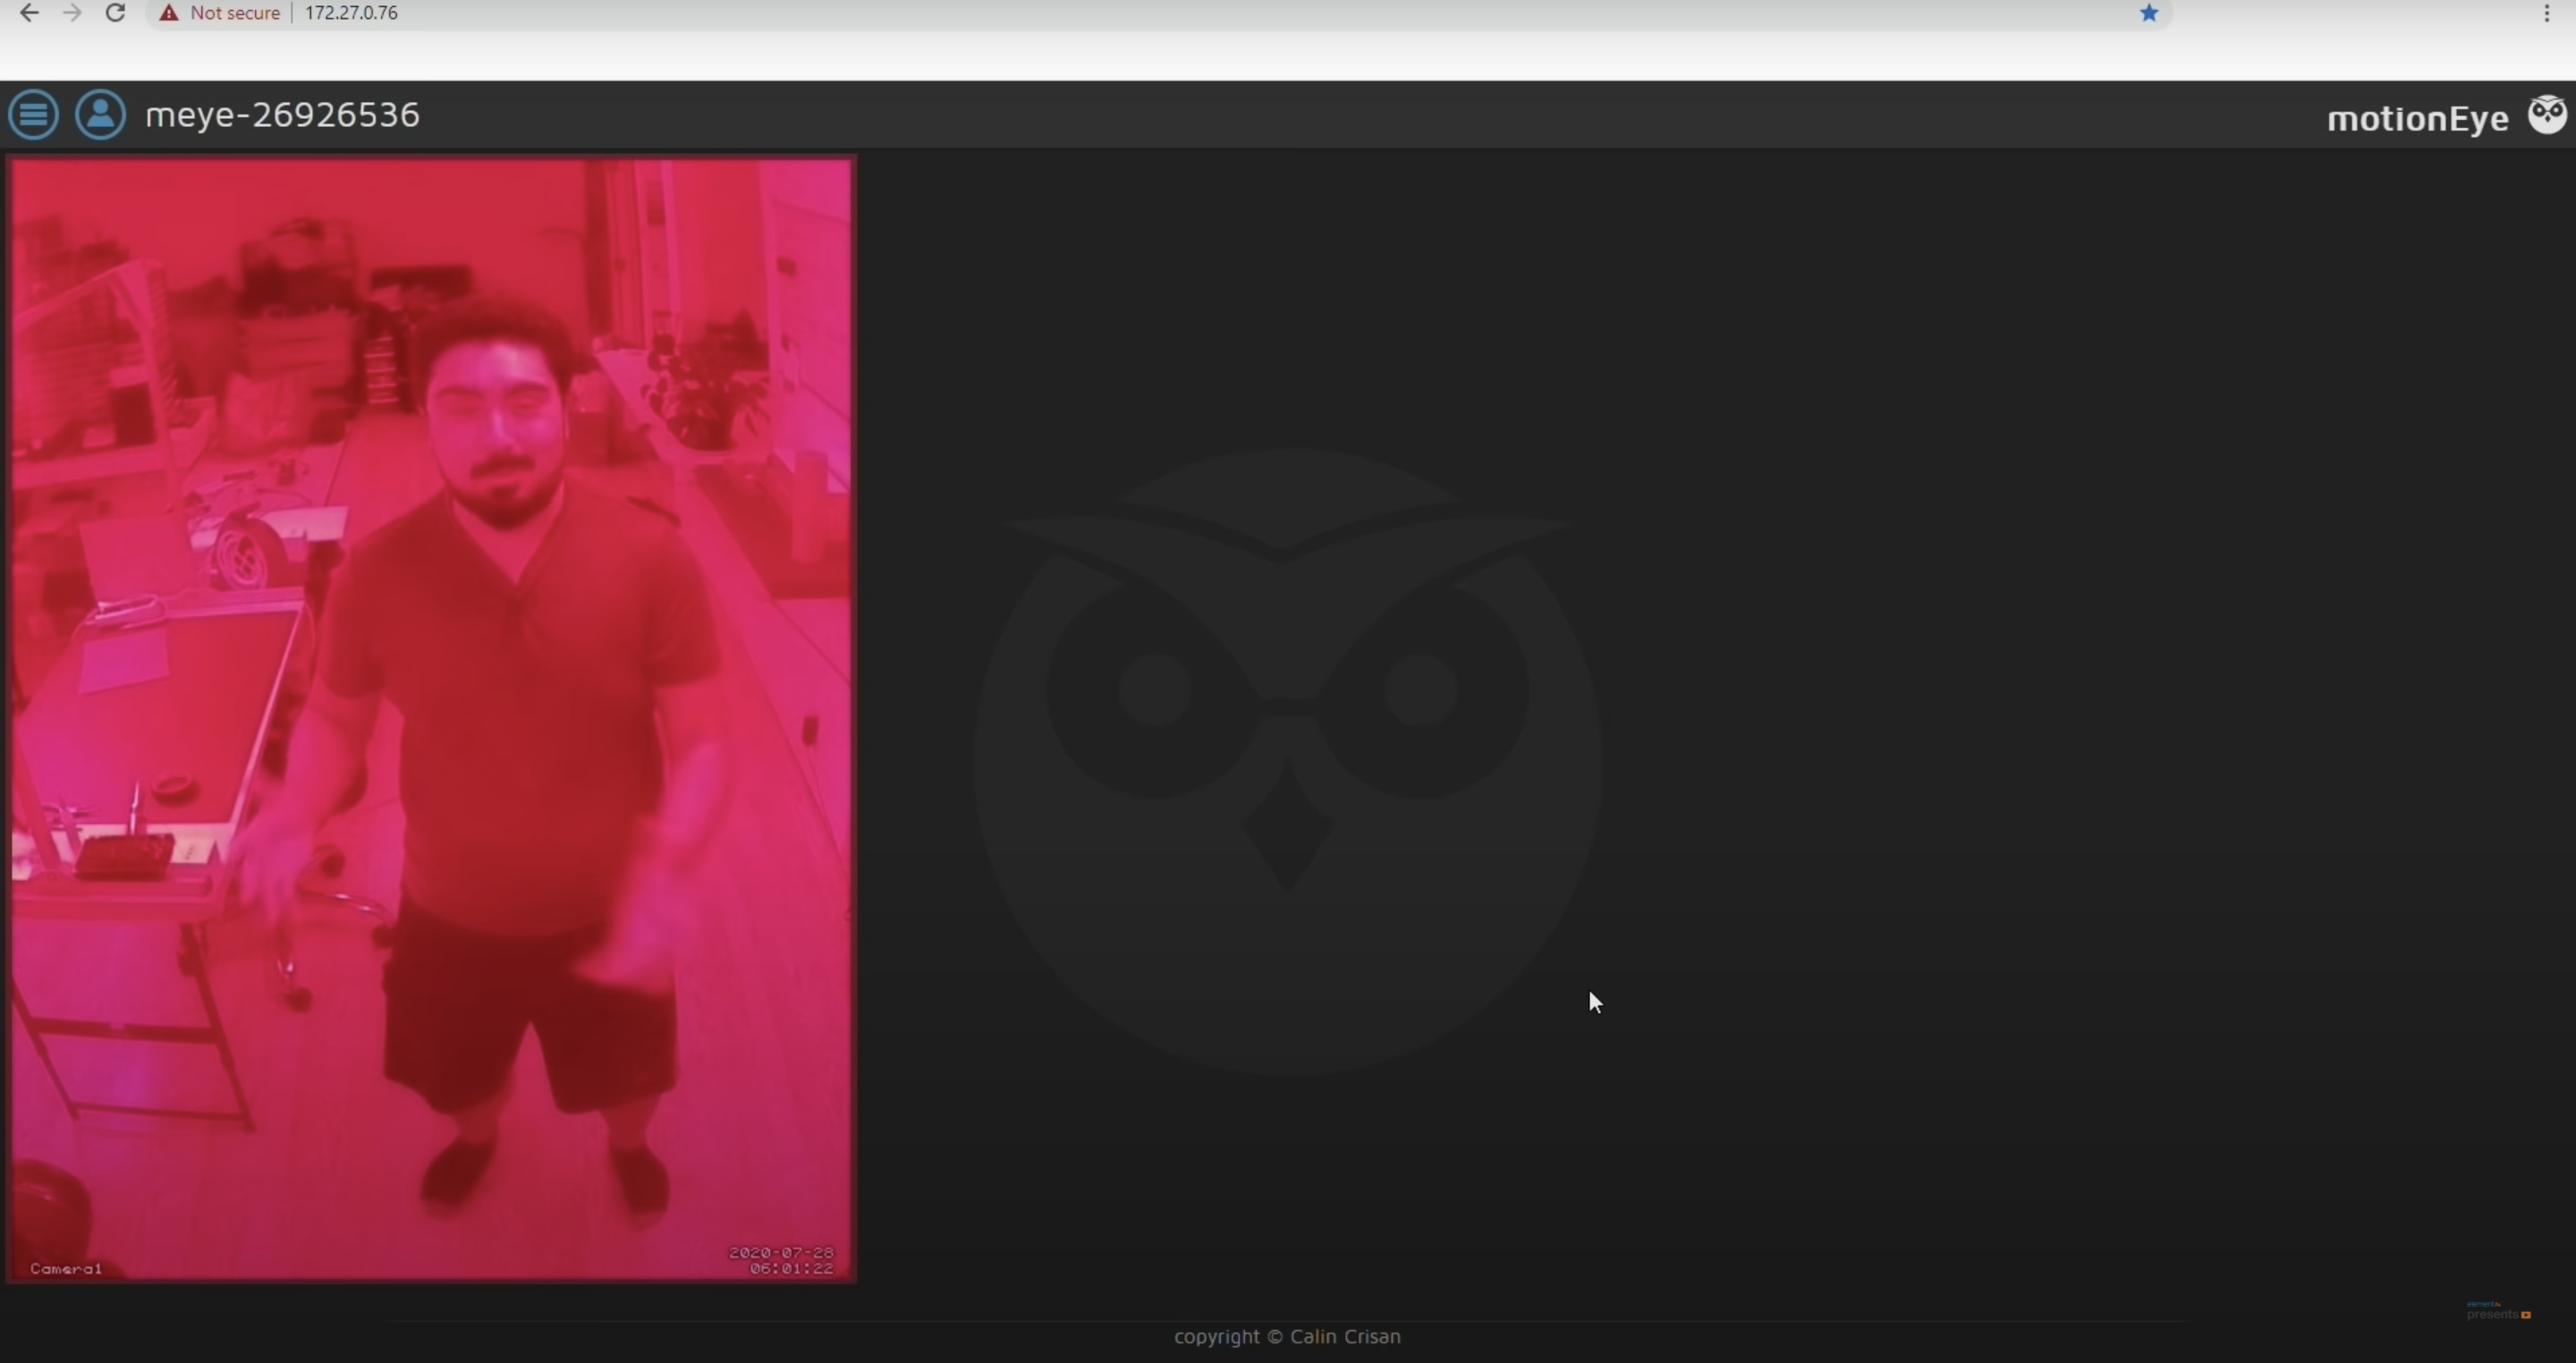
Clem wanted to be able to walk around and use the Super 8 as originally intended, so an external screen with a keyboard and a mouse wouldn’t have worked to control the device. Instead, he rigged up some buttons and an LED to the Raspberry Pi’s GPIO ports. He explains it all from this point in the build video.

We love that the final output looks just like the kind of films the original camera would have captured back in the day.

The post Super 8 camera goes digital with Raspberry Pi appeared first on Raspberry Pi.

Raspberry Pi High Quality security camera

Post Syndicated from Ashley Whittaker original https://www.raspberrypi.org/blog/raspberry-pi-high-quality-security-camera/

DJ from the element14 community shows you how to build a red-lensed security camera in the style of Portal 2 using the Raspberry Pi High Quality Camera.

The finished camera mounted on the wall

Portal 2 is a puzzle platform game developed by Valve — a “puzzle game masquerading as a first-person shooter”, according to Forbes.

DJ playing with the Raspberry Pi High Quality Camera

Kit list

No code needed!

DJ was pleased to learn that you don’t need to write any code to make your own security camera, you can just use a package called motionEyeOS. All you have to do is download the motionEyeOS image, pop the flashed SD card into your Raspberry Pi, and you’re pretty much good to go.

Dj got everything set up on a 5″ screen attached to the Raspberry Pi

You’ll find that the default resolution is 640×480, so it will show up as a tiny window on your monitor of choice, but that can be amended.

Simplicity

While this build is very simple electronically, the 20-part 3D-printed shell is beautiful. A Raspberry Pi is positioned on a purpose-built platform in the middle of the shell, connected to the Raspberry Pi High Quality Camera, which sits at the front of that shell, peeking out.

All the 3D printed parts ready to assemble

The 5V power supply is routed through the main shell into the base, which mounts the build to the wall. In order to keep the Raspberry Pi cool, DJ made some vent holes in the lens of the shell. The red LED is routed out of the side and sits on the outside body of the shell.

Magnetising

Raspberry Pi 4 (centre) and Raspberry Pi High Quality Camera (right) sat inside the 3D printed shell

This build is also screwless: the halves of the shell have what look like screw holes along the edges, but they are actually 3mm neodymium magnets, so assembly and repair is super easy as everything just pops on and off.

The final picture (that’s DJ!)

You can find all the files you need to recreate this build, or you can ask DJ a question, at element14.com/presents.

The post Raspberry Pi High Quality security camera appeared first on Raspberry Pi.