Tag Archives: retro toy

Give your voice assistant a retro Raspberry Pi makeover

Post Syndicated from Ashley Whittaker original https://www.raspberrypi.org/blog/give-your-voice-assistant-a-retro-raspberry-pi-makeover/

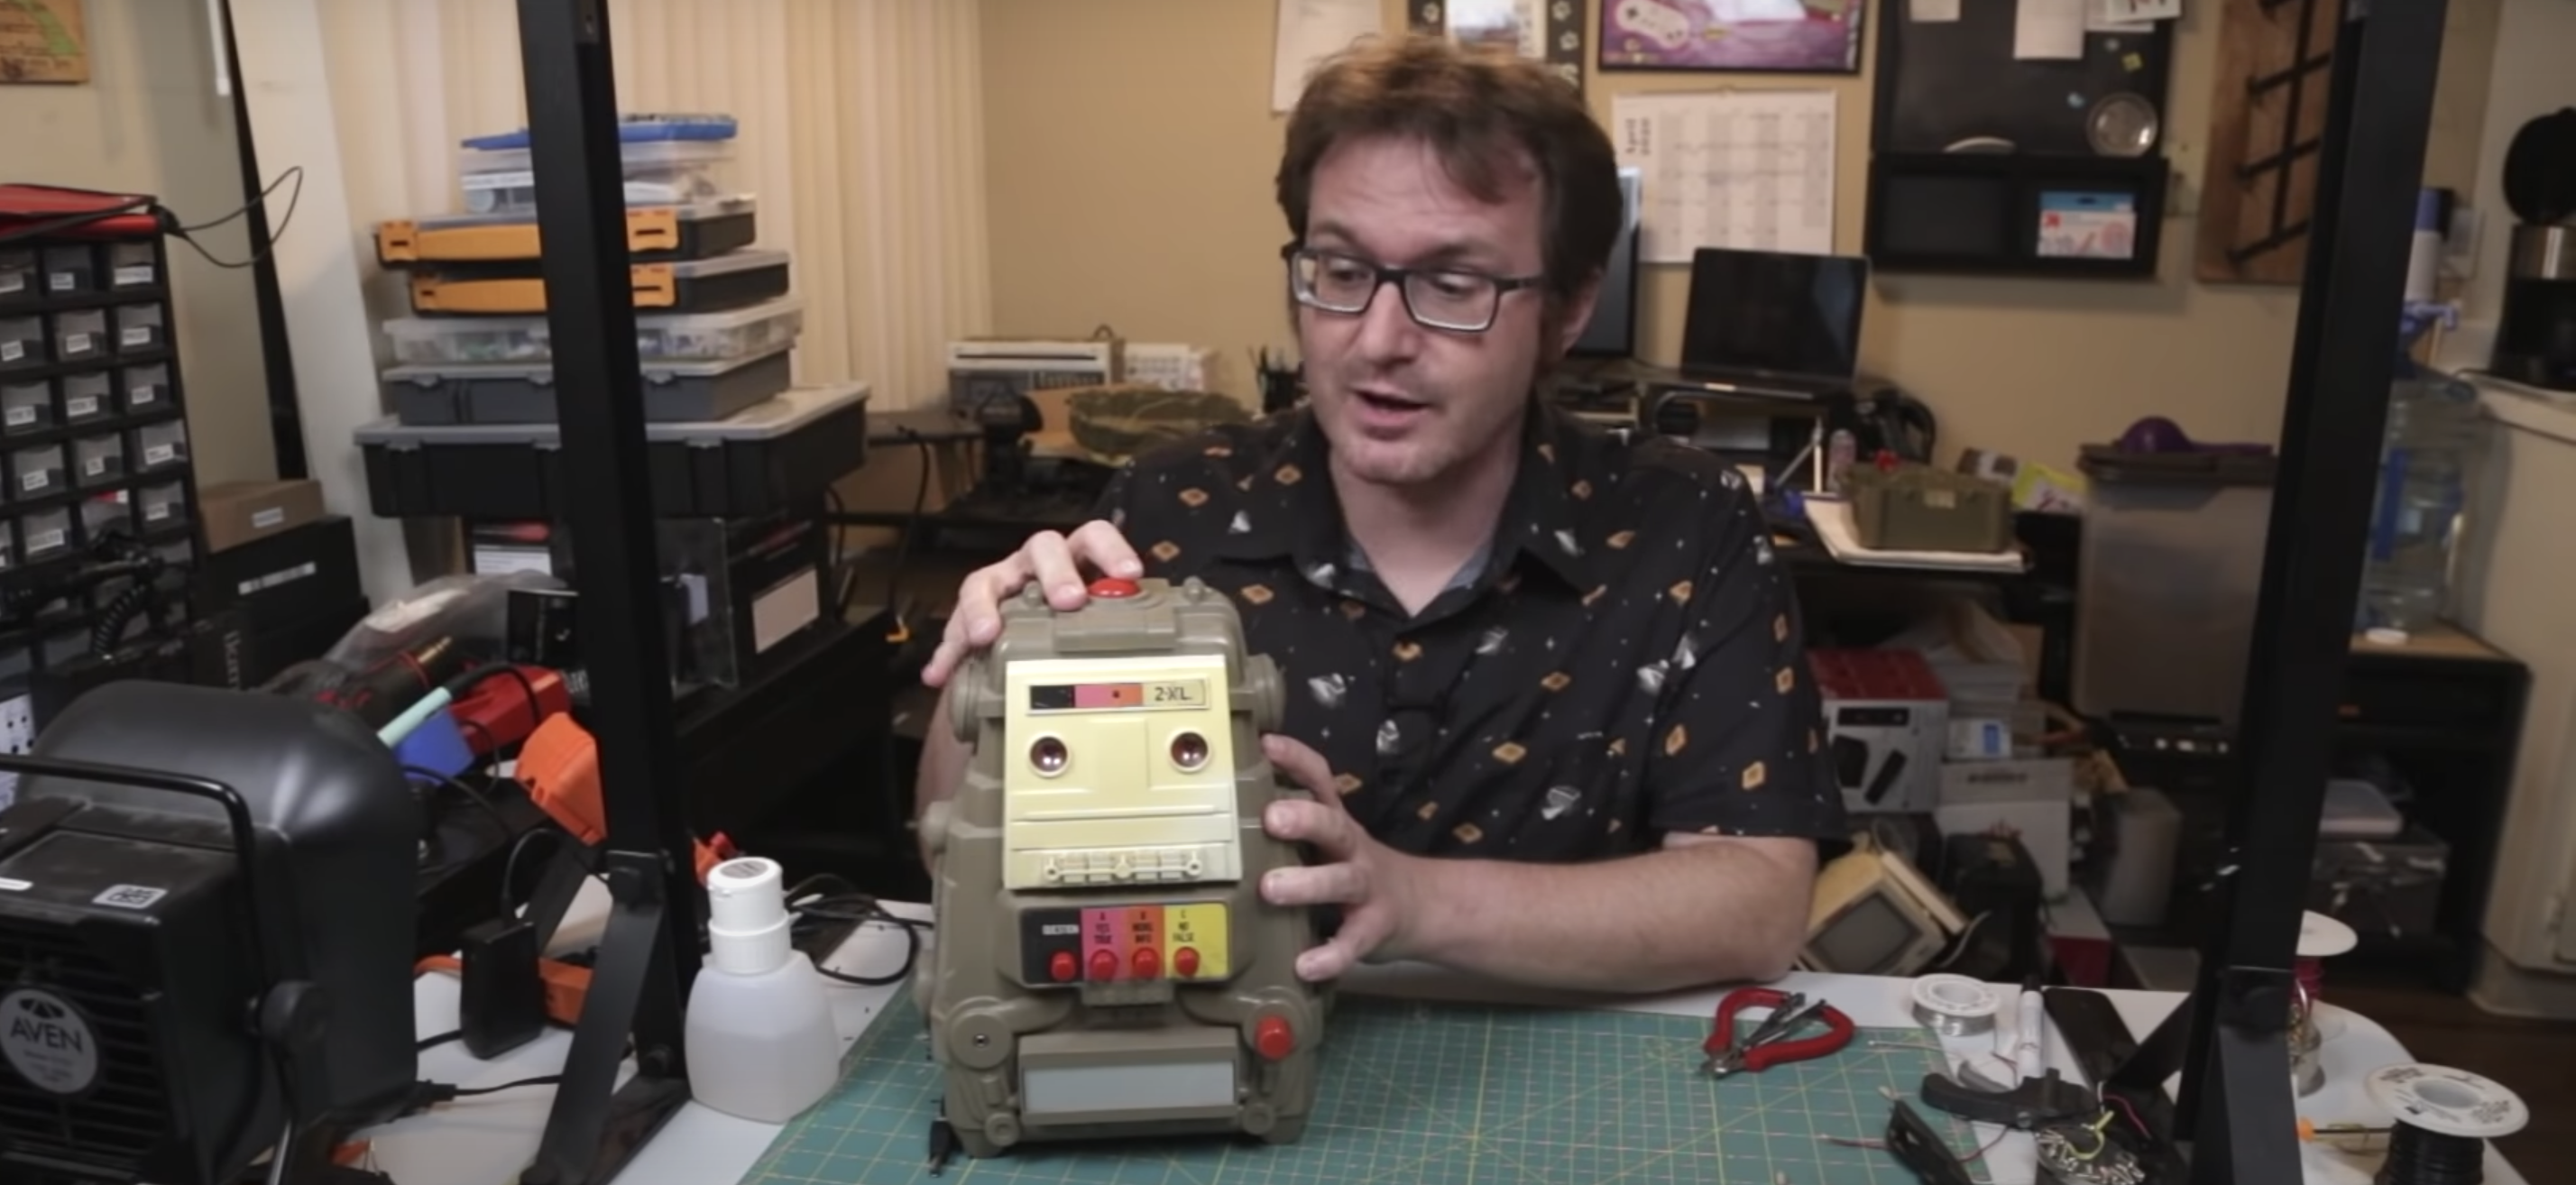
Do you feel weird asking the weather or seeking advice from a faceless device? Would you feel better about talking to a classic 1978 2-XL educational robot from Mego Corporation? Matt over at element14 Community, where tons of interesting stuff happens, has got your back.

Watch Matt explain how the 2-XL toy robot worked before he started tinkering with it. This robot works with Google Assistant on a Raspberry Pi, and answers to a custom wake word.

Kit list

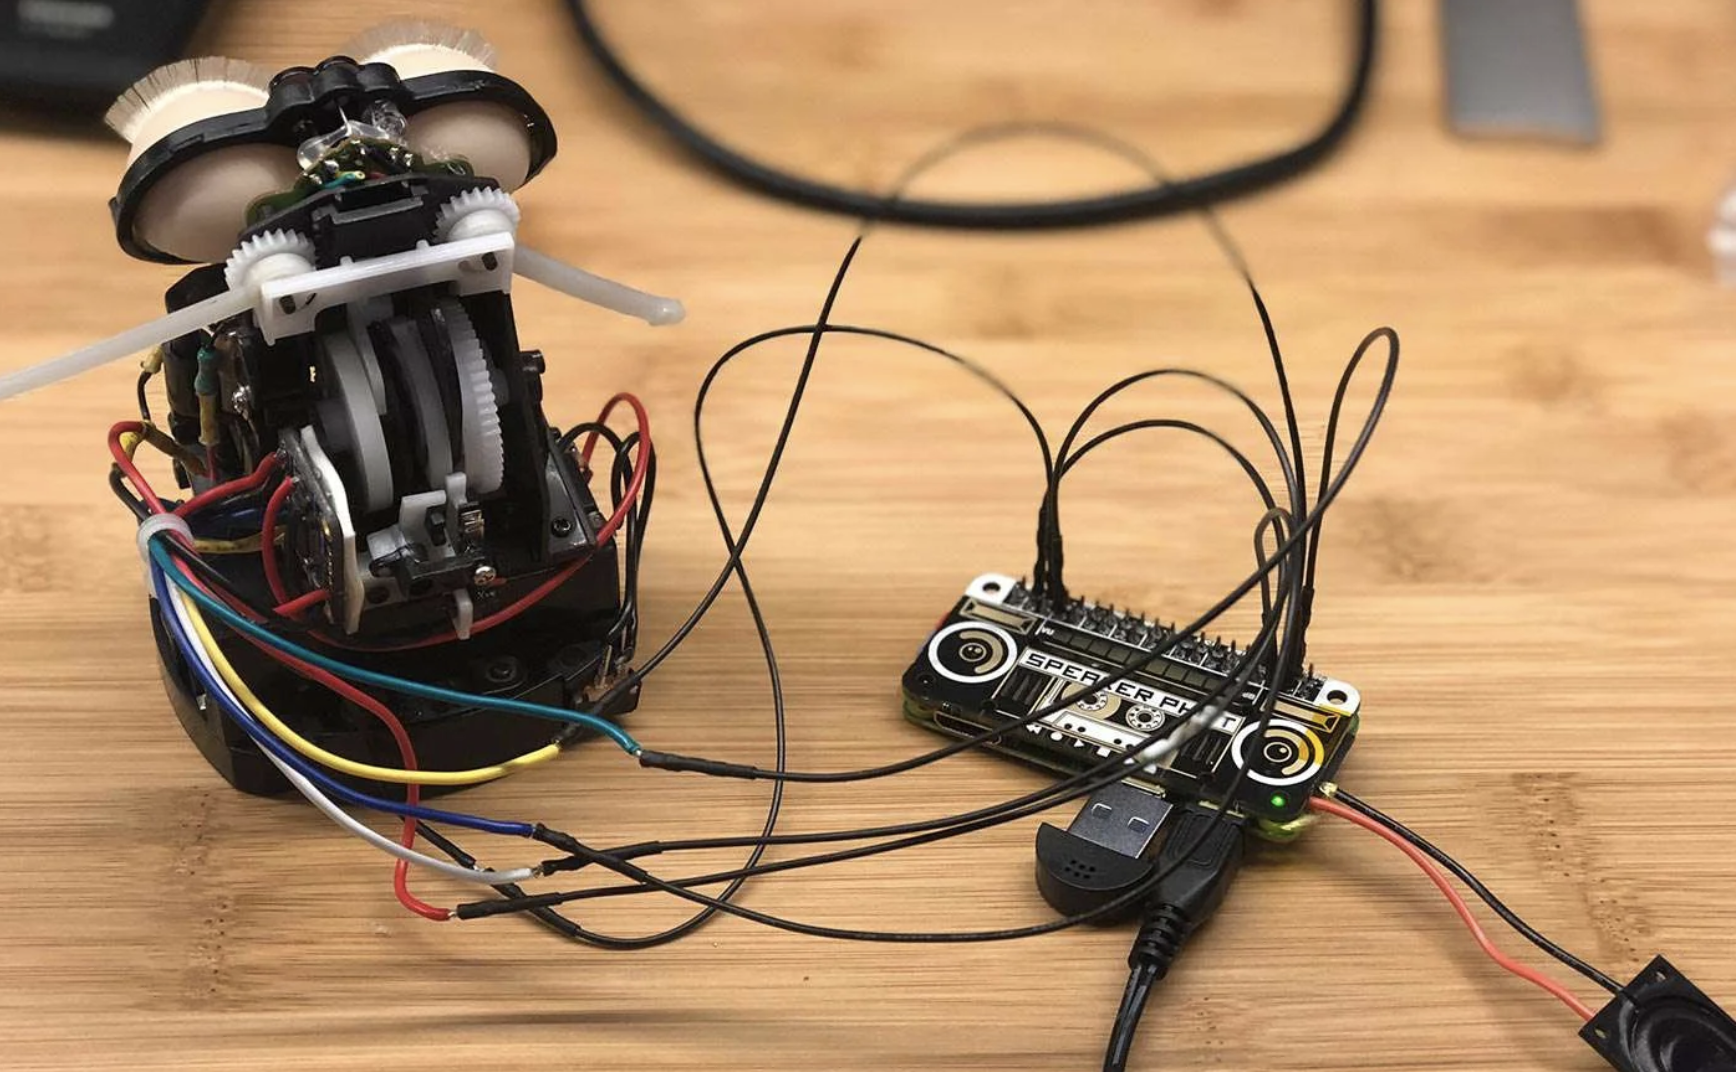
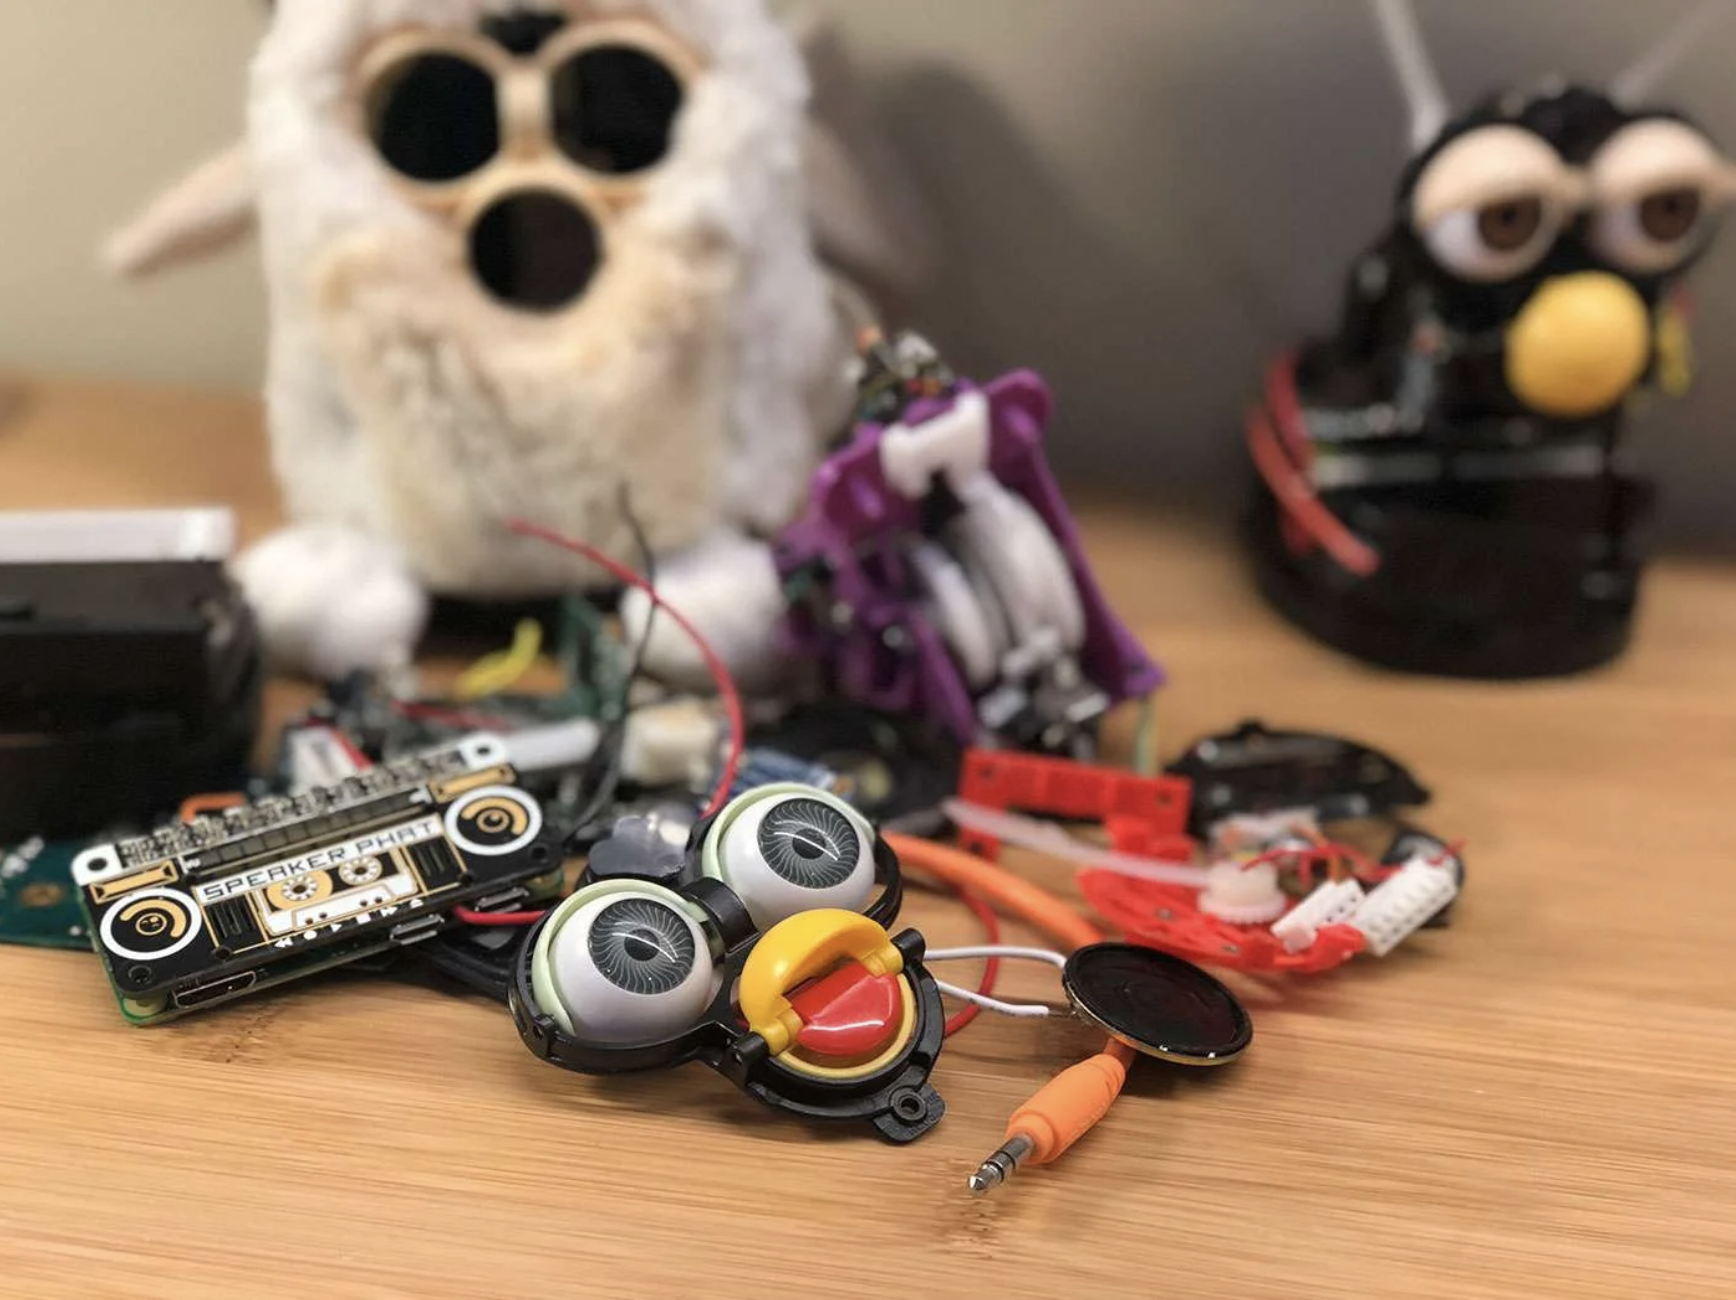
Our recent blog about repurposing a Furby as a voice assistant device would have excited Noughties kids, but this one is mostly for our beautiful 1970s- and 1980s-born fanbase.

Time travel

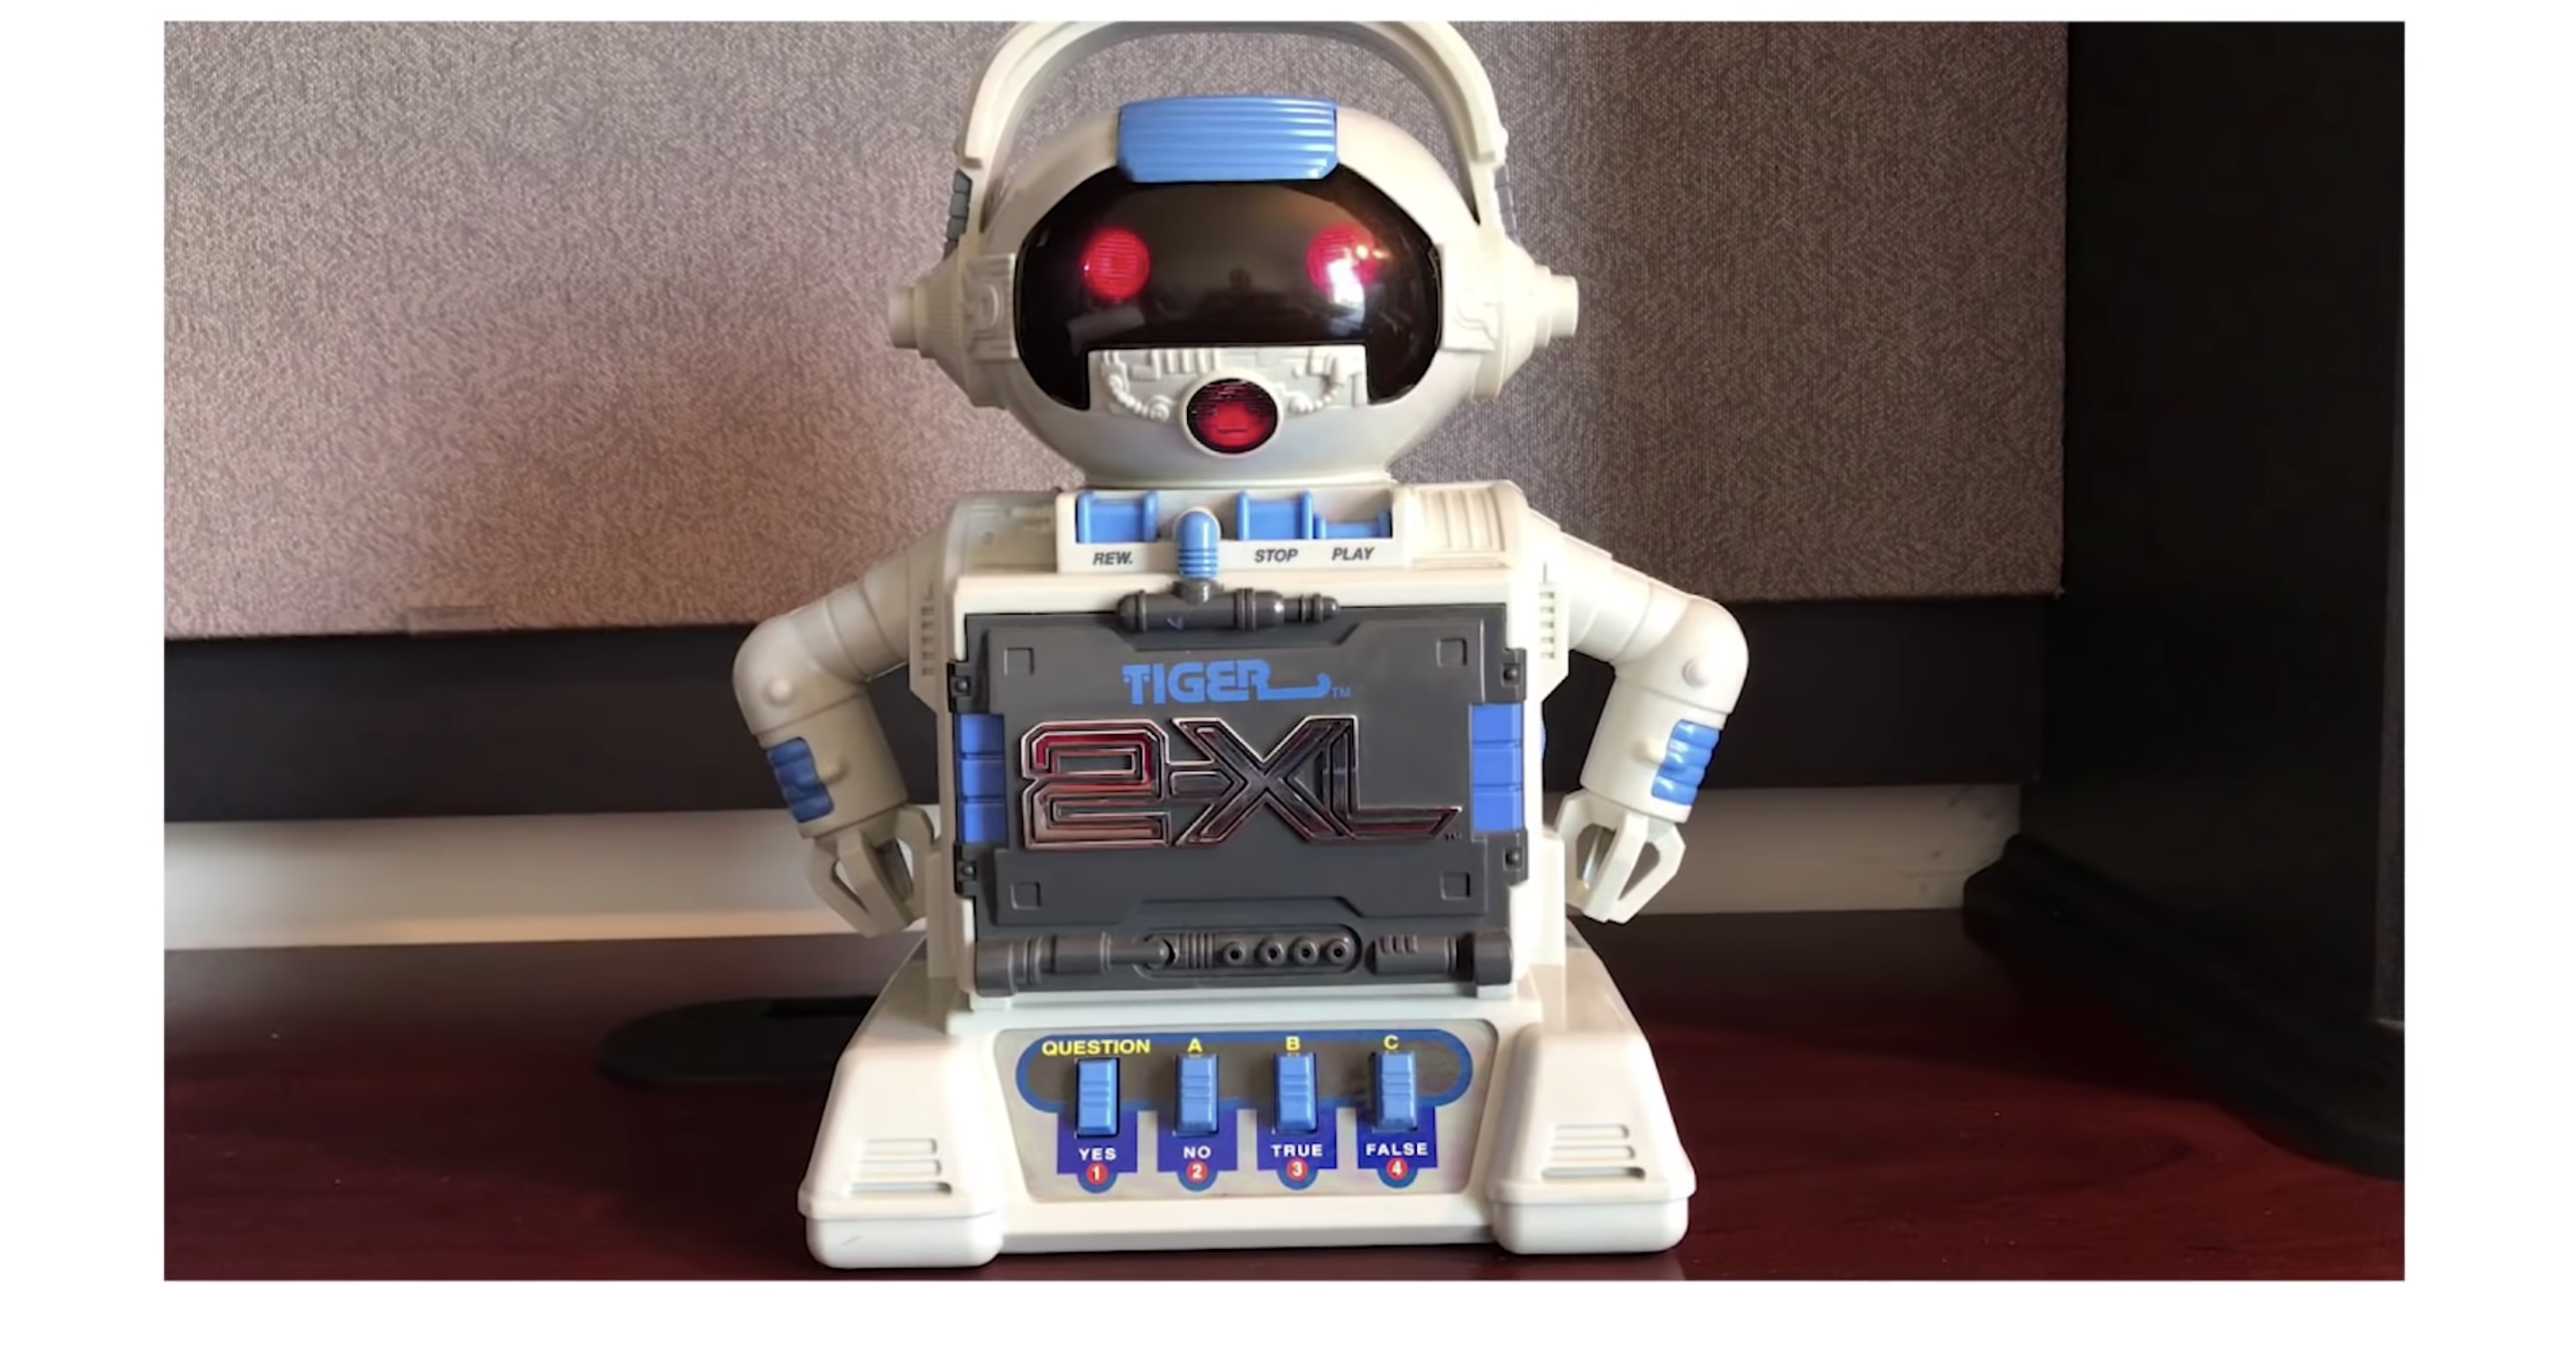
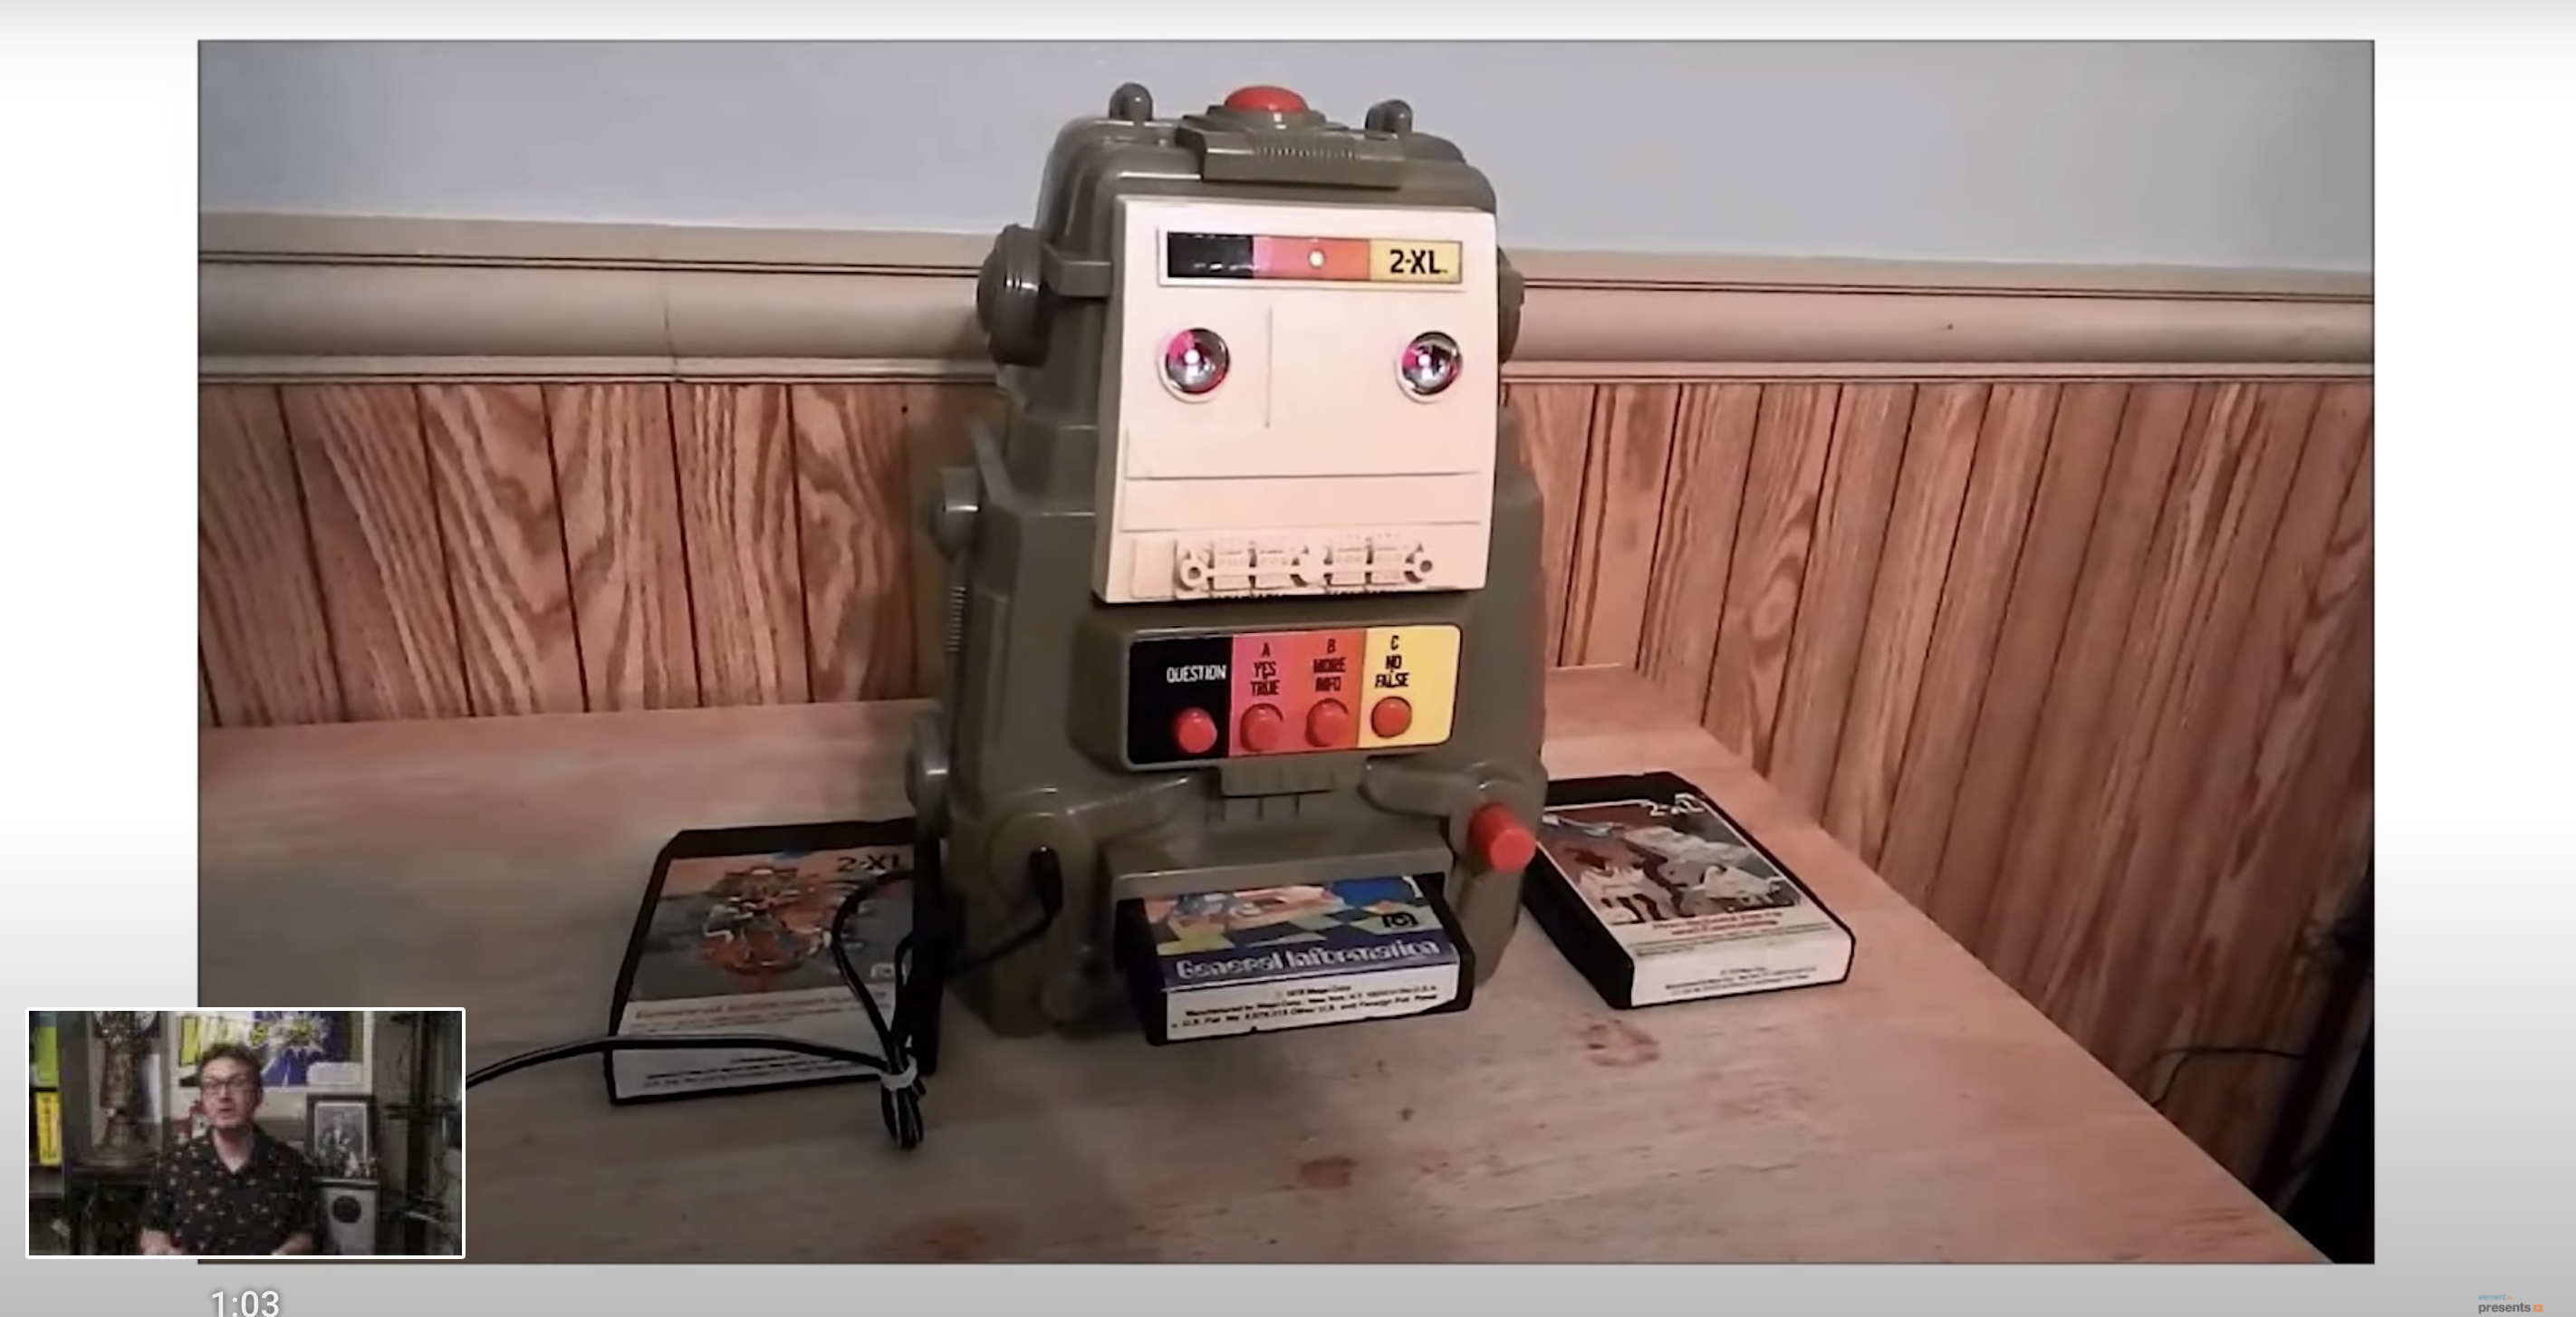
2-XL, Wikipedia tells us, is considered the first “smart toy”, marketed way back in 1978, and exhibiting “rudimentary intelligence, memory, gameplay, and responsiveness”. 2-XL had a personality that kept kids’ attention, telling jokes and offering verbal support as they learned.
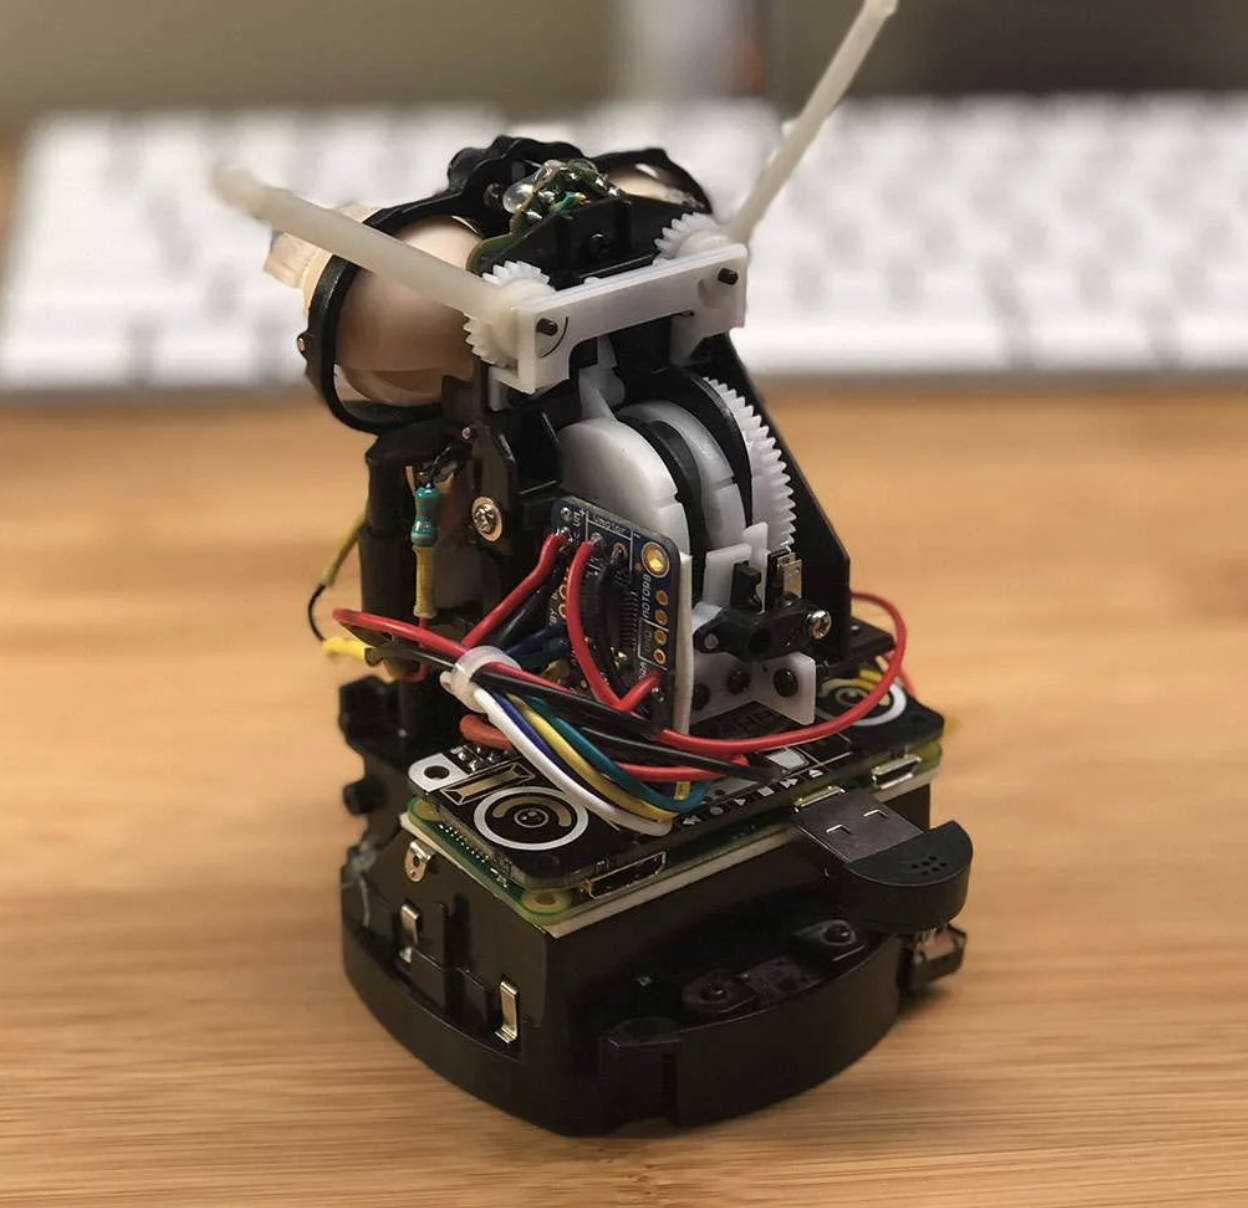
Teardown

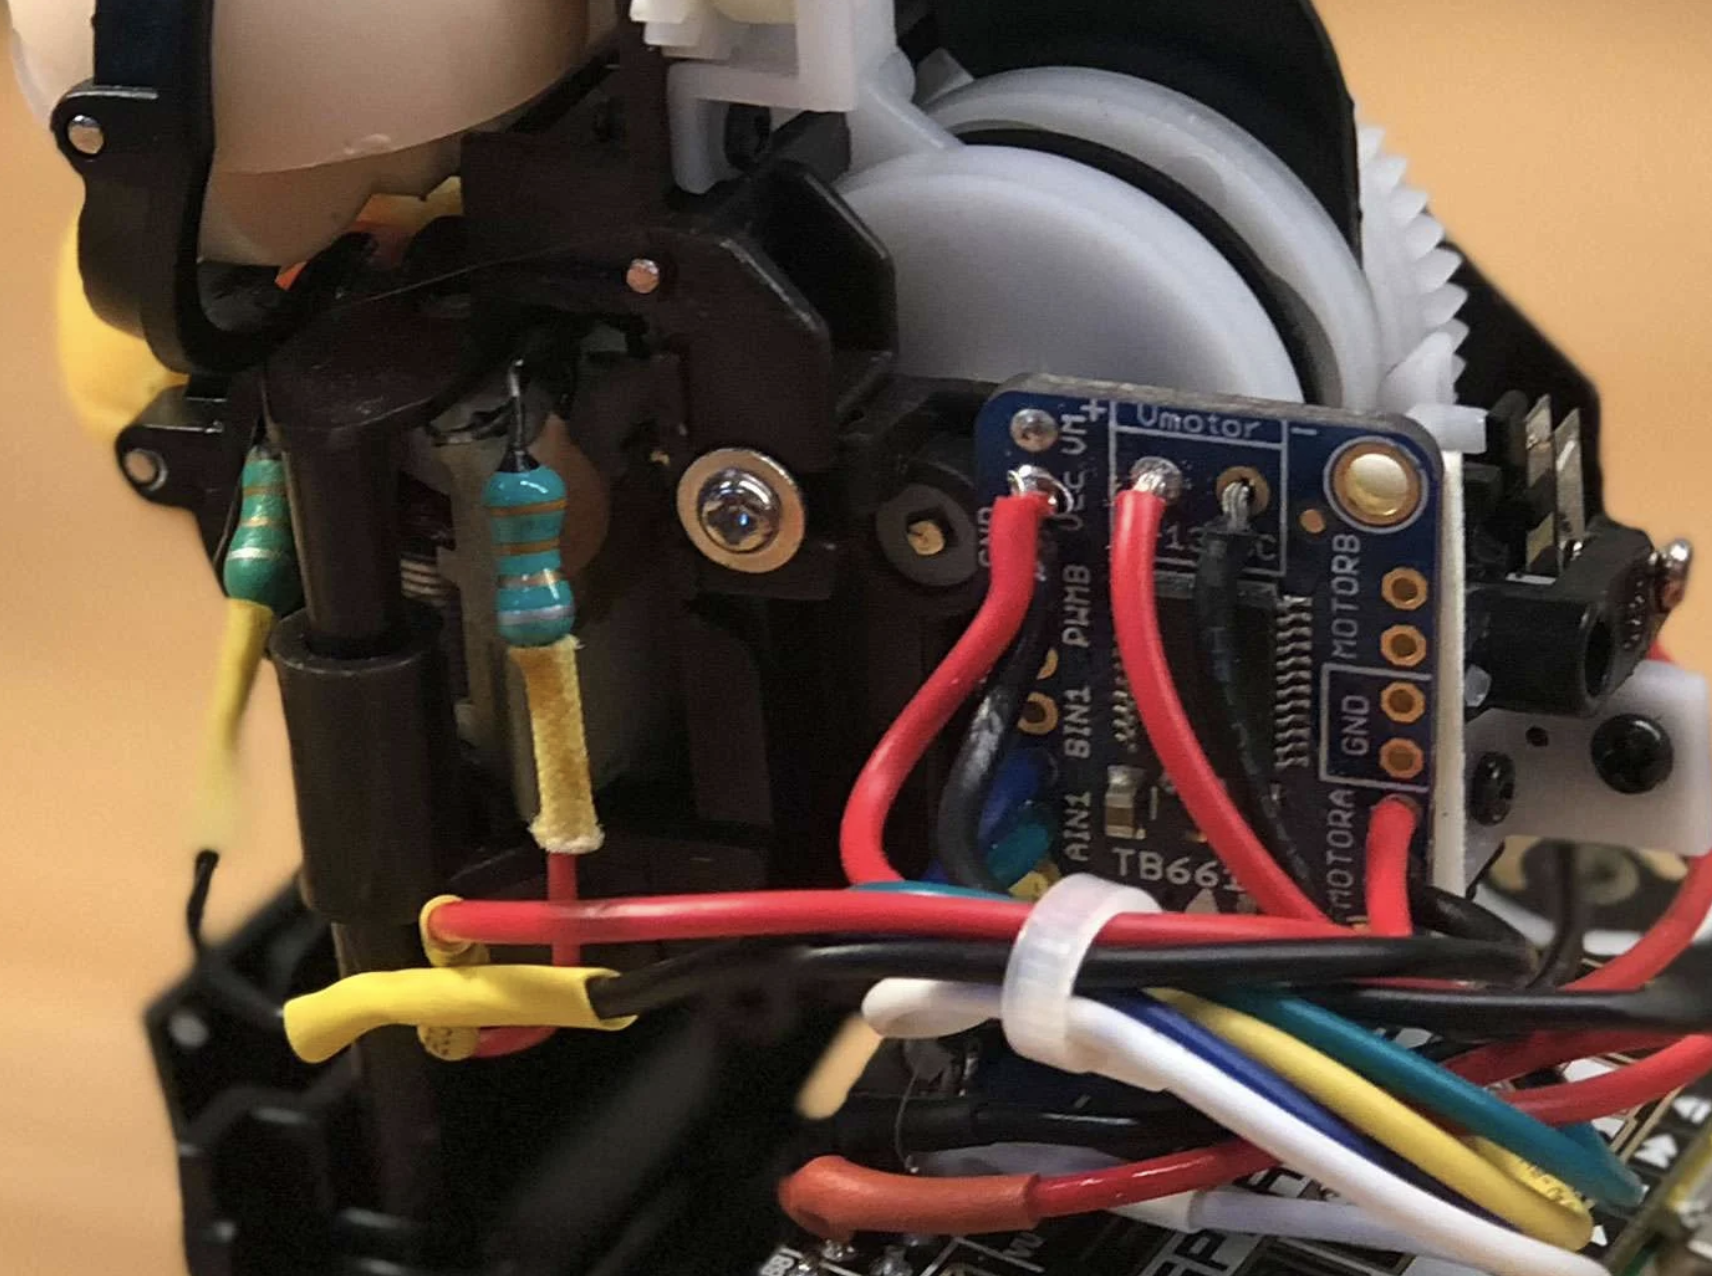
Delve under the robot’s armour to see how the toy was built, understand the basic working mechanism, and watch Matt attempt to diagnose why his 2-XL is not working.

Setting up Google Assistant

The Matrix Creator daughter board mentioned in the kit list is an ideal platform for developing your own AI assistant. It’s the daughter board’s 8-microphone array that makes it so brilliant for this task. Learn how to set up Google Assistant on the Matrix board in this video.

What if you don’t want to wake your retrofit voice assistant in the same way as all the other less dedicated users, the ones who didn’t spend hours of love and care refurbishing an old device? Instead of having your homemade voice assistant answer to “OK Google” or “Alexa”, you can train it to recognise a phrase of your choice. In this tutorial, Matt shows you how to set up a custom wake word with your voice assistant, using word detection software called Snowboy.

Keep an eye on element14 on YouTube for the next instalment of this excellent retrofit project.

The post Give your voice assistant a retro Raspberry Pi makeover appeared first on Raspberry Pi.

Raspberry Pi + Furby = ‘Furlexa’ voice assistant

Post Syndicated from Ashley Whittaker original https://www.raspberrypi.org/blog/raspberry-pi-furby-furlexa-voice-assistant/

How can you turn a redundant, furry, slightly annoying tech pet into a useful home assistant? Zach took to howchoo to show you how to combine a Raspberry Pi Zero W with Amazon’s Alexa Voice Service software and a Furby to create Furlexa.

Furby was pretty impressive technology, considering that it’s over 20 years old. It could learn to speak English, sort of, by listening to humans. It communicated with other Furbies via infrared sensor. It even slept when its light sensor registered that it was dark.

Furby innards, exploded

Zach explains why Furby is so easy to hack:

Furby is comprised of a few primary components — a microprocessor, infrared and light sensors, microphone, speaker, and — most impressively — a single motor that uses an elaborate system of gears and cams to drive Furby’s ears, eyes, mouth and rocker. A cam position sensor (switch) tells the microprocessor what position the cam system is in. By driving the motor at varying speeds and directions and by tracking the cam position, the microprocessor can tell Furby to dance, sing, sleep, or whatever.

The original CPU and related circuitry were replaced with a Raspberry Pi Zero W

Zach continues: “Though the microprocessor isn’t worth messing around with (it’s buried inside a blob of resin to protect the IP), it would be easy to install a small Raspberry Pi computer inside of Furby, use it to run Alexa, and then track Alexa’s output to make Furby move.”

What you’ll need:

Harrowing

Running Alexa

The Raspberry Pi is running Alexa Voice Service (AVS) to provide full Amazon Echo functionality. Amazon AVS doesn’t officially support the tiny Raspberry Pi Zero, so lots of hacking was required. Point 10 on Zach’s original project walkthrough explains how to get AVS working with the Pimoroni Speaker pHAT.

Animating Furby

A small motor driver board is connected to the Raspberry Pi’s GPIO pins, and controls Furby’s original DC motor and gearbox: when Alexa speaks, so does Furby. The Raspberry Pi Zero can’t supply enough juice to power the motor, so instead, it’s powered by Furby’s original battery pack.

Software

There are three key pieces of software that make Furlexa possible:

  1. Amazon Alexa on Raspberry Pi – there are tonnes of tutorials showing you how to get Amazon Alexa up and running on your Raspberry Pi. Try this one on instructables.
  2. A script to control Furby’s motor howchooer Tyler wrote the Python script that Zach is using to drive the motor, and you can copy and paste it from Zach’s howchoo walkthrough.
  3. A script that detects when Alexa is speaking and calls the motor program – Furby detects when Alexa is speaking by monitoring the contents of a file whose contents change when audio is being output. Zach has written a separate guide for driving a DC motor based on Linux sound output.
Teeny tiny living space

The real challenge was cramming the Raspberry Pi Zero plus the Speaker pHAT, the motor controller board, and all the wiring back inside Furby, where space is at a premium. Soldering wires directly to the GPIO saved a bit of room, and foam tape holds everything above together nice and tightly. It’s a squeeze!

Zach is a maker extraordinaire, so check out his projects page on howchoo.

The post Raspberry Pi + Furby = ‘Furlexa’ voice assistant appeared first on Raspberry Pi.