Post Syndicated from Phil King original https://www.raspberrypi.org/blog/machine-learning-prosthetic-arm-the-magpi-110/
This intelligent arm learns how to move naturally, based on what the wearer is doing, as Phil King discovers in the latest issue of The MagPi, out now.
Known for his robotic creations, popular YouTuber James Bruton is also a keen Iron Man cosplayer, and his latest invention would surely impress Tony Stark: an intelligent prosthetic arm that can move naturally and autonomously, depending on the wearer’s body posture and limb movements.
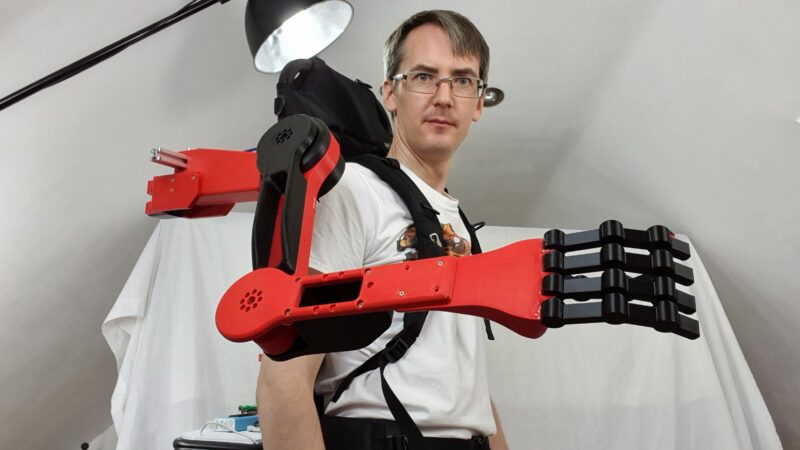
“It’s a project I’ve been thinking about for a while, but I’ve never actually attempted properly,” James tells us. “I thought it would be good to have a work stream of something that could be useful.”
Motion capture suit
To obtain the body movement data on which to base the arm’s movements, James considered using a brain computer, but this would be unreliable without embedding electrodes in his head! So, he instead opted to train it with machine learning.
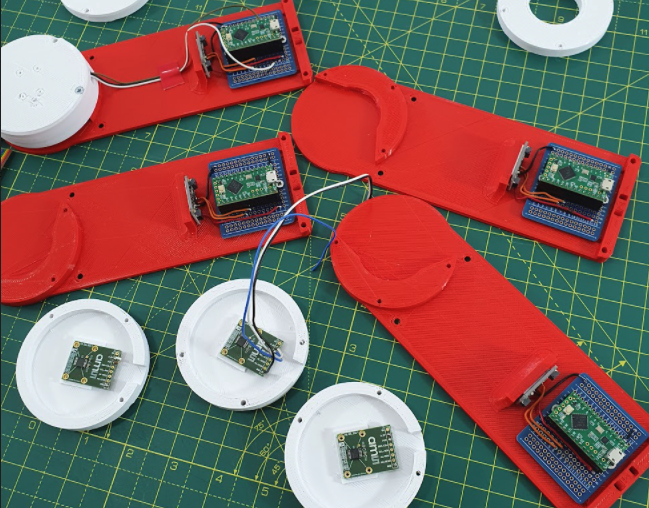
For this he created a motion capture suit from 3D-printed parts to gather all the data from his body motions: arms, legs, and head. The suit measures joint movements using rotating pieces with magnetic encoders, along with limb and head positions – via a special headband – using MPU-6050 inertial measurement units and Teensy LC boards.
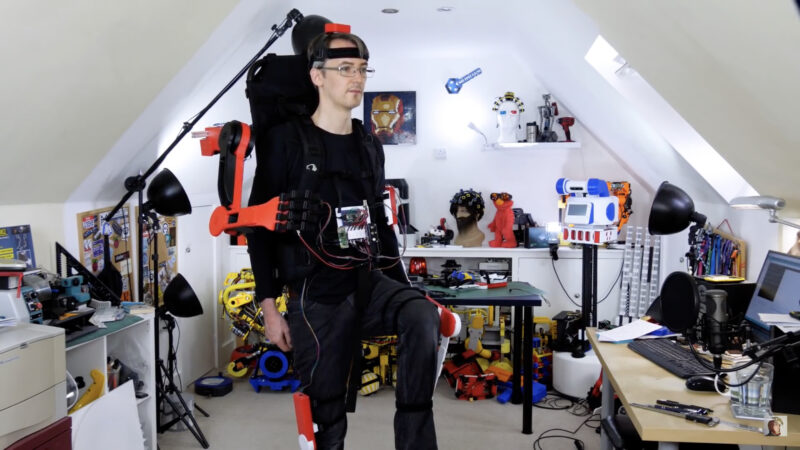
Collected by a Teensy 4.1, this data is then fed into a machine learning model running on the suit’s Raspberry Pi Zero using AOgmaNeo, a lightweight C++ software library designed to run on low-power devices such a microcontrollers.
“AOgmaNeo is a reinforcement machine learning system which learns what all of the data is doing in relation to itself,” James explains. “This means that you can remove any piece of data and, after training, the software will do its best to replace the missing piece with a learned output. In my case, I’m removing the right arm and using the learned output to drive the prosthetic arm, but it could be any limb.”
While James notes that AOgmaNeo is actually meant for reinforcement learning,“in this case we know what the output should be rather than it being unknown and learning through binary reinforcement.”
To train the model, James used distinctive repeated motions, such as walking, so that the prosthetic arm would later be able to predict what it should do from incoming sensor data. He also spent some time standing still so that the arm would know what to do in that situation.
New model arm
With the machine learning model trained, Raspberry Pi Zero can be put into playback mode to control the backpack-mounted arm’s movements intelligently. It can then duplicate what the wearer’s real right arm was doing during training depending on the positions and movements of other body parts.
So, as he demonstrates in his YouTube video, if James starts walking on the spot, the prosthetic arm swings the opposite way to his left arm as he strides along, and moves forward as raises his left leg. If he stands still, the arm will hang down by his side. The 3D-printed hand was added purely for aesthetic reasons and the fingers don’t move.
James admits that the project is highly experimental and currently an early work in progress. “I’d like to develop this concept further,” he says, “although the current setup is slightly overambitious and impractical. I think the next step will be to have a simpler set of inputs and outputs.”
While he generally publishes his CAD designs and code, the arm “doesn’t work all that well, so I haven’t this time. AOgmaNeo is open-source, though (free for personal use), so you can make something similar if you wished.” What would you do with an extra arm?
Get The MagPi #110 NOW!
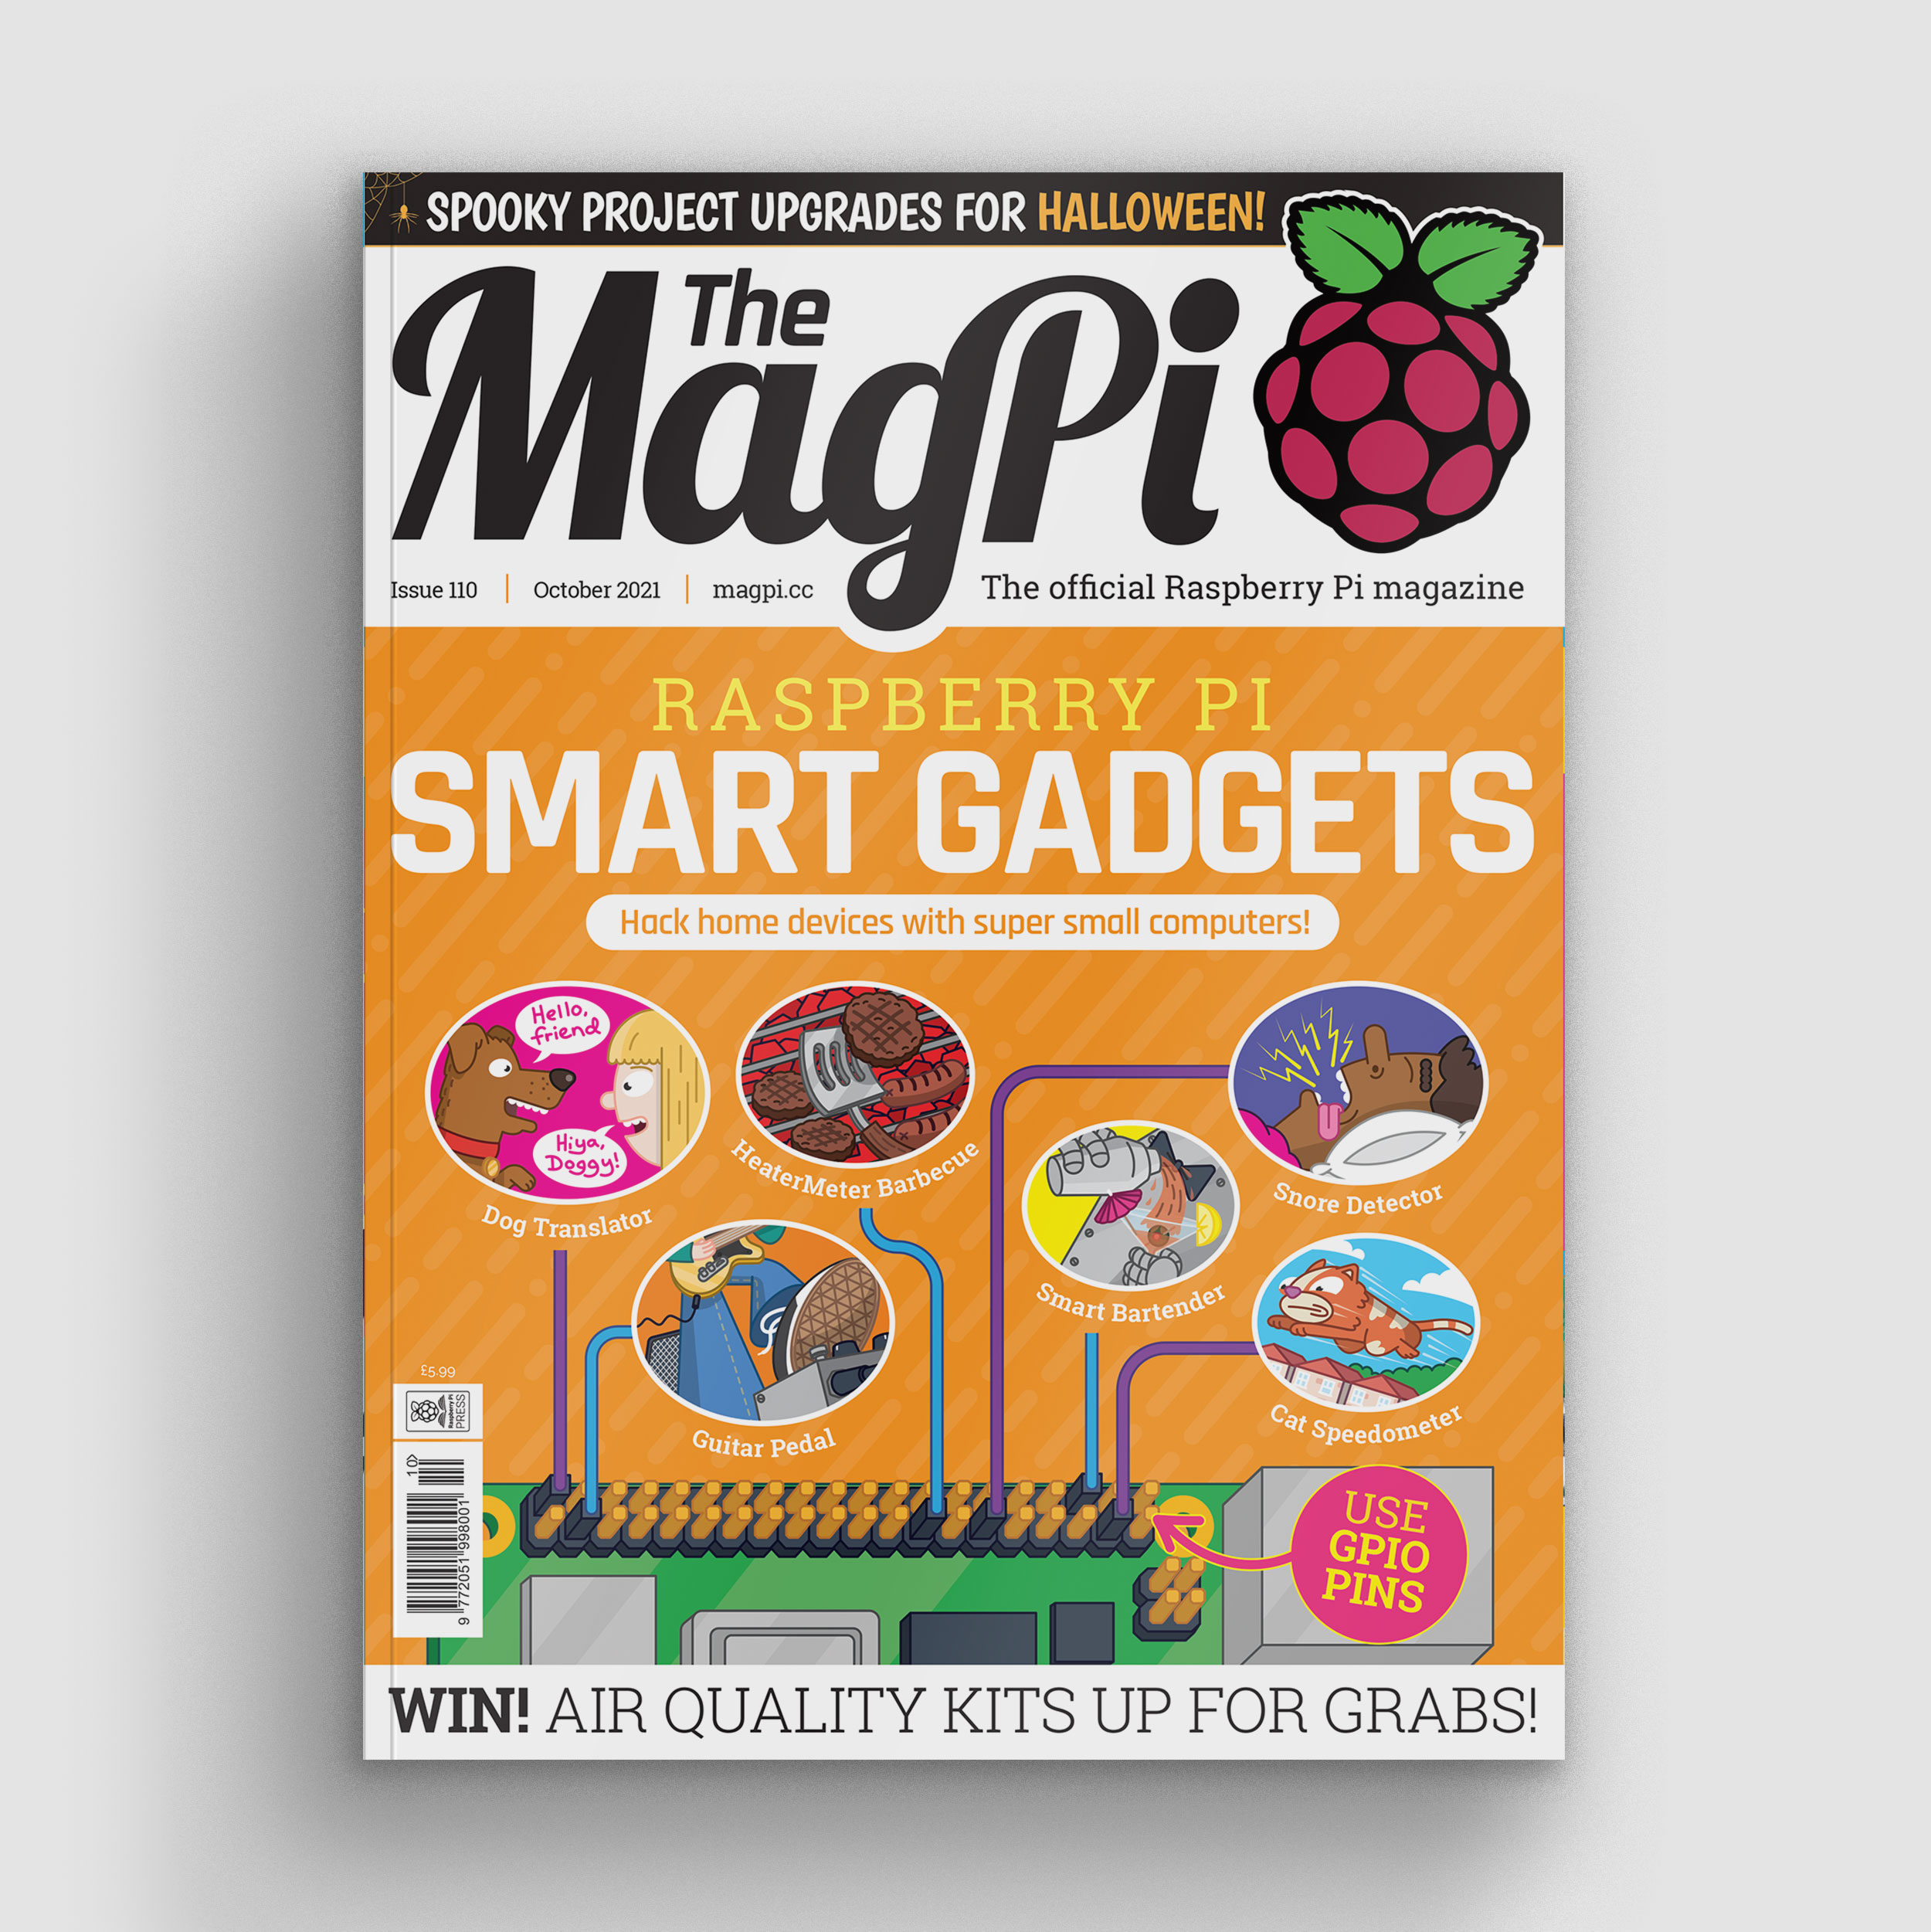
You can grab the brand-new issue right now from the Raspberry Pi Press store, or via our app on Android or iOS. You can also pick it up from supermarkets and newsagents. There’s also a free PDF you can download.
The post Machine Learning Prosthetic Arm | The MagPi #110 appeared first on Raspberry Pi.
