Post Syndicated from Werner Dijkerman original https://blog.zabbix.com/installing-and-configuring-the-zabbix-proxy/13319/
In the previous blog post, we created a Zabbix Server setup, created several users, a media type, and an action. But today, we will install on a 3rd node the Zabbix Proxy. This Zabbix Proxy will have its database running on the same host, so the “node-3” host has both the MySQL and Zabbix Proxy running.
This blog post is the 2nd part of a 3 part series of blog posts where Werner Dijkerman gives us an example of how to set up your Zabbix infrastructure by using Ansible.
You can find part 1 of the blog post by clicking Here
A git repository containing the code of these blog posts is available, which can be found on https://github.com/dj-wasabi/blog-installing-zabbix-with-ansible. Before we run Ansible, we have opened a shell on the “bastion” node. We do that with the following command:
$ vagrant ssh bastion
Once we have opened the shell, go to the “/ansible” directory where we have all of our Ansible files present.
$ cd /ansible
With the previous blog post, we executed the “zabbix-server.yml” playbook. Now we use the “zabbix-proxy.yml” playbook. The playbook will deploy a MySQL database on “node-3” and also installs the Zabbix Proxy on the same host.
$ ansible-playbook -i hosts zabbix-proxy.yml
This playbook will run for a few minutes creating all services on the node. While it is running, we will explain some of the configuration options we have set.
The configuration which we will talk about can be found in “/ansible/group_vars/zabbix_proxy” directory. This is the directory that is only used when we deploy the Zabbix proxy and contains 2 files. 1 file called “secret”, and a file called “generic”. It doesn’t really matter what names the files have in this directory. I used a file called the “secret” for letting you know that this file contains secrets and should be encrypted with a tool like ansible-vault. As this is out of scope for this blog, I simply made sure the file is in plain text. So how do we know that this directory is used for the Zabbix Proxy node?
In the previous blog post, we mentioned that with the “-I” argument, we provided the location for the inventory file. This inventory file contains the hostnames and the groups that Ansible is using. If we open the inventory file “hosts”, we can see a group called “zabbix_proxy.” So Ansible uses the information in the “/ansible/group_vars/zabbix_proxy” directory as input for variables. But how does the “/ansible/zabbix-proxy.yml” file know which host or groups to use? At the beginning of this file, you will notice the following:
- hosts: zabbix_proxy
  become: true
  collections:
    - community.zabbix
Here you will see the that “hosts” key contains the value “zabbix_proxy”. All tasks and roles that we have configured in this play will be applied to all of the hosts that are part of the zabbix_proxy group. In our case, we have only 1 host part of the group. If you would have for example 4 different datacenters and within each datacenter you want to have a Zabbix Proxy running, executing this playbook will be done on these 4 hosts and at the end of the run you would have 4 Zabbix Proxy servers running.
Within the “/ansible/group_vars/zabbix_proxy/generic” the file, we have several options configured. Let’s discuss the following options:
* zabbix_server_host
* zabbix_proxy_name
* zabbix_api_create_proxy
* zabbix_proxy_configfrequency
zabbix_server_host
The first one, the “zabbix_server_host” property tells us where the Zabbix Proxy can find the Zabbix Server. This will allow the Zabbix Proxy and the Zabbix Server to communicate with each other. Normally you would have to configure the firewall (Iptables or Firewalld) as well to allow the traffic, but in this case, there is no need for that. Everything inside our environment which we have created with Vagrant has full access. When you are going to deploy a production-like environment, don’t forget to configure the firewall (Currently this configuration of the firewalls are not yet available as part of the Ansible Zabbix Collection for both the Zabbix Server and the Zabbix Proxy. So for now you should be creating a playbook in order to configure the local firewall to allow/deny traffic).
As you will notice, we didn’t configure the property with a value like an IP address or FQDN. We use some Ansible notation to do that for us, so we only have the Zabbix Server information in one place instead of multiple places. In this case, Ansible will get the information by reading the inventory file and looking for a host entry with the name “node-1” (Which is the hostname that is running the Zabbix Server), and we use the value found by the property named “ansible_host” (Which has a value “10.10.1.11”).
zabbix_proxy_name
This is the name of the Zabbix Proxy host, which will be shown in the Zabbix frontend. We will see this later in this blog when we will create a new host to be monitored. When you create a new host, you can configure if that new host should be monitored by a proxy and if so, you will see this name.
zabbix_api_create_proxy
When we deploy the Zabbix Proxy role, we will not only install the Zabbix Proxy package, the configuration file and start the service. We also perform an API call to the Zabbix Server to create a Zabbix Proxy entry. With this API call, we can configure hosts to be monitored via this new Zabbix Proxy.
zabbix_proxy_configfrequency
The last one is just for demonstration purposes. With a default installation/configuration of the Zabbix Proxy, it has a basic value of 3600. This means that the Zabbix Server sends the configuration every 3600 to the Zabbix Proxy. Because we are running a small demo here in this Vagrant setup, we have set this to 60 seconds.
Now the deployment of our Zabbix Proxy will be ready.
When we open the Zabbix Web interface again, we go to “Administration” and click on “Proxies”. Here we see the following:
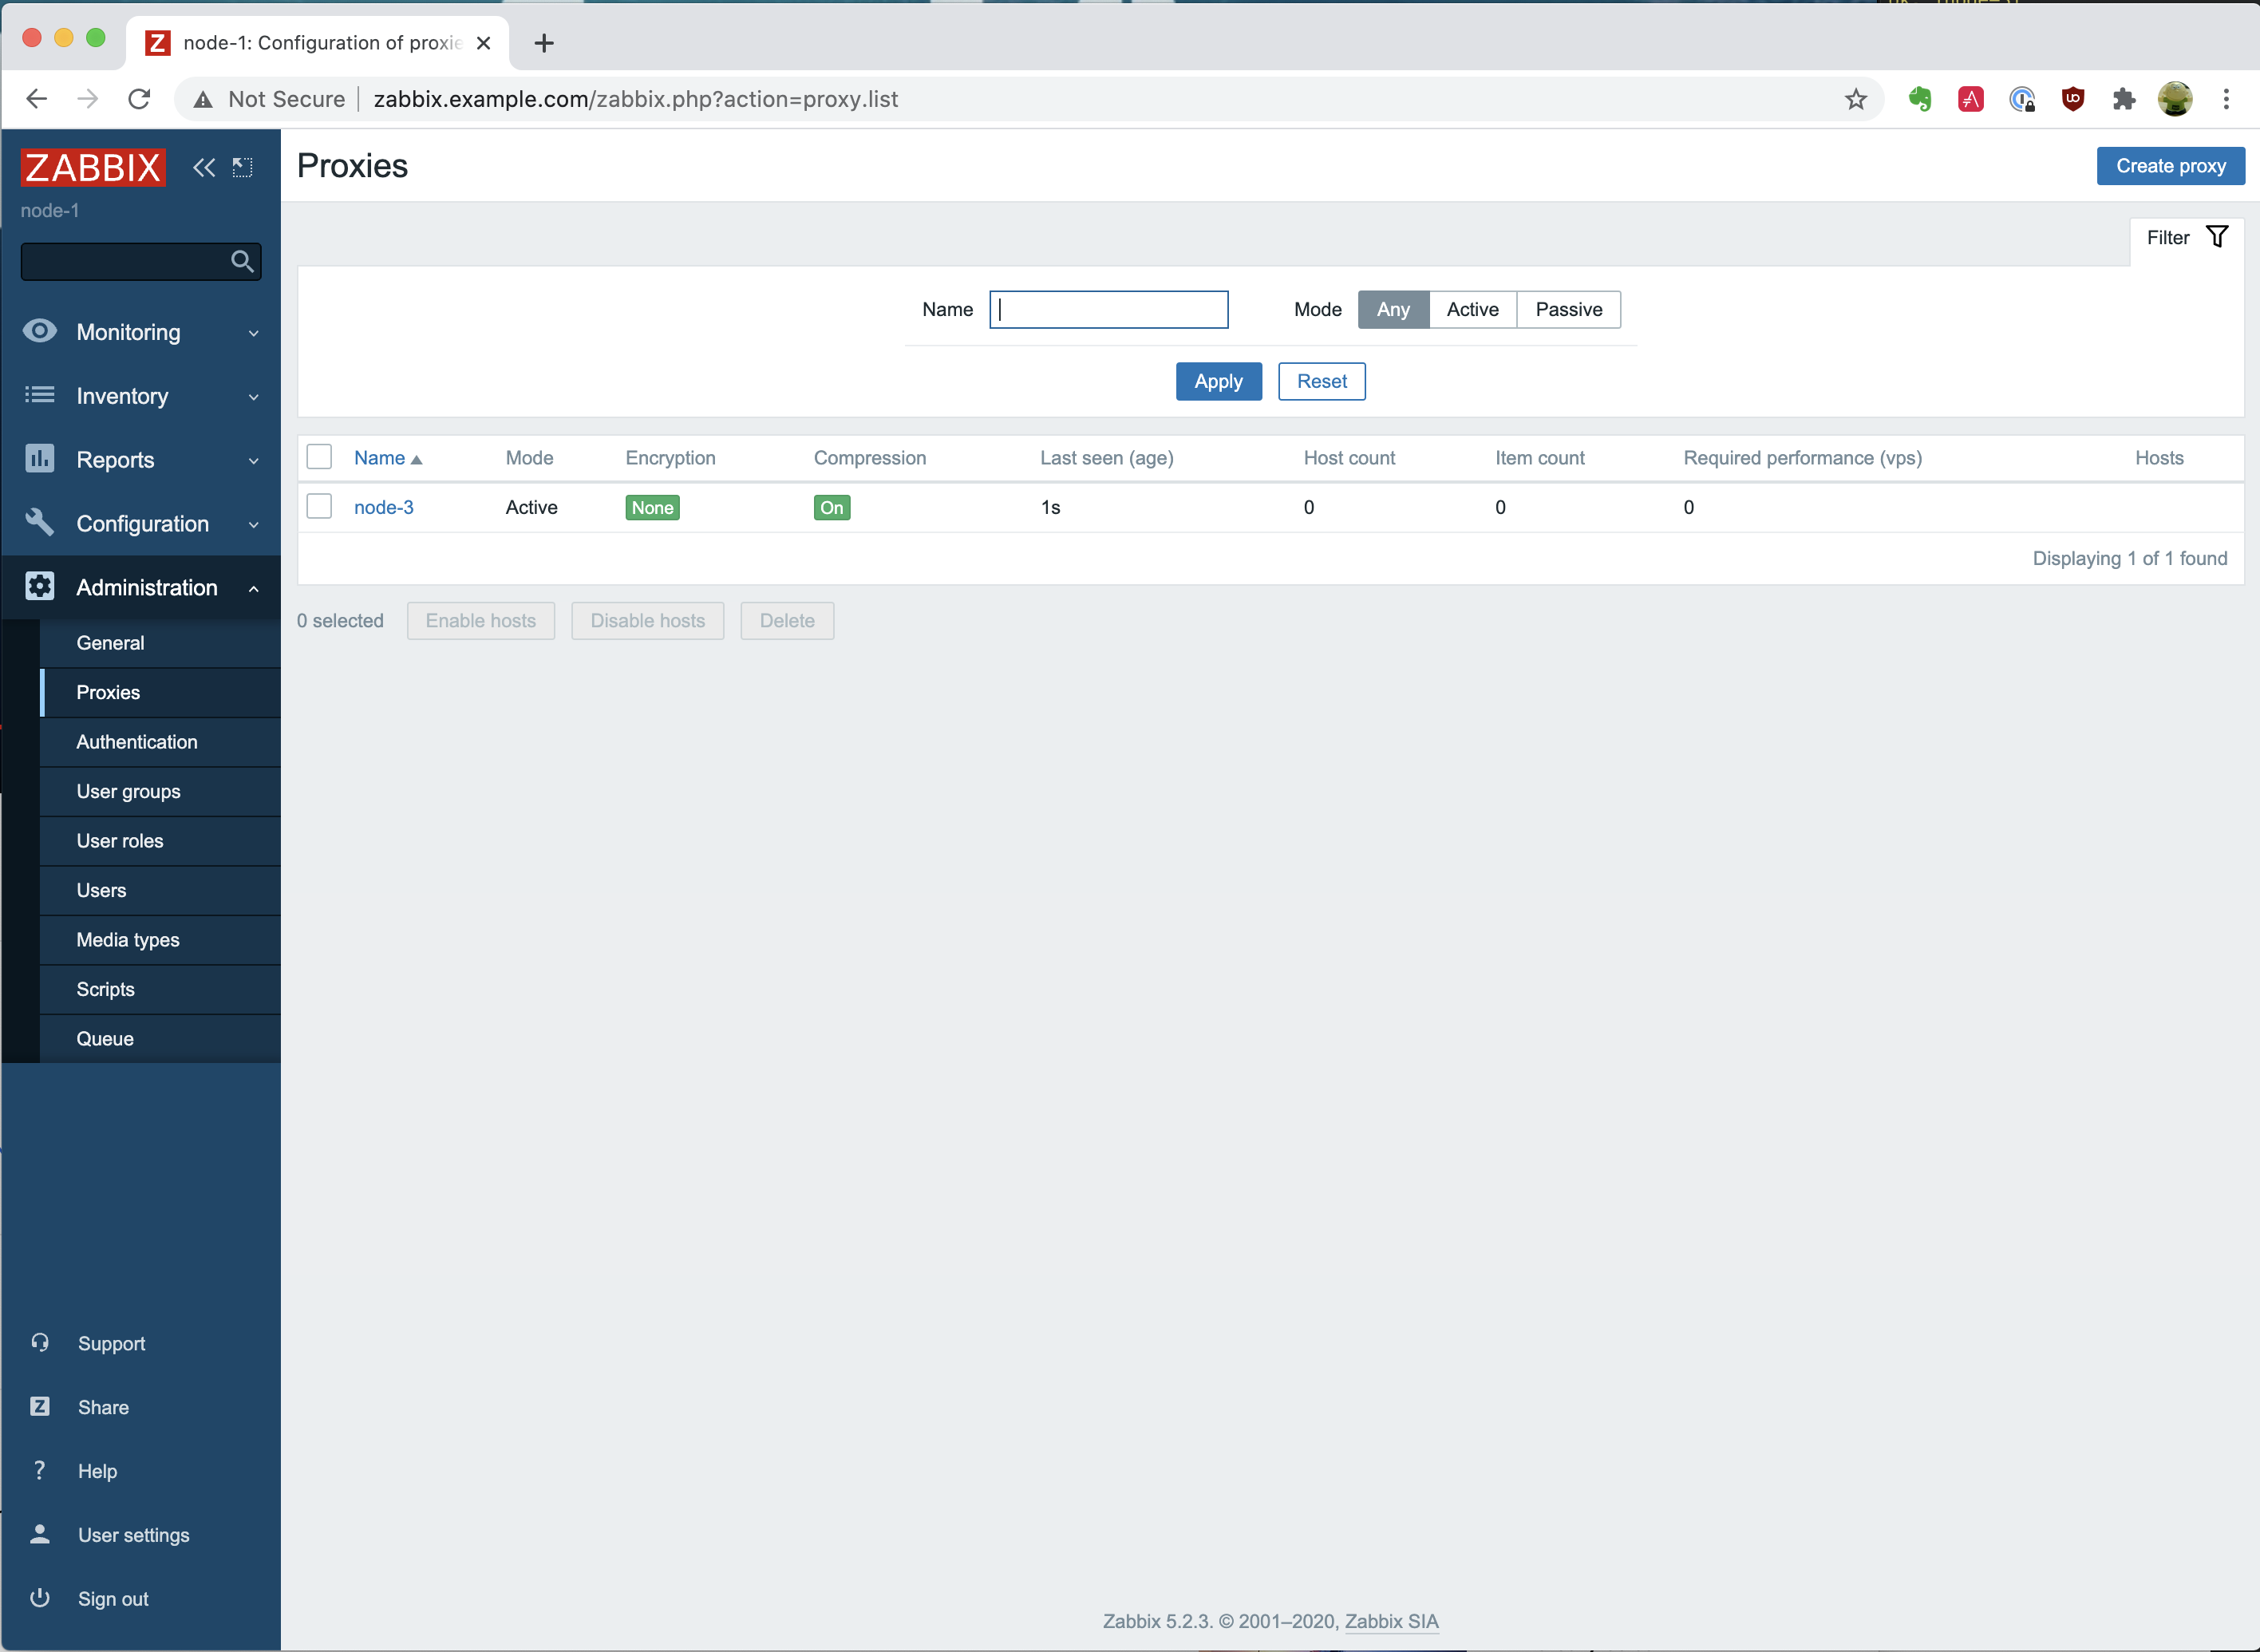
We see an overview of all proxies available, and in our case, we only have 1. We have “node-3” configured, which has an “Active” mode. When you want to configure a “Passive” mode proxy, you’ll have to update the “/ansible/group_vars/zabbix_proxy” file and add somewhere in the file the following entry: “zabbix_proxy_status: passive”. Once you have updated and saved the file, you’ll have to rerun the “ansible-playbook -i hosts zabbix-proxy.yml” command. If you will then recheck the page, you will notice that it now has the “Passive” mode.
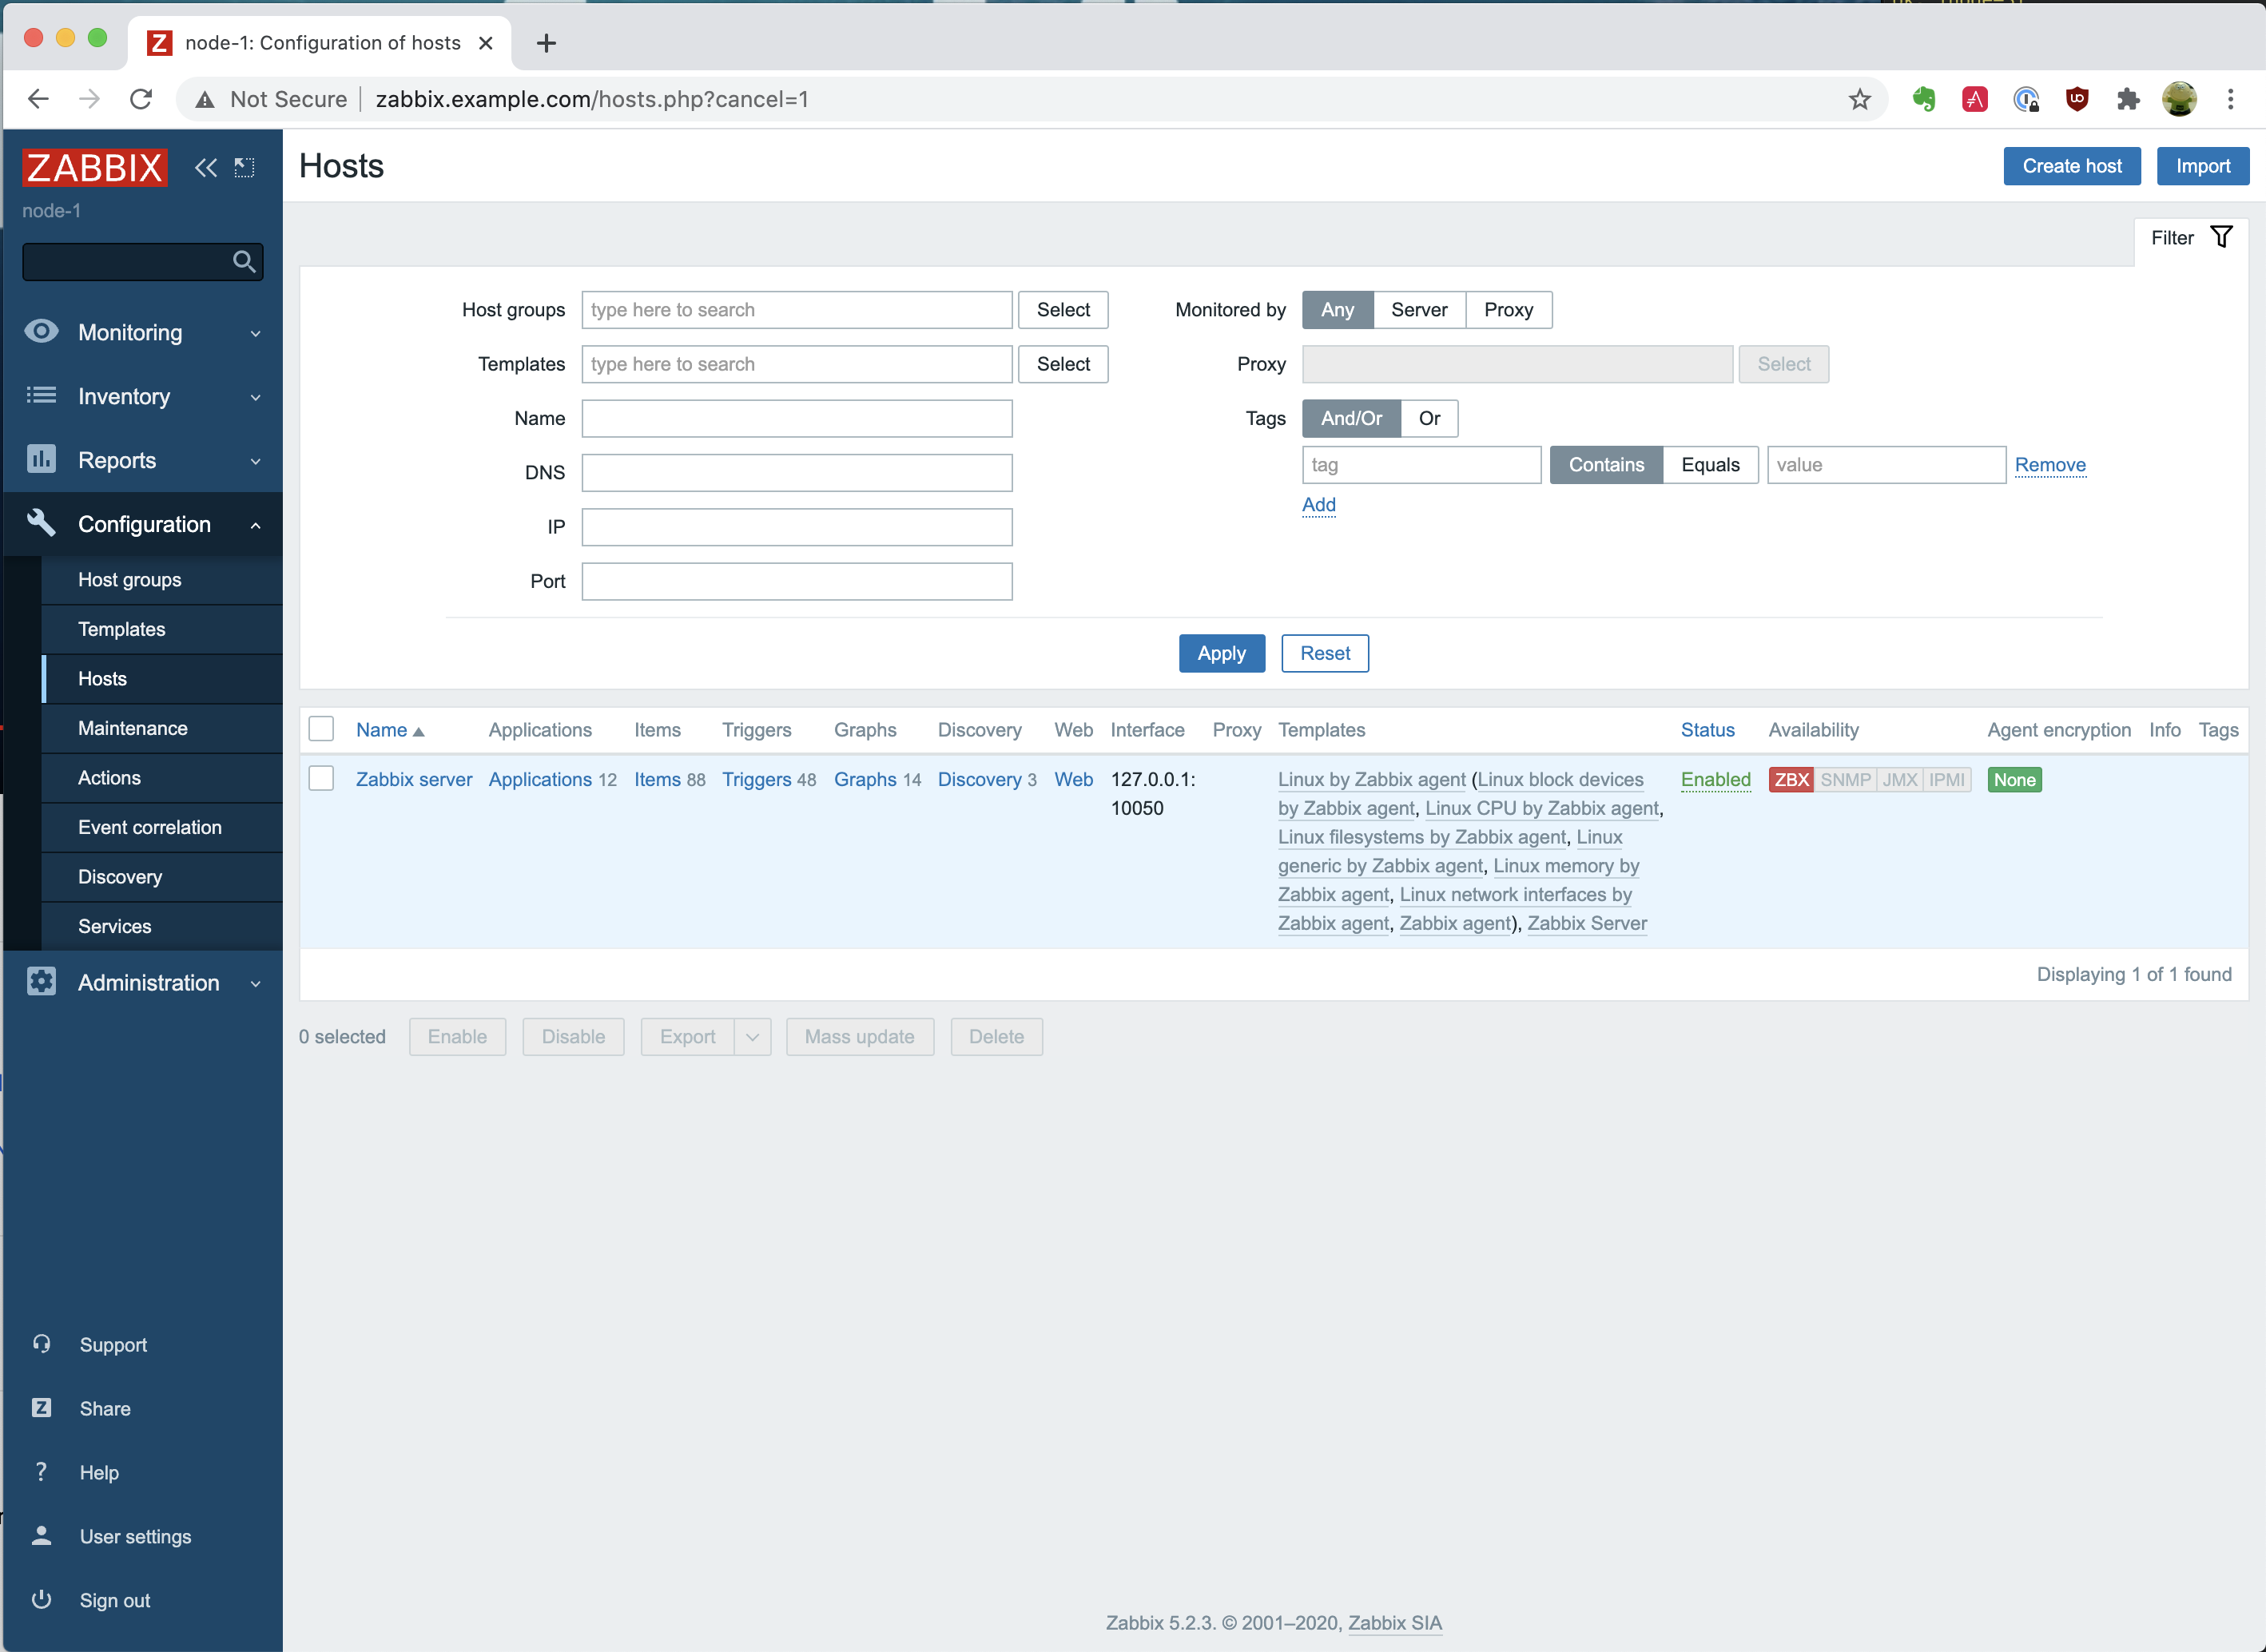
So let’s go to “Configuration” – “Hosts”. At the moment, you will only see 1 host, which is the “Zabbix server,” like in the following picture.
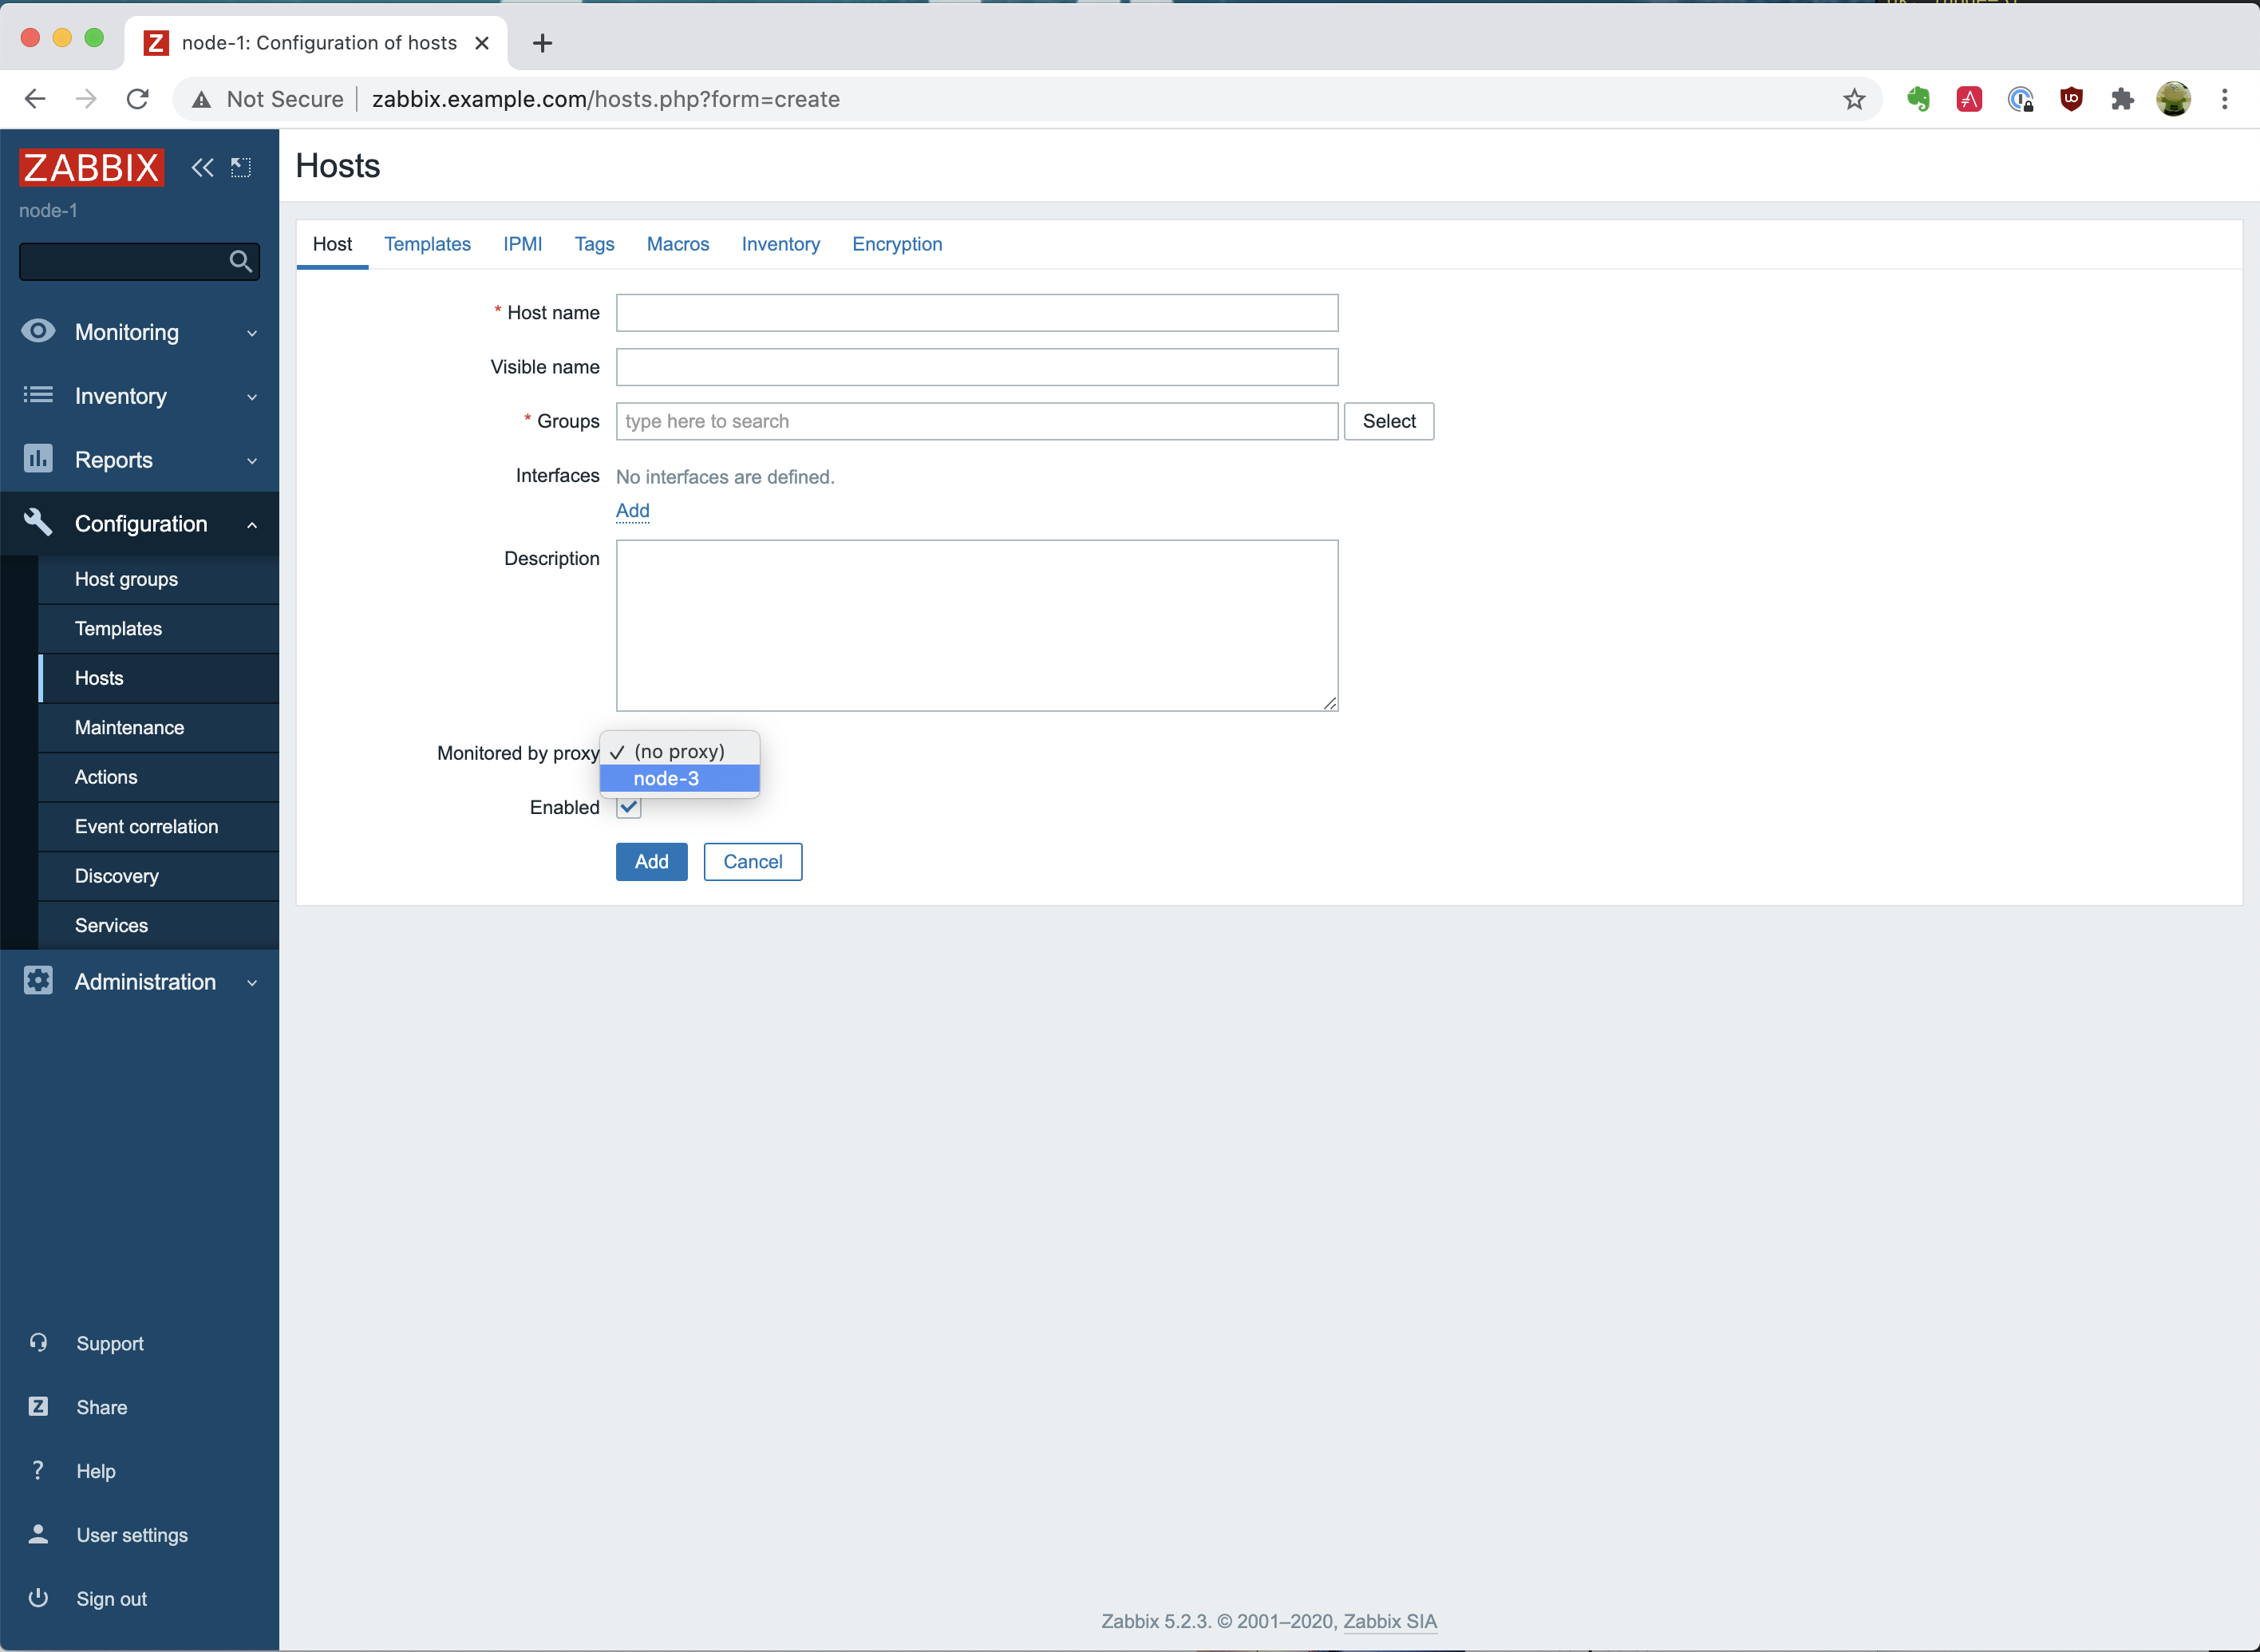
Let’s open the host creation page to demonstrate that you can now set the host to be monitored by a proxy. The actual creation of a host is something that we will do automatically when we deploy the Zabbix Agent with Ansible and not something we should do manually.  As you will notice, you are able to click on the dropdown menu with the option “Monitored by proxy” and see the “node-3” appear. That is very good!
Summary
We have installed and configured both a Zabbix Server and a Zabbix Proxy, and we are all set now. With the Zabbix Proxy, we have installed both the MySQL database and the Zabbix Proxy on the same node. Whereas we did install them separately with the Zabbix Server. With the following blog post, we will go and install the Zabbix Agent on all nodes.