Post Syndicated from Andrew Gregory original https://www.raspberrypi.org/blog/meet-anna-ploszajski-where-making-and-materials-meet/
In the latest issue of HackSpace magazine, Andrew Gregory meets Anna Ploszajski to explore the bit of the Venn diagram where making and materials meet.
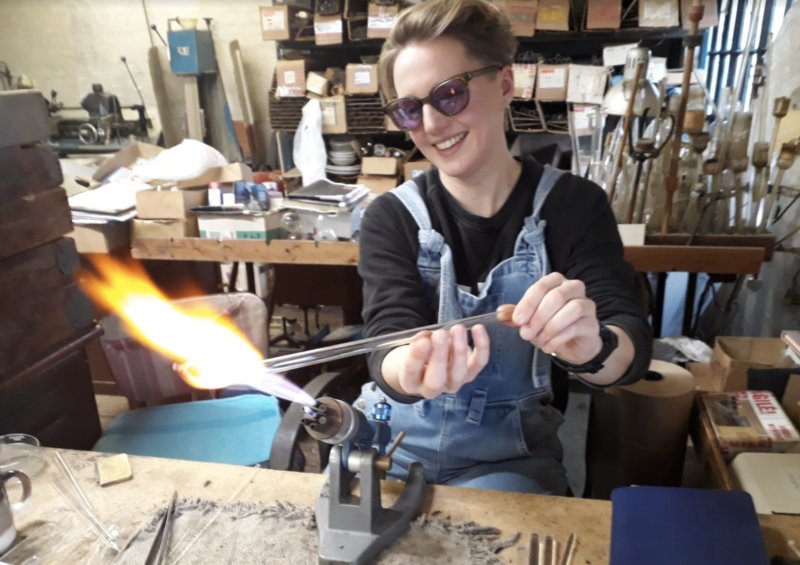
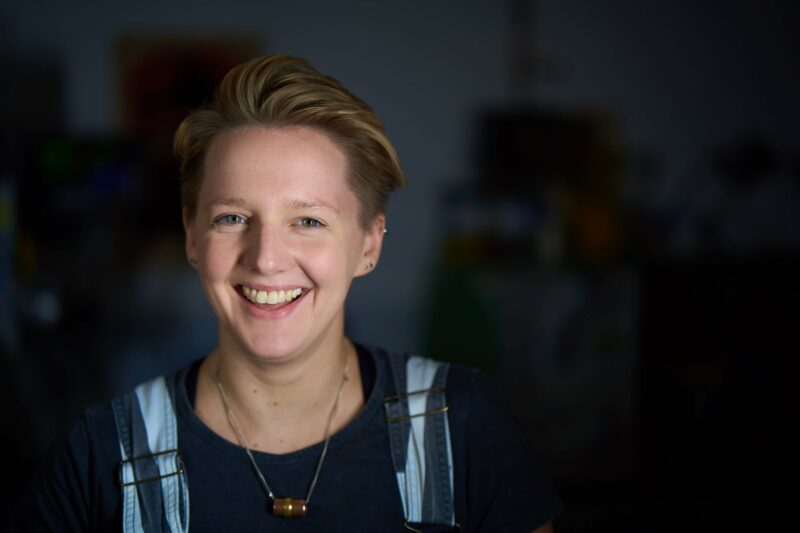
Anna Ploszajski (pronounced Por-shy-ski) is a cross-channel swimmer, a materials scientist, a writer, and a breaker-down of barriers to scientific understanding. 50% of the HackSpace editorial team listen to her podcast, Handmade, from which has arisen a book: Handmade: A scientist’s search for meaning through making. Naturally, we wanted to talk to her to find out why we humans do what we do when we turn object A into object B. That’s a pretty big question, but if anyone can answer it for us, Anna can.
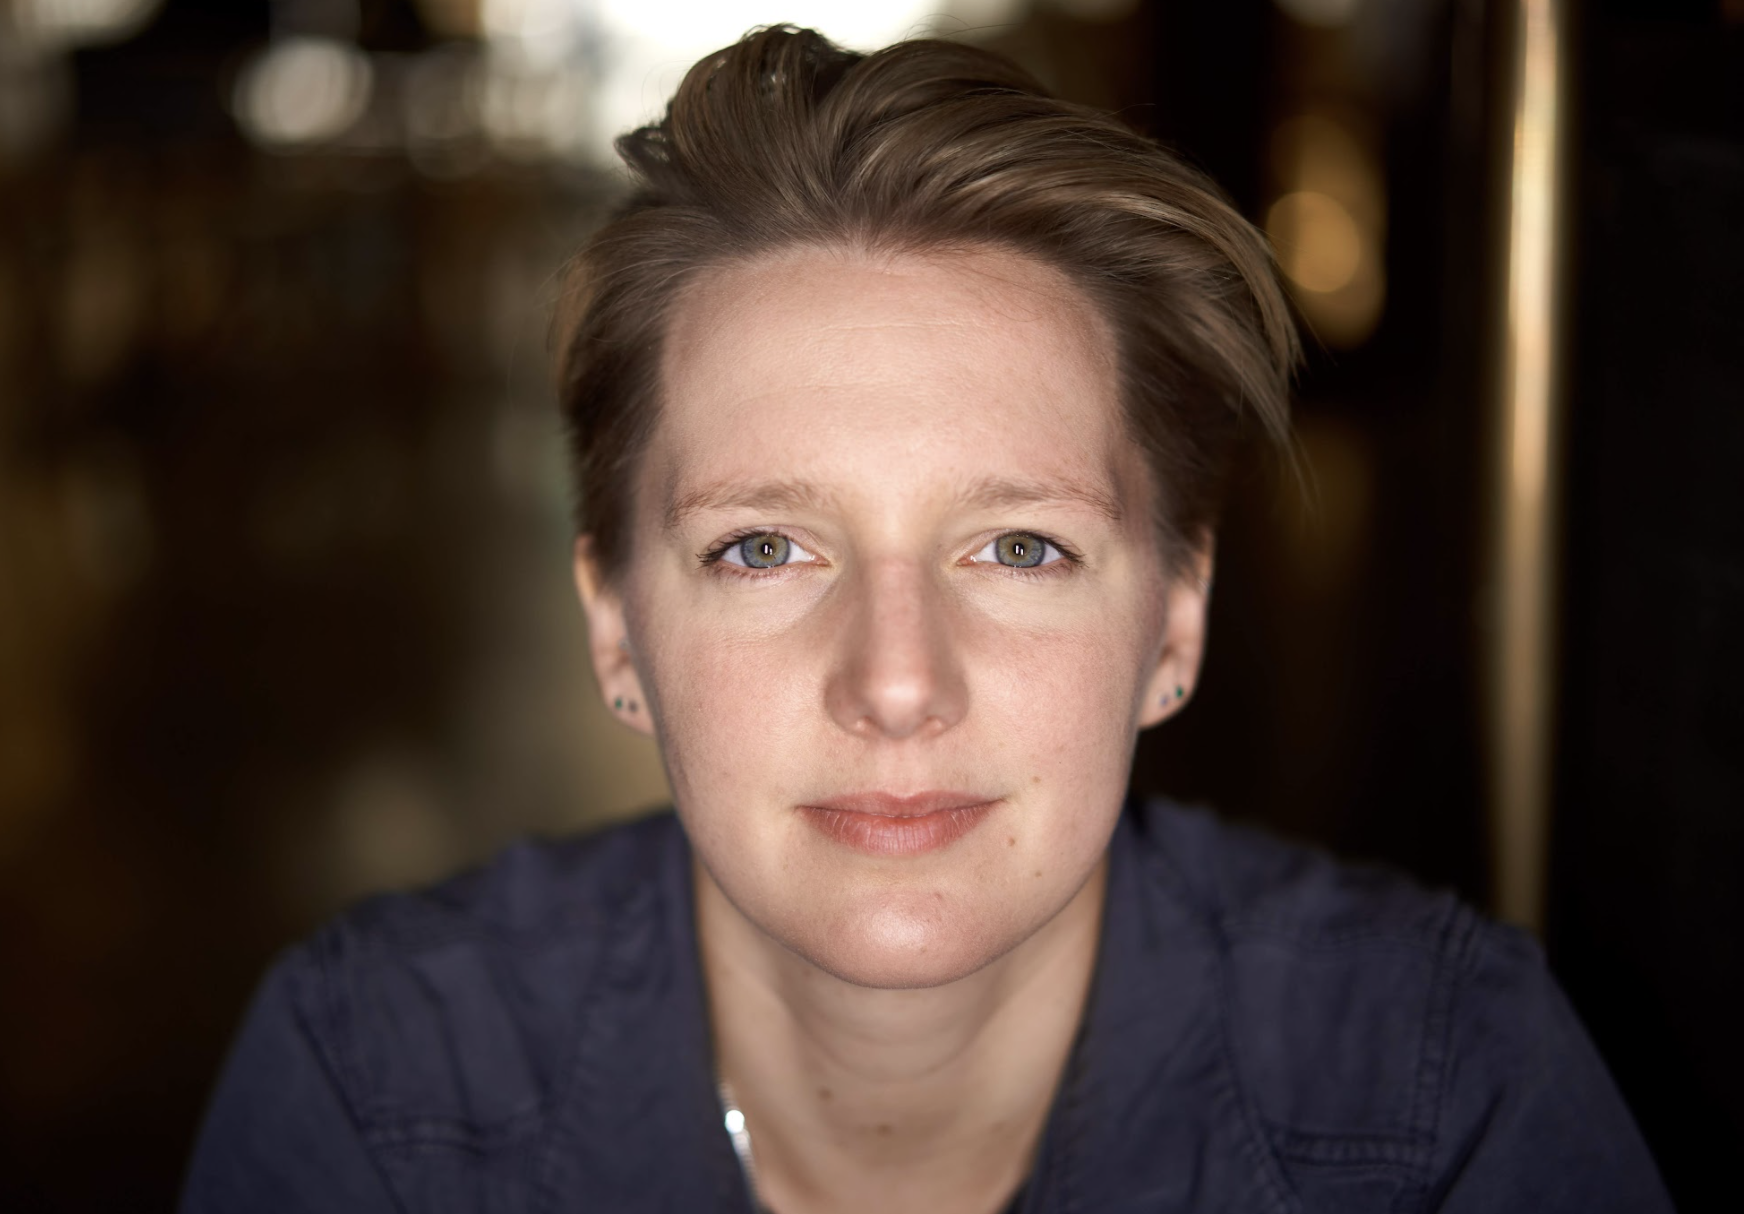
(Image: Charlie Murphy)
HackSpace: Hi Anna! You’ve written a book about making. Before we get on to that, though, we’d like to ask you about something you’ve been working on in your non-writing life – 4D printing. A while ago we saw a box with a hinged lid; the hinges were fabric, and the box was PLA, so you get the benefits of two types of material in one object. I guess what you’re doing is rather more advanced than that?
Anna Ploszajski: You say that, but I’ve been doing quite a lot of experiments in 3D printing onto fabric to try and make a 4D thing, because PLA has a kind of shape memory. I was wanting to do the experiment that I was doing (which actually I described at the end of the book). I’m trying to draw a conclusion about how my adventures in craft had also impacted my scientific research life. And the example that I use is this experiment that I did 3D printing onto fabrics.
What I was doing began with sort of pre-stressing, just normal textiles. I think there was a cotton, linen, pre-stressing it, just stretching them out with my hands, and then attaching them onto the print bed. And so, you already put in a kind of internal strain into the fabric, then 3D-print a very simple design that was either a circle, or just simple lines. And then obviously, when you print onto it, then the PLA plastic is bonded onto the textile. My idea was that if you then heated that material up, then it would soften, and that tension that you’d put into the fabric would be released. So that was my idea.
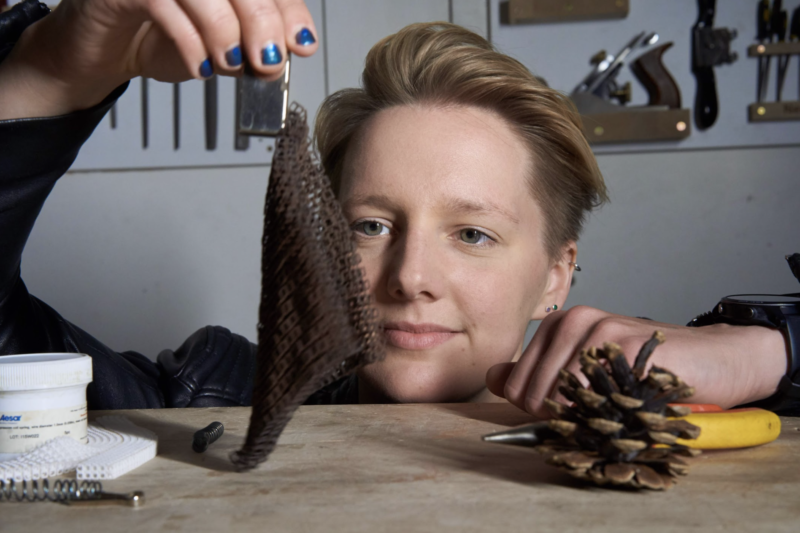
(Image: Steve Cross)
My project was all to do with exploring this idea of 4D printing. So printing, using 3D printing, to make objects that move in some way after you’ve printed them. The thing about it is, it’s adjacent to this topic of smart materials. There’s a family of materials that have some kind of smart property, usually it’s colour-changing or shape-changing in response to an external stimulus. So, that could be temperature change, or light levels or moisture levels.
And those smart materials are not actually that smart, it turns out, because what they do is really simple. Let’s take the example of a really simple shape change: wood is a really good example. It expands when it gets wet. And it contracts when it dries out. By our definition of a smart material, that is a smart material because it changes shape when there’s a change in environment. And that’s a very simple movement. And these smart materials tend to just have this kind of flip-flopping between two simple states – either, you know, an expanded state or a contracted state in this example. That’s not actually that useful, unless you can do a clever design to use that movement to form a clever kind of motion.
A really good example in nature is the pine cone; the spines of a pine cone have this really ingenious bi-layer structure, where one side of them has a very hygroscopic wood – it expands a lot when it gets wet. And the other side doesn’t expand a lot when it gets wet. So, when the pine cone gets wet, it’s that bi-layer structure that causes that movement. The wood itself is just expanding. But the contrast between the two is what causes that motion. So I was trying to get inspired by that and combine, using clever design, a quite simple, smart material with some design that would combine it with a non-smart material that would cause some kind of motion.
It’s all to do with stored tension, and triggering that tension release. And to be honest with you, I didn’t get very far with it. I understand the material side; that was fine. And I could do all my experiments in the lab, and I could characterise the materials fine, but I just don’t have a designer’s brain.
And that is what the book is about in a way: trying to access or tap into these other skills that designers and makers and craftspeople have which I don’t.

HS: How much have you learned over the course of writing the book? You must have had to speak to all sorts of people to research it.
AP: I think that meeting all those craftspeople, and getting a view into their world, really gave me an appreciation for exactly how much work and time and skill and practice goes into really honing these skills. Wood is a really good example: when I did the wood carving workshop with Barn the Spoon, it took hours trying to make a spoon, but when I did it, mine didn’t look anything like
his spoons.
The skills themselves are often not that complicated or difficult to do. It’s the constant practice in refinement and design, which are the skills that I didn’t necessarily have.
HS: What led you to write the book?
AP: A few things. Firstly, I wanted to write a popular science book that didn’t cater to the normal popular science audience, by which I mean people who are already relatively interested in science, the types of people who would browse the popular science sections in a bookshop and pick things up about space, or the gut, or whatever. I feel like that audience is already very well catered for.
What I wanted to do was try and write a popular book that would be read by someone who would never normally read a science book – that’s the whole of the rest of the population. So you’ll notice in the book that there are a lot of scientific analyses and explanations, but they’re all quite short. And my hope was that, if someone’s coming at this with not very much prior knowledge of science, they
get to a description of the quantum mechanics behind why glass is transparent. But on the next page, we’re back to the story. And it’s really those stories that were the most important thing to me.
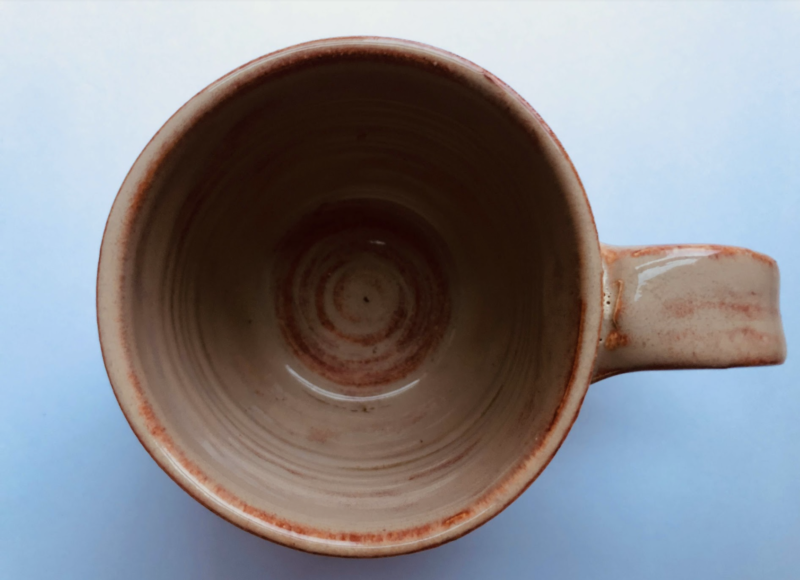
(Image: Steve Cross)
And so, in each of the ten chapters on different materials, the story isn’t the story of the material – it’s the story of something else. So in Plastics, it’s the story of my Polish grandad and, you know, his life story throughout the 20th century, which intertwines with the story of the rise and fall of plastics.
I wanted to draw all these other audiences in by storytelling, and then hopefully, sneak the science in when they weren’t looking.
The story of the book itself is to do with feeling very inadequate, I suppose. I had this realisation, having walked into the Institute of Making for the first time, that I was supposedly this expert in materials, having studied the science of it, having studied all on paper, but actually, there were all of these different people that had so much more in-depth knowledge than me. The craftspeople and the makers and the artists and the historians and the designers and the architects… And so it was them that I really wanted to spend time with and learn from.
That was four years ago. That was when I started my podcast, which is also called Handmade. And that was where I started interviewing makers and craftspeople. And the book just grew from that. Quite a few of the people that I interviewed on the podcast have ended up being featured in the book as the very, very, very kind craftspeople that took me under their wing and showed me the ropes of what they do.
To take blacksmithing as one example – I thought I was an expert in materials, but I had never felt metal softening under my fingers. Yes, I knew the theory, I could draw you the iron-carbon phase diagram, I could talk about the phases and melting, and all of the ways that carbon and iron interact at the atomic level inside steel. But I’ve never done it. And I didn’t know how hard you had to hit it to make it change shape. Agnes, the blacksmith who taught me, is just so, so brilliant. I’m such a huge fangirl of her. And it was very humbling, actually, to spend time with people like that.
HS: Getting to touch and feel the materials rather than study them, was there any one in particular that you gained an appreciation of?
AP: My favourite chapter in the book is Sugar, because it was the most fun story to write. And it’s the story of my English Channel swim. [Yes, you read that right – Anna has swum the English Channel.] One of the reasons was, I think, it already is one of the strongest chapters for storytelling. Because it is this kind of archetypal physical journey from A to B, but also a journey of discovery about yourself. And intertwined in that story is the story of sugar, and all its different forms, and how it affects the body and the mind.
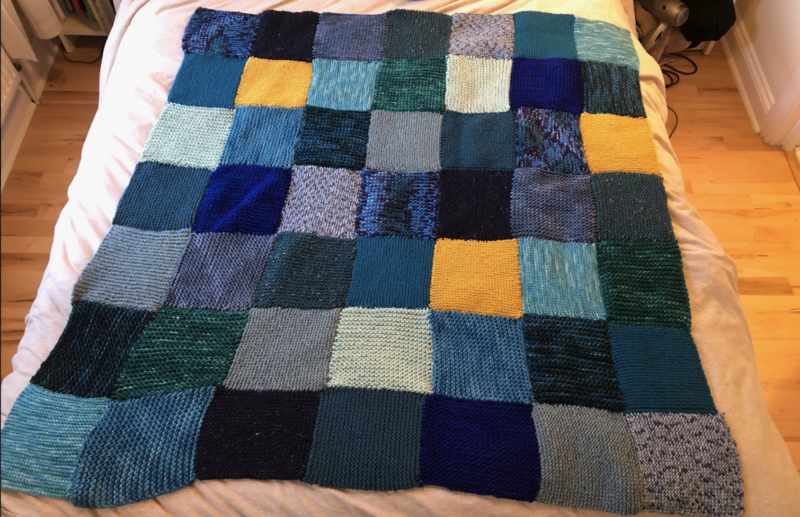
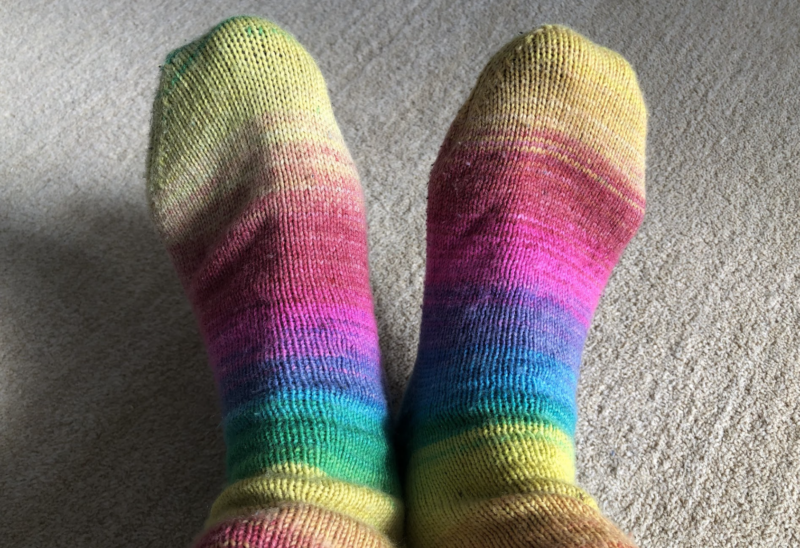
In terms of the crafts, it was really wool that caught my imagination, and I’ve stuck with it. The story of wool is the story of my camper-van trip around Scotland and the north of England. I acquired wool from all these different places that I went to on my trip, and then knitted a patchwork blanket with all the wool I got from the different places. And through doing that, I taught myself how to knit and I met all of these kinds of amazing knitters and wool-craft people throughout Scotland and the north of England, and chatted to them and got an insight into this amazing world of women who knit – and they were all women – and what it means to them, and how it connects them. And it’s very meditative, I find, and that’s the craft that I’ve taken through since finishing the book a year ago. That’s the craft that I’ve continued with.
I don’t know what it is about it. It just feels so nice to create something, you know, especially in the last year when we were all sitting at home watching Netflix and trawling through the movies and TV shows on there. Although that felt like perhaps a bit of a waste of time, actually, if I was knitting while watching TV, it wasn’t all a waste of time; I had something to show for it at the end. And I think that’s what craft gives us – it’s a sense of purpose almost, and a sense of achievement at the end.
You know, to have that sense of achievement of ‘I’ve made this’ and now I can wear it, or now I can use it. I haven’t had that in science before. I only got that when I started entering this world
of craft.
HS: It sounds like you see a disconnect between science and making. Is that fair to say?
AP: I’ve thought a lot about this: this kind of compartmentalising of making and science, or art and science as I talk about in the book (and I know that art and making are absolutely not the same thing). And I think there are a lot of reasons why the arts and sciences have been sort of severed from each other. In formal education, we separate them. At school, we have to often choose between those types of subjects. I ended up going down the science route, but I did A-level music. I love writing and music and history, and I was always crap at art, but I enjoy it. I think it’s really unhelpful that we do that, because it means that we brand people as ‘you’re a scientist’, or ‘you’re more of an artist’. And actually, I think the majority of people are probably somewhere in the middle. Actually, they have interest in both.
It’s a real shame that we often get siphoned off into these different camps, and often don’t get the chance to rediscover the other one. As someone who was siphoned off into the scientific track, it was really liberating to be able to discover the craft and artistic world. It was, like I say, very humbling. It was also really nice to be a complete beginner again at something, to be able to ask the silly questions from a place of curiosity, with no pressure, no educational pressure. I wasn’t trying to achieve anything apart from trying to make a spoon, or forge a knife, or throw a pot, or whatever it was.
Materials is a really interesting subject because it can sit at this intersection between the artistic world and the scientific world. Materials, perhaps uniquely in the sciences, is a really lovely way to explore the more artistic side. And what I’ve discovered through the book and through the podcast, is that we all understand these materials, maybe in slightly different ways. But quite often, it’s just that we use different language to talk about them. I remember interviewing a silversmith on my podcast called John Cussell, who described cold-working silver metal to me as making the atoms angry. So, when you cold-work silver, it becomes more and more stiff. I would describe that as putting dislocations into the material and putting internal stresses and strains to make them more brittle. We’re both talking about the same thing in different ways. And I think that, really, the wonderful thing that I love about materials is that it can be this common substance, literally, through which all sorts of different people can talk to each other.
(Image: Steve Cross)
HS: Citizen science has taken huge steps forward recently in broadening access to scientific research, but very often it’s locked away inside university buildings and it’s a real shame. What do you think can be done about that?
AP: That’s my life’s mission, to try and break science out of universities through doing things like writing the book and the podcast, and the talks that I give. I really want to invite people in and show them that science – it’s a huge cliché but science really is everywhere. It’s never been more important than in the last 18 months to understand science, virology, how contagions spread – that’s all science. And the science communication that’s going on around that has been mixed. Some of it’s been really good, but some of it’s been really damaging. That’s what’s important to me is to break science out of these institutions, because a lot of people are turned off science at a very early age. And unlike a lot of other areas, it’s impossible to turn back. If you go down a non-scientific route, through school, and then maybe through university or through a job, it’s impossible to go back on that and pick it up again later. I feel like subjects like history and literature are much more accessible to everybody. Whereas science is considered to be more for a select few, you know, a chosen few who are allowed to do it. And that’s really not fair.
HS: Are craftspeople scientists? There must be a lot of crossover in terms of learning, experimentation, and so on.
AP: I think you’d have to ask them, but whatever it is they do is experimentation, right? And they do experiments all the time – what temperature do I need to make my steel to make it do X? Or, what composition do I need my clay to be to make it do Y? How do I do the settings on my furnace to make sure that my pots don’t explode? And that is exactly the sort of stuff that we would do in the lab, you know: methodical experimentation. So in that way, definitely. I can’t see that there’s any difference at all between that. And in terms of the way that craftspeople and scientists think, that’s much more difficult to answer.
Most science has arisen from craftspeople and early experimenters. The subject of material science arose out of the subject of metallurgy, which arose out of blacksmiths like Agnes. If you go back far enough, it’s all the same thing.
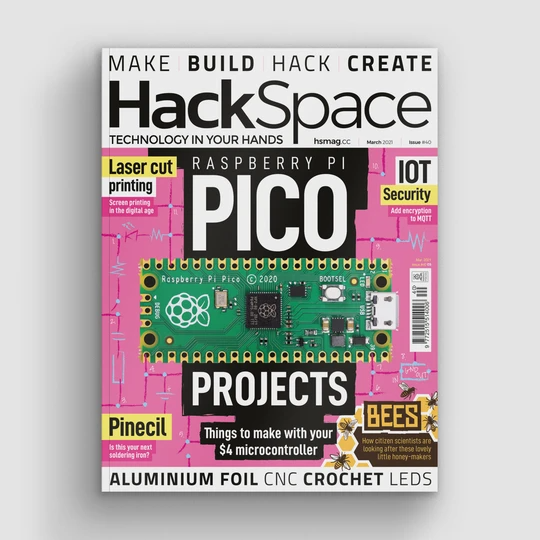
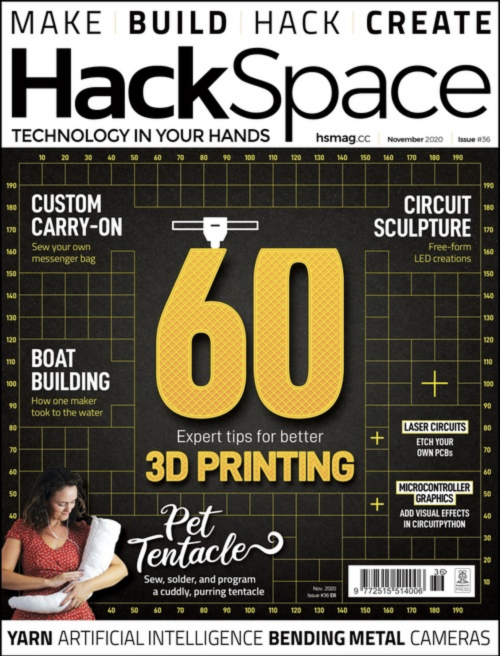
HackSpace magazine issue 46 out NOW!
Each month, HackSpace magazine brings you the best projects, tips, tricks and tutorials from the makersphere. You can get it from the Raspberry Pi Press online store or your local newsagents.
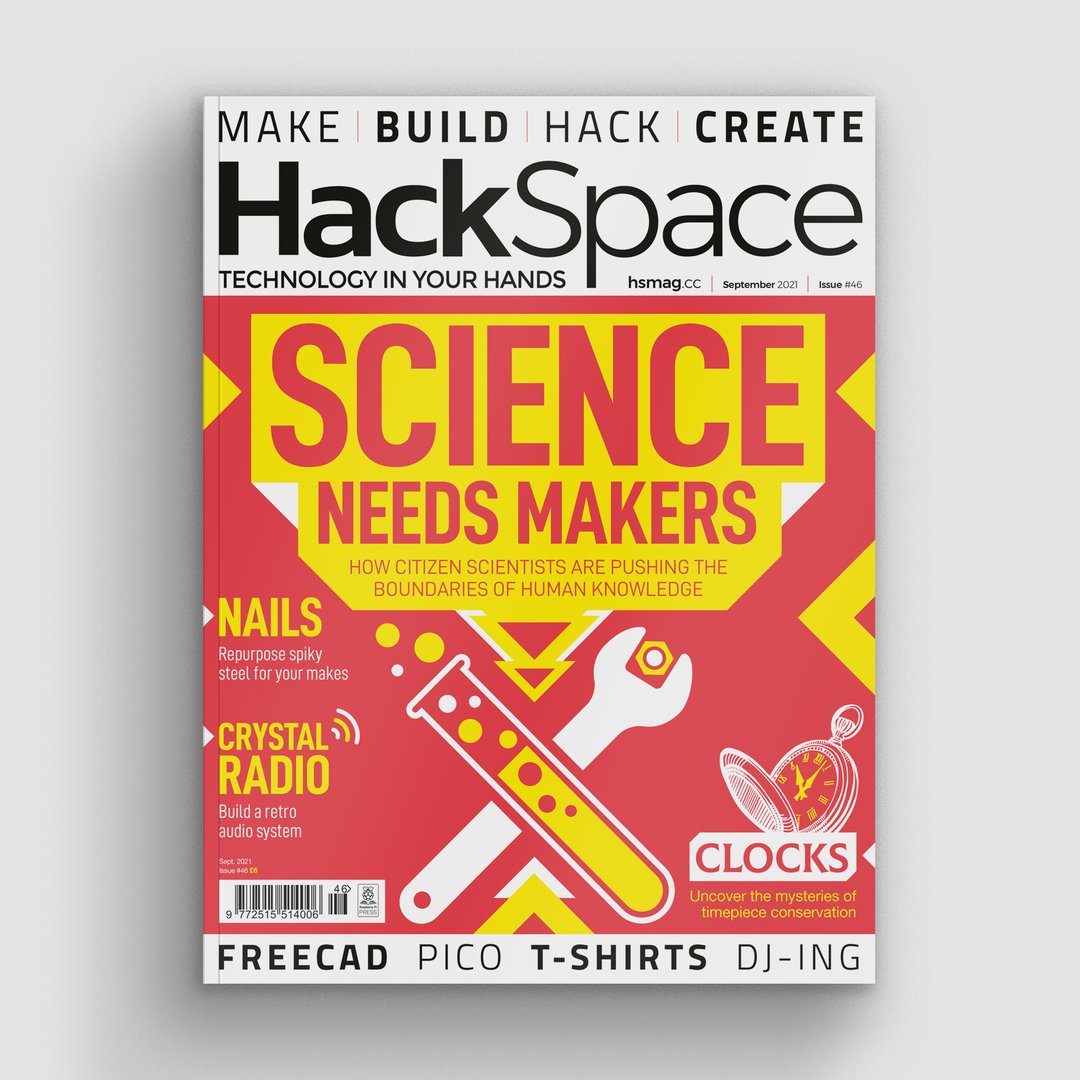
As always, every issue is free to download from the HackSpace magazine website.
The post Meet Anna Ploszajski: Where making and materials meet appeared first on Raspberry Pi.