Post Syndicated from Pavlos Ioannou Katidis original https://aws.amazon.com/blogs/messaging-and-targeting/enhancing-message-reach-an-omnichannel-approach-using-whatsapp-sms-and-email-with-aws/
SMS, WhatsApp, and email are essential channels for communication, each offering distinct advantages. SMS is known for its high deliverability and broad accessibility, making it a reliable choice for reaching users even without internet access. However, SMS can be costly, and delivery failures may lead to opportunity costs, such as potential lost sales if users cannot access their account or complete payment verification. WhatsApp provides a richer user experience at a lower cost but depends on internet connectivity and users having signed up for an account, which limits its reach. Email, while cost-effective and suitable for delivering detailed content, often faces issues including spam filtering and lower open rates.
By combining intelligent fallback mechanisms with broadcast capabilities, this versatile solution addresses a wide spectrum of communication needs, from time-sensitive transactional messages to expansive marketing campaigns. It sets the stage for diverse and impactful applications across various industries. The fallback mechanism dynamically switches to a backup channel if the primary one fails, ensuring that messages reach recipients. Meanwhile, the broadcast feature allows the simultaneous delivery of messages across multiple channels, maximizing reach and engagement. Together, these approaches extend message reach, improve user experience, and ensure reliable communication across platforms.
Use Cases
This multi-channel messaging solution is highly versatile, making it suitable for various use cases:
- OTP/Transactional Messaging: Timely and reliable delivery is critical for one-time passwords (OTP) and transactional notifications. The solution ensures these important messages are promptly delivered, utilizing fallback mechanisms across SMS, WhatsApp, and email in case of channel limitations or failures.
- Marketing Messages: This solution optimizes message delivery by selecting the most cost-effective and reliable channel while using the broadcast feature to deliver marketing messages across multiple channels, maximizing reach and engagement.
- Broadcast Messages: The broadcast option can be especially useful in sending high-priority or time-sensitive messages to a wide audience. Messages can be sent across multiple channels at once, increasing the likelihood that recipients will see the message in their preferred communication method.
Technical Solution
The architecture employs several AWS services to ensure reliable, cost-efficient message delivery:
- Amazon API Gateway: Accepts incoming API requests, including message details like content, recipient, fallback channels, and whether the message is broadcast or single-channel.
- Amazon Simple Queue Service (SQS): Manages the queuing of messages for both primary and fallback channels, as well as for broadcast messages, ensuring smooth processing and delivery.
- AWS Lambda: The Primary Message Handler Lambda function sends messages via the selected channel (SMS, WhatsApp, or email). If the primary delivery fails, the fallback process is handled by a secondary Lambda function. For broadcast messages, the message is sent to all specified channels simultaneously.
- Amazon DynamoDB: Stores message data and delivery statuses, enabling tracking of messages through all channels, including broadcast messages.
- Amazon Simple Notification Service (SNS): Publishes delivery status updates and triggers the next steps based on whether the message was delivered or failed.
- Amazon SES & End User Messaging Service: Email messages are sent via Amazon SES, while AWS End User Messaging handles SMS and WhatsApp delivery.
For a deeper technical breakdown of each component and the deployment steps, refer to the Github repository.
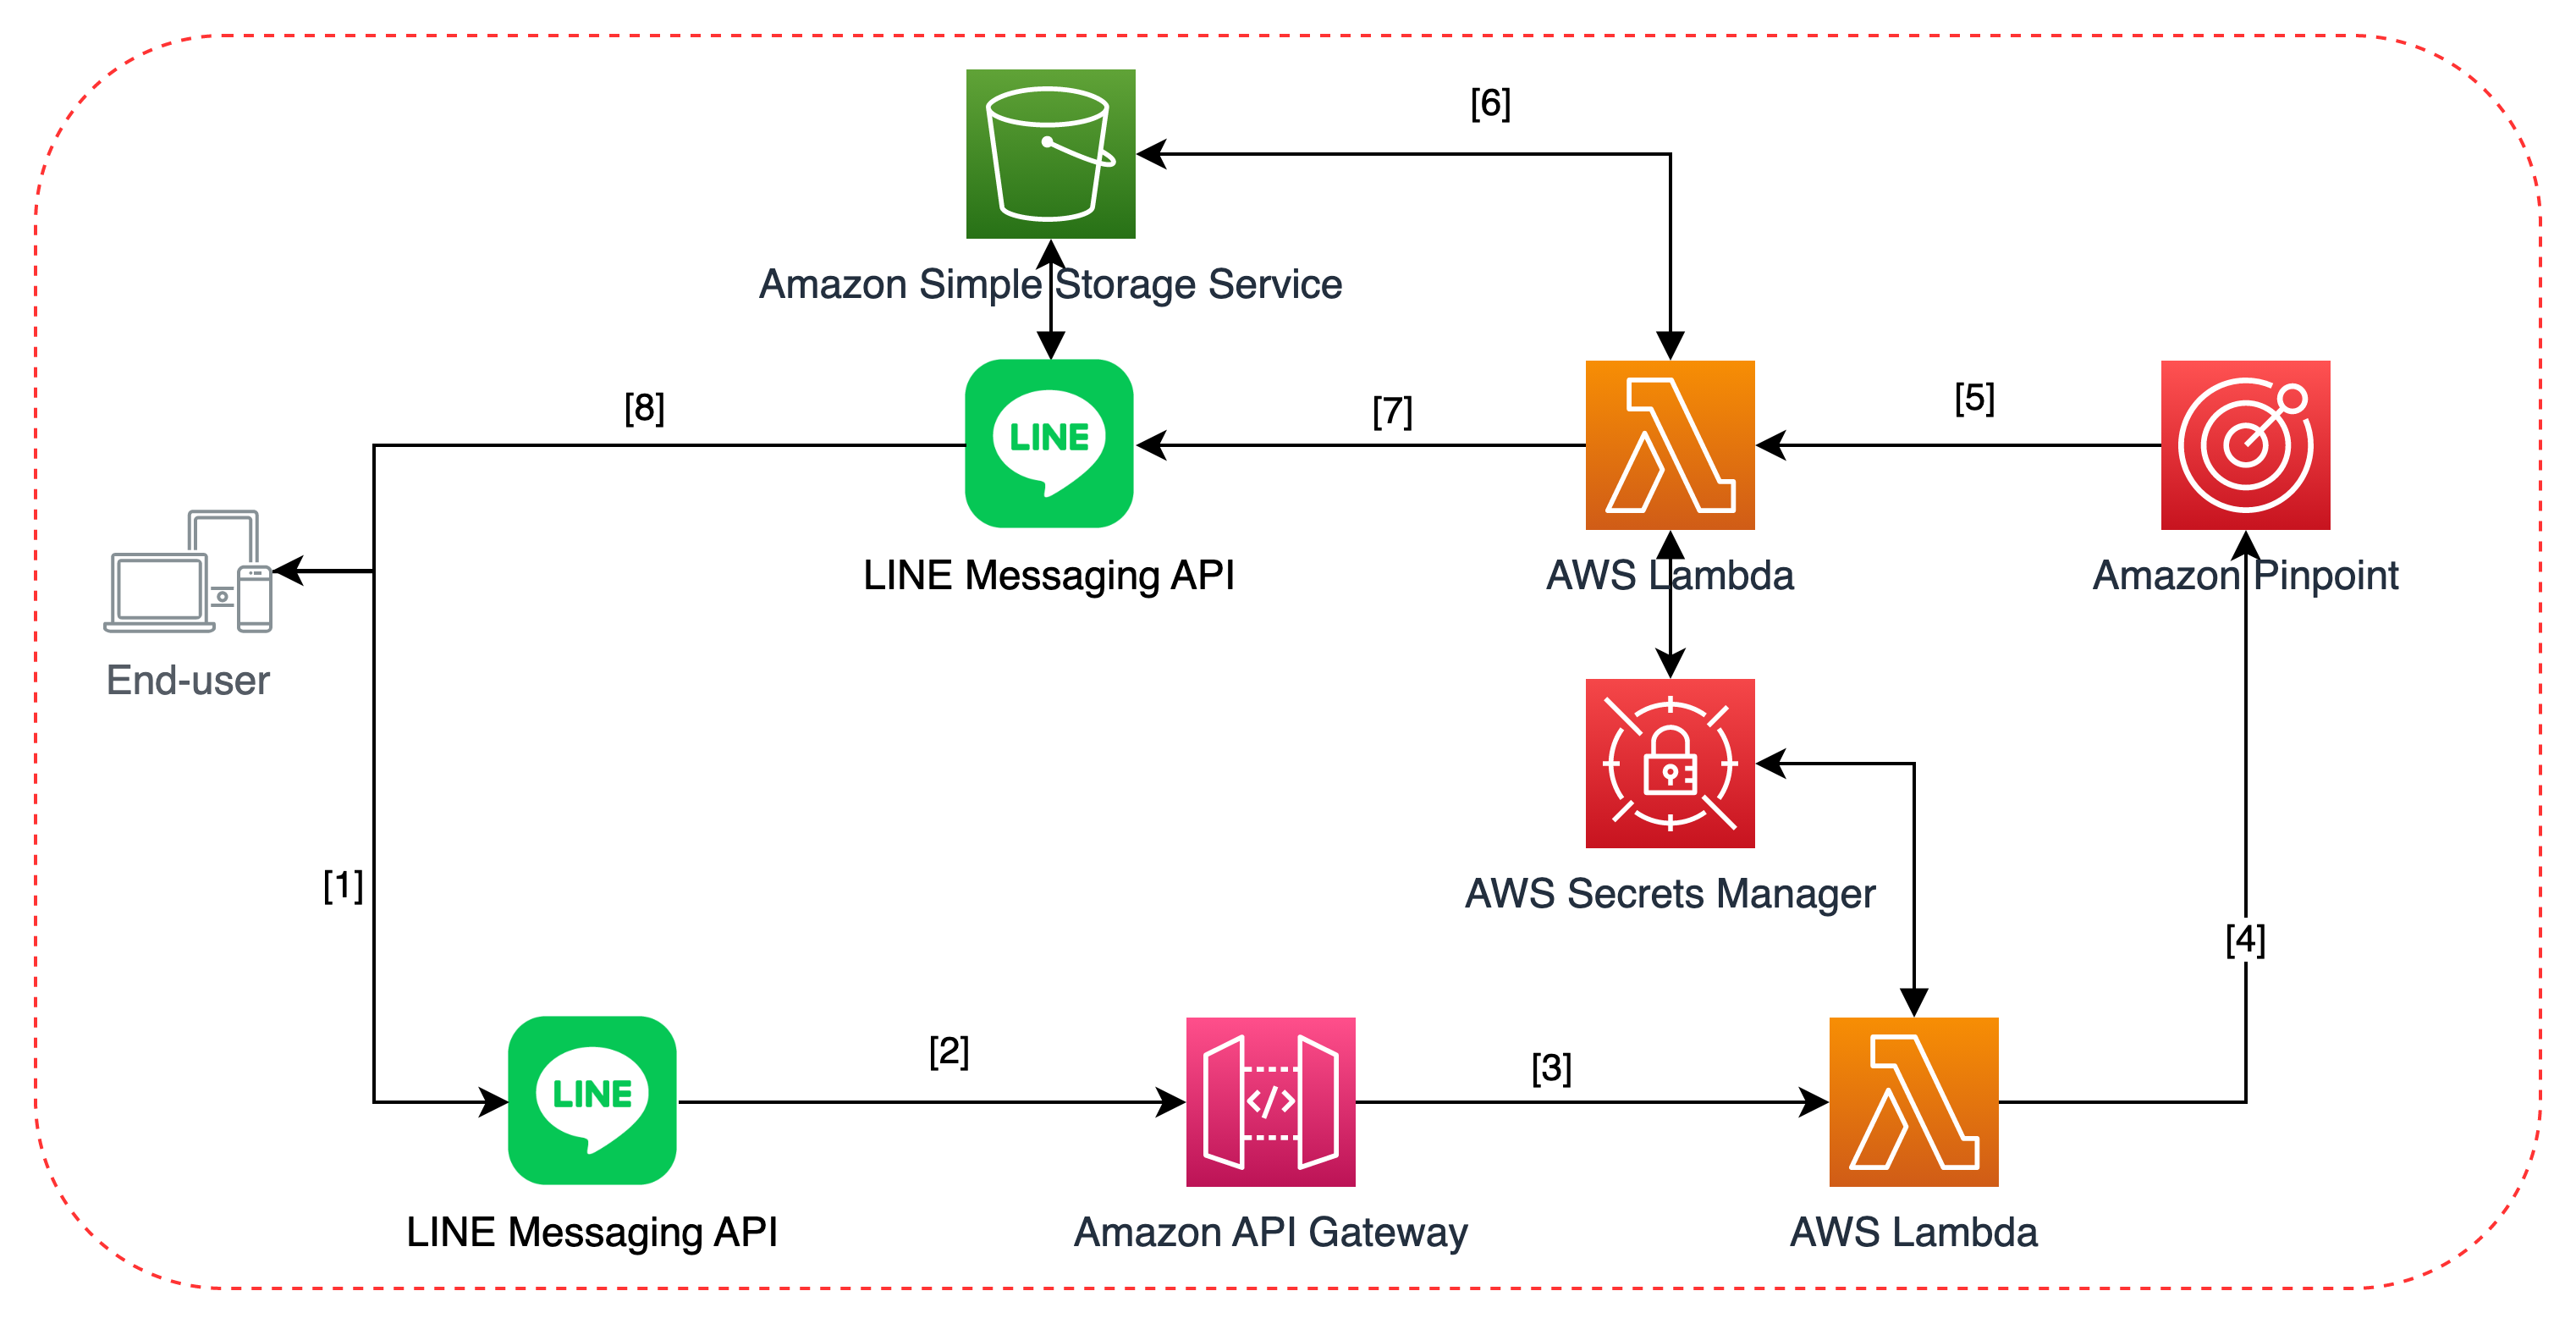
Architecture Diagram

Sending an SMS, WhatsApp, or Email
When sending a message, the system first attempts delivery via the primary channel specified in the API request, whether that’s SMS, WhatsApp, or email. The message details are processed by the API Gateway, which triggers the Primary Message Handler Lambda function:
- SMS: The message is sent via the End User Messaging Service. A delivery report is awaited to confirm whether the message was successfully delivered.
- WhatsApp: Similarly, the message is delivered via End User Messaging. Real-time read receipts and delivery statuses are tracked and updated in DynamoDB.
- Email: Email messages are sent through Amazon Simple Email Service (SES). The system tracks delivery confirmation events (like success or bounce) and updates the status in DynamoDB.
In all cases, if delivery fails or confirmation isn’t received within a specified period, the system triggers the fallback mechanism specified in the API request. This mechanism attempts to deliver the message through the secondary channel, ensuring message delivery via an alternate method.
For broadcast messages, the system simultaneously delivers the message across all specified channels, ensuring the widest possible reach. For example, an emergency notification might be broadcast via SMS, WhatsApp, and email, allowing recipients to receive the message through whichever channel they prefer.
Monitoring Delivery Status
The system tracks delivery statuses for all three channels:
- SMS: Delivery confirmations are provided by the SMS provider and published to an SNS topic. This triggers a Lambda function, which updates the message status in DynamoDB.
- WhatsApp: Real-time delivery and read receipts from WhatsApp are received and processed similarly to SMS. SNS triggers a Lambda function to update DynamoDB.
- Email: Delivery status for emails is tracked via events from Amazon SES (such as success, bounce, or rejection). These events are published to SNS, which triggers an update of the delivery status in DynamoDB.
The monitoring configured by this solution is solely for the fallback mechanism. It’s recommended to configure separately monitoring that you might require for storing and analyzing message engagement events.
Fallback to Secondary Channel
If the initial message delivery fails, the fallback mechanism is initiated, based on the fallback channel specified in the API request. The Primary Message Handler Lambda function places a request in the Secondary Channel Fallback Queue via SQS. The Secondary Message Handler Lambda function retrieves this request and sends the message through the secondary channel (for example, sending the message via WhatsApp if SMS delivery fails).
Deployment
Visit this GitHub repository for a detailed ReadMe and deployment guide of this solution.
Conclusion
This multi-channel messaging solution ensures reliable and efficient communication across SMS, WhatsApp, and email. By leveraging AWS services, the system guarantees message delivery through fallback mechanisms and a broadcast option. Whether sending one-time passwords, marketing communications, or emergency broadcasts, this solution adapts to different needs while optimizing costs and improving reach across multiple channels.