Post Syndicated from Cory Wilkerson original https://github.blog/2021-08-11-githubs-engineering-team-moved-codespaces/
Today, GitHub is making Codespaces available to Team and Enterprise Cloud plans on github.com. Codespaces provides software teams a faster, more collaborative development environment in the cloud. Read more on our Codespaces page.
The GitHub.com codebase is almost 14 years old. When the first commit for GitHub.com was pushed, Rails was only two years old. AWS was one. Azure and GCP did not yet exist. This might not be long in COBOL time, but in internet time it’s quite a lot.
Over those 14 years, the core repository powering GitHub.com (github/github) has seen over a million commits. The vast majority of those commits come from developers building and testing on macOS.

A classic commit message for a classic commit
But our development platform is evolving. Over the past months, we’ve left our macOS model behind and moved to Codespaces for the majority of GitHub.com development. This has been a fundamental shift for our day-to-day development flow. As a result, the Codespaces product is stronger and we’re well-positioned for the future of GitHub.com development.
The status quo
Over the years, we’ve invested significant time and effort in making local development work well out of the box. Our scripts-to-rule-them-all approach has presented a familiar interface to engineers for some time now—new hires could clone github/github, run setup and bootstrap scripts, and have a local instance of GitHub.com running in a half-day’s time. In most cases things just worked, and when they didn’t, our bootstrap script would open a GitHub issue connecting the new hire with internal support. Our #friction Slack channel—staffed by helpful, kind engineers—could debug nearly any system configuration under the sun.

Run GitHub.com locally (eventually) with this one command!
Yet for all our efforts, local development remained brittle. Any number of seemingly innocuous changes could render a local environment useless and, worse still, require hours of valuable development time to recover. Mysterious breakage was so common and catastrophic that we’d codified an option for our bootstrap script: --nuke-from-orbit. When invoked, the script deletes as much as it responsibly can in an attempt to restore the local environment to a known good state.
And of course, this is a classic story that anyone in the software engineering profession will instantly recognize. Local development environments are fragile. And even when functioning perfectly, a single-context, bespoke local development environment felt increasingly out of step with the instant-on, access-from-anywhere world in which we now operate.
Collaborating on multiple branches across multiple projects was painful. We’d often find ourselves staring down a 45-minute bootstrap when a branch introduced new dependencies, shipped schema changes, or branched from a different SHA. Given how quickly our codebase changes (we’re deploying hundreds of changes per day), this was a regular source of engineering friction.
And we weren’t the only ones to take notice—in building Codespaces, we engaged with several best-in-class engineering organizations who had built Codespaces-like platforms to solve these same types of problems. At any significant scale, removing this type of productivity loss becomes a very clear productivity opportunity, very quickly.

This single log message will cause any GitHub engineer to break out in a cold sweat
Development infrastructure
In the infrastructure world, industry best practices have continued to position servers as a commodity. The idea is that no single server is unique, indispensable, or irreplaceable. Any piece could be taken out and replaced by a comparable piece without fanfare. If a server goes down, that’s ok! Tear it down and replace it with another one.
Our local development environments, however, are each unique, with their own special quirks. As a consequence, they require near constant vigilance to maintain. The next git pull or bootstrap can degrade your environment quickly, requiring an expensive context shift to a recovery effort when you’d rather be building software. There’s no convention of a warm laptop standing by.
But there’s a lot to be said for treating development environments as our own—they’re the context in which we spend the majority of our day! We tweak and tune our workbench in service of productivity but also as an expression of ourselves.
With Codespaces, we saw an opportunity to treat our dev environments much like we do infrastructure—a commodity we can churn—but still maintain the ability to curate our workbench. Visual Studio Code extensions, settings sync, and dotfiles repos bring our environment to our compute. In this context, a broken workbench is a minor inconvenience—now we can provision a new codespace at a known good state and get back to work.
Adopting Codespaces
Migrating to Codespaces addressed the shortcomings in our existing developer environments, motivated us to push the product further, and provided leverage to improve our overall development experience.
And while our migration story has a happy ending, the first stages of our transition were… challenging. The GitHub.com repository is almost 13 GB on disk; simply cloning the repository takes 20 minutes. Combined with dependency setup, bootstrapping a GitHub.com codespace would take upwards of 45 minutes. And once we had a repository successfully mounted into a codespace, the application wouldn’t run.
Those 14 years of macOS-centric assumptions baked into our bootstrapping process were going to have to be undone.
Working through these challenges brought out the best of GitHub. Contributors came from across the company to help us revisit past decisions, question long-held assumptions, and work at the source-level to decouple GitHub development from macOS. Finally, we could (albeit very slowly) provision working GitHub.com codespaces on Linux hosts, connect from Visual Studio Code, and ship some work. Now we had to figure out how to make the thing hum.
45 minutes to 5 minutes
Our goal with Codespaces is to embrace a model where development environments are provisioned on-demand for the task at hand (roughly a 1:1 mapping between branches and codespaces.) To support task-based workflows, we need to get as close to instant-on as possible. 45 minutes wasn’t going to meet our task-based bar, but we could see low-hanging fruit, ripe with potential optimizations.
Up first: changing how Codespaces cloned github/github. Instead of performing a full clone when provisioned, Codespaces would now execute a shallow clone and then, after a codespace was created with the most recent commits, unshallow repository history in the background. Doing so reduced clone time from 20 minutes to 90 seconds.
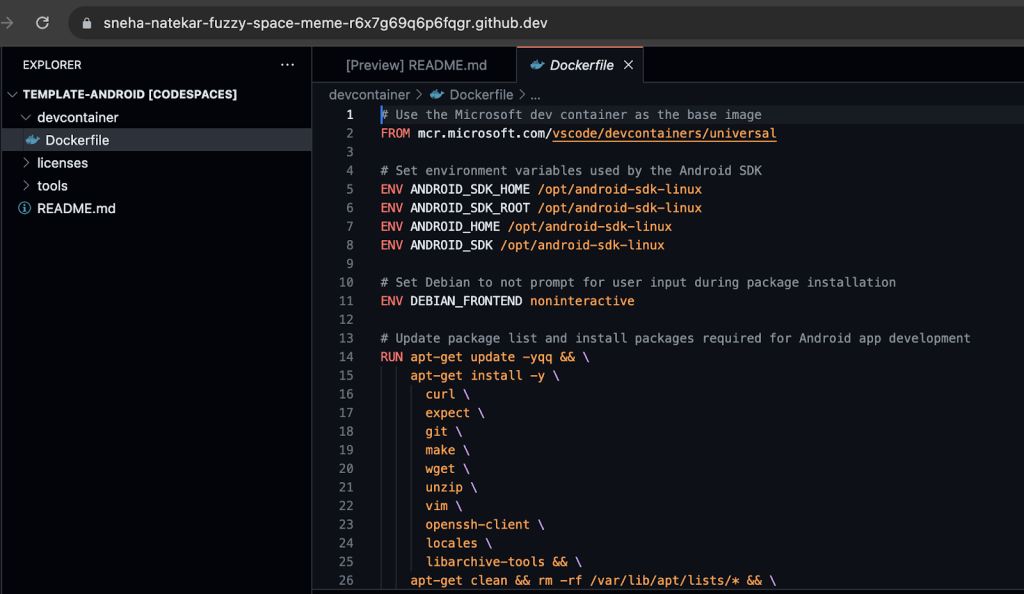
Our next opportunity: caching the network of software and services that support GitHub.com, inclusive of traditional Gemfile-based dependencies as well as services written in C, Go, and a custom build of Ruby. The solution was a GitHub Action that would run nightly, clone the repository, bootstrap dependencies, and build and push a Docker image of the result. The published image was then used as the base image in github/github’s devcontainer—config-as-code for Codespaces environments. Our codespaces would now be created at 95%+ bootstrapped.
These two changes, along with a handful of app and service level optimizations, took GitHub.com codespace creation time from 45 minutes to five minutes. But five minutes is still quite a distance from “instant-on.” Well-known studies have shown people can sustain roughly ten seconds of wait time before falling out of flow. So while we’d made tremendous strides, we still had a way to go.
5 minutes to 10 seconds
While five minutes represented a significant improvement, these changes involved tradeoffs and hinted at a more general product need.
Our shallow clone approach—useful for quickly launching into Codespaces—still required that we pay the cost of a full clone at some point. Unshallowing post-create generated load with distracting side effects. Any large, complex project would face a similar class of problems during which cloning and bootstrapping created contention for available resources.
What if we could clone and bootstrap the repository ahead of time so that by the time an engineer asked for a codespace we’d already done most of the work?
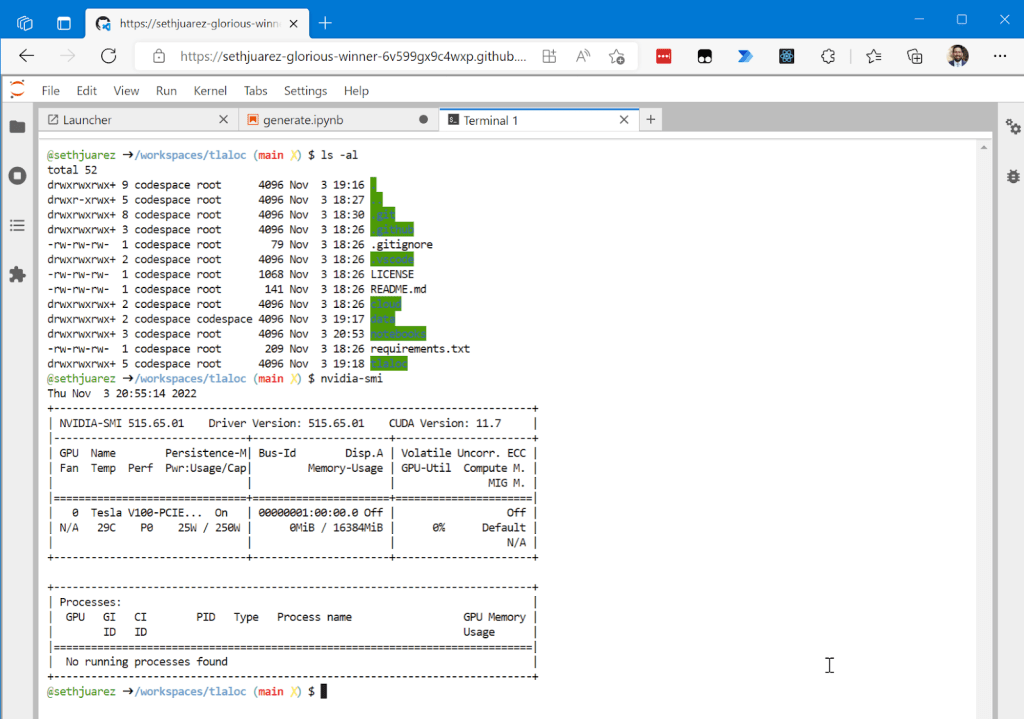
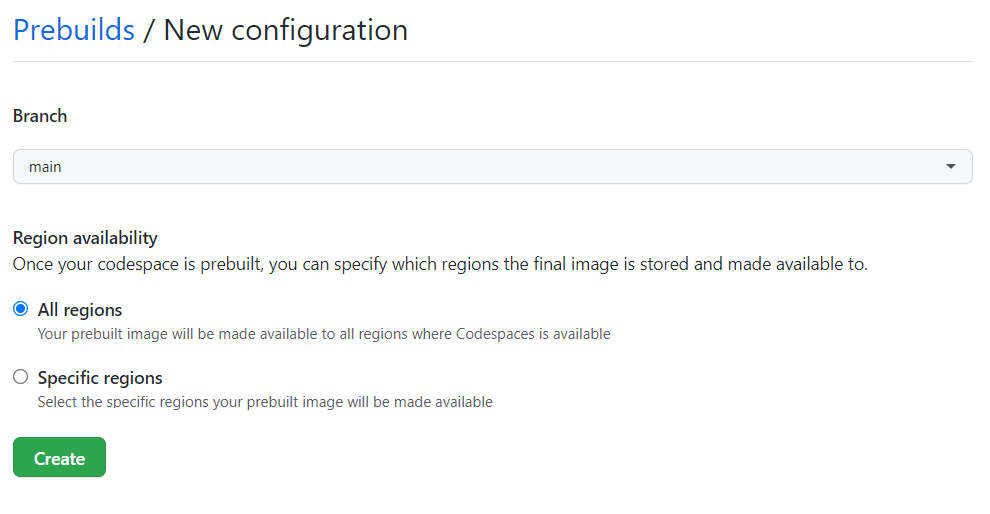
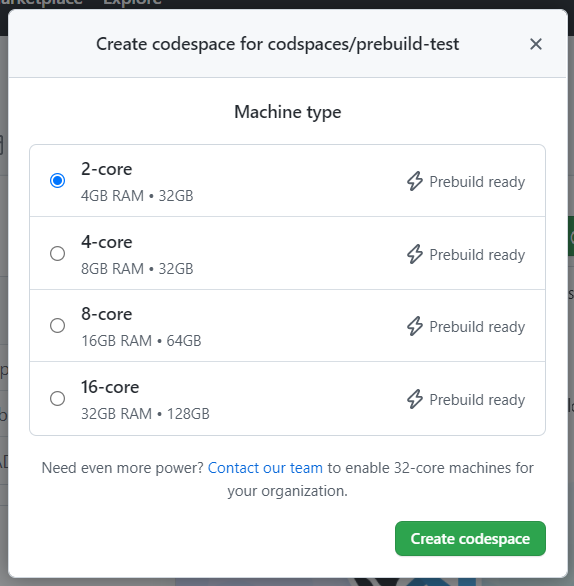
Enter prebuilds: pools of codespaces, fully cloned and bootstrapped, waiting to be connected with a developer who wants to get to work. The engineering investment we’ve made in prebuilds has returned its value many times over: we can now create reliable, preconfigured codespaces, primed and ready for GitHub.com development in 10 seconds.
New hires can go from zero to a functioning development environment in less time than it takes to install Slack. Engineers can spin off new codespaces for parallel workstreams with no overhead. When an environment falls apart—maybe it’s too far behind, or the test data broke something—our engineers can quickly create a new environment and move on with their day.
Increased leverage
The switch to Codespaces solved some very real problems for us: it eliminated the fragility and single-track model of local development environments, but it also gave us a powerful new point of leverage for improving GitHub’s developer experience.
We now have a wedge for performing additional setup and optimization work that we’d never consider in local environments, where the cost of these optimizations (in both time and patience) is too high. For instance, with prebuilds we now prime our language server cache and gem documentation, run pending database migrations, and enable both GitHub.com and GitHub Enterprise development modes—a task that would typically require yet another loop through bootstrap and setup.
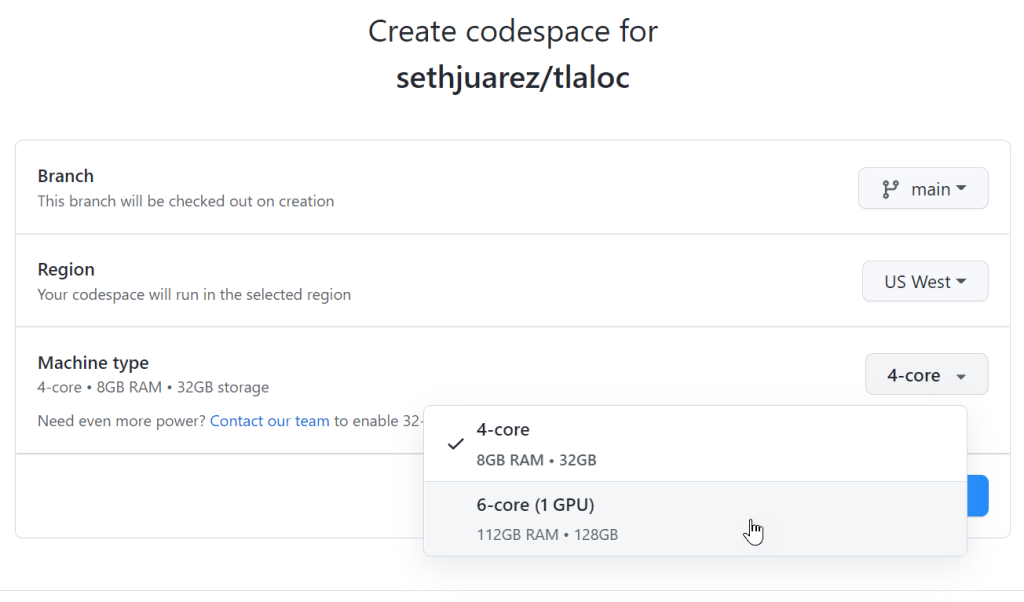
With Codespaces, we can upgrade every engineer’s machine specs with a single configuration change. In the early stages of our Codespaces migration, we used 8 core, 16 GB RAM VMs. Those machines were sufficient, but GitHub.com runs a network of different services and will gladly consume every core and nibble of RAM we’re willing to provide. So we moved to 32 core, 64 GB RAM VMs. By changing a single line of configuration, we upgraded every engineer’s machine.

Instant upgrade—ship config and bypass the global supply chain bottleneck
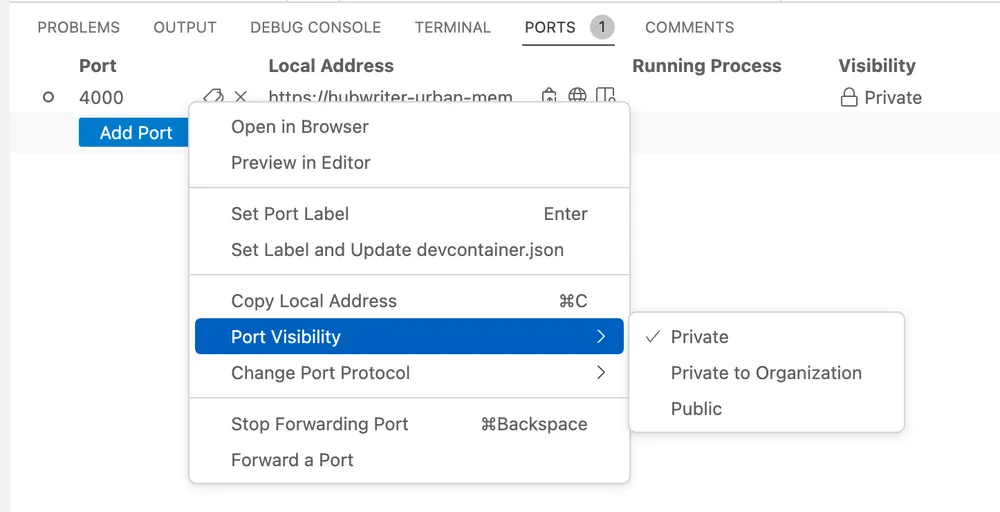
Codespaces has also started to steal business from our internal “review lab” platform—a production-like environment where we preview changes with internal collaborators. Before Codespaces, GitHub engineers would need to commit and deploy to a review lab instance (which often required peer review) in order to share their work with colleagues. Friction. Now we ctrl+click, grab a preview URL, and send it on to a colleague. No commit, no push, no review, no deploy — just a live look at port 80 on my codespace.
Command line
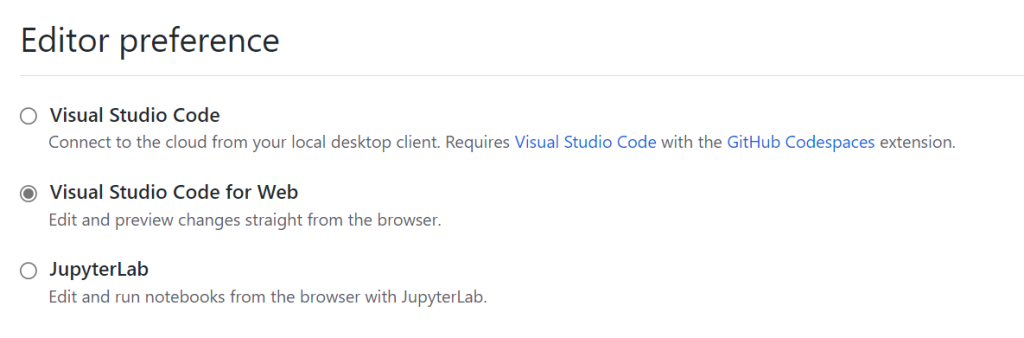
Visual Studio Code is great. It’s the primary tool GitHub.com engineers use to interface with codespaces. But asking our Vim and Emacs users to commit to a graphical editor is less great. If Codespaces was our future, we had to bring everyone along.
Happily, we could support our shell-based colleagues through a simple update to our prebuilt image which initializes sshd with our GitHub public keys, opens port 22, and forwards the port out of the codespace.

From there, GitHub engineers can run Vim, Emacs, or even ed if they so desire.
This has worked exceedingly well! And, much like how Docker image caching led to prebuilds, the obvious next step is taking what we’ve done for the GitHub.com codespace and making it a first-class experience for every codespace.
Reception
Change is hard, doubly so when it comes to development environments. Thankfully, GitHub engineers are curious and kind—and quickly becoming Codespaces superfans.
I used codespaces yesterday while my dev environment was a little broken and I finished the entire features on codespaces before my dev env was done building lol
~@lindseyb
My friends, I’m here to tell you I was a Codespaces skeptic before this started and now I am not. This is the way.
~@iolsen
I really was more productive with respect to the Rails part of my work this week than I think I ever have been before. Everything was just so fast and reliable.
~@jclem
Whomever has worked on getting codespaces up and running, you enabled me to have an awesome first week!
~@bestra
I do solemnly swear that never again will my CPU have to compile ruby from source.
~@latentflip |
Codespaces are now the default development environment for GitHub.com. That #friction Slack channel that we mentioned earlier to help debug local development environment problems? We’re planning to archive it.
We’re onboarding more services and more engineers throughout GitHub every day, and we’re discovering new stories about the value Codespaces can generate along the way. But at the core of each story, you’ll discover a consistent theme that resonates with every engineer: I found a better tool, I’m more productive now, and I’m not going back.


 ) need not abandon their precious
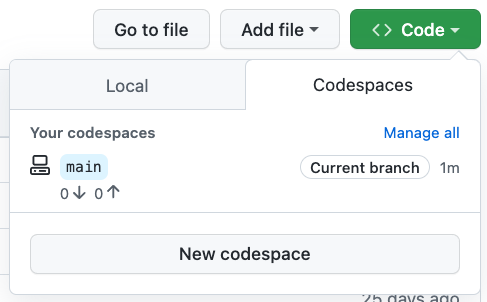


