Post Syndicated from Garrett Galow original https://blog.cloudflare.com/helping-keep-customers-safe-with-leaked-password-notification
Password reuse is a real problem. When people use the same password across multiple services, it creates a risk that a breach of one service will give attackers access to a different, apparently unrelated, service. Attackers know people reuse passwords and build giant lists of known passwords and known usernames or email addresses.
If you got to the end of that paragraph and realized you’ve reused the same password multiple places, stop reading and go change those passwords. We’ll wait.
To help protect Cloudflare customers who have used a password attackers know about, we are releasing a feature to improve the security of the Cloudflare dashboard for all our customers by automatically checking whether their Cloudflare user password has appeared in an attacker’s list. Cloudflare will securely check a customer’s password against threat intelligence sources that monitor data breaches in other services.
If a customer logs in to Cloudflare with a password that was leaked in a breach elsewhere on the Internet, Cloudflare will alert them and ask them to choose a new password.
For some customers, the news that their password was known to hackers will come as a surprise – no one wants to intentionally use passwords that they know have been leaked elsewhere. To help customers avoid being locked out when they urgently need to use their Cloudflare dashboard, the leaked password check will provide a warning to the customer for the first three login attempts. After those three attempts, Cloudflare will require that the customer reset their password.
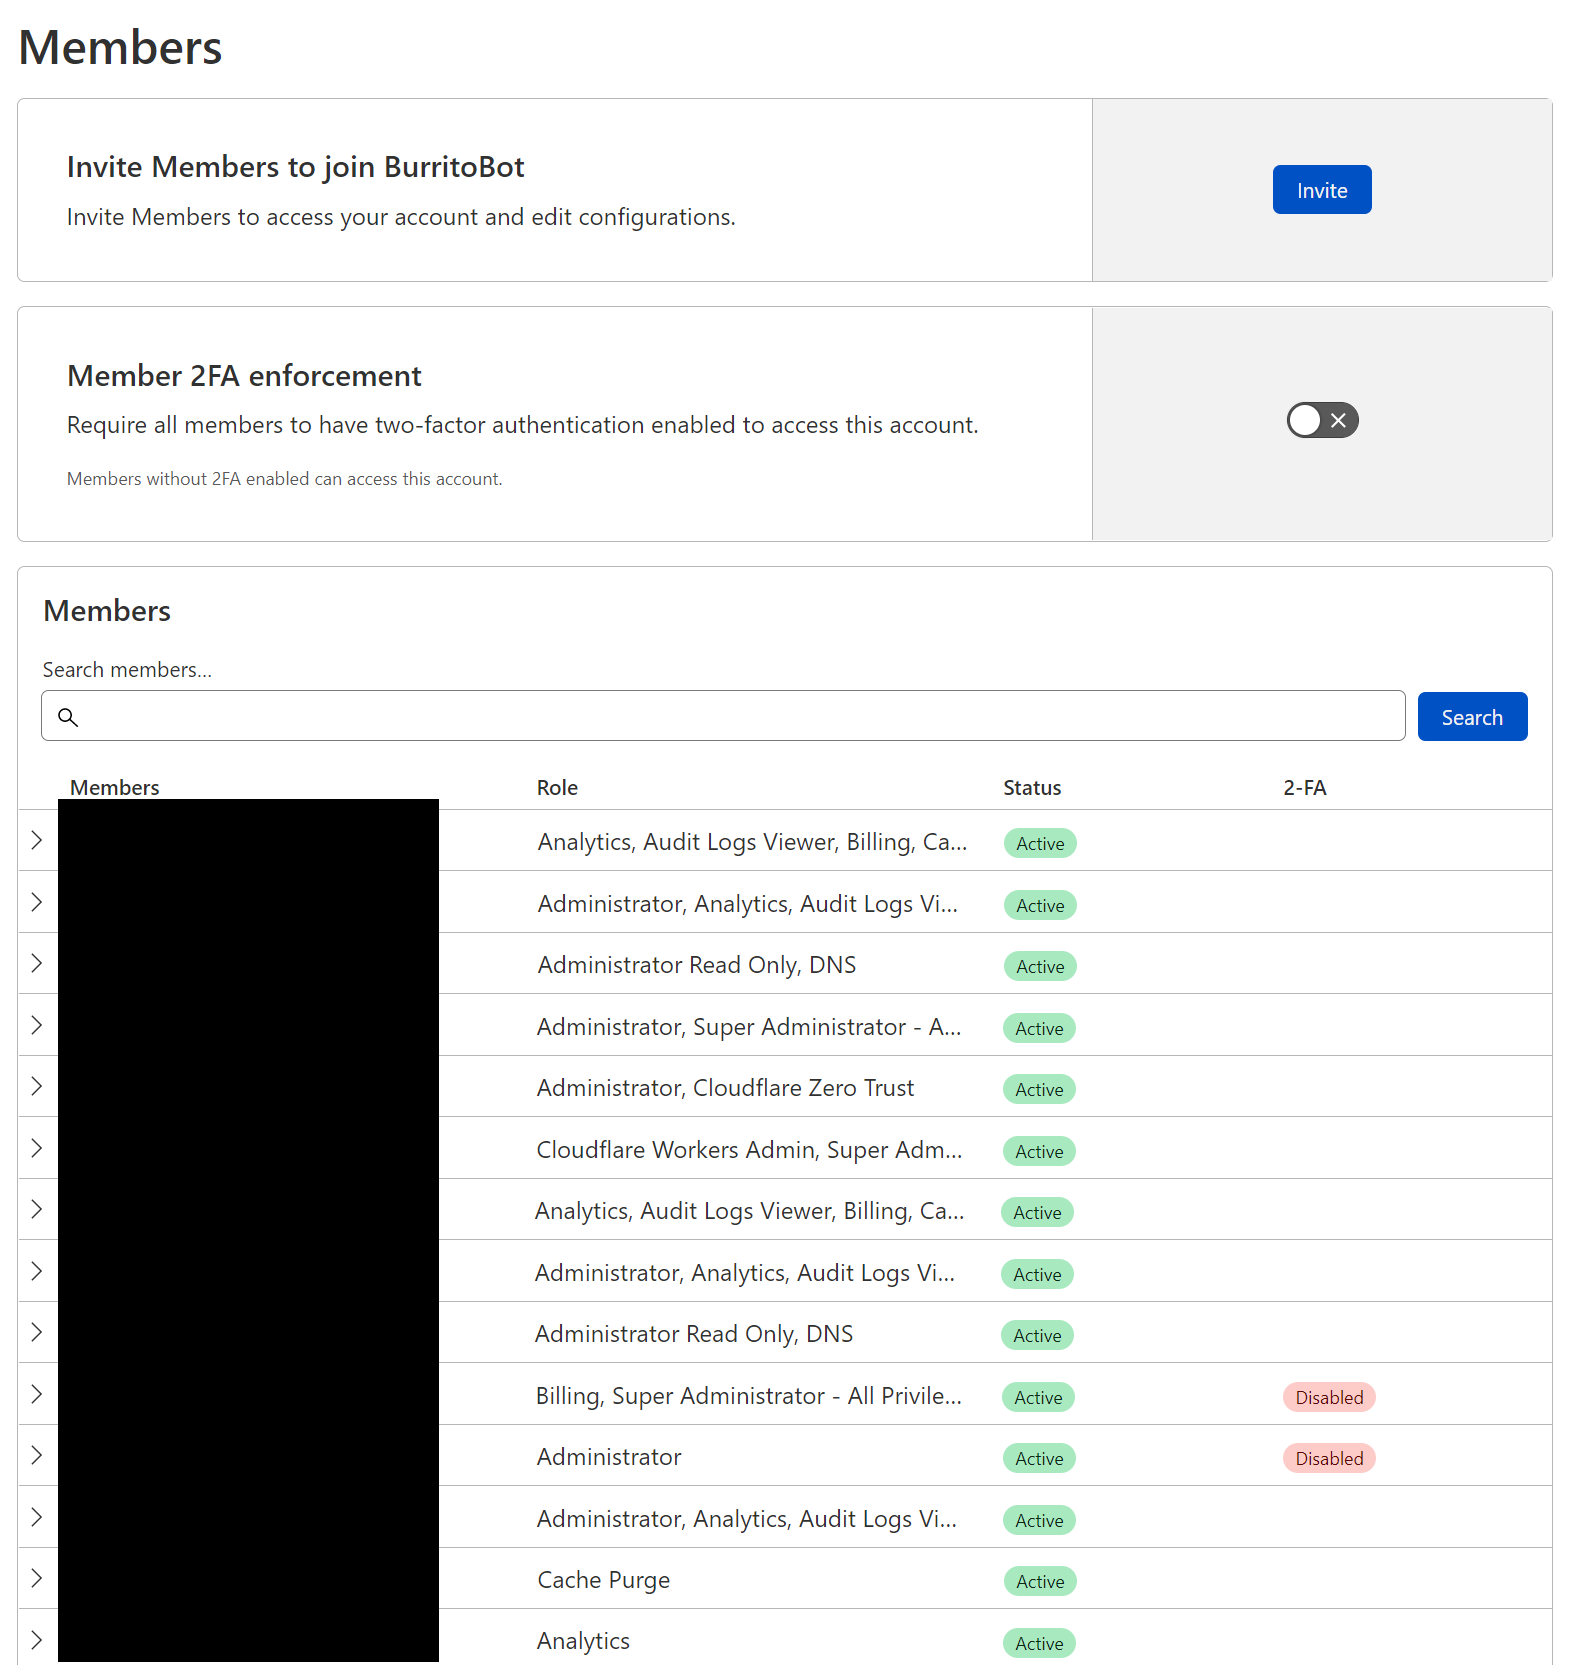
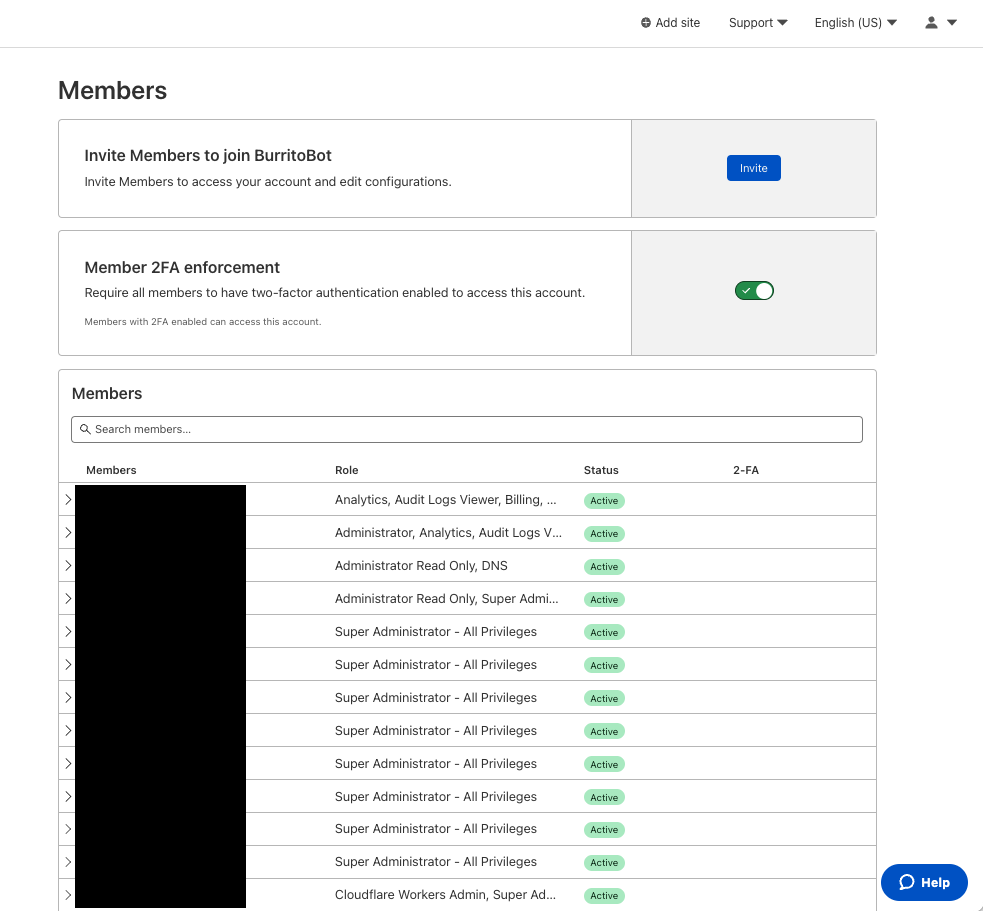
Resetting a leaked password is just the first step in Internet account security. The best way to protect your Cloudflare account, or any account, is to add two-factor authentication, such as using a hardware security key or an authenticator application, or to rely on a single sign-on integration. Cloudflare makes it easy for any user to add two-factor authentication security to their account through app-based codes, hardware keys, or passkeys. Cloudflare account Super Administrators can also require that all members enable two-factor authentication.
Whether or not a user has been impacted in a data breach, we encourage everyone to add two-factor authentication security to their Cloudflare account.
How do credentials leak?
Each time you authenticate to a service on the Internet with a username and password, that service can take a range of steps to protect your credentials.
More secure providers will hash the passwords. Hashing uses a cryptographic algorithm to convert the password into a random string of characters. Some platforms will layer on additional safeguards like a salt mechanism that introduces a random value to each password before the hashing process to ensure that two identical passwords do not have identical hashes.
These protections, combined with rate limits on login attempts, prevent brute force attacks. However, even for providers that adopt these best practices, users can still become victims of determined attackers when bad actors gain access to breached password databases. Attackers can collect compromised email password pairs to gain access to user accounts elsewhere as part of targeted attacks.
When vendors discover these kinds of compromised accounts, in many cases they will quickly force a password reset. However, resetting a leaked password in one application can still leave you vulnerable in other applications if you reused that password in other places and do not change your credentials everywhere.
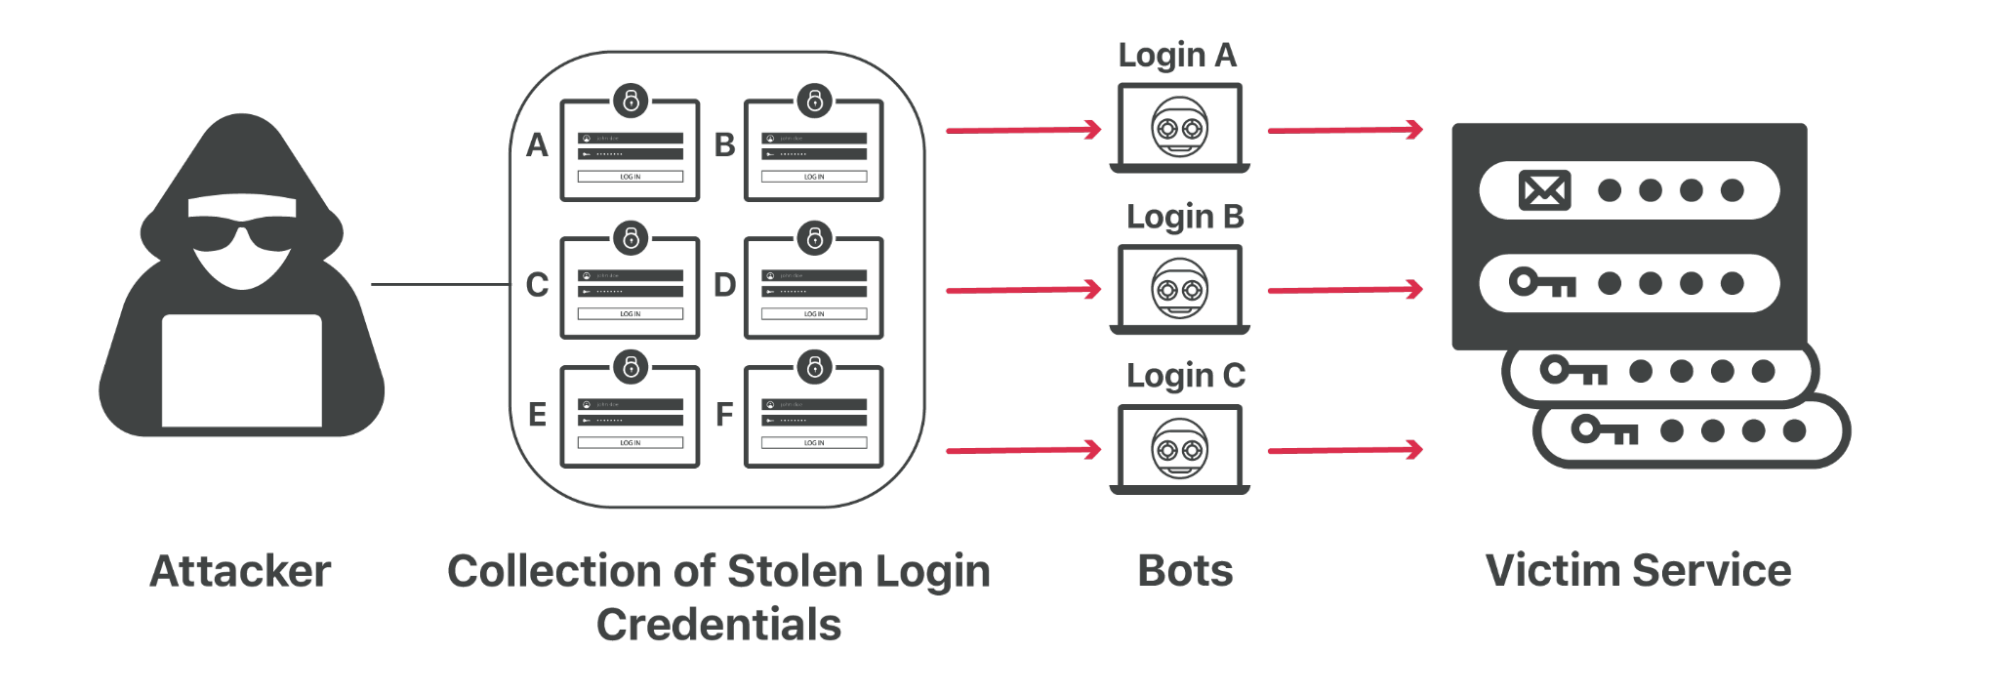
That kind of password reuse means that an attacker can steal your credentials from one Internet service and try them against dozens of other popular destinations to see where you reuse the same password.
These so-called credential stuffing attacks have become more prevalent as breaches pile up. Attackers can sit on large troves of credentials for months or years, waiting to sell them to another bad actor or to use them in targeted attacks. For customers who want to protect themselves from these and other attacks that can compromise their end customer’s accounts, Cloudflare has solutions like bot management, exposed credential checks, and rate limiting available to help defend against these kinds of attacks
How can customers protect against the impact of leaked credentials?
If every password you use is unique, then a data breach in one vendor will be limited to just that particular system. For that reason, we encourage users to adopt a password manager that can create and remember unique passwords for each service that you use. Thankfully, the most popular operating systems now include password managers by default, and multiplatform third party options also make it easy for users to adopt this practice.
However, unique passwords are still vulnerable to phishing attacks. The best way to protect any Internet account is to add two-factor authentication (2FA). Two-factor authentication provides a comprehensive defense against credential stuffing attacks. When using two-factor authentication to log in, you must use your password and, for example, a one-time code from an app or a tap on a physical hardware key. The password alone is not enough to access your account.
Adoption of two-factor authentication, specifically hardware keys, has been shown to be able to eliminate 99.9% of account takeovers, since the attacker must also get access to your second factor in addition to your password. In the case of hardware keys, they need to physically obtain the key.
How does Cloudflare check for leaked credentials?
When a user attempts to log into Cloudflare, we will check if the password used has been leaked in a known data breach of another service or application on the Internet. We maintain data on breaches of Internet services that we can use to search against. Because we use password hashes, scrambled versions of the original password that can’t be easily reversed, we compare a hash of the password to hashes of compromised passwords found in these lists from other attacks. An additional benefit, beside the security of hashes, is the ability to perform fast lookups, much faster than plaintext searches. This means that we can perform these checks without adding significant latency to the login process for users.
Because of the potential impact of a Cloudflare account being compromised, we opt for a more secure approach of disallowing leaked credentials regardless of whether they were associated with the specific user’s email or not. Unfortunately, data breaches are likely to continue to happen. Therefore, being proactive helps reduce the risk of new breaches that contain the email and password pair allowing for an account to be compromised before the data is available to us.
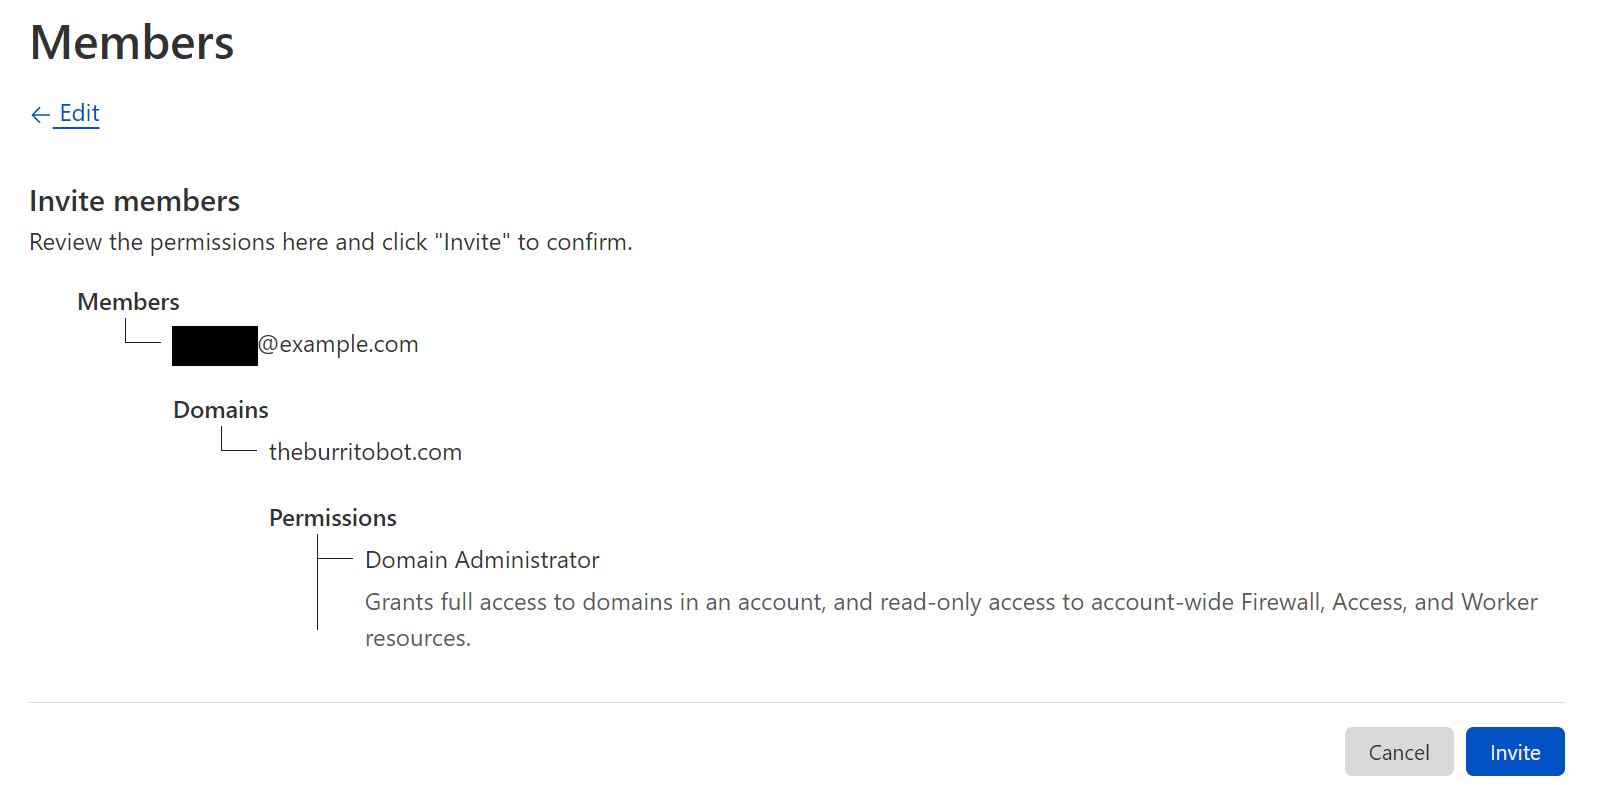
If we detect a match, the user will be prompted with the following warning. We will also send an email notification with instructions on what to do and a unique link in order to reset the password.

At this point, the user will still be able to log in to their Cloudflare account. We strongly encourage users to reset their password immediately. However, we know that in some cases you need to reach the Cloudflare dashboard immediately or do not have convenient access to the email used for the account. Cloudflare will allow two additional login attempts to succeed with the same compromised password before forcing the user to reset their password.
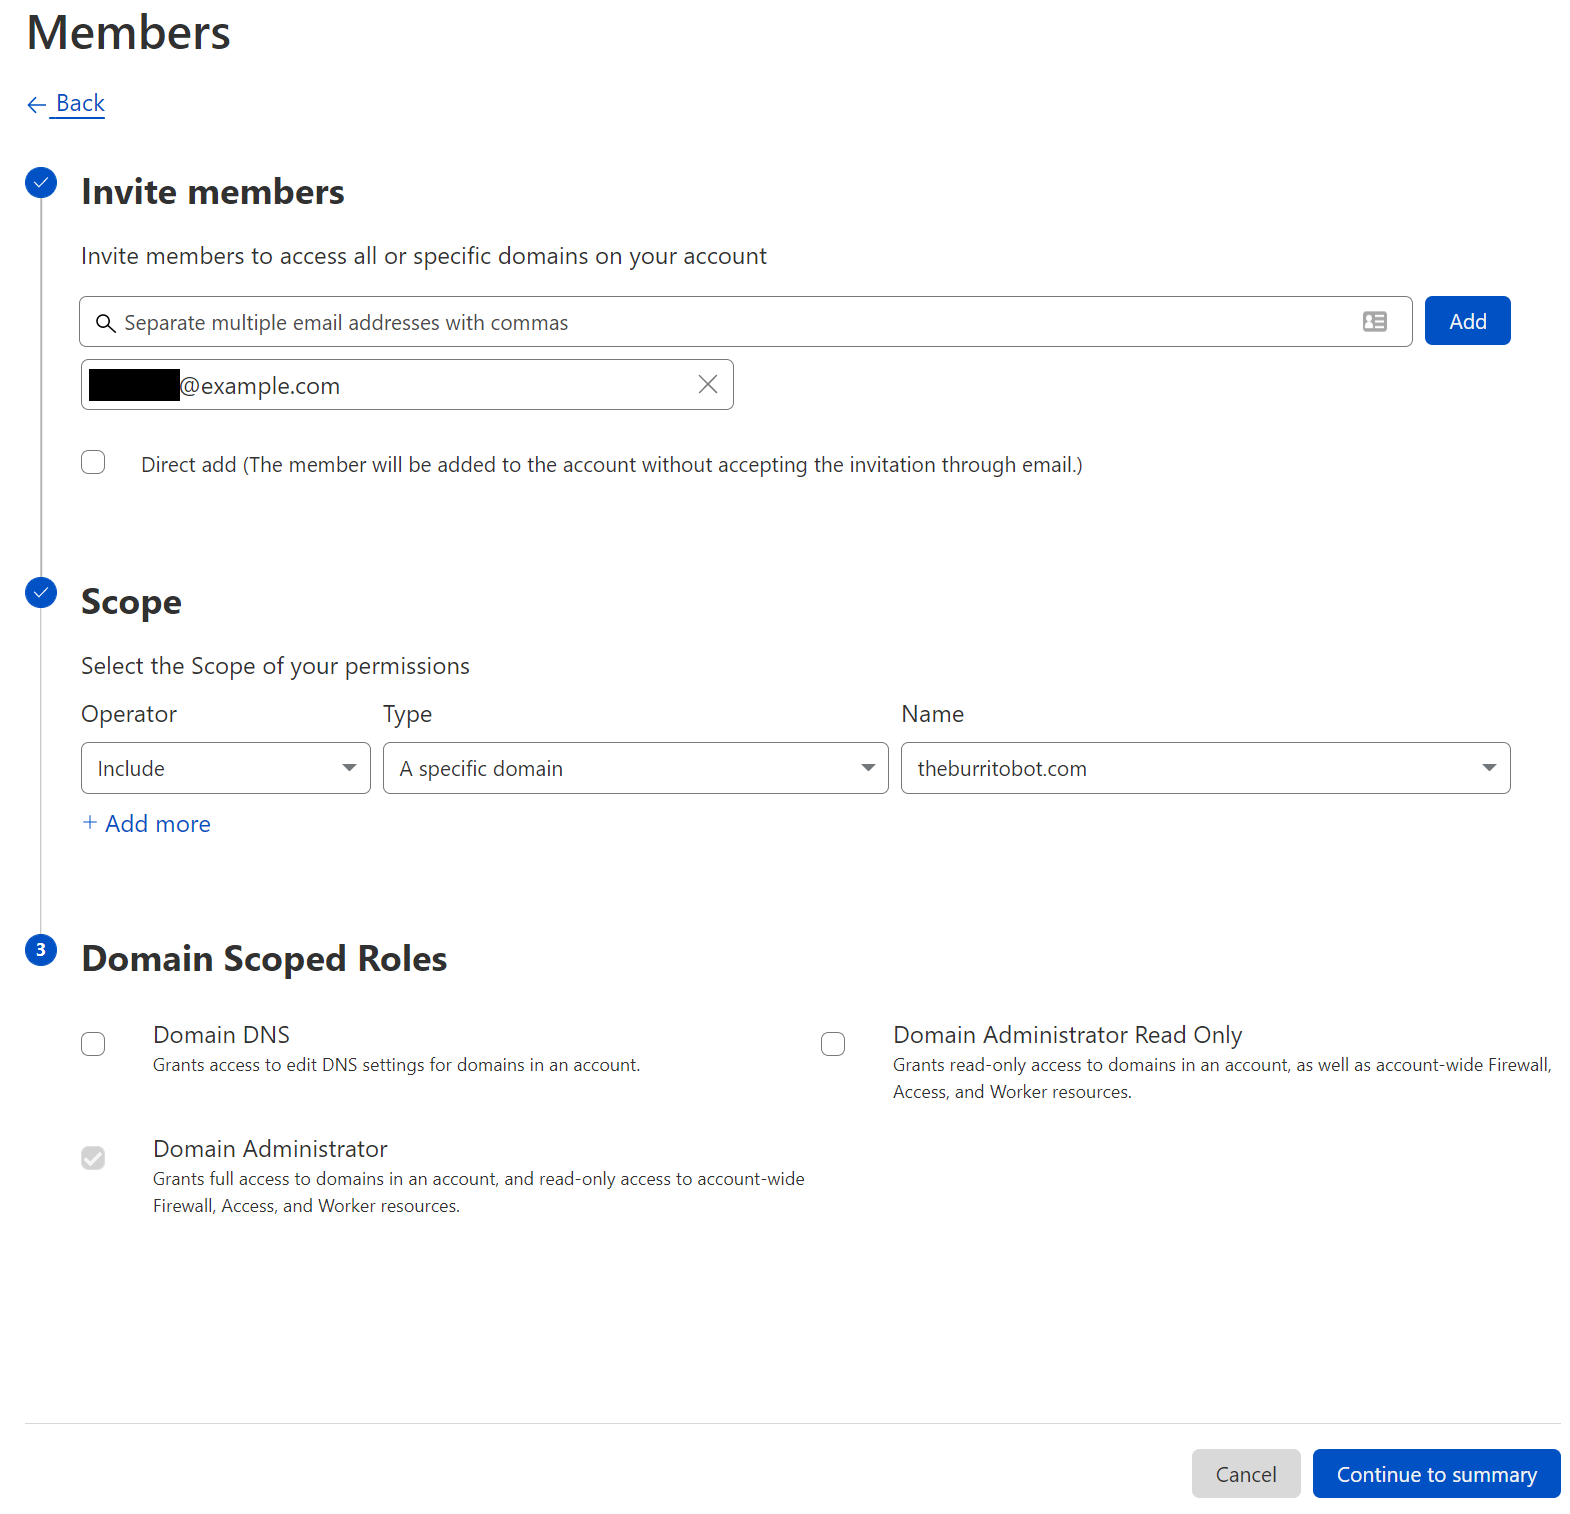
To reset a password in Cloudflare Dashboard, navigate to the Authentication page in My Profile. From here, select Change Password and enter both the current password to authenticate and a new, non-compromised password. Alternatively, for those whose password was leaked, upon login an email will be sent with a unique link to reset the password.
What’s next?
Forcing users to reset compromised credentials helps prevent attacks from spreading on the Internet, but it’s just a small piece of improved account security. We know that adding the next step, second factor authentication, can be cumbersome. We have committed to CISA’s Secure by Design Pledge, which includes working to increase 2FA adoption across the industry. We will share our plans on how we will be implementing the pledge by mid-2025.
Adding multifactor authentication to every one of your accounts on the Internet can still be a chore, no matter how much the experience is improved. It’s much easier if you can just do it with one account and use that account to authenticate into other services and applications – a single-sign on (SSO) flow. Right now, our SSO feature is limited to enterprise accounts, and we plan to change that. We will allow users to access Cloudflare through other providers like Google, GitHub, and more. Allowing users to reduce how many unique password and 2FA combinations they have to keep track of helps to reduce the likelihood of being impacted by future password breaches.