Post Syndicated from Pat Patterson original https://backblaze.com/blog/ai-video-understanding-in-your-apps-with-twelve-labs-and-backblaze/
Over the past few years, since long before the recent large language model (LLM) revolution, we’ve benefited not only from the ability of AI models to transcribe audio to text, but also to automatically tag video files according to their content. Media asset management (MAM) software—such as Backlight iconik and Axle.ai (both Backblaze Partners, by the way)—allows media professionals to quickly locate footage by searching for combinations of tags. For example, “red car”, will return not only a list of video files containing red cars, but also the timecodes pinpointing the appearance of the red car in each clip.
San Francisco startup Twelve Labs has created a video understanding platform that allows any developer to build this kind of functionality, and more, into their app via a straightforward RESTful API.
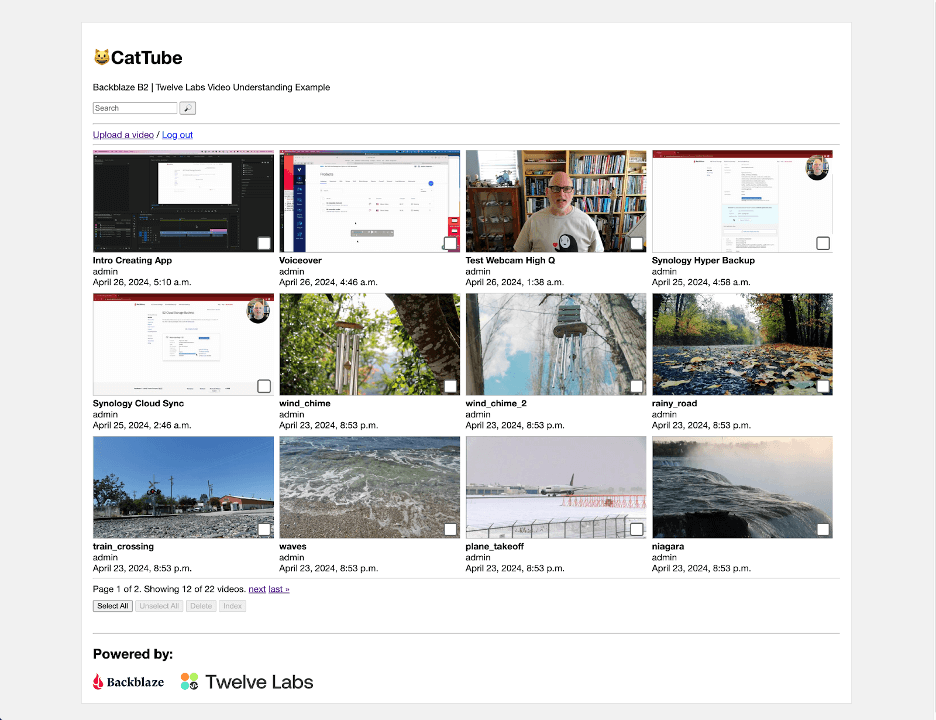
In preparation for our webinar with Twelve Labs last month, I created a web app to show how to integrate Twelve Labs with Backblaze B2 for storing video. The complete sample app is available as open source at GitHub; in this blog post, I’ll provide a brief description of the Twelve Labs platform, explain how presigned URLs allow temporary access to files in a private bucket, and then share the key elements of the sample app. If you just want a high level understanding of the integration, read on, and feel free to skip the technical details!
The Twelve Labs Video Understanding Platform
The core of the Twelve Labs platform is a foundation model that operates across the visual, audio, and text modes of video content, allowing multimodal video understanding. When you submit a video using the Twelve Labs Task API, the platform generates a compact numerical representation of the video content, termed an embedding, that identifies entities, actions, patterns, movements, objects, scenes, other elements of the video, and their interrelationships. The embedding contains everything the Twelve Labs platform needs to do its work—after the initial scan, the platform no longer needs access to the original video content. As each video is scanned into the platform, its embedding is added to an index, so this scanning process is often referred to as indexing.
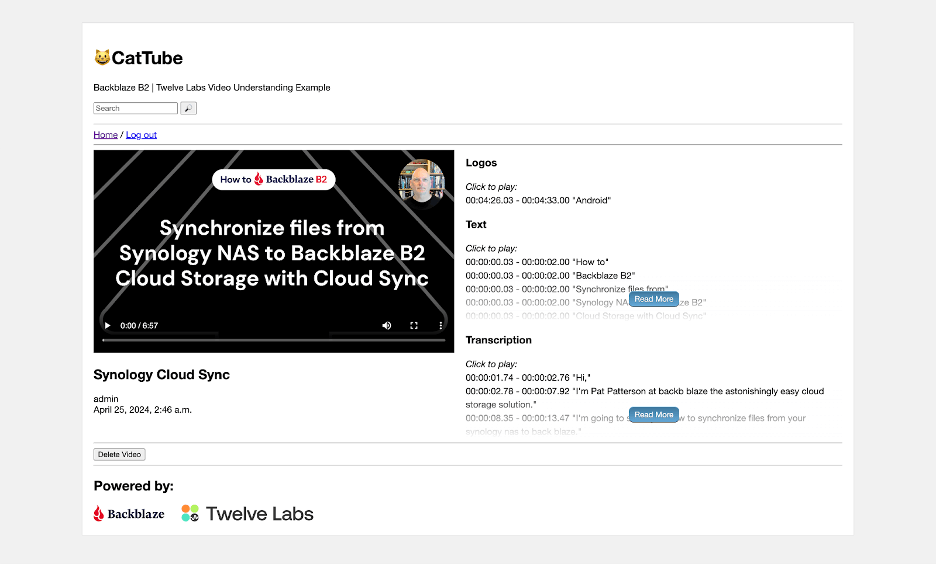
As part of the indexing process, the platform extracts a standard set of data from each video: a thumbnail image, a transcript of any spoken content, any text that appears on screen, and a list of brand logos, all annotated with timecodes locating them on the video’s timeline, and all accessible via the Twelve Labs Index API.
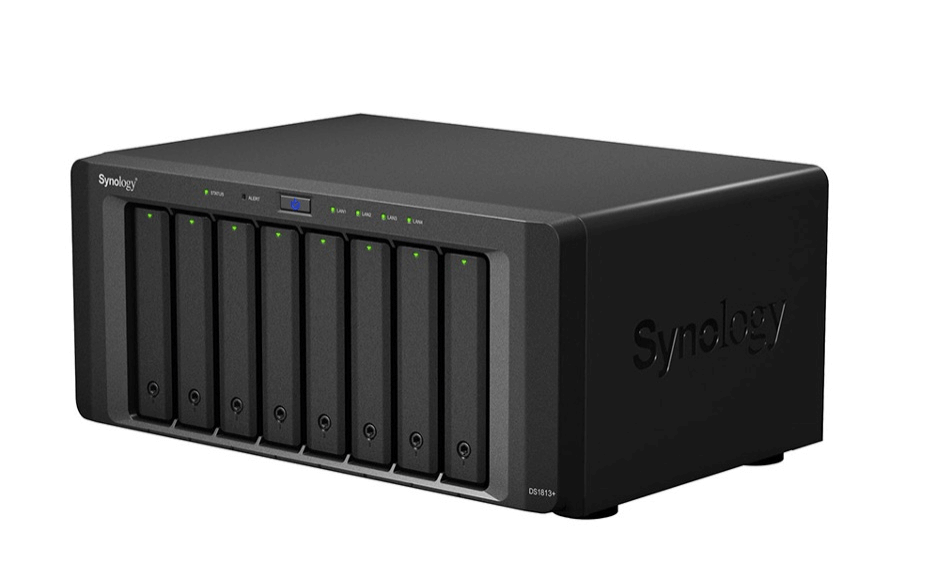
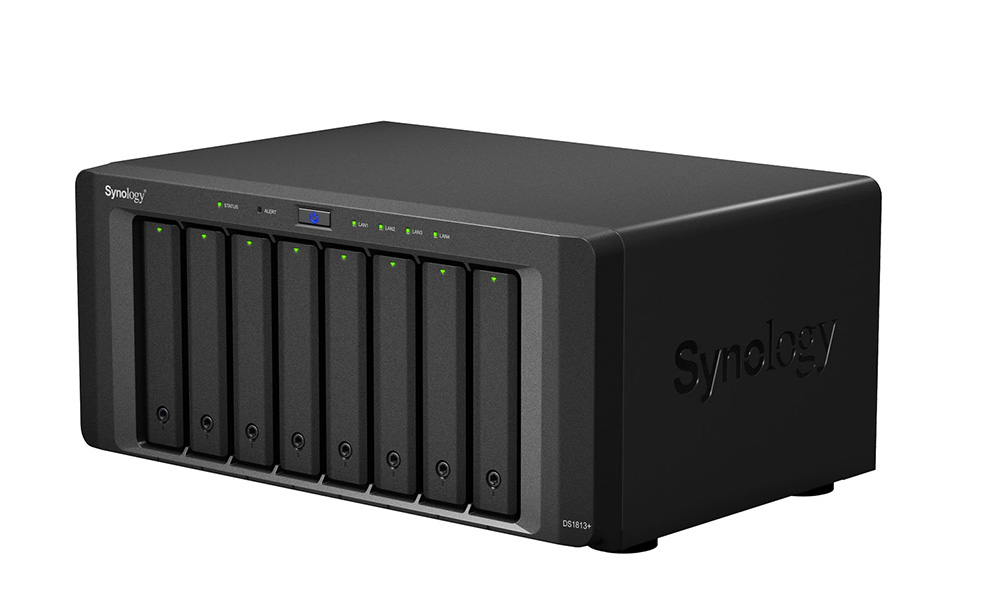
You can have the platform create a title and summary, and even prompt the model to describe the video, via Twelve Labs’ Generate API. For example, I indexed an eight-minute video that explains how to back up a Synology NAS to Backblaze B2, then prompted the Generate API, “What are the two Synology applications mentioned in the video?” This was the first sentence of the resulting text:
The two Synology applications mentioned throughout the video are “Synology Hyper Backup” and “Synology Cloud Sync.”
The remainder of the response is a brief summary of the two applications and how they differ; here’s the full text. Although it does have that “AI flavor” as you read it, it’s clear and accurate. I must admit, I was quite impressed!
You can define a taxonomy for your videos via the Classify API. Submit a one- or two-level classification schema and a set of video IDs, and the platform will assign each video to a category.
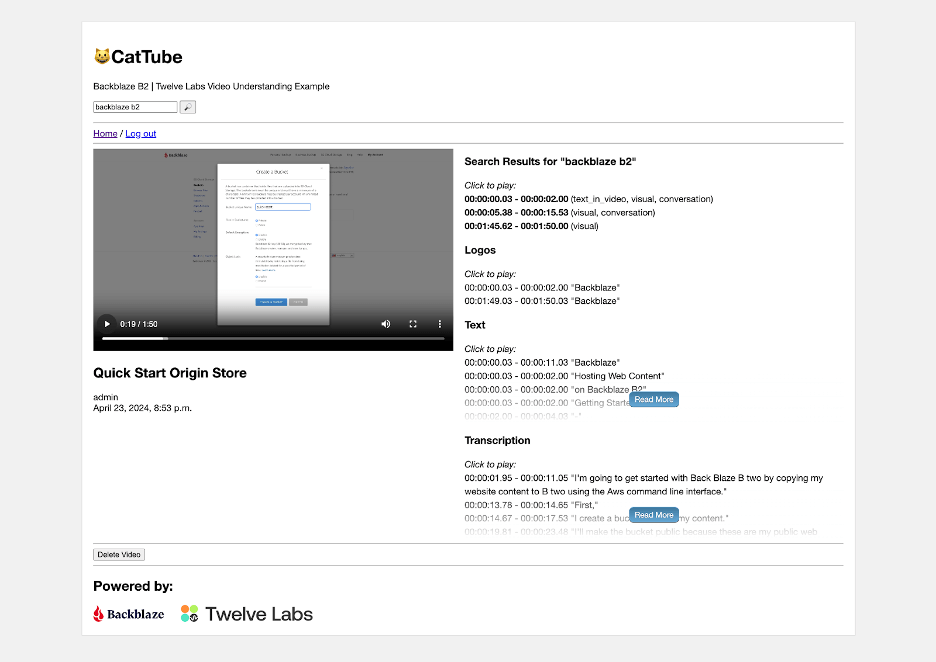
Rounding up this quick tour of the Twelve Labs platform, the Search API, as its name suggests, allows you to search the indexed videos. As well as a search query, you must specify a set of content sources: any combination of visual, conversation, text in video, or logos. Each search result includes timecodes for its start and end.
Now you understand the basic capabilities of the Twelve Labs platform, let’s look at how you can integrate it with Backblaze B2.
Allowing Temporary Access to Files in a Private Backblaze B2 Bucket
A key feature of the sample app is that it uploads videos to a private Backblaze B2 Bucket, where they are only accessible to authorized users. Twelve Labs’ API allows you to submit a video for indexing by POSTing a JSON payload including the video’s URL to its Task API. This is straightforward for video files in a public bucket, but how do we allow the Twelve Labs platform to read files from a private bucket?
One way would be to create an application key with capabilities to read files from the private bucket and share it with the Twelve Labs platform. The main drawback to this approach is that the platform currently lacks the ability to sign requests for files from a private bucket.
Since Twelve Labs only needs to read the video file when we submit it for indexing, we can send it a presigned URL for the video file. As well as the usual Backblaze B2 endpoint, bucket name, and object key (path and filename), a presigned URL includes query parameters containing data such as the time when the URL was created, its validity period in seconds, an application key ID (or access key ID, in S3 terminology), and a signature created with the corresponding application key (secret access key). Here’s an example, with line breaks added for clarity:
https://s3.us-west-004.backblazeb2.com/mybucket/image.jpeg
?X-Amz-Algorithm=AWS4-HMAC-SHA256
&X-Amz-Credential=00415f935c00000000aa%2F20240423%2Fus-west-004%2Fs3%2Faws4_request
&X-Amz-Date=20240423T222652Z
&X-Amz-Expires=3600
&X-Amz-SignedHeaders=host
&X-Amz-Signature=23ade1...3ca1eb
This URL was created at 22:26:52 UTC on 04/23/2024, and was valid for one hour (3600 seconds). The signature is 64 hex characters. Changing any part of the URL, for example, the X-Amz-Date parameter, invalidates the signature, resulting in an HTTP 403 Forbidden error when you try to use it, with a corresponding message in the response payload:
<?xml version="1.0" encoding="UTF-8" standalone="yes"?>
<Error>
    <Code>SignatureDoesNotMatch</Code>
    <Message>Signature validation failed</Message>
</Error>
Attempting to use the presigned URL after it expires yields HTTP 401 Unauthorized with a message such as:
<?xml version="1.0" encoding="UTF-8" standalone="yes"?>
<Error>
    <Code>UnauthorizedAccess</Code>
    <Message>Request has expired given timestamp: '20240423T222652Z' and expiration: 3600</Message>
</Error>
You can create presigned URLs with any of the AWS SDKs or the AWS CLI. For example, with the CLI:
% aws s3 presign s3://mybucket/image.jpeg --expires-in 600
https://s3.us-west-004.backblazeb2.com/mybucket/image.jpeg?X-Amz...
Presigned URLs are useful whenever you want to provide temporary access to a file in a private bucket without having to share an application key for a client app to sign the request itself. The sample app also uses them when rendering HTML web pages. For example, all of the thumbnail images are retrieved by the user’s browser via presigned URLs.
Note that presigned URLs are a feature of Backblaze B2’s S3 Compatible API. Creating a presigned URL is an offline operation and does not consume any API calls. We recommend you use presigned URLs rather than the b2_get_download_authorization B2 Native API operation, since the latter is a class C API call.
Inside the Backblaze B2 + Twelve Labs Media Asset Management Example
The sample app is written in Python, using JavaScript for its front end, the Django web framework for its backend, the Huey task queue for managing long-running tasks, and the Twelve Labs Python SDK to interact with the Twelve Labs platform. A simple web UI allows the user to upload videos to the private bucket, browse uploaded videos, submit them for indexing, view the resulting transcription, logos, etc., and search the indexed videos.
Most of the application code is concerned with rendering the web UI; very little code is required to interact with Twelve Labs.
Configuration
The Django settings.py file defines a constant for the Twelve Labs index ID and creates an SDK client object using the Twelve Labs API key. Note that the app reads the index ID and API key from environment variables, rather than including the values in the source code. Externalizing the index ID as an environment variable allows more flexibility in deployment while, of course, you should never include secrets such as passwords or API keys in source code!
TWELVE_LABS_INDEX_ID = os.environ['TWELVE_LABS_INDEX_ID']
TWELVE_LABS_CLIENT = TwelveLabs(api_key=os.environ['TWELVE_LABS_API_KEY'])
Startup
When the web application starts, it validates the index ID and API key by retrieving details of the index. This is the relevant code, in apps.py:
index = TWELVE_LABS_CLIENT.index.retrieve(TWELVE_LABS_INDEX_ID)
If this API call fails, then the app prints a suitable diagnostic message identifying the issue.
Indexing
When a web application needs to perform an action that takes more than a few seconds to complete—for example—indexing a set of videos, it typically starts a background task to do the work, and returns an appropriate response to the user. The sample app follows this pattern: when the user selects one or more videos and hits the Index button, the web app starts a Huey task, do_video_indexing(), passing the IDs of the selected videos, and returns the IDs to the JavaScript front end. The front end can then show that the indexing tasks have started, and poll for their current status.
Here’s the code, in tasks.py, for submitting the videos for indexing.
# Create a task for each video we want to index
for video_task in video_tasks:
    task = TWELVE_LABS_CLIENT.task.create(
        TWELVE_LABS_INDEX_ID,
        url=default_storage.url(video_task['video']),
        disable_video_stream=True
    )
    print(f'Created task: {task}')
    video_task['task_id'] = task.id
Notice the call to default_storage.url(). This function, implemented by the django-storages library, takes as its argument the path to the video file, returning the presigned URL. The default expiry period is one hour.
Once the videos have been submitted, do_video_indexing() polls for the status of each indexing task until all are complete. Most of the code is concerned with minimizing the number of calls to the API, and saving status to the app’s database; getting the status of a task is simple:
task = TWELVE_LABS_CLIENT.task.retrieve(video_task['task_id'])
The task object’s status attribute is a string with a value such as validating, indexing, or ready. When the task reaches the ready status, the task object also includes a video_id attribute, uniquely identifying the video within the Twelve Labs platform. At this point, do_video_indexing() calls a helper function that retrieves the thumbnail, transcript, text, and logos and stores them in Backblaze B2.
Retrieving Video Data
Here’s the call to retrieve the thumbnail:
thumbnail_url = TWELVE_LABS_CLIENT.index.video.thumbnail(TWELVE_LABS_INDEX_ID, video.video_id)
The helper function creates a path for the thumbnail file from the video ID and the file extension in the returned URL, and saves the thumbnail to Backblaze B2:
default_storage.save(thumbnail_path, urlopen(thumbnail_url))
Again, django-storages is doing the heavy lifting. We use urlopen(), from the urllib.request module, to open the thumbnail URL, providing default_storage.save() with a file-like object from which it can read the thumbnail data.
The calls to retrieve transcript, text, and logo data have a slightly different form, for example:
video_data = TWELVE_LABS_CLIENT.index.video.transcription(TWELVE_LABS_INDEX_ID, video.video_id)
Each call returns a list of VideoValue objects, each VideoValue object comprising a start and end timecode (in seconds) and a value specific to the type of data; for example, a fragment of the transcription. We serialize each list to JSON and save it as a file in Backblaze B2.
When the user navigates to the detail page for a video, JavaScript reads each dataset from Backblaze B2 and renders it into the page, allowing the user to easily navigate to any of the data items.
Searching the Index
When the user enters a query and hits the search button, the backend calls the Twelve Labs Search API, passing the query text, and requesting results for all four sources of information. We set group_by to video since we want to show the results by video, and set the confidence threshold to medium to improve the relevance of the results. From VideoSearchView in views.py:
results = TWELVE_LABS_CLIENT.search.query(
    TWELVE_LABS_INDEX_ID,
    query,
    ["visual", "conversation", "text_in_video", "logo"],
    group_by="video",
    threshold="medium"
)
By default, the query() call returns a page of 10 results in result.data, so we loop through the pages using next(result) to fetch pages of search results as necessary. Each individual search result includes start and end timecodes, confidence, and the type of match (visual, conversation, text, or logo).
In the web UI, the user can click through to the results for a given video, then click an individual search result to view the matching video clip.
Getting Started with Backblaze B2 and Twelve Labs
Backblaze B2 Cloud Storage is a great choice for storing video to index with Twelve Labs; free egress each month for up to three times the amount of data you’re storing means that you can submit your entire video library to the Twelve Labs platform without worrying about data transfer charges, and unlimited free egress to our CDN partners reduces the costs of distributing video content to end users.
Click here to create a Backblaze B2 account, if you don’t already have one. Your first 10GB of storage is free, no credit card required. If you’re an enterprise that wants to run a larger proof of concept, you can always reach out to our Sales Team. You don’t need to write any code to upload video files or create presigned URLs, and you can use the Backblaze web UI to upload files up to 500MB, or any of a wide variety of tools to upload files up to 10TB, including the AWS CLI, rclone and Cyberduck. Select S3 as the protocol to be able to create presigned URLs.
Similarly, click here to sign up for Twelve Labs’ Free plan. With it, you can index up to 600 minutes of video, again, no credit card required. Python and Node.js developers can use one of the Twelve Labs SDKs, while the Twelve Labs API documentation includes code examples for a wide range of other programming languages.
The post AI Video Understanding in Your Apps with Twelve Labs and Backblaze appeared first on Backblaze Blog | Cloud Storage & Cloud Backup