Post Syndicated from Julian Wood original https://aws.amazon.com/blogs/compute/introducing-an-enhanced-local-ide-experience-for-aws-lambda-developers/
AWS Lambda is introducing an enhanced local IDE experience to simplify Lambda-based application development. The new features help developers to author, build, debug, test, and deploy Lambda applications more efficiently in their local IDE when using Visual Studio Code (VS Code).
Overview
The IDE experience is part of the AWS Toolkit for Visual Studio Code. A new guided walkthrough helps developers set up their local environment and install required tools. The toolkit includes a set of sample applications which show you how to iterate on your code locally and in the cloud. You can configure and save build settings to speed up application builds. Generate a configuration file to set up the debugging environment for VS Code to attach and launch the step-through debugger. Iterate faster by choosing to sync local application changes quickly to the cloud or perform a full application deploy. Test functions locally and in the cloud and create and share test events to speed up local and cloud testing. There are quick action buttons for build, deploy to cloud, and local or remote invoke. The toolkit integrates with AWS Infrastructure Composer, providing a visual application building experience directly from the IDE.
Using the new features
Installing the extension
To use the updated IDE experience, ensure you have the AWS Toolkit minimum version 3.31.0 installed as a VS Code Extension.

The AWS Toolkit now includes an additional section called Application Builder within the AWS extension side-bar. This allows you to view template resources and create, build, debug, and test serverless applications.

Using Application Builder for existing applications
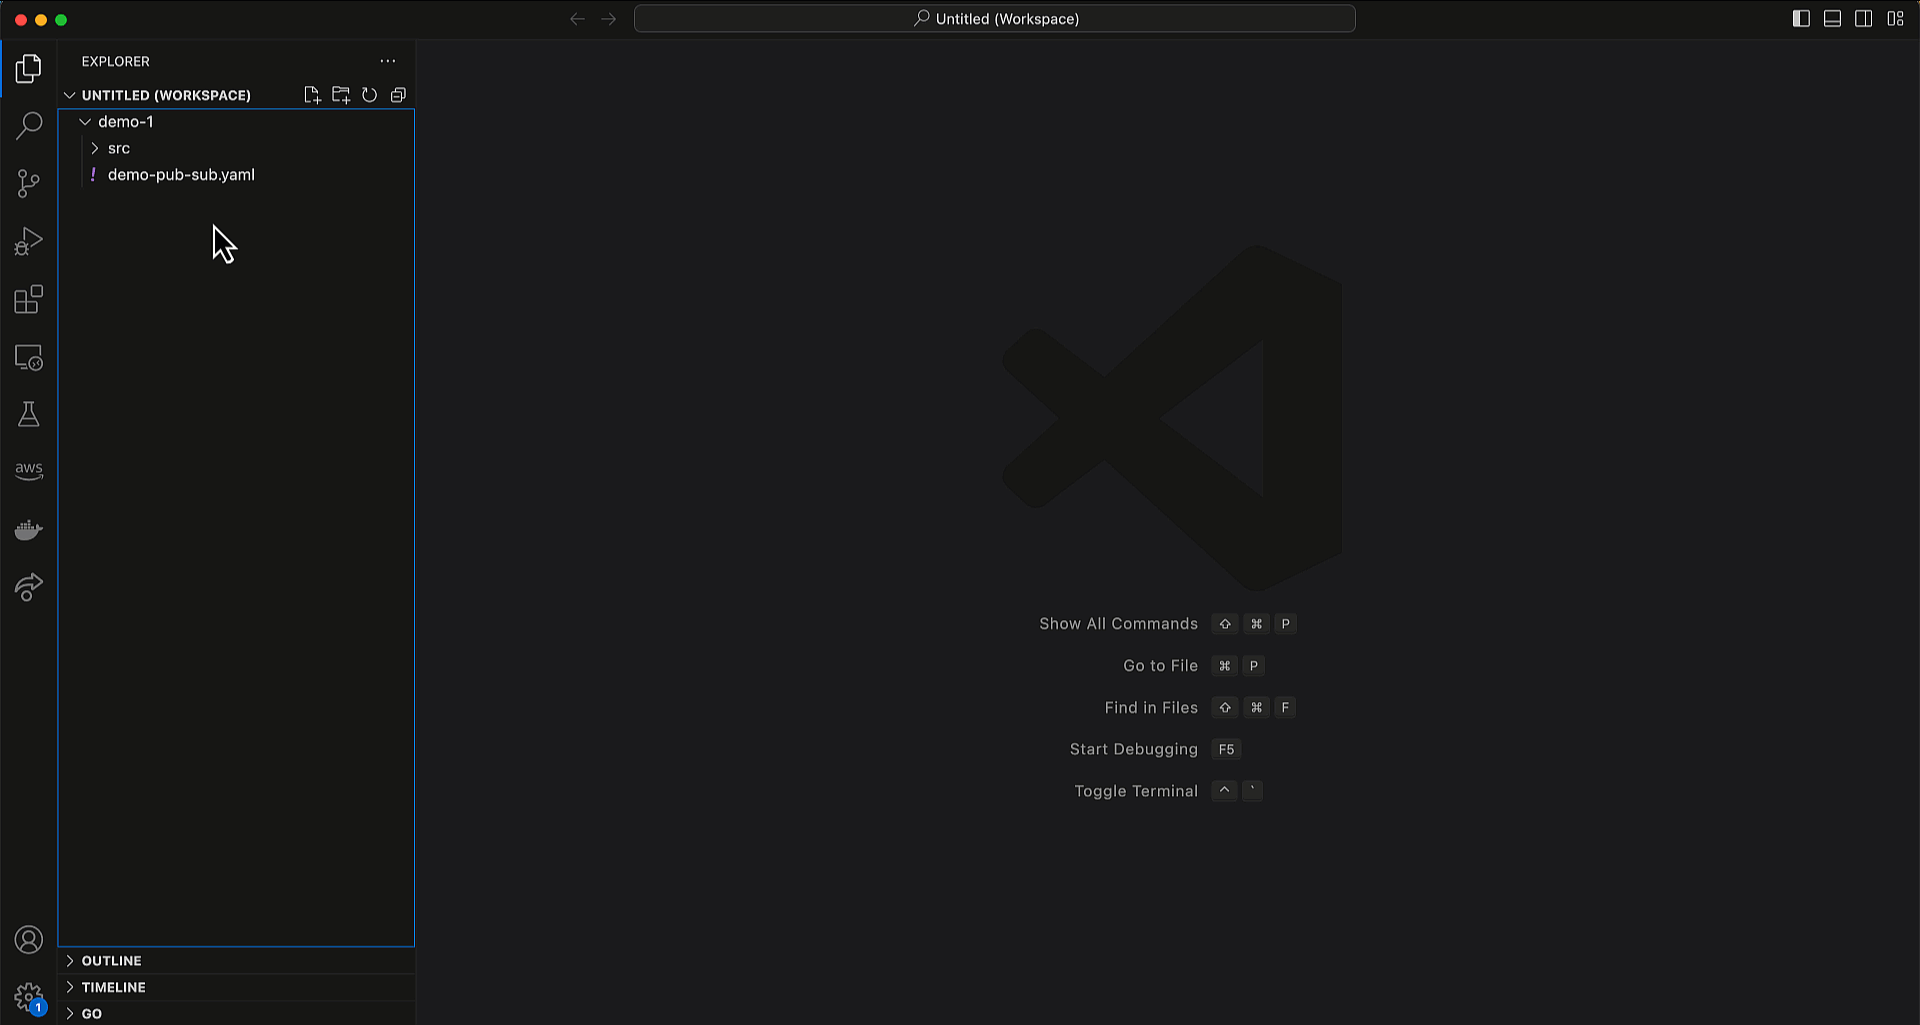
You can open an existing local application template using Open Folder.
Lambda’s enhanced in-console editing experience allows you to download existing function code and an AWS Serverless Application Model (AWS SAM) template. This allows you to start in the console and more easily move to using infrastructure as code, which is a serverless best practice.
Using the guided walkthrough
The guided walkthrough helps you install dependencies, select an application template, and explains how to use Application Builder to iterate locally and deploy to the cloud.
- Choose Open Walkthrough which opens the walkthrough.
- Complete installation takes you through a wizard to install required dependencies and select application templates.
- Select Choose your application template, which allows you to create example applications in VS Code.
- The Iterate locally tile provides guidance on how to use Application Builder to build and invoke the function, and how to view the results.
- Deploy to the cloud provides a link to Configure credentials and explains how to deploy your function to the cloud, remote invoke from your IDE, and view the results.

The wizard provides download links to install the three dependencies:
If you have installed the dependencies, selecting the links recognizes the installations.


Creating an application from the samples
The following steps show how to create a function locally from an included template. You build the code artifact, locally test and debug, deploy, and remotely invoke and view results and logs, all without leaving your IDE.
- Navigate back to Choose your application template.
- New template with visual builder allows you to use Infrastructure Composer to create a new application using a visual canvas.
- See more application examples provides additional sample applications across a number of managed runtimes.

There are also two specific example applications to explore Lambda functionality.
- Rest API: Learn how to build a synchronous Lambda function behind an API.
- File processing.: Learn how to build an asynchronous Amazon S3 file processing application.
Building a synchronous Rest API application
- Select Rest API and chose Initialize your project.
- Select a language runtime. Select Python for this example.
- Open the file explorer, create a folder to download the example application and choose Create Project.
- The icons provide shortcuts to view, build, and deploy the application.
- You can also use the Command Pallete to initiate the AWS SAM commands.
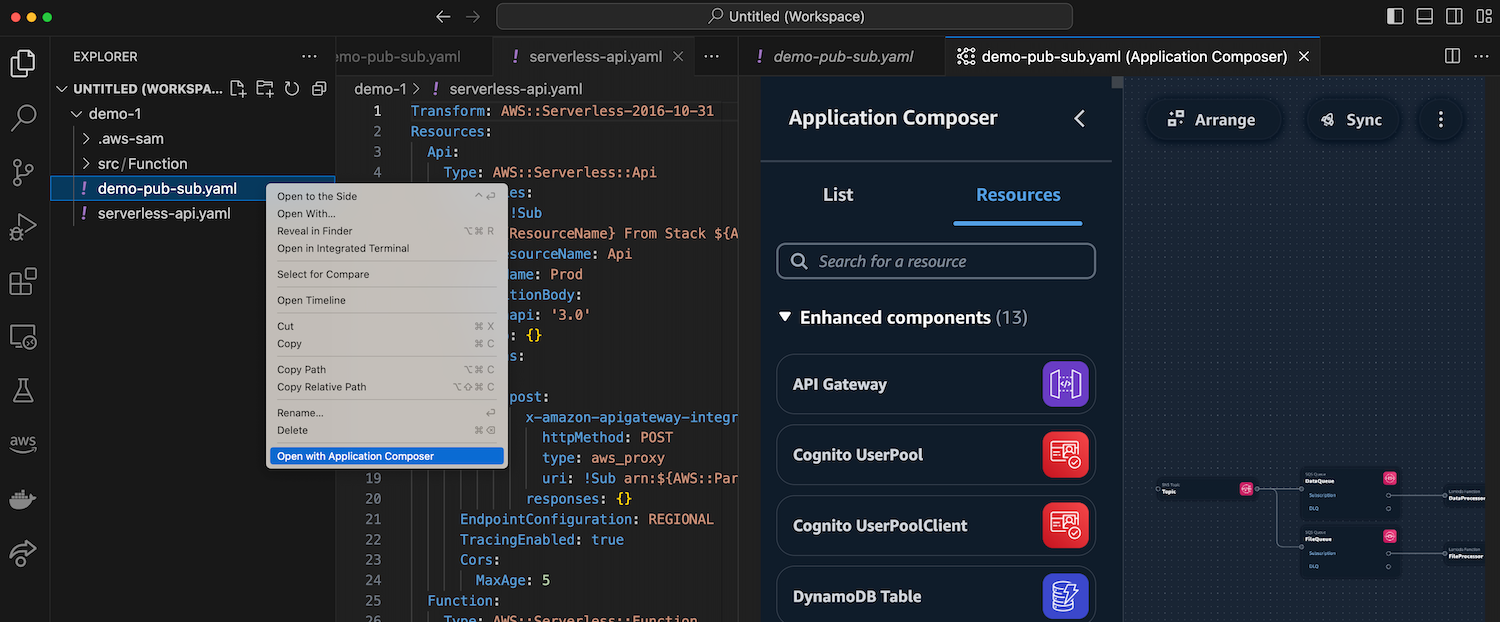
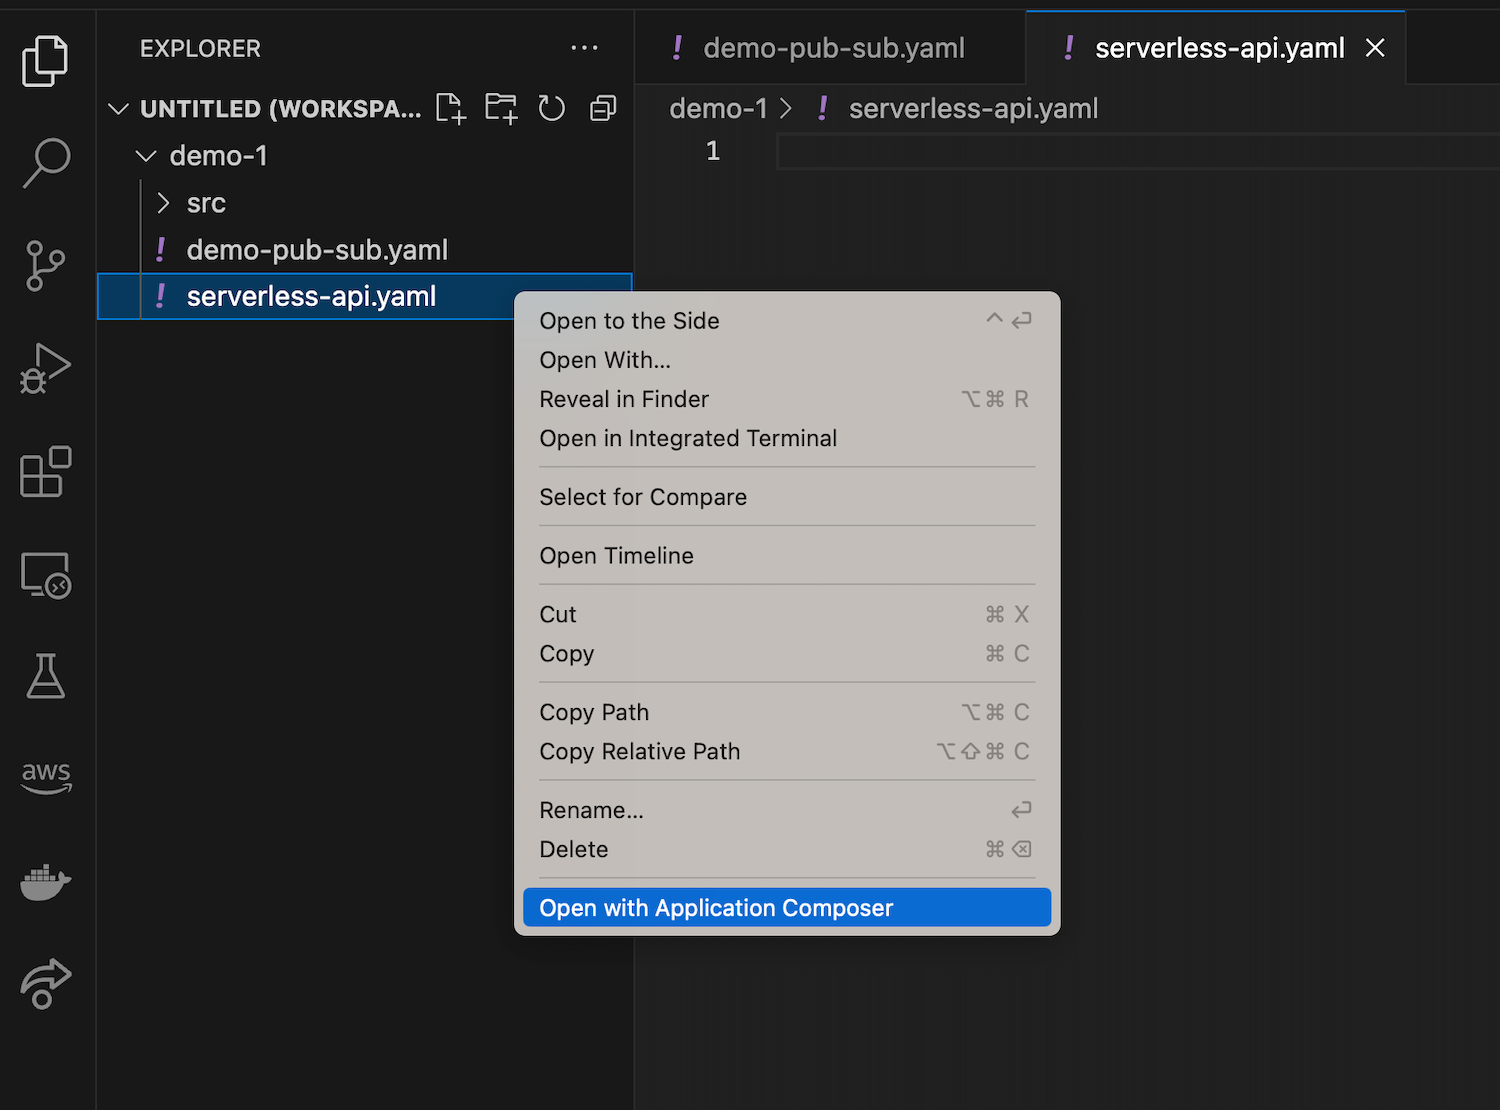
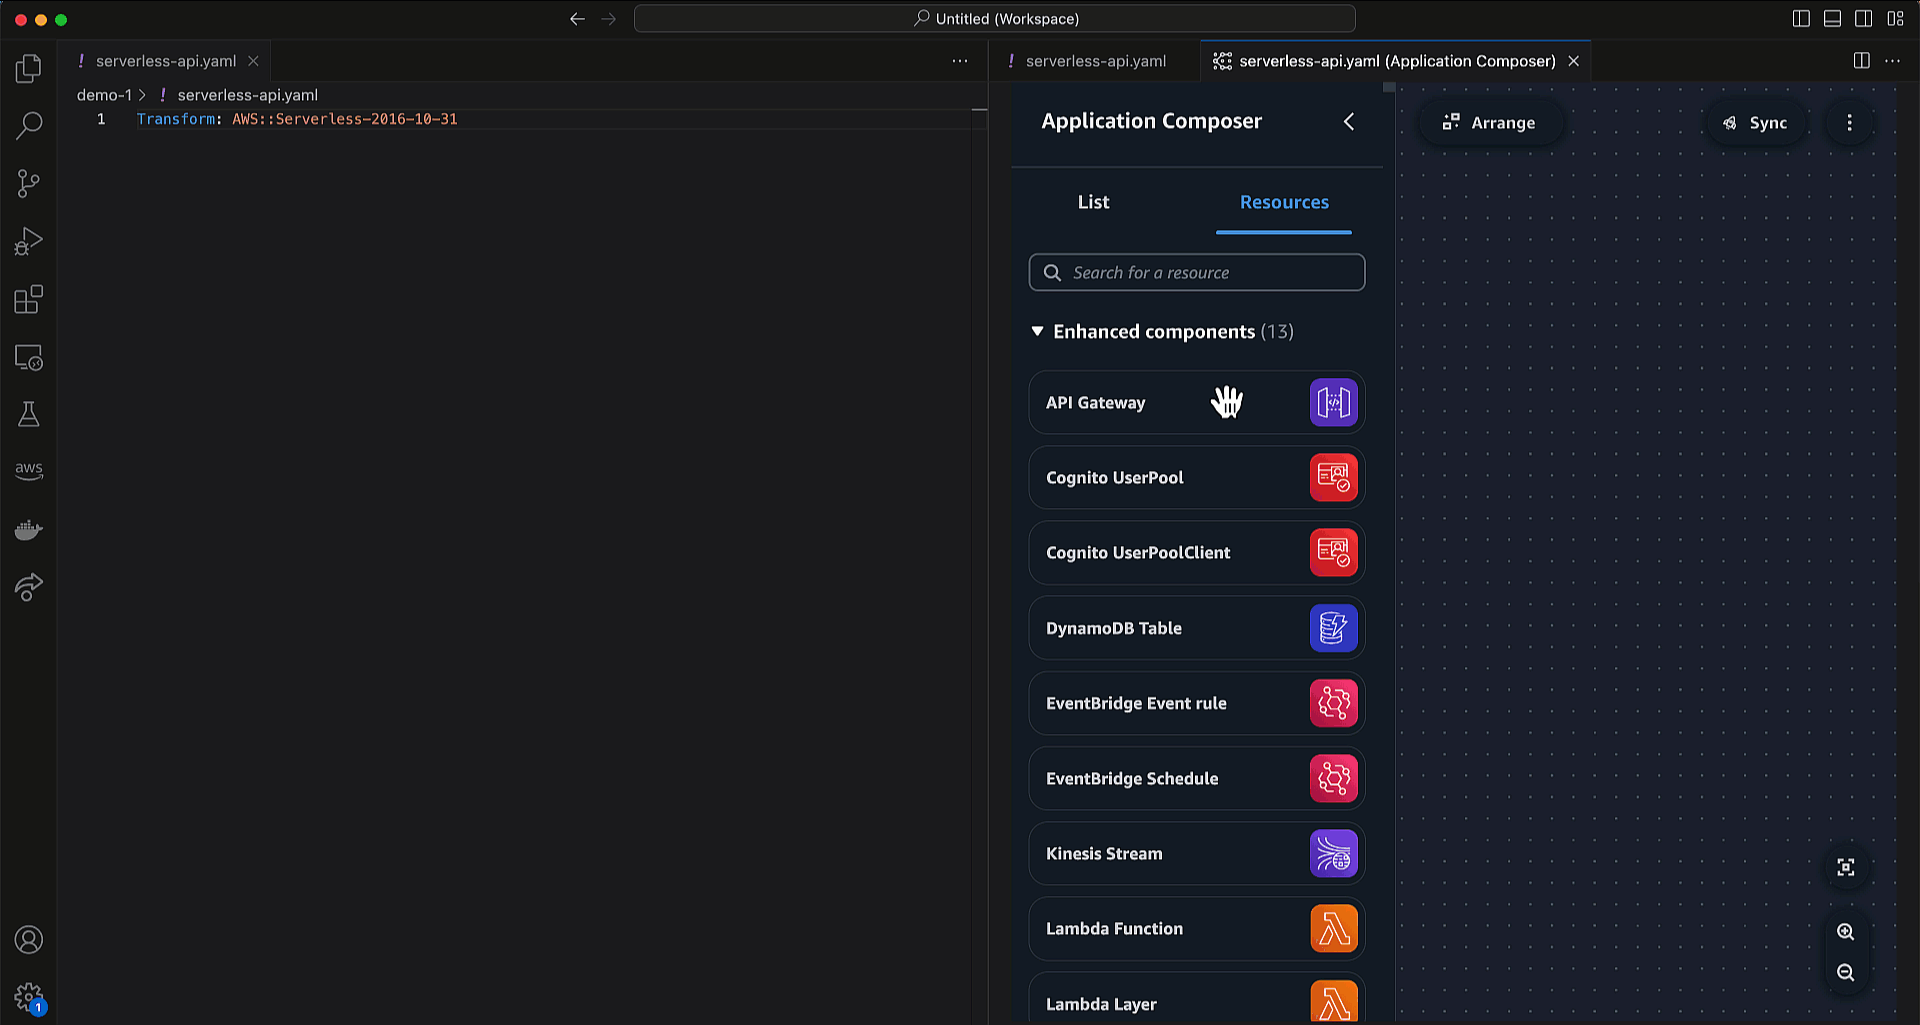
- Selecting the Open Template File icon opens the AWS SAM template in Infrastructure Composer.
- View the application resources and select Details to edit the template using the visual canvas.
- Navigate to the function resource and select Open Function Handler to show the function code.
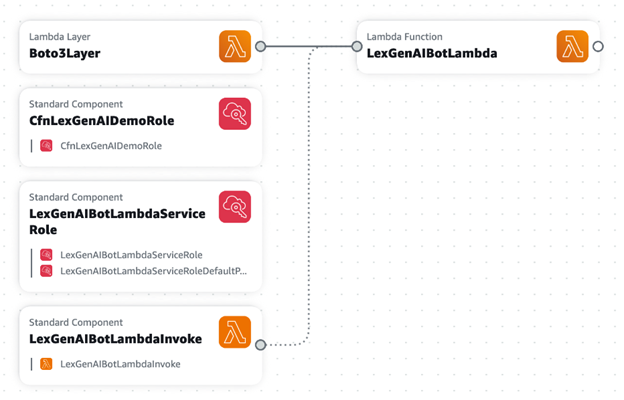
Application Builder downloads the application. This includes the function code hello_world\app.py, with dependencies in requirements.txt, an AWS SAM template, template.yaml file, and an example event trigger, event.json. A README.md file explains the application structure and provides build and deploy instructions.

The Application Builder section populates with the template resources.
![]()

![]()


Building the application
The build step helps you build artifacts from the files in your application project directory.
- Select the Build SAM template icon.
- Specify build flags allows you to configure AWS SAM builds settings.
- Select build settings particular to your configuration. Cached and parallel are useful to speed up future builds. Use container builds your function in a Lambda-like container. This allows you to build applications without having the language runtime and build tools installed locally.
- Save parameters adds the default build options in
samconfig.toml. - Press any key to close the additional terminal.


version = 0.1
[default.build.parameters]
template_file = "c:\\Code\\lambda-dx\\Rest-API\\template.yaml"
cached = true
parallel = true
use_container = true
AWS SAM builds the application. It downloads the build container image, installs the dependencies, and copies the function code.

Iterate locally: invoke and debug
You can locally invoke and debug your serverless application before uploading it to the cloud. This helps you to test the logic of your function faster. Step-through debugging allows you to identify and fix issues in your application one instruction at a time in your local environment.
Local invoke
- In the Application Builder section, navigate to the function and select Local Invoke and Debug Configuration.
- This brings up another window which allows you to configure how to invoke the function locally and set up a debug configuration.
- You can create sample event payloads to test your function. Select an event provides a list of common trigger event payloads you can use and customize.
- Select Local file and choose the
events\event.jsonfile. - Select the Invoke button.
- View the function output within the IDE Output pane.

Initiating Local Invoke and Debug Configuration
Viewing Local Invoke and Debug Configuration Options

Selecting an example event template
This example application has an included sample event.
This builds the application and locally invokes the function within a Lambda emulation environment, using the event input file.

Viewing function output
Local debugging
You can also debug the function locally using VS Code’s built-in debugger.
- Add a breakpoint to the function code.
- Select the Invoke button again.
- The debugger stops at the breakpoint and you can view the function variables and call stack.
- Use the VS Code debugger icons to step through the code.
- In the Local Invoke and Debug Configuration panel. Chose Save Debug Config.
- Choose Add Local Invoke and Debug Configuration.
- Enter a debug configuration name which creates a
launch.jsonfile and adds the debug configuration. - Once you save the debug configuration, you can use VS Code’s Run and Debug panel and select which debug configuration to run.

Adding a breakpoint to the function code
This locally invokes the function and attaches a debugger to the Lambda emulation environment.

Viewing step through debugging
Using VS Code debugger icons to step through the code.

Saving debug configuration

Naming debug configuration
You can create and save multiple debug configurations for different scenarios. See the AWS SAM documentation for more launch.json configuration options.

Using the Run and Debug panel
Deploying the application
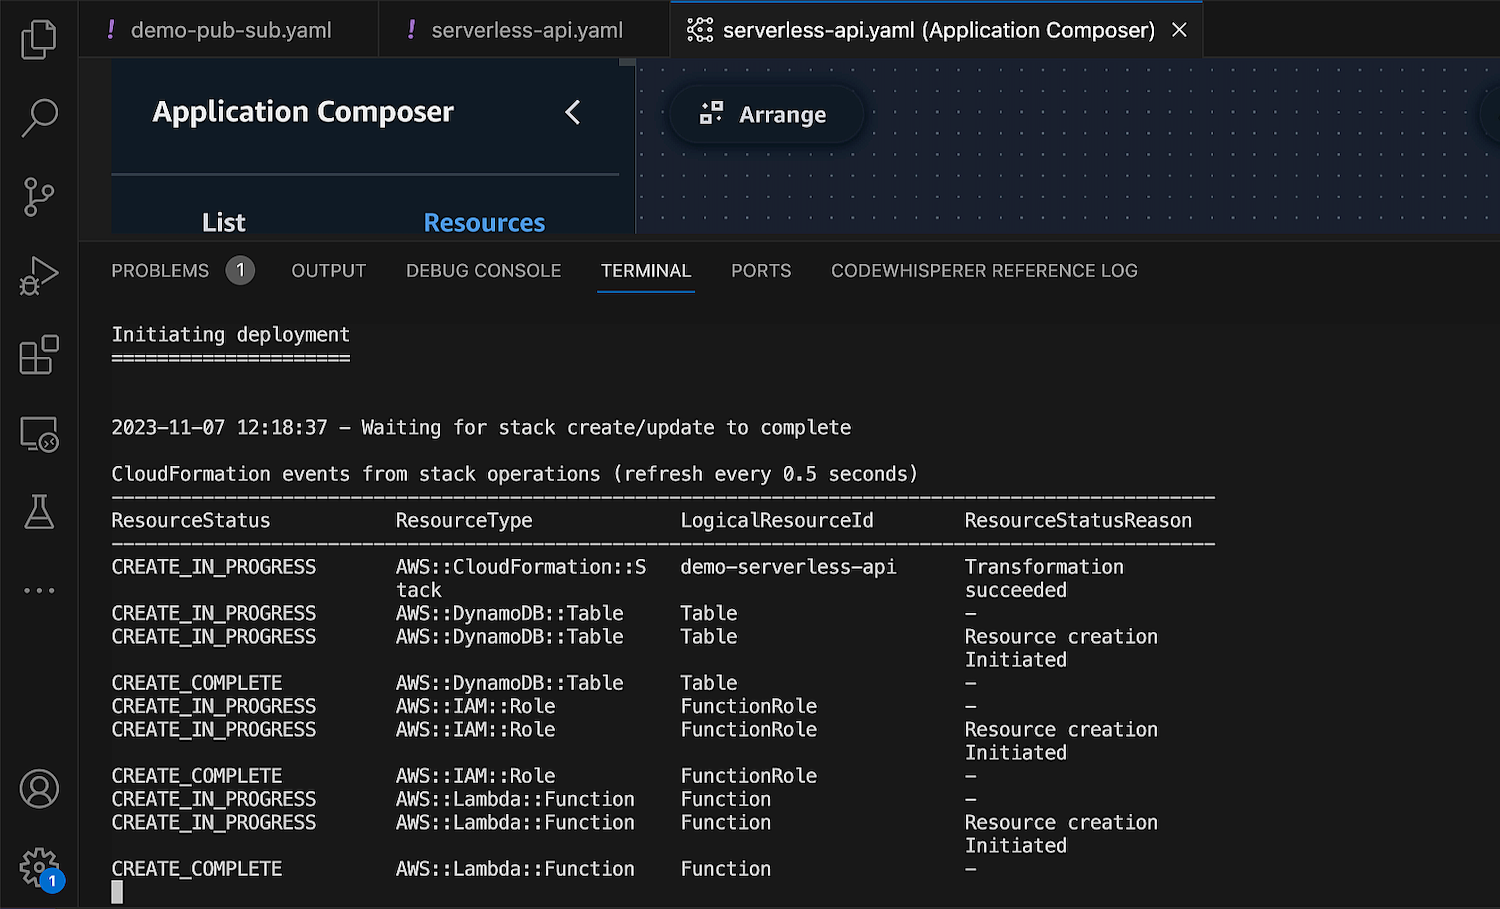
- Navigate to the Application Builder section and chose the Deploy SAM Application icon.
- Sync uses AWS SAM sync to perform an initial CloudFormation deploy and then allows for quick syncing of your application code, which allows for rapid prototyping. Use this for development environments only, as it doesn’t do a full CloudFormation deploy on code changes.
- Deploy does a full CloudFormation deploy, which is preferred for non-quick development environments.
- Select Sync.
- Select Specify required parameters and save as defaults.
- Select a Region to deploy the stack and enter a stack name. It is good practice to specify that this is a dev stack to avoid confusion when using the Deploy option.
- Select an existing S3 bucket to store the artifacts, or create a new one.
- Specify the Sync parameters. Ensure you select Watch as this automatically watches for code changes and quickly syncs code changes to the Lambda service
- AWS SAM sync does an initial CloudFormation deploy to build the resources and then waits for code changes.
- Make a change to the handler file code and save the file,
- This performs a quick sync which reduces the time to test in the cloud.
- You can use the Deploy option to deploy a non-quick sync test version, amending the stack name to differentiate it from the dev stack.
Selecting Deploy SAM Application icon
AWS SAM provides two deployment options:

Viewing AWS SAM deployment options

Specifying SAM sync parameters

Entering dev stack name

Selecting S3 bucket

Setting sync parameters

Amending code

Quickly syncing code

Naming test version stack
Remote invoke
You can invoke the function in the cloud from your IDE. This allows you to test functionality without having to mock security, external services, or other environment variables.
Once the application is deployed, Application Builder detects changes to samconfig.toml and template.yaml, it updates the resources list with the cloud resources.

Viewing cloud resources
- You can browse directly to the CloudFormation stack to view resources.
- Selecting the function provides quick link functionality, which includes function details and a link directly to the Lambda console for the function.
- Select Invoke in cloud.
- Select the same local event file for the local invoke.
- Choose Remote Invoke.
- Name and save the local event file as a remote event which becomes available in the Lambda console.

Browsing to CloudFormation stack

Viewing function quick link options

Selecting local file for remote invoke
The function invokes in the cloud using the local test event and displays the remote invoke results in the local IDE Output pane.

Viewing remote invoke results

Saving remote test event
Viewing logs
You can fetch the Amazon CloudWatch Log streams generated by your Lambda function in the IDE.
- Select the Search Logs icon.
- You can optionally filter the results.
Selecting Search Logs icon

Optionally filtering log results
Conclusion
Lambda is introducing an enhanced local IDE experience to simplify the development of Lambda-based applications using the VS Code IDE and AWS Toolkit. This streamlines the code-test-deploy-debug cycle. A guided walkthrough helps set up your local development environment and provides sample applications to explore Lambda functionality. You can then build, debug, test, and deploy Lambda applications using icon shortcuts and the Command Pallette. This allows you to more easily iterate on your Lambda-based applications without switching between multiple interfaces.
For more serverless learning resources, visit Serverless Land.