Tag Archives: html

Take part in the Hour of Code

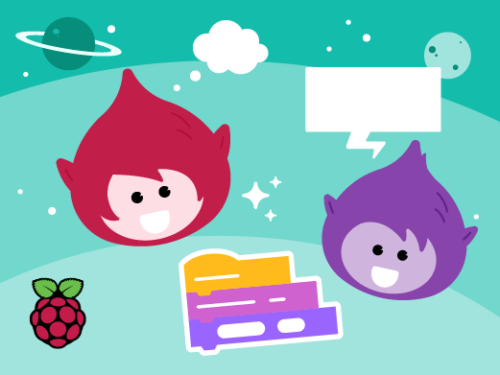
Post Syndicated from Liz Smart original https://www.raspberrypi.org/blog/hour-of-code-activities/

Launched in 2013, Hour of Code is an initiative to introduce young people to computer science using fun one-hour tutorials. To date, over 100 million young people have completed an hour of code with it. 

A girl doing a physical computing project.

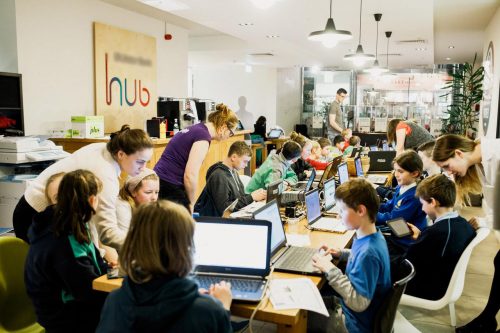
Although the Hour of Code website is accessible all year round, every December for Computer Science Education Week people worldwide run their own Hour of Code events. Each year we love seeing many Code Clubs, CoderDojos, and young people at home across the community complete their Hour of Code. You can register your 2022 Hour of Code event now to run between 5 and 11 December. 

To support your event, we have pulled together a bumper set of our free coding projects, which can each be completed in just one hour. You will find these activities on the Hour of Code website.

Two young digital makers using Raspberry Pi

There’s something for all ages and levels of experience, so put an hour aside and help young people make something fabulous with code:

Ages 7–11

Beginner

For younger creators new to coding, a Scratch project is a great place to start. 

alt=""

With our Space talk project, they can create a space scene with characters that ‘emote’ to share their thoughts or feelings using sounds, colours, and actions. Creators program the character emotes using Scratch blocks to control graphic effects, costume animation, and sound effects. 

Alternatively, our Stress ball project lets them code an onscreen stress ball that reacts to user clicks. Creators use the Paint and Sound editors in Scratch to personalise a clickable stress ball, and they add Scratch blocks to control graphic effects, costume animation, and sound effects. 

We love this fun stress ball example sent to us recently by young creator April from the United States:

Another great option is to use Code Club World, which is a free tool to help children who are new to coding.  

Creators can develop a character avatar, design a T-shirt, make some music, and more.

Comfortable

For 7- to 11-year-olds who are more comfortable with block-based coding, our project Broadcasting spells is ideal to choose. With the project, they connect Scratch blocks to code a wand that casts spells turning sprites into toads, and growing and shrinking them. Creators use broadcast blocks to transform multiple sprites at once, and they create sound effects with the Sound editor in Scratch. 

alt=""

Ages 11–14

Beginner

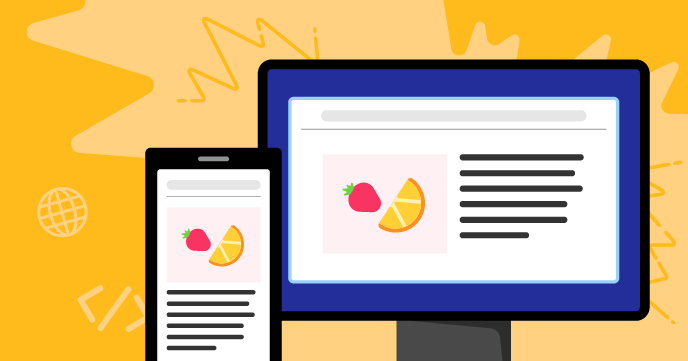
We have three exciting projects for trying text-based coding during Hour of Code in this category. The first, Anime expressions, is one of our brand-new ‘Introduction to web development’ projects. With this project, young people create a responsive webpage with text and images for an anime drawing tutorial. They write HTML to structure the webpage and CSS styles to apply layout, colour palettes, and fonts. 

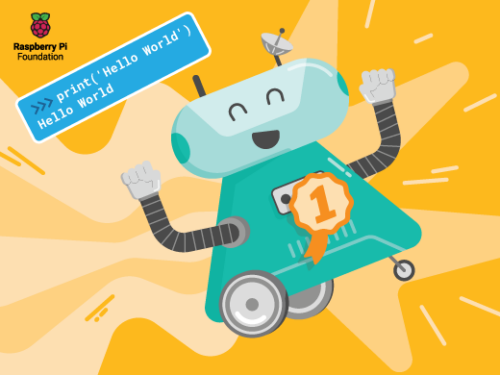
For a great introduction to coding with Python, we have the project Hello world from our ‘Introduction to Python’ path. With this project, creators write Python text-based code to create an interactive program that shows text and emojis based on user input. They learn about variables as they use them to store text and numbers, and they learn about writing functions to organise code and do calculations, retrieve the current date and time, and make a customisable dice. 

alt=""

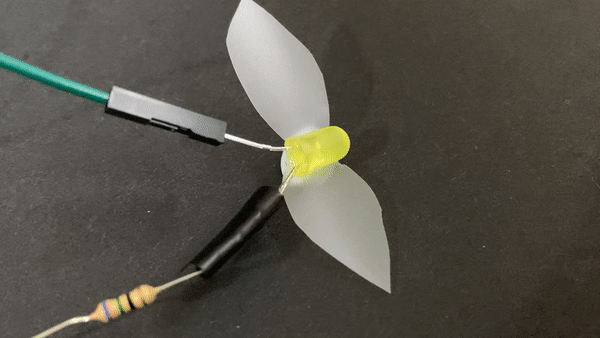
LED firefly is a fantastic physical making project in which young people use a Raspberry Pi Pico microcontroller and basic electronic components to create a blinking LED firefly. They program the LED’s light patterns with MicroPython code and activate it via a switch they make themselves using jumper wires.

A blinking LED with paper wings.

Comfortable

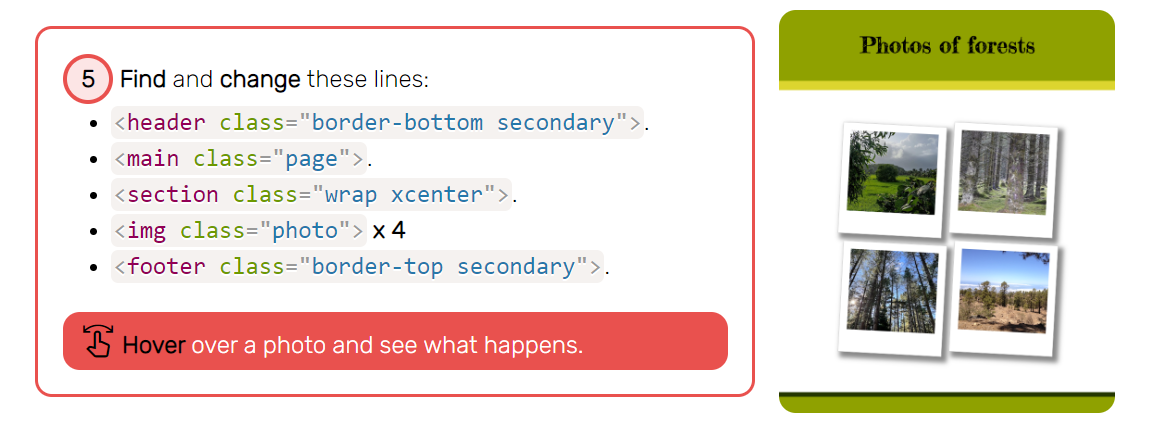
For 11- to 14-year-olds who are already comfortable with HTML, the Flip treat webcards project is a fun option. With this, they create a webpage showing a set of cards that flip when a visitor’s mouse pointer hovers over them. Creators use CSS styling and animations to add interactivity, then they customise the cards with fancy fonts and colour gradients.

Young people who have already done some Python coding can try out our project Target practice. With this project they create a game, using the p5 graphics library to draw a colourful target, and writing code so that the player scores points by hitting the target’s rings with arrows. While they create the project, they learn about RGB colours, shape positioning with x and y coordinates, and decisions using if, else-if, and else code statements. 

Ages 14+

Beginner

Our project Charting champions is a great introduction to data visualisation and analysis for coders aged 15 and older. With the project, they will discover the power of the Python programming language as they store Olympic medal data in lists and use the pygal library to create an interactive chart.

alt=""

Comfortable

Teenage coders who feel comfortable with Python programming can use our project Solar system simulator to code an animated, interactive solar system model using the Python p5 graphics library. Their model will be interactive, as they’ll use dictionaries to store planet facts that display when a user clicks on an orbiting planet.

Coding for Hour of Code and beyond

Now is the time to register your Hour of Code event, then decide which project you’d like to support young people to create. You can download certificates for each of the creators from the Hour of Code certificates page.

And make sure to check out our project paths so you know what projects you can help the young people you support to code beyond this one hour of code. 

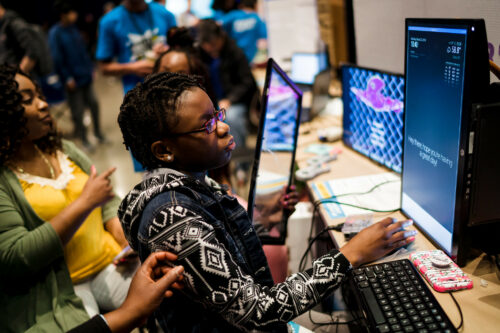
We don’t just create activities so that other people can experience coding and digital making — we also get involved ourselves!

Two members of the Code Club working at computers.

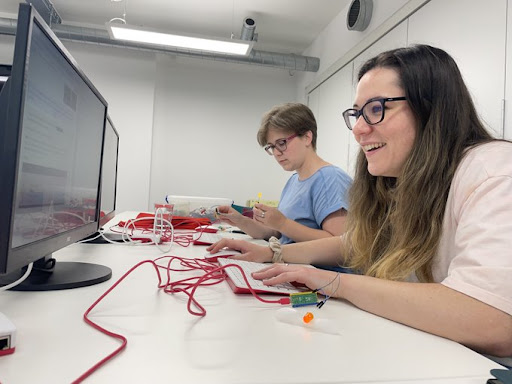
Recently, our teams who support the Code Club and CoderDojo networks got together to make LED fireflies. We are excited to get coding again as part of Hour of Code and Computer Science Education Week.

The post Take part in the Hour of Code appeared first on Raspberry Pi.

Get kids creating webpages with HTML and CSS

Post Syndicated from Rik Cross original https://www.raspberrypi.org/blog/learning-html-and-css/

With our new free ‘Introduction to web development’ path, young people are able to learn HTML and create their own webpages on topics that matter to them. The path is made up of six projects that show children and teenagers how to structure pages using HTML, and style them using CSS. 

At Coolest Projects, a young person explores a coding project.

With all the website tools available today, why learn HTML? 

Webpage creation has come a long way since the 1990s, but HTML is still the markup language that is used to display almost every page on the World Wide Web. By knowing how it works, you can deepen your understanding of the technology you use every day.

If you want to build your own website today, there are many tools to get you quickly up and running. These tools often involve dragging and dropping predefined elements and choosing from a wide collection of themed looks. Learning HTML and CSS skills is important for web designers, developers, and content creators who want to build unique webpage designs that make their content stand out.

Six webpages, each with a unique design and based on a topic important to the creator.
The path helps young people express themselves through their own webpages

With our new ‘Introduction to web development’ path, we want creators (the young people who use our projects) to be able to quickly make fantastic-looking websites that follow modern best practices, while they also learn how HTML and CSS work together to create a webpage. Creators write their own HTML to develop the content and structure of their webpages. And they customise our pre-built CSS style sheets to get their webpages to look like they imagine.

This really is a fun and unique approach to learning HTML and building a webpage, and we think young people will quickly engage with it. They start by finding out how to structure pages using HTML before applying CSS styles that bring their pages to life. Through the six projects, they build all the skills and independence they need to make webpages that matter to them. 

Accessibility first

We believe that young people should find out about website accessibility right from the start of their learning journey. That’s why the path for learning HTML shows creators how they can make their websites accessible to all their users regardless of the users’ needs or digital devices.

That’s why our new path uses semantic HTML. Older HTML tutorials might show you how to structure a webpage using tags like <div> and <span>. In contrast, the meaning and purpose of tags in semantic HTML is very clear. For example:

  • <main> is used to tag the main content for the webpage
  • <footer> is used for content to be displayed in the footer
  • <blockquote> contains a quote and typically the author of the quote
  • <section> contains a portion of content that usually sits within the main part of the webpage

Semantic HTML supports accessibility because it allows people who use a screen reader to more easily navigate a webpage and read it in a logical way. 

Another element of accessible design that the path introduces is the colour combinations used on webpages. It is really important that contrasting colours are used for the background and the text. High contrast makes the text more readable, which means the webpage is more suitable for visually impaired users. 

Good and bad examples of colour contrasting on webpages.
It’s very important to use contrasting colours on a webpage

The path also shows creators the importance of adding meaningful alternative text for images. Good alternative text helps visually impaired users, and users who have a very low bandwidth and therefore turn images off in their web browser. 

With the path, young people will learn how to design webpages that respond to the device of the user

Finally, our path for learning HTML introduces creators to the concept of responsive web design. Responsive design is helpful because websites can be viewed on thousands of different devices. Some people view pages on large, high-resolution monitors, and others view them on a mobile phone screen. We show learners how they can use HTML and CSS to make their pages responsive so they display in the way that works best for the specific screen on which a user is viewing them.

Key questions answered

Who is the ‘Intro to web development’ path for?

We have written the projects in this path with young people of around the age from 9 to 17 in mind. 

HTML and CSS are text-based markup languages. This means a young person who wants to start learning HTML needs to be familiar with typing on a keyboard. It would also be helpful to have experience of using the copy and paste function, which is useful when changing the layout of a page or copying similar pieces of code. 

Young people attending a Dojo.

If a young person is unsure whether they have the right skills to get started with the path, they can first try out a short ‘Discover’ project. With this Discover project, young people can choose between the themes ‘space’, ‘sunsets’, ‘forests’, or ‘animals’ to see how they can create their first webpage in just five steps. (We’re still working on the ‘Discover’ project type, so if you have any feedback about it, let us know.)

An example step from the Discover project, forest theme.
Young people can experiment with our Discover project to build their own webpage in just a few steps

What will young people learn with the path?

Creators will learn how to use HTML and CSS to build webpages that have:

  • Images
  • Lists
  • Quotes 
  • Links 
  • Animations
  • Imported fonts

They will also learn about how to make their webpages accessible to all through use of:

  • Semantic HTML
  • Alternative text for images
  • Colour contrast checking
  • Responsive design (means the webpage adapts to the device on which it is viewed)

How long does the path take to complete?

We’ve designed the path so young people can complete it in six one-hour sessions, with one hour for each project. Since the project instructions encourage creators to upgrade their projects, they may wish to go further and spend a little more time getting their projects exactly as they imagine them. 

A CoderDojo coding session for young people.

What software is needed to create the projects in the path?

Young people only need a standard web browser to follow the project instructions and use an online code editor to create their webpages. 

What can young people do next?

Explore our other projects for learning HTML

There are 28 other step-by-step projects for creators to choose from on our website. They can browse through these to see what cool things they’d like to make and what new skills they want to learn.

Build a webpage for Coolest Projects 

If your kid is proud of the webpage they create with the final ‘Invent’ project in the path, they can share it with a worldwide community of young creators in our free Coolest Projects tech showcase. Project registration will open again in spring 2023. You can sign up to hear news about the showcase on the Coolest Projects homepage.

Two teenage girls participating in Coolest Projects shows off their tech project.
Details about the projects in ‘Intro to web development’

The ‘Intro to web development’ path is structured according to our Digital Making Framework, with three Explore projects, two Design projects, and a final Invent project. You can also check out our learning graph to to see the progression of young people’s skills and knowledge throughout the path.

Explore project 1: Anime expressions


In the ‘Anime expressions’ project, creators build and style a webpage for an anime drawing tutorial. They learn how to use HTML tags to structure a webpage; use CSS to apply layout, colours, and fonts; and add images and text content to their page.  

Explore project 2: Top 5 emojis


With the ‘Top 5 emojis’ project, young people create a webpage displaying their top 5 list of emojis. They learn how to add emojis, create a list, use a block quote, and animate elements of the page. 

Explore project 3: Flip treat webcards


With the ‘Flip treat webcards’ project, creators make a webpage showing a flip card with a treat from around the world. They use CSS to make the card flip over when a user interacts with it. Creators also learn how to apply gradients and import fonts from Google Fonts

Design project 1: Mood board


This Design project gives creators the chance to develop the skills that they have learned in the three ‘Explore’ projects. With the ‘Mood board’ project, young people create a webpage to display a mood board for a real or imaginary project. The mood board could, for example, show ideas for a party, a fashion item, a redesign of their bedroom, or a website; or it could show reminders of all the things that make them happy. 

Design project 2: Sell me something


The ‘Sell me something’ project is another chance for creators to practise the skills that they have gained in the ‘Explore’ projects. They create a webpage to ‘sell something’ to the webpages visitors. It could be anything they like, from an object they love, to a game they like to play. 

Invent project: Build a webpage


The ‘Build a webpage’ project is the final project in the path and allows young people to independently build a webpage on any topic they’re interested in. This Invent project offers info cards to remind creators of the key skills they’ve learned with the path, and a light structure to support them through the process of making their webpage. Young people are encouraged to showcase their final webpages in the path gallery to inspire other creators. 

The post Get kids creating webpages with HTML and CSS appeared first on Raspberry Pi.

Micro-frontend Architectures on AWS

Post Syndicated from Bryant Bost original https://aws.amazon.com/blogs/architecture/micro-frontend-architectures-on-aws/

A microservice architecture is characterized by independent services that are focused on a specific business function and maintained by small, self-contained teams. Microservice architectures are used frequently for web applications developed on AWS, and for good reason. They offer many well-known benefits such as development agility, technological freedom, targeted deployments, and more. Despite the popularity of microservices, many frontend applications are still built in a monolithic style. For example, they have one large code base that interacts with all backend microservices, and is maintained by a large team of developers.

Monolith Frontend

Figure 1. Microservice backend with monolith frontend

What is a Micro-frontend?

The micro-frontend architecture introduces microservice development principles to frontend applications. In a micro-frontend architecture, development teams independently build and deploy “child” frontend applications. These applications are combined by a “parent” frontend application that acts as a container to retrieve, display, and integrate the various child applications. In this parent/child model, the user interacts with what appears to be a single application. In reality, they are interacting with several independent applications, published by different teams.

Micro Frontend

Figure 2. Microservice backend with micro-frontend

Micro-frontend Benefits

Compared to a monolith frontend, a micro-frontend offers the following benefits:

  • Independent artifacts: A core tenet of microservice development is that artifacts can be deployed independently, and this remains true for micro-frontends. In a micro-frontend architecture, teams should be able to independently deploy their frontend applications with minimal impact to other services. Those changes will be reflected by the parent application.
  • Autonomous teams: Each team is the expert in its own domain. For example, the billing service team members have specialized knowledge. This includes the data models, the business requirements, the API calls, and user interactions associated with the billing service. This knowledge allows the team to develop the billing frontend faster than a larger, less specialized team.
  • Flexible technology choices: Autonomy allows each team to make technology choices that are independent from other teams. For instance, the billing service team could develop their micro-frontend using Vue.js and the profile service team could develop their frontend using Angular.
  • Scalable development: Micro-frontend development teams are smaller and are able to operate without disrupting other teams. This allows us to quickly scale development by spinning up new teams to deliver additional frontend functionality via child applications.
  • Easier maintenance: Keeping frontend repositories small and specialized allows them to be more easily understood, and this simplifies long-term maintenance and testing. For instance, if you want to change an interaction on a monolith frontend, you must isolate the location and dependencies of the feature within the context of a large codebase. This type of operation is greatly simplified when dealing with the smaller codebases associated with micro-frontends.

Micro-frontend Challenges

Conversely, a micro-frontend presents the following challenges:

  • Parent/child integration: A micro-frontend introduces the task of ensuring the parent application displays the child application with the same consistency and performance expected from a monolith application. This point is discussed further in the next section.
  • Operational overhead: Instead of managing a single frontend application, a micro-frontend application involves creating and managing separate infrastructure for all teams.
  • Consistent user experience: In order to maintain a consistent user experience, the child applications must use the same UI components, CSS libraries, interactions, error handling, and more. Maintaining consistency in the user experience can be difficult for child applications that are at different stages in the development lifecycle.

Building Micro-frontends

The most difficult challenge with the micro-frontend architecture pattern is integrating child applications with the parent application. Prioritizing the user experience is critical for any frontend application. In the context of micro-frontends, this means ensuring a user can seamlessly navigate from one child application to another inside the parent application. We want to avoid disruptive behavior such as page refreshes or multiple logins. At its most basic definition, parent/child integration involves the parent application dynamically retrieving and rendering child applications when the parent app is loaded. Rendering the child application depends on how the child application was built, and this can be done in a number of ways. Two of the most popular methods of parent/child integration are:

  1. Building each child application as a web component.
  2. Importing each child application as an independent module. These modules either declares a function to render itself or is dynamically imported by the parent application (such as with module federation).

Registering child apps as web components:

<html>
    <head>
        <script src="https://shipping.example.com/shipping-service.js"></script>
        <script src="https://profile.example.com/profile-service.js"></script>
        <script src="https://billing.example.com/billing-service.js"></script>
        <title>Parent Application</title>
    </head>
    <body>
        <shipping-service />
        <profile-service />
        <billing-service />
    </body>
</html>

Registering child apps as modules:

<html>
    <head>
        <script src="https://shipping.example.com/shipping-service.js"></script>
        <script src="https://profile.example.com/profile-service.js"></script>
        <script src="https://billing.example.com/billing-service.js"></script>
     <title>Parent Application</title>
    </head>
    <body>
    </body>
    <script>
        // Load and render the child applications form their JS bundles.
    </script>
</html>

The following diagram shows an example micro-frontend architecture built on AWS.

AWS Micro Frontend

Figure 3. Micro-frontend architecture on AWS

In this example, each service team is running a separate, identical stack to build their application. They use the AWS Developer Tools and deploy the application to Amazon Simple Storage Service (S3) with Amazon CloudFront. The CI/CD pipelines use shared components such as CSS libraries, API wrappers, or custom modules stored in AWS CodeArtifact. This helps drive consistency across parent and child applications.

When you retrieve the parent application, it should prompt you to log in to an identity provider and retrieve JWTs. In this example, the identity provider is an Amazon Cognito User Pool. After a successful login, the parent application retrieves the child applications from CloudFront and renders them inside the parent application. Alternatively, the parent application can elect to render the child applications on demand, when you navigate to a specific route. The child applications should not require you to log in again to the Amazon Cognito user pool. They should be configured to use the JWT obtained by the parent app or silently retrieve a new JWT from Amazon Cognito.

Conclusion

Micro-frontend architectures introduce many of the familiar benefits of microservice development to frontend applications. A micro-frontend architecture also simplifies the process of building complex frontend applications by allowing you to manage small, independent components.