Post Syndicated from Marc Scott original https://www.raspberrypi.org/blog/make-a-robot/
Lots of kids are excited about robotics, and we have the free resources you need to help your children start making robots.
What’s a robot anyway?
Did you know that the concept of robotics dates back to ancient Greece, where a mathematician built a self-propelled flying pigeon to understand bird flight? Today, we have robots assisting people in everything from manufacturing to medicine. But what exactly is a robot? Ask two people, and you might get two different answers. Some may tell you about Star Wars’ C3PO and R2D2, while others may tell you about self-driving cars or even toys.
In my view, a robot is a machine that can carry out a series of physical tasks, programmed via a computer. These tasks could range from picking up an object and placing it elsewhere, to navigating a maze, to even assembling a car without human interaction.
Why robotics?
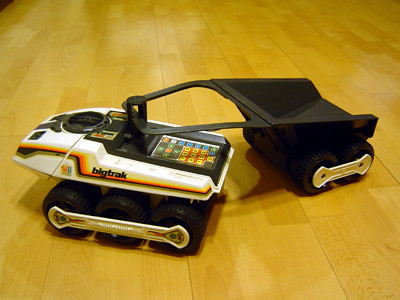
My first encounter with robotics was the Big Trak, a programmable toy vehicle created in 1979. You could program up to 16 commands into Big Trak, which it then executed in sequence. My family and I used the toy to transport items to each other around our house. It was a fun and engaging way to explore the basics of robotics and programming.
Understanding something about robotics is not just for scientists and engineers. It involves learning a range of skills that empower your kids to be creators of our digital world, instead of just consumers.
Robotics combines various aspects of science, technology, engineering, and mathematics (STEM) in a fun and engaging way. It also encourages young people’s problem-solving abilities, creativity, and critical thinking — skills that are key for the innovators of tomorrow.
Machine learning and robotics: A powerful duo
What happens when we add machine learning to robotics? Machine learning is an area of artificial intelligence where people design computer systems so they “learn” from data. This is not unlike how people learn from experience. Machine learning can enable robots to adapt to new situations and perform tasks that only people used to do.
We’ve already built robots that can play chess with you, or clean your house, or deliver your food. As people develop machine learning for robotics further, the possibilities are vast. By the time our children start their careers, it might be normal to have robots as software-driven “coworkers”. It’s important that we prepare children for the possible future that robotics and machine learning could open up. We need to empower them to contribute to creating robots with capabilities that complement and benefit all people.
To see what free resources we’re offering to help young people understand and create with machine learning and AI, check out this blog post about our Experience AI learning programme.
Getting started with robotics
So, how can kids start diving into the world of robotics? Here are three online resources to kickstart their journey:
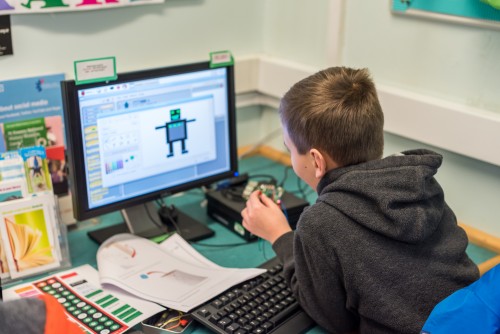
Physical computing with Scratch and the Raspberry Pi
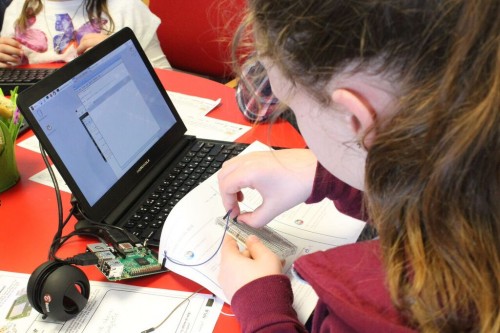
‘Physical computing with Scratch and the Raspberry Pi‘ is a fantastic introduction to using electronics with the block-based Scratch programming language for young learners.
Kids will learn to create interactive stories, games, and animations, all while getting a taste of physical computing. They’ll explore how to use sound and light, and even learn how to create improvised buttons.
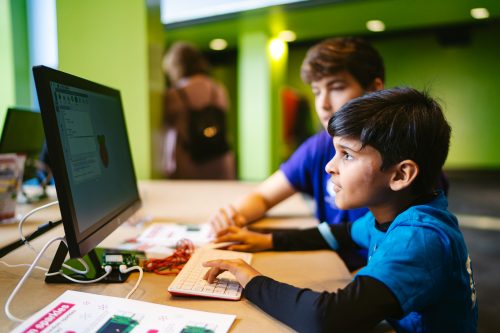
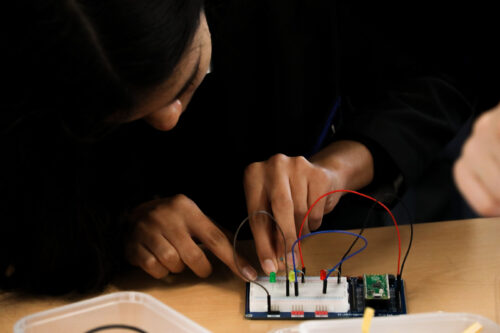
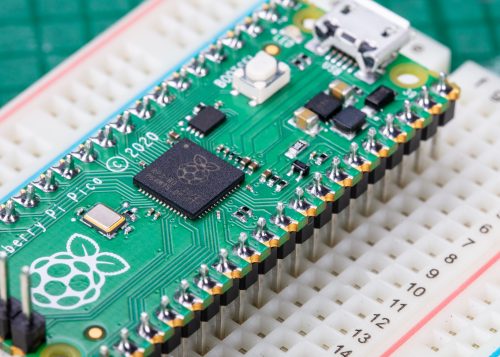
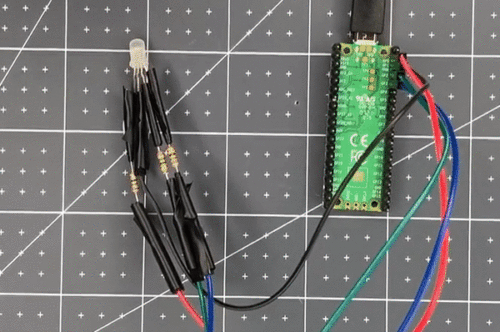
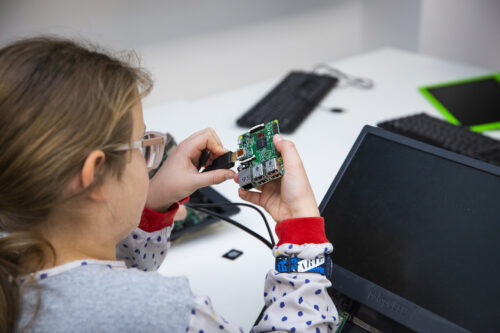
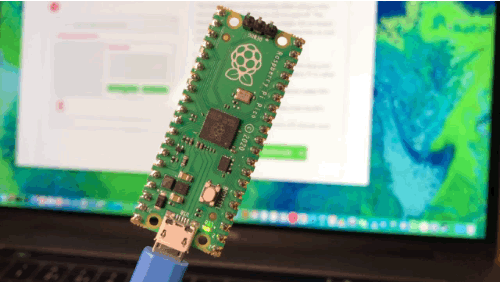
Introduction to Raspberry Pi Pico and MicroPython
This project path introduces the Raspberry Pi Pico, a tiny yet powerful digital device that kids can program using the text-based MicroPython language.
It’s a great way to delve deeper into the world of electronics and programming. The path includes a variety of fun and engaging projects that incorporate crafting and allow children to see the tangible results of their coding efforts.
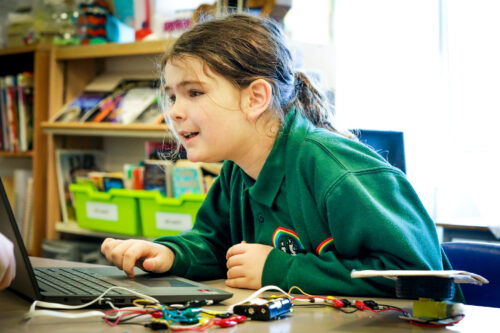
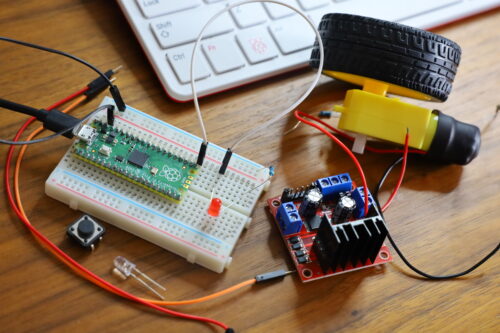
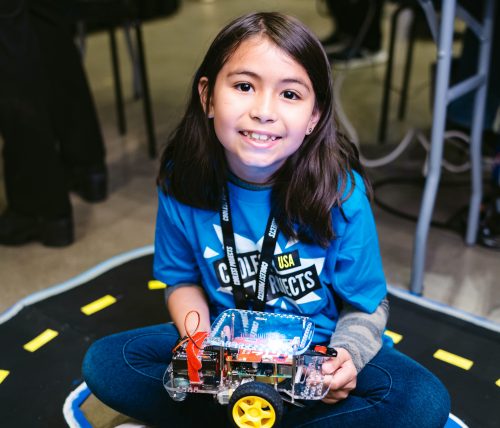
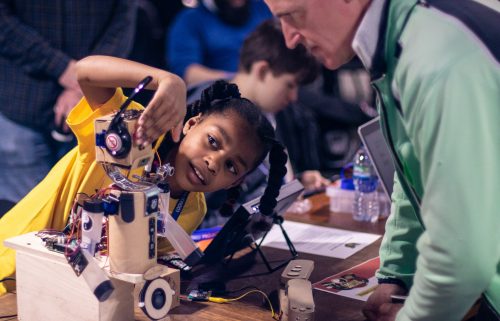
Build a robot
‘Build a robot’ is a project path that allows young people to create a simple programmable buggy. They can then make it remote-controlled and even transform it so it can follow a line by itself.
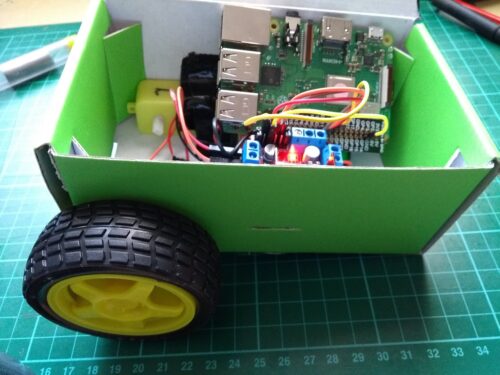
This hands-on project path not only teaches the basics of robotics but also encourages problem-solving as kids iteratively improve their robot buggy’s design.
The robot building community
Let’s take a moment to celebrate two young tech creators who love building robots.
Selin is a digital maker from Istanbul, Turkey, who is passionate about robotics and AI. Selin’s journey into the world of digital making began with a wish: after her family’s beloved dog Korsan passed away, she wanted to bring him back to life. This led her to design a robotic dog on paper, and to learn coding and digital making to build that robot.
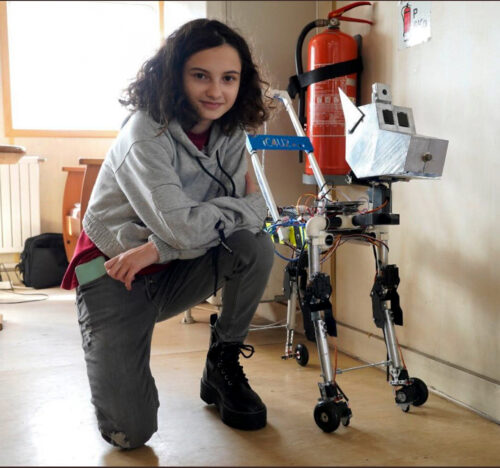
Selin has since built seven different robotics projects. One of them is IC4U, a robotic guide dog designed to help people with impaired sight. Selin’s commitment to making projects that help make the world a better place was recognised when she was awarded the Aspiring Teen Award by Women in Tech.
Jay, a young digital maker from Preston, UK, started experimenting with code at a young age to make his own games. He attended free local coding groups, such as CoderDojo, and was introduced to the block-based programming language Scratch. Soon, Jay was combining his interests in programming with robotics to make his own inventions.

Jay’s dad, Biren, comments: “With robotics and coding, what Jay has learned is to think outside of the box and without any limits. This has helped him achieve amazing things.”
Open up the world of making robots for your child
Robotics and machine learning are not just science fiction — they shape our lives today in ways kids might not even realise. Whether your child is just interested in playing with robots, wants to learn more about them, or is considering a career in robotics, our free resources are a great place to start.
If a Greek mathematician was able to build a flying pigeon millennia ago, imagine what children could create today!
The post Make a robot: A fun and educational journey into robotics for kids appeared first on Raspberry Pi Foundation.