Post Syndicated from Laura Sach original https://www.raspberrypi.org/blog/picamzero-raspberry-pi-camera-projects-for-beginners/
Thousands of learners worldwide take their first steps into text-based programming using the Python programming language. Python is not only beginner-friendly, but is also used extensively in industry.

In 2015, Python developer Daniel Pope, who has a keen interest in education, noticed that beginners often have great ideas for creating projects but struggle because the software libraries they need to use are aimed at more confident programmers. To address this, he created Pygame Zero — a simplified version of the popular PyGame software. Since then, various developers have expanded the range of ‘zero’ libraries for Python.
How Python zero libraries help beginner programmers
The Raspberry Pi Foundation has a long history of supporting Python zero libraries. GPIO Zero was launched back in 2015, followed by guizero and then picozero. The goal of all ‘zero’ libraries is the same: to help beginner programmers create amazing projects using simple, understandable code, supported by useful documentation.
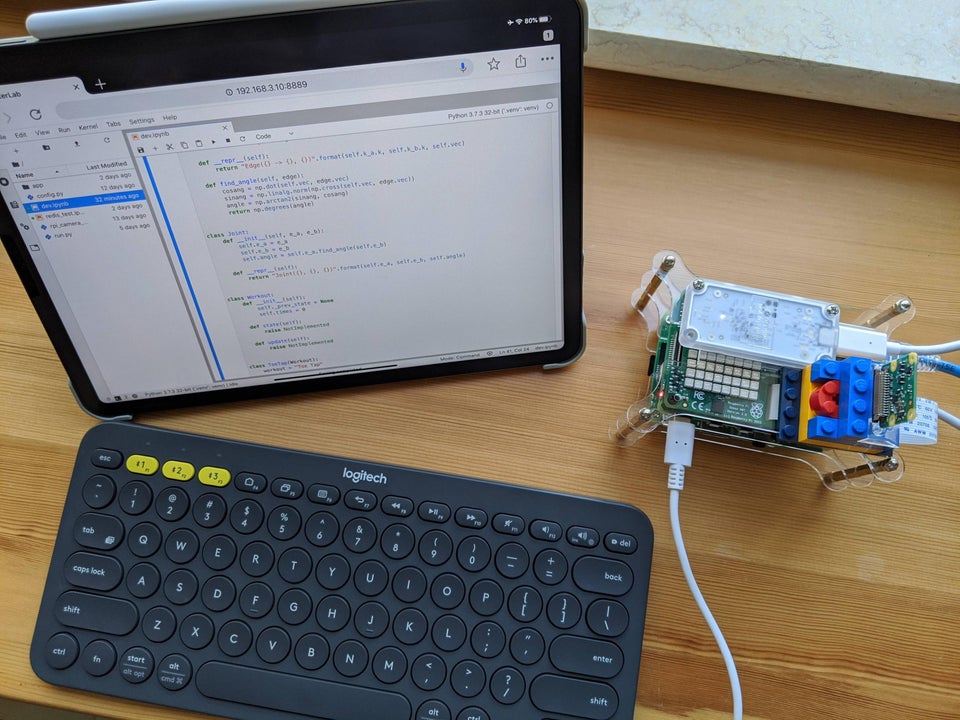
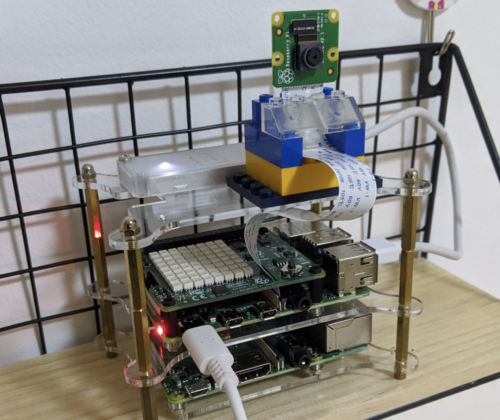
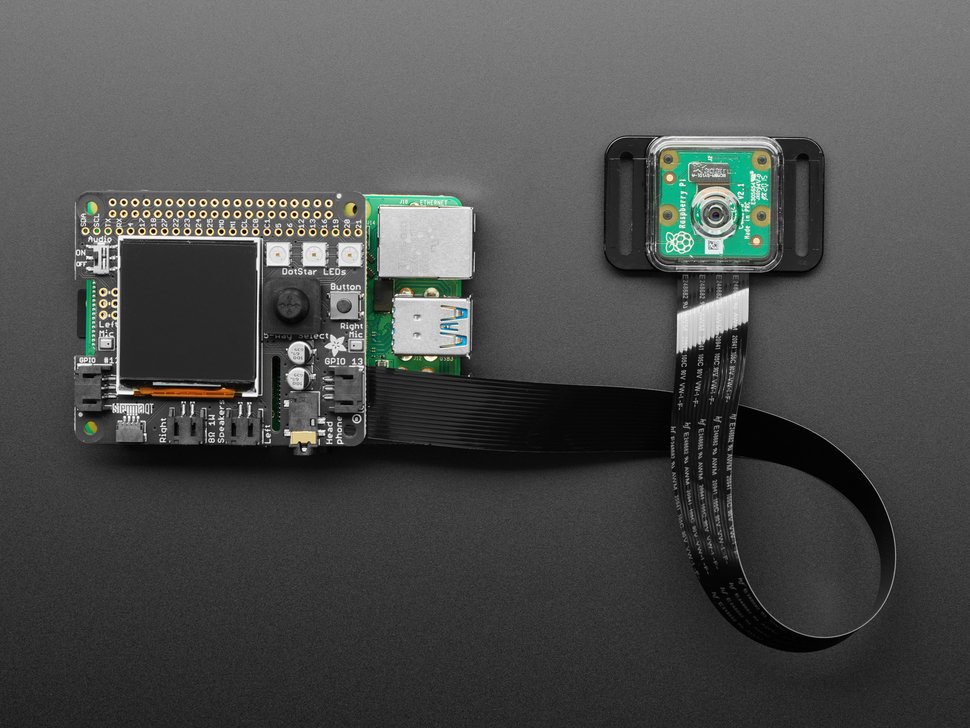
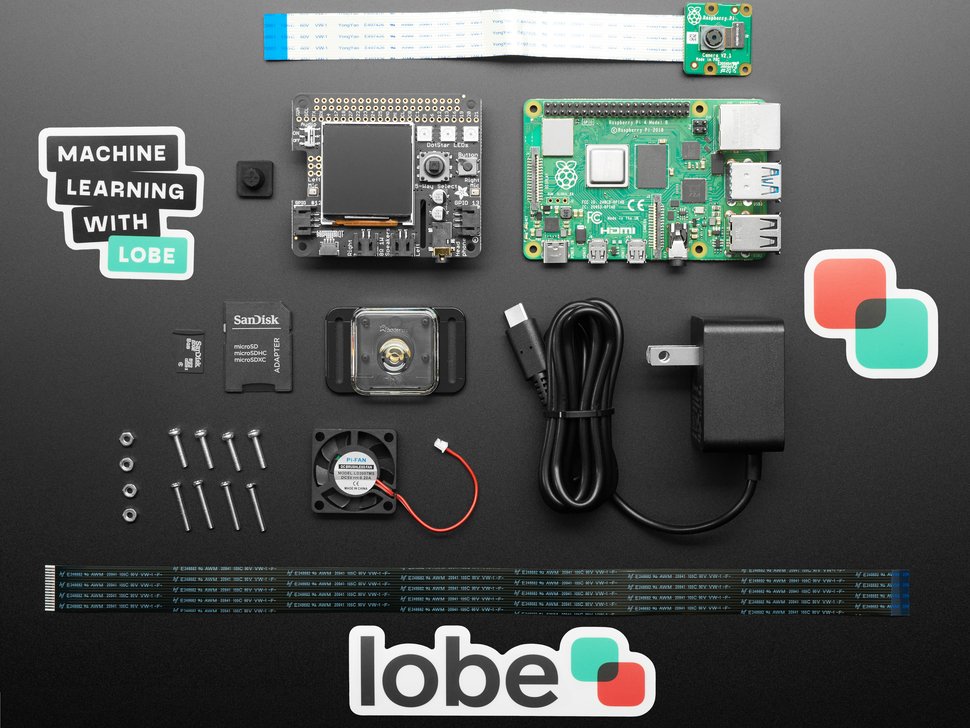
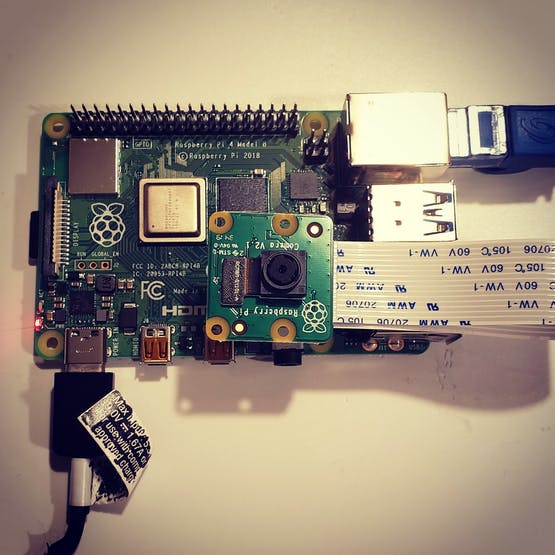
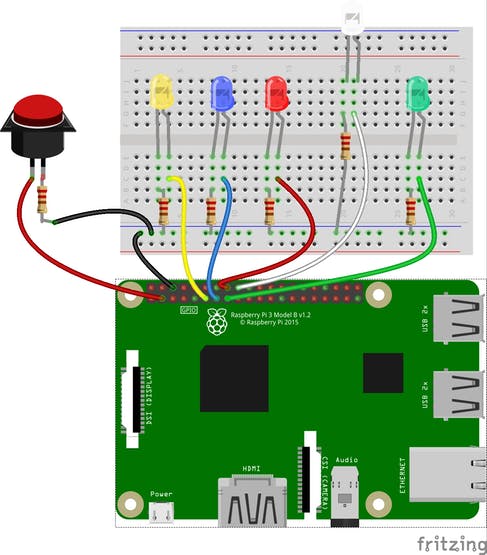
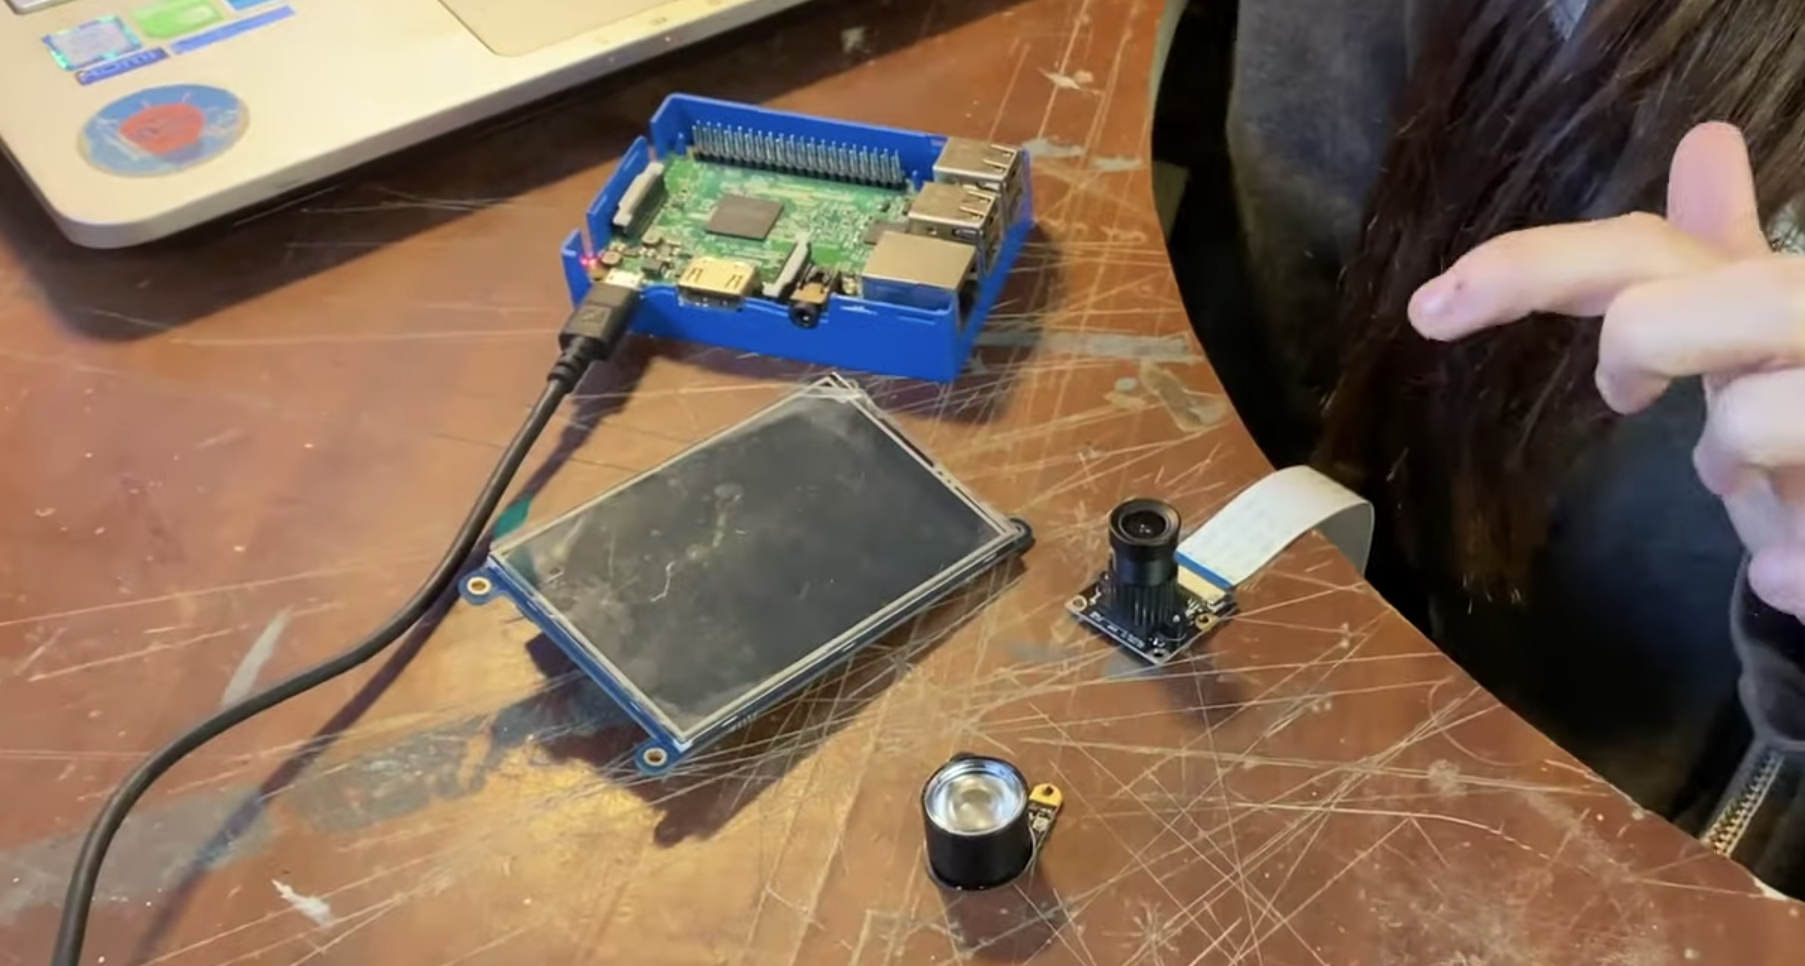
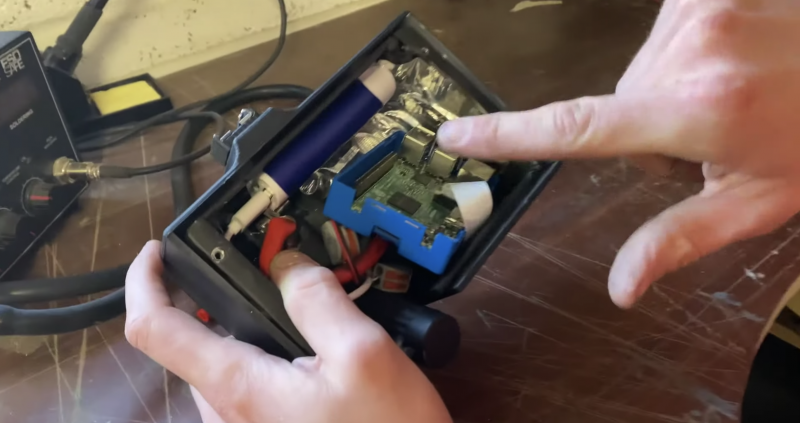
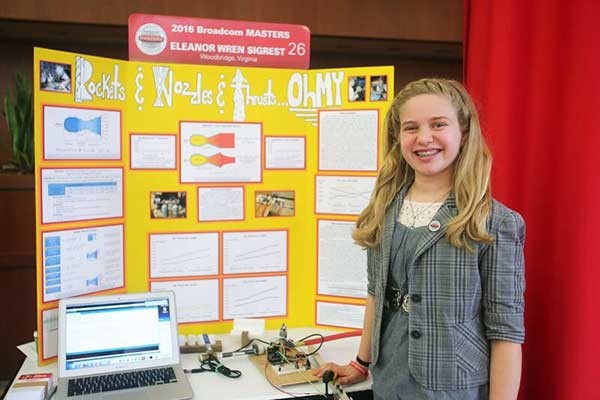
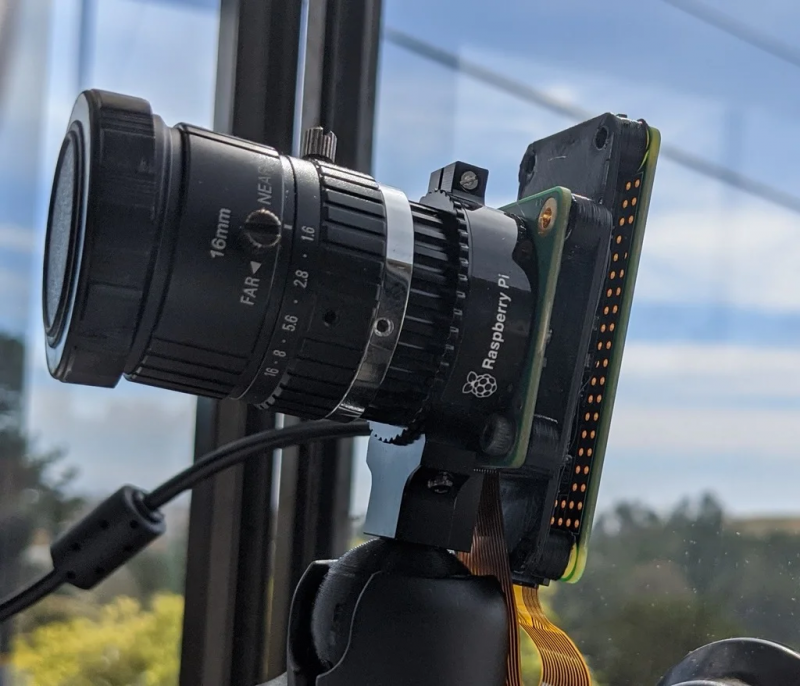
The Picamera2 library is a powerful tool for advanced users, but beginners — such as Astro Pi: Mission Space Lab programme participants — would benefit from a zero library to allow them to use the Raspberry Pi Camera module.

Picamzero: how to get started
The Code Club Projects and Youth Programmes teams at the Raspberry Pi Foundation have joined forces to create picamzero: a new library that makes it simple for beginners to use the Raspberry Pi Camera board.
As with the other ‘zero’ libraries, it’s straightforward to get started. You can install picamzero by typing two commands in your Raspberry Pi’s terminal:
sudo apt update
sudo apt install python3-picamzero
Once it’s installed, setting up your program to communicate with your camera is easy:
from picamzero import Camera
cam = Camera()
You can ask picamzero to take a time-lapse sequence and make a video of your images using a single line of code.
cam.capture_sequence("mysequence.jpg", make_video=True)
Picamzero also makes it easy to add text and image overlays to your images.
We’ve written beginner-friendly documentation for the new library so that you can explore what you can create using just a few lines of code. We’ve also updated our resources so that you can start making exciting projects using picamzero straight away:
We hope you enjoy using picamzero. Please get in touch if you have any feedback or suggestions. Happy coding!
The post Introducing picamzero: Simplifying Raspberry Pi Camera projects for beginners appeared first on Raspberry Pi Foundation.