Post Syndicated from Erik Iwanski original https://aws.amazon.com/blogs/messaging-and-targeting/securing-communications-at-the-edge-with-aws-wickr/
Organizations that are looking to establish secure communication networks at the edge often encounter challenges. The use of disparate collaboration tools on personal and government-issued devices can make it difficult to protect sensitive data and avoid communication gaps.
This blog post highlights four common communication issues that customers encounter when operating in disconnected (or intermittently connected) environments, and how end-to-end encrypted messaging and collaboration service AWS Wickr can help you address them.
Issue 1: Seamless communication—multiple agencies and partners need to collaborate effectively.
Federal, state, and local organizations tend to use different means and mechanisms to communicate both internally and externally with third parties, which often leads to interoperability challenges. They need to seamlessly coordinate and connect with mission partners—including government agencies, military teams, medical professionals, and first responders—even in disconnected environments in order to work together effectively.
Issue 2: Out-of-band communication—teams need a way to ensure that communication is possible when primary channels are down or compromised.
Network disruptions, security events, and system failures can impact communication channels. The use of a separate, secure, out-of-band communication tool that can be used as a backup when primary channels are unavailable or compromised is critical to protecting sensitive information, maintaining business continuity, and coordinating incident response activities.
Issue 3: Data retention—messages and files need to be retained to help meet recordkeeping requirements, and facilitate after-action reports.
Virtually all federal, state, and local government agencies must adhere to various data retention and records management policies, regulations, and laws. Many are subject to Federal Records Act (FRA) and National Archives and Records Administration (NARA) regulations that require them to collect, store, and manage federal records that are created, received, and used in daily operations. For those subject to Freedom of Information Act (FOIA) requests and U.S. Department of Defense (DOD) Instruction 8170.01—which prescribes procedures for the collection, distribution, storage, and processing of DOD information through electronic messaging services—effectively retaining messages is about more than supporting security and compliance; it’s about maintaining public trust.
Issue 4: Security and control—communications must be adequately protected and administrative control must be maintained, no matter the environment.
The transmission of sensitive and mission-critical data through messaging apps and collaboration tools that lack critical encryption and security protocols increases the likelihood of a security incident. Popular consumer messaging apps don’t provide controls that allow for individual devices or accounts to be suspended or removed, increasing the threat of data exposure stemming from a lost or stolen device. Enterprise collaboration apps lack the advanced security provided by end-to-end encryption.
How AWS Wickr can help
AWS Wickr is a secure messaging and collaboration service that protects one-to-one and group messaging, voice and video calling, file sharing, screen sharing, and location sharing with 256-bit encryption.
Wickr combines the security and privacy of end-to-end encryption with the data retention and administrative controls you need to accelerate collaboration, even in disconnected environments.
Wickr provides the following capabilities to help you address common communication challenges:
- Seamless communication: Federation and guest access features allow you to exchange sensitive information with mission partners, without the need to connect to a virtual private network (VPN). You can assign groups of users to specific federation rules, restrict access to select agencies and partners, and allow or disable the guest user access feature for individual security groups.
- Out-of-band communication: Wickr provides a communication channel outside of existing systems that can help you keep teams connected and protect sensitive information, even when primary channels are down or compromised. The user interface is intuitive; response teams can simply open the application on their device and start collaborating, without special software or training.
- Data retention: Wickr network administrators can configure and apply data retention to both internal and external communications in a Wickr network. This includes conversations with guest users, external teams, and other partner networks, so you can retain messages and files sent to and from the organization to help meet requirements. Data retention is implemented as an always-on recipient that is added to conversations, similar to the blind carbon copy (BCC) feature in email. The data retention process can run anywhere Docker workloads are supported: on-premises, on an Amazon Elastic Compute Cloud (Amazon EC2) virtual machine, or at a location of your choice.
- Security and control: With Wickr, each message gets a unique Advanced Encryption Standard (AES) private encryption key, and a unique Elliptic-curve Diffie–Hellman (ECDH) public key to negotiate the key exchange with recipients. Message content—including text, files, audio, or video—is encrypted on the sending device using the message-specific AES key. This key is then exchanged via the ECDH key exchange mechanism so that no one other than intended recipients can decrypt the content (not even AWS). Fine-grained administrative controls allow you to organize users into security groups with restricted access to features and content at their level. You can apply policies to each group that are custom-tailored to meet desired outcomes. Wickr app data can be deleted remotely both by administrators, and end users.
Communicating at the edge
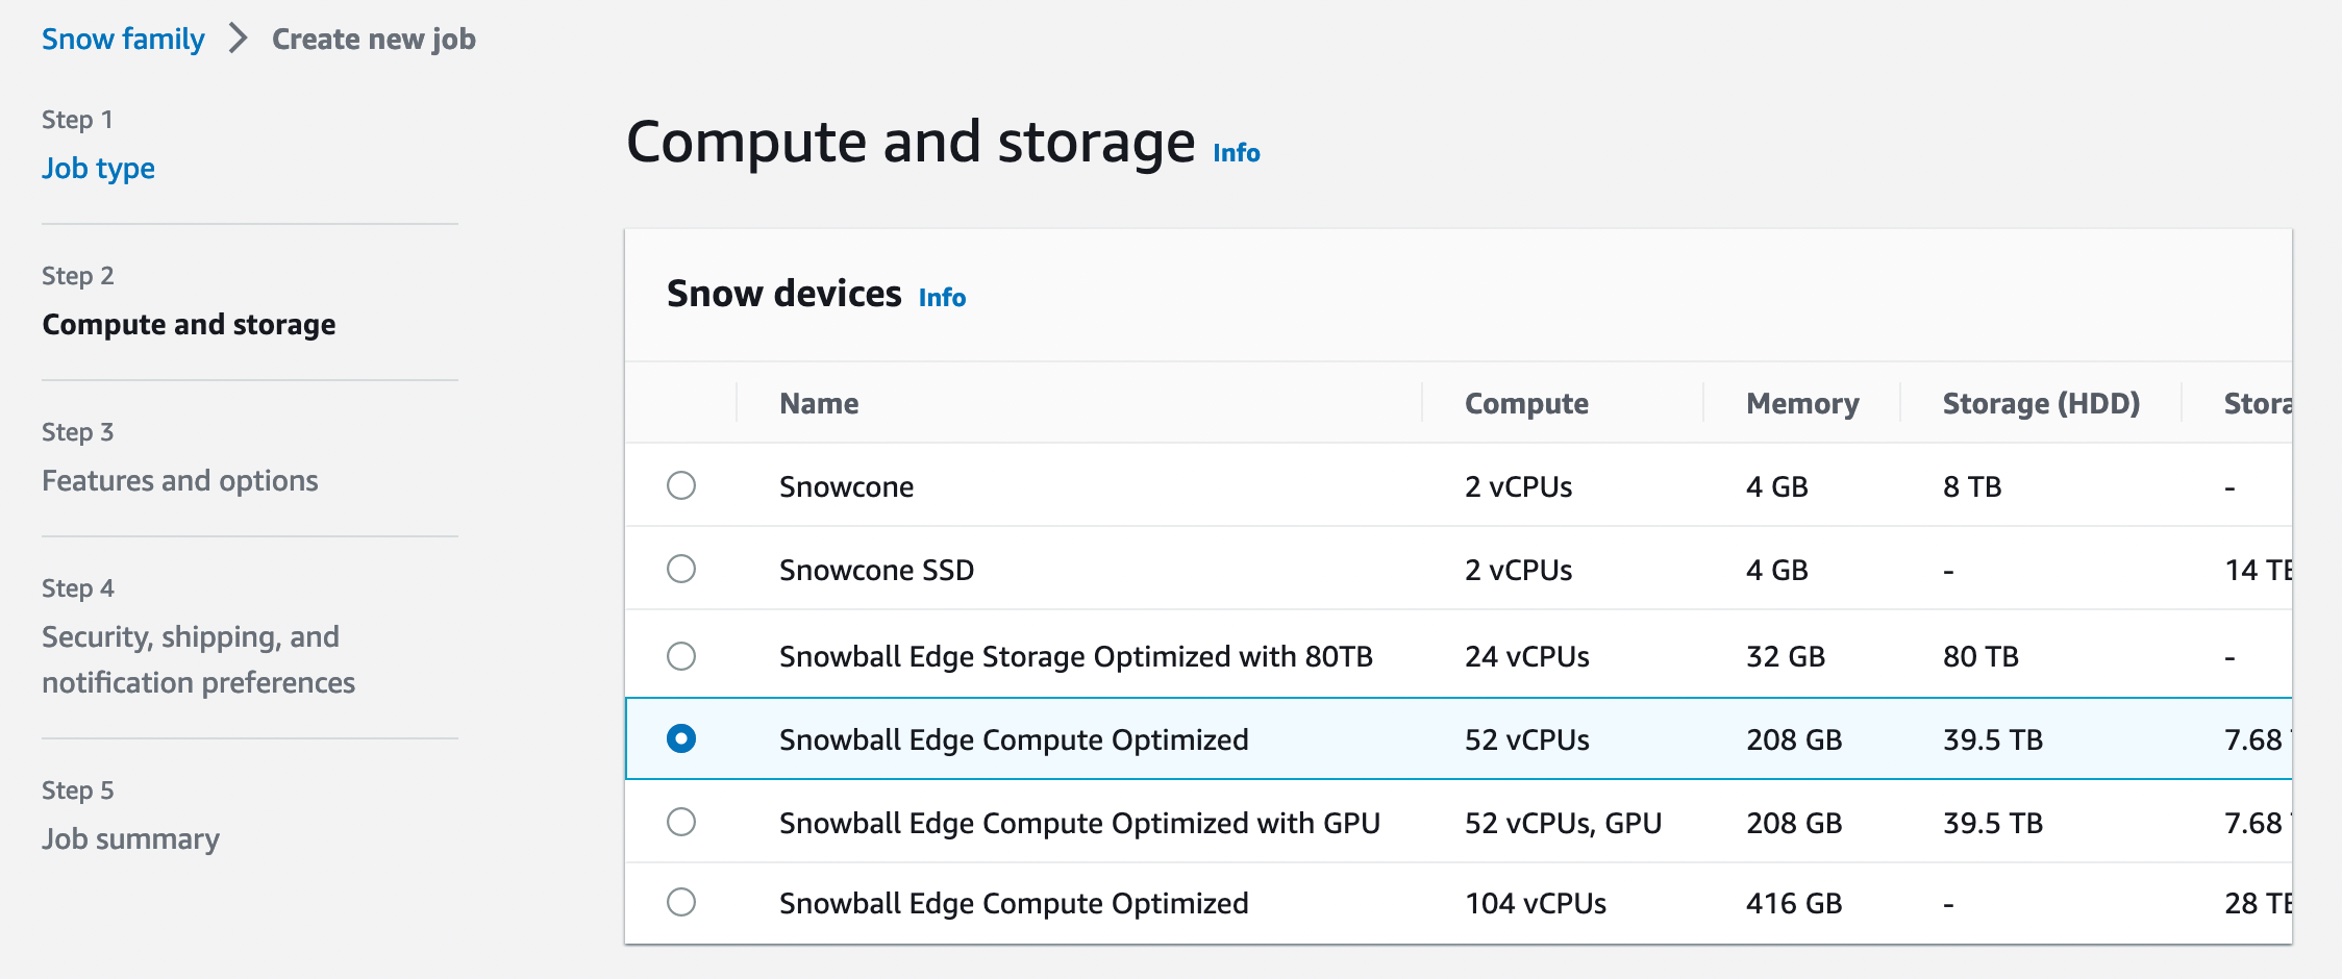
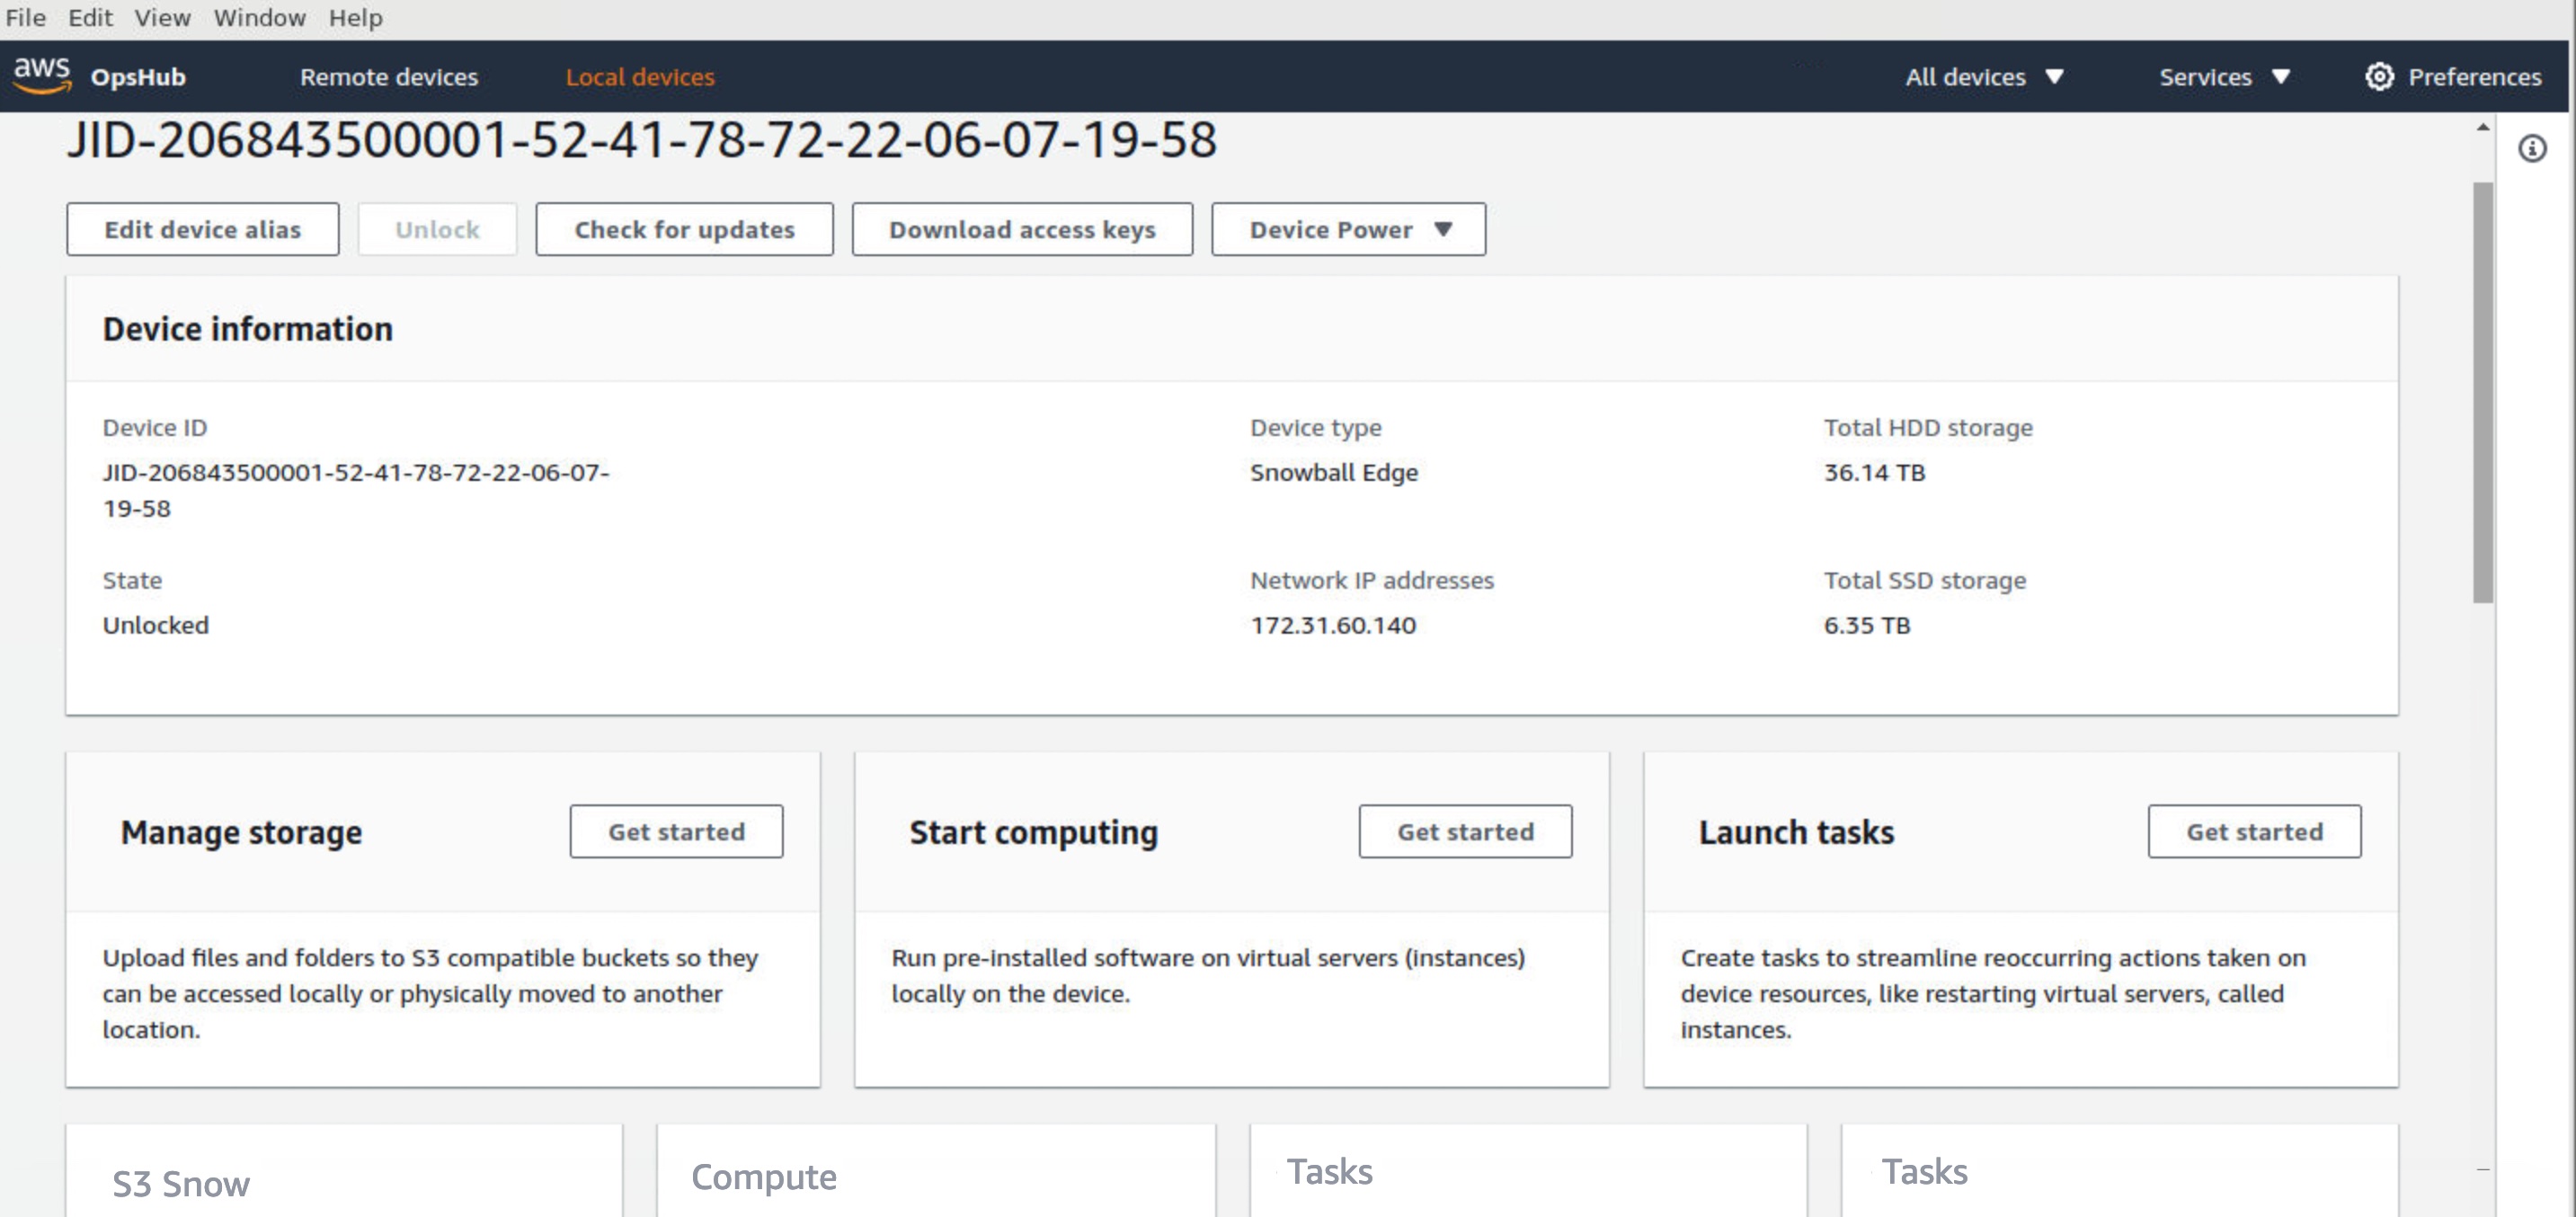
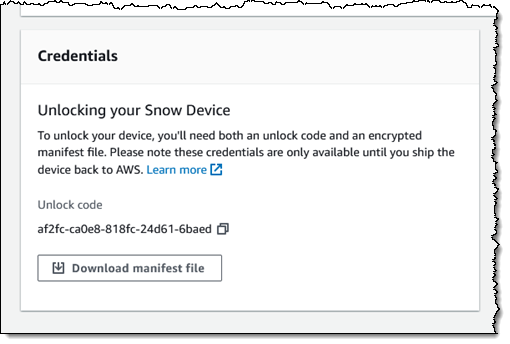
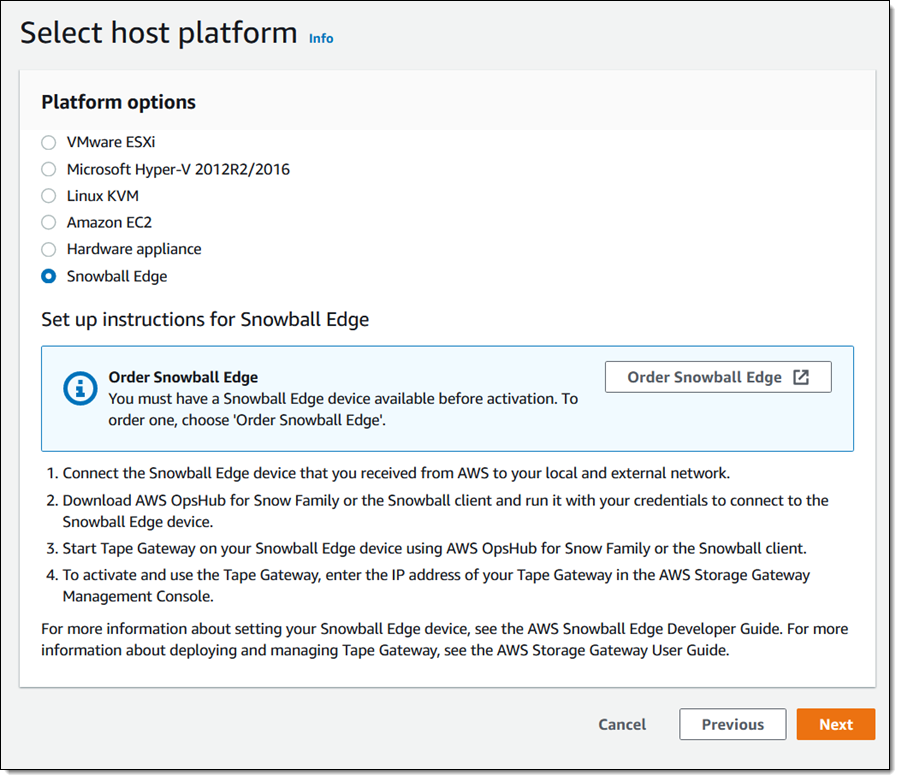
Wickr is available in two deployment models: cloud-native AWS Wickr and AWS WickrGov, which are available through the AWS Management Console, and self-hosted Wickr Enterprise. Wickr Enterprise offers the same secure collaboration features as AWS Wickr and AWS WickrGov, but can be self-hosted on any private on-premises infrastructure (such as an AWS Outpost or Snowball Edge device), private cloud infrastructure, or in a multi-cloud deployment. Wickr Enterprise can maintain secure communications when internet access (via broadband, mobile, 5G, or satellite) to cloud-based networks fails. You can run Wickr Enterprise without any internet connectivity and it supports architectural resiliency, such as deploying a fully managed network backhaul that is capable of federating with AWS Wickr users when internet connectivity is available.
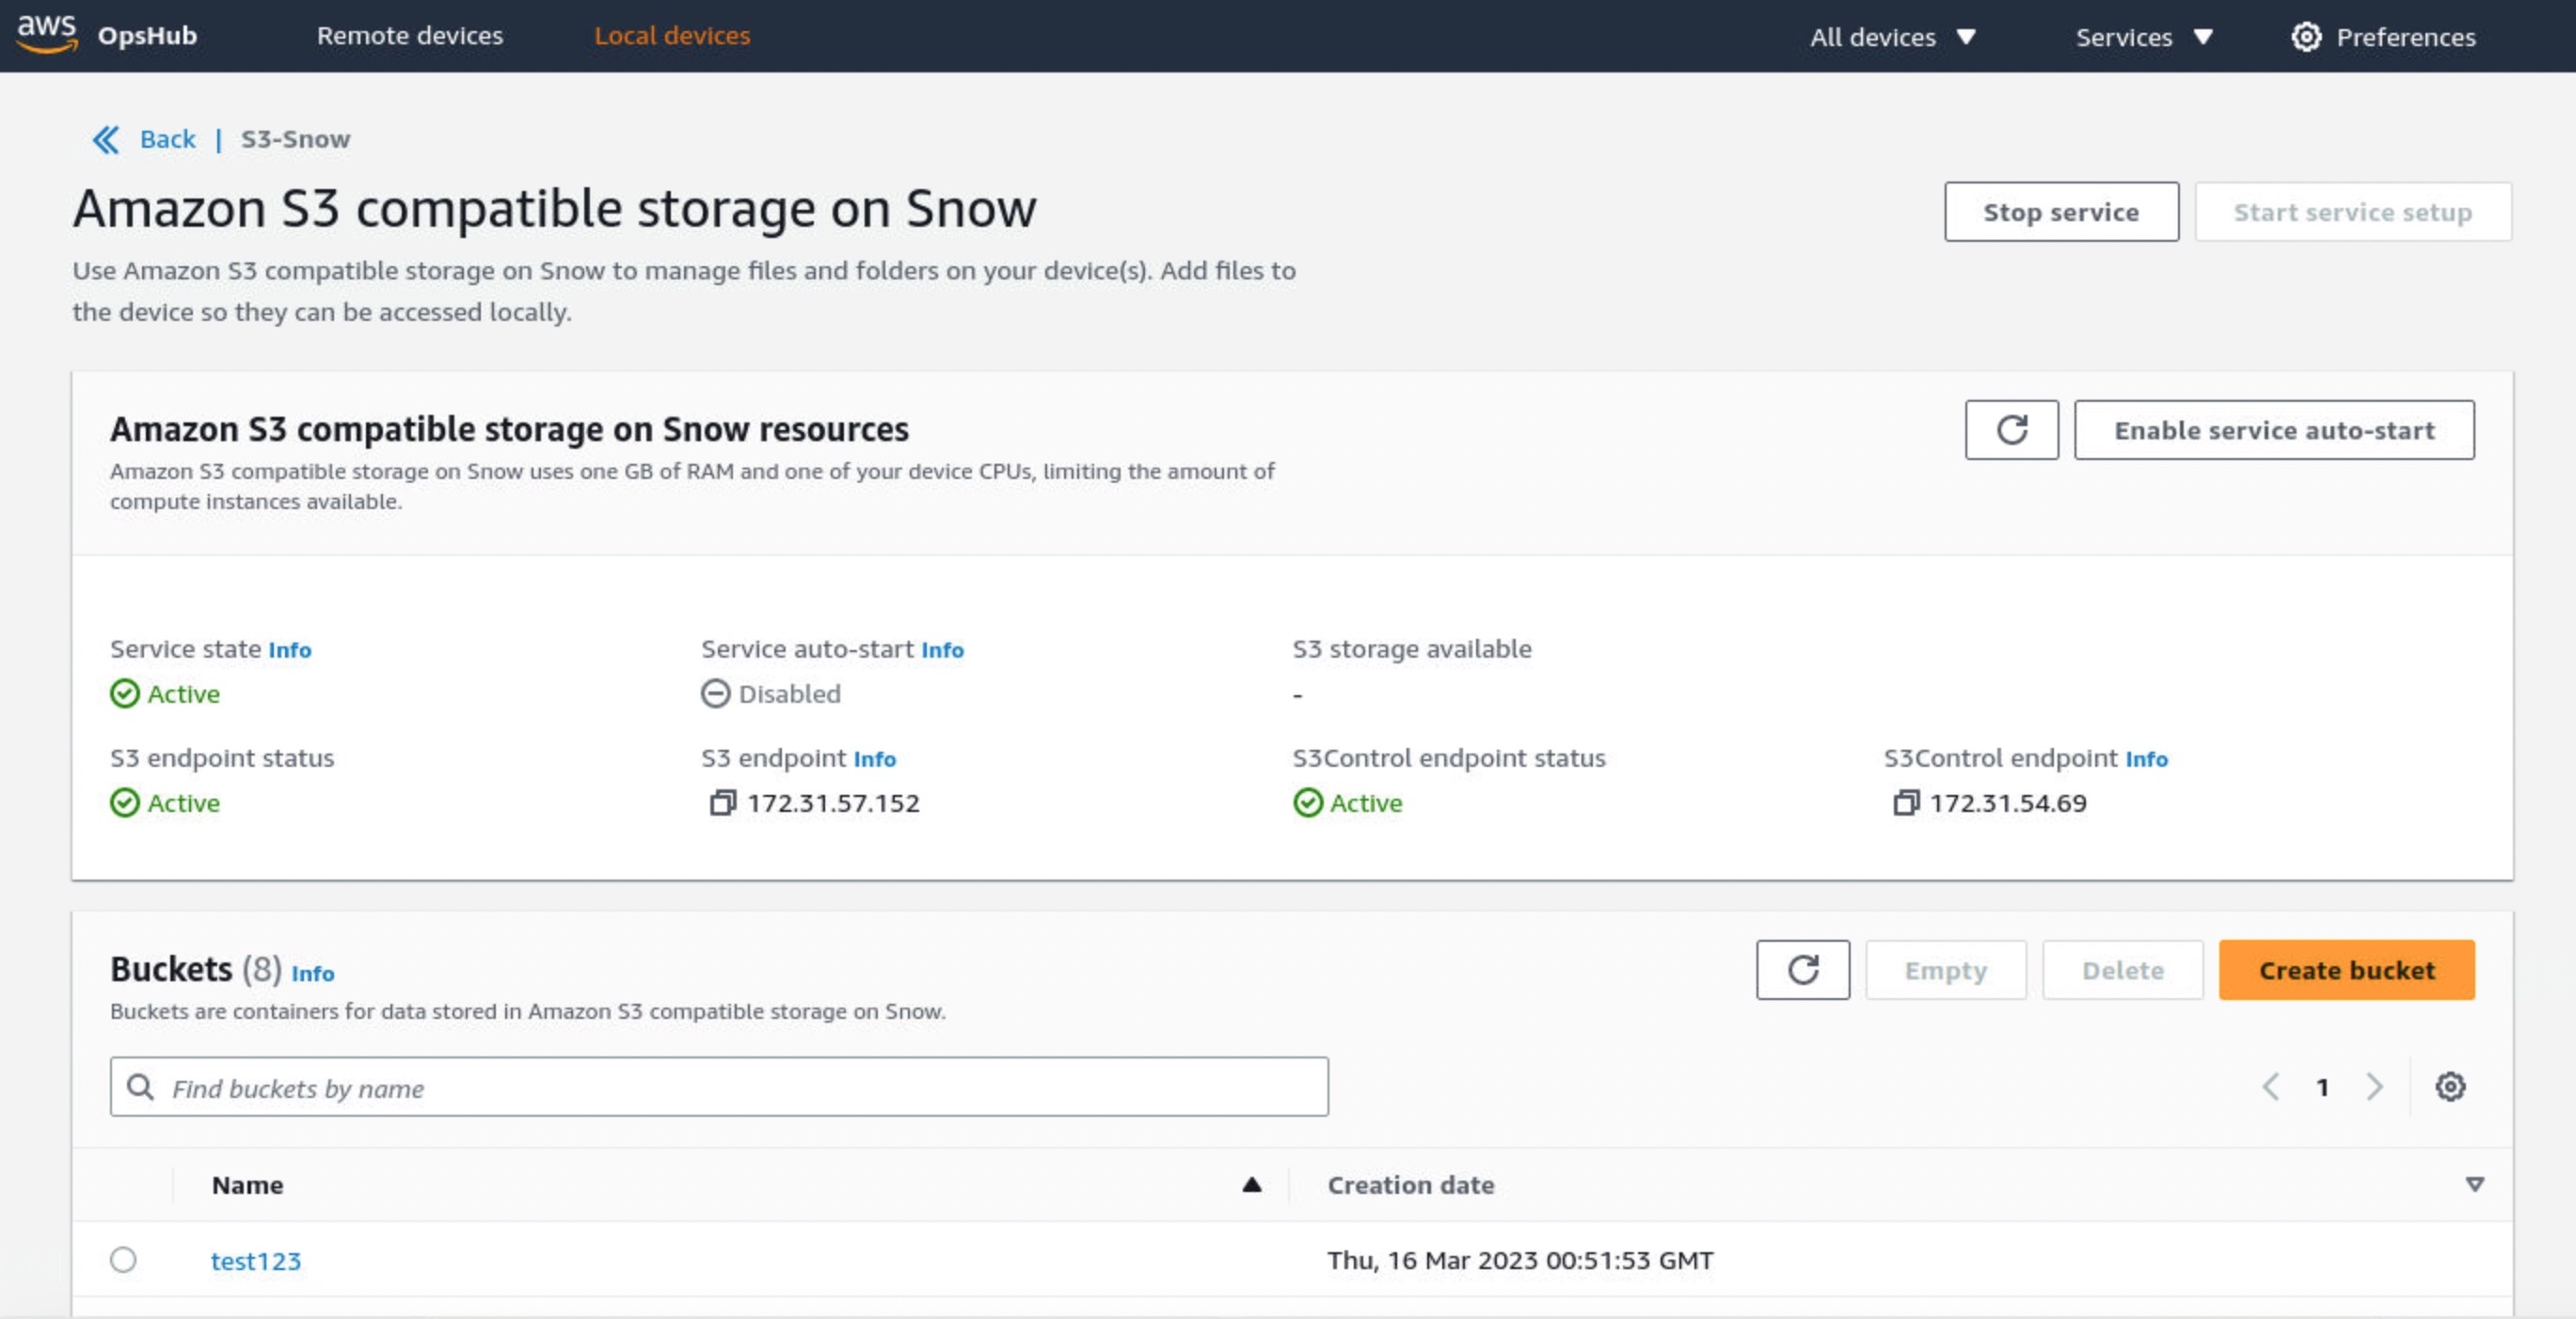
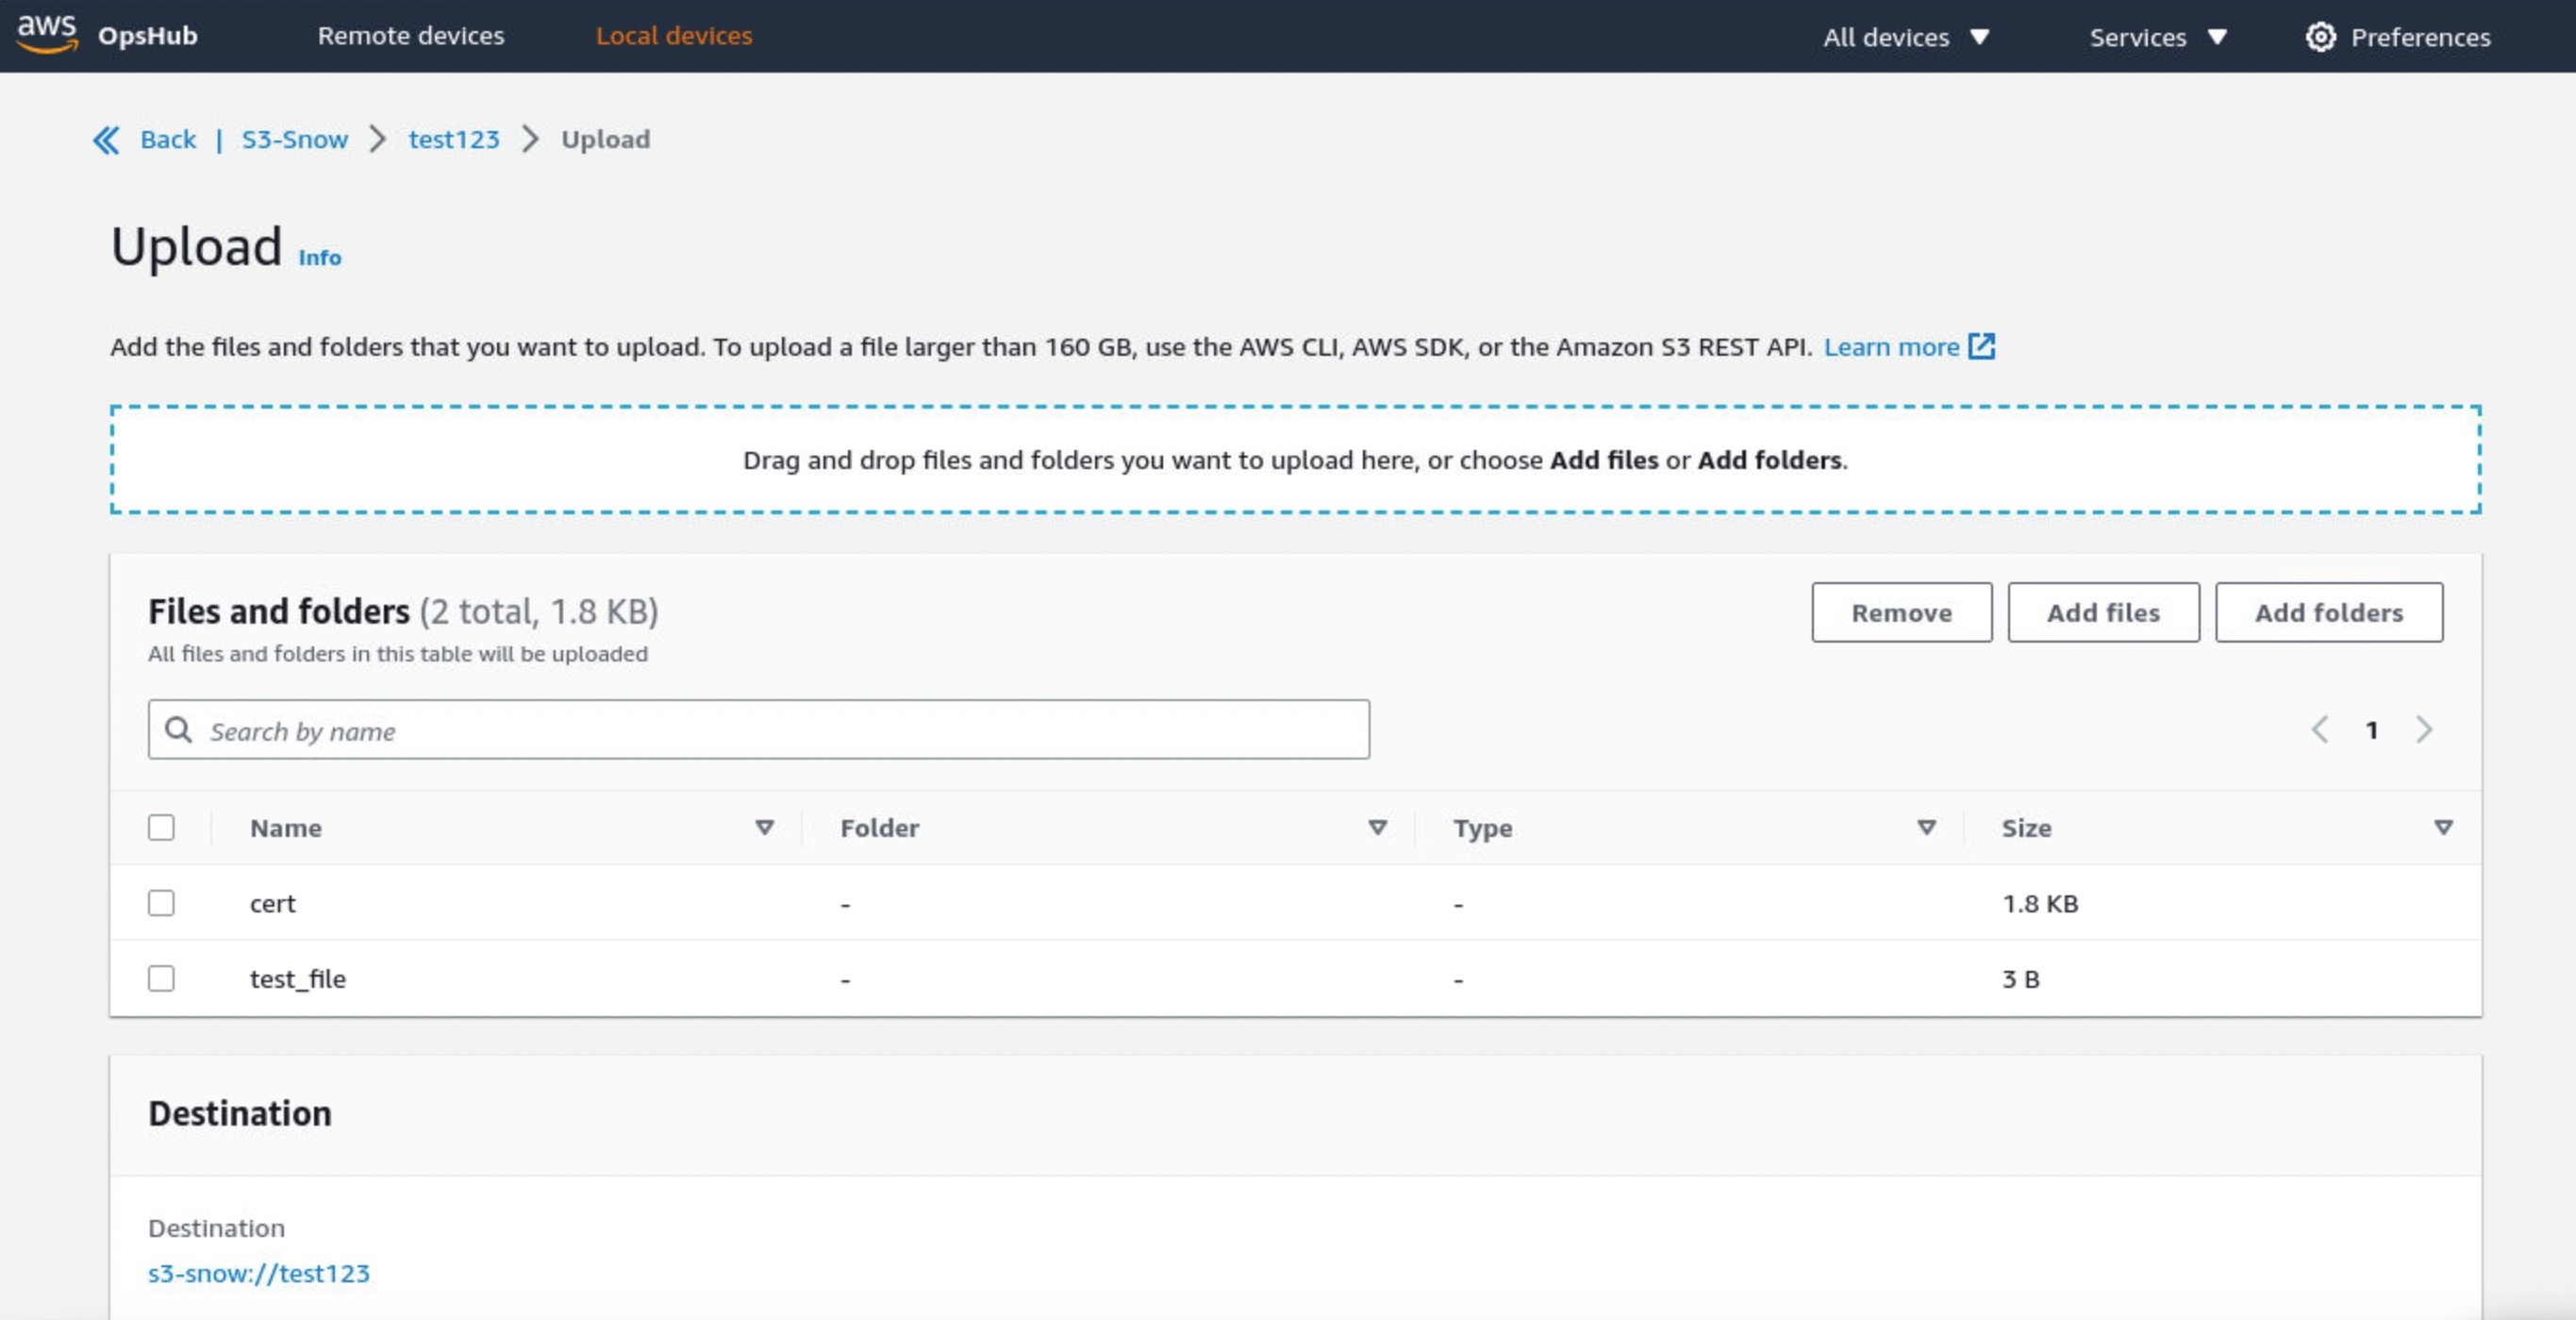
Figure 1 illustrates a hybrid architecture that combines AWS Wickr and Wickr Enterprise. The Snowball Edge device running Wickr allows disconnected communications at the edge between Wickr Enterprise users. When internet connectivity becomes available, Wickr Enterprise users can federate with AWS Wickr users and send data retention logs to Amazon S3 or any customer-defined storage.

Figure 1: Hybrid of Wickr Enterprise self-hosted on Snowball Edge and AWS Wickr in the Cloud. A hybrid solution federates AWS Wickr in the cloud with a local deployment of Wickr Enterprise for extended resilience and redundancy.
Collaborate with confidence
Securing communications at the edge is critical to protecting sensitive data and maintaining operational resilience. AWS Wickr offers a secure, simple-to-use, reliable solution that can help you address common challenges and collaborate effectively, even in the harshest environments. By choosing the features and deployment options that meet your needs, you can facilitate secure and compliant communications everywhere, and seamlessly collaborate with mission partners.
AWS Wickr has been authorized for Department of Defense Cloud Computing Security Requirements Guide Impact Level 4 and 5 (DoD CC SRG IL4 and IL5) in the AWS GovCloud (US-West) Region. It is also Federal Risk and Authorization Management Program (FedRAMP) authorized at the Moderate impact level in the AWS US East (N. Virginia) Region, FedRamp High authorized in the AWS GovCloud (US-West) Region, and meets compliance programs and standards such as Health Insurance Portability and Accountability Act (HIPAA) eligibility, International Organization for Standardization (ISO) 27001, and System and Organization Controls (SOC) 1,2, and 3.
For more information, please visit the AWS Wickr webpage, or email [email protected].
About the Authors
 Erik Iwanski Erik IwanskiErik is a Principal Worldwide Go-to-Market (GTM) Specialist for Amazon Web Services (AWS) and is based in Montana. He focuses on global customers and leads the global GTM plan for AWS Wickr. Erik has 15-plus years of experience working across industries from national security, federal/SLED sales, healthcare, and technology. He holds a master’s degree in microbiology from California State University Long Beach and a bachelor’s degree in Biological Sciences from the University of California Irvine. |
 Anne Grahn Anne GrahnAnne is a Senior Worldwide Security GTM Specialist at AWS, based in Chicago. She has more than 13 years of experience in the security industry, and focuses on effectively communicating cybersecurity risk. She maintains a Certified Information Systems Security Professional (CISSP) certification. |


 Each new service is optimized for space- or weight-constrained environments, portability, and flexible networking options. For example, Snowball Edge devices have