Post Syndicated from Barry Kaufman original https://www.backblaze.com/blog/how-to-back-up-yahoo-and-aol-data/

In case you missed it, we recently showed you how to back up your old email accounts, focusing on Outlook emails and Gmail. But what of those of us who remember the Wild Wild West days of the internet? Some of us have decades worth of emails gathering digital dust in AOL and Yahoo inboxes, and we want to back those up as well.
Let’s go through preserving these vintage emails with a little walk down memory lane.
The year was 1994. The White House had just launched its very first website; Katie Couric was famously asking, “What is the internet?” on the “Today” show; and everywhere, there was the sense that this so-called “information superhighway” might just be here to stay.
And one blog writer had just signed up for his very first America Online email address. Lured by the promises contained within each CD that arrived in his mailbox and welcomed to the digital ether by the screeching cacophony of a blazing fast 14.4K modem, he began his journey on the internet.
Looking back on those times now, I’m suddenly realizing what a time capsule I inadvertently created in my AOL inbox. The first emails I ever sent to high school friends after they went to college. Those first awkward exchanges between myself and my wife. My first dozen or so rejection letters from employers as I entered the “real world.” All locked up behind a password that I set when I was just 14.
These memories are too precious to trust to my AOL inbox, so as I look back on my digital life so far, I realize I need to preserve those moments in a backup I can trust. Join me, as I back up both my AOL and Yahoo accounts, savoring the embarrassing memories along the way.
Check out our series of guides to help you protect content across many different platforms—including social media, sync services, and more. This list is always a work in progress—please comment below if you’d like to see another platform covered.
- How to Download and Back Up Email Account Data
- How to Download and Back Up Your Facebook Data
- How to Download and Back Up Your Google Drive Data
- How to Download and Back Up Your TikTok Data
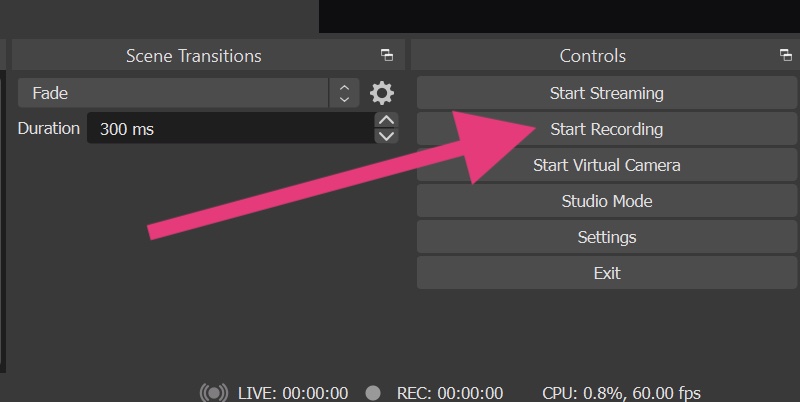
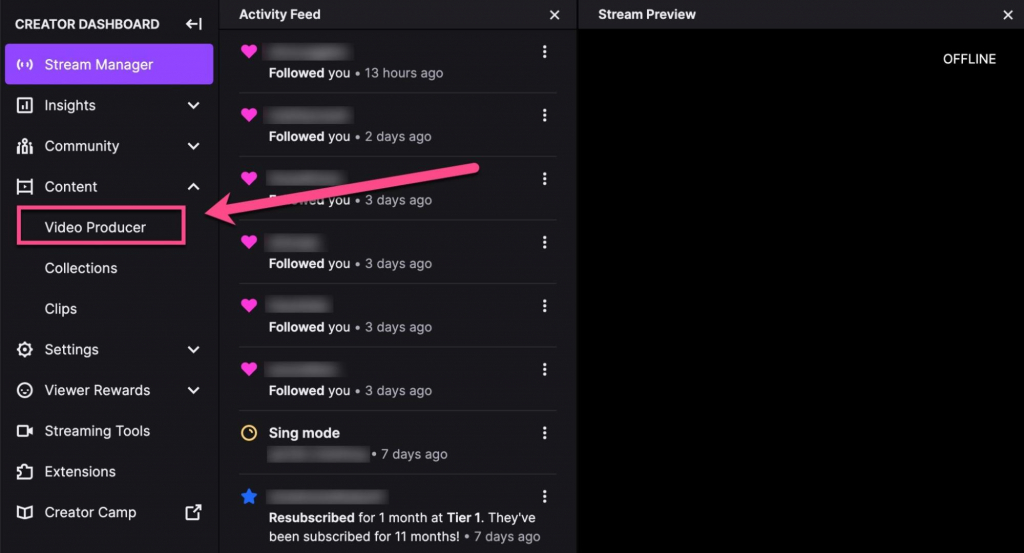
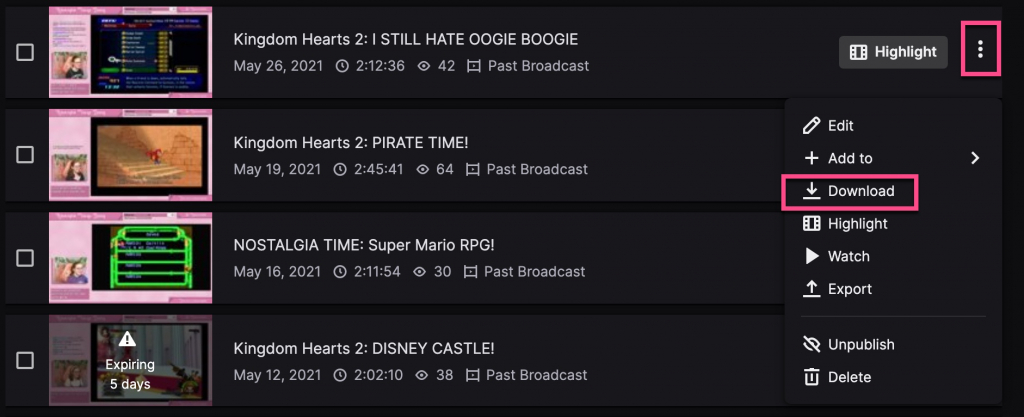
- How to Download and Back Up Your Twitch Content
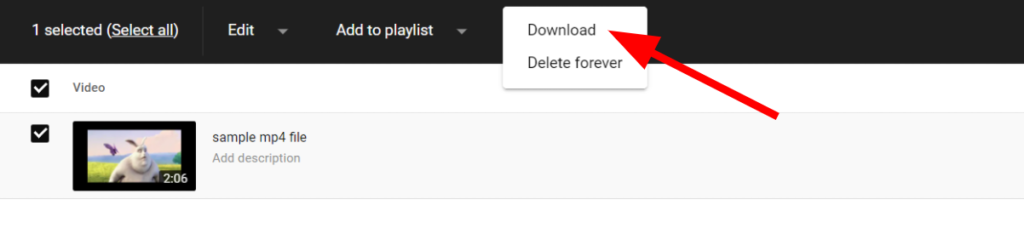
- How to Download and Back Up YouTube Videos
- How to Back Up Your Data Once You’ve Downloaded It
How to Download Yahoo Data
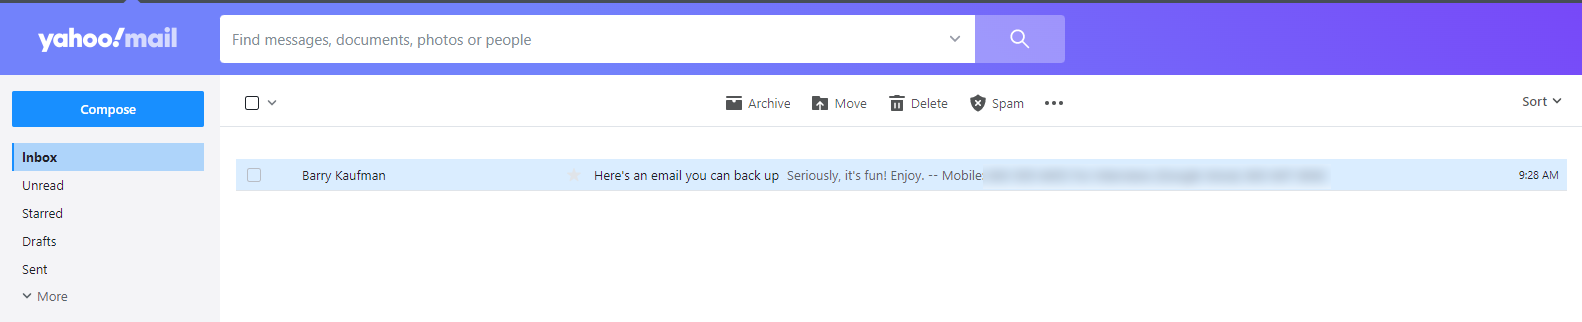
We’ll start with my Yahoo Account, which should be easy since I only ever used this email address as a way to sign up for things online that I didn’t necessarily want tied to my main inbox. And since the message board for fans of the FX drama “The Shield” that I signed up for with this address has long since folded, my inbox currently sits empty. (It’s even free of spam, which is pretty impressive.)
So, I’ll simply send myself an email from an address I do use to get the ball rolling.
Step One: Finding Your Data
All of your Yahoo data can be found in your Privacy Dashboard, which can be tricky to find using the menus Yahoo offers, so we’ll just cut to the chase and give you the link.
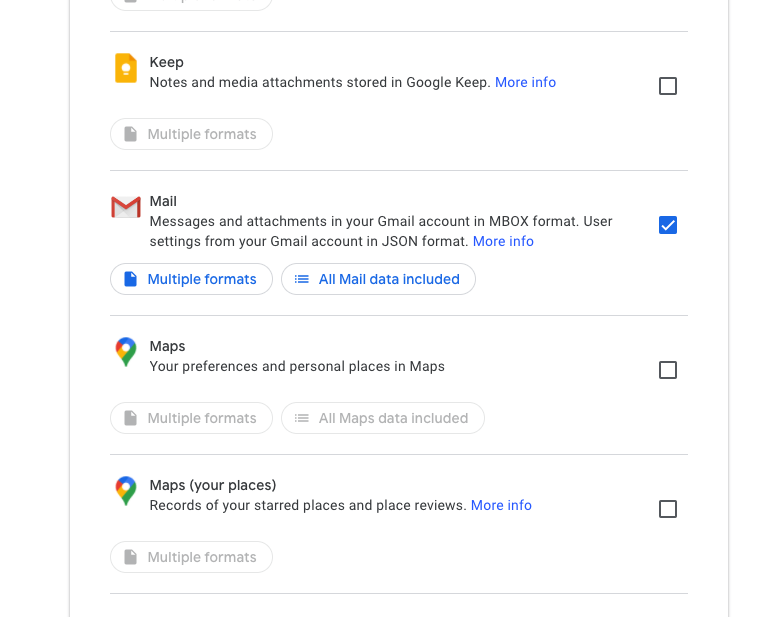
This page gives you a few options, but when it comes to your inbox, it’s not as straightforward as simply downloading an MBOX file. Yahoo only gives you the option of configuring an Outlook, Mac Mail, or Thunderbird inbox using IMAP, downloading all of your data to a third-party app which you can then use to store your emails as files.
You can also use the links on the previous screen to download individual elements of your Yahoo account, from contacts and email preferences to usage and activity. However, Yahoo forces you to send a request to download this data, which they warn can take up to 30 days.

Step Two: Getting Your Data
Your mileage may vary, but the gist of what you want to do here is to set your third-party inbox to download and store your Yahoo emails. To do that, simply configure your IMAP settings to:
Incoming Mail (IMAP) Server
Server: export.imap.mail.yahoo.com
Port: 993
Requires SSL: Yes
Outgoing Mail (SMTP) Server
Server: smtp.mail.yahoo.com
Port: 465 or 587
Requires SSL: Yes
Requires authentication: Yes
Every email client is different, but if you’re using Outlook you can find the steps to download your emails in our previous post.
How to Download AOL Data
Much to my dismay, when I logged onto my AOL account I found that all of my old emails, nearly 30 years of correspondence, were simply gone. Ah well, it’s hard to blame AOL for clearing up some space. After all, by my reckoning it had been at least 10 years since I opened this inbox. But it certainly underscores the need for backups, right?
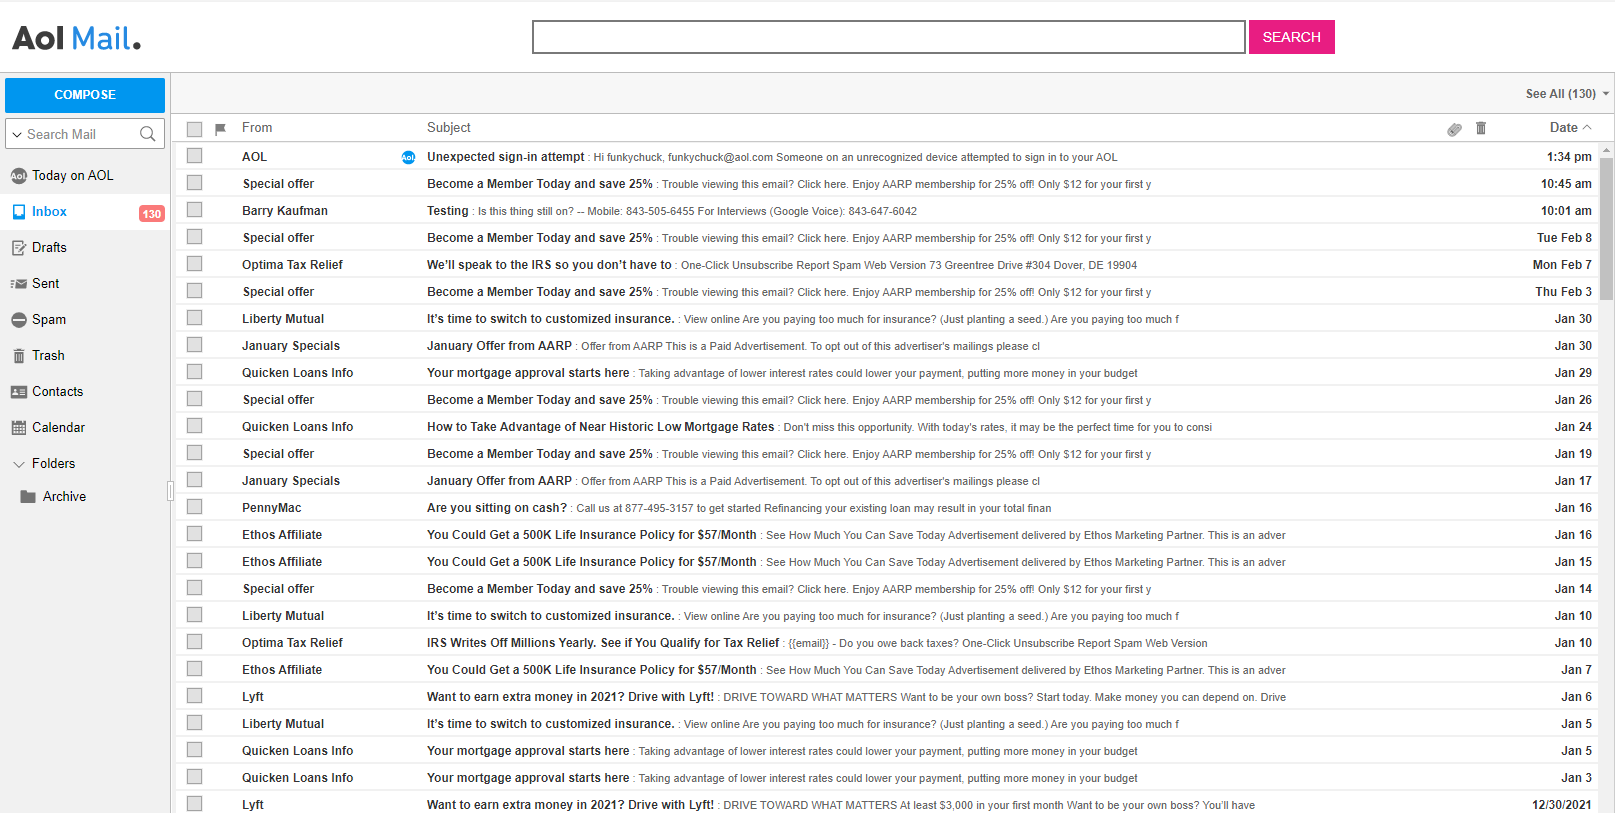
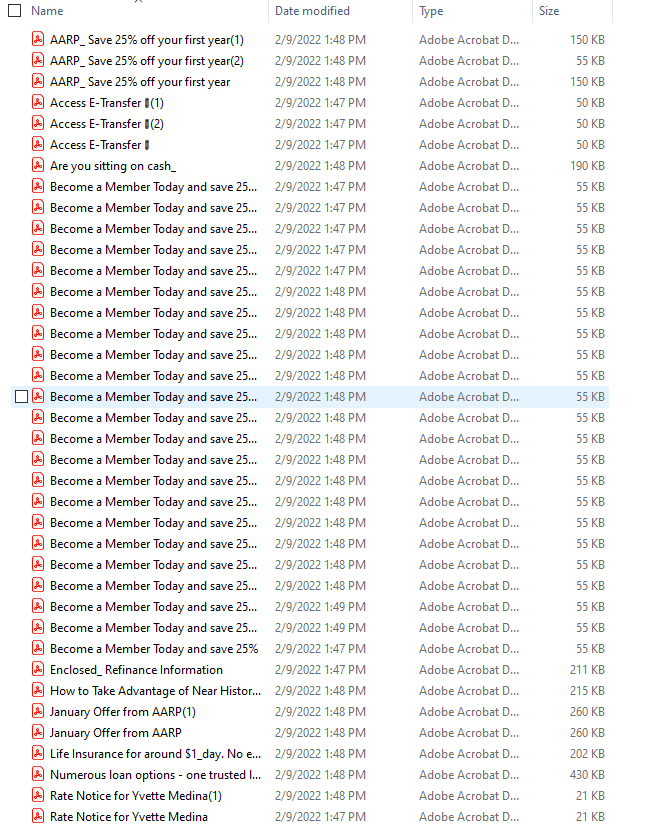
Regardless, I do have 130 emails in there so I can at least walk you through how you’d go about downloading them. Now there is always the print to PDF method, outlined in our previous post, which would certainly work here for individual emails. But if you’re looking to do a mass backup, fortunately you are not alone. Enough people have faced the same situation that a company called SysTools created an app specifically for backing up AOL emails.
Simply download the app, then either log in using your AOL credentials or by generating a one-time app password from your Account Security settings. The free version of the software will back up 100 emails, but you can purchase a license for $49 if you need to back up more. Whichever works for you, once you’re in, you’ll have four different email file formats to choose from: .EML, .MSG, .MBOX or .PST. You can also choose to save your emails as PDFs so they can be viewed across platforms.
And now we have all the emails in our inbox, saved on our computer in whichever file format floats our inbox, and we’re ready to move on to the next step. Your computer is just as fallible as AOL, and probably more so, so it’s time to move these into the cloud.
Backing Up Emails: To Sync or Not?
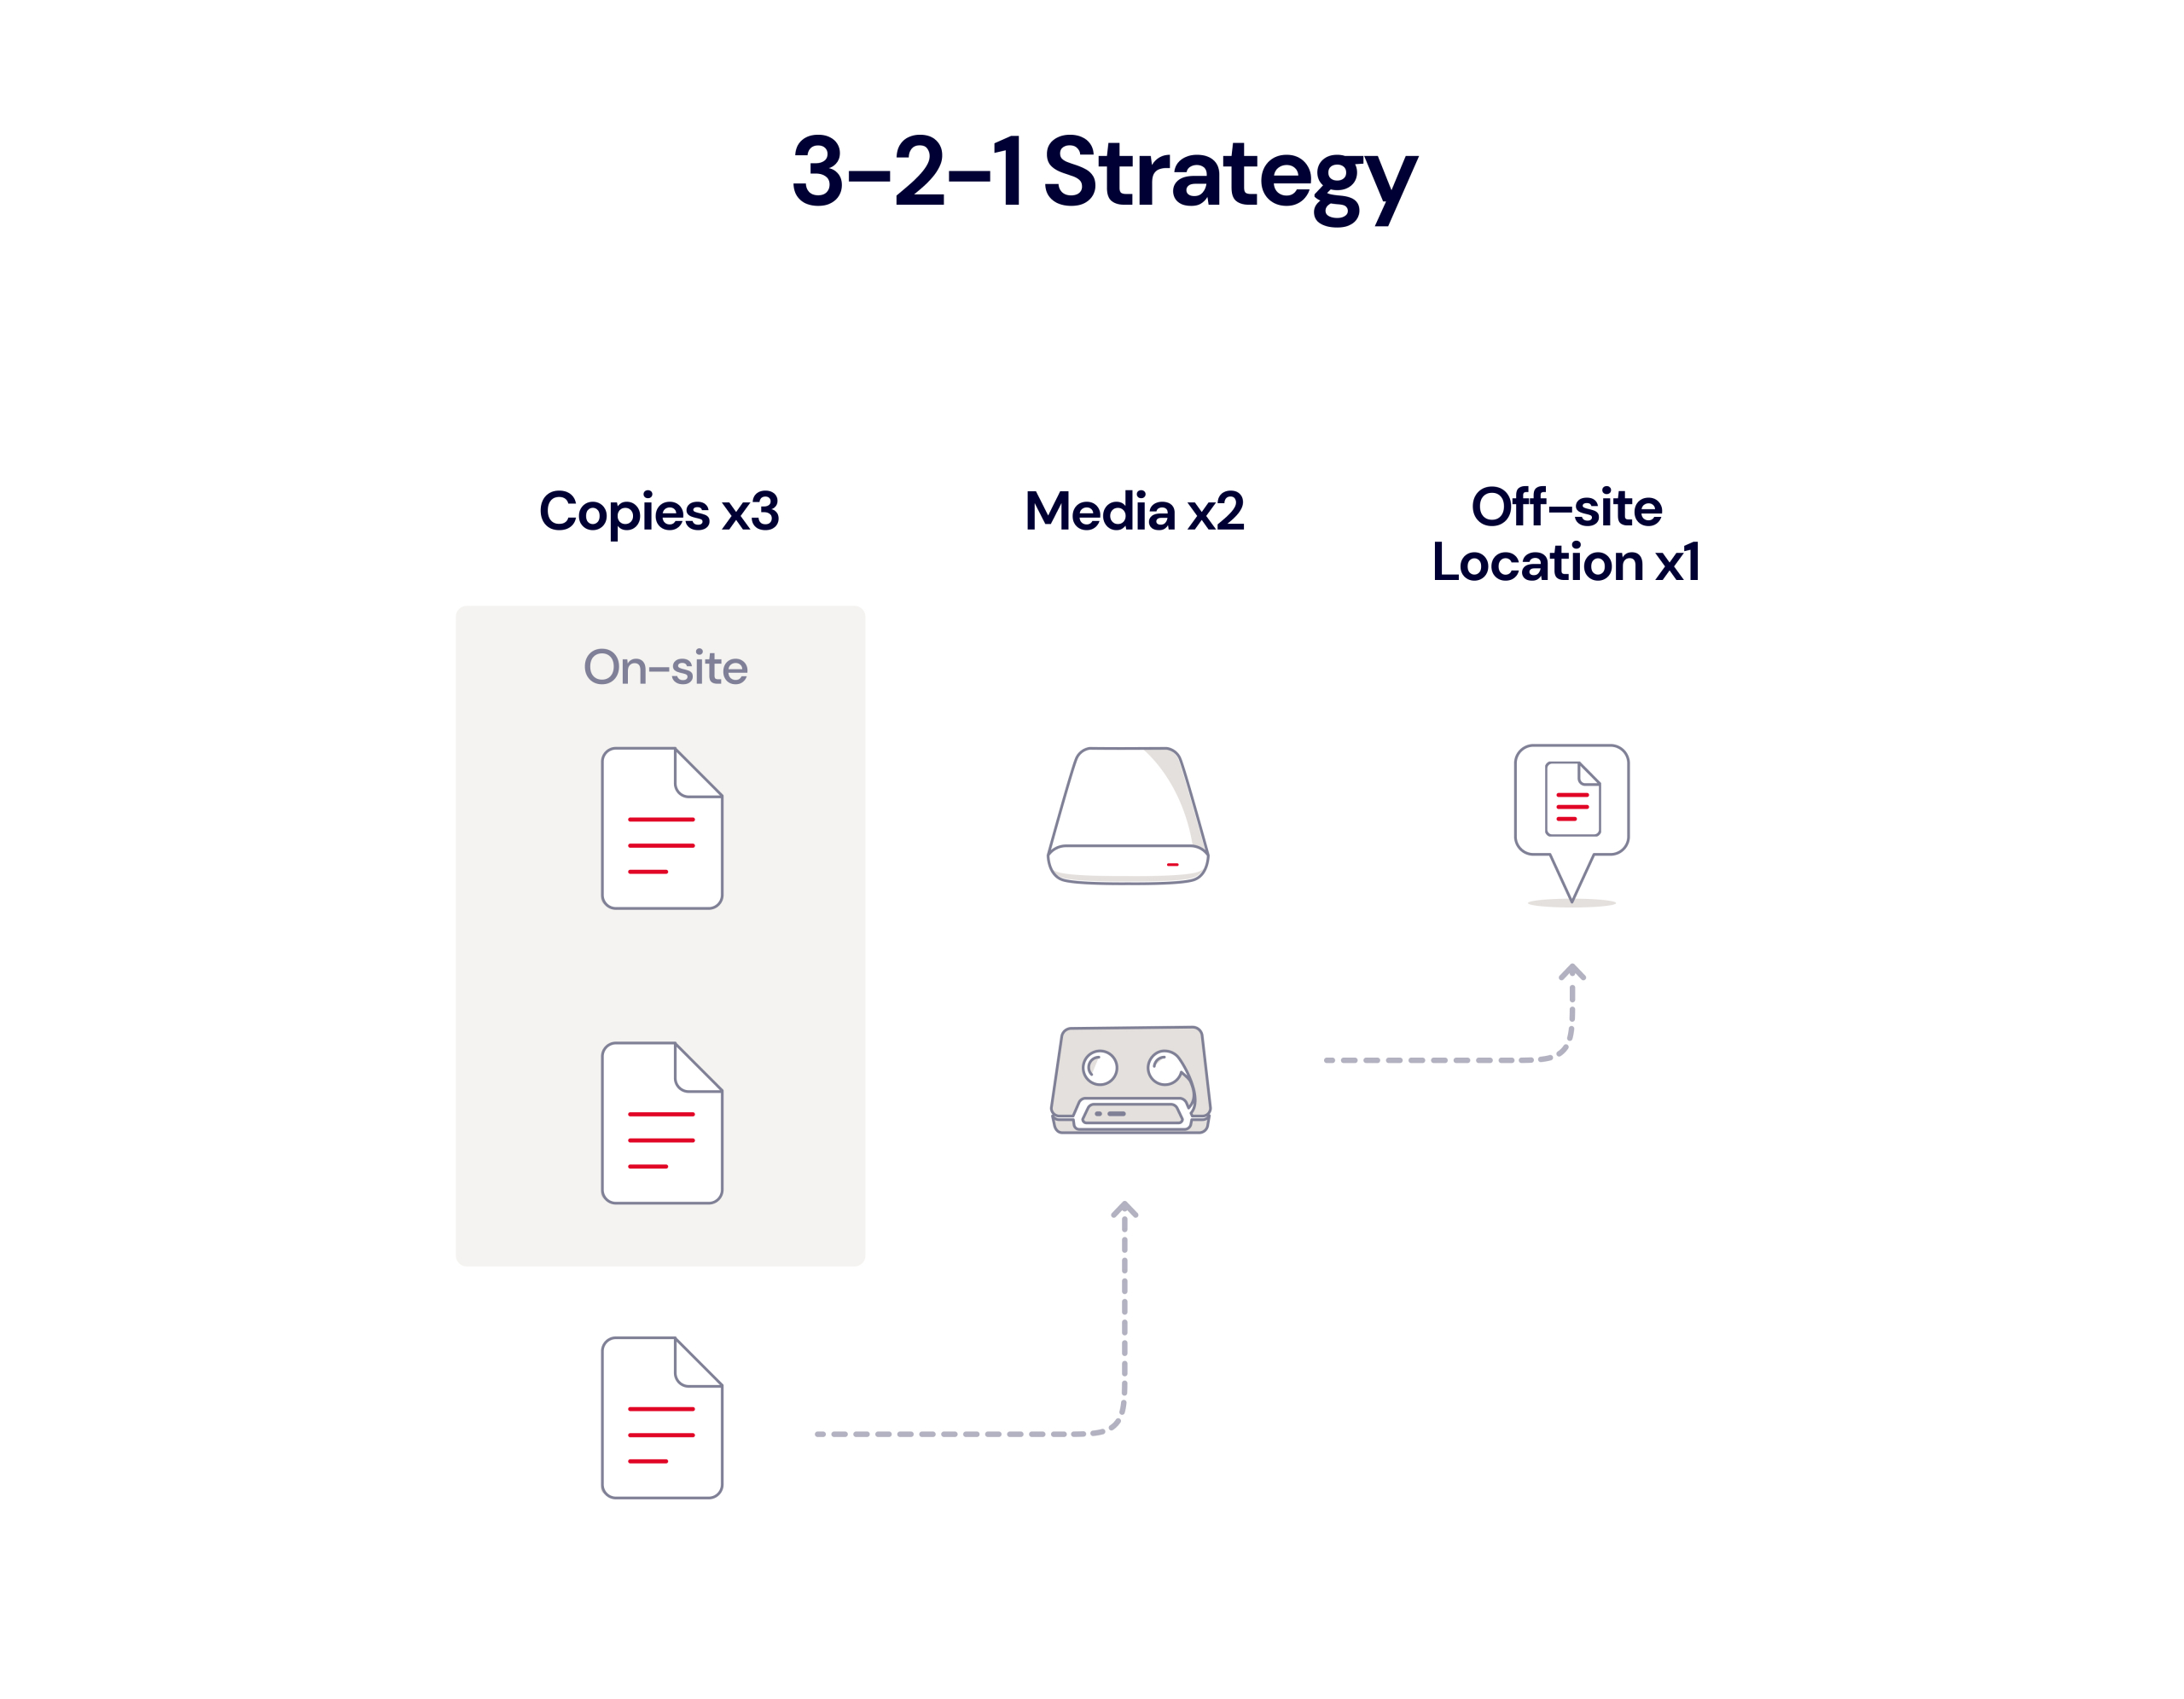
Now that we’ve rescued our emails from the digital ether, it’s time to put them somewhere a little more secure. If you use an automated backup service like Backblaze Personal Backup (and let’s be honest, you should), then it will be a pretty straightforward process consisting of two steps:
Step one: Do nothing.
Step two: Continue to do nothing, because Backblaze Personal Backup already did it for you.
Pretty easy, right?
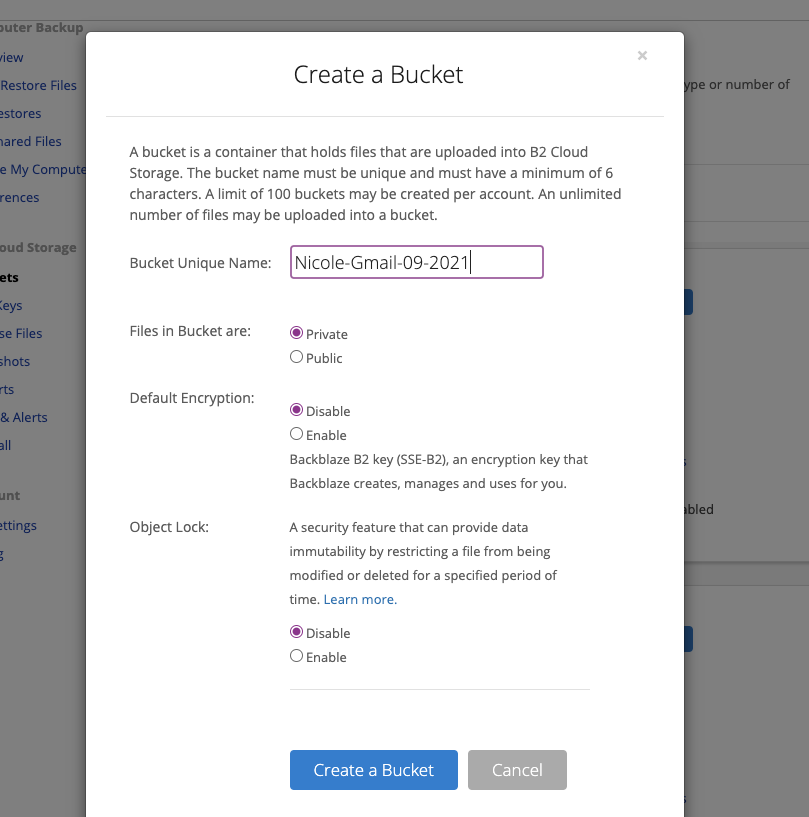
If you want to keep archival data on the computer you use every day, you can of course use Backblaze B2 Cloud Storage to archive data. Check out our post here for all the nitty-gritty.
The post How to Back Up Yahoo and AOL Data appeared first on Backblaze Blog | Cloud Storage & Cloud Backup.

 100% true copy of data.
 Expensive.