Post Syndicated from Yev original https://www.backblaze.com/blog/holiday-gift-guide-2025/

It’s that time of year again where the holidays are barreling towards us at an incredible rate. With so many cyber sales and new things hitting the market, it’s the most wonderful time of year to read gift guides. To help, I’ve asked my fine companions at Backblaze to list out some of their favorite gift ideas for this year, and I’ve compiled them for you here. Enjoy the suggestions, and my rambling commentary!
Couch Cady
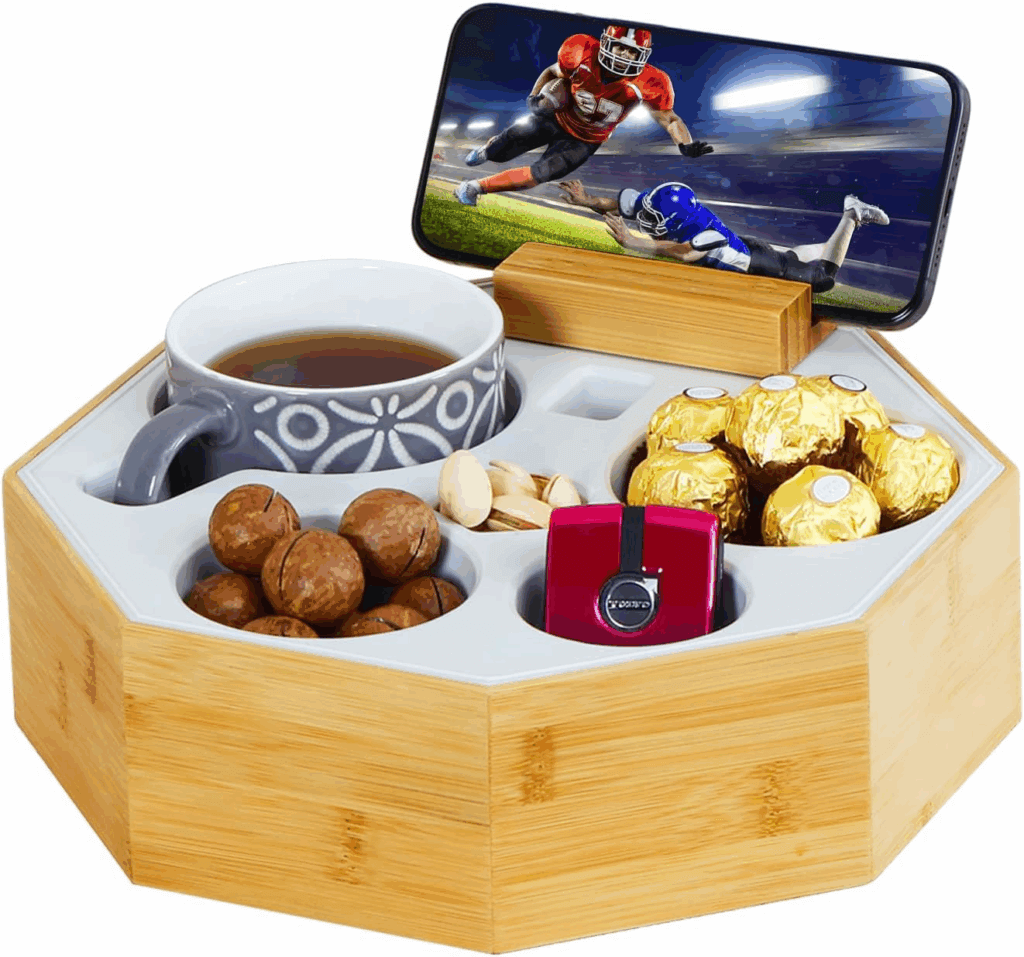
The couch outside of my office and the recliner are where I spend the majority of my at-home time. What better way to keep your drinks, snacks, and second screens handy than this caddy?
Cereal Cup

Have you ever put cereal and milk into a yeti mug and drank it after everything’s turned into a sugary mush? Me neither, but now you don’t have to—this cup allows you to maintain two great tastes that taste great together, but without them having to touch until you’re ready!
Slow Cooker Seasoning Blends

For the chef in your life—or for the aspiring chef that never quite understood what the word “seasoning” meant—this is a great seasoning blend. Let’s face it, if you’re eating their food, it’s a gift for you too!
Schmidt Brothers Stainless Steel 10-Piece Knife Block Set

Another one for the chef’s in your life. This knife block bundle looks good, by all accounts feels good, and also cuts good—which is great. By the way, does anyone in your life use pairing knives? It’s something I’m just now getting the hang of…fun!
Timeless Six Wine Exploration Bundle
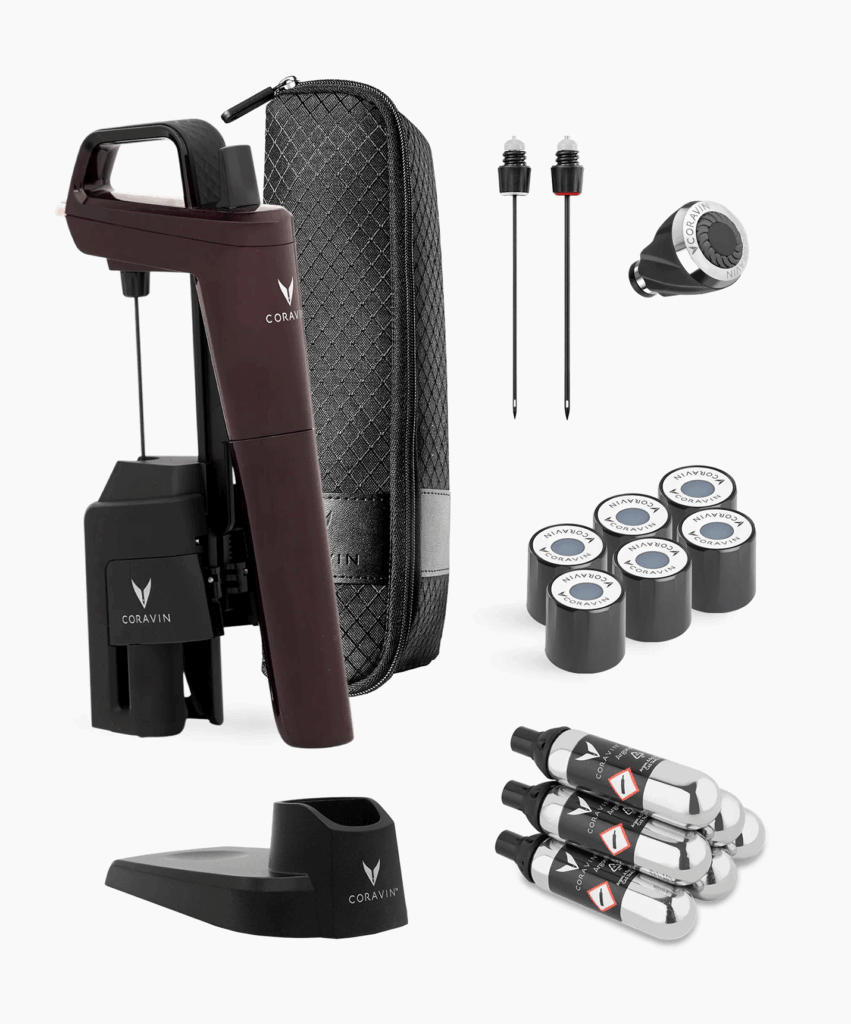
I have this, I use this, and I love this. It’s likely been in gift-guides of yesteryear but it’s just that good. Whether you’re a single human like me who doesn’t want to open a whole bottle and just wants a glass from time to time, or you’re an aficionado wanting to taste his bottles before opening them for a fancy dinner, this pumps inert argon gas into your wine bottles without having to open the cork. Great stuff.
Graze olive oil in glass bottles
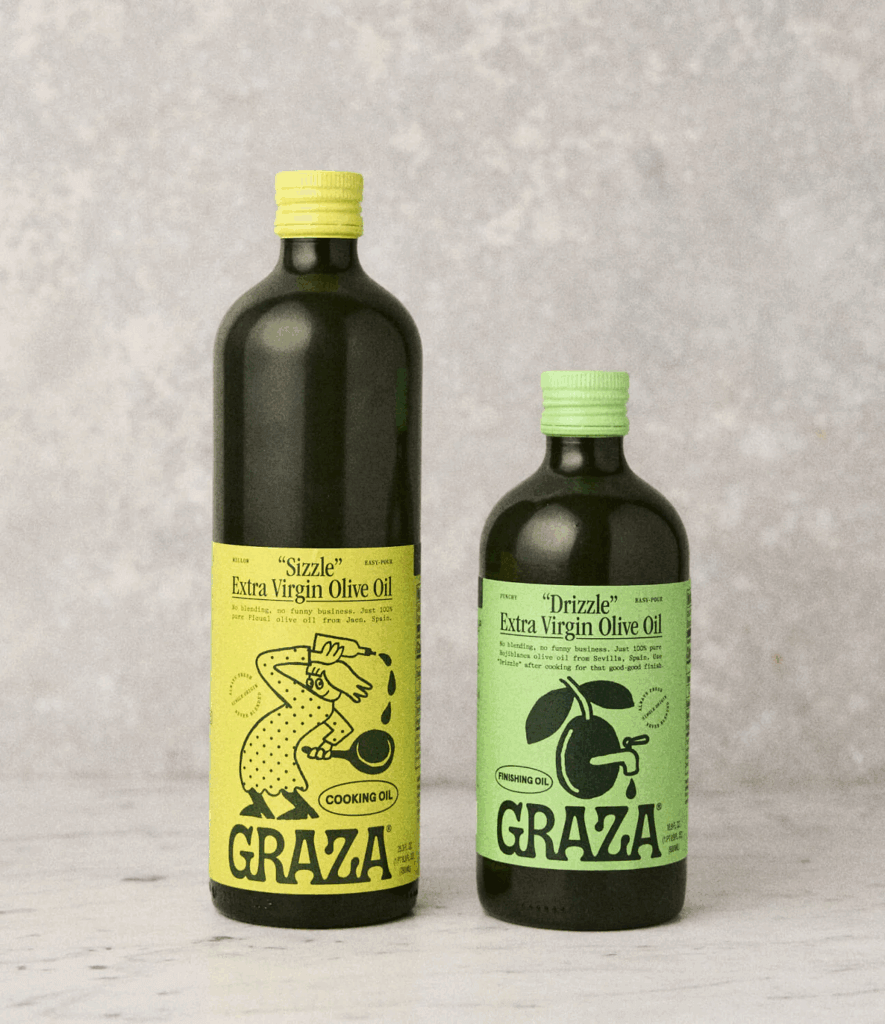
Popularized by Tiktok videos, this olive oil stands up to the hype and adds a good amount of actual flavor to your dishes. Whether you’re drizzling or frying, it’s a good recommendation!
Sustainably Raised Meat (for cooks or people who BBQ)
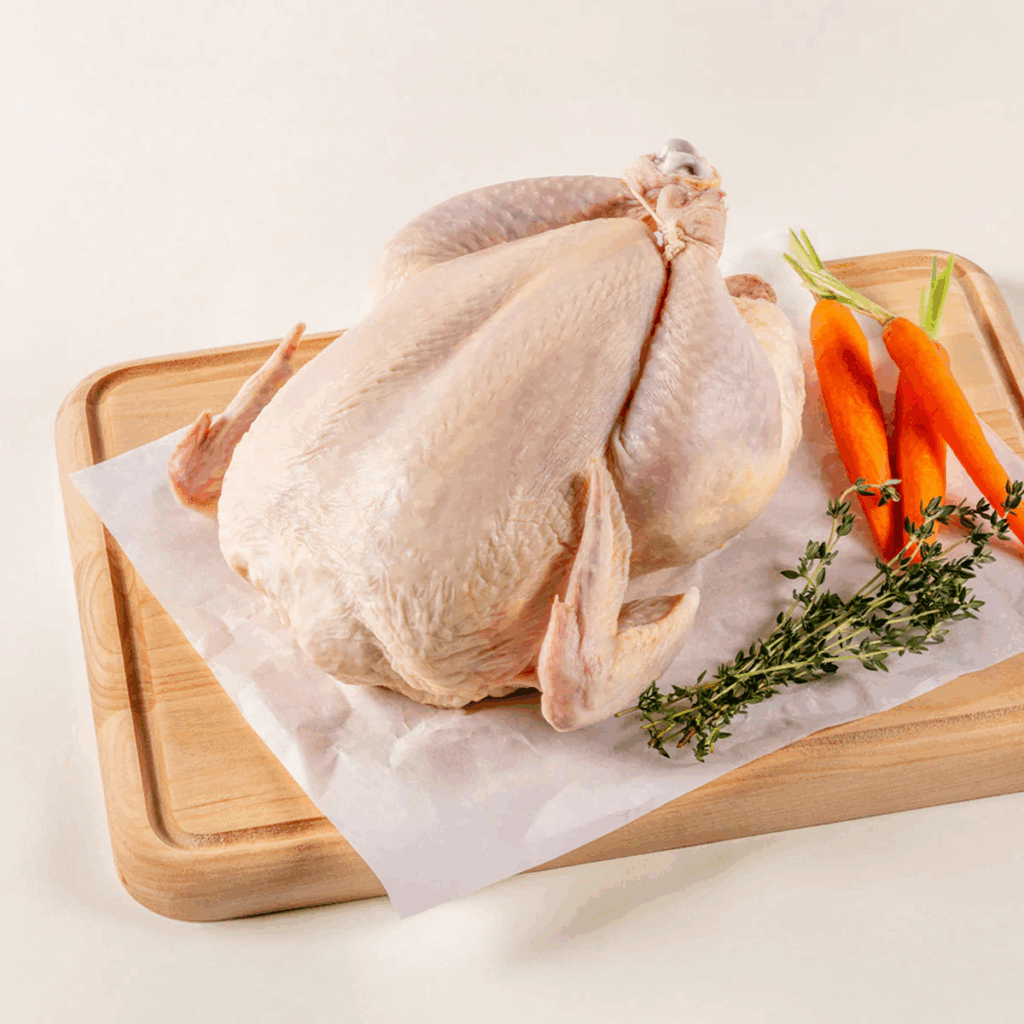
And speaking of frying, Butcherbox allows you to order sustainability sourced meats and have them delivered right to your door. It might be too late if you’re looking for a Thanksgiving bird, but you might need a few steaks eventually!
Terra Kaffe Demi automatic espresso machine
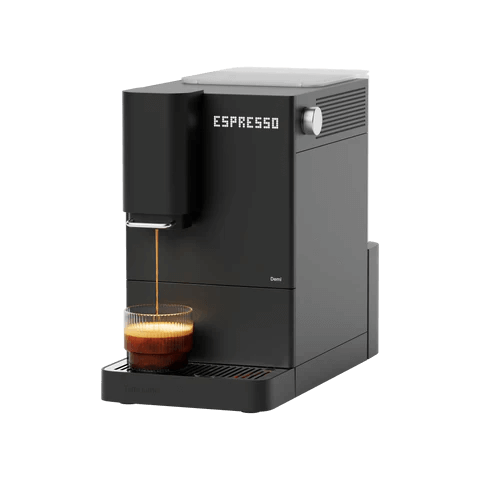
Espresso. Some pronounce it with an “x.” And while it does give you a caffeine boost in a hurry, there’s nothing express about it…except for getting a machine like this that can really speed up and boost your home coffee consumption.
Fancy Onsen Towels

Soft, cuddly, and rapidly drying—these towels are a treat. I got to use one a few months ago while visiting a friend of mine and I still think about them, seriously! It might actually be time to rotate my towels and these are at the top of the list.
Cordless Cleaning and Scrubbing Brush

Cleaning yourself with onsen towels is great, but what about cleaning the actual shower or bath? These allow you to get all the nooks and crannies between the tiles, and because they’re cordless you can also use them on your car rims. Do you ever wash those? You should!
Guardian Kids Bike and Guardian Adult Bike

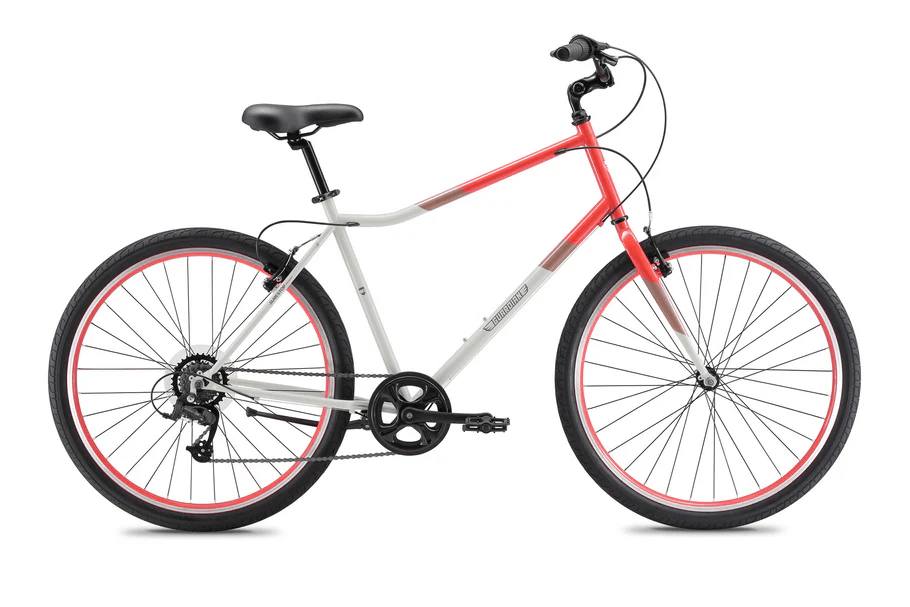
What’s one of my top-10 favorite things? Assembling Ikea furniture while listening to music. But I also enjoy biking! This combines both as the adult and children bikes are shipped to you and you get to assemble them at home before taking them on the road! It keeps costs low, and satisfaction high!
Oura Ring 4

I have been wearing fitness trackers for a very long time, from smartwatches to fitbits to step-counters, and this is my favorite one so far! I love that I can quickly charge it every 4-5 days and it gives me great insights into activity and sleep, without having to wear something bulky to bed.
Patagonia Black Hole Duffel
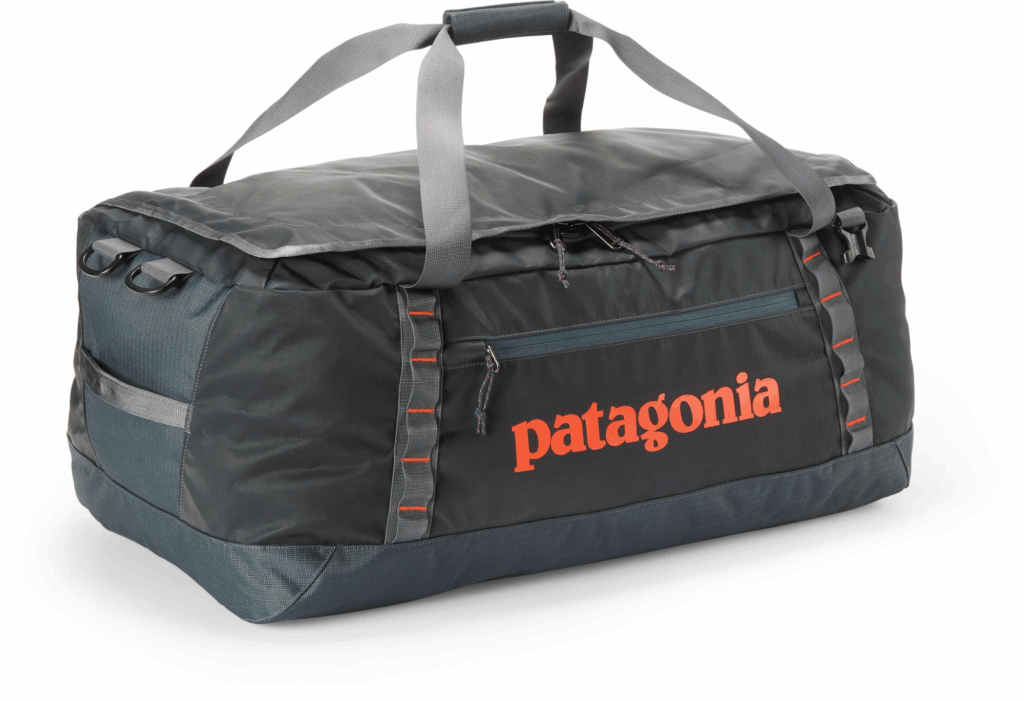
I am often envious of people who travel with duffel bags because of all the stuff you can fit into them. I still use my old-timey rollaboard, but I do have one of these that I throw in the car with me when I hit the ski slopes. These are great, come with backpack straps, and also have a lot of clips where you can hook carabineers up to (which is a great way to bring shoes you don’t want to pack).
Bev Ledge

Airplanes have come a long way but unless you’re sitting in your own personal pod up front (must be nice), there never seems to be enough room for all your stuff! This ledge fits neatly onto your window sill and allows for you to get a little more utility out of your surroundings! Just…don’t get an aisle seat.
Trtl Travel Pillow

As the Wu-Tang Clan once sang, “protect ya neck.” This travel pillow helps do just that when you’re on the go. No one likes falling asleep on a plane and waking up to a stiff neck—this helps!
Wyze Solar Cam Pan

These are great for monitoring the outside of your home, but the real killer app comes from using the indoor ones as baby monitors. Seriously, my family has been using them for years in the kiddos’ rooms, and not only is the quality much better than a standard baby monitor, but the recording features make for some really cute videos, and there’s no range restrictions. It’s a win-win-win.
Bambu Lab X1C 3D Printer
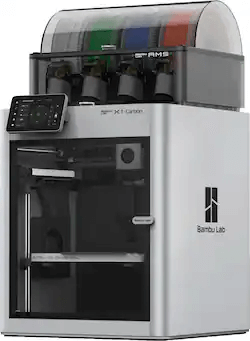
3D printing has become very mainstream over the last few years, and this at-home unit with space for multiple filaments makes it incredibly easy to create your favorite designs.
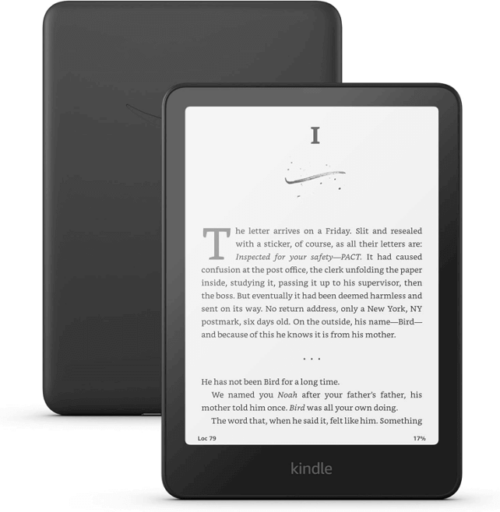
Kindle

Books. You know them, you love them, you should probably read one of my favorites from the last 10 years (The 7 ½ Deaths of Evelyn Hardcastle) and any of the Kindles should help you do just that! I’m a book on tape guy now because I tend to walk a lot (and if you have Audible I highly recommend the Dungeon Crawler Carl series), but if you enjoy holding something in your hands, the paper white Kindles are fantastic.
Classic Diablo (or any “good old game” from GOG”)
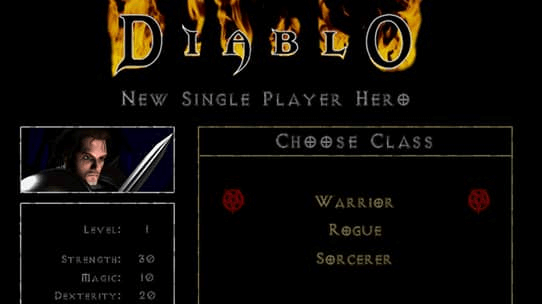
Classic games are classic for a reason! The recommendation from our org was for Diablo on Good Old Games, but there are a ton of classics there to choose from. One of my favorite series: Quest for Glory. Version 4 my favorite as it dives into Eastern European folktale lore!
Voice Activated Transformer Robots
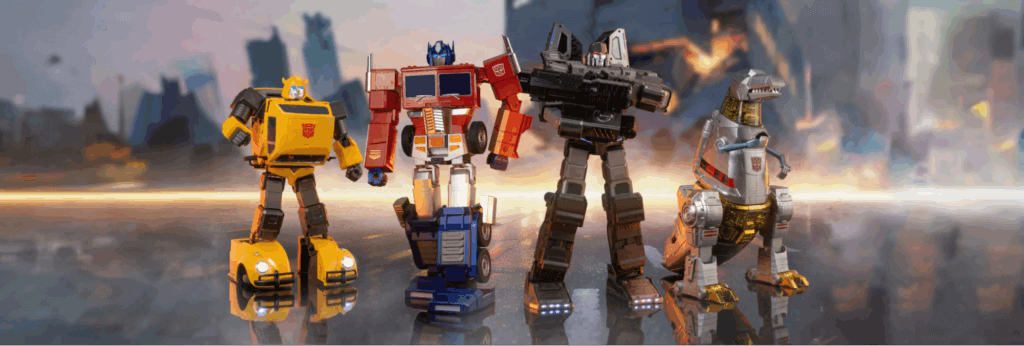
Transformers have always been popular, and these voice-activated robots are what I dreamed of when I was a kiddo. Now that I’m no longer a kiddo, I still kind of want one, because watching toys “build themselves” gives me real Toy Story vibes.
K-pop Demon Hunters Wooble kit
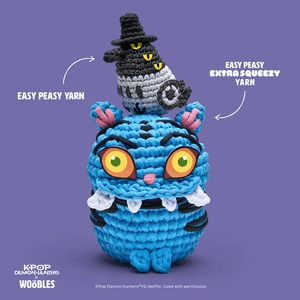
K-Pop Demon Hunters took the world by storm, and now you can turn it into a crafting activity for you or your kiddos! Wobbles are little crochet kits, and come with everything you need to make something cute and squishy, right at home!
Retroid Pocket G2

This little gaming handheld allows you to emulate the games of your youth. Whether you liked playing the Sega Game Gear or the Game Boy, you can get all your favorites in one place with these on-the-go systems.
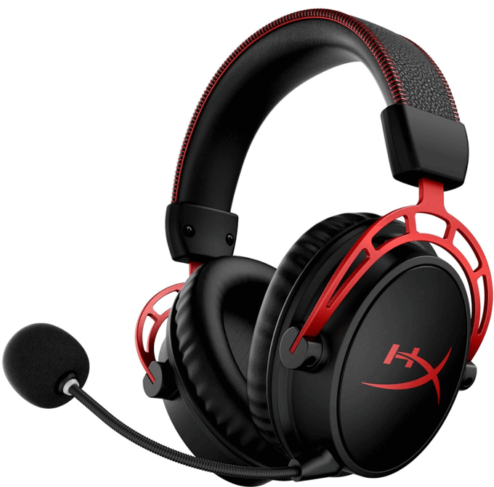
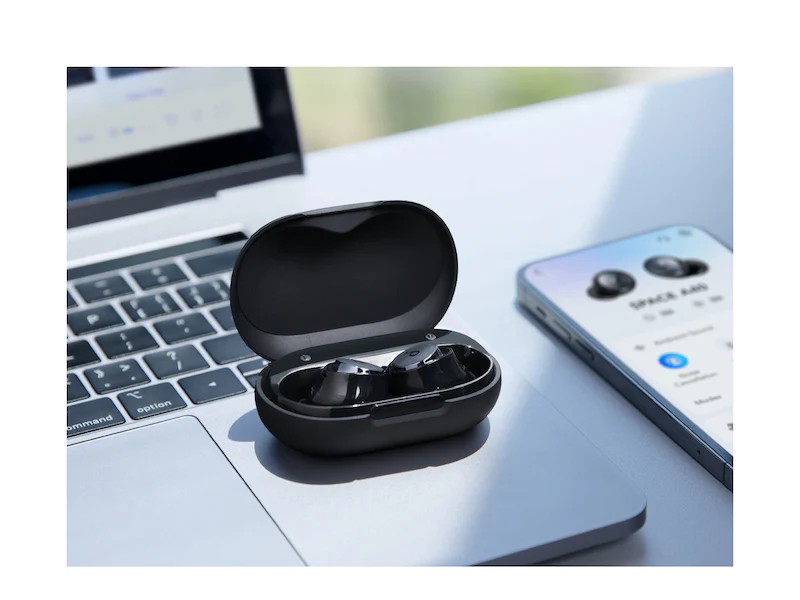
Moondrop Space Travel Headphones
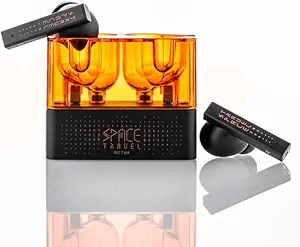
On the go or on the couch, good headphones are paramount. These are relatively shallow and offer noise cancelling technology to keep the outside world out while you’re listening to tunes, audiobooks, or podcasts!
Give the gift of Backblaze

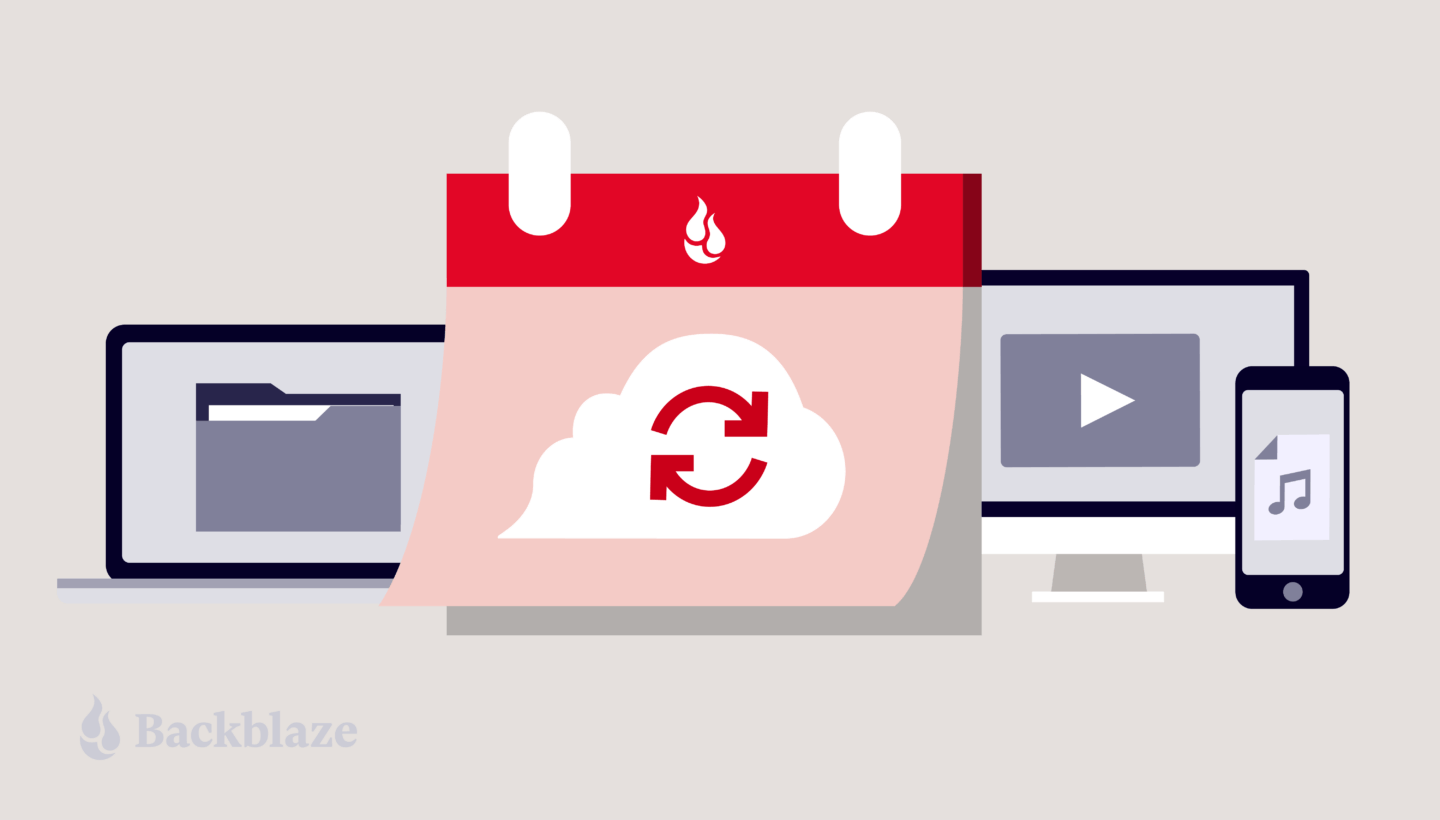
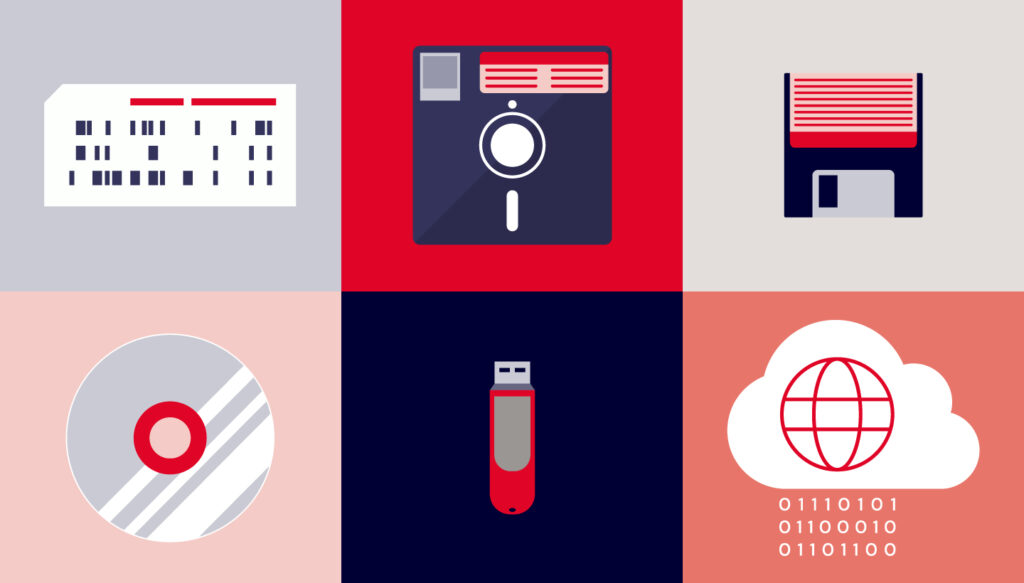
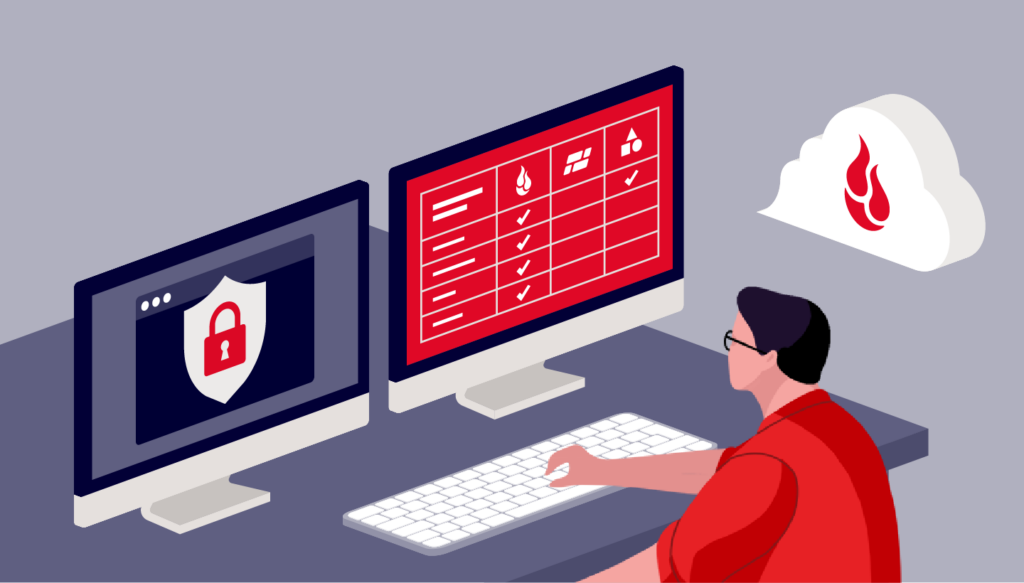
Of course you can always give the gift of Computer Backup. It makes a great gift and helps keep the data of your family and friends safe and sound. Peace of mind is a great gift.
Something you’ve had on your mind didn’t make our list? Tell us in the comments—we love hearing what people are excited about!
The post Holiday Gift Guide 2025 appeared first on Backblaze Blog | Cloud Storage & Cloud Backup


.jpg)