Post Syndicated from Antje Barth original https://aws.amazon.com/blogs/aws/package-and-deploy-models-faster-with-new-tools-and-guided-workflows-in-amazon-sagemaker/
I’m happy to share that Amazon SageMaker now comes with an improved model deployment experience to help you deploy traditional machine learning (ML) models and foundation models (FMs) faster.
As a data scientist or ML practitioner, you can now use the new ModelBuilder class in the SageMaker Python SDK to package models, perform local inference to validate runtime errors, and deploy to SageMaker from your local IDE or SageMaker Studio notebooks.
In SageMaker Studio, new interactive model deployment workflows give you step-by-step guidance on which instance type to choose to find the most optimal endpoint configuration. SageMaker Studio also provides additional interfaces to add models, test inference, and enable auto scaling policies on the deployed endpoints.
New tools in SageMaker Python SDK
The SageMaker Python SDK has been updated with new tools, including ModelBuilder and SchemaBuilder classes that unify the experience of converting models into SageMaker deployable models across ML frameworks and model servers. Model builder automates the model deployment by selecting a compatible SageMaker container and capturing dependencies from your development environment. Schema builder helps to manage serialization and deserialization tasks of model inputs and outputs. You can use the tools to deploy the model in your local development environment to experiment with it, fix any runtime errors, and when ready, transition from local testing to deploy the model on SageMaker with a single line of code.

Let me show you how this works. In the following example, I choose the Falcon-7B model from the Hugging Face model hub. I first deploy the model locally, run a sample inference, perform local benchmarking to find the optimal configuration, and finally deploy the model with the suggested configuration to SageMaker.
First, import the updated SageMaker Python SDK and define a sample model input and output that matches the prompt format for the selected model.
import sagemaker
from sagemaker.serve.builder.model_builder import ModelBuilder
from sagemaker.serve.builder.schema_builder import SchemaBuilder
from sagemaker.serve import Mode

prompt = "Falcons are"
response = "Falcons are small to medium-sized birds of prey related to hawks and eagles."

sample_input = {
    "inputs": prompt,
    "parameters": {"max_new_tokens": 32}
}

sample_output = [{"generated_text": response}]
Then, create a ModelBuilder instance with the Hugging Face model ID, a SchemaBuilder instance with the sample model input and output, define a local model path, and set the mode to LOCAL_CONTAINER to deploy the model locally. The schema builder generates the required functions for serializing and deserializing the model inputs and outputs.
model_builder = ModelBuilder(
    model="tiiuae/falcon-7b",
    schema_builder=SchemaBuilder(sample_input, sample_output),
    model_path="/path/to/falcon-7b",
    mode=Mode.LOCAL_CONTAINER,
	env_vars={"HF_TRUST_REMOTE_CODE": "True"}
)
Next, call build() to convert the PyTorch model into a SageMaker deployable model. The build function generates the required artifacts for the model server, including the inferency.py and serving.properties files.
local_mode_model = model_builder.build()For FMs, such as Falcon, you can optionally run tune() in local container mode that performs local benchmarking to find the optimal model serving configuration. This includes the tensor parallel degree that specifies the number of GPUs to use if your environment has multiple GPUs available. Once ready, call deploy() to deploy the model in your local development environment.
tuned_model = local_mode_model.tune()
tuned_model.deploy()
Let’s test the model.
updated_sample_input = model_builder.schema_builder.sample_input
print(updated_sample_input)

{'inputs': 'Falcons are',
 'parameters': {'max_new_tokens': 32}}

local_tuned_predictor.predict(updated_sample_input)[0]["generated_text"]
In my demo, the model returns the following response:
a type of bird that are known for their sharp talons and powerful beaks. They are also known for their ability to fly at high speeds […]
When you’re ready to deploy the model on SageMaker, call deploy() again, set the mode to SAGEMAKLER_ENDPOINT, and provide an AWS Identity and Access Management (IAM) role with appropriate permissions.
sm_predictor = tuned_model.deploy(
mode=Mode.SAGEMAKER_ENDPOINT,
role="arn:aws:iam::012345678910:role/role_name"
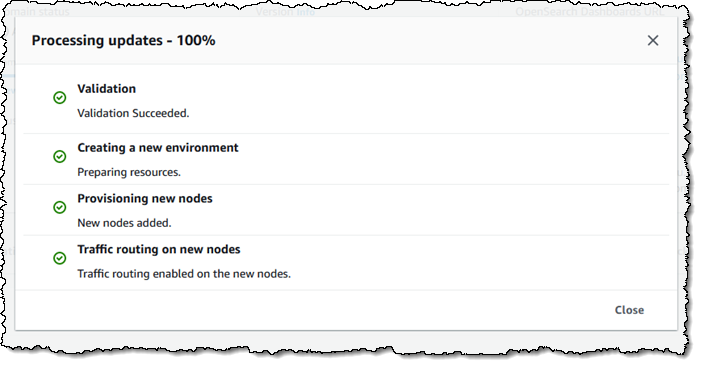
)This starts deploying your model on a SageMaker endpoint. Once the endpoint is ready, you can run predictions.
new_input = {'inputs': 'Eagles are','parameters': {'max_new_tokens': 32}}
sm_predictor.predict(new_input)[0]["generated_text"])
New SageMaker Studio model deployment experience
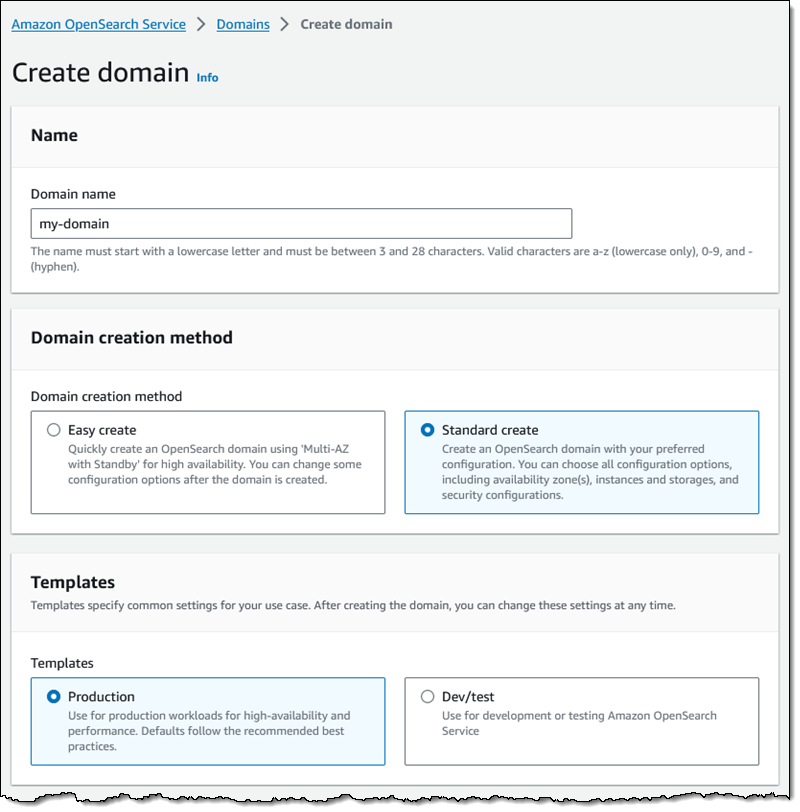
You can start the new interactive model deployment workflows by selecting one or more models to deploy from the models landing page or SageMaker JumpStart model details page or by creating a new endpoint from the endpoints details page.

The new workflows help you quickly deploy the selected model(s) with minimal inputs. If you used SageMaker Inference Recommender to benchmark your model, the dropdown will show instance recommendations from that benchmarking.

Without benchmarking your model, the dropdown will display prospective instances that SageMaker predicts could be a good fit based on its own heuristics. For some of the most popular SageMaker JumpStart models, you’ll see an AWS pretested optimal instance type. For other models, you’ll see generally recommended instance types. For example, if I select the Falcon 40B Instruct model in SageMaker JumpStart, I can see the recommended instance types.


However, if I want to optimize the deployment for cost or performance to meet my specific use cases, I could open the Alternate configurations panel to view more options based on data from before benchmarking.

Once deployed, you can test inference or manage auto scaling policies.

Things to know
Here are a couple of important things to know:
Supported ML models and frameworks – At launch, the new SageMaker Python SDK tools support model deployment for XGBoost and PyTorch models. You can deploy FMs by specifying the Hugging Face model ID or SageMaker JumpStart model ID using the SageMaker LMI container or Hugging Face TGI-based container. You can also bring your own container (BYOC) or deploy models using the Triton model server in ONNX format.
Now available
The new set of tools is available today in all AWS Regions where Amazon SageMaker real-time inference is available. There is no cost to use the new set of tools; you pay only for any underlying SageMaker resources that get created.
Learn more
Get started
Explore the new SageMaker model deployment experience in the AWS Management Console today!
— Antje


 Neeraja Rentachintala is a Principal Product Manager with Amazon Redshift. Neeraja is a seasoned Product Management and GTM leader, bringing over 20 years of experience in product vision, strategy and leadership roles in data products and platforms. Neeraja delivered products in analytics, databases, data Integration, application integration, AI/Machine Learning, large scale distributed systems across On-Premise and Cloud, serving Fortune 500 companies as part of ventures including MapR (acquired by HPE), Microsoft SQL Server, Oracle, Informatica and Expedia.com.


 G2 Krishnamoorthy is VP of Analytics, leading AWS data lake services, data integration, Amazon OpenSearch Service, and Amazon QuickSight. Prior to his current role, G2 built and ran the Analytics and ML Platform at Facebook/Meta, and built various parts of the SQL Server database, Azure Analytics, and Azure ML at Microsoft.
 Rahul Pathak is VP of Relational Database Engines, leading Amazon Aurora, Amazon Redshift, and Amazon QLDB. Prior to his current role, he was VP of Analytics at AWS, where he worked across the entire AWS database portfolio. He has co-founded two companies, one focused on digital media analytics and the other on IP-geolocation.