Post Syndicated from Abhishek Gupta original https://aws.amazon.com/blogs/aws/aws-weekly-roundup-new-capabilities-in-amazon-bedrock-aws-amplify-gen-2-amazon-rds-and-more-may-13-2024/
AWS Summit is in full swing around the world, with the most recent one being AWS Summit Singapore! Here is a sneak peek of the AWS staff and ASEAN community members at the Developer Lounge booth. It featured AWS Community speakers giving lightning talks on serverless, Amazon Elastic Kubernetes Service (Amazon EKS), security, generative AI, and more.

Last week’s launches
Here are some launches that caught my attention. Not surprisingly, a lot of interesting generative AI features!
Amazon Titan Text Premier is now available in Amazon Bedrock – This is the latest addition to the Amazon Titan family of large language models (LLMs) and offers optimized performance for key features like Retrieval Augmented Generation (RAG) on Knowledge Bases for Amazon Bedrock, and function calling on Agents for Amazon Bedrock.
Amazon Bedrock Studio is now available in public preview – Amazon Bedrock Studio offers a web-based experience to accelerate the development of generative AI applications by providing a rapid prototyping environment with key Amazon Bedrock features, including Knowledge Bases, Agents, and Guardrails.

Agents for Amazon Bedrock now supports Provisioned Throughput pricing model – As agentic applications scale, they require higher input and output model throughput compared to on-demand limits. The Provisioned Throughput pricing model makes it possible to purchase model units for the specific base model.
MongoDB Atlas is now available as a vector store in Knowledge Bases for Amazon Bedrock – With MongoDB Atlas vector store integration, you can build RAG solutions to securely connect your organization’s private data sources to foundation models (FMs) in Amazon Bedrock.
Amazon RDS for PostgreSQL supports pgvector 0.7.0 – You can use the open-source PostgreSQL extension for storing vector embeddings and add retrieval-augemented generation (RAG) capability in your generative AI applications. This release includes features that increase the number of dimensions of vectors you can index, reduce index size, and includes additional support for using CPU SIMD in distance computations. Also Amazon RDS Performance Insights now supports the Oracle Multitenant configuration on Amazon RDS for Oracle.
Amazon EC2 Inf2 instances are now available in new regions – These instances are optimized for generative AI workloads and are generally available in the Asia Pacific (Sydney), Europe (London), Europe (Paris), Europe (Stockholm), and South America (Sao Paulo) Regions.
New Generative Engine in Amazon Polly is now generally available – The generative engine in Amazon Polly is it’s most advanced text-to-speech (TTS) model and currently includes two American English voices, Ruth and Matthew, and one British English voice, Amy.

AWS Amplify Gen 2 is now generally available – AWS Amplify offers a code-first developer experience for building full-stack apps using TypeScript and enables developers to express app requirements like the data models, business logic, and authorization rules in TypeScript. AWS Amplify Gen 2 has added a number of features since the preview, including a new Amplify console with features such as custom domains, data management, and pull request (PR) previews.
Amazon EMR Serverless now includes performance monitoring of Apache Spark jobs with Amazon Managed Service for Prometheus – This lets you analyze, monitor, and optimize your jobs using job-specific engine metrics and information about Spark event timelines, stages, tasks, and executors. Also, Amazon EMR Studio is now available in the Asia Pacific (Melbourne) and Israel (Tel Aviv) Regions.
Amazon MemoryDB launched two new condition keys for IAM policies – The new condition keys let you create AWS Identity and Access Management (IAM) policies or Service Control Policies (SCPs) to enhance security and meet compliance requirements. Also, Amazon ElastiCache has updated it’s minimum TLS version to 1.2.
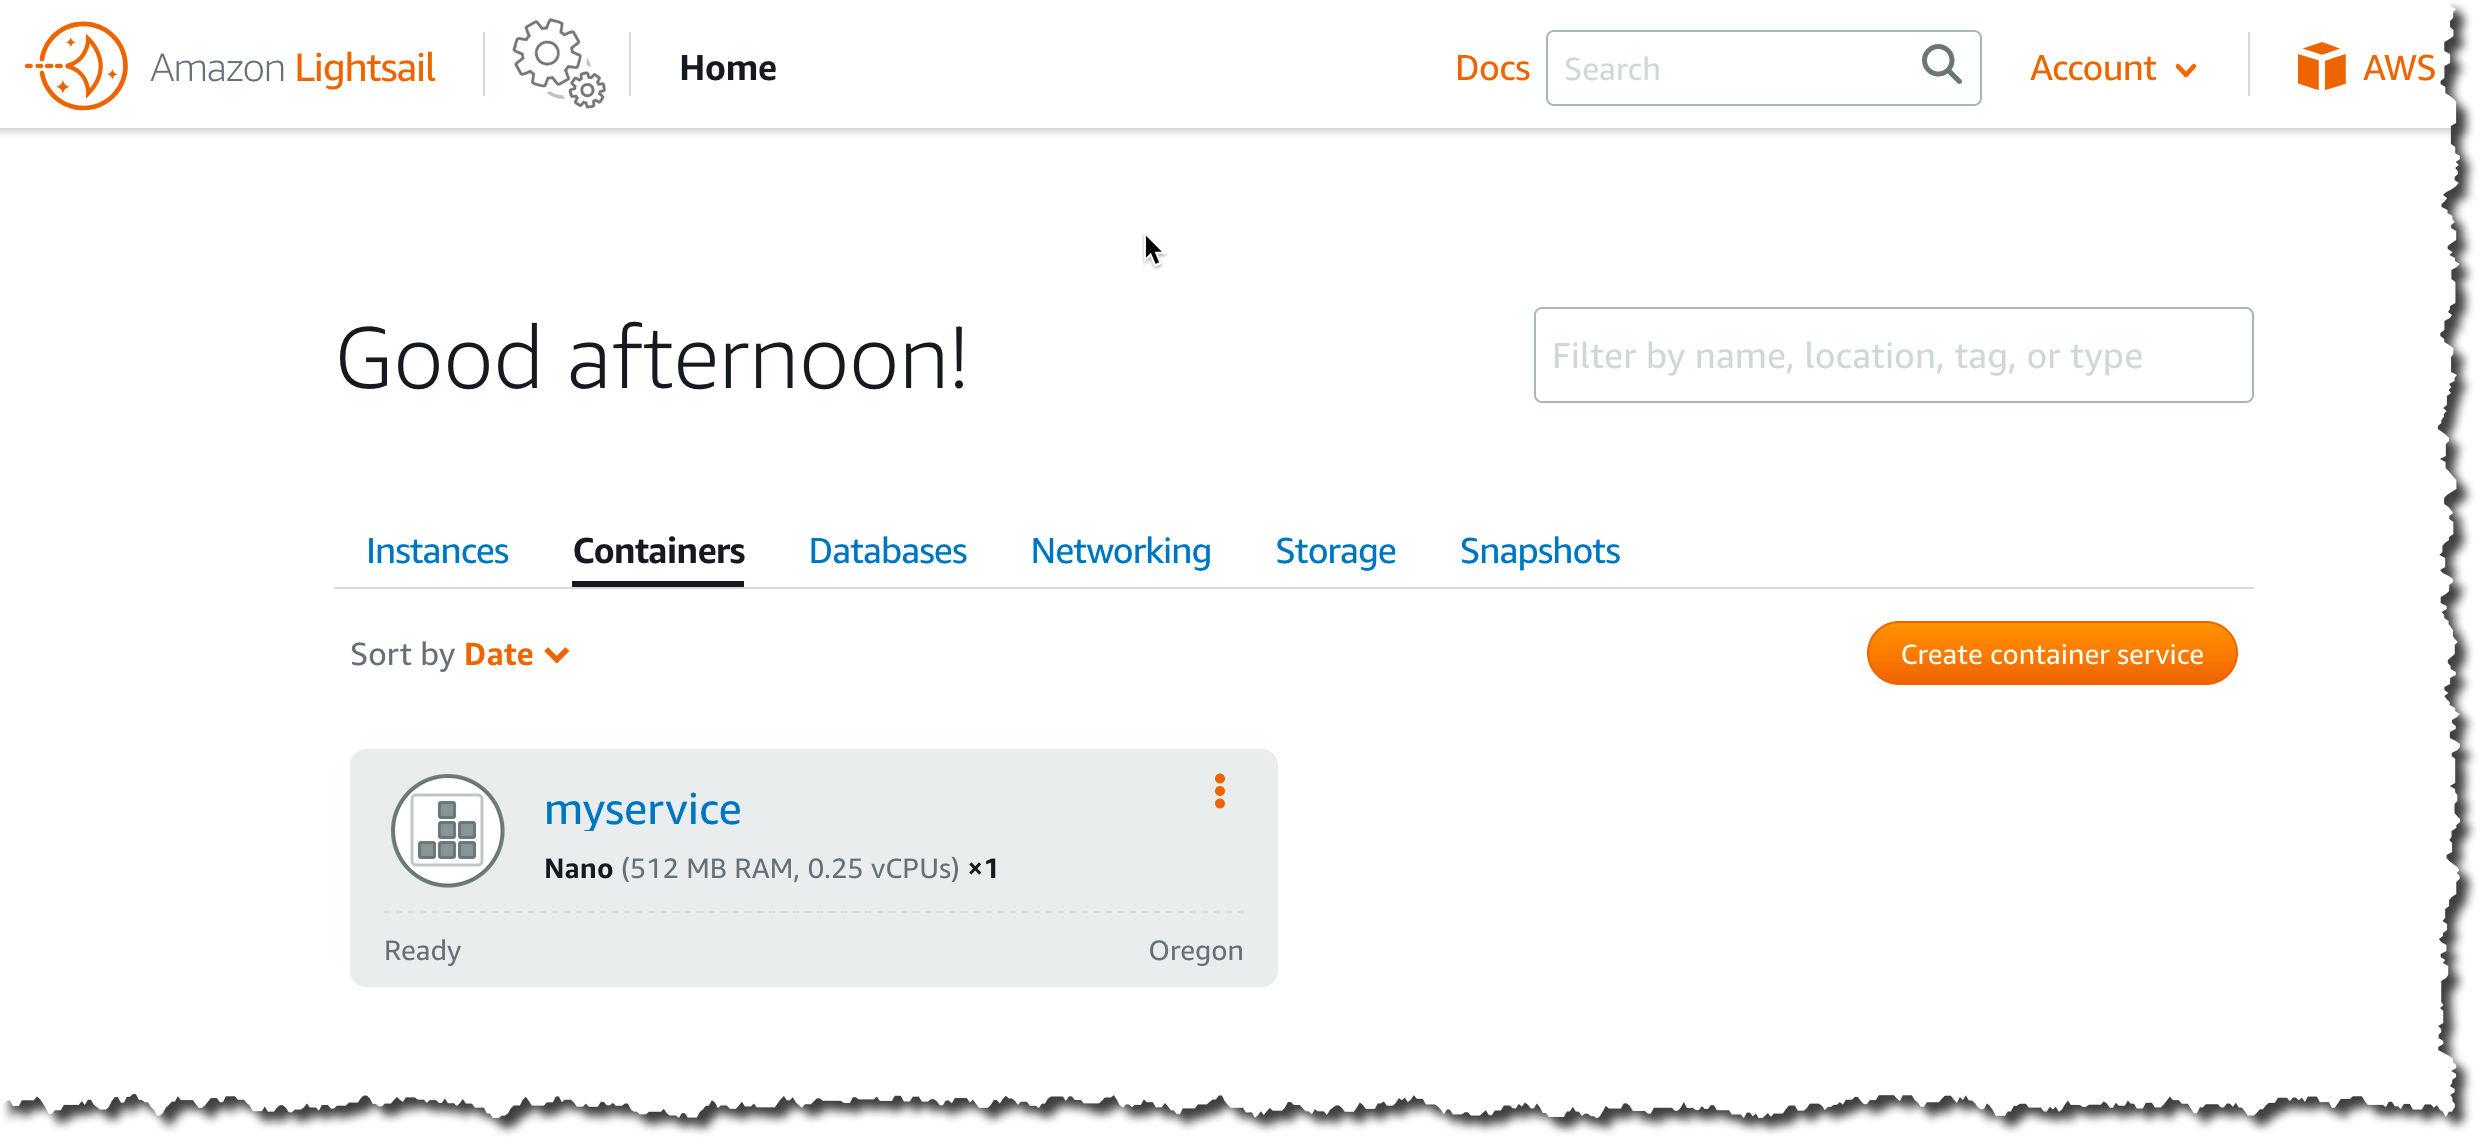
Amazon Lightsail now offers a larger instance bundle – This includes 16 vCPUs and 64 GB memory. You can now scale your web applications and run more compute and memory-intensive workloads in Lightsail.
Amazon Elastic Container Registry (ECR) adds pull through cache support for GitLab Container Registry – ECR customers can create a pull through cache rule that maps an upstream registry to a namespace in their private ECR registry. Once rule is configured, images can be pulled through ECR from GitLab Container Registry. ECR automatically creates new repositories for cached images and keeps them in-sync with the upstream registry.
AWS Resilience Hub expands application resilience drift detection capabilities – This new enhancement detects changes, such as the addition or deletion of resources within the application’s input sources.
For a full list of AWS announcements, be sure to keep an eye on the What’s New at AWS page.
Other AWS news
Here are some additional projects and blog posts that you might find interesting.
Building games with LLMs – Check out this fun experiment by Banjo Obayomi to generate Super Mario levels using different LLMs on Amazon Bedrock!

Troubleshooting with Amazon Q – Ricardo Ferreira walks us through how he solved a nasty data serialization problem while working with Apache Kafka, Go, and Protocol Buffers.
Getting started with Amazon Q in VS Code – Check out this excellent step-by-step guide by Rohini Gaonkar that covers installing the extension for features like code completion chat, and productivity-boosting capabilities powered by generative AI.
AWS open source news and updates – My colleague Ricardo writes about open source projects, tools, and events from the AWS Community. Check out Ricardo’s page for the latest updates.
Upcoming AWS events
Check your calendars and sign up for upcoming AWS events:
AWS Summits – Join free online and in-person events that bring the cloud computing community together to connect, collaborate, and learn about AWS. Register in your nearest city: Bengaluru (May 15–16), Seoul (May 16–17), Hong Kong (May 22), Milan (May 23), Stockholm (June 4), and Madrid (June 5).
AWS re:Inforce – Explore 2.5 days of immersive cloud security learning in the age of generative AI at AWS re:Inforce, June 10–12 in Pennsylvania.
AWS Community Days – Join community-led conferences that feature technical discussions, workshops, and hands-on labs led by expert AWS users and industry leaders from around the world: Turkey (May 18), Midwest | Columbus (June 13), Sri Lanka (June 27), Cameroon (July 13), Nigeria (August 24), and New York (August 28).
Browse all upcoming AWS led in-person and virtual events and developer-focused events.
That’s all for this week. Check back next Monday for another Weekly Roundup!
— Abhishek
This post is part of our Weekly Roundup series. Check back each week for a quick roundup of interesting news and announcements from AWS!