Post Syndicated from Eric Johnson original https://aws.amazon.com/blogs/compute/building-typescript-projects-with-aws-sam-cli/
This post written by Dan Fox, Principal Specialist Solutions Architect and Roman Boiko, Senior Specialist Solutions Architect
The AWS Serverless Application Model (AWS SAM) CLI provides developers with a local tool for managing serverless applications on AWS. This command line tool allows developers to initialize and configure applications, build and test locally, and deploy to the AWS Cloud. Developers can also use AWS SAM from IDEs like Visual Studio Code, JetBrains, or WebStorm. TypeScript is a superset of JavaScript and adds static typing, which reduces errors during development and runtime.
On February 22, 2022 we announced the beta of AWS SAM CLI support for TypeScript. These improvements simplify TypeScript application development by allowing you to build and deploy serverless TypeScript projects using AWS SAM CLI commands. To install the latest version of the AWS SAM CLI, refer to the installation section of the AWS SAM page.
In this post, I initialize a TypeScript project using an AWS SAM template. Then I build a TypeScript project using the AWS SAM CLI. Next, I use AWS SAM Accelerate to speed up the development and test iteration cycles for your TypeScript project. Last, I measure the impact of bundling, tree shaking, and minification on deployment package size.
Initializing a TypeScript template
This walkthrough requires:
- Node.js 14. x
- AWS SAM CLI
AWS SAM now provides the capability to create a sample TypeScript project using a template. Since this feature is still in preview, you can enable this by one of the following methods:
- Use env variable `SAM_CLI_BETA_ESBUILD=1`
- Add the following parameters to your samconfig.toml
[default.build.parameters] beta_features = true [default.sync.parameters] beta_features = true - Use the
--beta-featuresoption withsam buildandsam sync. I use this approach in the following examples. - Choose option ‘y’ when CLI prompts you about using beta features.
To create a new project:
- Run –
sam init - In the wizard, select the following options:
- AWS Quick Start Templates
- Hello World Example
- nodejs14.x – TypeScript
- Zip
- Keep the name of the application as sam-app

sam init wizard steps
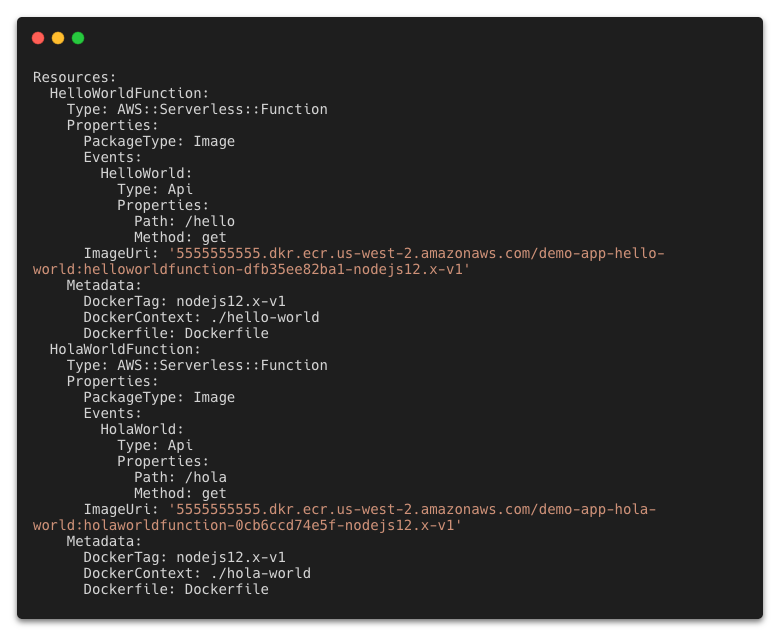
Open the created project in a text editor. In the root, you see a README.MD file with the project description and a template.yaml. This is the specification that defines the serverless application.
In the hello-world folder is an app.ts file written in TypeScript. This project also includes a unit test in Jest and sample configurations for ESLint, Prettier, and TypeScript compilers.
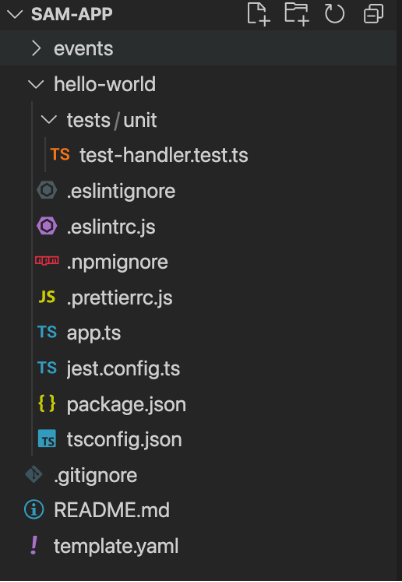
Project structure
Building and deploying a TypeScript project
Previously, to use TypeScript with AWS SAM CLI, you needed custom steps. These transform the TypeScript project into a JavaScript project before running the build.
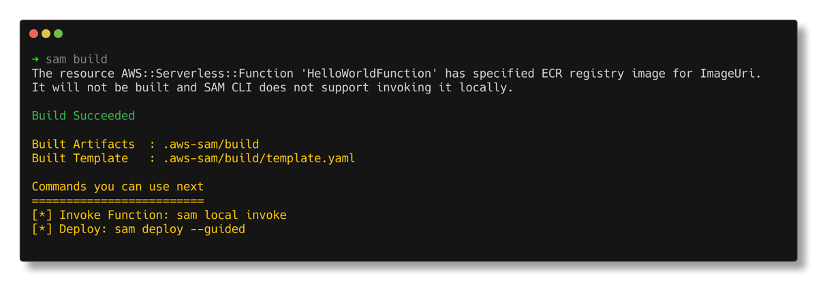
Today, you can use the sam build command to transpile code from TypeScript to JavaScript. This bundles local dependencies and symlinks, and minifies files to reduce asset size.
AWS SAM uses the popular open source bundler esbuild to perform these tasks. This does not perform type checking but you may use the tsc CLI to perform this task. Once you have built the TypeScript project, use the sam deploy command to deploy to the AWS Cloud.
The following shows how this works.
- Navigate to the root of sam-app.
- Run
sam build. This command uses esbuild to transpile and package app.ts.
sam build wizard
- Customize the esbuild properties by editing the Metadata section in the template.yaml file.

Esbuild configuration
- After a successful build, run
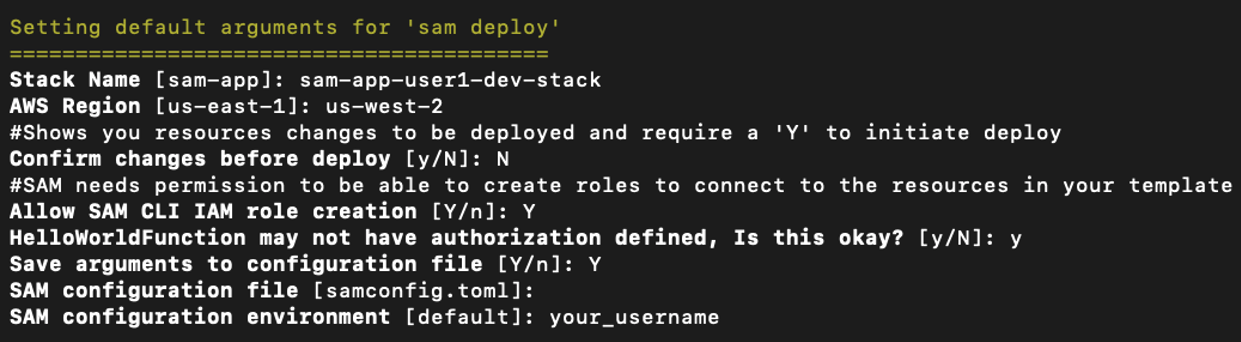
sam deploy --guidedto deploy the application to your AWS account. - Accept all the default values in the wizard, except this question:
HelloWorldFunction may not have authorization defined, Is this okay? [y/N]: y
sam deploy wizard
- After successful deployment, test that the function is working by querying the API Gateway endpoint displayed in the Outputs section.

sam deploy output


Using AWS SAM Accelerate with TypeScript
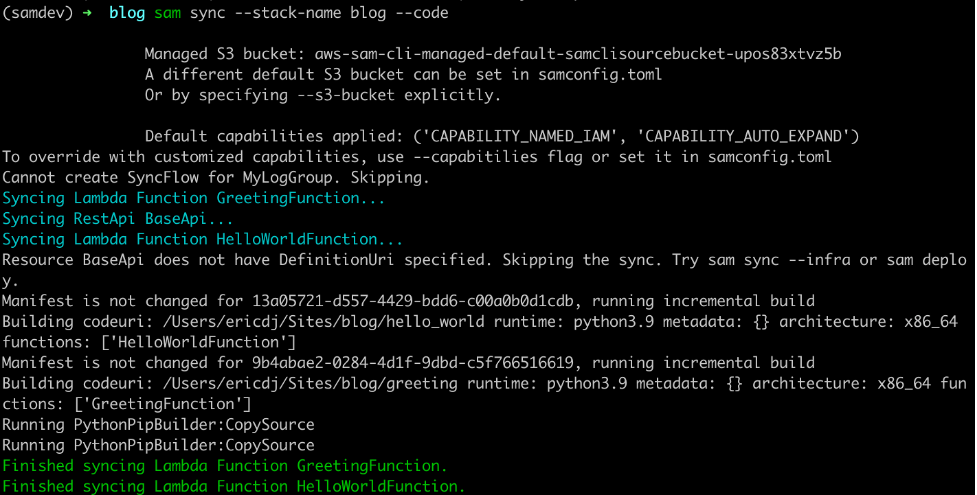
AWS SAM Accelerate is a set of features that reduces development and test cycle latency by enabling you to test code quickly against AWS services in the cloud. AWS SAM Accelerate released beta support for TypeScript. Use the template from the last example to use SAM Accelerate with TypeScript.
Use AWS SAM Accelerate to build and deploy your code upon changes.
- Run
sam sync --stack-name sam-app --watch. - Open your browser with the API Gateway endpoint from the Outputs section.
- Update the handler function in app.ts file to:
export const lambdaHandler = async (event: APIGatewayProxyEvent): Promise<APIGatewayProxyResult> => { let response: APIGatewayProxyResult; try { response = { statusCode: 200, body: JSON.stringify({ message: 'hello SAM', }), }; } catch (err) { console.log(err); response = { statusCode: 500, body: JSON.stringify({ message: 'some error happened', }), }; } return response; }; - Save changes. AWS SAM automatically rebuilds and syncs the application code to the cloud.

AWS SAM Accelerate output
- Refresh the browser to see the updated message.

Deployment package size optimizations
One additional benefit of the TypeScript build process is that it reduces your deployment package size through bundling, tree shaking, and minification. The bundling process removes dependency files not referenced in the control flow. Tree shaking is the term used for unused code elimination. It is a compiler optimization that removes unreachable code within files.
Minification reduces file size by removing white space, rewriting syntax to be more compact, and renaming local variables to be shorter. The sam build process performs bundling and tree shaking by default. Configure minification, a feature typically used in production environments, within the Metadata section of the template.yaml file.
Measure the impact of these optimizations by the reduced deployment package size. For example, measure the before and after size of an application, which includes the AWS SDK for JavaScript v3 S3 Client as a dependency.
To begin, change the package.json file to include the @aws-sdk/client-s3 as a dependency:
- From the application root, cd into the hello-world directory.
- Run the command:
npm install @aws-sdk/client-s3 - Delete all the devDependencies except for esbuild to get a more accurate comparison

package.json contents
- Run the following command to build your dependency library:
npm install - From the application root, run the following command to measure the size of the application directory contents:
du -sh hello-worldThe current application is approximately 50 MB.
- Turn on minification by setting the Minify value to true in the template.yaml file

Metadata section of template.yaml
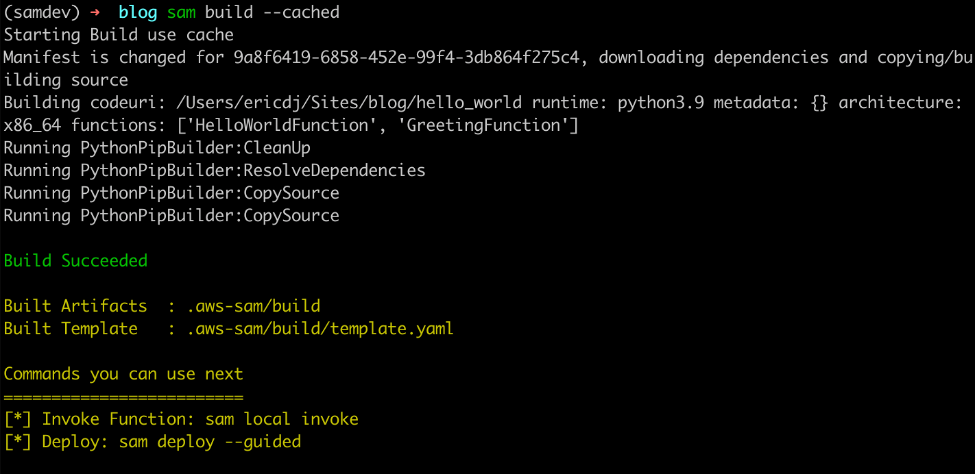
- Now run the following command to build your project using bundling, tree shaking, and minification.
sam build - Your deployment package is now built in the .aws_sam directory. You can measure the size of the package with the following command:
du -sh .aws-sam


The new package size is approximately 2.8 MB. That represents a 94% reduction in uncompressed application size.
Conclusion
This post reviews several new features that can improve the development experience for TypeScript developers. I show how to create a sample TypeScript project using sam init. I build and deploy a TypeScript project using the AWS SAM CLI. I show how to use AWS SAM Accelerate with your TypeScript project. Last, I measure the impact of bundling, tree shaking, and minification on a sample project. We invite the serverless community to help improve AWS SAM. AWS SAM is an open source project and you can contribute to the repository here.
For more serverless content, visit Serverless Land.