Post Syndicated from Sébastien Stormacq original https://aws.amazon.com/blogs/aws/week-in-review-aws-verified-access-java-17-amplify-flutter-conferences-and-more-may-1-2023/
Conference season has started and I was happy to meet and talk with iOS and Swift developers at the New York Swifty conference last week. I will travel again to Turino (Italy), Amsterdam (Netherlands), Frankfurt (Germany), and London (UK) in the coming weeks. Feel free to stop by and say hi if you are around. But, while I was queuing for passport control at JFK airport, AWS teams continued to listen to your feedback and innovate on your behalf.
What happened on AWS last week ? I counted 26 new capabilities since last Monday (not counting last Friday, since I am writing these lines before the start of the day in the US). Here are the eight that caught my attention.
Last Week on AWS
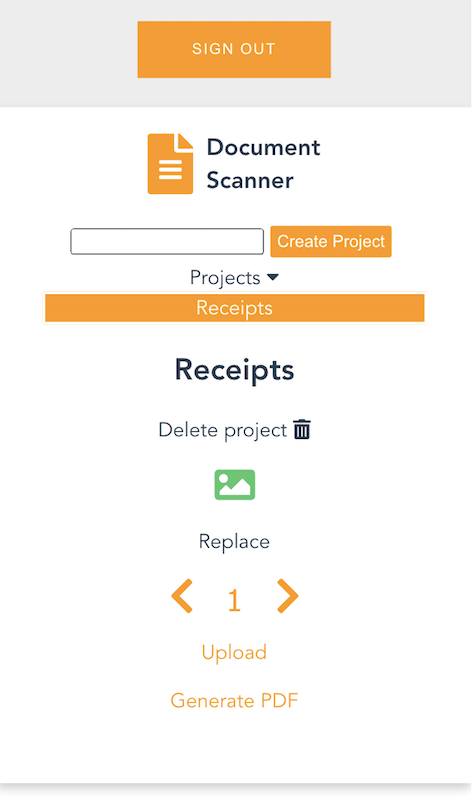
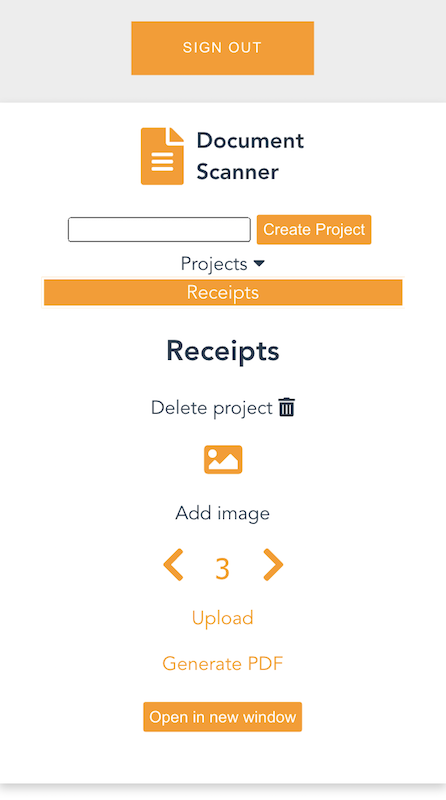
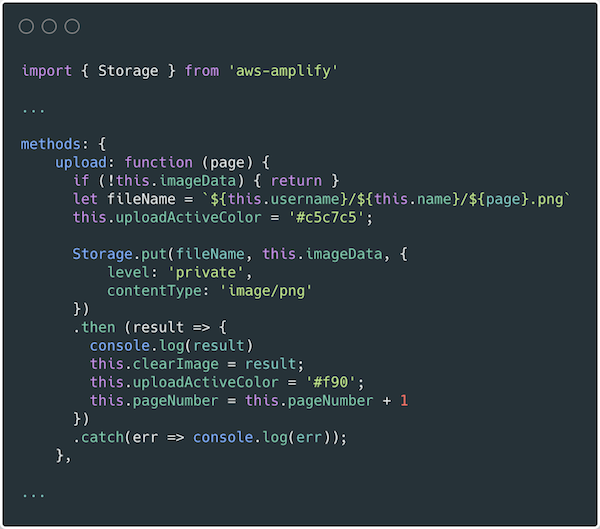
Amplify Flutter now supports web and desktop apps. You can now write Flutter applications that target six platforms, including iOS, Android, Web, Linux, MacOS, and Windows with a single codebase. This update encompasses not only the Amplify libraries but also the Flutter Authenticator UI library, which has been entirely rewritten in Dart. As a result, you can now deliver a consistent experience across all targeted platforms.
AWS Lambda adds support for Java 17. AWS Lambda now supports Java 17 as both a managed runtime and a container base image. Developers creating serverless applications in Lambda with Java 17 can take advantage of new language features including Java records, sealed classes, and multi-line strings. The Lambda Java 17 runtime also has numerous performance improvements, including optimizations when running Lambda functions on Graviton 2 processors. It supports AWS Lambda Snap Start (in supported Regions) for fast cold starts, and the latest versions of the popular Spring Boot 3 and Micronaut 4 application frameworks
AWS Verified Access is now generally available. I first wrote about Verified Access when we announced the preview at the re:Invent conference last year. AWS Verified Access is now available. This new service helps you provide secure access to your corporate applications without using a VPN. Built based on AWS Zero Trust principles, you can use Verified Access to implement a work-from-anywhere model with added security and scalability.
AWS Support is now available in Korean. As the number of customers speaking Korean grows, AWS Support is invested in providing the best support experience possible. You can now communicate with AWS Support engineers and agents in Korean when you create a support case at the AWS Support Center.
AWS DataSync Discovery is now generally available. DataSync Discovery enables you to understand your on-premises storage performance and capacity through automated data collection and analysis. It helps you quickly identify data to be migrated and evaluate suggested AWS Storage services that align with your performance and capacity needs. Capabilities added since preview include support for NetApp ONTAP 9.7, recommendations at cluster and storage virtual machine (SVM) levels, and discovery job events in Amazon EventBridge.
Amazon Location Service adds support for long-distance matrix routing. This makes it easier for you to quickly calculate driving time and driving distance between multiple origins and destinations, no matter how far apart they are. Developers can now make a single API request to calculate up to 122,500 routes (350 origins and 350 destinations) within a 180 km region or up to 100 routes without any distance limitation.
AWS Firewall Manager adds support for multiple administrators. You can now create up to 10 AWS Firewall Manager administrator accounts from AWS Organizations to manage your firewall policies. You can delegate responsibility for firewall administration at a granular scope by restricting access based on OU, account, policy type, and Region, thereby enabling policy management tasks to be implemented faster and more effectively.
AWS AppSync supports TypeScript and source maps in JavaScript resolvers. With this update, you can take advantage of TypeScript features when you write JavaScript resolvers. With the updated libraries, you get improved support for types and generics in AppSync’s utility functions. The updated AppSync documentation provides guidance on how to get started and how to bundle your code when you want to use TypeScript.
Amazon Athena Provisioned Capacity. Athena is a query service that makes it simple to analyze data in S3 data lakes and 30 different data sources, including on-premises data sources or other cloud systems, using standard SQL queries. Athena is serverless, so there is no infrastructure to manage, and–until today–you pay only for the queries that you run. Starting last week, you can now get dedicated capacity for your queries and use new workload management features to prioritize, control, and scale your most important queries, paying only for the capacity you provision.
X in Y – We made existing services available in additional Regions and locations:
- Amazon EC2 High Memory instances are now available in the Europe (Zurich) Region.
- Amazon EC2 T4g instances are now available in Africa (Cape Town) Region.
- AWS Global Accelerator launches two new edge locations in Lima, Peru, and Nashville, Tennessee (United States).
- AWS Systems Manager Fleet Manager console based access to Windows instances now available in AWS GovCloud (US) Regions.
- AWS Network Firewall ingress TLS inspection is now available in 8 additional Regions. This capability is now available in 10 AWS Regions: US East (N. Virginia), Asia Pacific (Jakarta, Mumbai, Singapore, Sydney, Tokyo), Europe (Ireland, Frankfurt, Stockholm), and South America (São-Paulo).
- Amazon CloudWatch Logs data protection is now available in all AWS Commercial Regions.
Upcoming AWS Events
And to finish this post, I recommend you check your calendars and sign up for these AWS events:
AWS Serverless Innovation Day – Join us on May 17, 2023, for a virtual event hosted on the Twitch AWS channel. We will showcase AWS serverless technology choices such as AWS Lambda, Amazon ECS with AWS Fargate, Amazon EventBridge, and AWS Step Functions. In addition, we will share serverless modernization success stories, use cases, and best practices.
![]() AWS re:Inforce 2023 – Now register for AWS re:Inforce, in Anaheim, California, June 13–14. AWS Chief Information Security Officer CJ Moses will share the latest innovations in cloud security and what AWS Security is focused on. The breakout sessions will provide real-world examples of how security is embedded into the way businesses operate. To learn more and get the limited discount code to register, see CJ’s blog post Gain insights and knowledge at AWS re:Inforce 2023 in the AWS Security Blog.
AWS re:Inforce 2023 – Now register for AWS re:Inforce, in Anaheim, California, June 13–14. AWS Chief Information Security Officer CJ Moses will share the latest innovations in cloud security and what AWS Security is focused on. The breakout sessions will provide real-world examples of how security is embedded into the way businesses operate. To learn more and get the limited discount code to register, see CJ’s blog post Gain insights and knowledge at AWS re:Inforce 2023 in the AWS Security Blog.
 AWS Global Summits – Check your calendars and sign up for the AWS Summit close to where you live or work: Seoul (May 3–4), Berlin and Singapore (May 4), Stockholm (May 11), Hong Kong (May 23), Amsterdam (June 1), London (June 7), Madrid (June 15), and Milano (June 22).
![]() AWS Community Day – Join community-led conferences driven by AWS user group leaders close to your city: Chicago (June 15), Manila (June 29–30), and Munich (September 14). Recently, we have been bringing together AWS user groups from around the world into Meetup Pro accounts. Find your group and its meetups in your city!
AWS Community Day – Join community-led conferences driven by AWS user group leaders close to your city: Chicago (June 15), Manila (June 29–30), and Munich (September 14). Recently, we have been bringing together AWS user groups from around the world into Meetup Pro accounts. Find your group and its meetups in your city!
AWS User Group Peru Conference – There is more than a new edge location opening in Lima. The local AWS User Group announced a one-day cloud event in Spanish and English in Lima on September 23. Three of us from the AWS News blog team will attend. I will be joined by my colleagues Marcia and Jeff. Save the date and register today!
You can browse all upcoming AWS-led in-person and virtual events and developer-focused events such as AWS DevDay.
Stay Informed
That was my selection for this week! To better keep up with all of this news, don’t forget to check out the following resources:
- What’s New with AWS – All AWS announcements. You might want to add the RSS feed to your news reader.
- The Official AWS Podcast – Listen each week for updates on the latest AWS news and deep dives into exciting use cases. There are also official AWS podcasts in your local languages. Check out the ones in French, German, Italian, and Spanish.
- AWS News Blog – This blog.
- And subscribe to the open-source newsletter brought to you by my most excellent colleague Ricardo.
That’s all for this week. Check back next Monday for another Week in Review!