Post Syndicated from Helen Gardner original https://www.raspberrypi.org/blog/registration-is-open-for-coolest-projects-2024/
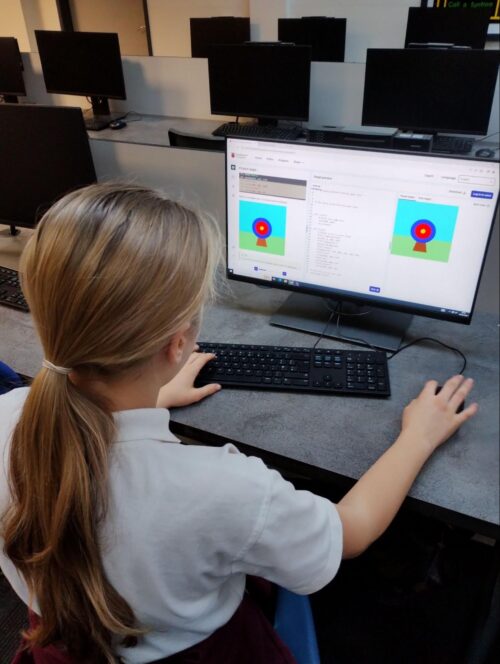
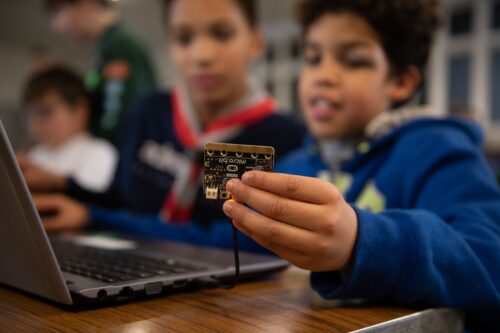
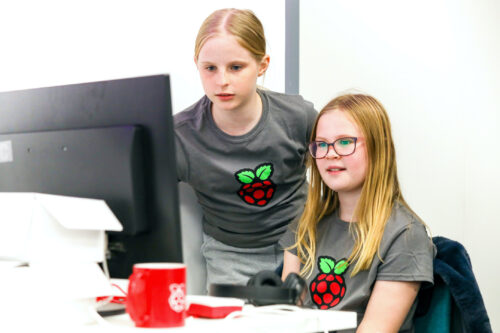
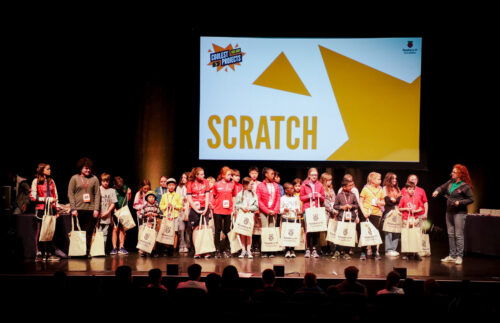
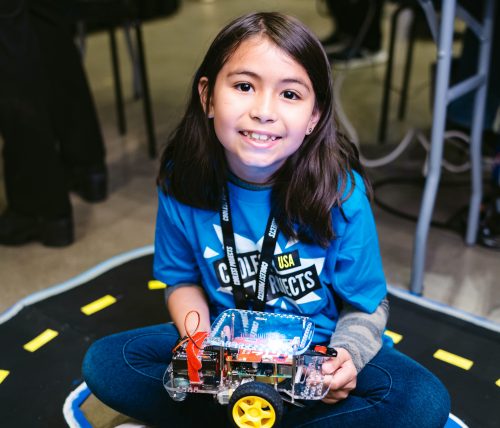
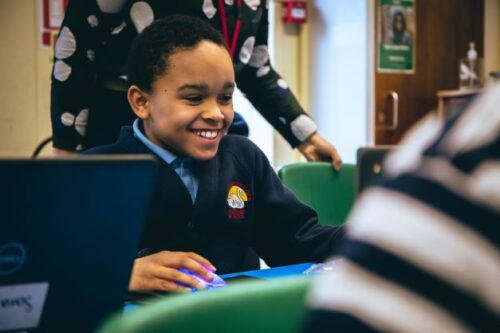
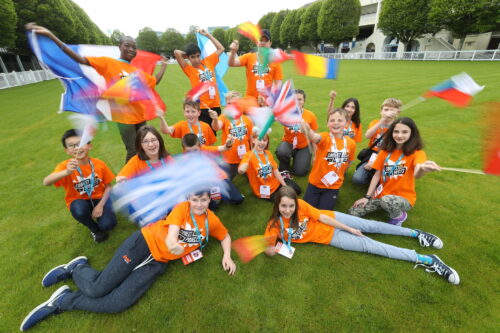
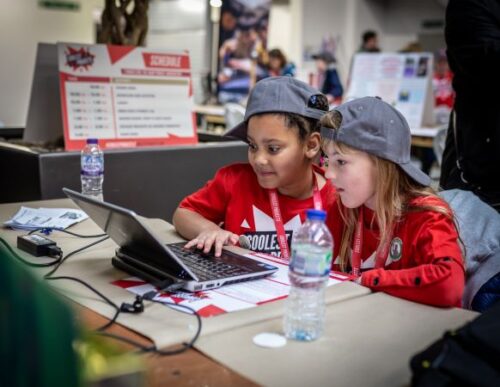
Big news for young coders and everyone who supports them: project registration is now open for Coolest Projects 2024! Coolest Projects is our global technology showcase for young people aged up to 18. It gives young creators the incredible opportunity to share the cool stuff they’ve made with digital technology with a global audience, and receive certificates and rewards to celebrate their achievements.
What you need to know about Coolest Projects
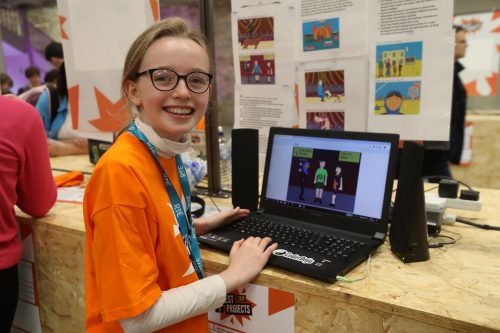
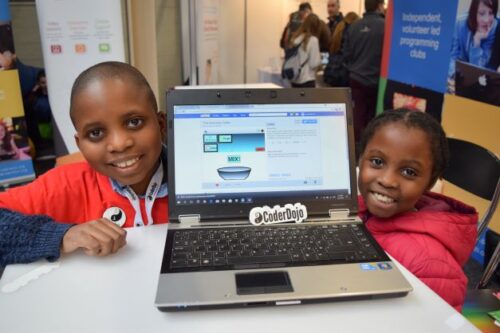
The Coolest Projects online showcase is open to young people worldwide. Young creators can register their projects to share them with the world in our online project gallery, and join our exciting livestream event to celebrate what they have made with the global Coolest Projects community.
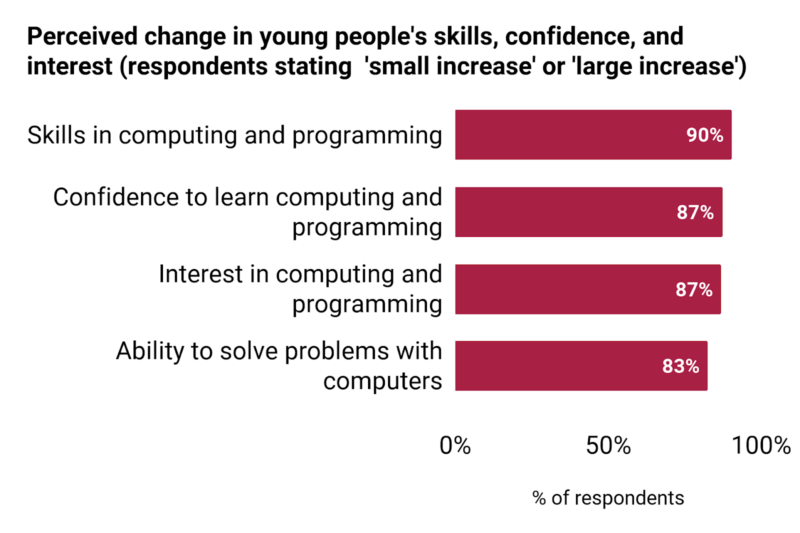
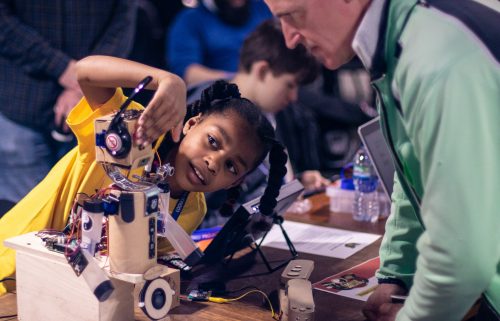
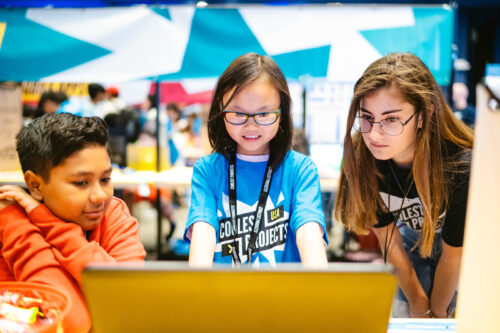
By taking part in Coolest Projects, young people can join an international community of young makers, represent their country, receive personalised feedback on their projects, and get certificates and more to recognise their achievements.
Here’s how it works:
- Coolest Projects is completely free to take part in!
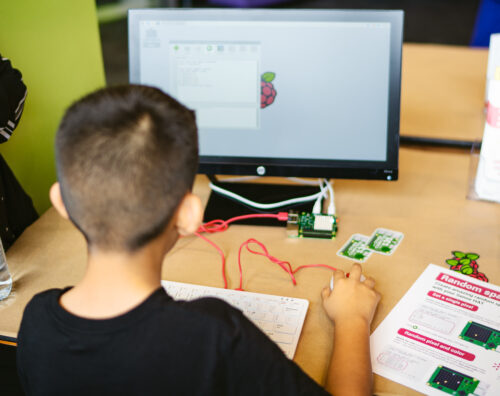
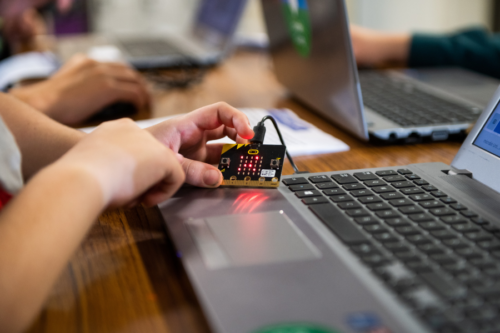
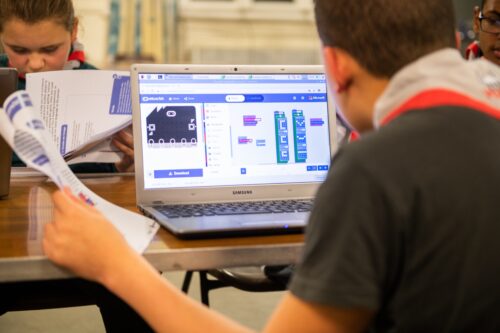
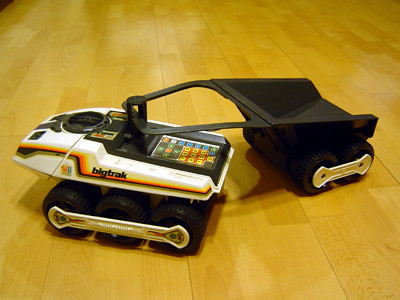
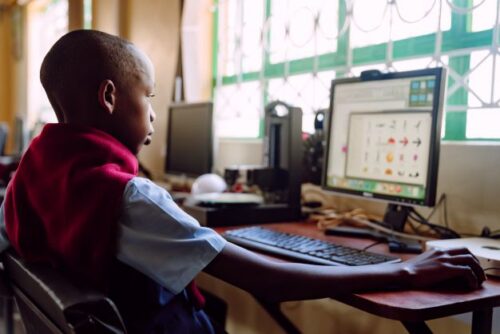
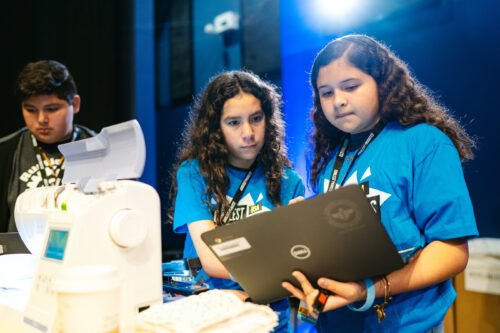
- All digital technology projects are welcome, from very first projects to advanced builds, and the projects don’t have to be complete
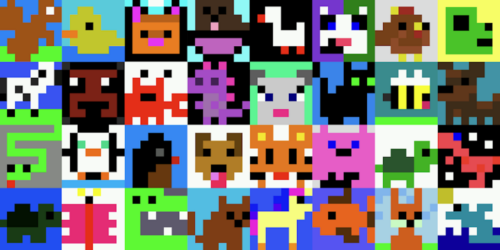
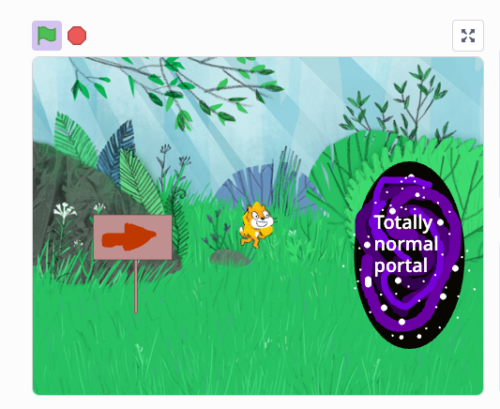
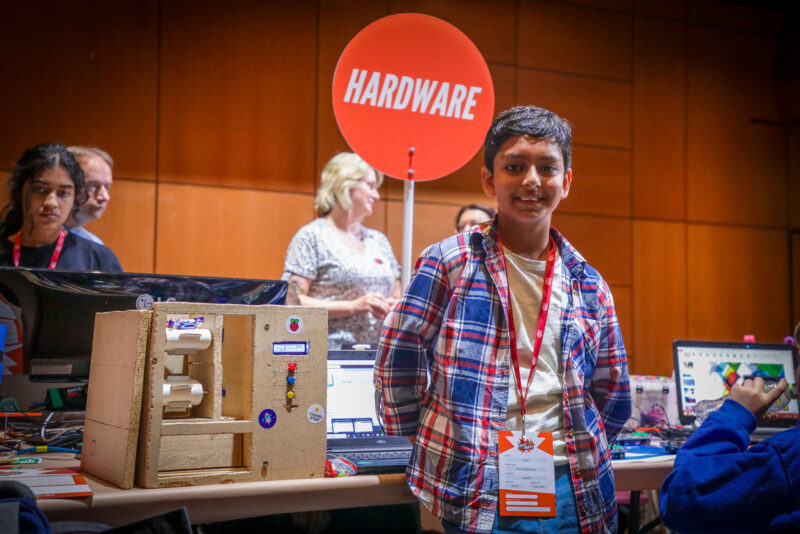
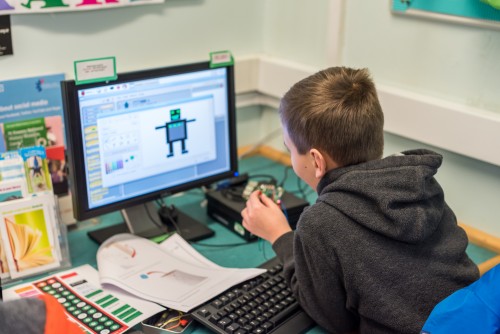
- Projects can be registered in one of six categories: Scratch, games, web, mobile apps, hardware, and advanced programming
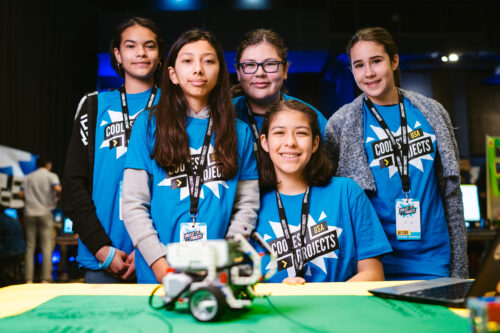
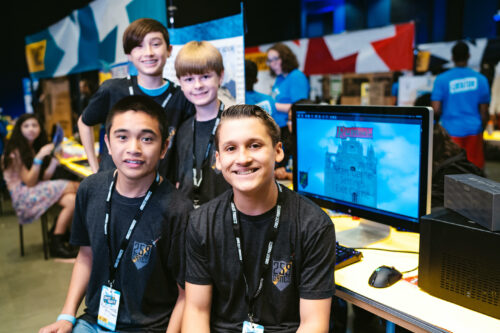
- Young creators up to age 18 can take part individually or in teams of up to five friends
- Any young person anywhere in the world can take part in the online showcase, and there are in-person events in some countries for local creators too (find out more below)
- Registration for the online showcase is now open and closes on 22 May 2024
- All creators, mentors, volunteers, teachers, parents, and supporters are invited to the special celebration livestream on 26 June 2024
Taking part in Coolest Projects is simple:
- Young people think of an idea for their project, or choose something they’ve already made and are proud of
- Young people work with friends to create their project, or make it on their own
- Creators (with the help of mentors if needed) register projects via the Coolest Projects website by 22 May
- Creators’ projects are shared with the world in the online showcase gallery
- Creators, mentors, and supporters explore the amazing projects in the online gallery, and join the livestream on 26 June to celebrate young creators’ achievements with the Coolest Projects community worldwide
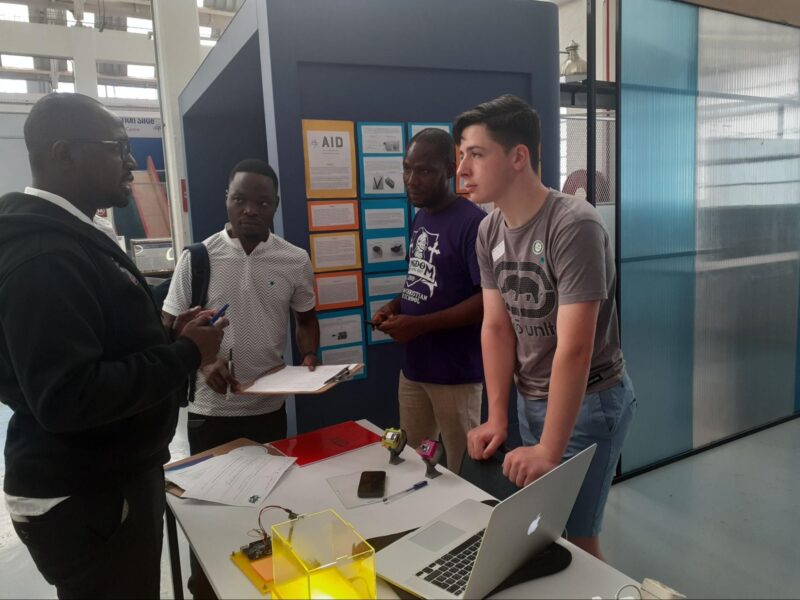
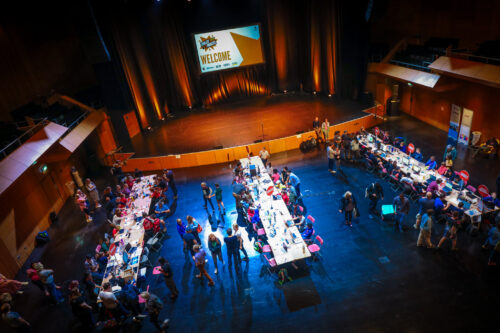
Coolest Projects in-person events in 2024
As well as the global online showcase, Coolest Projects in-person events are held for young people locally in certain countries too, and we encourage creators to take part in both the online showcase and their local in-person event.
In 2024, creators can look forward to the following in-person events, run by us and partner organisations around the world:
- Coolest Projects Ireland, 13 April 2024 (run by us)
- Coolest Projects Belgium, 20 April 2024 (run by CoderDojo Belgium)
- Coolest Projects UK, 11 May 2024 (run by us)
- Coolest Projects Ghana, 1 June 2024 (run by Ghana Code Club)
- Coolest Projects Sri Lanka, 6 July 2024 (run by STEMUp Educational Foundation)
More events are coming soon, so sign up to the Coolest Projects newsletter to be sure to hear about any in-person events in your country. And if there isn’t an event near you, don’t worry. The online showcase is open to any young person anywhere in the world.
Help for you is at hand
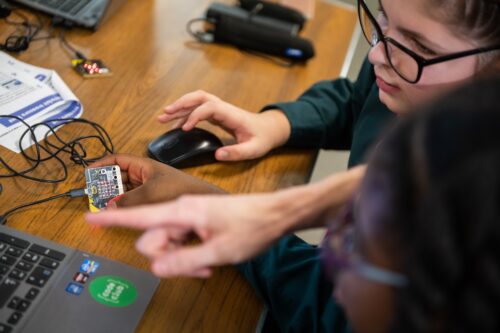
Coolest Projects welcomes all digital tech projects, from beginner to advanced, and there are loads of great resources available to help you support the young people in your community to take part.

We are running a series of online calls and webinars for mentors and young people to share practical tips and help participants develop their ideas and build their creations. Sign up for the sessions here. All sessions will be recorded, so you can watch them back if you can’t join live.
You can also check out the Coolest Projects guidance page for resources to help you support young people throughout their Coolest Projects journey, including a mentor guide and session plans.

To inspire your coders, encourage them to take a look at the 2023 showcase gallery, where they can explore the incredible projects submitted by participants last year.
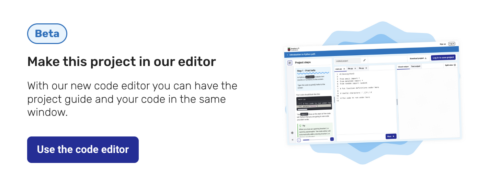
Our projects site is also a great place for participants to begin — there are hundreds of free step-by-step project guides to help young people create their own projects, whether they’re experienced tech creators or they’re just getting started.
Sign up for Coolest Projects updates
There’s lots more exciting news to come, from the announcement of our VIP judges to details about this year’s swag, so sign up for email updates to be the first to know. And whether your coders have already made something fun, innovative, or amazing that they want to share, or they’re inspired to make something new, Coolest Projects is the place for them. We can’t wait to see what they create!
The post Registration is open for Coolest Projects 2024 appeared first on Raspberry Pi Foundation.