Post Syndicated from Dina Kozlov original https://blog.cloudflare.com/how-cloudflare-is-helping-domain-owners-with-the-upcoming-entrust-ca
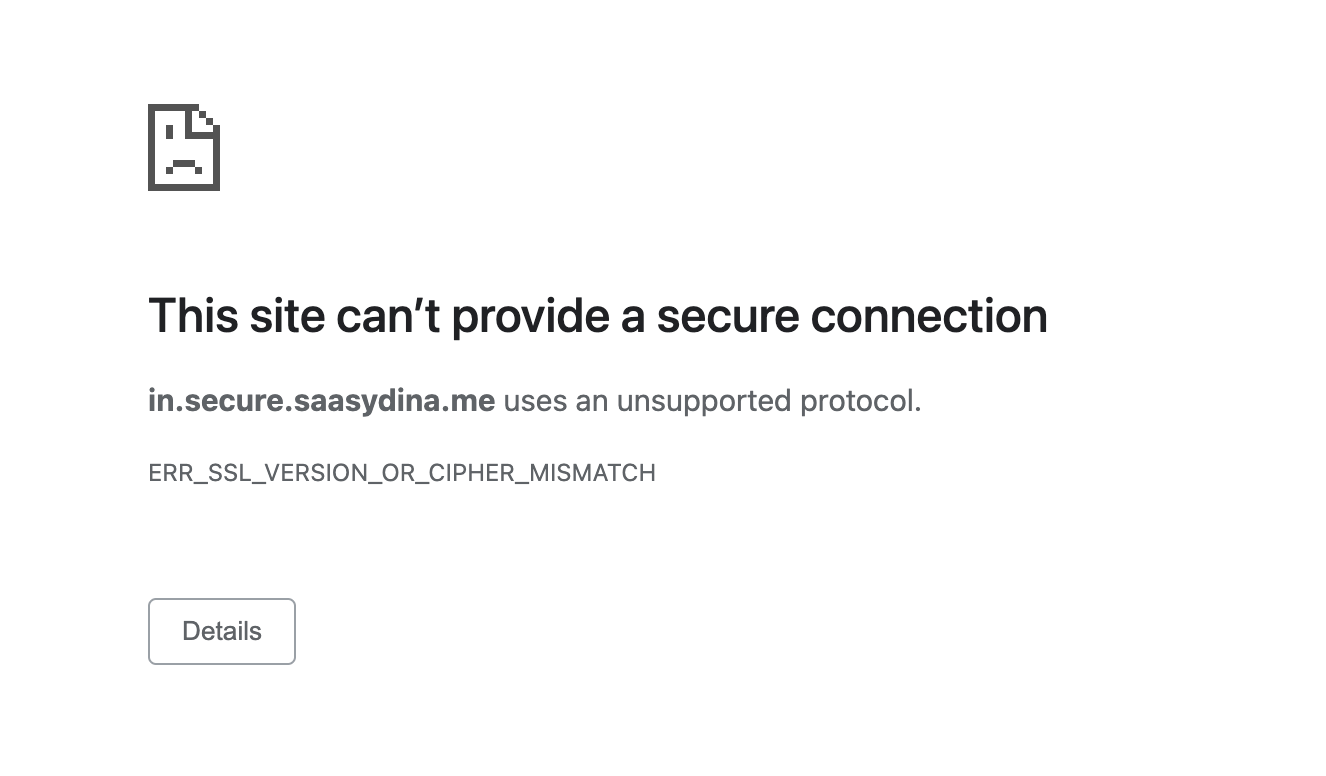
Chrome and Mozilla announced that they will stop trusting Entrust’s public TLS certificates issued after November 12, 2024 and December 1, 2024, respectively. This decision stems from concerns related to Entrust’s ability to meet the CA/Browser Forum’s requirements for a publicly trusted certificate authority (CA). To prevent Entrust customers from being impacted by this change, Entrust has announced that they are partnering with SSL.com, a publicly trusted CA, and will be issuing certs from SSL.com’s roots to ensure that they can continue to provide their customers with certificates that are trusted by Chrome and Mozilla.
We’re excited to announce that we’re going to be adding SSL.com as a certificate authority that Cloudflare customers can use. This means that Cloudflare customers that are currently relying on Entrust as a CA and uploading their certificate manually to Cloudflare will now be able to rely on Cloudflare’s certificate management pipeline for automatic issuance and renewal of SSL.com certificates.
CA distrust: responsibilities, repercussions, and responses
With great power comes great responsibility
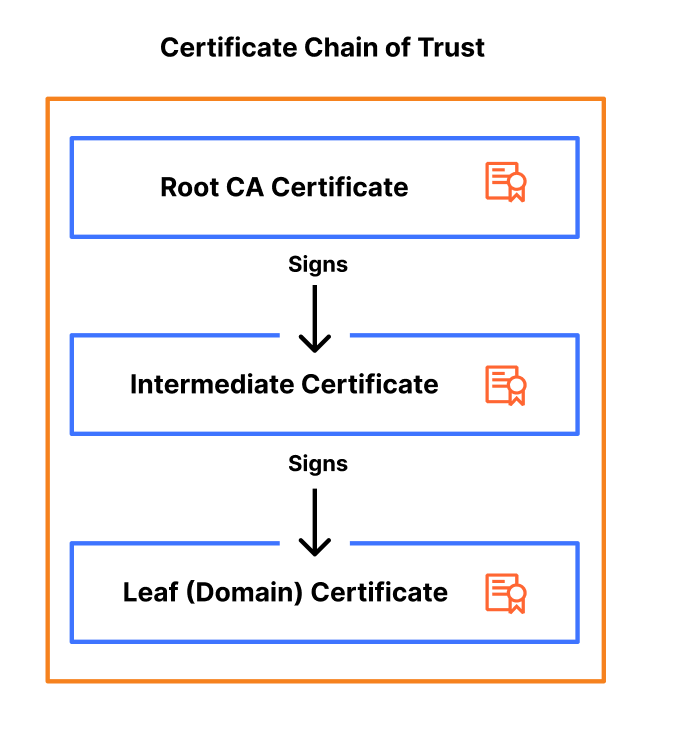
Every publicly trusted certificate authority (CA) is responsible for maintaining a high standard of security and compliance to ensure that the certificates they issue are trustworthy. The security of millions of websites and applications relies on a CA’s commitment to these standards, which are set by the CA/Browser Forum, the governing body that defines the baseline requirements for certificate authorities. These standards include rules regarding certificate issuance, validation, and revocation, all designed to secure the data transferred over the Internet.
However, as with all complex software systems, it’s inevitable that bugs or issues may arise, leading to the mis-issuance of certificates. Improperly issued certificates pose a significant risk to Internet security, as they can be exploited by malicious actors to impersonate legitimate websites and intercept sensitive data.
To mitigate such risk, publicly trusted CAs are required to communicate issues as soon as they are discovered, so that domain owners can replace the compromised certificates immediately. Once the issue is communicated, CAs must revoke the mis-issued certificates within 5 days to signal to browsers and clients that the compromised certificate should no longer be trusted. This level of transparency and urgency around the revocation process is essential for minimizing the risk posed by compromised certificates.
Why Chrome and Mozilla are distrusting Entrust
The decision made by Chrome and Mozilla to distrust Entrust’s public TLS certificates stems from concerns regarding Entrust’s incident response and remediation process. In several instances, Entrust failed to report critical issues and did not revoke certificates in a timely manner. The pattern of delayed action has eroded the browsers’ confidence in Entrust’s ability to act quickly and transparently, which is crucial for maintaining trust as a CA.
Google and Mozilla cited the ongoing lack of transparency and urgency in addressing mis-issuances as the primary reason for their distrust decision. Google specifically pointed out that over the past 6 years, Entrust has shown a “pattern of compliance failures” and failed to make the “tangible, measurable progress” necessary to restore trust. Mozilla echoed these concerns, emphasizing the importance of holding Entrust accountable to ensure the integrity and security of the public Internet.
Entrust’s response to the distrust announcement
In response to the distrust announcement from Chrome and Mozilla, Entrust has taken proactive steps to ensure continuity for their customers. To prevent service disruption, Entrust has announced that they are partnering with SSL.com, a CA that’s trusted by all major browsers, including Chrome and Mozilla, to issue certificates for their customers. By issuing certificates from SSL.com’s roots, Entrust aims to provide a seamless transition for their customers, ensuring that they can continue to obtain certificates that are recognized and trusted by the browsers their users rely on.
In addition to their partnership with SSL.com, Entrust stated that they are working on a number of improvements, including changes to their organizational structure, revisions to their incident response process and policies, and a push towards automation to ensure compliant certificate issuances.
How Cloudflare can help Entrust customers
Now available: SSL.com as a certificate authority for Advanced Certificate Manager and SSL for SaaS certificates
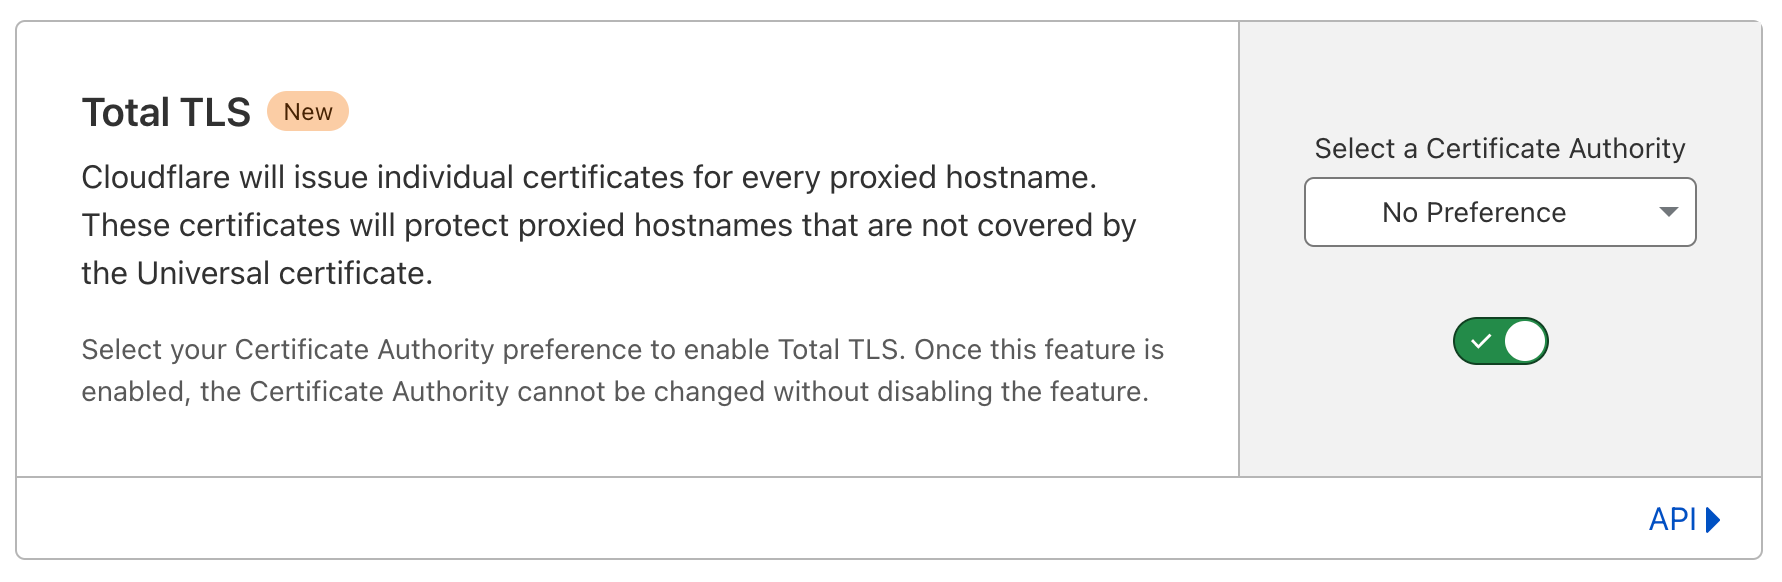
We’re excited to announce that customers using Advanced Certificate Manager will now be able to select SSL.com as a certificate authority for Advanced certificates and Total TLS certificates. Once the certificate is issued, Cloudflare will handle all future renewals on your behalf.
By default, Cloudflare will issue SSL.com certificates with a 90 day validity period. However, customers using Advanced Certificate Manager will have the option to set a custom validity period (14, 30, or 90 days) for their SSL.com certificates. In addition, Enterprise customers will have the option to obtain 1-year SSL.com certificates. Every SSL.com certificate order will include 1 RSA and 1 ECDSA certificate.
Note: We are gradually rolling this out and customers should see the CA become available to them through the end of September and into October.
If you’re using Cloudflare as your DNS provider, there are no additional steps for you to take to get the certificate issued. Cloudflare will validate the ownership of the domain on your behalf to get your SSL.com certificate issued and renewed.
If you’re using an external DNS provider and have wildcard hostnames on your certificates, DNS based validation will need to be used, which means that you’ll need to add TXT DCV tokens at your DNS provider in order to get the certificate issued. With SSL.com, two tokens are returned for every hostname on the certificate. This is because SSL.com uses different tokens for the RSA and ECDSA certificates. To reduce the overhead around certificate management, we recommend setting up DCV Delegation to allow Cloudflare to place domain control validation (DCV) tokens on your behalf. Once DCV Delegation is set up, Cloudflare will automatically issue, renew, and deploy all future certificates for you.
Advanced Certificates: selecting SSL.com as a CA through the UI or API
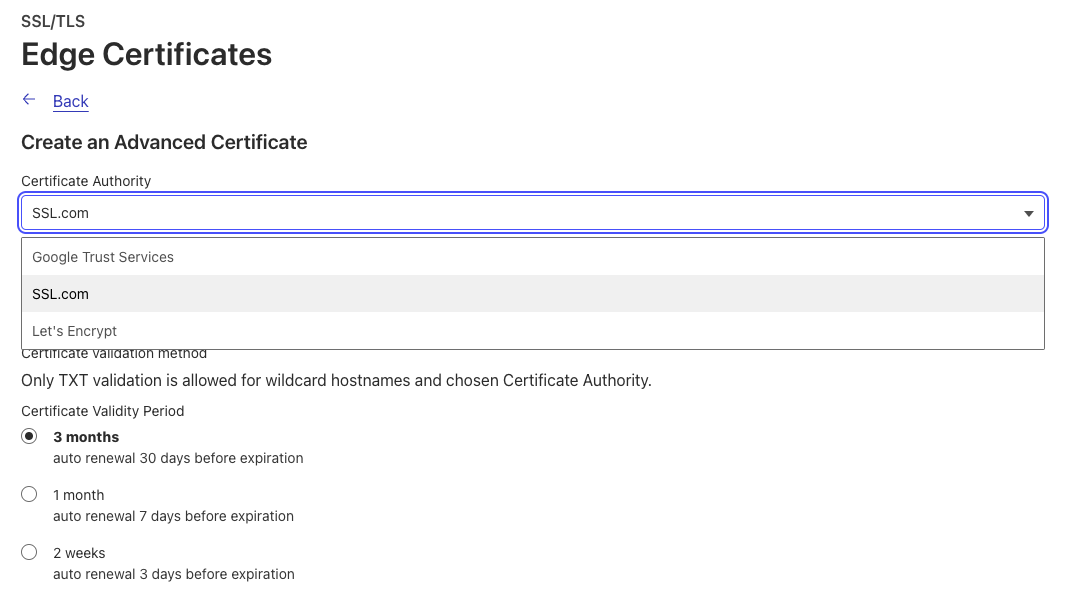
Customers can select SSL.com as a CA through the UI or through the Advanced Certificate API endpoint by specifying “ssl_com” in the certificate_authority parameter.
If you’d like to use SSL.com as a CA for an advanced certificate, you can select “SSL.com” as your CA when creating a new Advanced certificate order.
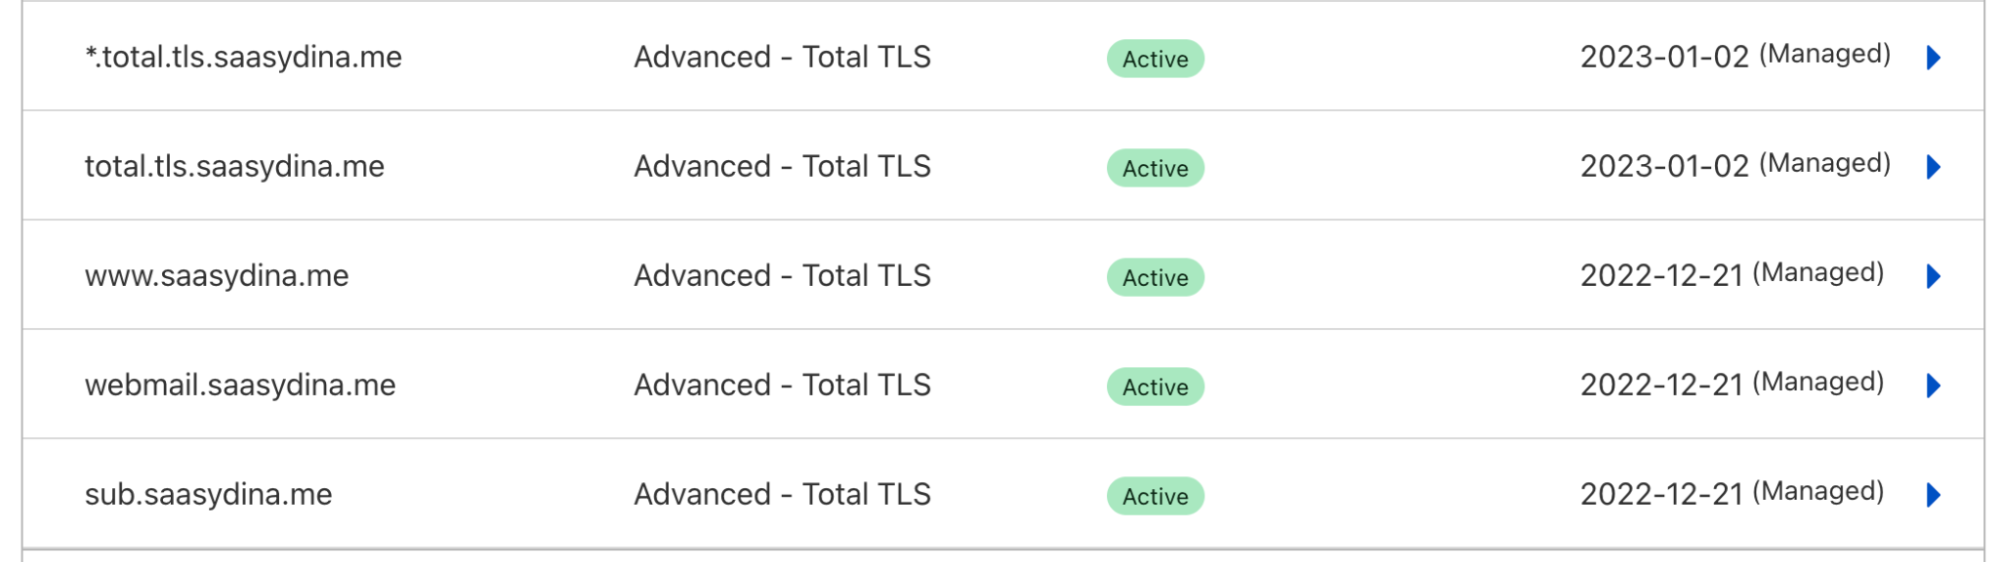
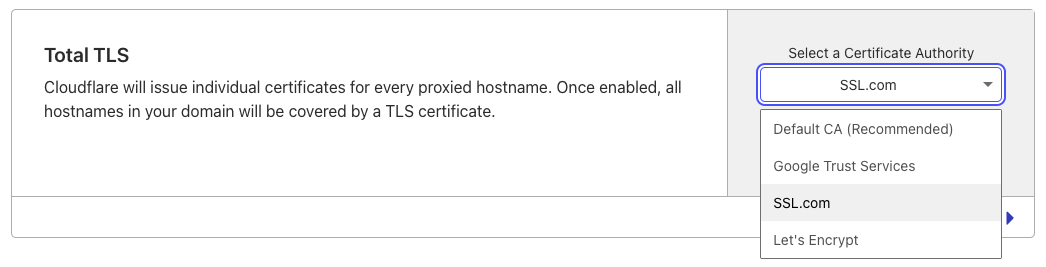
If you’d like to use SSL.com as a CA for all of your certificates, we recommend setting your Total TLS CA to SSL.com. This will issue an individual certificate for each of your proxied hostname from the CA.
Note: Total TLS is a feature that’s only available to customers that are using Cloudflare as their DNS provider.
SSL for SaaS: selecting SSL.com as a CA through the UI or API
Enterprise customers can select SSL.com as a CA through the custom hostname creation UI or through the Custom Hostnames API endpoint by specifying “ssl_com” in the certificate_authority parameter.
All custom hostname certificates issued from SSL.com will have a 90 day validity period. If you have wildcard support enabled for custom hostnames, we recommend using DCV Delegation to ensure that all certificate issuances and renewals are automatic.
Our recommendation if you’re using Entrust as a certificate authority
Cloudflare customers that use Entrust as their CA are required to manually handle all certificate issuances and renewals. Since Cloudflare does not directly integrate with Entrust, customers have to get their certificates issued directly from the CA and upload them to Cloudflare as custom certificates. Once these certificates come up for renewal, customers have to repeat this manual process and upload the renewed certificates to Cloudflare before the expiration date.
Manually managing your certificate’s lifecycle is a time-consuming and error prone process. With certificate lifetimes decreasing from 1 year to 90 days, this cycle needs to be repeated more frequently by the domain owner.
As Entrust transitions to issuing certificates from SSL.com roots, this manual management process will remain unless customers switch to Cloudflare’s managed certificate pipeline. By making this switch, you can continue to receive SSL.com certificates without the hassle of manual management — Cloudflare will handle all issuances and renewals for you!
In early October, we will be reaching out to customers who have uploaded Entrust certificates to Cloudflare to recommend migrating to our managed pipeline for SSL.com certificate issuances, simplifying your certificate management process.
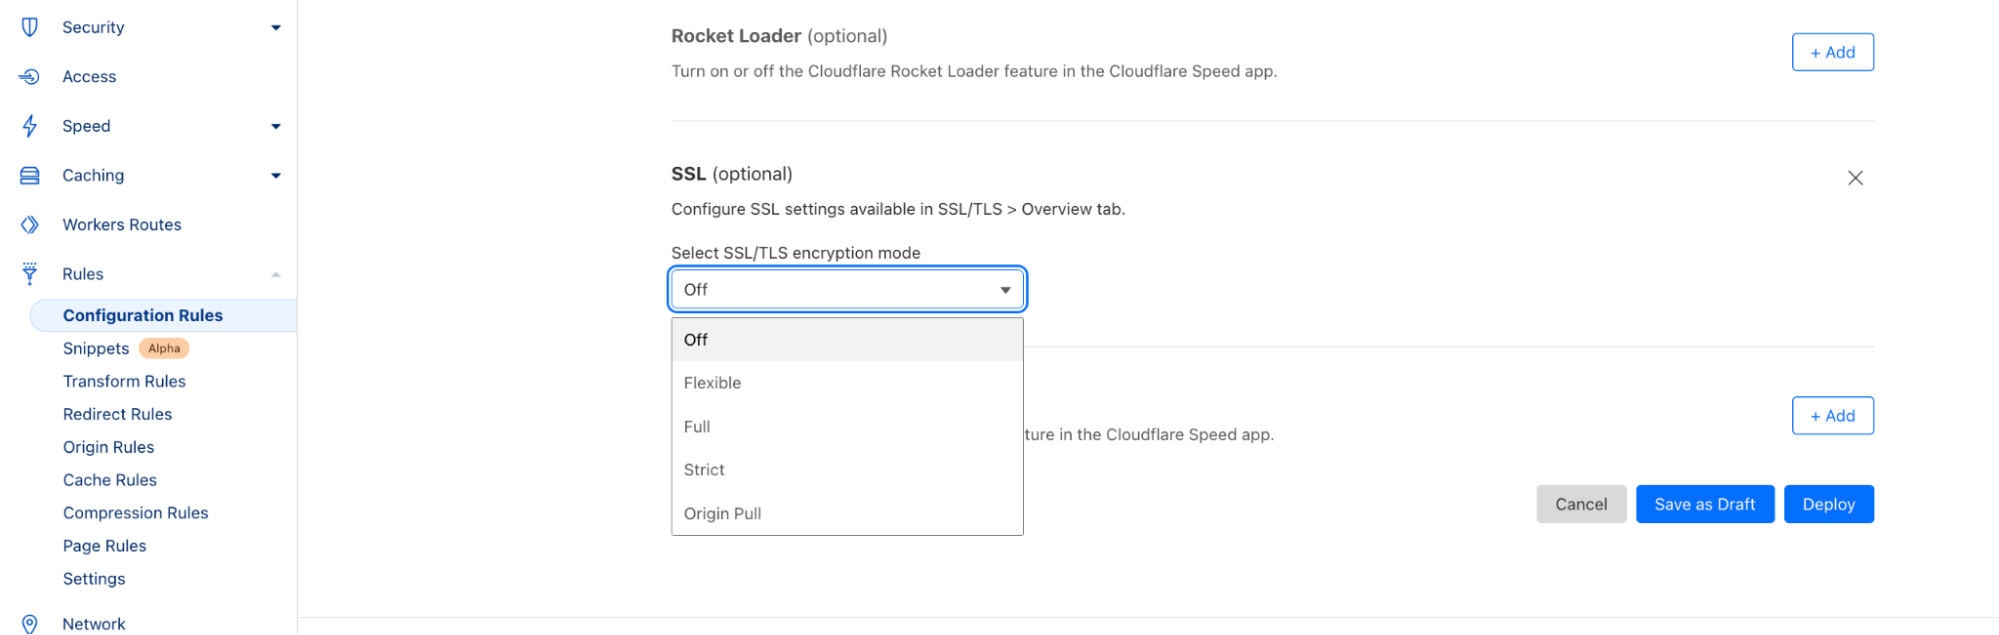
If you’re ready to make the transition today, simply go to the SSL/TLS tab in your Cloudflare dashboard, click “Order Advanced Certificate”, and select “SSL.com” as your certificate authority. Once your new SSL.com certificate is issued, you can either remove your Entrust certificate or simply let it expire. Cloudflare will seamlessly transition to serving the managed SSL.com certificate before the Entrust certificate expires, ensuring zero downtime during the switch.