Post Syndicated from Paschal Obba original https://blog.cloudflare.com/waf-payload-logging/
As the surface area for attacks on the web increases, Cloudflare’s Web Application Firewall (WAF) provides a myriad of solutions to mitigate these attacks. This is great for our customers, but the cardinality in the workloads of the millions of requests we service means that generating false positives is inevitable. This means that the default configuration we have for our customers has to be fine-tuned.
Fine-tuning isn’t an opaque process: customers have to get some data points and then decide what works for them. This post explains the technologies we offer to enable customers to see why the WAF takes certain actions — and the improvements that have been made to reduce noise and increase signal.
Cloudflare’s WAF protects origin servers from different kinds of layer 7 attacks, which are attacks that target the application layer. Protection is provided with various tools like:
-
Managed rules, which security analysts at Cloudflare write to address common vulnerabilities and exposures (CVE), OWASP security risks, and vulnerabilities like Log4Shell.
-
Custom rules, where customers can write rules with the expressive Rules language.
-
Rate limiting rules, malicious uploads detection, leaked credentials detection, etc.
These tools are built on the Rulesets engine. When there is a match on a Rule expression, the engine executes an action.
The Log action is used to simulate the behaviour of rules. This action proves that a rule expression is matched by the engine and emits a log event which can be accessed via Security Analytics, Security Events, Logpush or Edge Log Delivery.
Logs are great at validating a rule works as expected on the traffic it was expected to match, but showing that the rule matches isn’t sufficient, especially when a rule expression can take many code paths.
In pseudocode, an expression can look like:
If any of the http request headers contains an “authorization” key OR the lowercased representation of the http host header starts with “cloudflare” THEN log
The rules language syntax will be:
any(http.request.headers[*] contains "authorization") or starts_with(lower(http.host), "cloudflare")Debugging this expression poses a couple of problems. Is it the left-hand side (LHS) or right-hand side (RHS) of the OR expression above that matches? Functions such as Base64 decoding, URL decoding, and in this case lowercasing can apply transformations to the original representation of these fields, which leads to further ambiguity as to which characteristics of the request led to a match.
To further complicate this, many rules in a ruleset can register matches. Rulesets like Cloudflare OWASP use a cumulative score of different rules to trigger an action when the score crosses a set threshold.
Additionally, the expressions of the Cloudflare Managed and OWASP rules are private. This increases our security posture – but it also means that customers can only guess what these rules do from their titles, tags and descriptions. For instance, one might be labeled “SonicWall SMA – Remote Code Execution – CVE:CVE-2025-32819.”
Which raises questions: What part of my request led to a match in the Rulesets engine? Are these false positives?
This is where payload logging shines. It can help us drill down to the specific fields and their respective values, post-transformation, in the rule that led to a match.
Payload logging is a feature that logs which fields in the request are associated with a rule that led to the WAF taking an action. This reduces ambiguity and provides useful information that can help spot check false positives, guarantee correctness, and aid in fine-tuning of these rules for better performance.
From the example above, a payload log entry will contain either the LHS or RHS of the expression, but not both.
The payload logging and Rulesets engines are built on Wirefilter, which has been explained extensively.
Fundamentally, these engines are objects written in Rust which implement a compiler trait. This trait drives the compilation of the abstract syntax trees (ASTs) derived from these expressions.
struct PayloadLoggingCompiler {
     regex_cache HashMap<String, Arc<Regex>>
}

impl wirefilter::Compiler for PayloadLoggingCompiler {
	type U = PayloadLoggingUserData

	fn compile_logical_expr(&mut self, node: LogicalExpr) -> CompiledExpr<Self::U> {
		// ...
		let regex = self.regex_cache.entry(regex_pattern)
		.or_insert_with(|| Arc::new(regex))
		// ...
	}

}
The Rulesets Engine executes an expression and if it evaluates to true, the expression and its execution context are sent to the payload logging compiler for re-evaluation. The execution context provides all the runtime values needed to evaluate the expression.
After re-evaluation is done, the fields involved in branches of the expression that evaluate to true are logged.
The structure of the log is a map of wirefilter fields and their values Map<Field, Value>
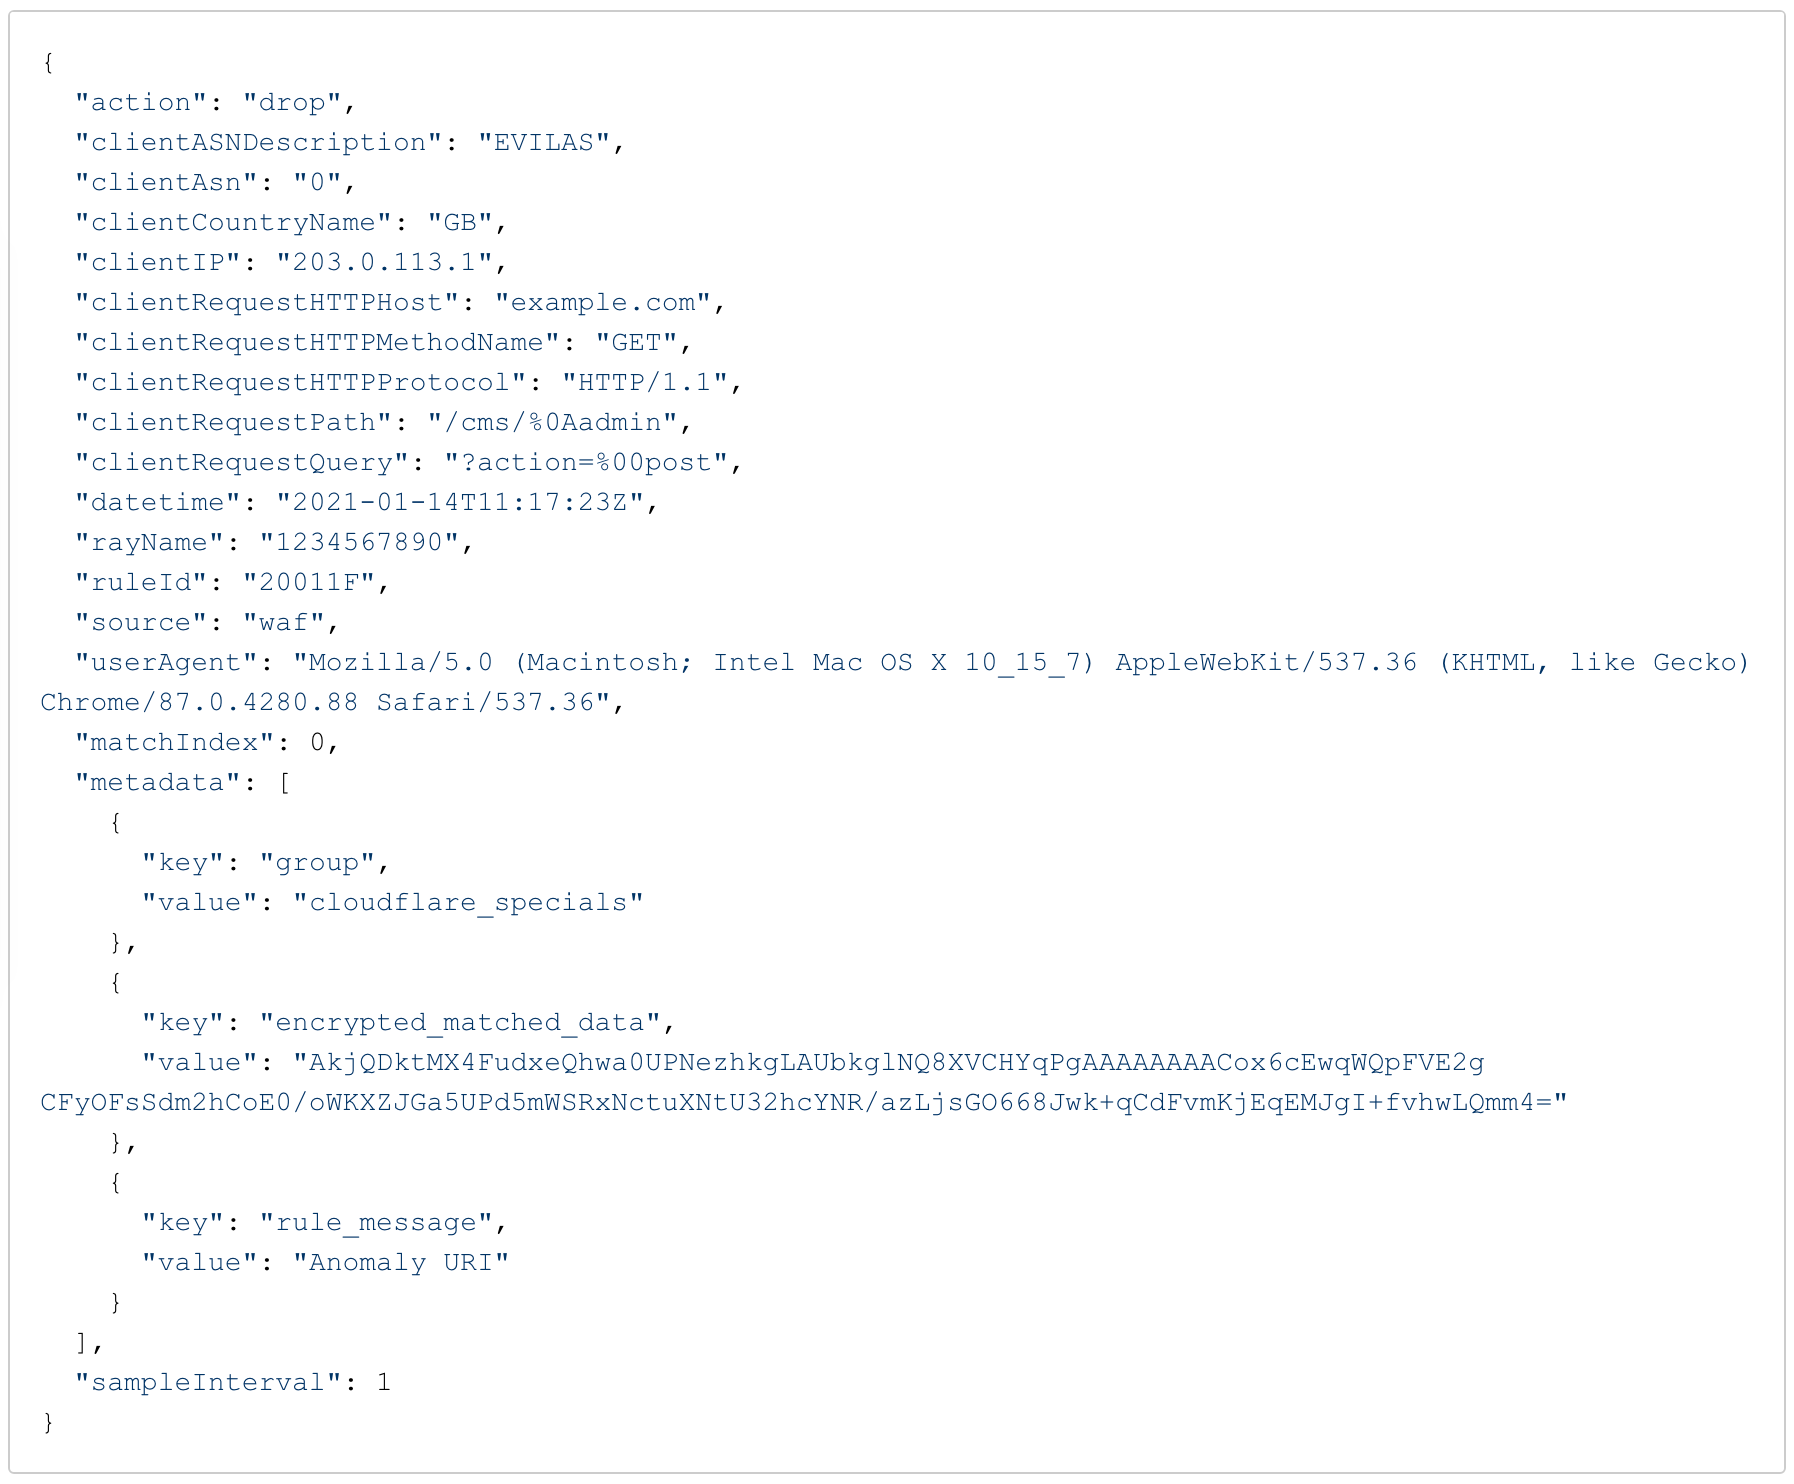
{
“http.host”: “cloudflare.com”,
“http.method”: “get”,
“http.user_agent”: “mozilla”
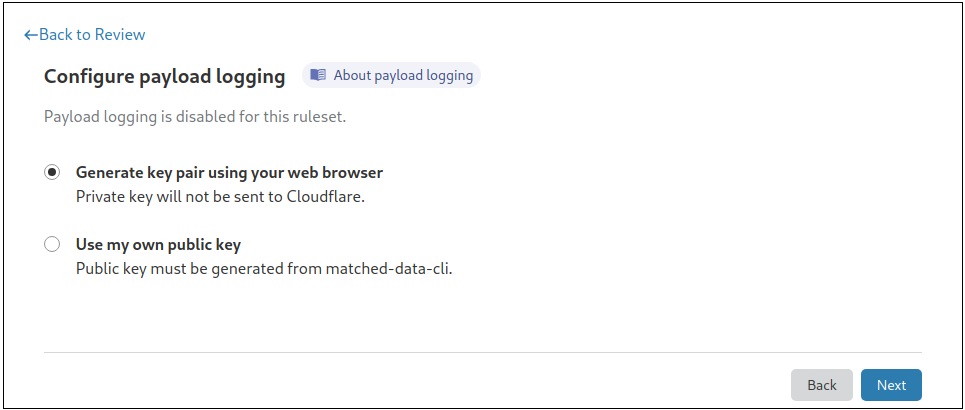
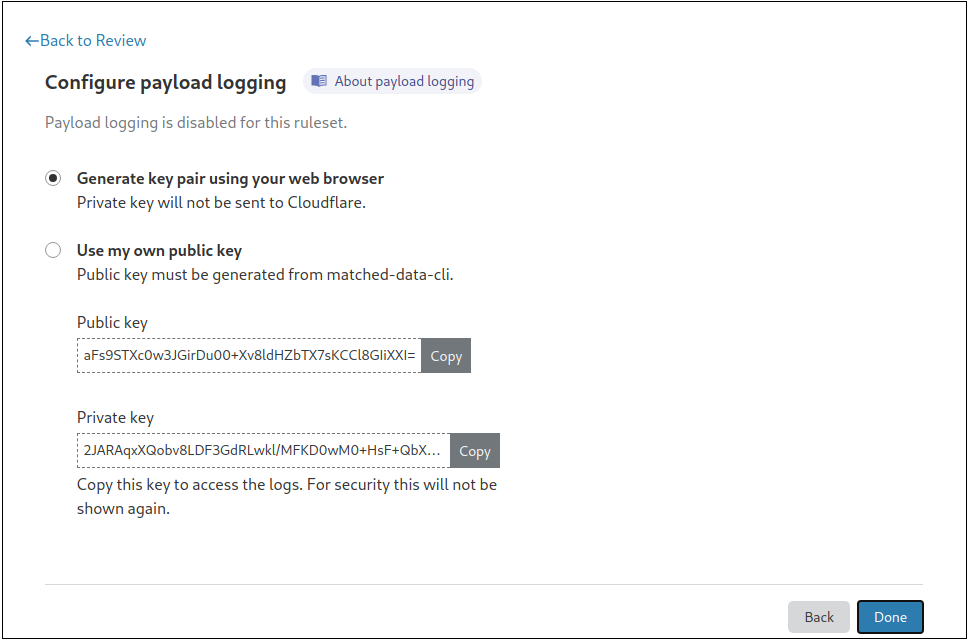
}Note: These logs are encrypted with the public key provided by the customer.
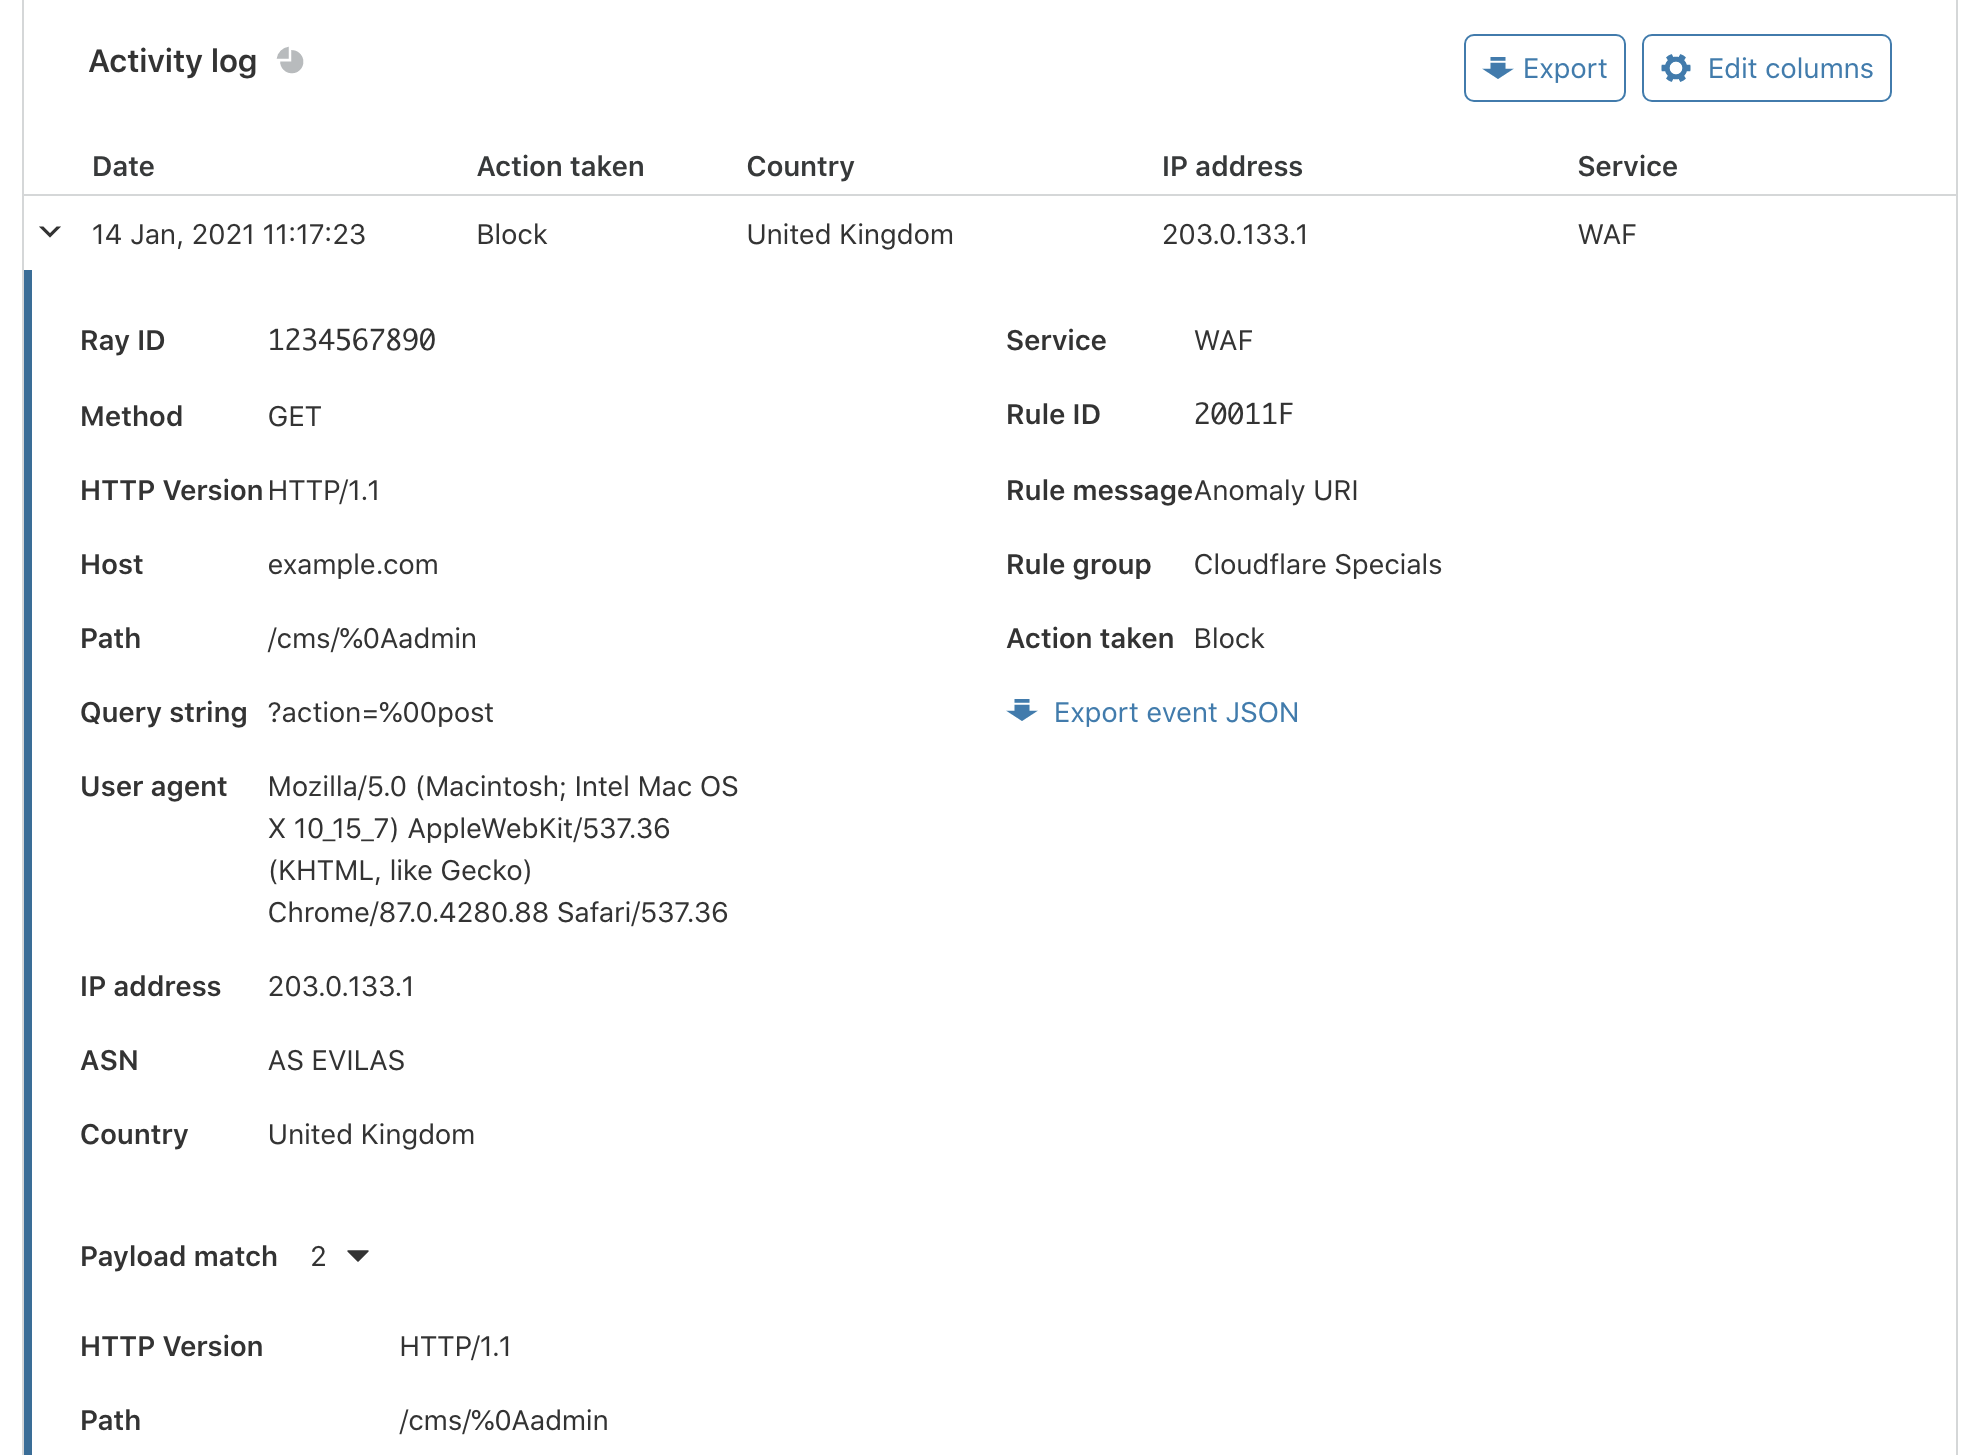
These logs go through our logging pipeline and can be read in different ways. Customers can configure a Logpush job to write to a custom Worker we built that uses the customer’s private key to automatically decrypt these logs. The Payload logging CLI tool, Worker, or the Cloudflare dashboard can also be used for decryption.

In wirefilter, some fields are array types. The field http.request.headers.names is an array of all the header names in a request. For example:
[“content-type”, “content-length”, “authorization”, "host"]An expression that reads any(http.request.headers.names[*] contains “c”) will evaluate to true because at least one of the headers contains the letter “c”. With the previous version of the payload logging compiler, all the headers in the “http.request.headers.names” field will be logged since it’s a part of the expression that evaluates to true.
Payload log (previous)
http.request.headers.names[*] = [“content-type”, “content-length”, “authorization”, "host"]Now, we partially evaluate the array fields and log the indexes that match the expressions constraint. In this case, it’ll be just the headers that contain a “c”!
Payload log (new)
http.request.headers.names[0,1] = [“content-type”, “content-length”]This brings us to operators in wirefilter. Some operators like “eq” result in exact matches, e.g. http.host eq “a.com”. There are other operators that result in “partial” matches – like “in”, “contains”, “matches” – that work alongside regexes.
The expression in this example: `any(http.request.headers[*] contains “c”)` uses a “contains” operator which produces a partial match. It also uses the “any” function which we can say produces a partial match, because if at least one of the headers contains a “c”, then we should log that header – not all the headers as we did in the previous version.
With the improvements to the payload logging compiler, when these expressions are evaluated, we log just the partial matches. In this case, the new payload logging compiler handles the “contains” operator similarly to the “find” method for bytes in the Rust standard library. This improves our payload log to:
http.request.headers.names[0,1] = [“c”, “c”]This makes things a lot clearer. It also saves our logging pipeline from processing millions of bytes. For example, a field that is analyzed a lot is the request body — http.request.body.raw — which can be tens of kilobytes in size. Sometimes the expressions are checking for a regex pattern that should match three characters. In this case we’ll be logging 3 bytes instead of kilobytes!
I know, I know, [“c”, “c”] doesn’t really mean much. Even if we’ve provided the exact reason for the match and are significantly saving on the volume of bytes written to our customers storage destinations, the key goal is to provide useful debugging information to the customer. As part of the payload logging improvements, the compiler now also logs a “before” and “after” (if applicable) for partial matches. The size for these buffers are currently 15 bytes each. This means our payload log now looks like:
http.request.headers[0,1] = [
    {
        before: null, // isnt included in the final log
        content: “c”,
        after: “ontent-length”
    },
    {
        before: null, // isnt included in the final log
        content: “c”,
        after:”ontent-type”
    }
]
Example of payload log (previous)

Example of payload log (new)

In the previous log, we have all the header values. In the new log, we have the 8th index which is a malicious script in a HTTP header. The match is on the “<script>” tag and the rest is the context which is the text in gray.
Managed rules rely heavily on regular expressions to fingerprint malicious requests. Parsing and compiling these expressions are CPU-intensive tasks. As managed rules are written once and deployed across millions of zones, we benefit from compiling these regexes and caching them in memory. This saves us CPU cycles as we don’t have to re-compile these until the process restarts.
The Payload logging compiler uses a lot of dynamically sized arrays or vectors to store the intermediate state for these logs. Crates like smallvec are also used to reduce heap allocations.
Sometimes, customers see “truncated” in their payload logs. This is because every firewall event has a size limit in bytes. When this limit is exceeded, the payload log is truncated.
Payload log (previous)

Payload log (new)

We have seen the p50 byte size of the payload logs shrink from 1.5 Kilobytes to 500 bytes – a 67% reduction! That means way fewer truncated payload logs.
We’re currently using a lossy representation of utf-8 strings to represent values. This means that non-valid utf-8 strings like multimedia are represented as U+FFFD unicode replacement characters. For rules that will work on binary data, the integrity of these values should be preserved with byte arrays or with a different serialization format.
The storage format for payload logging is JSON. We’ll be benchmarking this alongside other binary formats like CBOR, Cap’n Proto, Protobuf, etc., to see how much processing time this saves our pipeline. This will help us deliver logs to our customers faster, with the added advantage that binary formats can also help with maintaining a defined schema that will be backward compatible.
Finally, payload logging only works with Managed rules. It will be rolled out to other Cloudflare WAF products like custom rules, WAF attack score, content scanning, Firewall for AI, and more.
An example of payload logging showing prompts containing PII, detected by Firewall for AI:

Visibility into the actions taken by the WAF will give customers assurance that their rules or configurations are doing exactly what they expect. Improvements to the specificity of payload logging is a step in this direction — and in the pipeline are further improvements to reliability, latency, and expansion to more WAF products.
As this was a breaking change to the JSON schema, we’ve rolled this out slowly to customers with adequate documentation.
To get started and enable payload logging, visit our developer documentation.