Post Syndicated from Danilo Poccia original https://aws.amazon.com/blogs/aws/new-aws-config-rules-now-support-proactive-compliance/
When operating a business, you have to find the right balance between speed and control for your cloud operations. On one side, you want to have the ability to quickly provision the cloud resources you need for your applications. At the same time, depending on your industry, you need to maintain compliance with regulatory, security, and operational best practices.
AWS Config provides rules, which you can run in detective mode to evaluate if the configuration settings of your AWS resources are compliant with your desired configuration settings. Today, we are extending AWS Config rules to support proactive mode so that they can be run at any time before provisioning and save time spent to implement custom pre-deployment validations.
When creating standard resource templates, platform teams can run AWS Config rules in proactive mode so that they can be tested to be compliant before being shared across your organization. When implementing a new service or a new functionality, development teams can run rules in proactive mode as part of their continuous integration and continuous delivery (CI/CD) pipeline to identify noncompliant resources.
You can also use AWS CloudFormation Guard in your deployment pipelines to check for compliance proactively and ensure that a consistent set of policies are applied both before and after resources are provisioned.
Let’s see how this works in practice.
Using Proactive Compliance with AWS Config
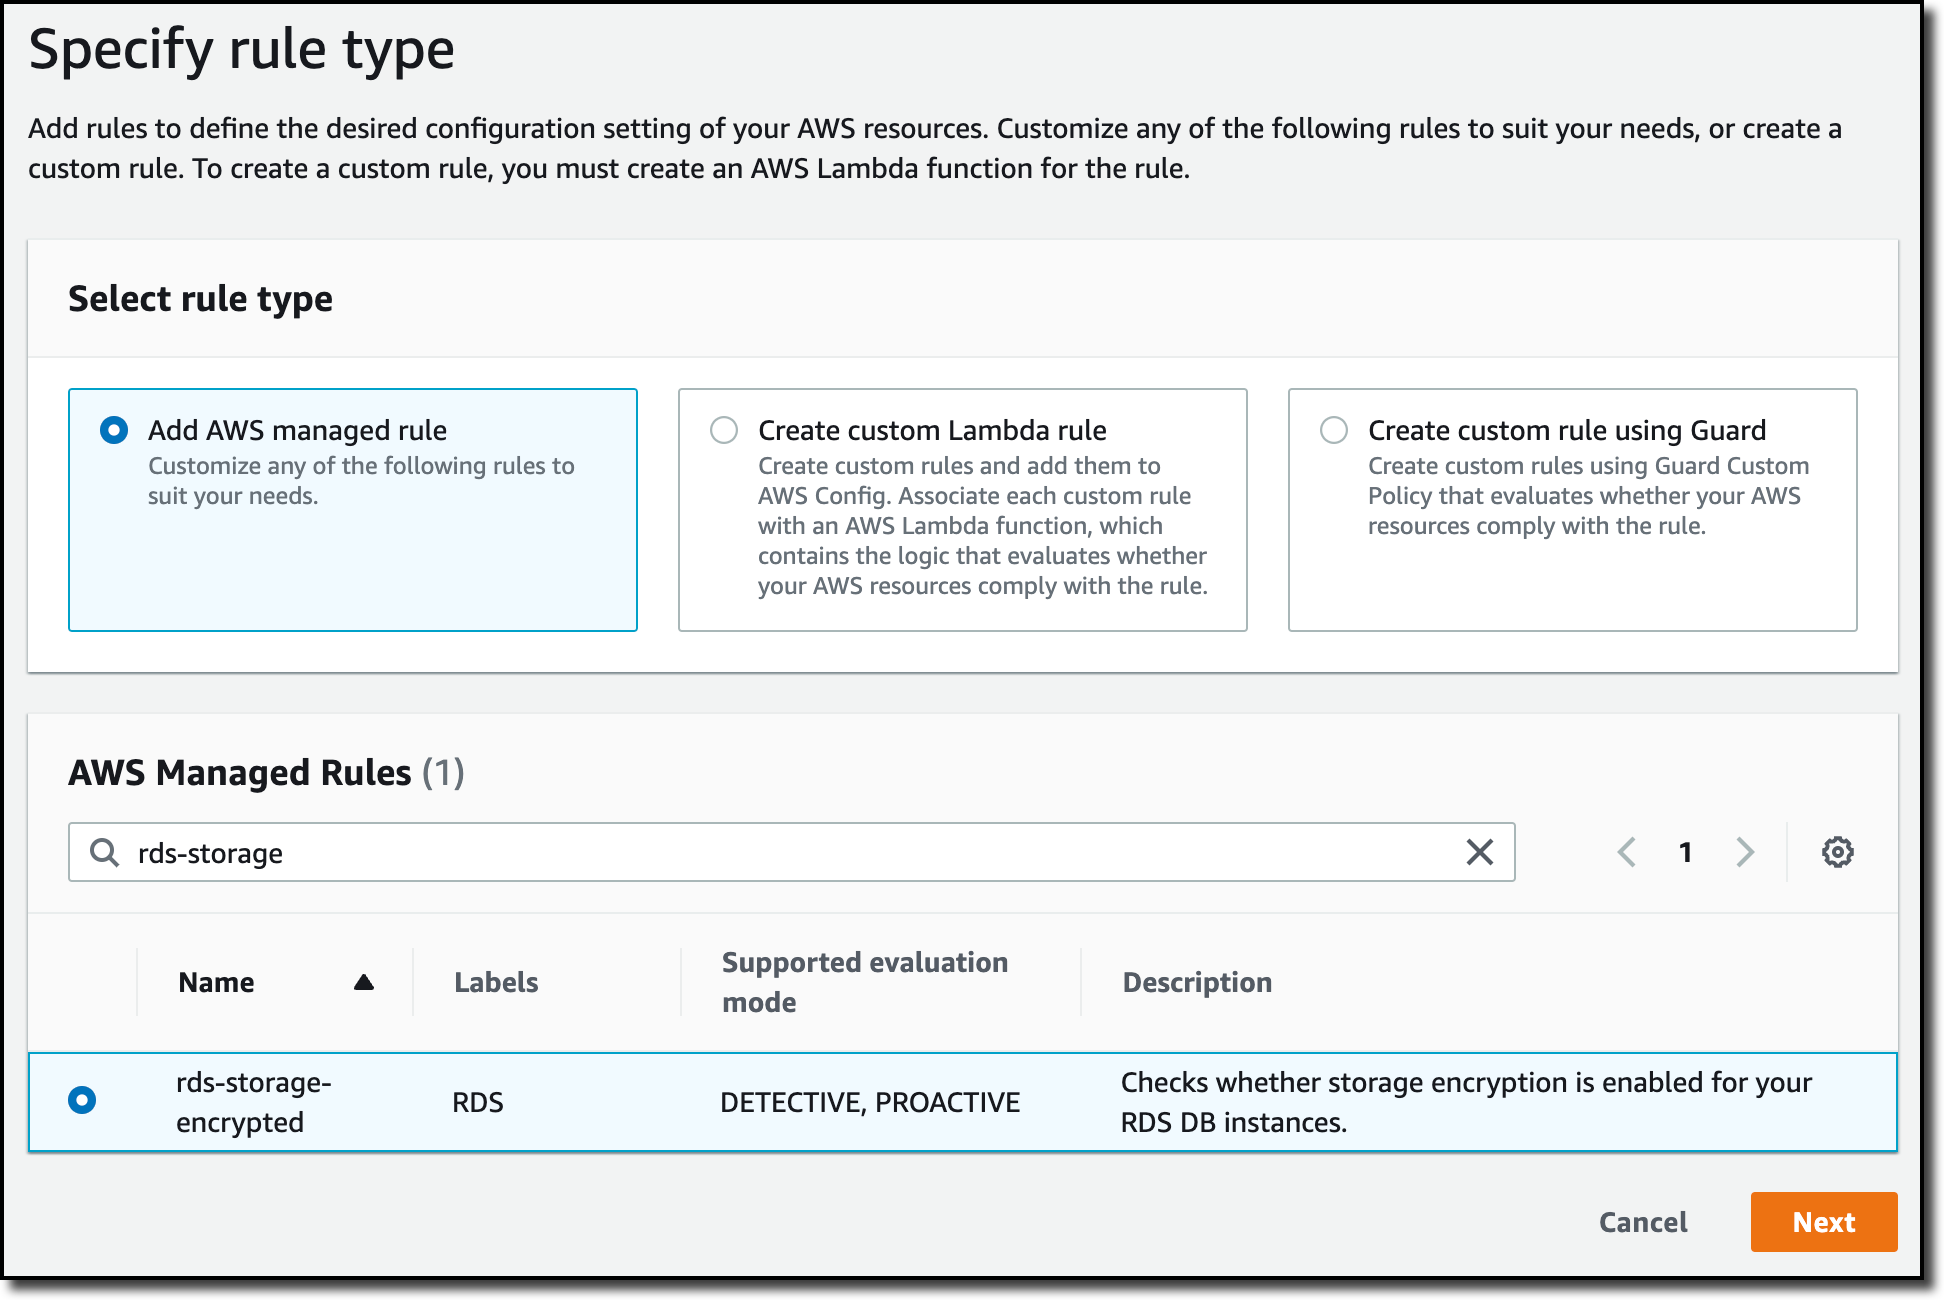
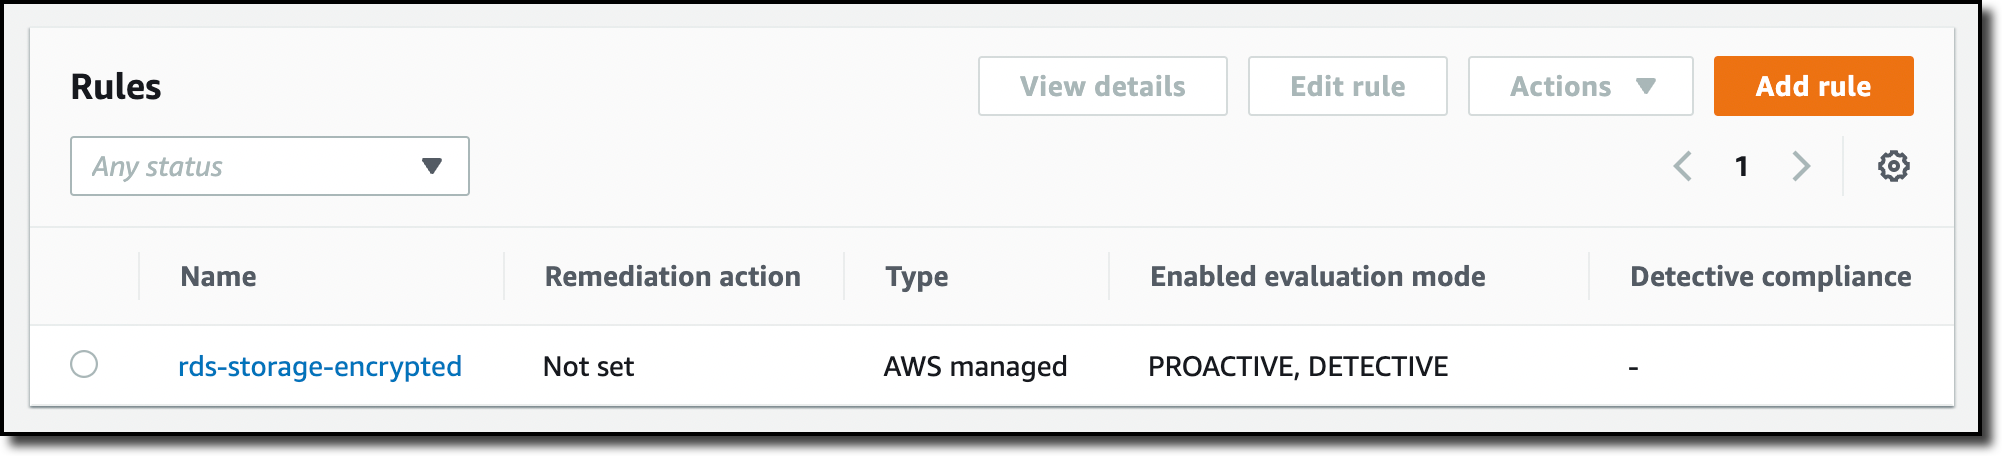
In the AWS Config console, I choose Rules in the navigation pane. In the rules table, I see the new Enabled evaluation mode column that specifies whether the rule is proactive or detective. Let’s set up my first rule.

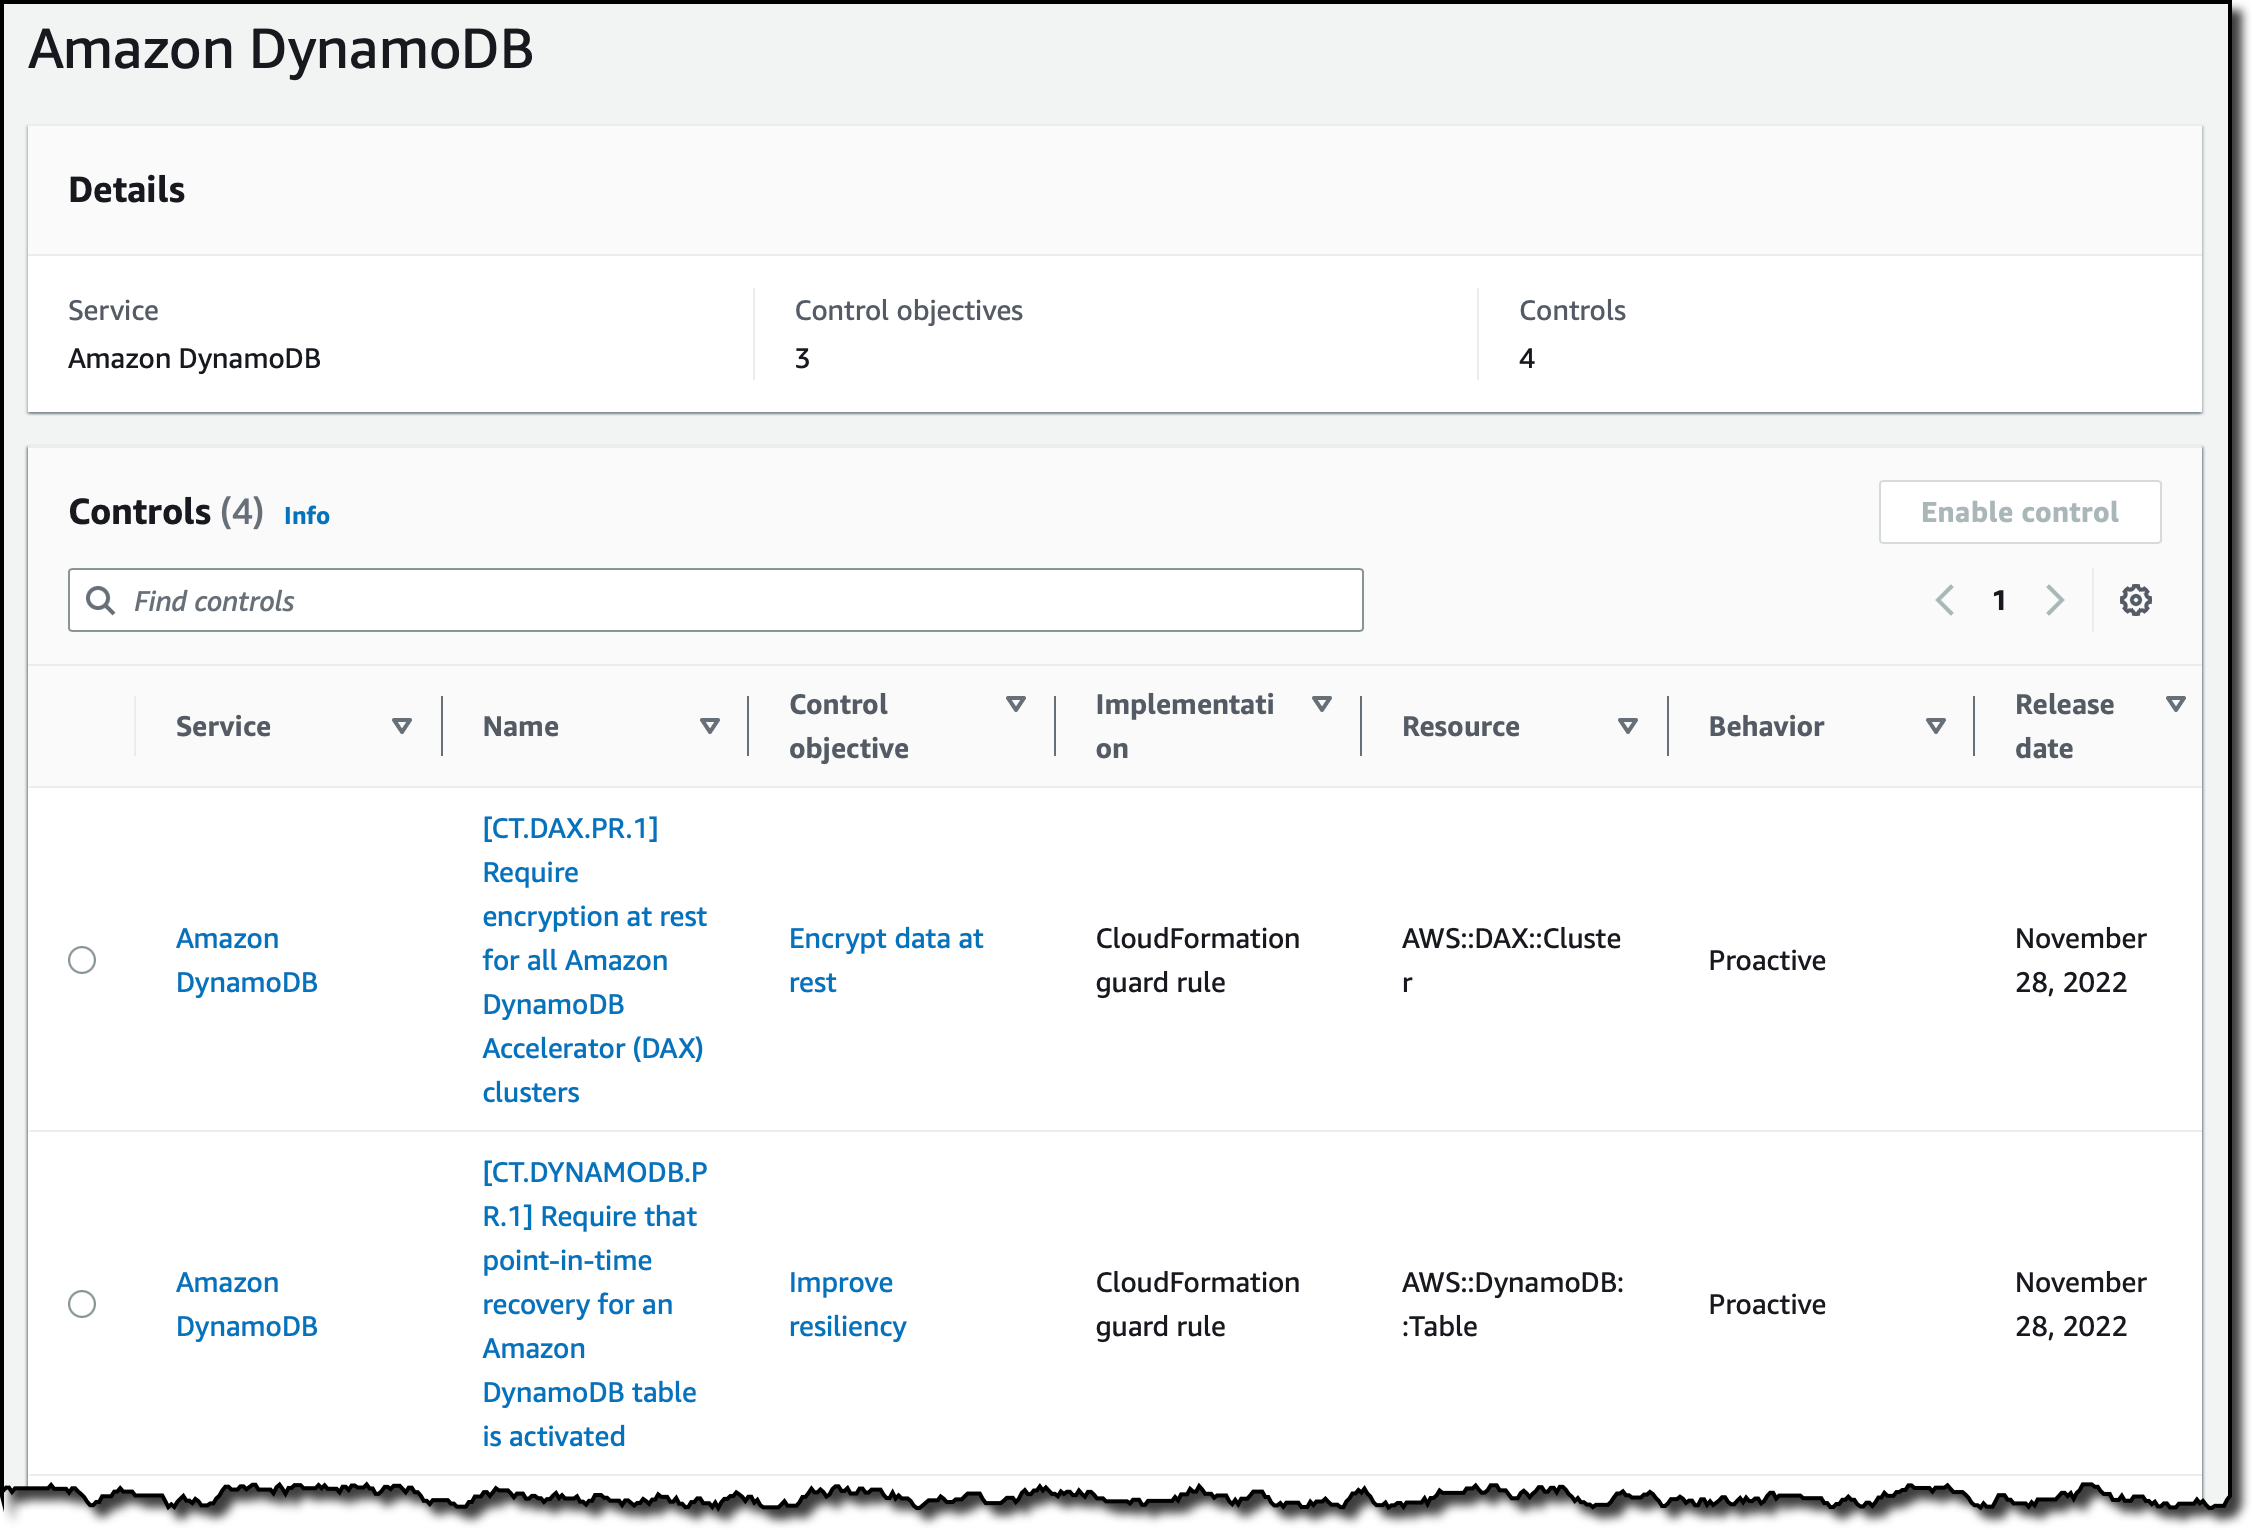
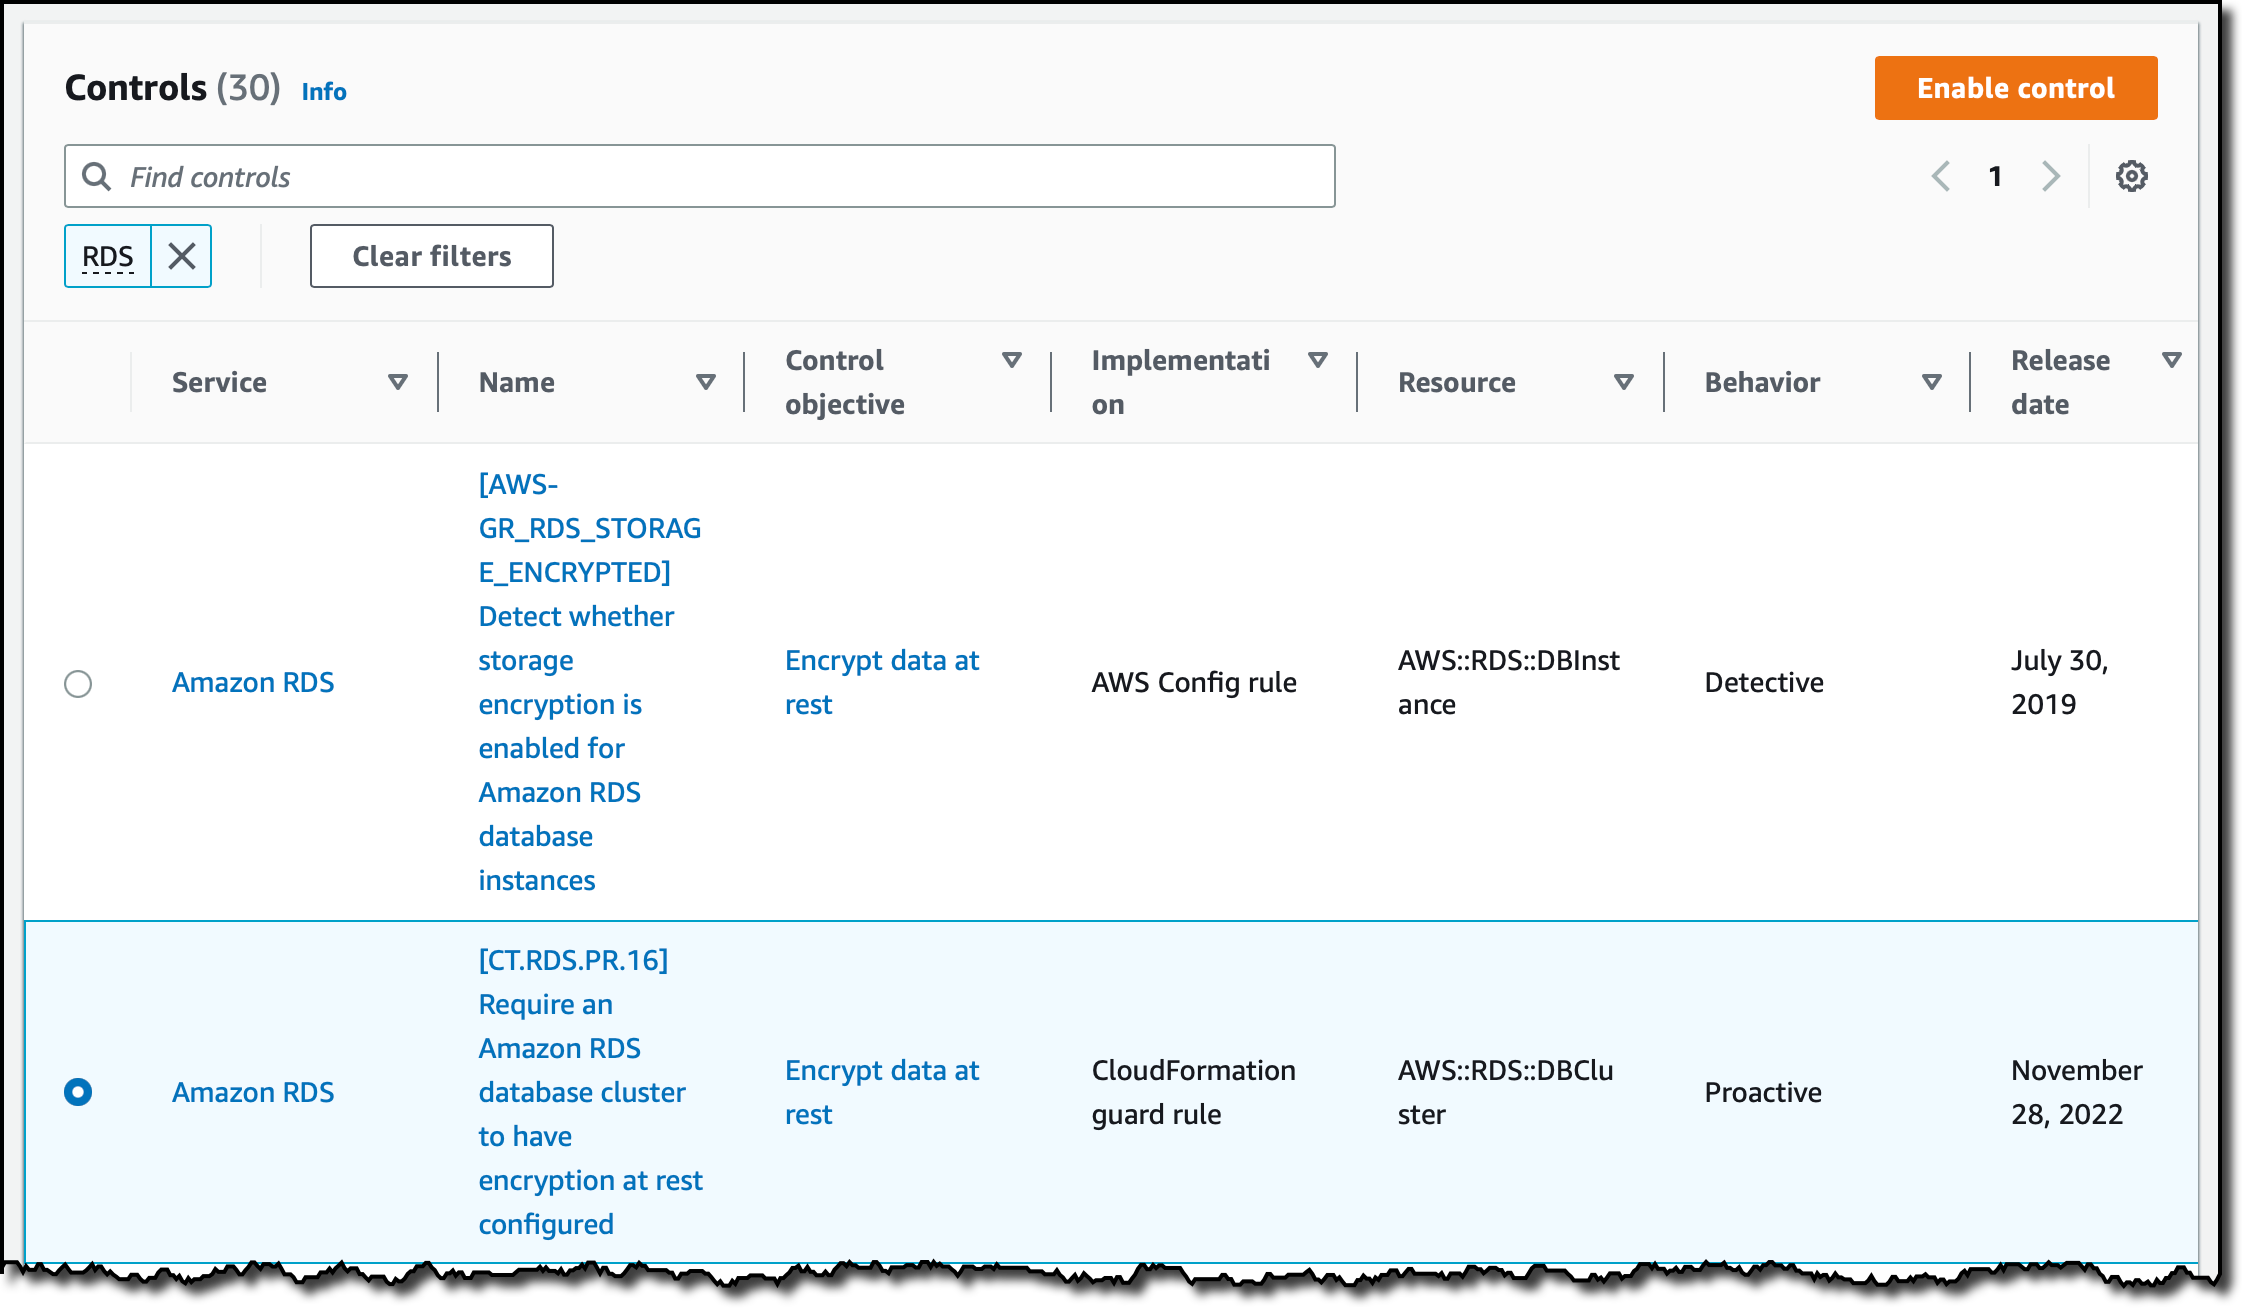
I choose Add rule, and then I enter rds-storage in the AWS Managed Rules search box to find the rds-storage-encrypted rule. This rule checks whether storage encryption is enabled for your Amazon Relational Database Service (RDS) DB instances and can be added in proactive or detective evaluation mode. I choose Next.

In the Evaluation mode section, I turn on proactive evaluation. Now both the proactive and detective evaluation switches are enabled.

I leave all the other settings to their default values and choose Next. In the next step, I review the configuration and add the rule.

Now, I can use proactive compliance via the AWS Config API (including the AWS Command Line Interface (CLI) and AWS SDKs) or with CloudFormation Guard. In my CI/CD pipeline, I can use the AWS Config API to check the compliance of a resource before creating it. When deploying using AWS CloudFormation, I can set up a CloudFormation hook to proactively check my configuration before the actual deployment happens.
Let’s do an example using the AWS CLI. First, I call the StartProactiveEvaluationResponse API with in input the resource ID (for reference only), the resource type, and its configuration using the CloudFormation schema. For simplicity, in the database configuration, I only use the StorageEncrypted option and set it to true to pass the evaluation. I use an evaluation timeout of 60 seconds, which is more than enough for this rule.
aws configservice start-resource-evaluation --evaluation-mode PROACTIVE \
    --resource-details '{"ResourceId":"myDB",
                         "ResourceType":"AWS::RDS::DBInstance",
                         "ResourceConfiguration":"{\"StorageEncrypted\":true}",
                         "ResourceConfigurationSchemaType":"CFN_RESOURCE_SCHEMA"}' \
    --evaluation-timeout 60
{
    "ResourceEvaluationId": "be2a915a-540d-4595-ac7b-e105e39b7980-1847cb6320d"
}
I get back in output the ResourceEvaluationId that I use to check the evaluation status using the GetResourceEvaluationSummary API. In the beginning, the evaluation is IN_PROGRESS. It usually takes a few seconds to get a COMPLIANT or NON_COMPLIANT result.
aws configservice get-resource-evaluation-summary \
    --resource-evaluation-id be2a915a-540d-4595-ac7b-e105e39b7980-1847cb6320d
{
    "ResourceEvaluationId": "be2a915a-540d-4595-ac7b-e105e39b7980-1847cb6320d",
    "EvaluationMode": "PROACTIVE",
    "EvaluationStatus": {
        "Status": "SUCCEEDED"
    },
    "EvaluationStartTimestamp": "2022-11-15T19:13:46.029000+00:00",
    "Compliance": "COMPLIANT",
    "ResourceDetails": {
        "ResourceId": "myDB",
        "ResourceType": "AWS::RDS::DBInstance",
        "ResourceConfiguration": "{\"StorageEncrypted\":true}"
    }
}
As expected, the Amazon RDS configuration is compliant to the rds-storage-encrypted rule. If I repeat the previous steps with StorageEncrypted set to false, I get a noncompliant result.
If more than one rule is enabled for a resource type, all applicable rules are run in proactive mode for the resource evaluation. To find out individual rule-level compliance for the resource, I can call the GetComplianceDetailsByResource API:
aws configservice get-compliance-details-by-resource \
    --resource-evaluation-id be2a915a-540d-4595-ac7b-e105e39b7980-1847cb6320d
{
    "EvaluationResults": [
        {
            "EvaluationResultIdentifier": {
                "EvaluationResultQualifier": {
                    "ConfigRuleName": "rds-storage-encrypted",
                    "ResourceType": "AWS::RDS::DBInstance",
                    "ResourceId": "myDB",
                    "EvaluationMode": "PROACTIVE"
                },
                "OrderingTimestamp": "2022-11-15T19:14:42.588000+00:00",
                "ResourceEvaluationId": "be2a915a-540d-4595-ac7b-e105e39b7980-1847cb6320d"
            },
            "ComplianceType": "COMPLIANT",
            "ResultRecordedTime": "2022-11-15T19:14:55.588000+00:00",
            "ConfigRuleInvokedTime": "2022-11-15T19:14:42.588000+00:00"
        }
    ]
}
If, when looking at these details, your desired rule is not invoked, be sure to check that proactive mode is turned on.
Availability and Pricing
Proactive compliance will be available in all commercial AWS Regions where AWS Config is offered but it might take a few days to deploy this new capability across all these Regions. I’ll update this post when this deployment is complete. To see which AWS Config rules can be turned into proactive mode, see the Developer Guide.
You are charged based on the number of AWS Config rule evaluations recorded. A rule evaluation is recorded every time a resource is evaluated for compliance against an AWS Config rule. Rule evaluations can be run in detective mode and/or in proactive mode, if available. If you are running a rule in both detective mode and proactive mode, you will be charged for only the evaluations in detective mode. For more information, see AWS Config pricing.
With this new feature, you can use AWS Config to check your rules before provisioning and avoid implementing your own custom validations.
— Danilo