Post Syndicated from Channy Yun original https://aws.amazon.com/blogs/aws/introducing-amazon-omics-a-purpose-built-service-to-store-query-and-analyze-genomic-and-biological-data-at-scale/
 You might learn in high school biology class that the human genome is composed of over three billion letters of code using adenine (A), guanine (G), cytosine (C), and thymine (T) paired in the deoxyribonucleic acid (DNA). The human genome acts as the biological blueprint of every human cell. And that’s only the foundation for what makes us human.
Healthcare and life sciences organizations collect myriad types of biological data to improve patient care and drive scientific research. These organizations map an individual’s genetic predisposition to disease, identify new drug targets based on protein structure and function, profile tumors based on what genes are expressed in a specific cell, or investigate how gut bacteria can influence human health. Collectively, these studies are often known as “omics”.
AWS has helped healthcare and life sciences organizations accelerate the translation of this data into actionable insights for over a decade. Industry leaders such as as Ancestry, AstraZeneca, Illumina, DNAnexus, Genomics England, and GRAIL leverage AWS to accelerate time to discovery while concurrently reducing costs and enhancing security.
The scale these customers, and others, operate at continues to increase rapidly. When omics data across thousand or hundreds of thousands (or more!) of individuals are compared and analyzed, new insights for predicting disease and the efficacy of different drug treatments are possible.
However, this scale, which can be many petabytes of data, can add complexity. When I studied medical informatics in my Ph.D course, I experienced this complexity in data access, processing, and tooling. You need a way to store omics data that is cost-efficient and easy to access. You need to scale compute across millions of biological samples while preserving accuracy and reliability. You also need specialized tools to analyze genetic patterns across populations and train machine learning (ML) models to predict diseases.
Today I’m excited to announce the general availability of Amazon Omics, a purpose-built service to help bioinformaticians, researchers, and scientists store, query, and analyze genomic, transcriptomic, and other omics data and then generate insights from that data to improve health and advance scientific discoveries.
With just a few clicks in the Omics console, you can import and normalize petabytes of data into formats optimized for analysis. Amazon Omics provides scalable workflows and integrated tools for preparing and analyzing omics data and automatically provisions and scales the underlying cloud infrastructure. So, you can focus on advancing science and translate discoveries into diagnostics and therapies.
Amazon Omics has three primary components:
- Omics-optimized object storage that helps customers store and share their data efficiently and at low cost.
- Managed compute for bioinformatics workflows that allows customers to run the exact analysis they specify, without worrying about provisioning underlying infrastructure.
- Optimized data stores for population-scale variant analysis.
Now let’s learn more about each component of Amazon Omics. Generally, it follows the steps to create a data store and import data files, such as genome sequencing raw data, set up a basic bioinformatics workflow, and analyze results using existing AWS analytics and ML services.

The Getting Started page in the Omics console contains tutorial examples using Amazon SageMaker notebooks with the Python SDK. I will demonstrate Amazon Omics features through an example using a human genome reference.
Omics Data Storage
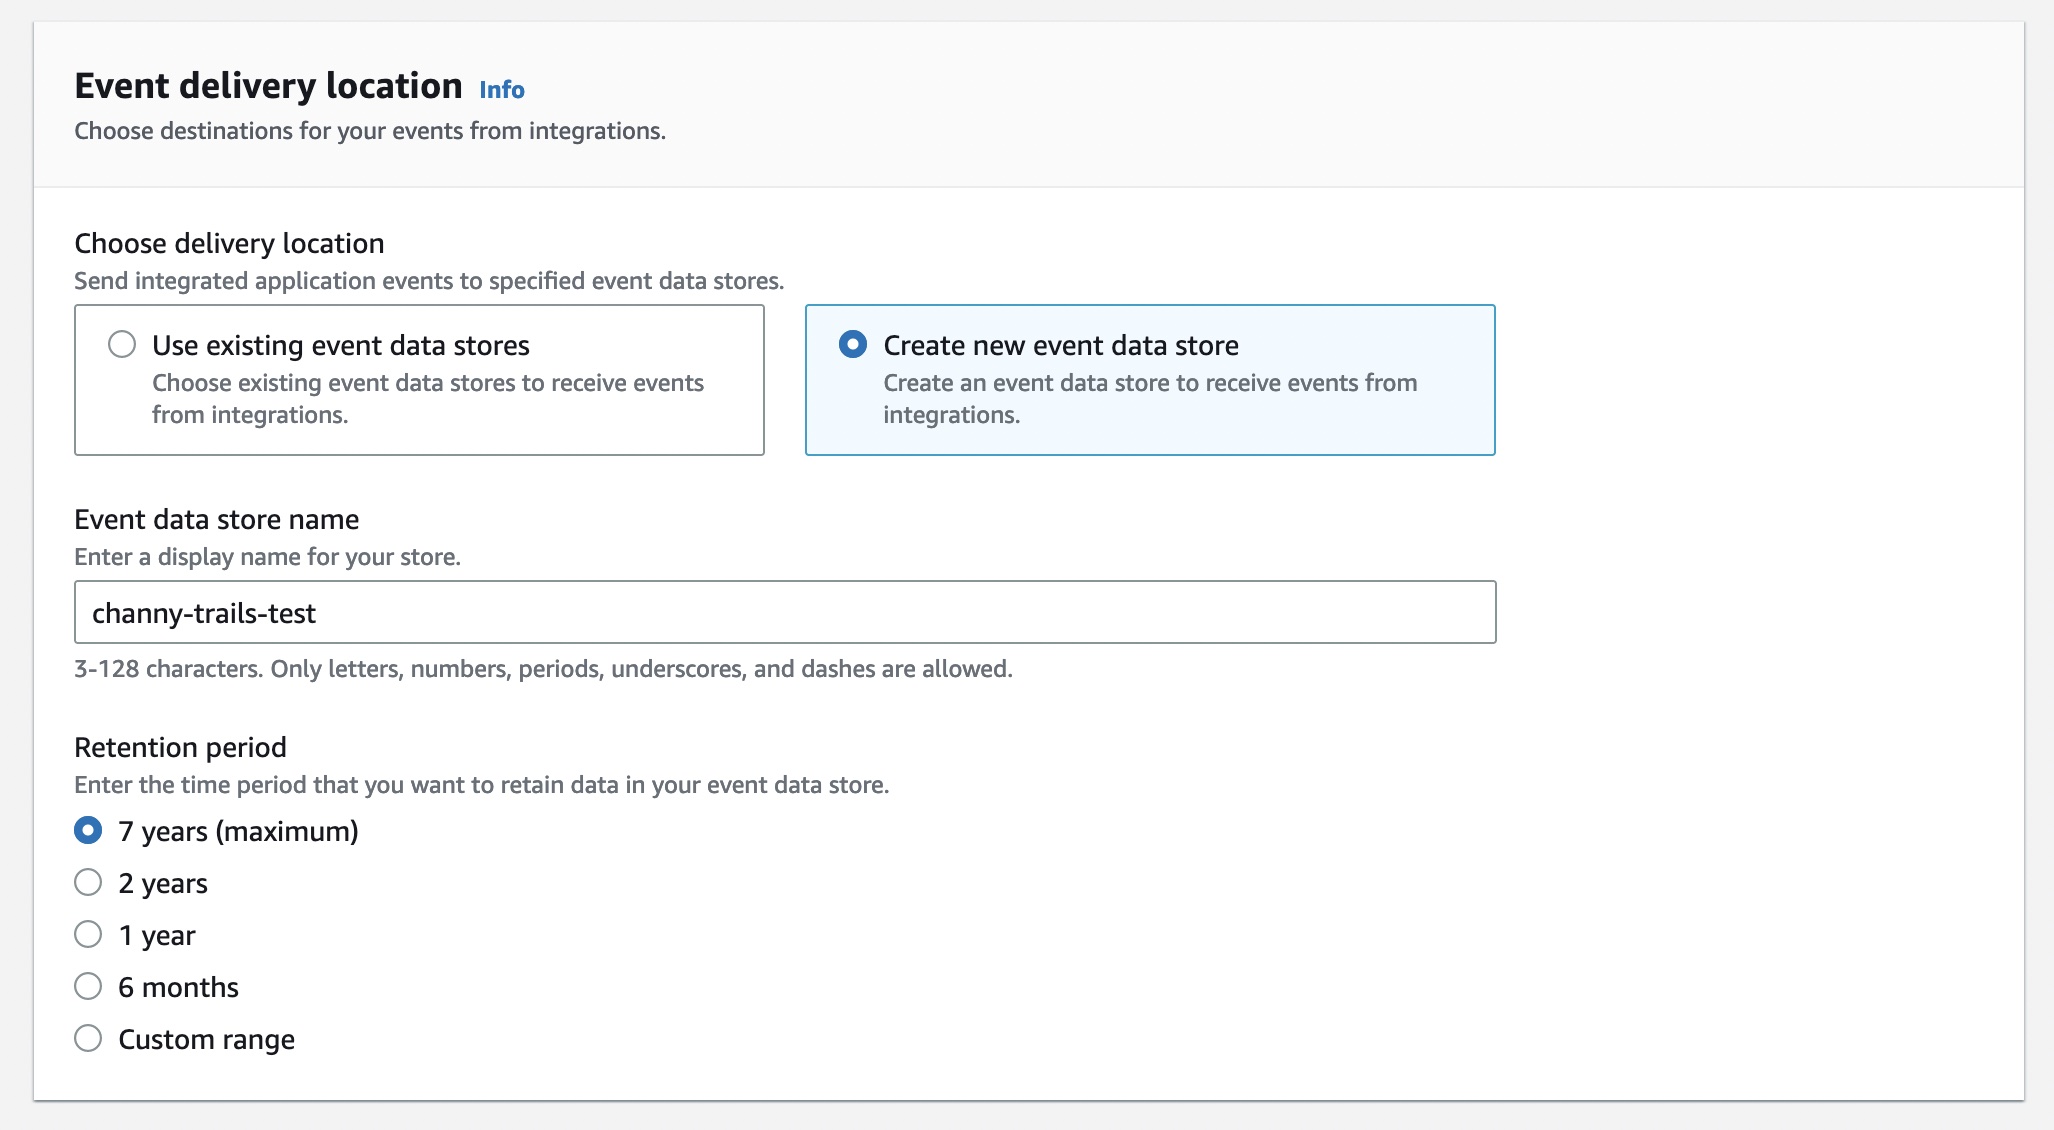
The Omics data storage helps you store and share petabytes of omics data efficiently. You can create data stores and import sample data in the Omics console and also do the same job in the AWS Command Line Interface (AWS CLI).

Let’s make a reference store and import a reference genome. This example uses Genome Reference Consortium Human Reference 38 (hg38), which is open access and available from the following Amazon S3 bucket: s3://broad-references/hg38/v0/Homo_sapiens_assembly38.fasta.
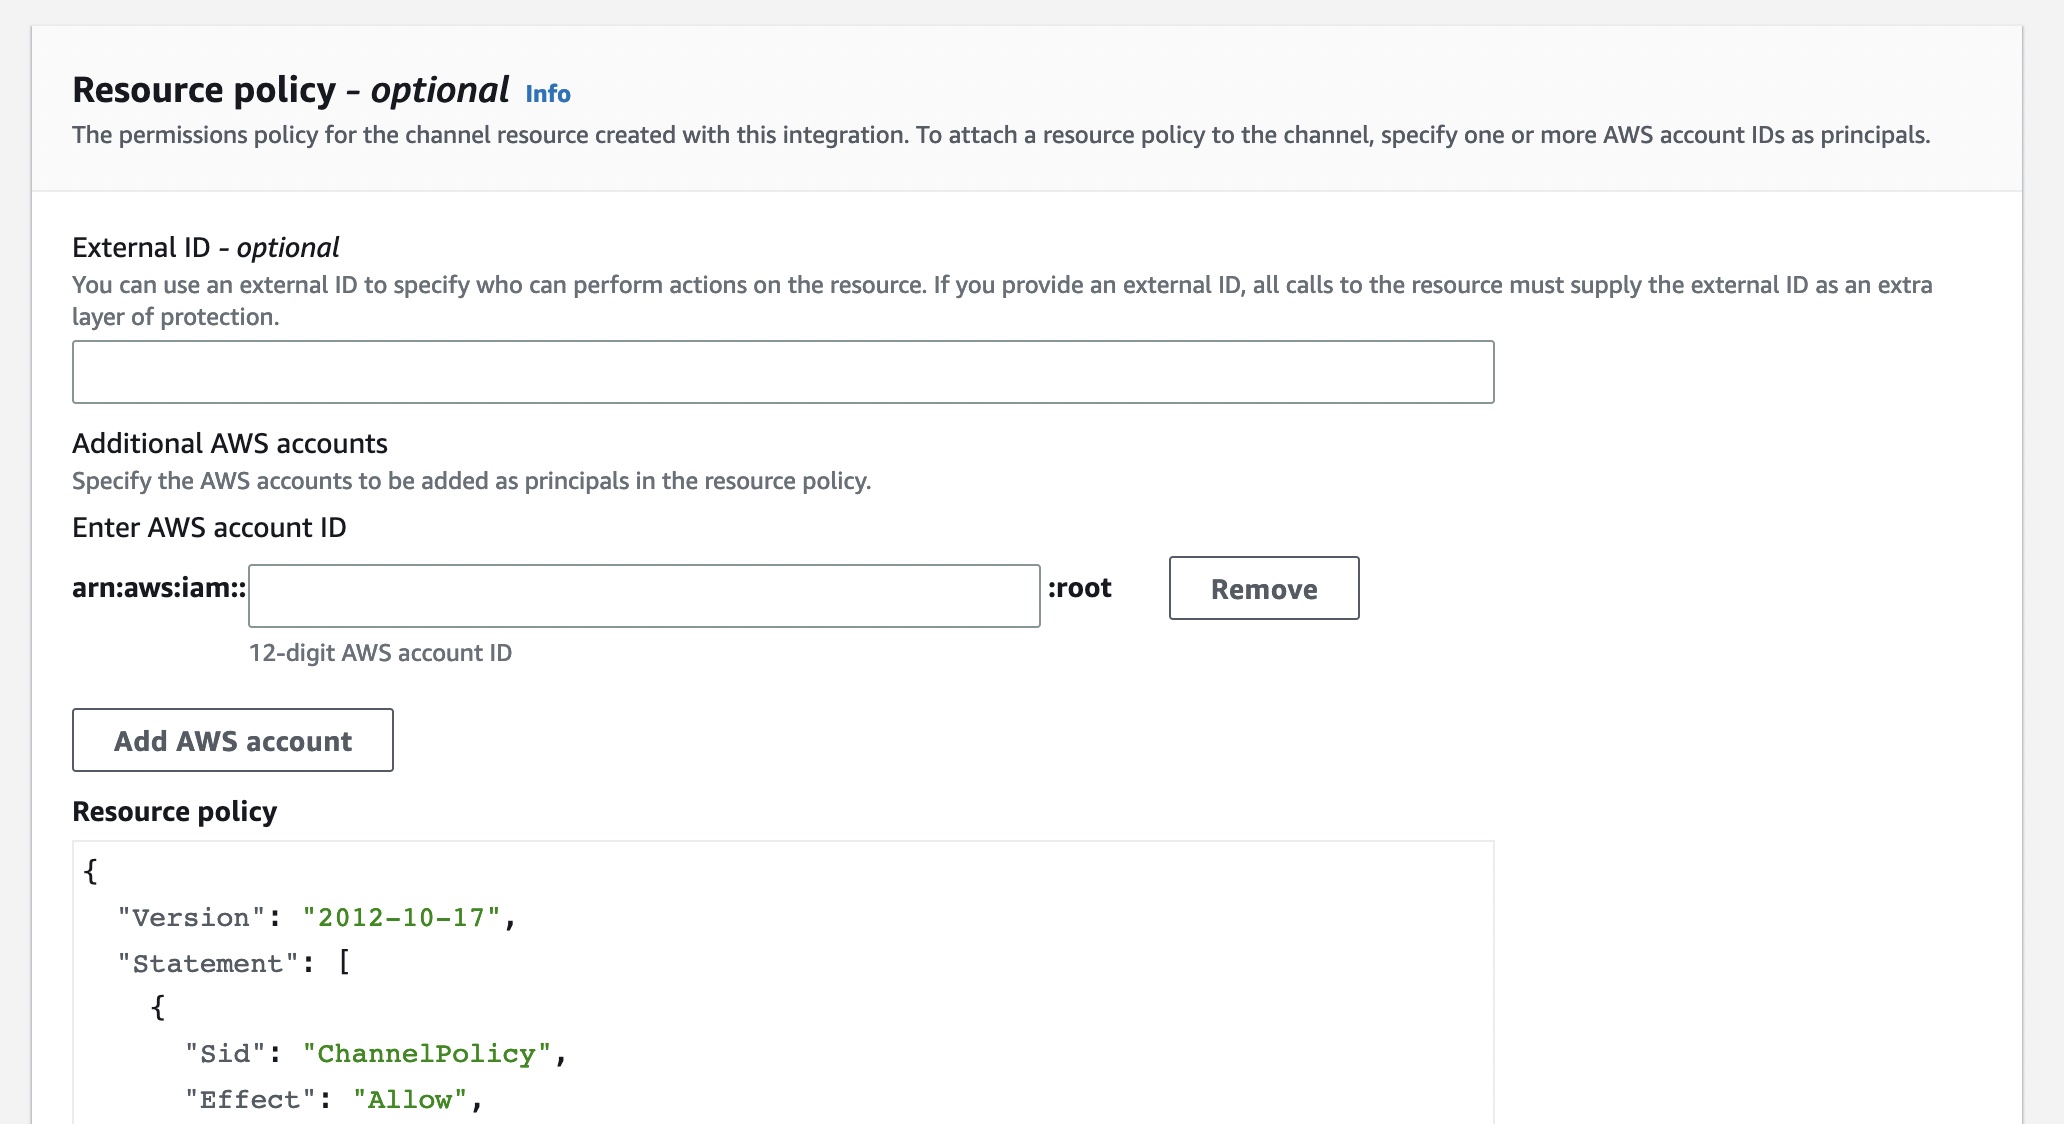
As prerequisites, you need to create Amazon S3 bucket in your preferred Region and the necessary IAM permissions to access S3 buckets. In the Omics console, you can easily create and select IAM role during the Omics storage setup.
Use the following AWS CLI command to create your reference store, copy the genome data to your S3 bucket, and import it data into your reference store.
// Create your reference store
$ aws omics create-reference-store --name "Reference Store"

// Import your reference data into your data store
$ aws s3 cp s3://broad-references/hg38/v0/Homo_sapiens_assembly38.fasta,name=hg38 s3://channy-omics
$ aws omics start-reference-import-job --sources sourceFile=s3://channy-omics/Homo_sapiens_assembly38.fasta,name=hg38 --reference-store-id 123456789 --role-arn arn:aws:iam::01234567890:role/OmicsImportRole
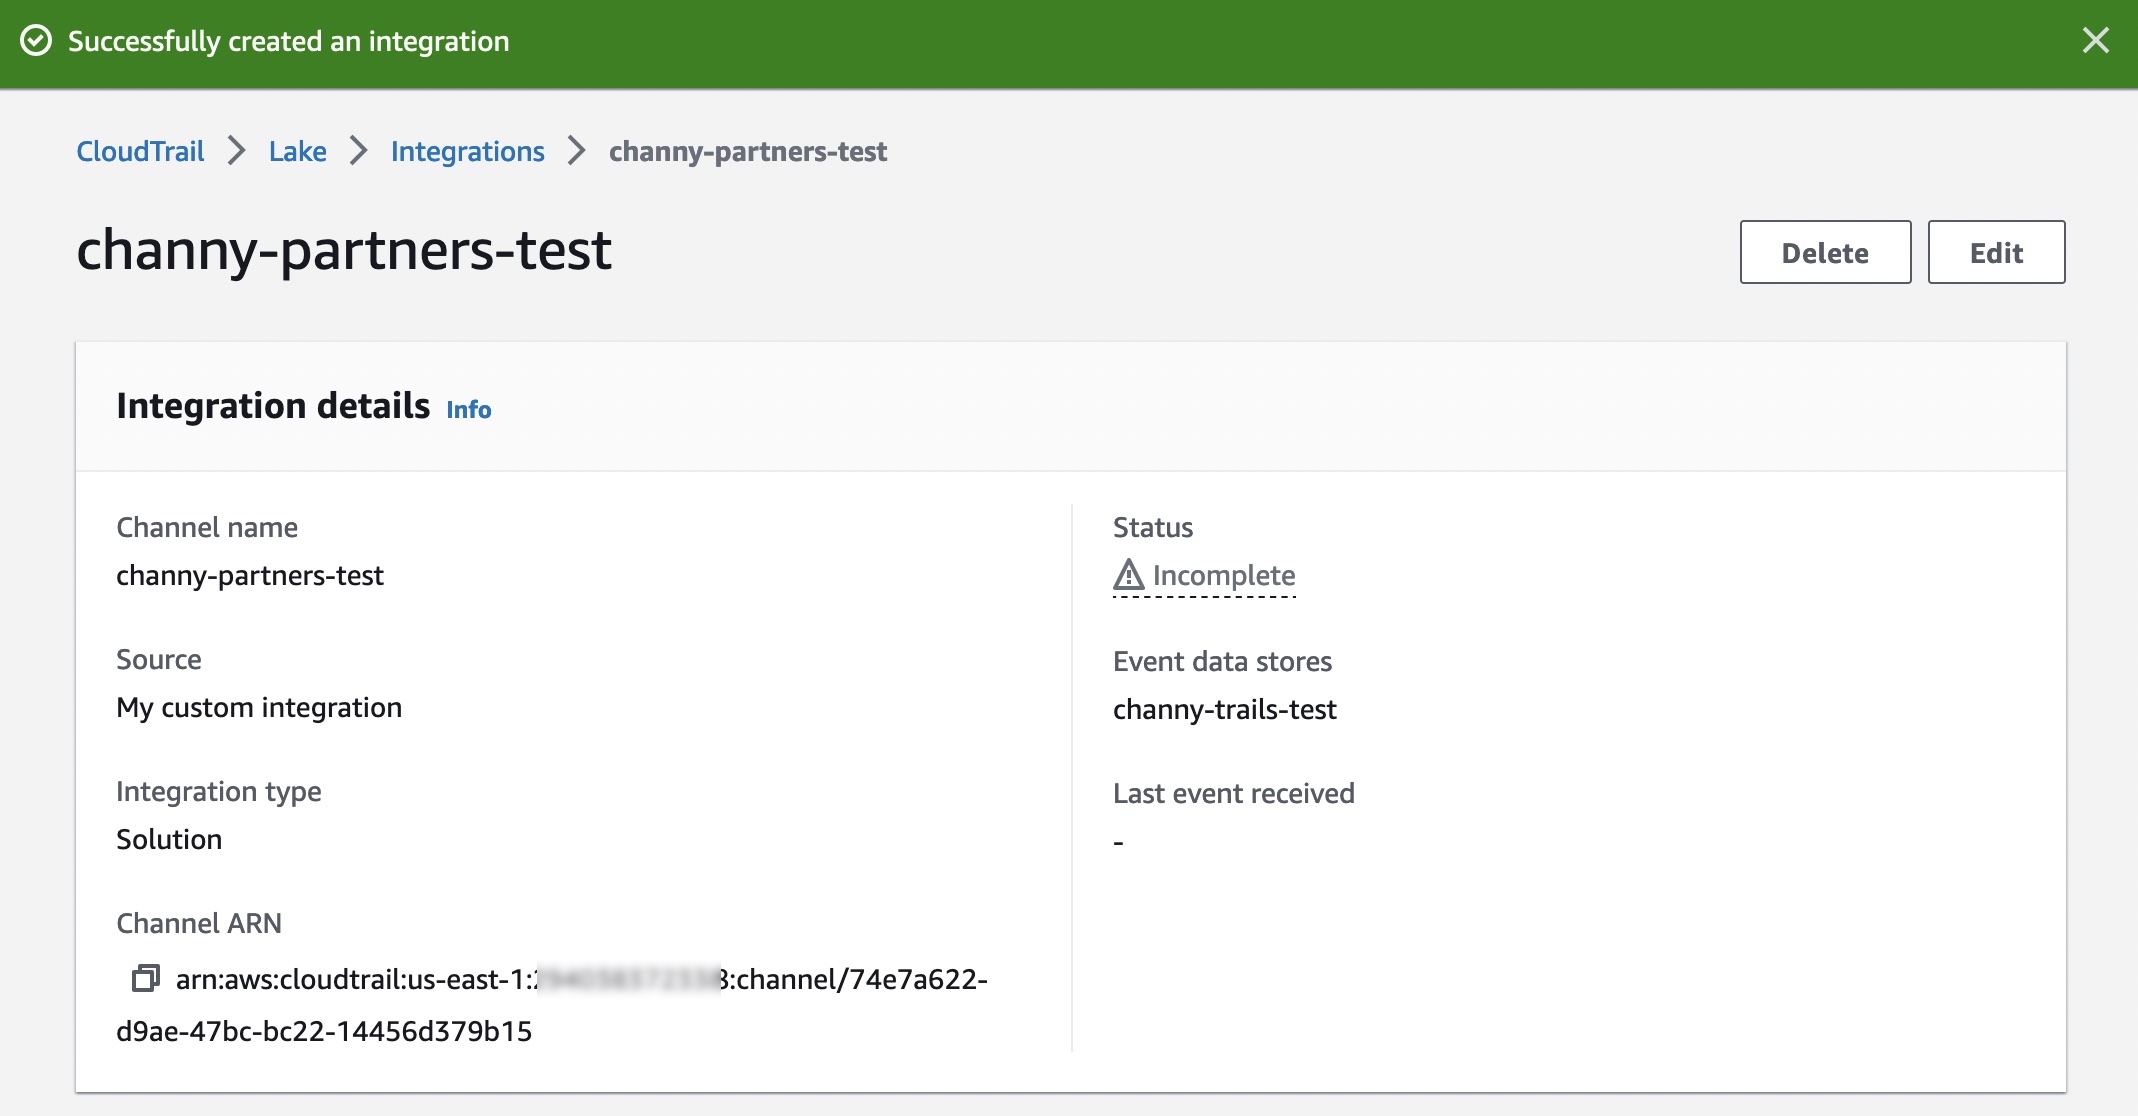
You can see the result in your console too.

Now you can create a sequence store. A sequence store is similar to an S3 bucket. Each object in a sequence store is known as a “read set”. A read set is an abstraction of a set of genomics file types:
- FASTQ – A text-based file format that stores information about a base (sequence letter) from a sequencer and the corresponding quality information.
- BAM – The compressed binary version of raw reads and their mapping to a reference genome.
- CRAM – Similar to BAM, but uses the reference genome information to aid in compression.
Amazon Omics allows you to specify domain-specific metadata to your read sets you import. These are searchable and defined when you start a read set import job.
As an example, we will use the 1000 Genomes Project, a highly detailed catalogue of more than 80 million human genetic variants for more than 400 billions data points from over 2500 individuals. Let’s make a sequence store and then import genome sequence files into it.
// Create your sequence store
$ aws omics create-sequence-store --name "MySequenceStore"

// Import your reference data into your data store
$ aws s3 cp s3://1000genomes/phase3/data/HG00146/sequence_read/SRR233106_1.filt.fastq.gz s3://channy-omics
$ aws s3 cp s3://1000genomes/phase3/data/HG00146/sequence_read/SRR233106_2.filt.fastq.gz s3://channy-omics

$ aws omics start-read-set-import-job --cli-input-json ‘
{
    "sourceFiles":
    {
        "source1": "s3://channy-omics/SRR233106_1.filt.fastq.gz",
        "source2": "s3://channy-omics/SRR233106_2.filt.fastq.gz"

    },
    "sourceFileType": "FASTQ",
    "subjectId": "mySubject2",
    "sampleId": "mySample2",
    "referenceArn": "arn:aws:omics:us-east-1:123456789012:referenceStore/123467890",
    "name": "HG00100"
}’
You can see the result in your console again.

Analytics Transformations
You can store variant data referring to a mutation, a difference between what the sequencer read at a position compared to the known reference and annotation data, known information about a location or variant in a genome, such as whether it may cause disease.
A variant store supports both variant call format files (VCF) where there is a called variant and gVCF inputs with records covering every position in a genome. An annotation store supports either a generic feature format (GFF3), tab-separated values (TSV), or VCF file. An annotation store can be mapped to the same coordinate system as variant stores during an import.

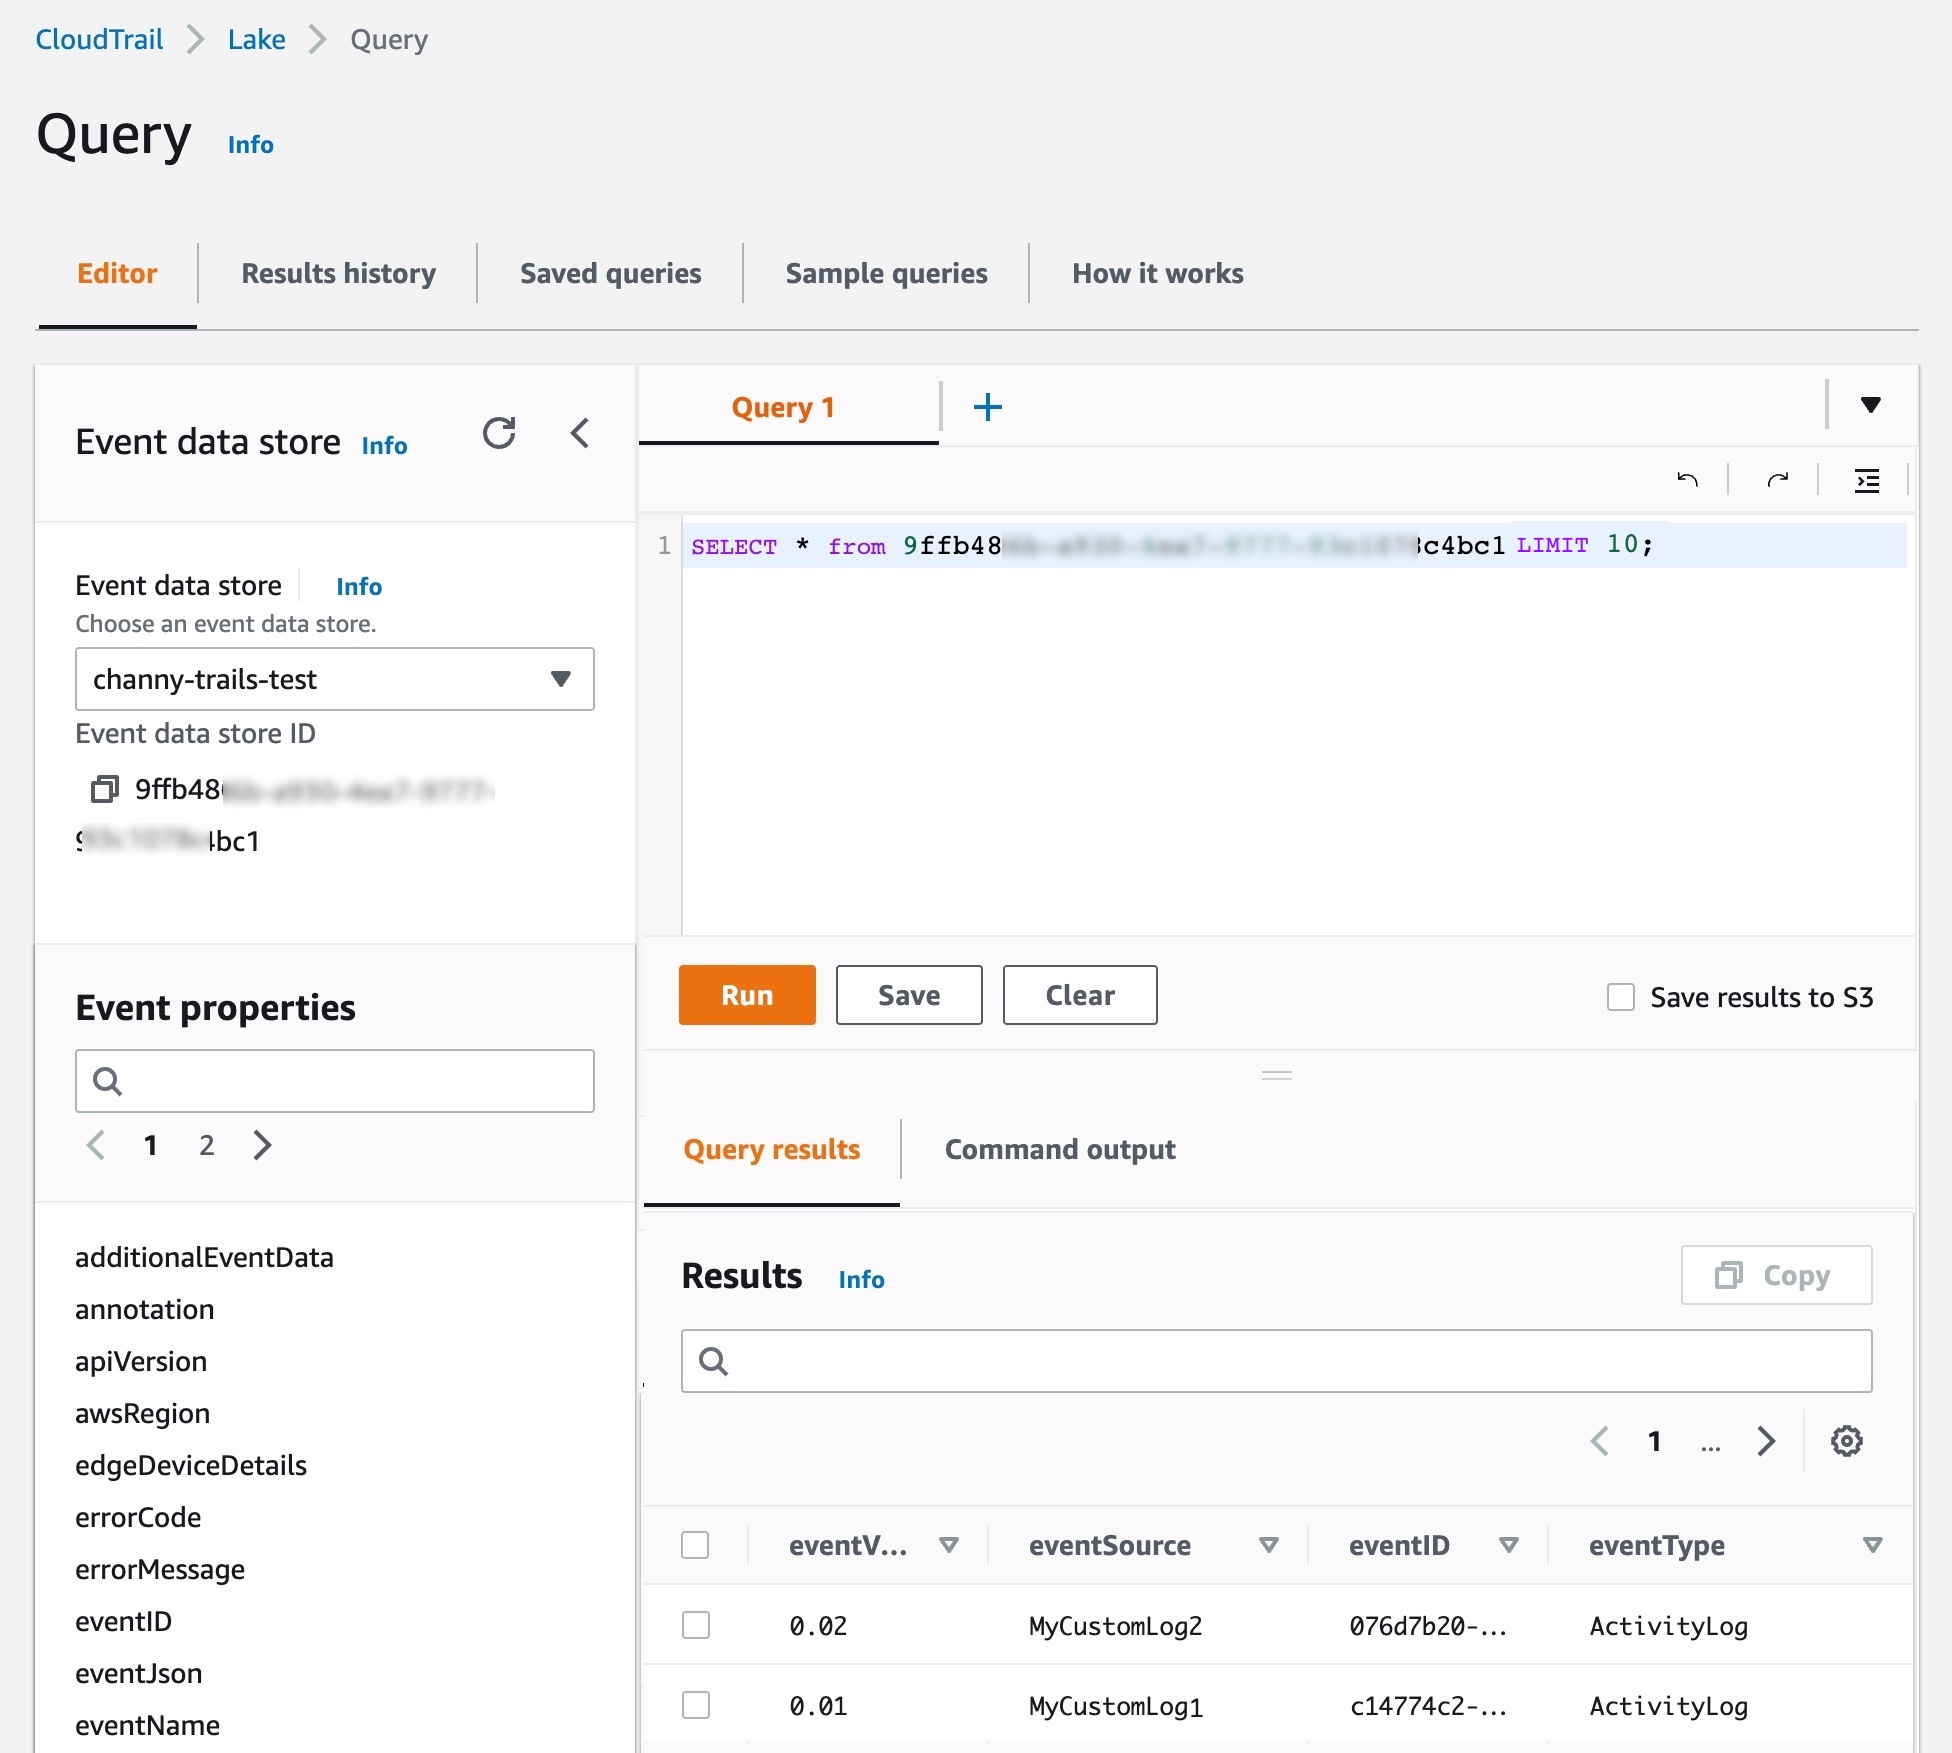
Once you’ve imported your data, you can now run queries like as followings which search for Single Nucleotide Variants (SNVs), the most common type of genetic variation among people, on human chromosome 1.
SELECT
    sampleid,
    contigname,
    start,
    referenceallele,
    alternatealleles
FROM "myvariantstore"."myvariantstore"
WHERE
    contigname = 'chr1'
    and cardinality(alternatealleles) = 1
    and length(alternatealleles[1]) = 1
    and length(referenceallele) = 1
LIMIT 10
You can see the output of this query:
#	sampleid	contigname	start	referenceallele	alternatealleles
1	NA20858	chr1	10096	T	[A]
2	NA19347	chr1	10096	T	[A]
3	NA19735	chr1	10096	T	[A]
4	NA20827	chr1	10102	T	[A]
5	HG04132	chr1	10102	T	[A]
6	HG01961	chr1	10102	T	[A]
7	HG02314	chr1	10102	T	[A]
8	HG02837	chr1	10102	T	[A]
9	HG01111	chr1	10102	T	[A]
10	NA19205	chr1	10108	A	[T]
You can view, manage, and query those data by integrating with existing analytics engines such as Amazon Athena. These query results can be used to train ML models in Amazon SageMaker.
Bioinformatics Workflows
Amazon Omics allows you to perform bioinformatics workflow, such as variant calling or gene expression, analysis on AWS. These compute workloads are defined using workflow languages like Workflow Description Language (WDL) and Nextflow, domain-specific languages that specify multiple compute tasks and their input and output dependencies.

You can define and execute a workflow using a few simple CLI commands. As an example, create a main.wdl file with the following WDL codes to create a simple WDL workflow with one task that creates a copy of a file.
version 1.0
workflow Test {
	input {
		File input_file
	}
	call FileCopy {
		input:
			input_file = input_file,
	}
	output {
		File output_file = FileCopy.output_file
	}
}
task FileCopy {
	input {
		File input_file
	}
	command {
		echo "copying ~{input_file}" >&2
		cat ~{input_file} > output
	}
	output {
		File output_file = "output"
	}
}
Then zip up your workflow and create your workflow with Amazon Omics using the AWS CLI:
$ zip my-wdl-workflow-zip main.wdl
$ aws omics create-workflow \
    --name MyWDLWorkflow \
    --description "My WDL Workflow" \
    --definition-zip file://my-wdl-workflow.zip \
    --parameter-template '{"input_file": "input test file to copy"}'
To run the workflow we just created, you can use the following command:
aws omics start-run \
  --workflow-id // id of the workflow we just created  \
  --role-arn // arn of the IAM role to run the workflow with  \
  --parameters '{"input_file": "s3://bucket/path/to/file"}' \
  --output-uri s3://bucket/path/to/results
Once the workflow completes, you could use these results in s3://bucket/path/to/results for downstream analyses in the Omics variant store.
You can execute a run, a single invocation of a workflow with a task and defined compute specifications. An individual run acts on your defined input data and produces an output. Runs also can have priorities associated with them, which allow specific runs to take execution precedence over other submitted and concurrent runs. For example, you can specify that a run that is high priority will be run before one that is lower priority.

You can optionally use a run group, a group of runs that you can set the max vCPU and max duration runs to help limit the compute resources used per run. This can help you partition users who may need access to different workflows to run on different data. It can also be used as a budget control/resource fairness mechanism by isolating users to specific run groups.
As you saw, Amazon Omics gives you a managed service with a couple of clicks and simple commands, and APIs in analyzing large-scale omic data, such as human genome samples so you can derive meaningful insights from this data, in hours rather than weeks. We also provide more tutorial SageMaker notebooks that you can use in Amazon SageMaker to help you get started.

In terms of data security, Amazon Omics helps ensure that your data remains secure and patient privacy is protected with customer-managed encryption keys, and HIPAA eligibility.
Customer and Partner Voices
Customers and partners in the healthcare and life science industry have shared how they are using Amazon Omics to accelerate scientific insights.
Children’s Hospital of Philadelphia (CHOP) is the oldest hospital in the United States dedicated exclusively to pediatrics and strives to advance healthcare for children with the integration of excellent patient care and innovative research. AWS has worked with the CHOP Research Institute for many years as they’ve led the way in utilizing data and technology to solve challenging problems in child health.
“At Children’s Hospital of Philadelphia, we know that getting a comprehensive view of our patients is crucial to delivering the best possible care, based on the most innovative research. Combining multiple clinical modalities is foundational to achieving this. With Amazon Omics, we can expand our understanding of our patients’ health, all the way down to their DNA.” – Jeff Pennington, Associate Vice President & Chief Research Informatics Officer, Children’s Hospital of Philadelphia
G42 Healthcare enables AI-powered healthcare that uses data and emerging technologies to personalize preventative care.
“Amazon Omics allows G42 to accelerate a competitive and deployable end-to-end service with globally leading data governance. We’re able to leverage the extensive omics data management and bioinformatics solutions hosted globally on AWS, at our customers’ fingertips. Our collaboration with AWS is much more than data – it’s about value.” – Ashish Koshi, CEO, G42 Healthcare
C2i Genomics brings together researchers, physicians and patients to utilize ultra-sensitive whole-genome cancer detection to personalize medicine, reduce cancer treatment costs, and accelerate drug development.
“In C2i Genomics, we empower our data scientists by providing them cloud-based computational solutions to run high-scale, customizable genomic pipelines, allowing them to focus on method development and clinical performance, while the company’s engineering teams are responsible for the operations, security and privacy aspects of the workloads. Amazon Omics allows researchers to use tools and languages from their own domain, and considerably reduces the engineering maintenance effort while taking care of cost and resource allocation considerations, which in turn reduce time-to-market and NRE costs of new features and algorithmic improvements.” – Ury Alon, VP Engineering, C2i Genomics
We are excited to work hand in hand with our AWS partners to build scalable, multi-modal solutions that enable the conversion of raw sequencing data into insights.
Lifebit builds enterprise data platforms for organizations with complex and sensitive biomedical datasets, empowering customers across the life sciences sector to transform how they use sensitive biomedical data.
“At Lifebit, we’re on a mission to connect the world’s biomedical data to obtain novel therapeutic insights. Our customers work with vast cohorts of linked genomic, multi-omics and clinical data – and these data volumes are expanding rapidly. With Amazon Omics they will have access to optimised analytics and storage for this large-scale data, allowing us to provide even more scalable bioinformatics solutions. Our customers will benefit from significantly lower cost per gigabase of data, essentially achieving hot storage performance at cold storage prices, removing cost as a barrier to generating insights from their population-scale biomedical data.” – Thorben Seeger, Chief Business Development Officer, Lifebit
To hear more customers and partner voices, see Amazon Omics Customers page.
Now Available
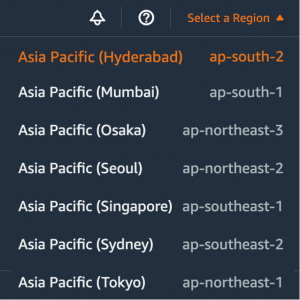
Amazon Omics is now available in the US East (N. Virginia), US West (Oregon), Europe (Ireland), Europe (London), Europe (Frankfurt), and Asia Pacific (Singapore) Regions.
To learn more, see the Amazon Omics page, Amazon Omics User Guide, Genomics on AWS, and Healthcare & Life Sciences on AWS. Give it a try, and please contact AWS genomics team and send feedback through your usual AWS support contacts.
– Channy
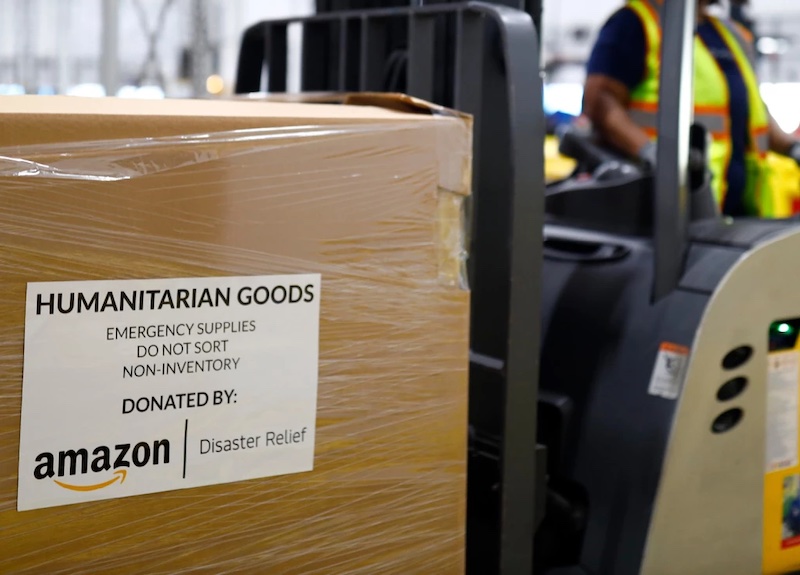 Since the devastating earthquake in Türkiye and Syria, Amazon has activated disaster relief services to quickly provide relief items to impacted areas. The company and Amazon customers have donated nearly 100,000 relief items so far, and donations continue to come in.


 You use map apps every day to find your favorite restaurant or travel the fastest route using geospatial data. There are two types of geospatial data: vector data that uses two-dimensional geometries such as a building location (points), roads (lines), or land boundary (polygons), and raster data such as satellite and aerial images.


 You might learn in high school biology class that the human genome is composed of over three billion letters of code using adenine (A), guanine (G), cytosine (C), and thymine (T) paired in the deoxyribonucleic acid (DNA). The human genome acts as the biological blueprint of every human cell. And that’s only the foundation for what makes us human.


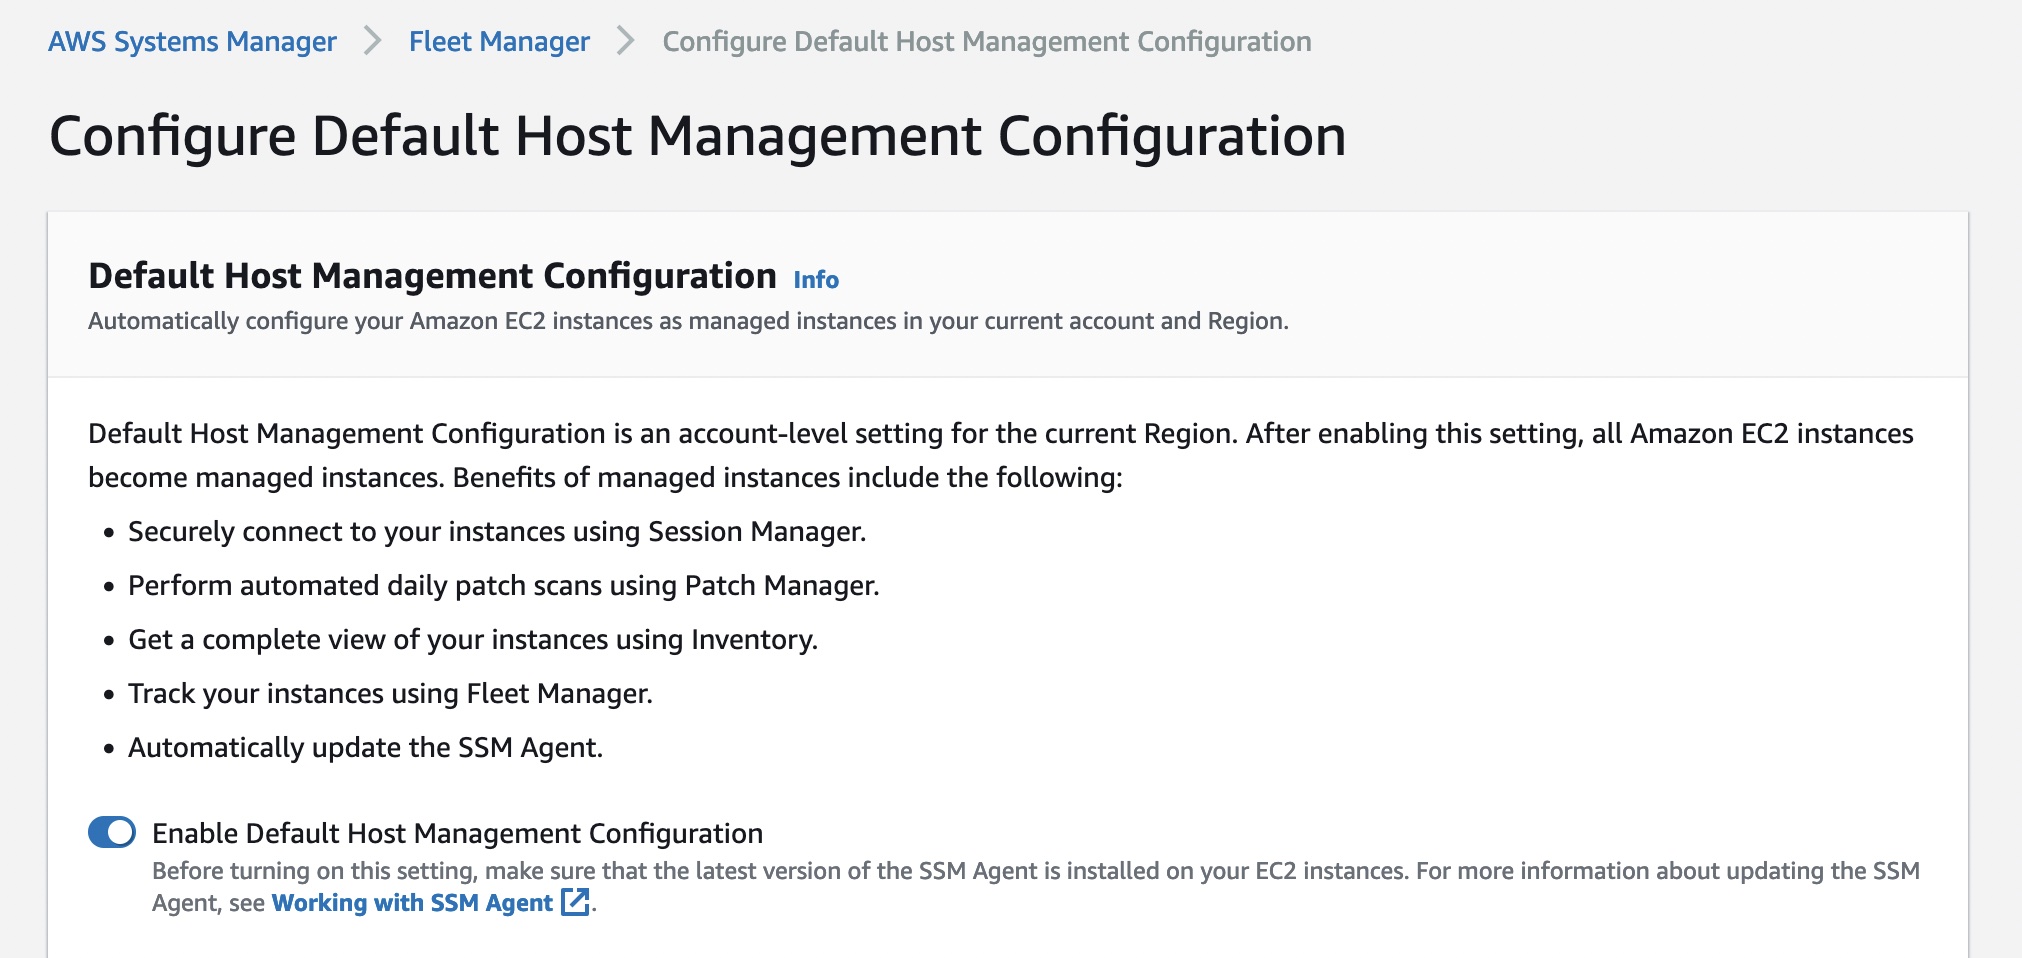
 Choose Create instance profile and specify your default VPC or a new VPC,
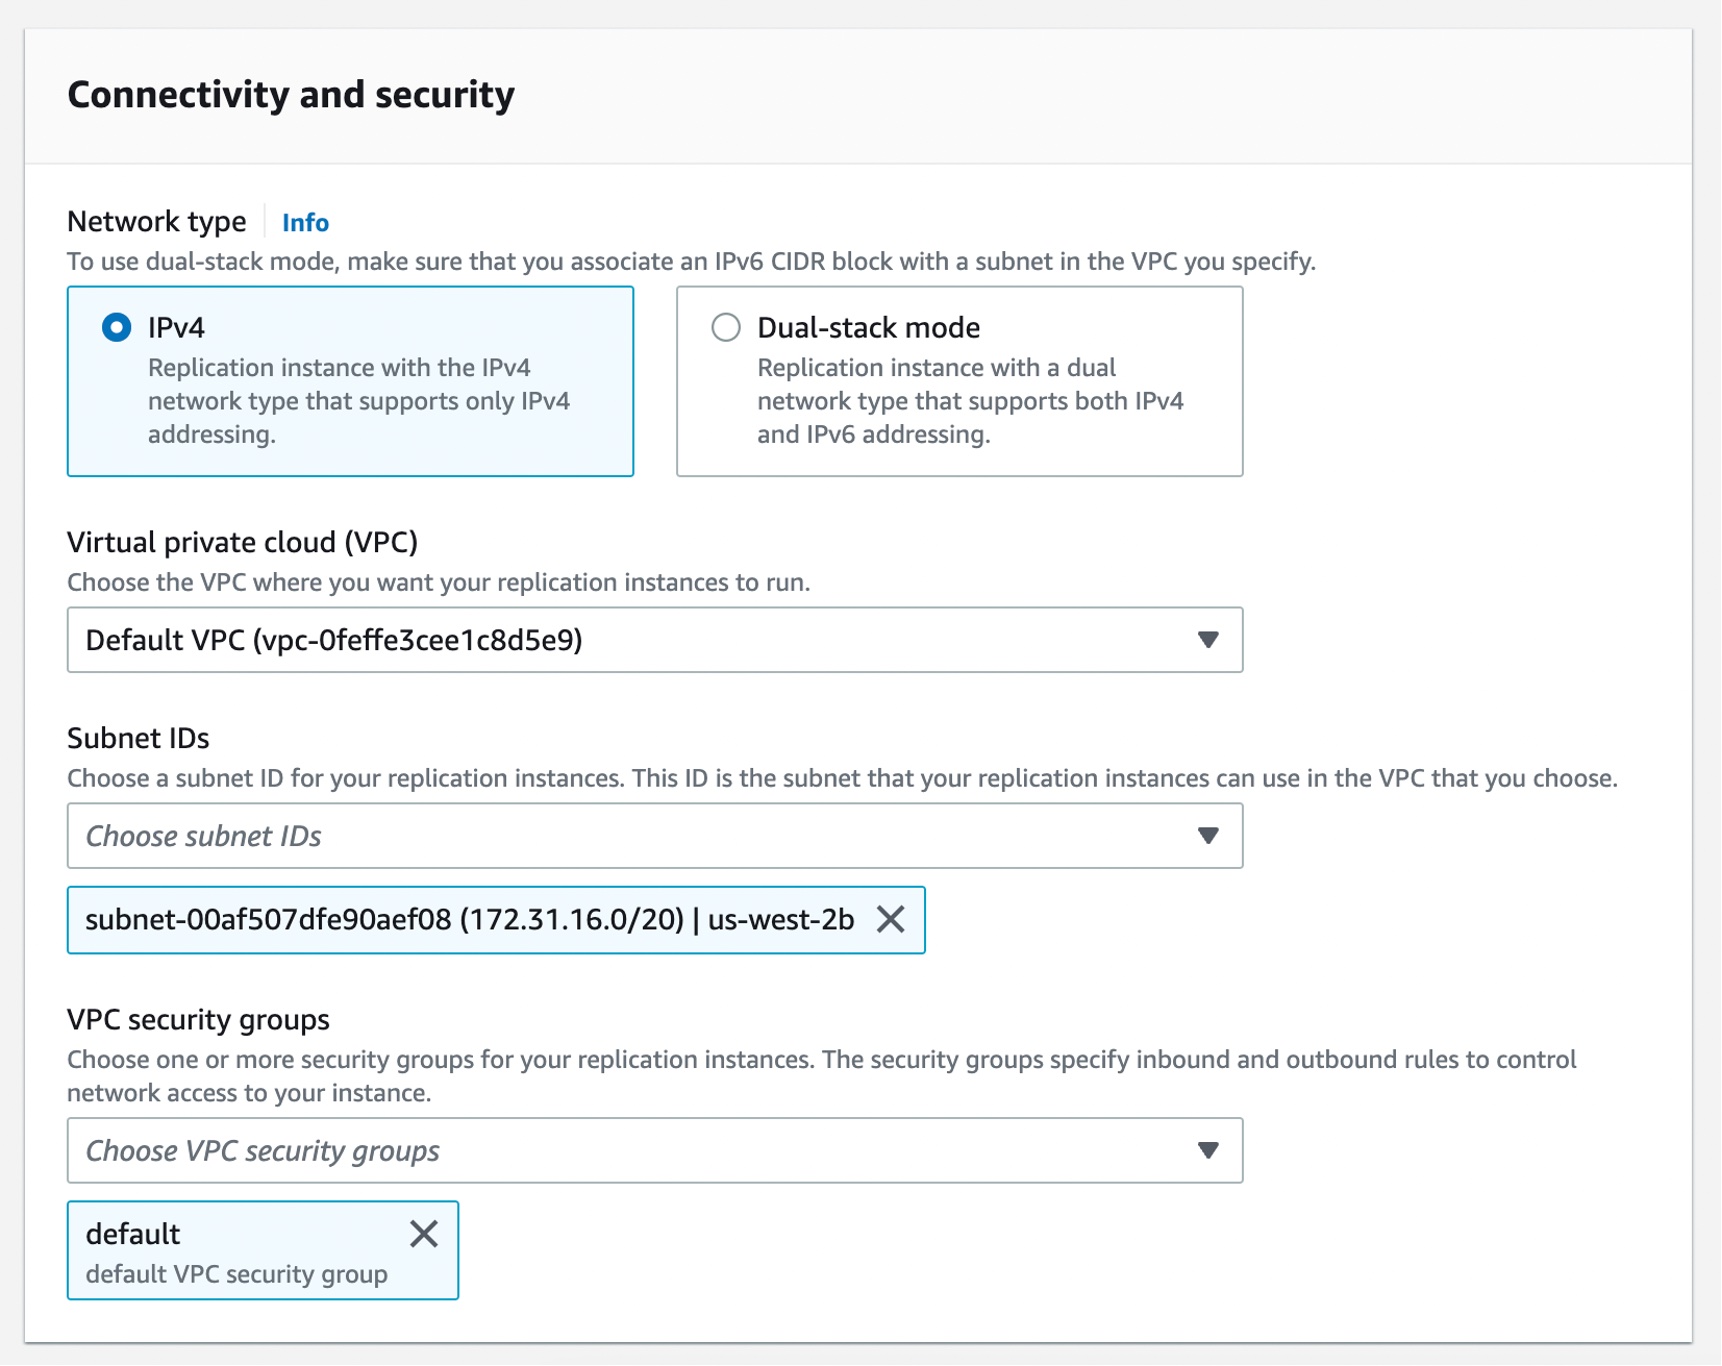


 In November 2020, Jeff